Aside from the tank work today, I spent a little bit of time getting everything cleaned and ready for primer. Not much else to say here as most of the work was done on the tanks today.

Aside from the tank work today, I spent a little bit of time getting everything cleaned and ready for primer. Not much else to say here as most of the work was done on the tanks today.
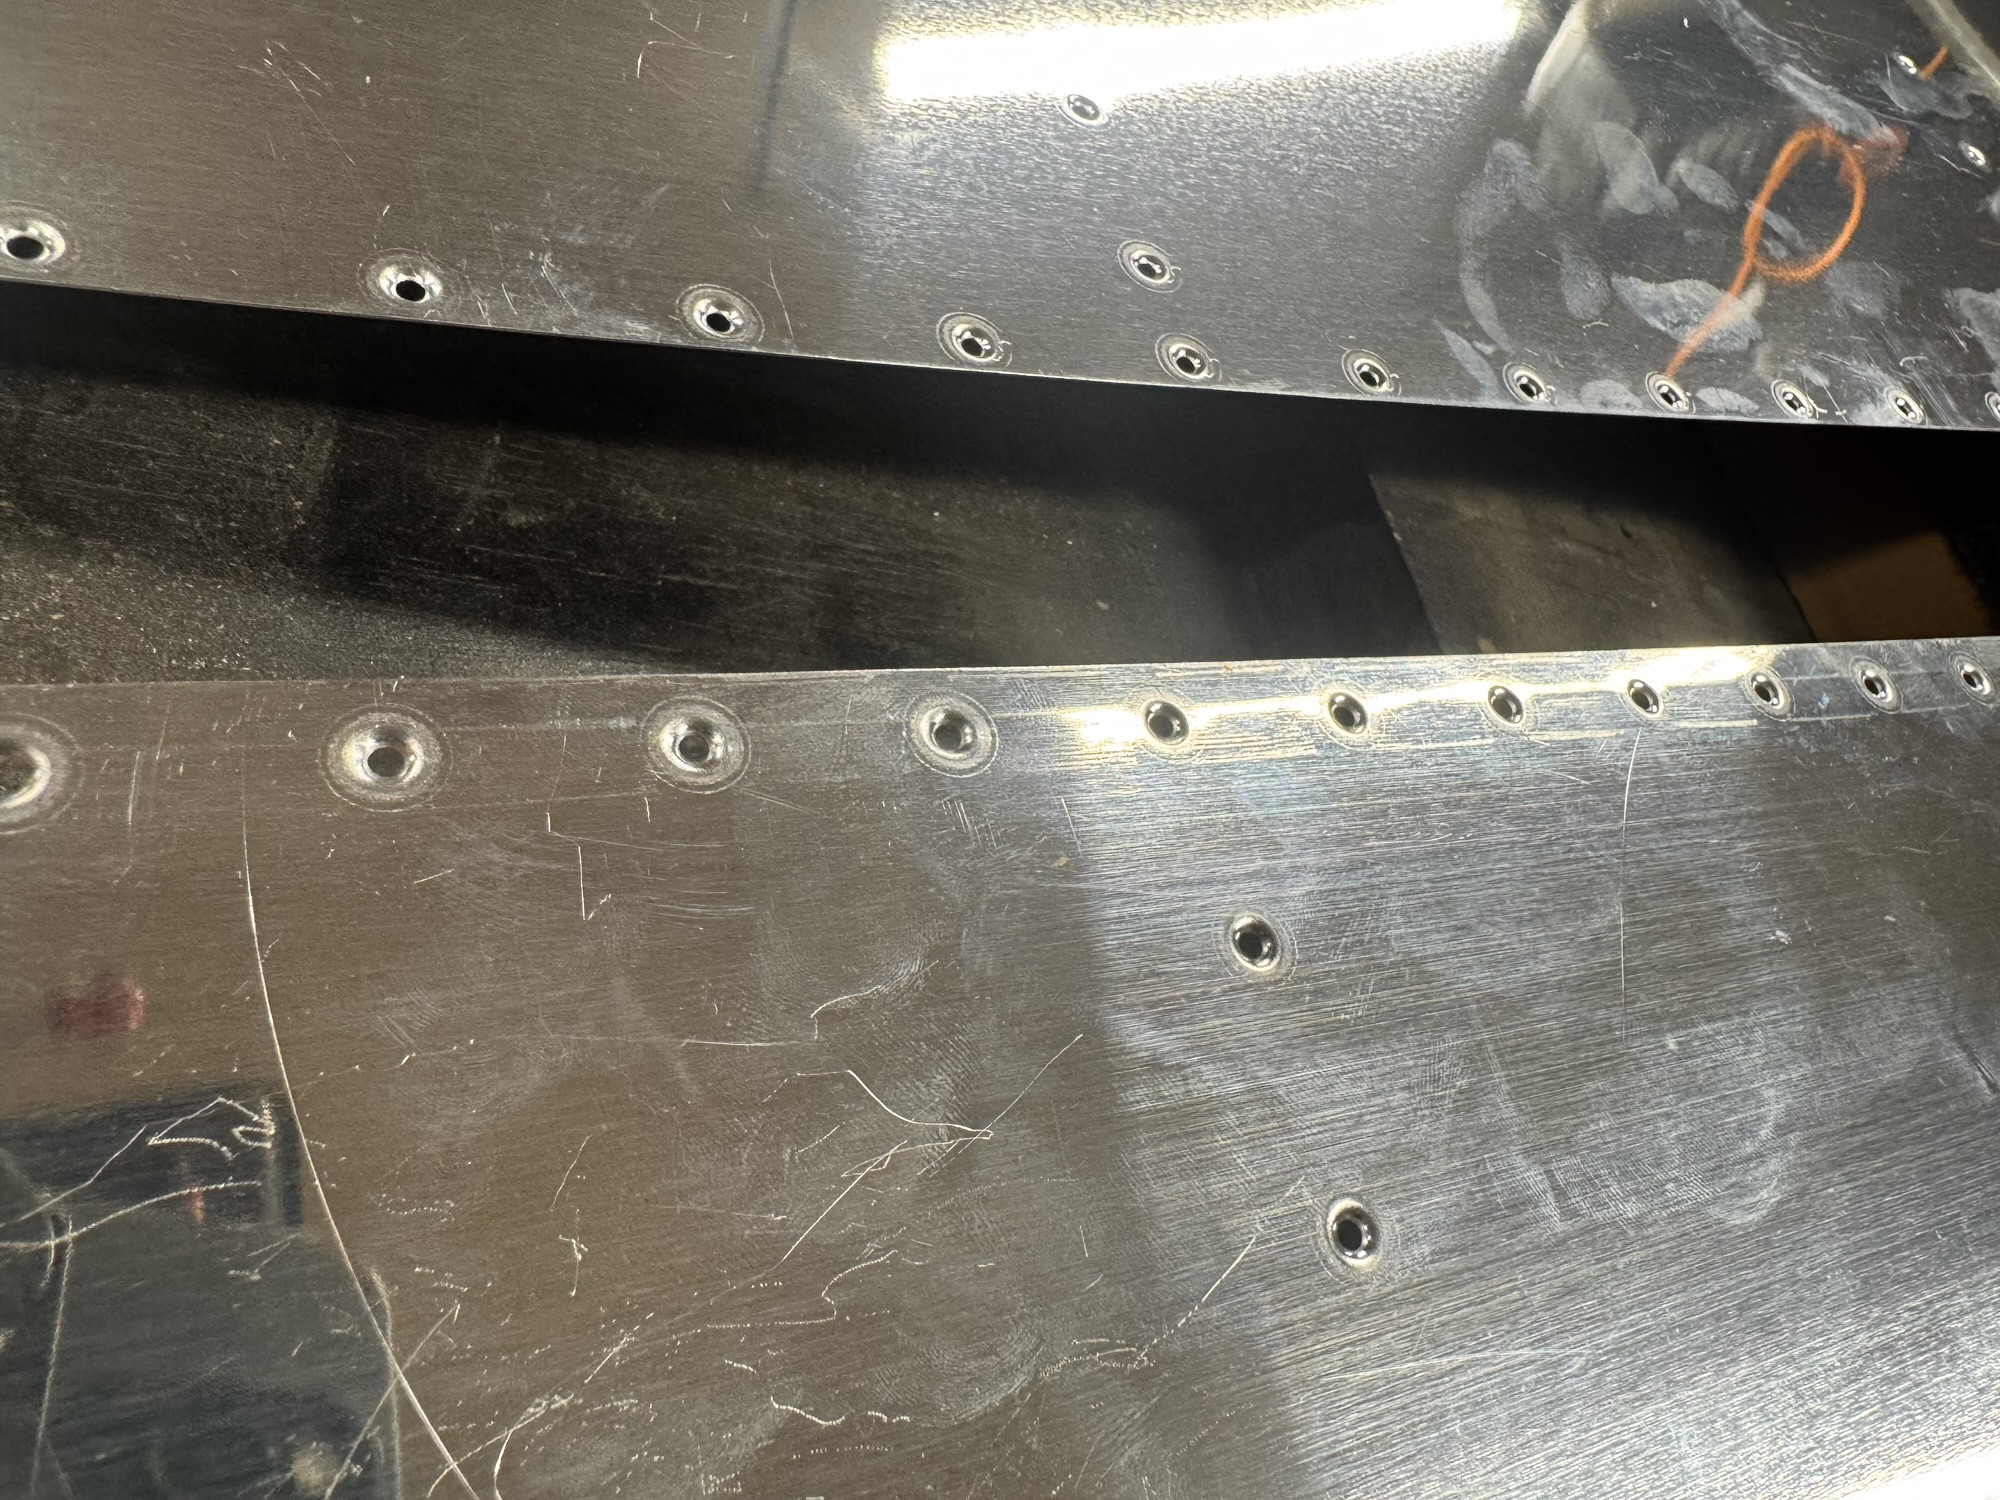
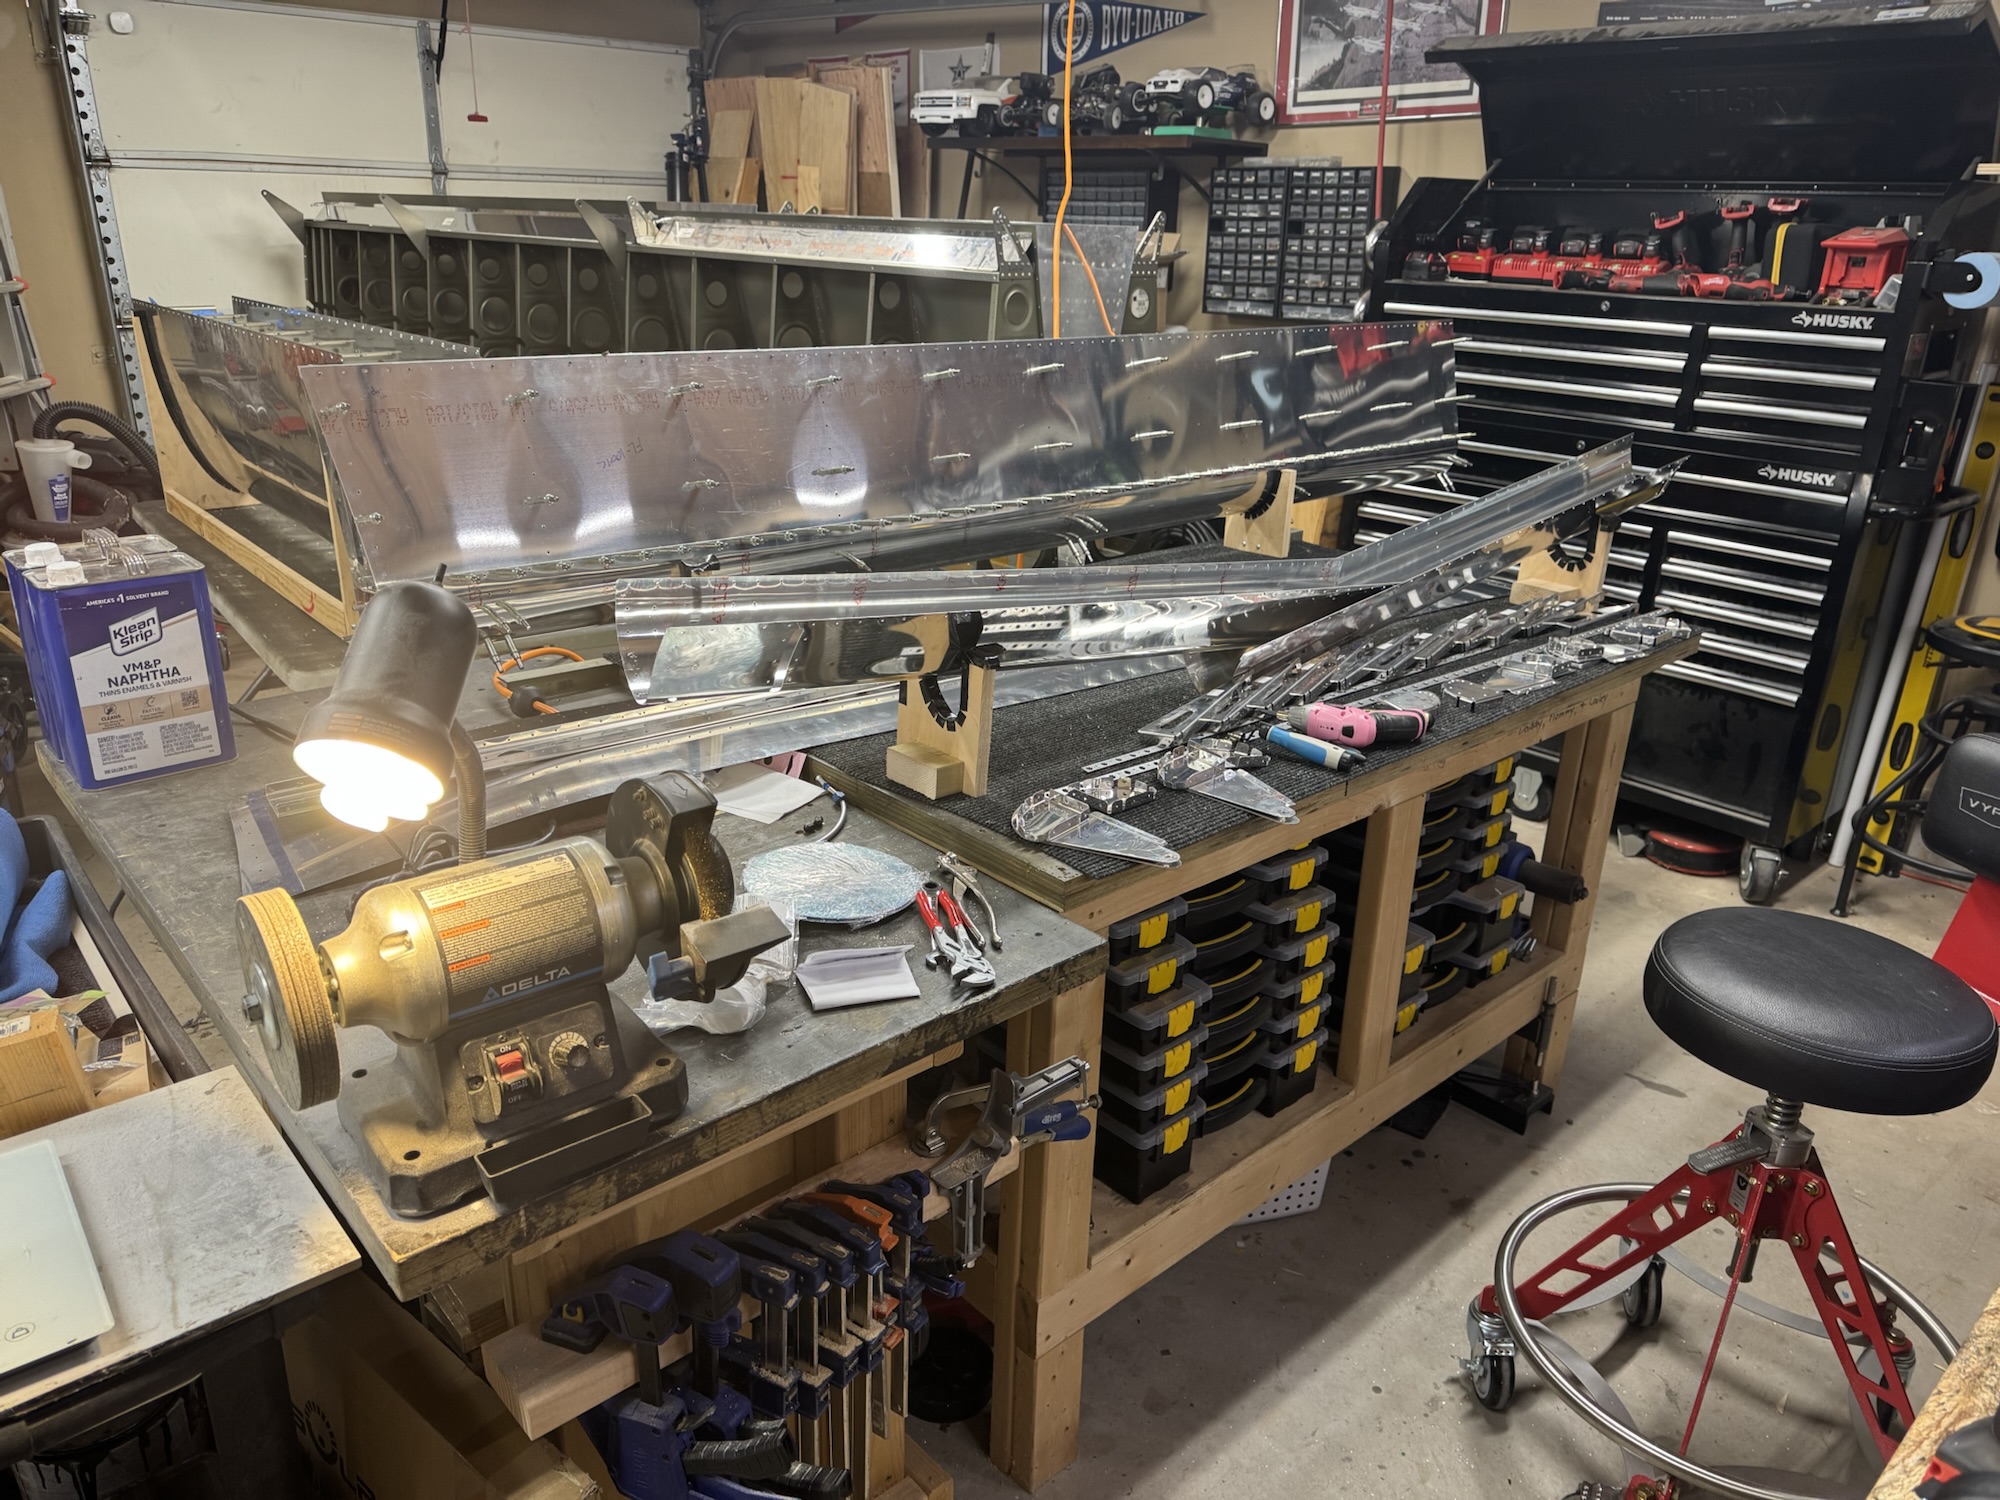
I decided to go ahead and prime the outside of the tanks just to make sure to keep the oxidation to a minimum on the plane but it looks like it beat me to it. I’m going to guess something in that soapy water mixture was corrosive to the aluminum as I noticed that both of the tanks had these spots over them where I had sprayed the soapy water.

I tried using acetone and NAPHTA on it but neither of them really helped with removing them. I was really hoping it was just residue of the soap dried on. So I’m going to have to see how to buff this off before I paint the outside of the tanks. I might just use the scotch brite pad to scuff the surface since I will be putting the primer on which is what they will be doing to the outside of the plane when I do the paint job down the road. Either way it all looks very superficial so I’m going to see how to buff it off and then prime.
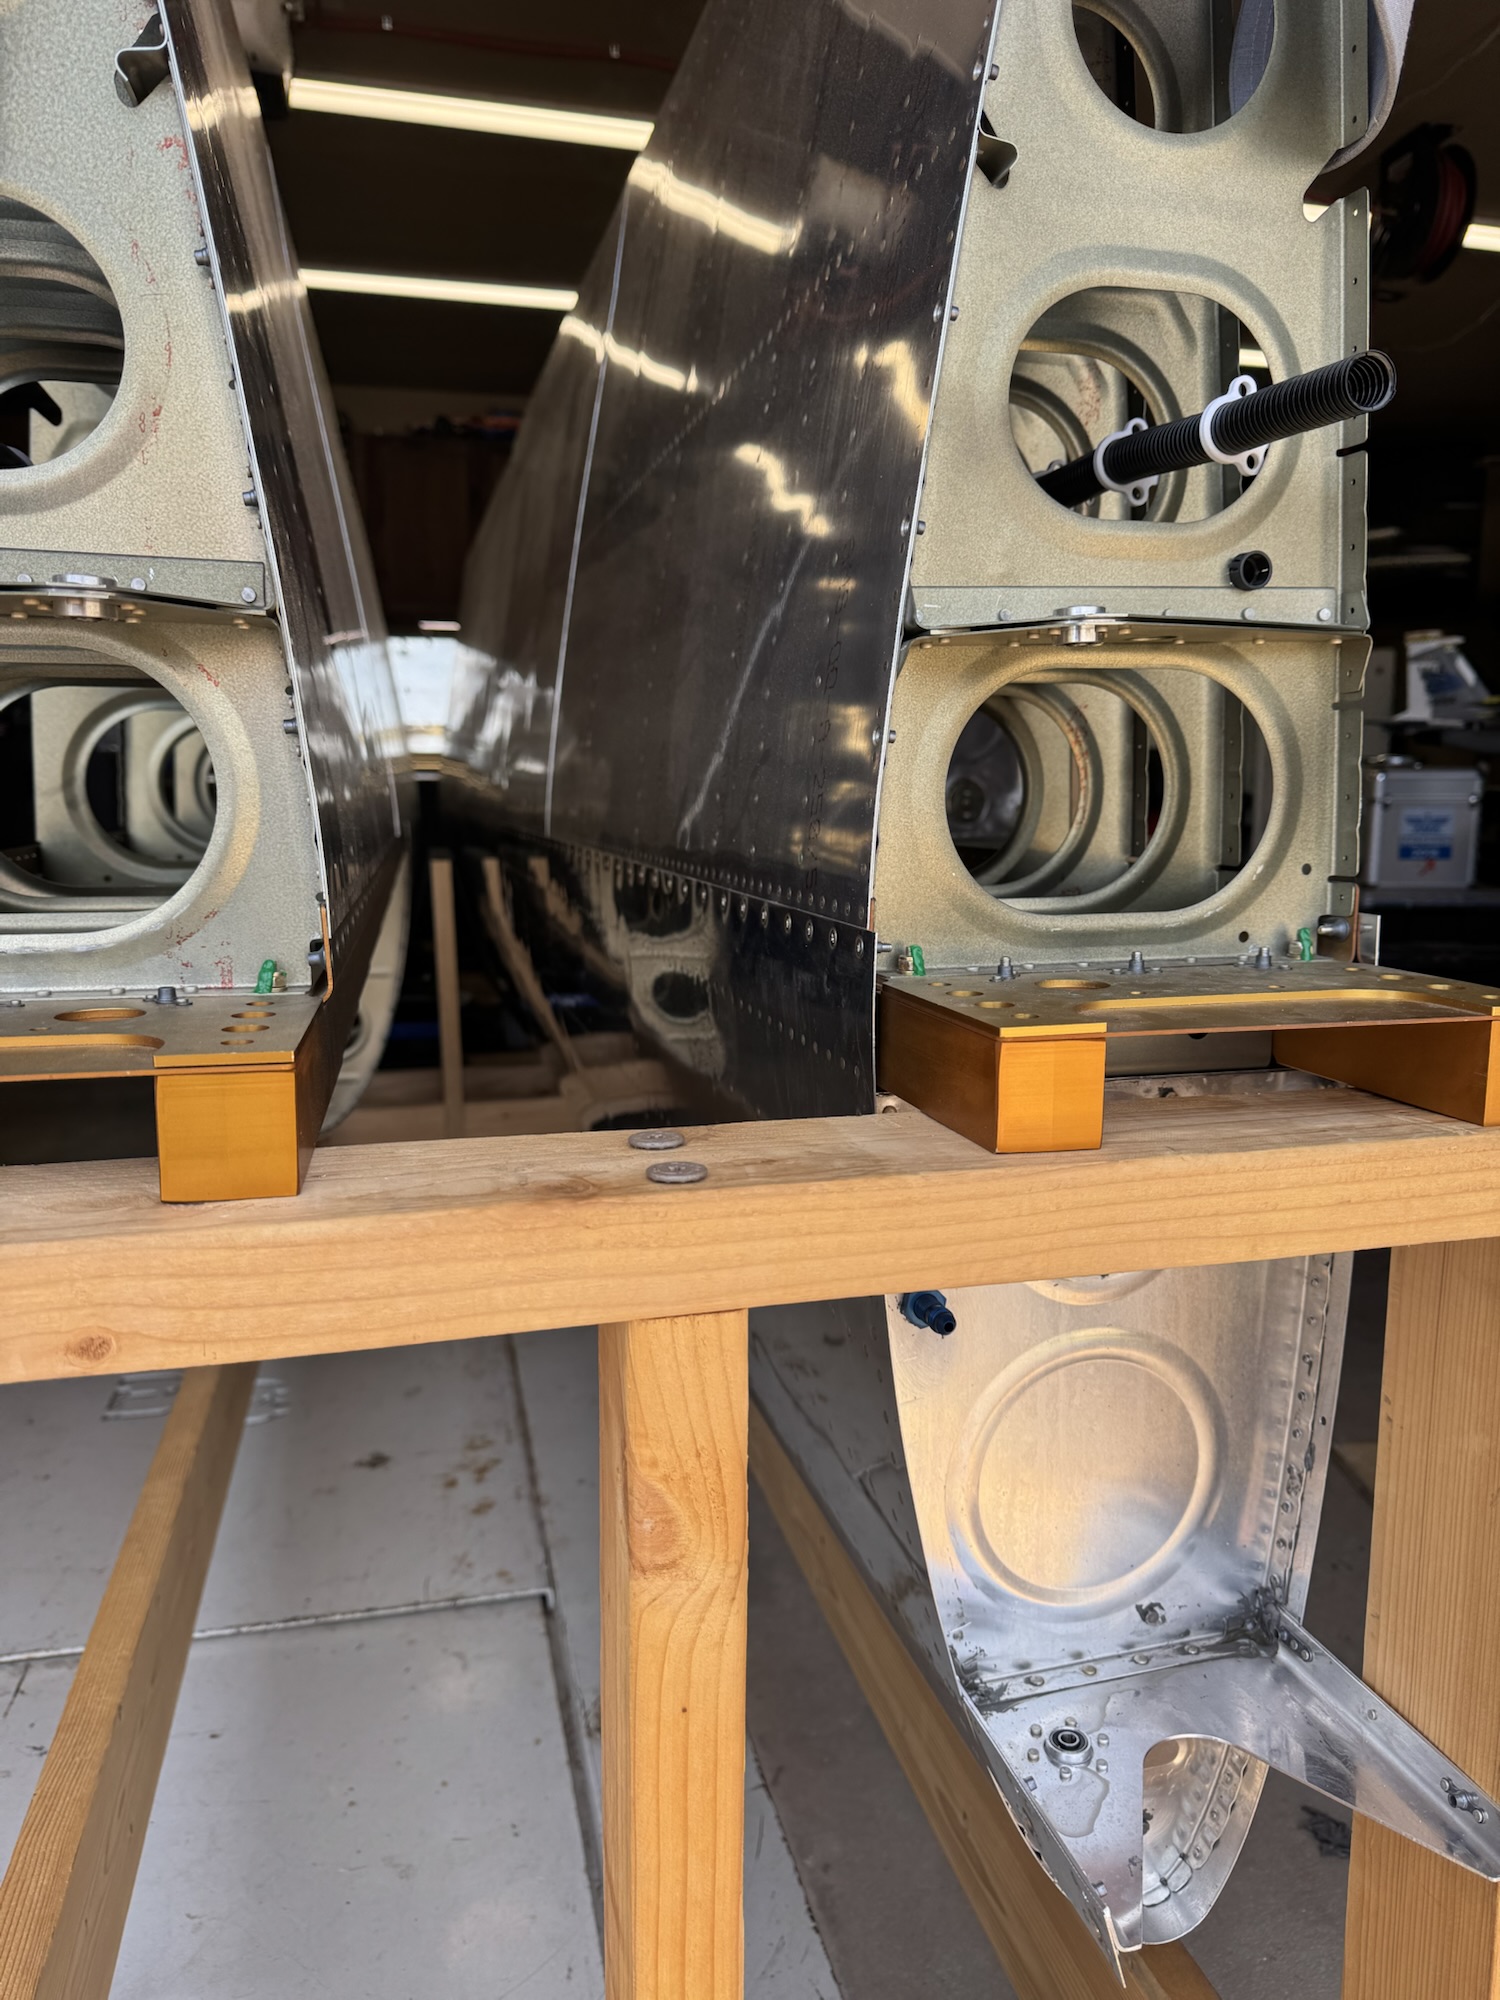
But most of my time today was just removing the tank from the wing I installed it on. I also need to file down the outside edge of the skins just a slight amount as when I had it installed on the wing it overlapped just a tiny bit in certain areas. So I removed all of the bolts around the edge and on the rear Z brackets and put it back in its cradle. I might do one more test on this tank just to make sure it is sealed since I didn’t have good success with the second one.
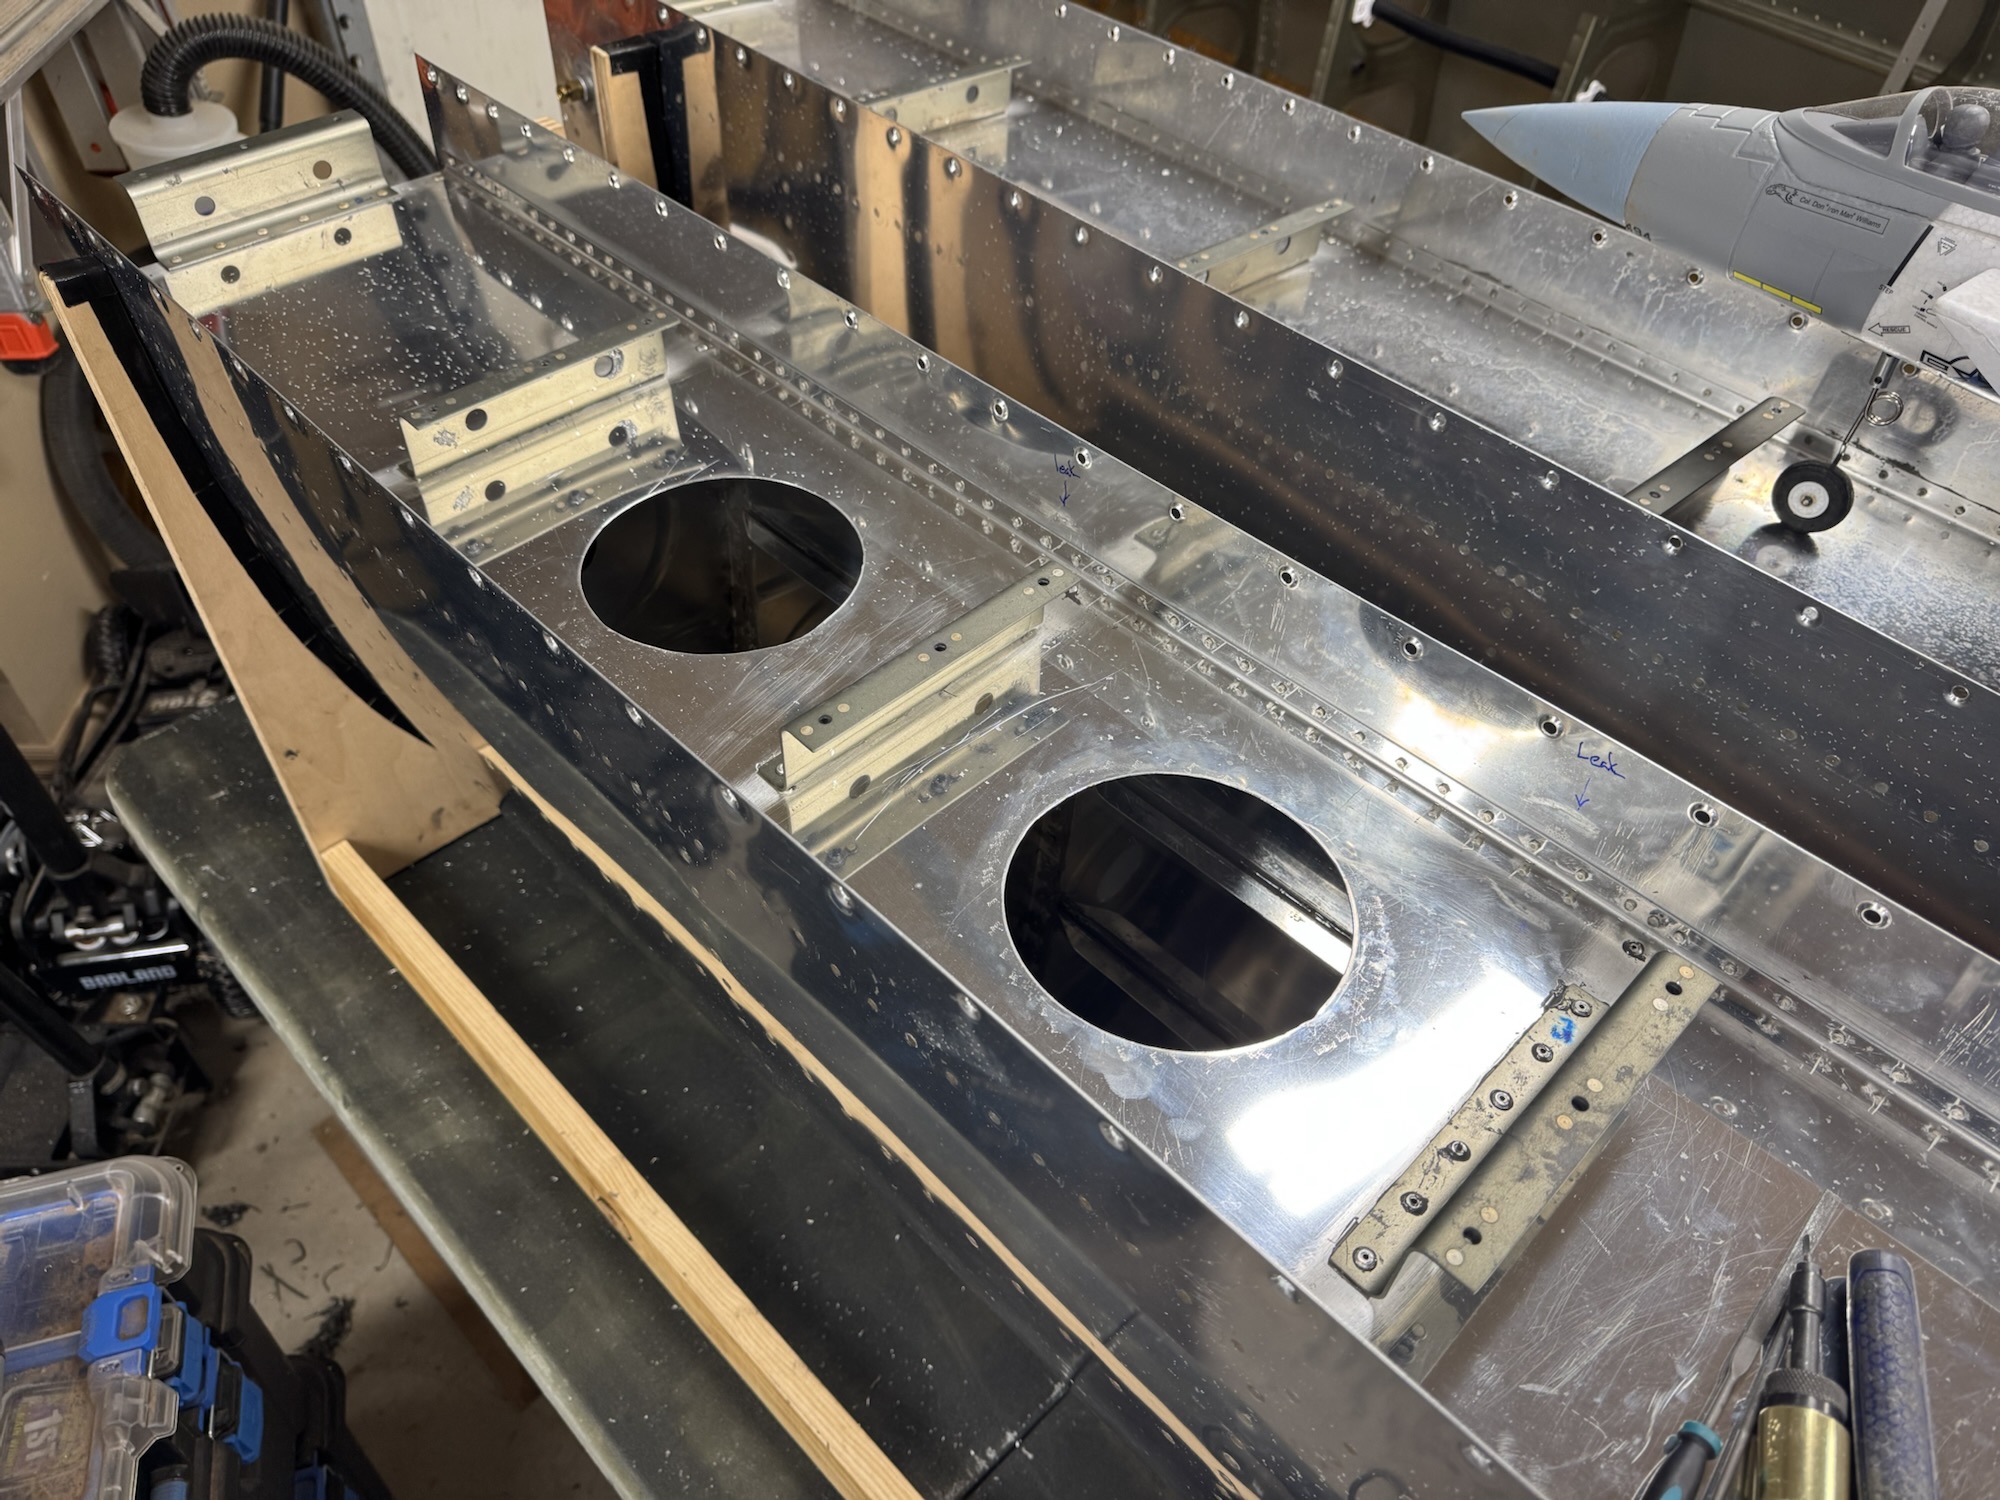
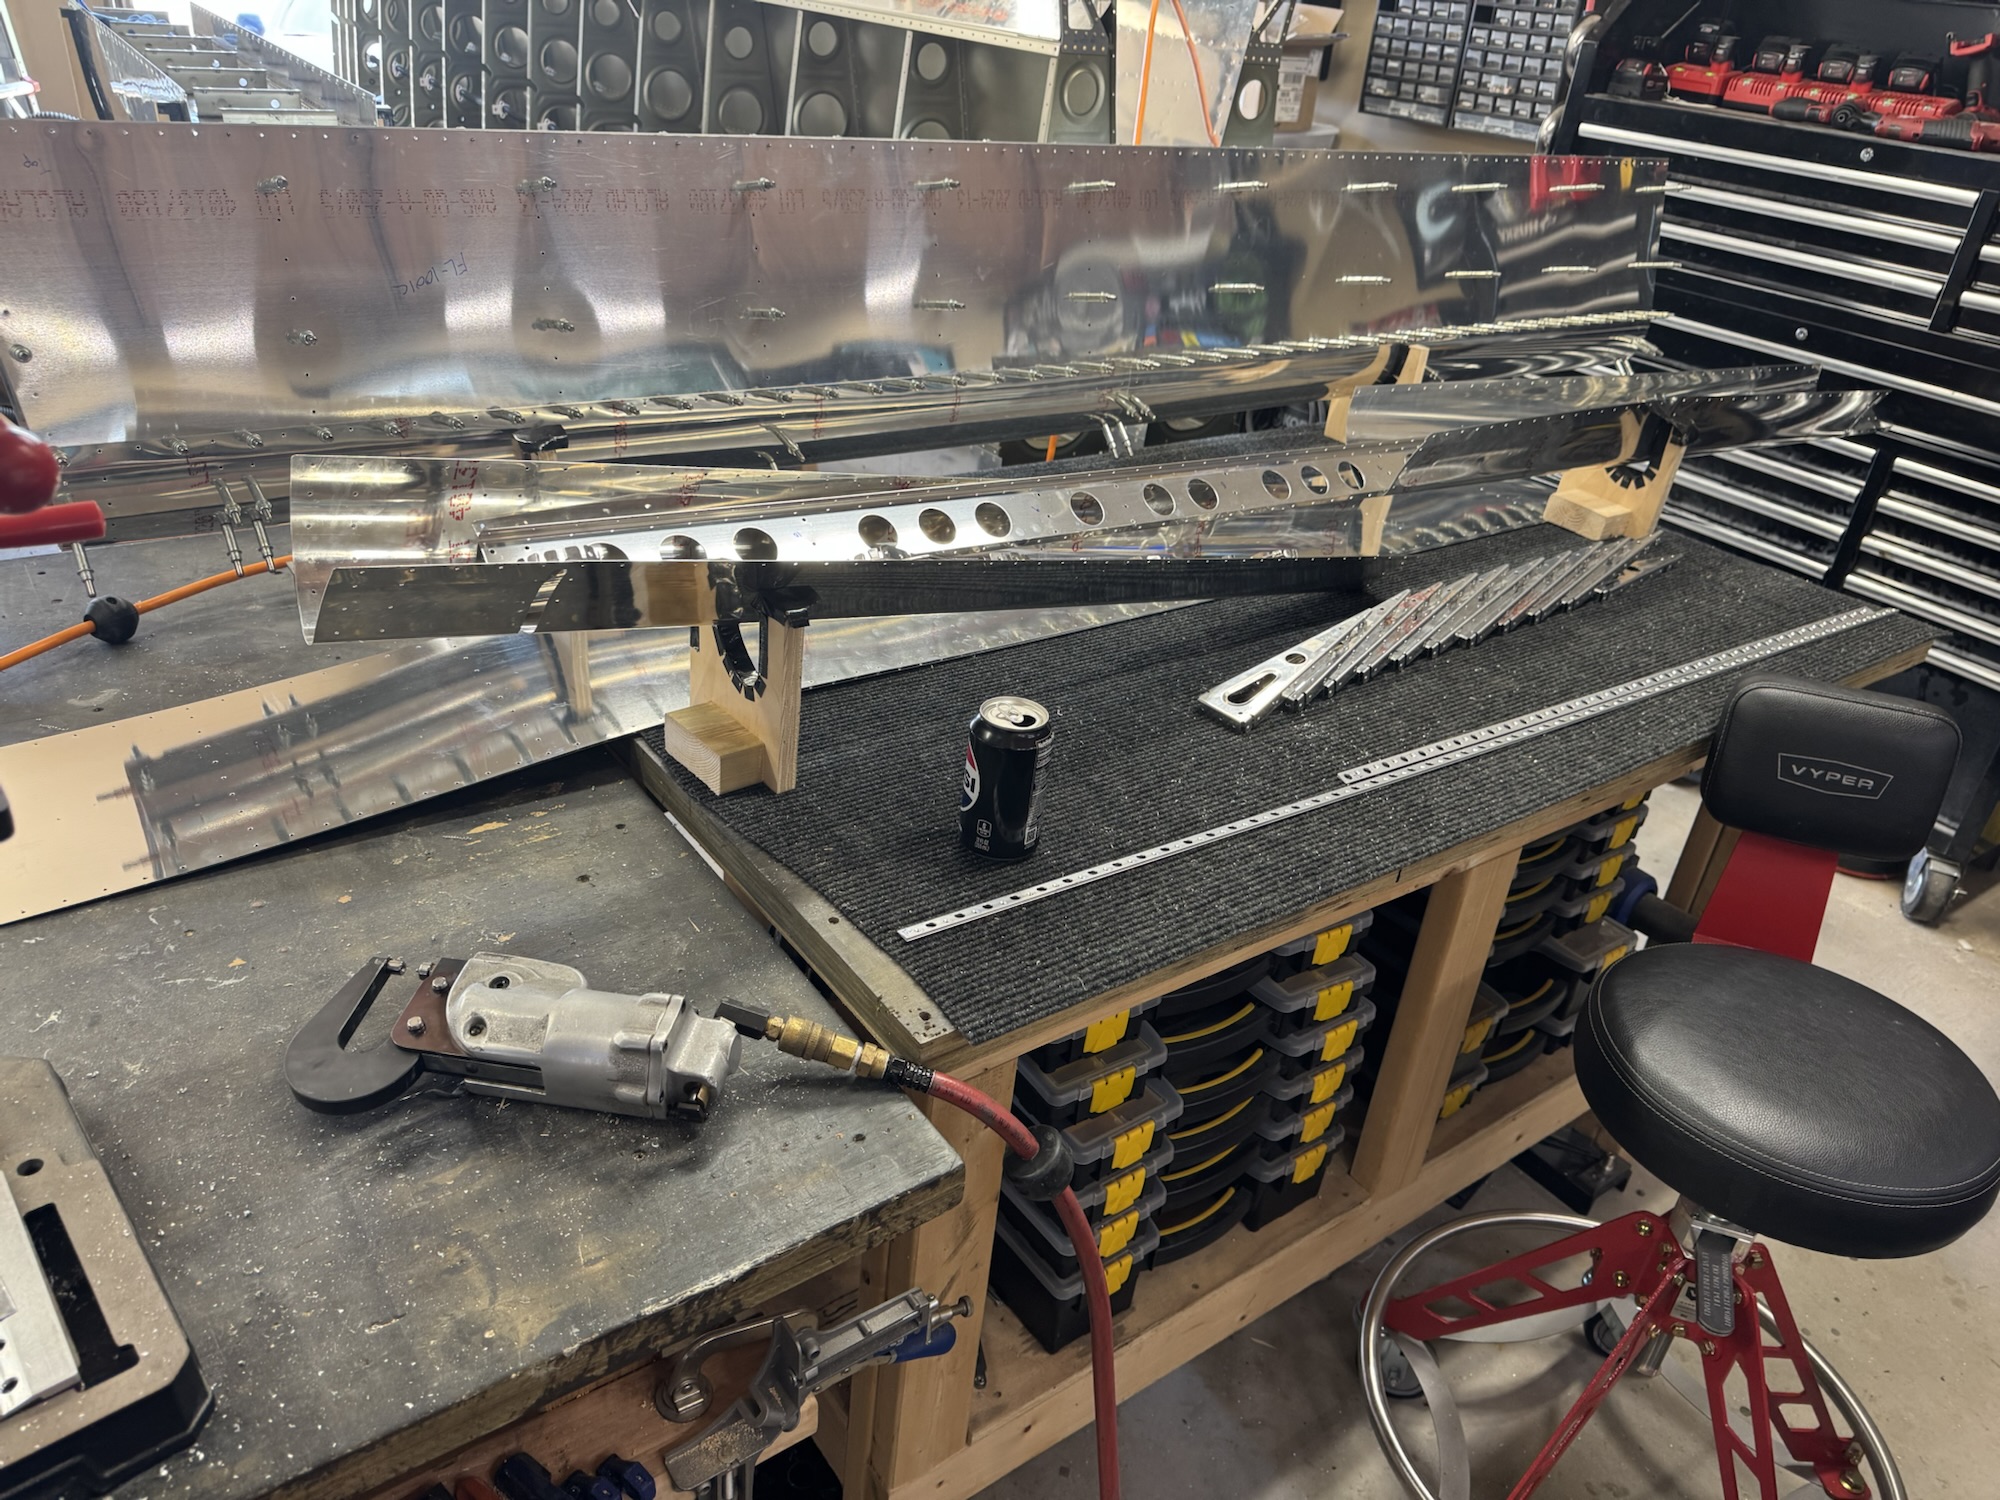
Speaking of which, I cut open the two bays I had leaks in, cleaned it up and then inspected to see what went wrong. The cutting tool actually came in really handy! We had an EAA meeting that talked about it and demonstrated it so I decided to buy one since they were fairly inexpensive. It can be used free hand, with a stylus that allows you to follow a straight edge or that same stylus can be used to put inside of a hole drilled in the middle to allow for circular cuts.

Either way, in the third bay I can see where it might have an issue with the bead of sealant looking a little bubbled and messed up.

But the second one looked perfect! I have no idea where the leak is coming from here. I’ll just have to add more sealant over this section and since I’m in here I’m going to do it all across the rear baffle just so I don’t have to reopen this area again.

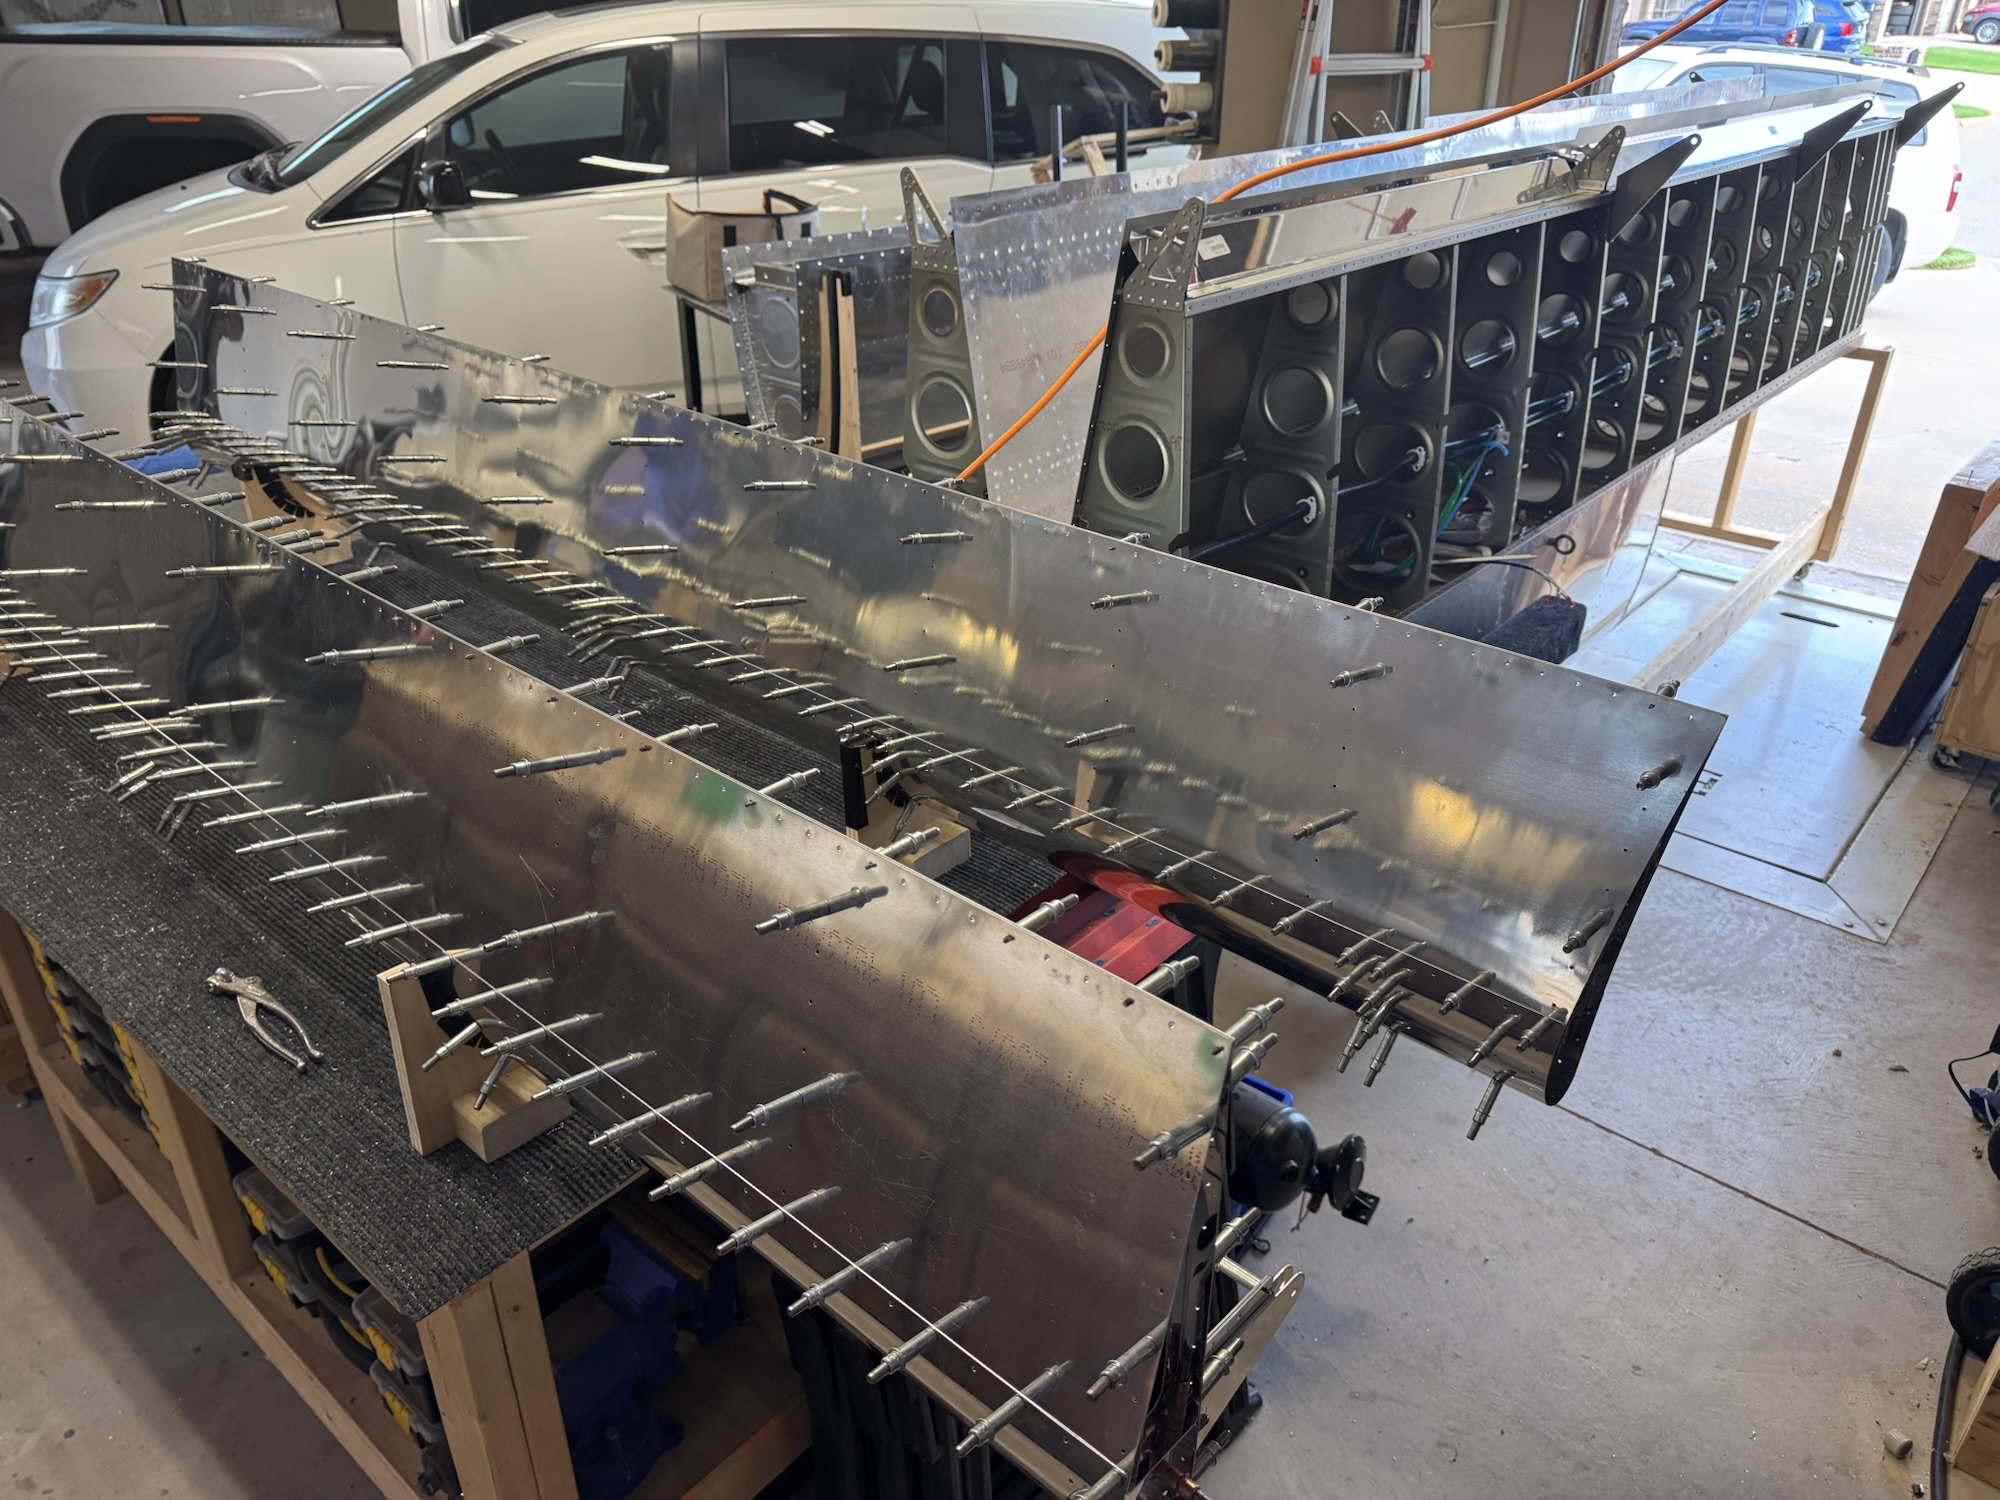
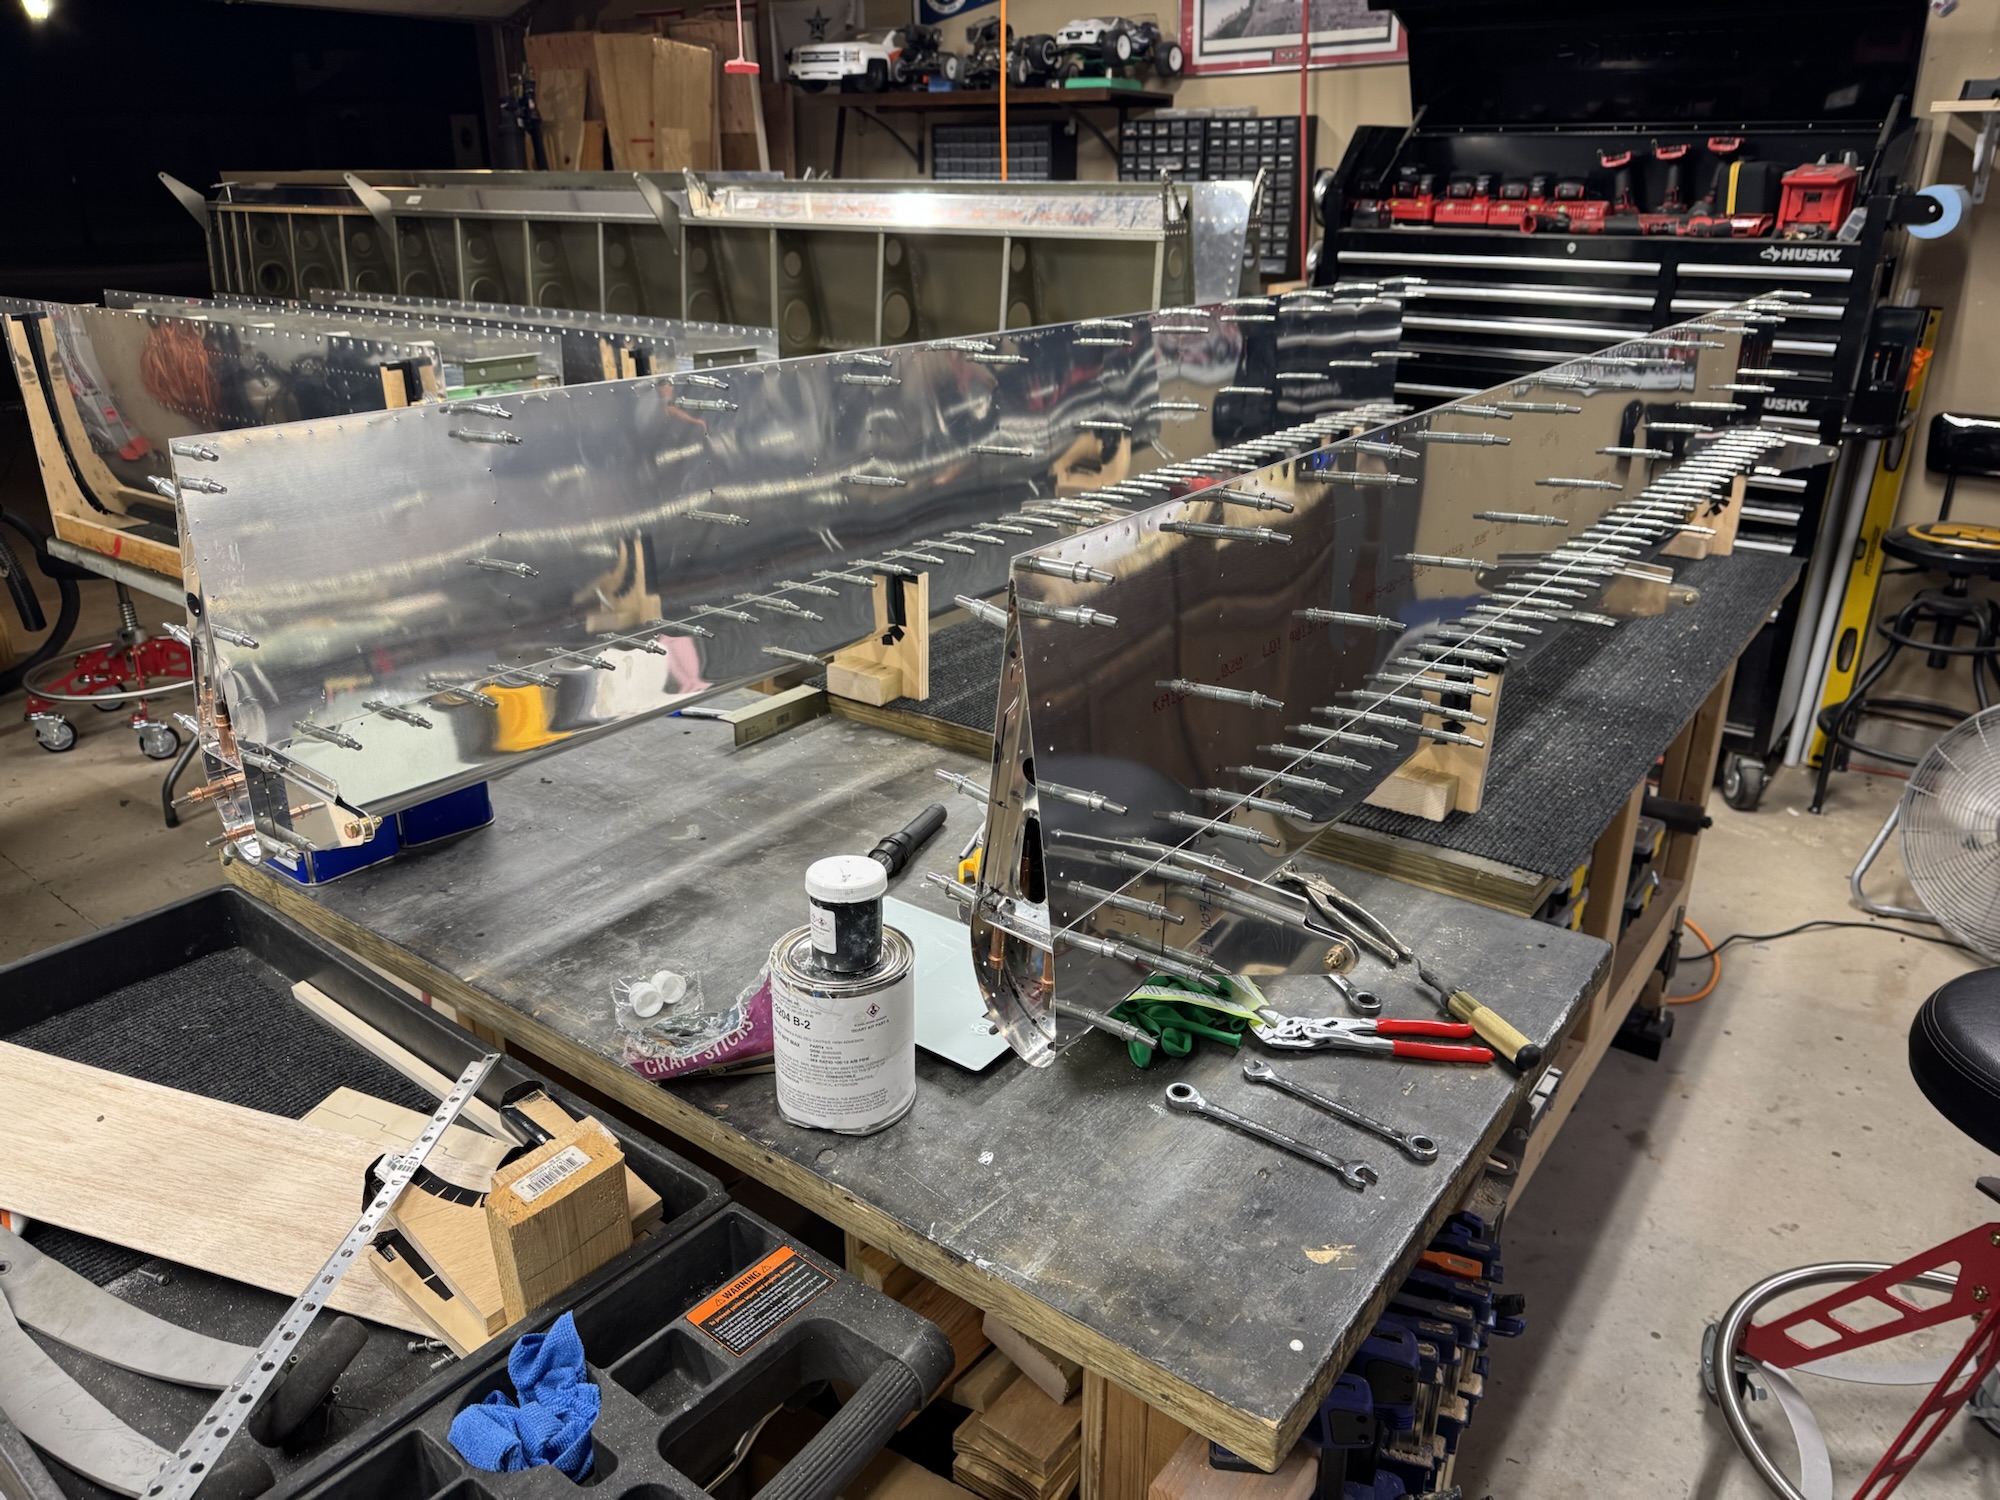
All in all, I’ll get started first thing tomorrow with putting the rear panel on temporarily to drill the rivet holes and then get the sealant put on and riveting the rear panels. Then I will scuff up the outside of the tanks (at least the non-exterior skin portions) and get them cleaned and prepped for priming. Then I will prime all of the parts for the left flap as well as the tanks at the same time. And if I have enough time left in the day I want to start assembling the flap. The garage is a mess right now with so many parts laying all over the place in various stages of build LOL.
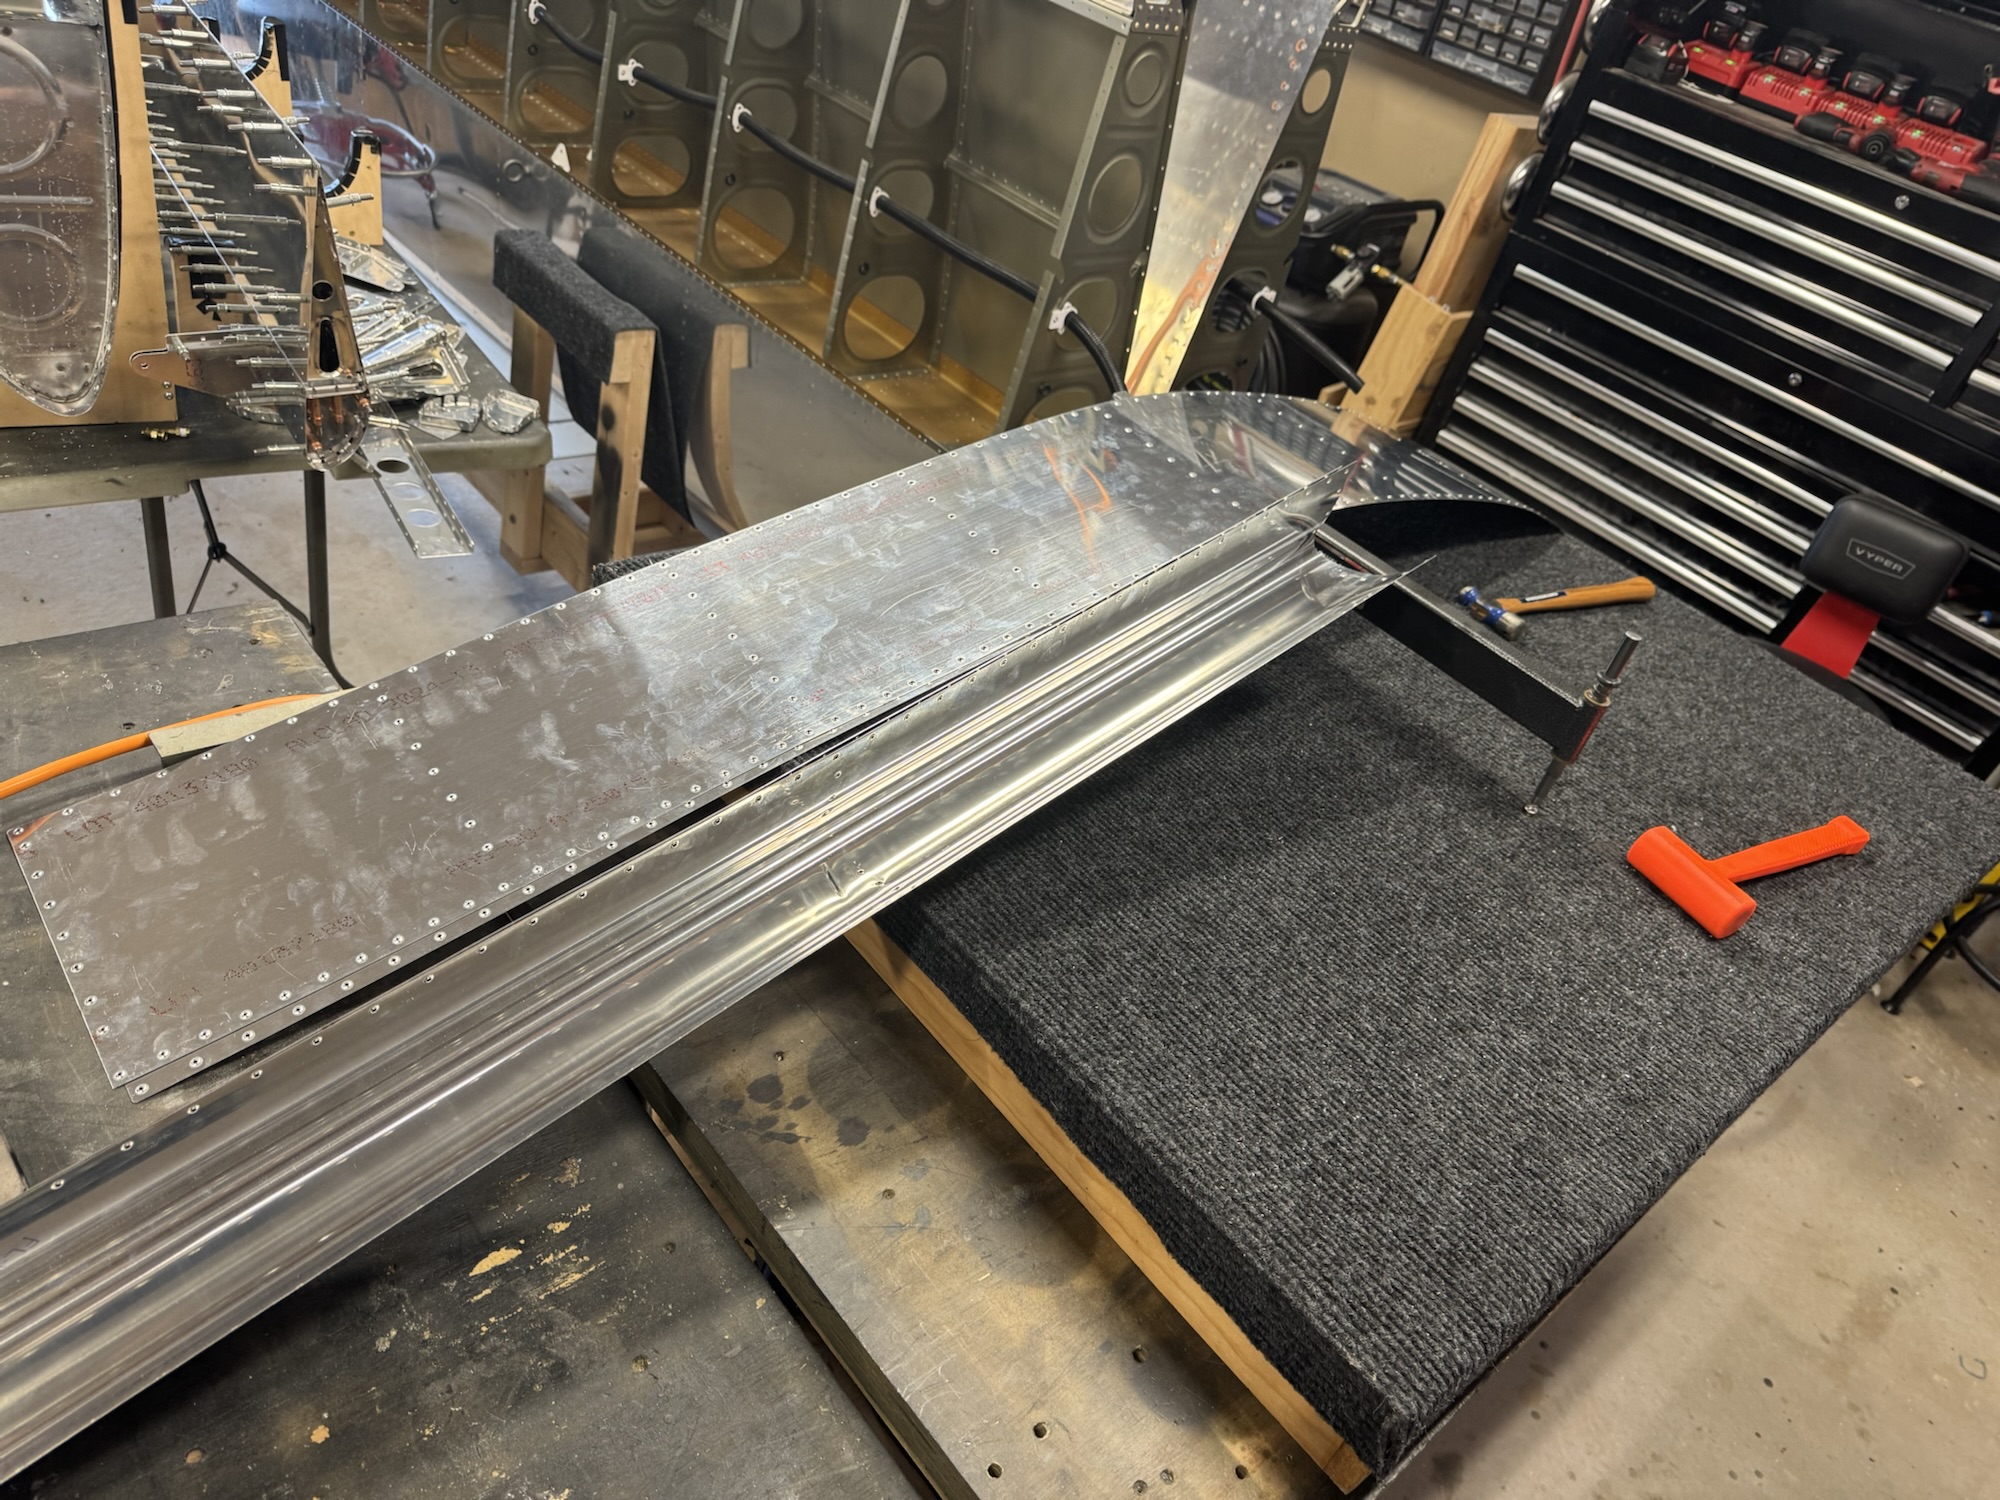
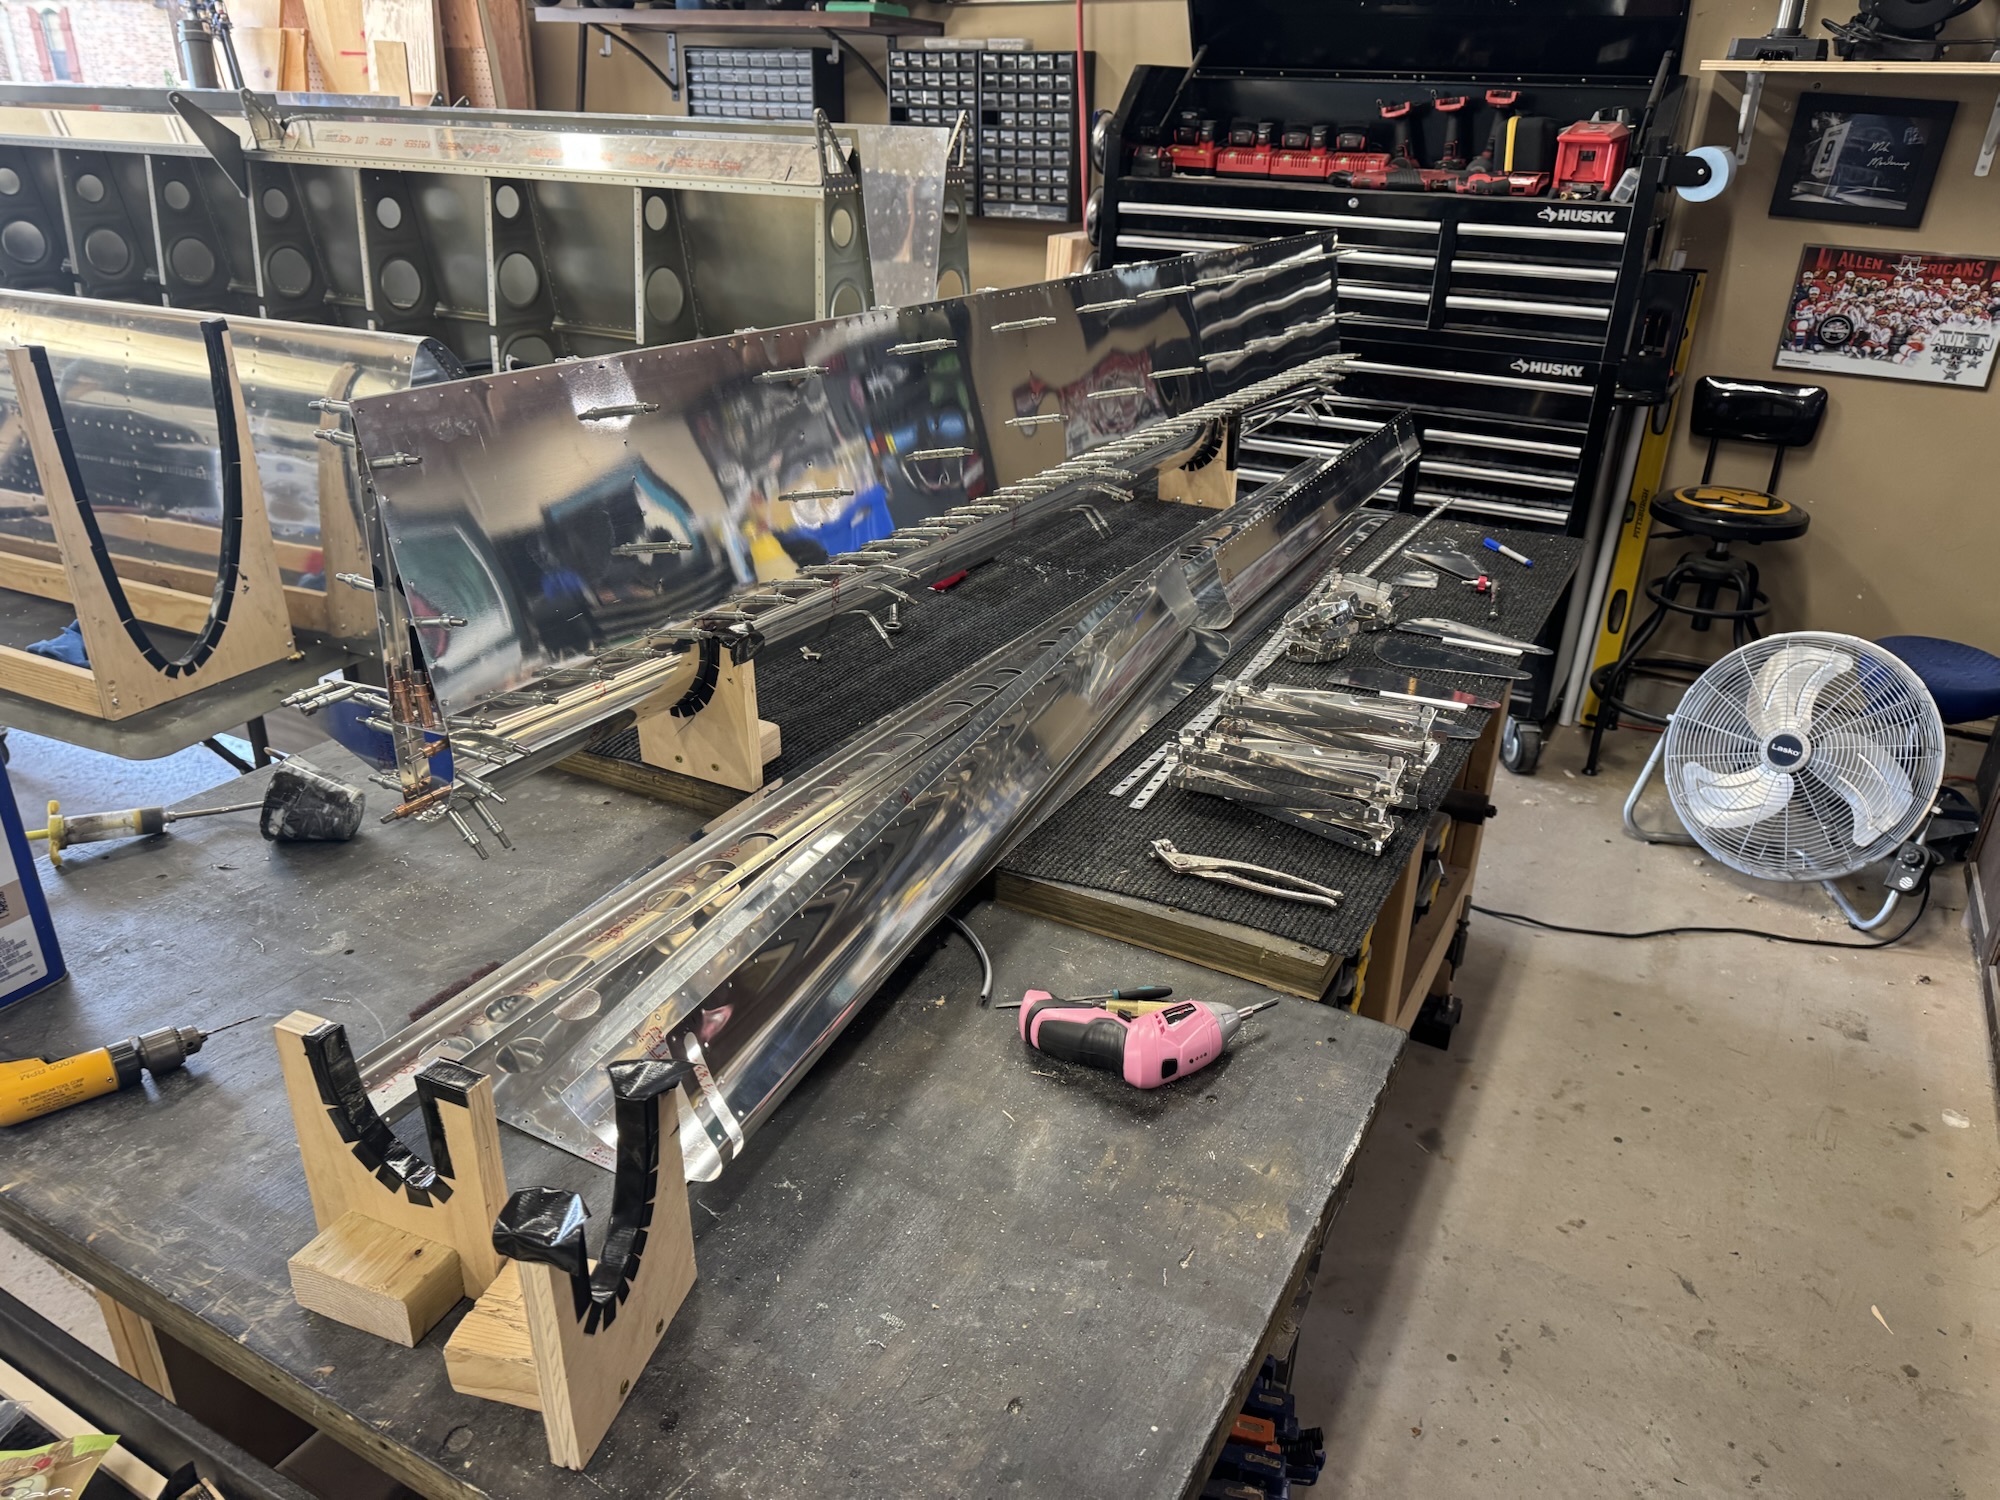
I completely forgot to do the edge bending so that it doesn’t pillow out on the trailing edge as well as on the skin overlaps. I took the edging tool and ran it between each of the dimples. It seemed to work as I had previously done it for the ailerons and other surfaces like that so hopefully that doesn’t pillow out when I rivet it together. I hope to get some time tomorrow to prime the parts but I have the dentist and also the change for work tonight didn’t go as planned so we might be pulling extra time tomorrow to get things squared away.

I got everything for the left flap done and ready for priming. I’ll try to get some time to do it tomorrow but I have both church and a work thing happening so I might not get much opportunity.

It was tedious work but I got everything deburred for the left flap as well as countersunk. I got all of the ribs dimpled so tomorrow I will just need to complete the dimpling on the spar and the skins and then I’ll be ready to clean and prime the parts and start assembly.

Luckily while I was out almost all of the parts showed up while we were gone. Surprisingly, my seat kit arrived while we were gone. I didn’t even know that was going to be coming, but it was a welcome surprise. It is missing one set of seat foam but the rest is there. I called Van’s to report it missing and they asked me to submit an email to get the replacement process started. That has been sent and hopefully I’ll get a response sometime soon. I did not get the rib and reinforcement plate though for the right flap so I just continued forward with the left flap for now. I got the new rib installed and drilled and then disassembled everything and started deburring parts. I’m a little over halfway done with that and then I can start dimpling and countersinking. I hope to get some of that finished tomorrow morning before Brendon and I head out to Tulsa to watch the DCI summer tour there.

I got all of the parts deburred for the right flap and put all of the parts together in preparation for when the replacement parts show up. I just need to drill those two holes and deburr the one nose rib and then I can get the right flap dimpled/countersunk, primed and assembled. I countersunk the attachment brackets on the rear side but I still need to countersink the trailing edge insert. Trying to keep progress moving while I’m waiting on shipments. It will not for sure be a week before I can post again as we are leaving tomorrow morning.

I got all of the ribs drilled. Luckily the holes were all final sized already. There were just the two holes on each nose rib that were non-existent that I had to drill. Unfortunately I found another issue with a rib while I was deburring it. It was cracked where they had folded it during manufacturing. So I ordered another one of those which hopefully they will arrive while I’m in Mexico so I can get back and get started right away. I need the parts so that I can get everything primed and put together. I was going to finish one of the flaps but that broken nose rib put a stop to that. That is it work wise until I get back from Mexico.
Edit: I went back out and did two more hours of deburring. Might as well get parts deburred that are going to need it anyways. Gotta keep the assembly line moving!


After I fixed the two leaks that were near the gas cap, I went to pressure test it again and I had three leaks near the fuel level sender! I pulled the fuel level sender off and looked in and the bead looked just fine, which is the crazy part. So I attempted to seal it again using a longer popsicle stick which ended up making a mess…. I’m really not happy with how this turned out. I should have done the syringe like others had done. I got a chance to try that though because my attempt to seal that area up only sealed one of the three holes. The other two were still there. So I used a syringe this time to get it more precise, and that worked way better. I’m waiting on the sealant to cure before I test for the third time. Luckily the other tank was good to go and I installed it on the wing.


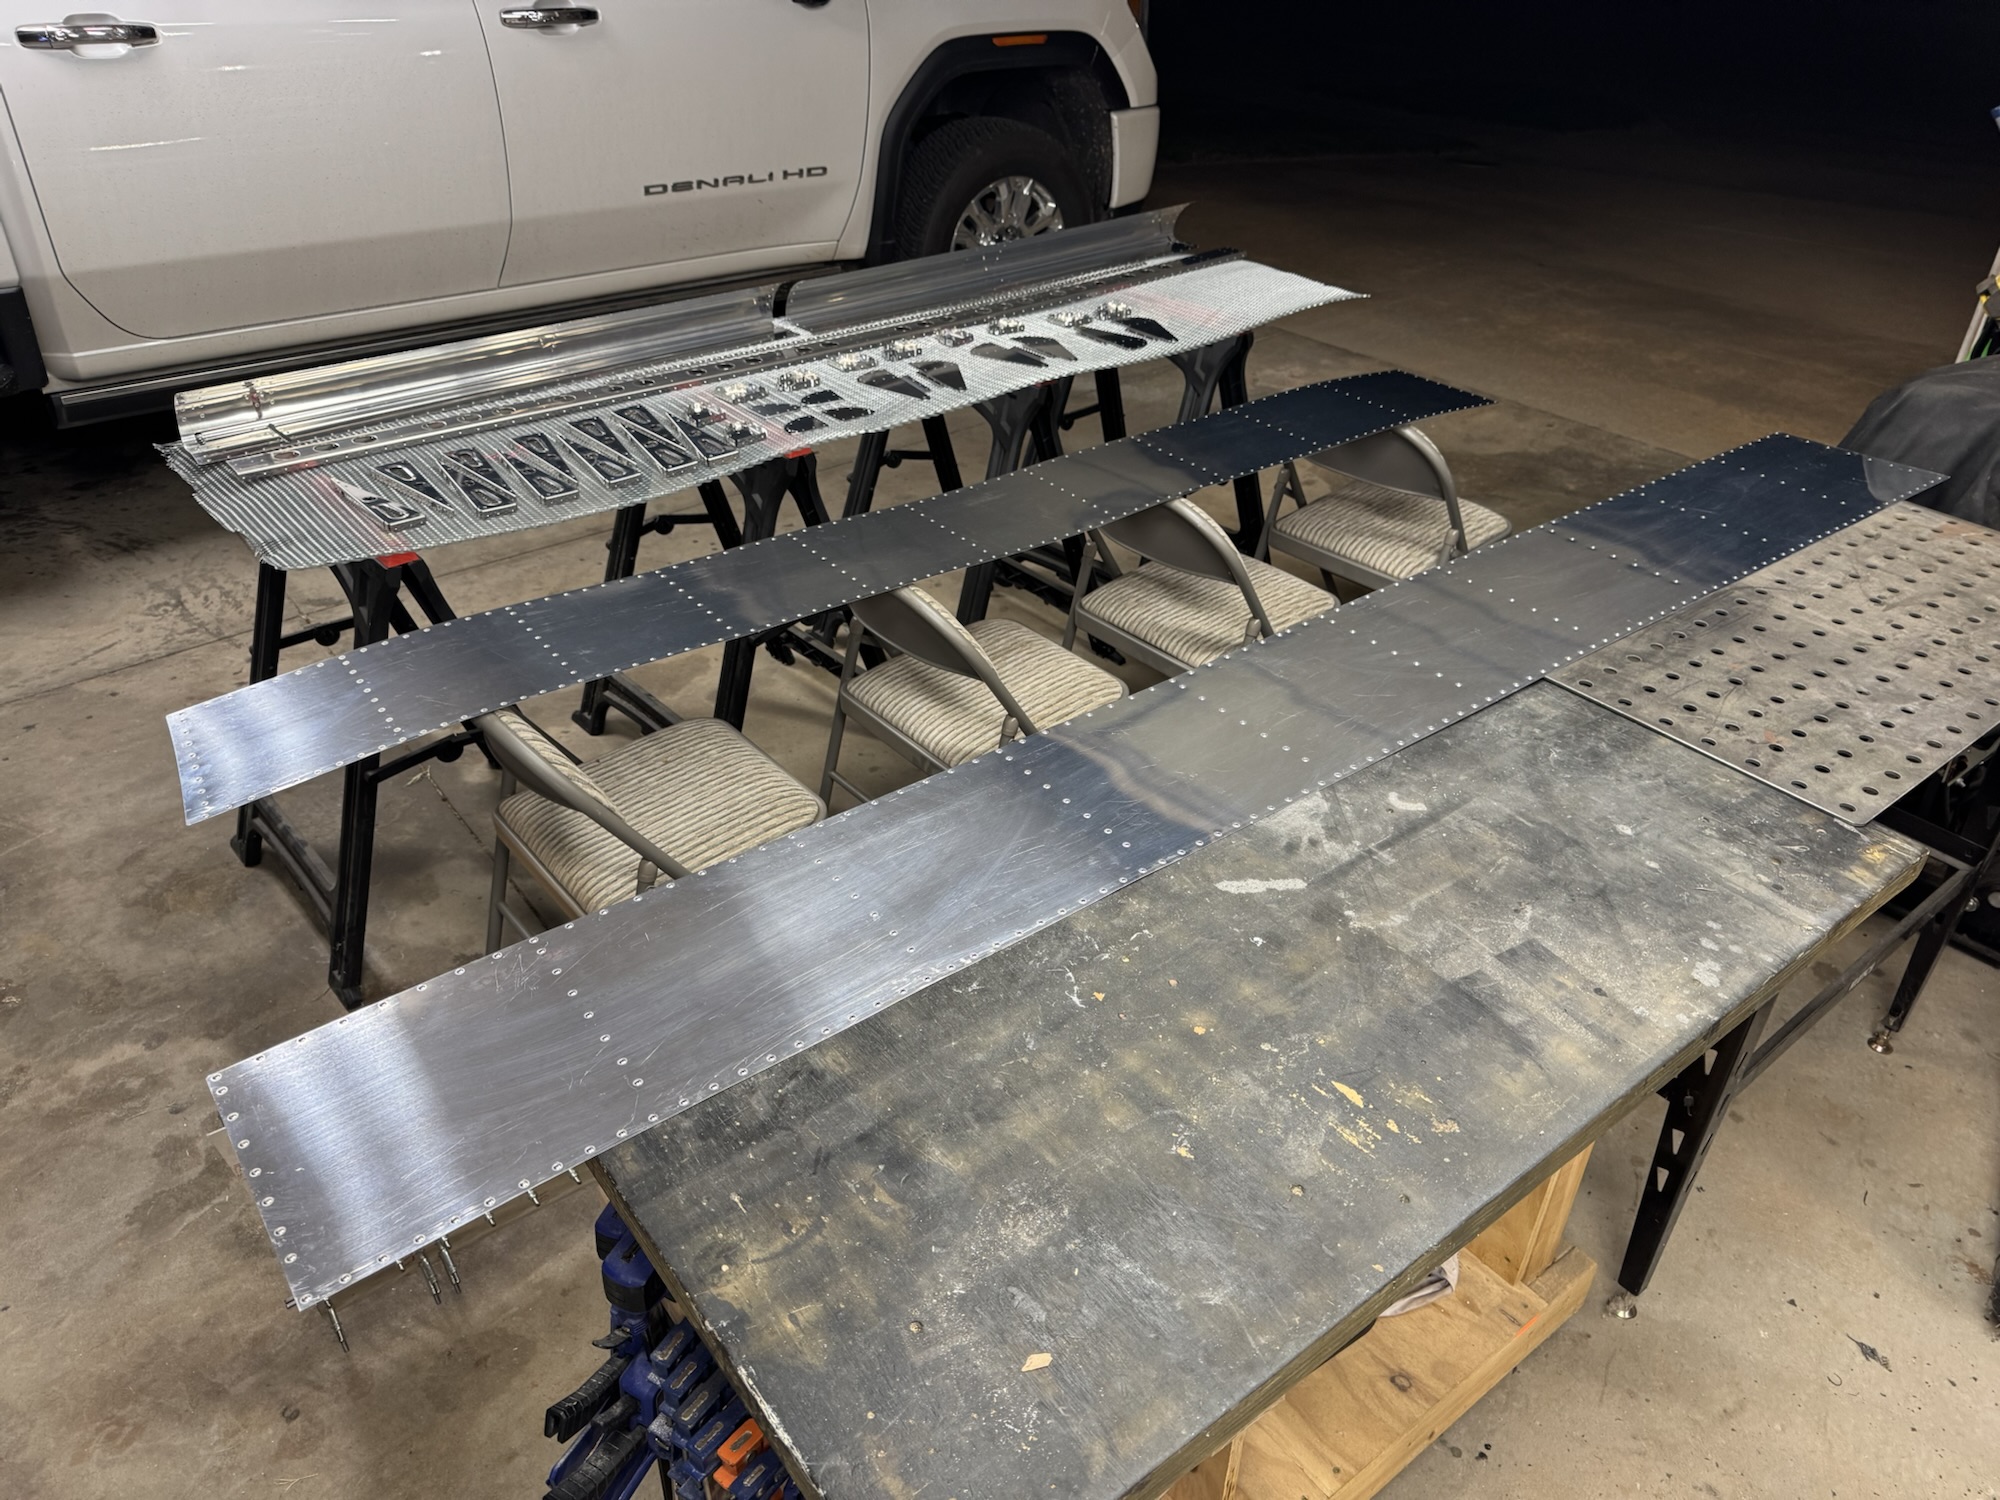
I got the flaps fully assembled tonight. It took a bit because they are just so stinking long. I don’t have a table long enough for them to fit on really so I might have to figure something out before I verify they are match drilled. I can only hope they are already final sized like most of the other wing components have been. That would help me out a ton. I do still need to match drill the bracket holes and it looks like my parts will be arriving the week I am gone to Mexico so I’ll have to finish that one flap up when I get back. Not really sure if I’ll be able to finish one flap this week or not since I am going to Branson for a cousin’s wedding on Friday and Saturday but I will try to get as far as I can without rushing.
