Author: olanandkate

  • Tank Tests – One Good One Bad

    Tank Tests – One Good One Bad

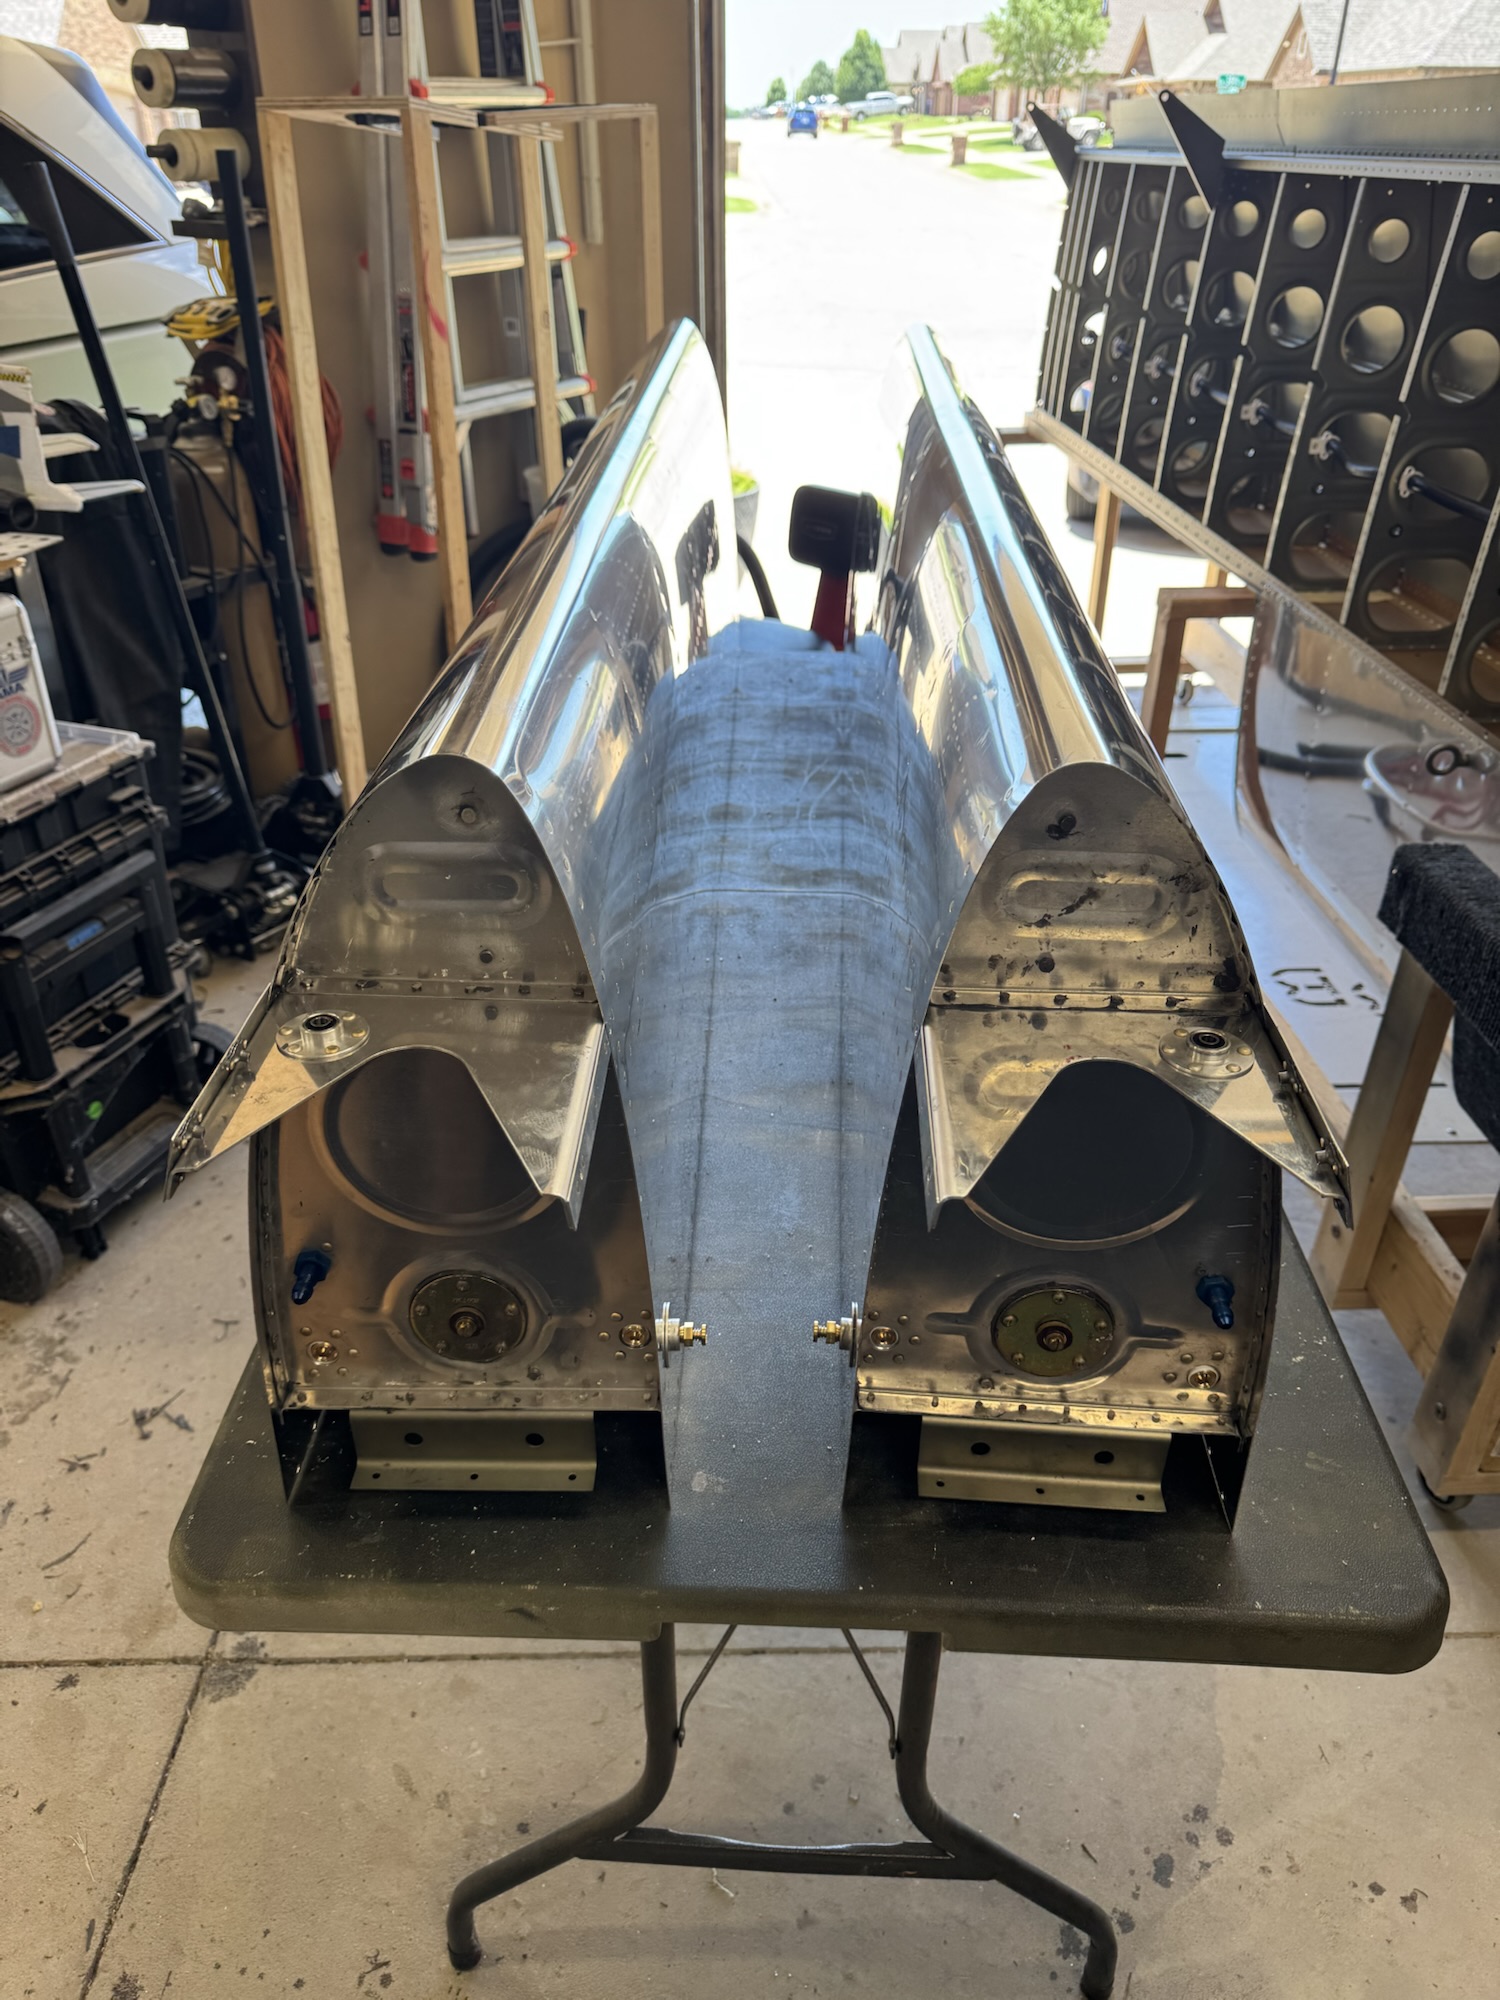
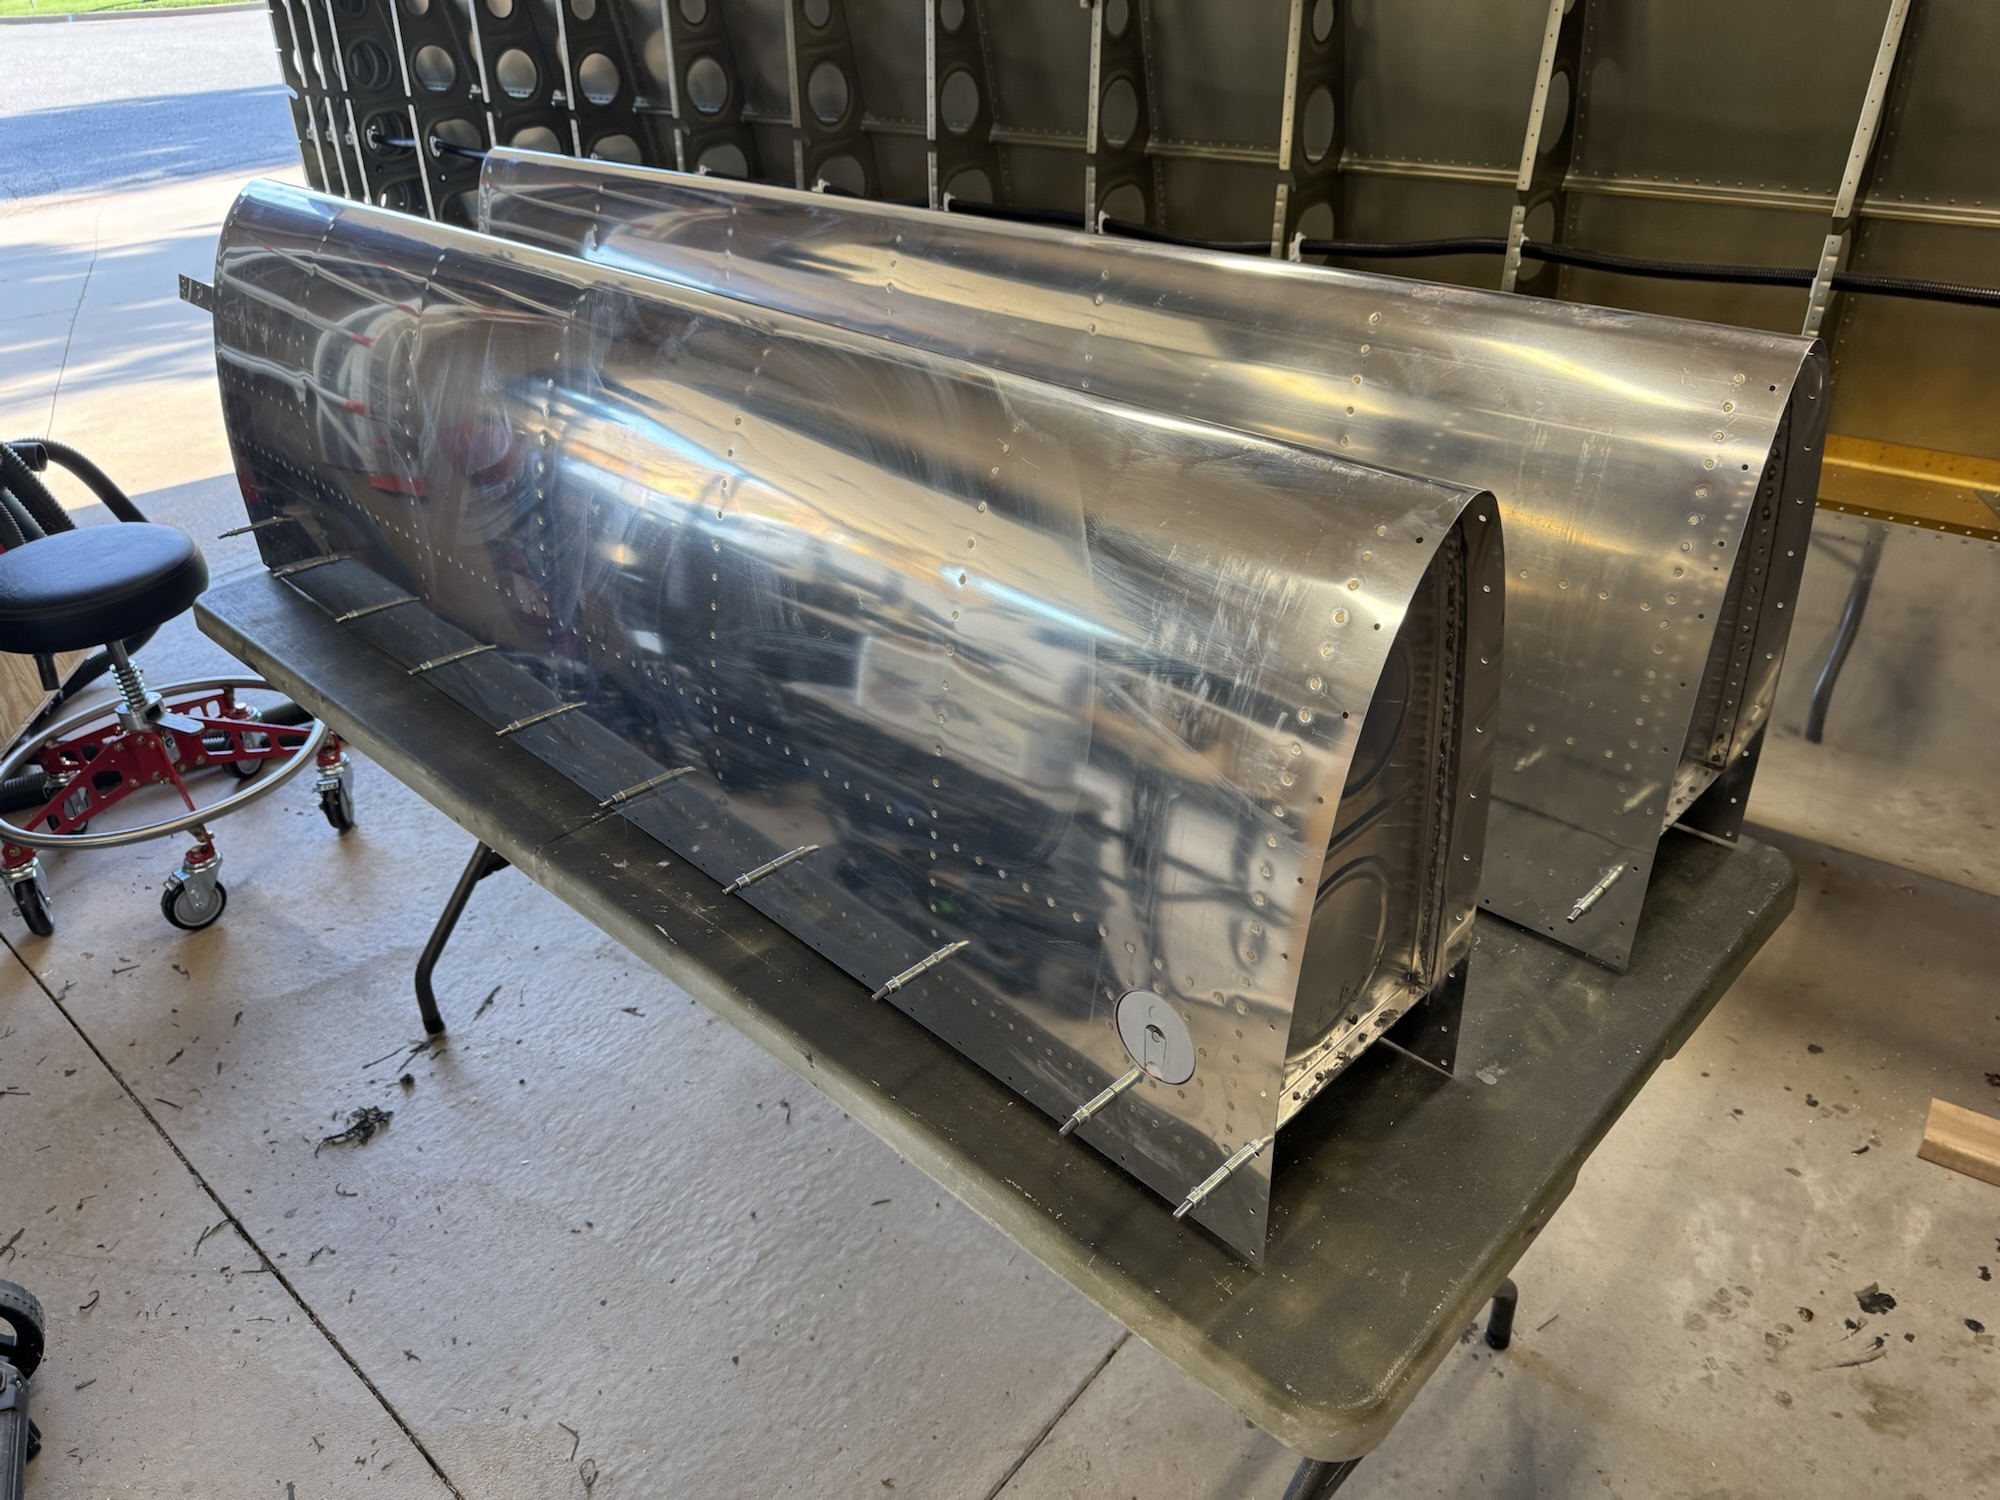
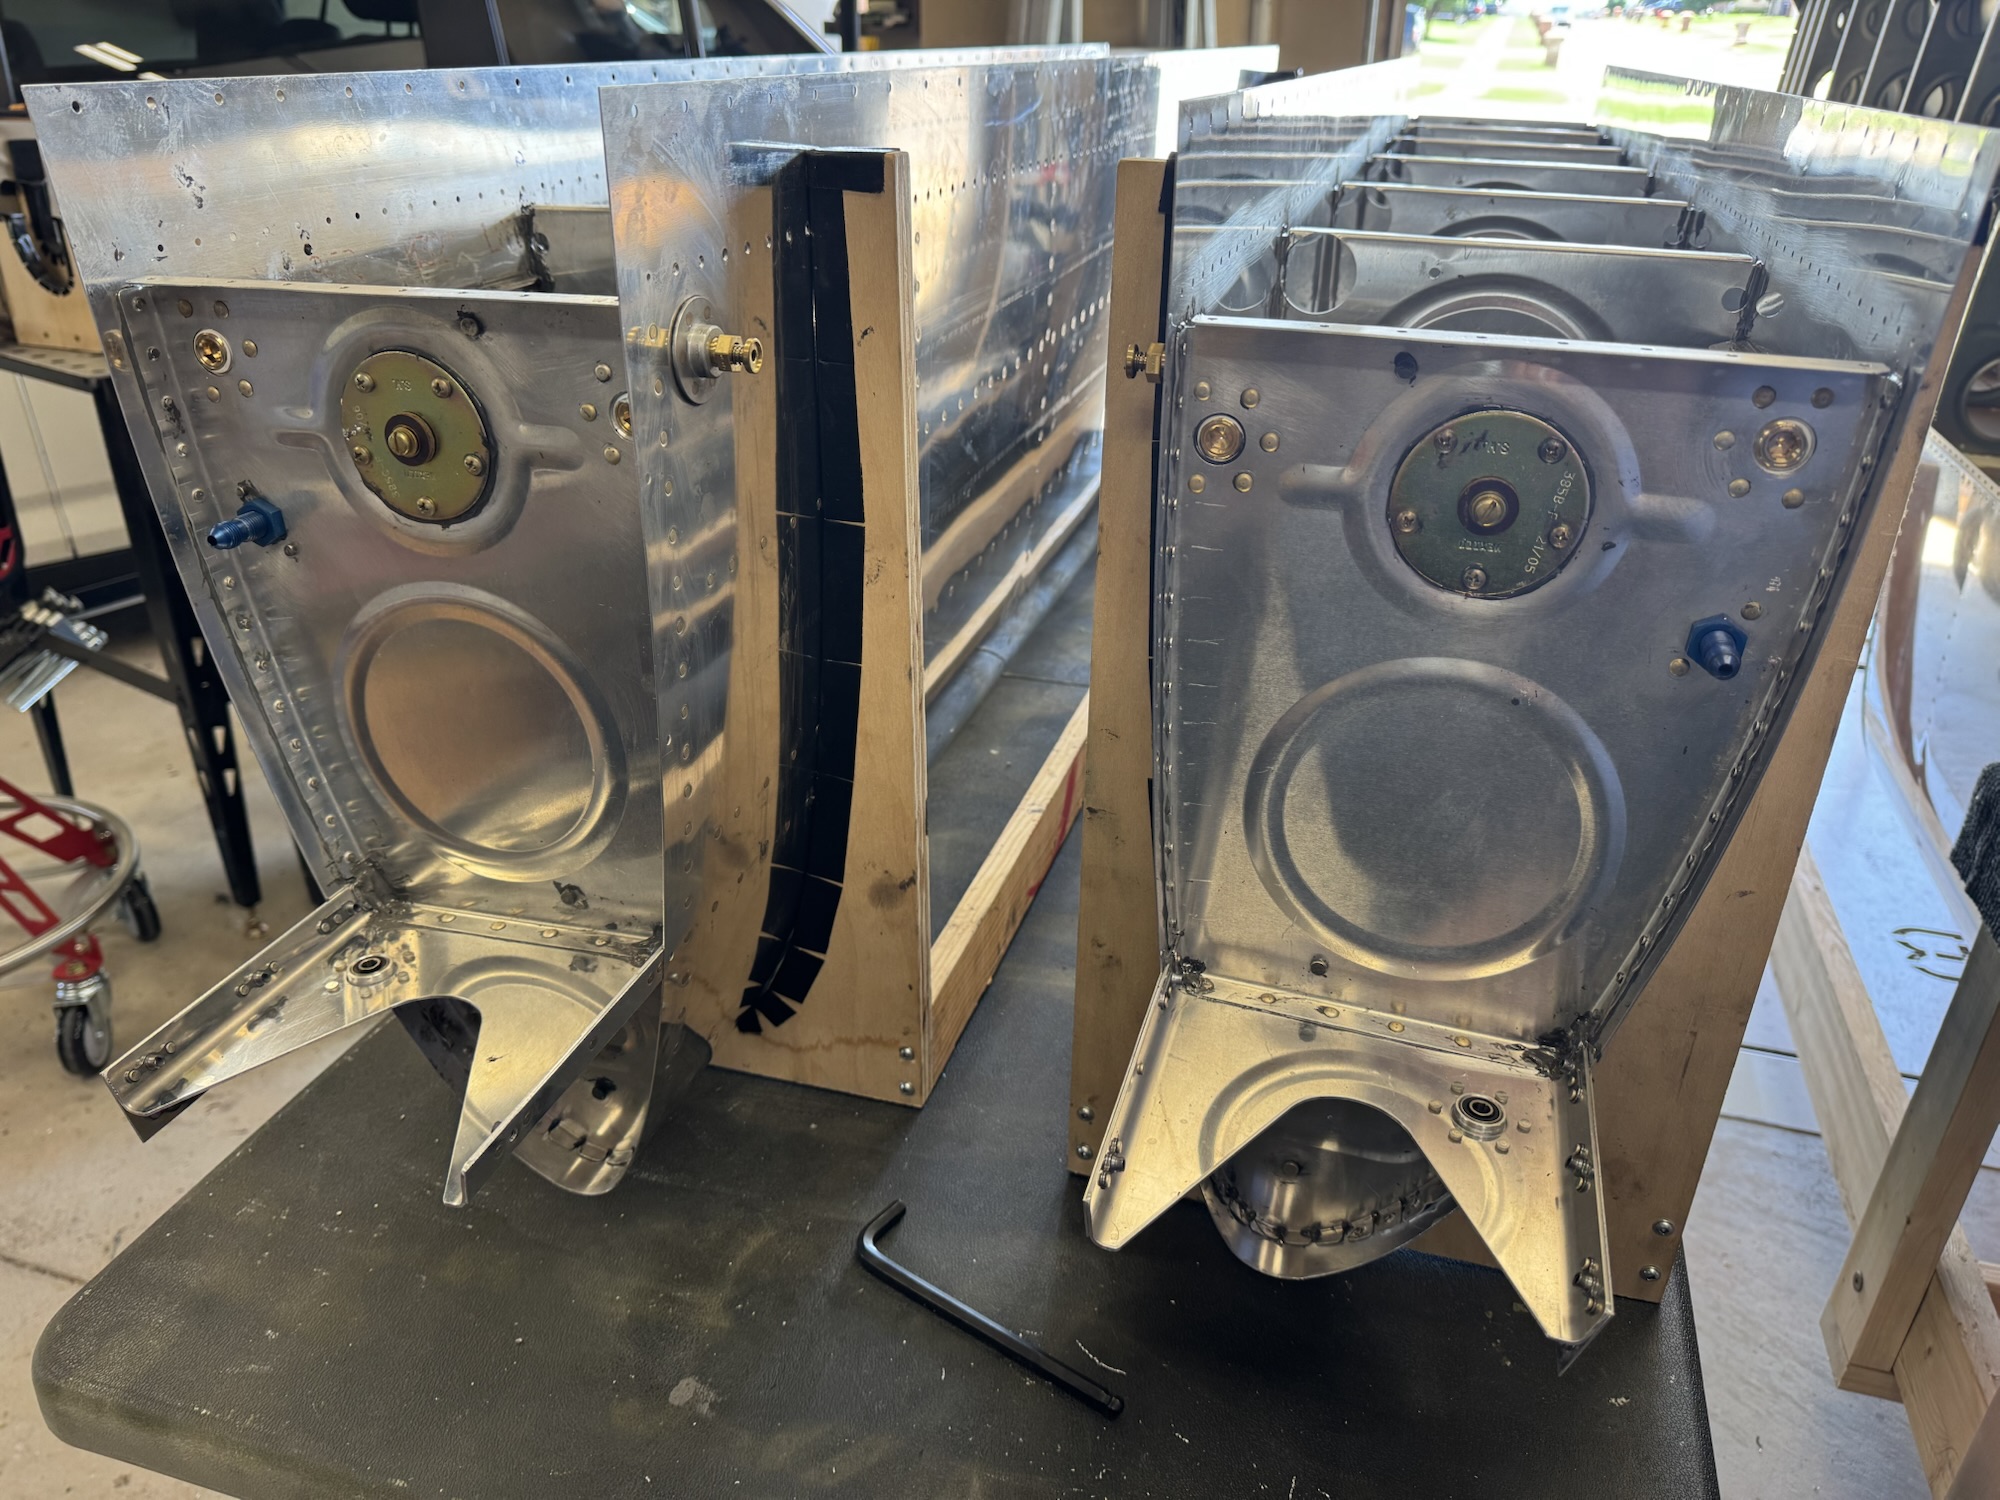
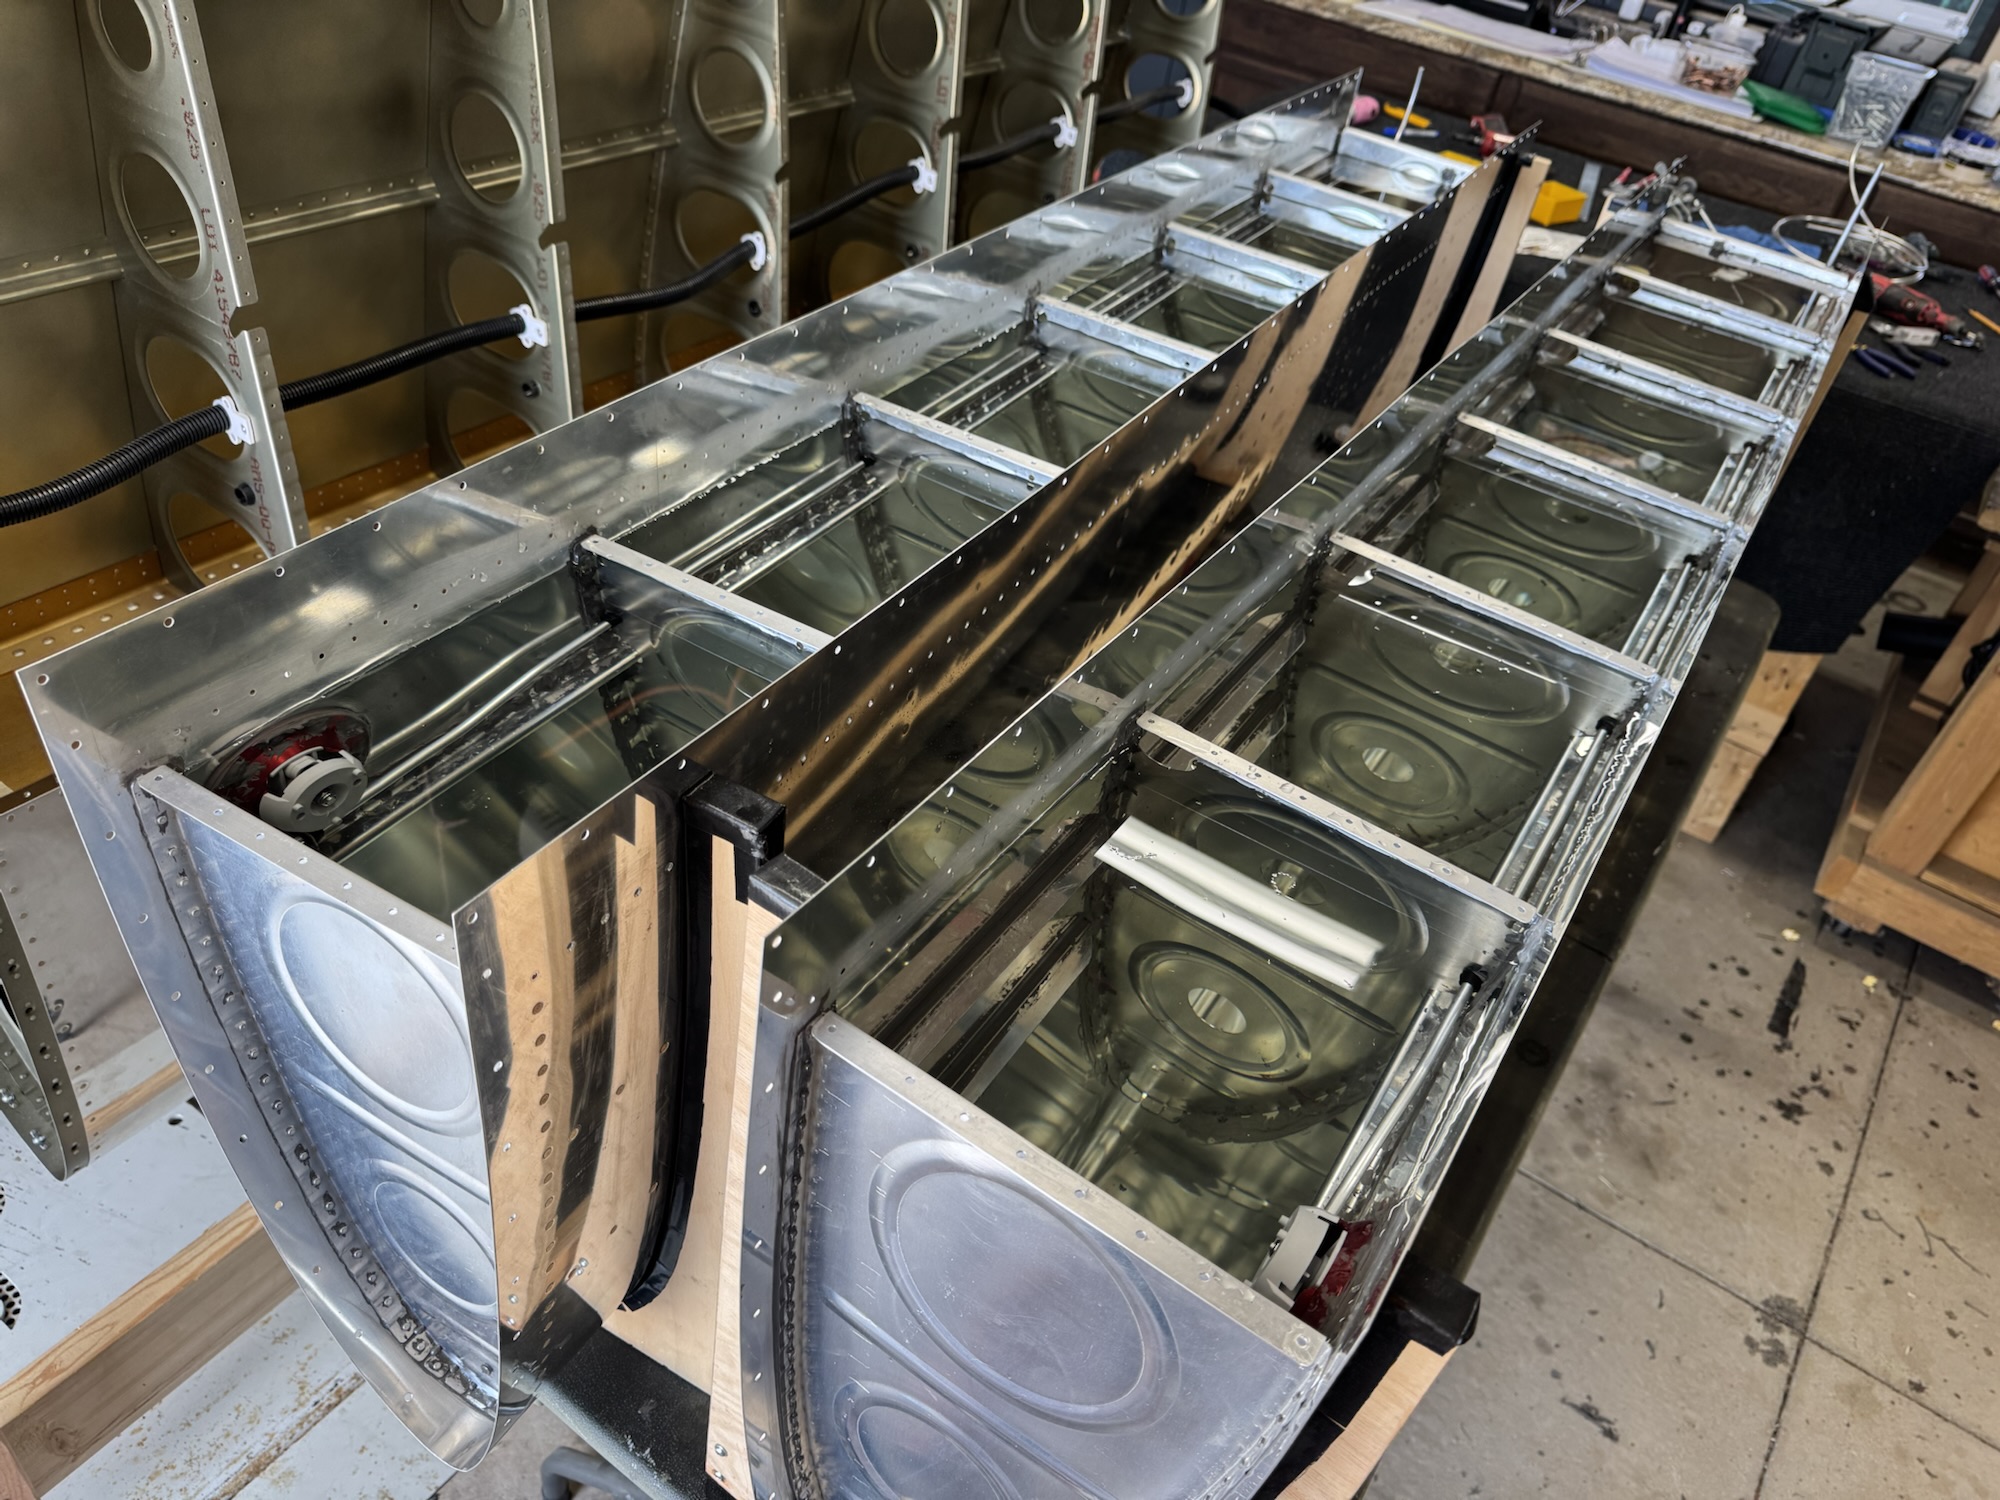
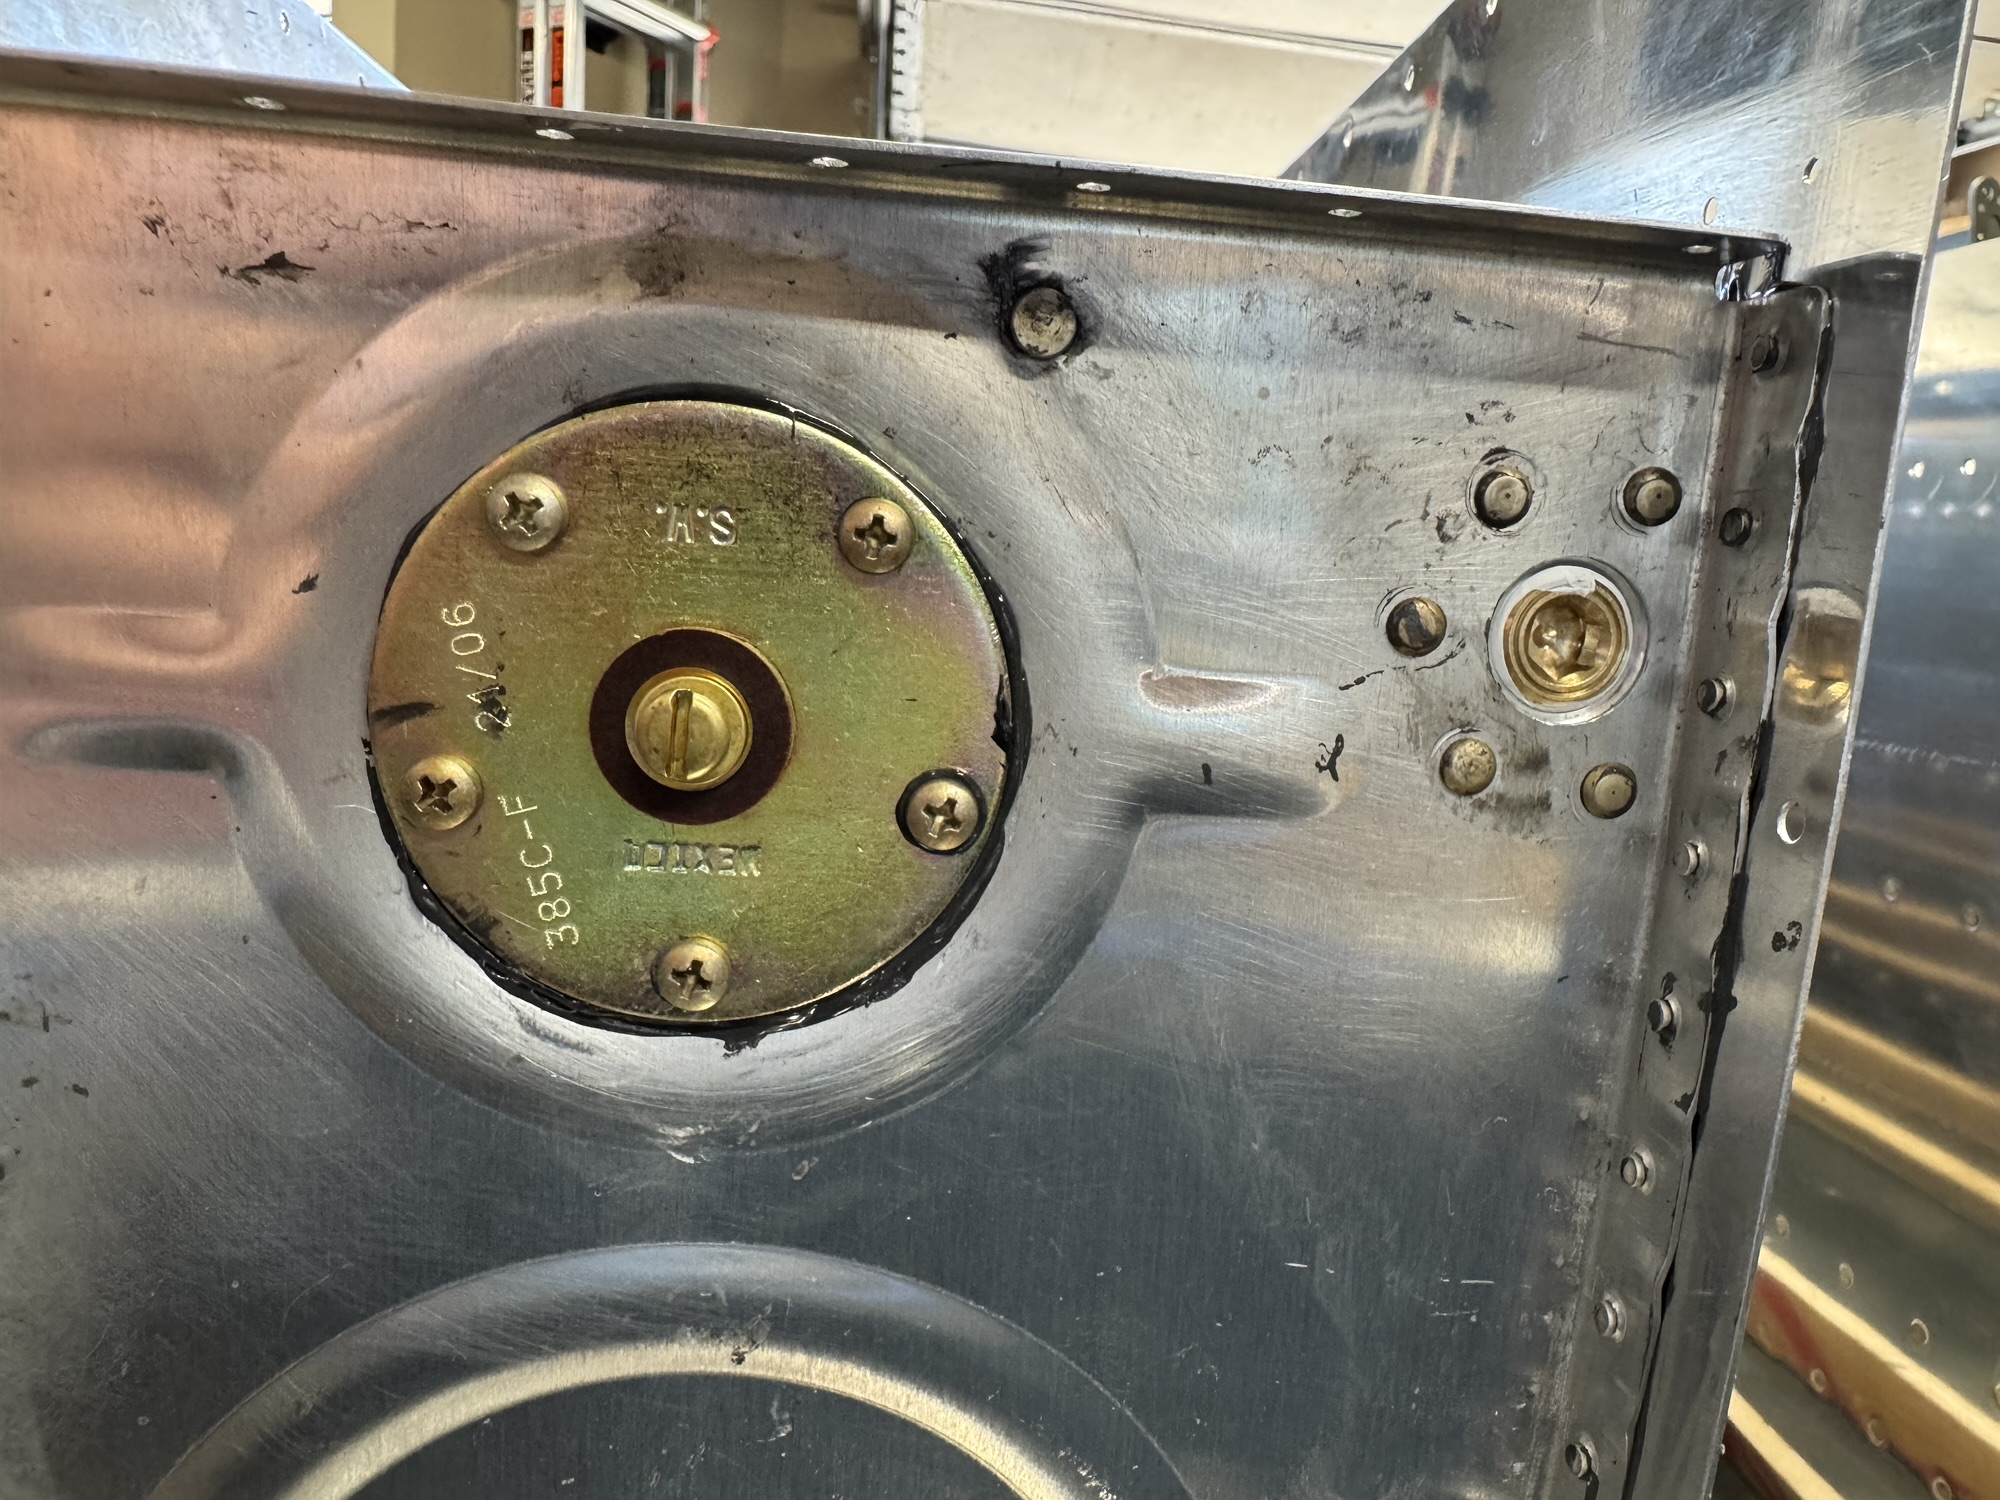
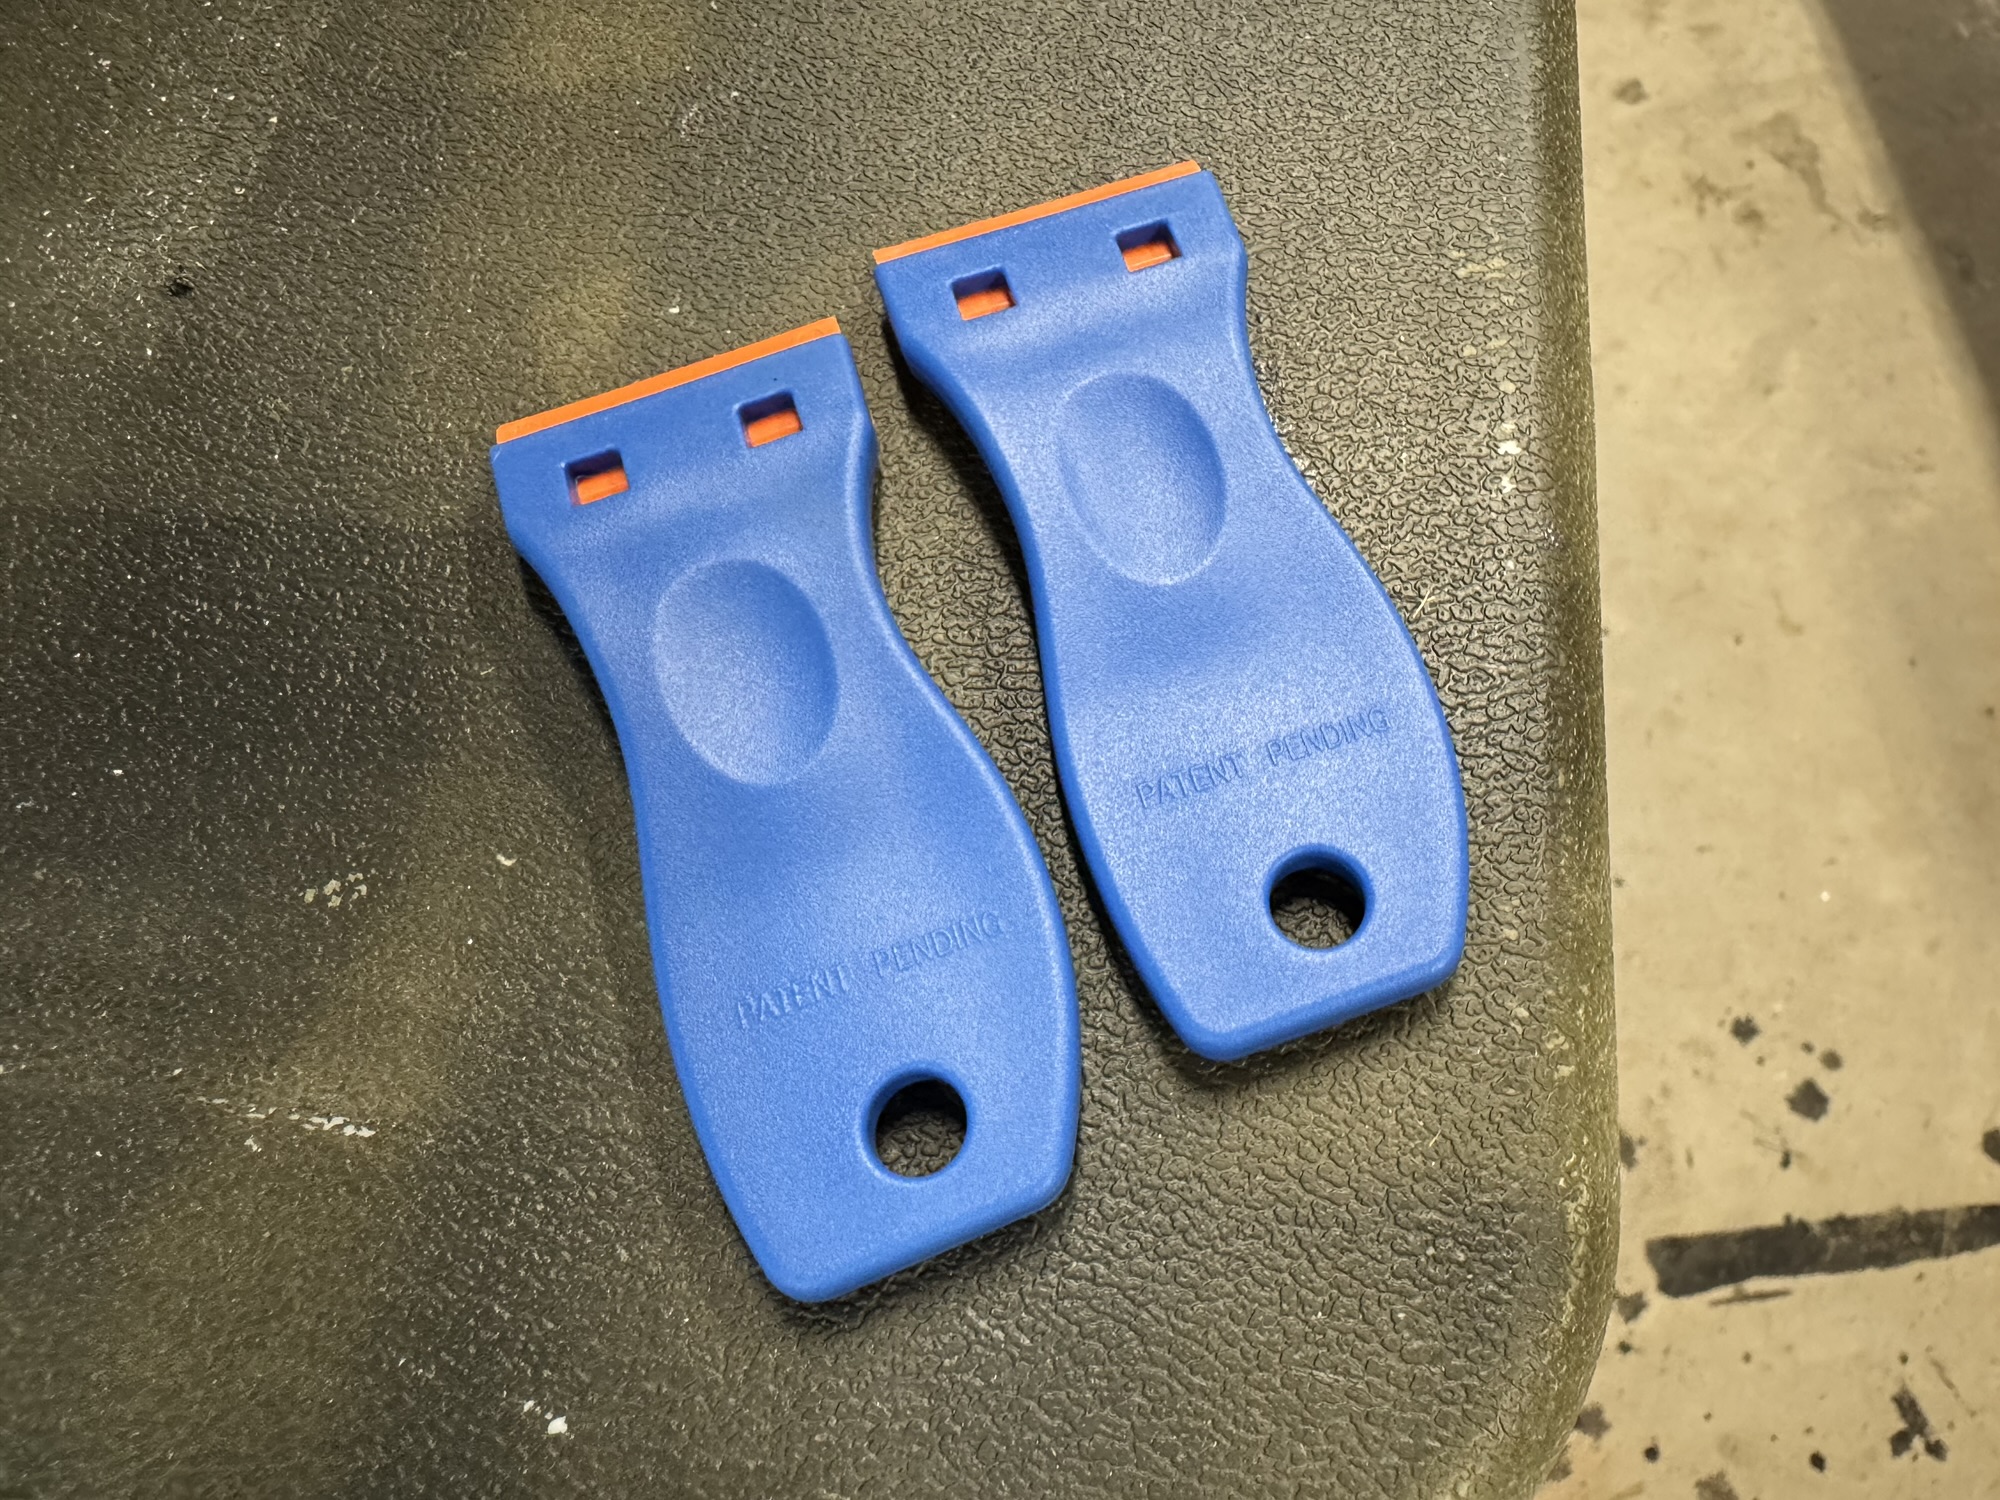
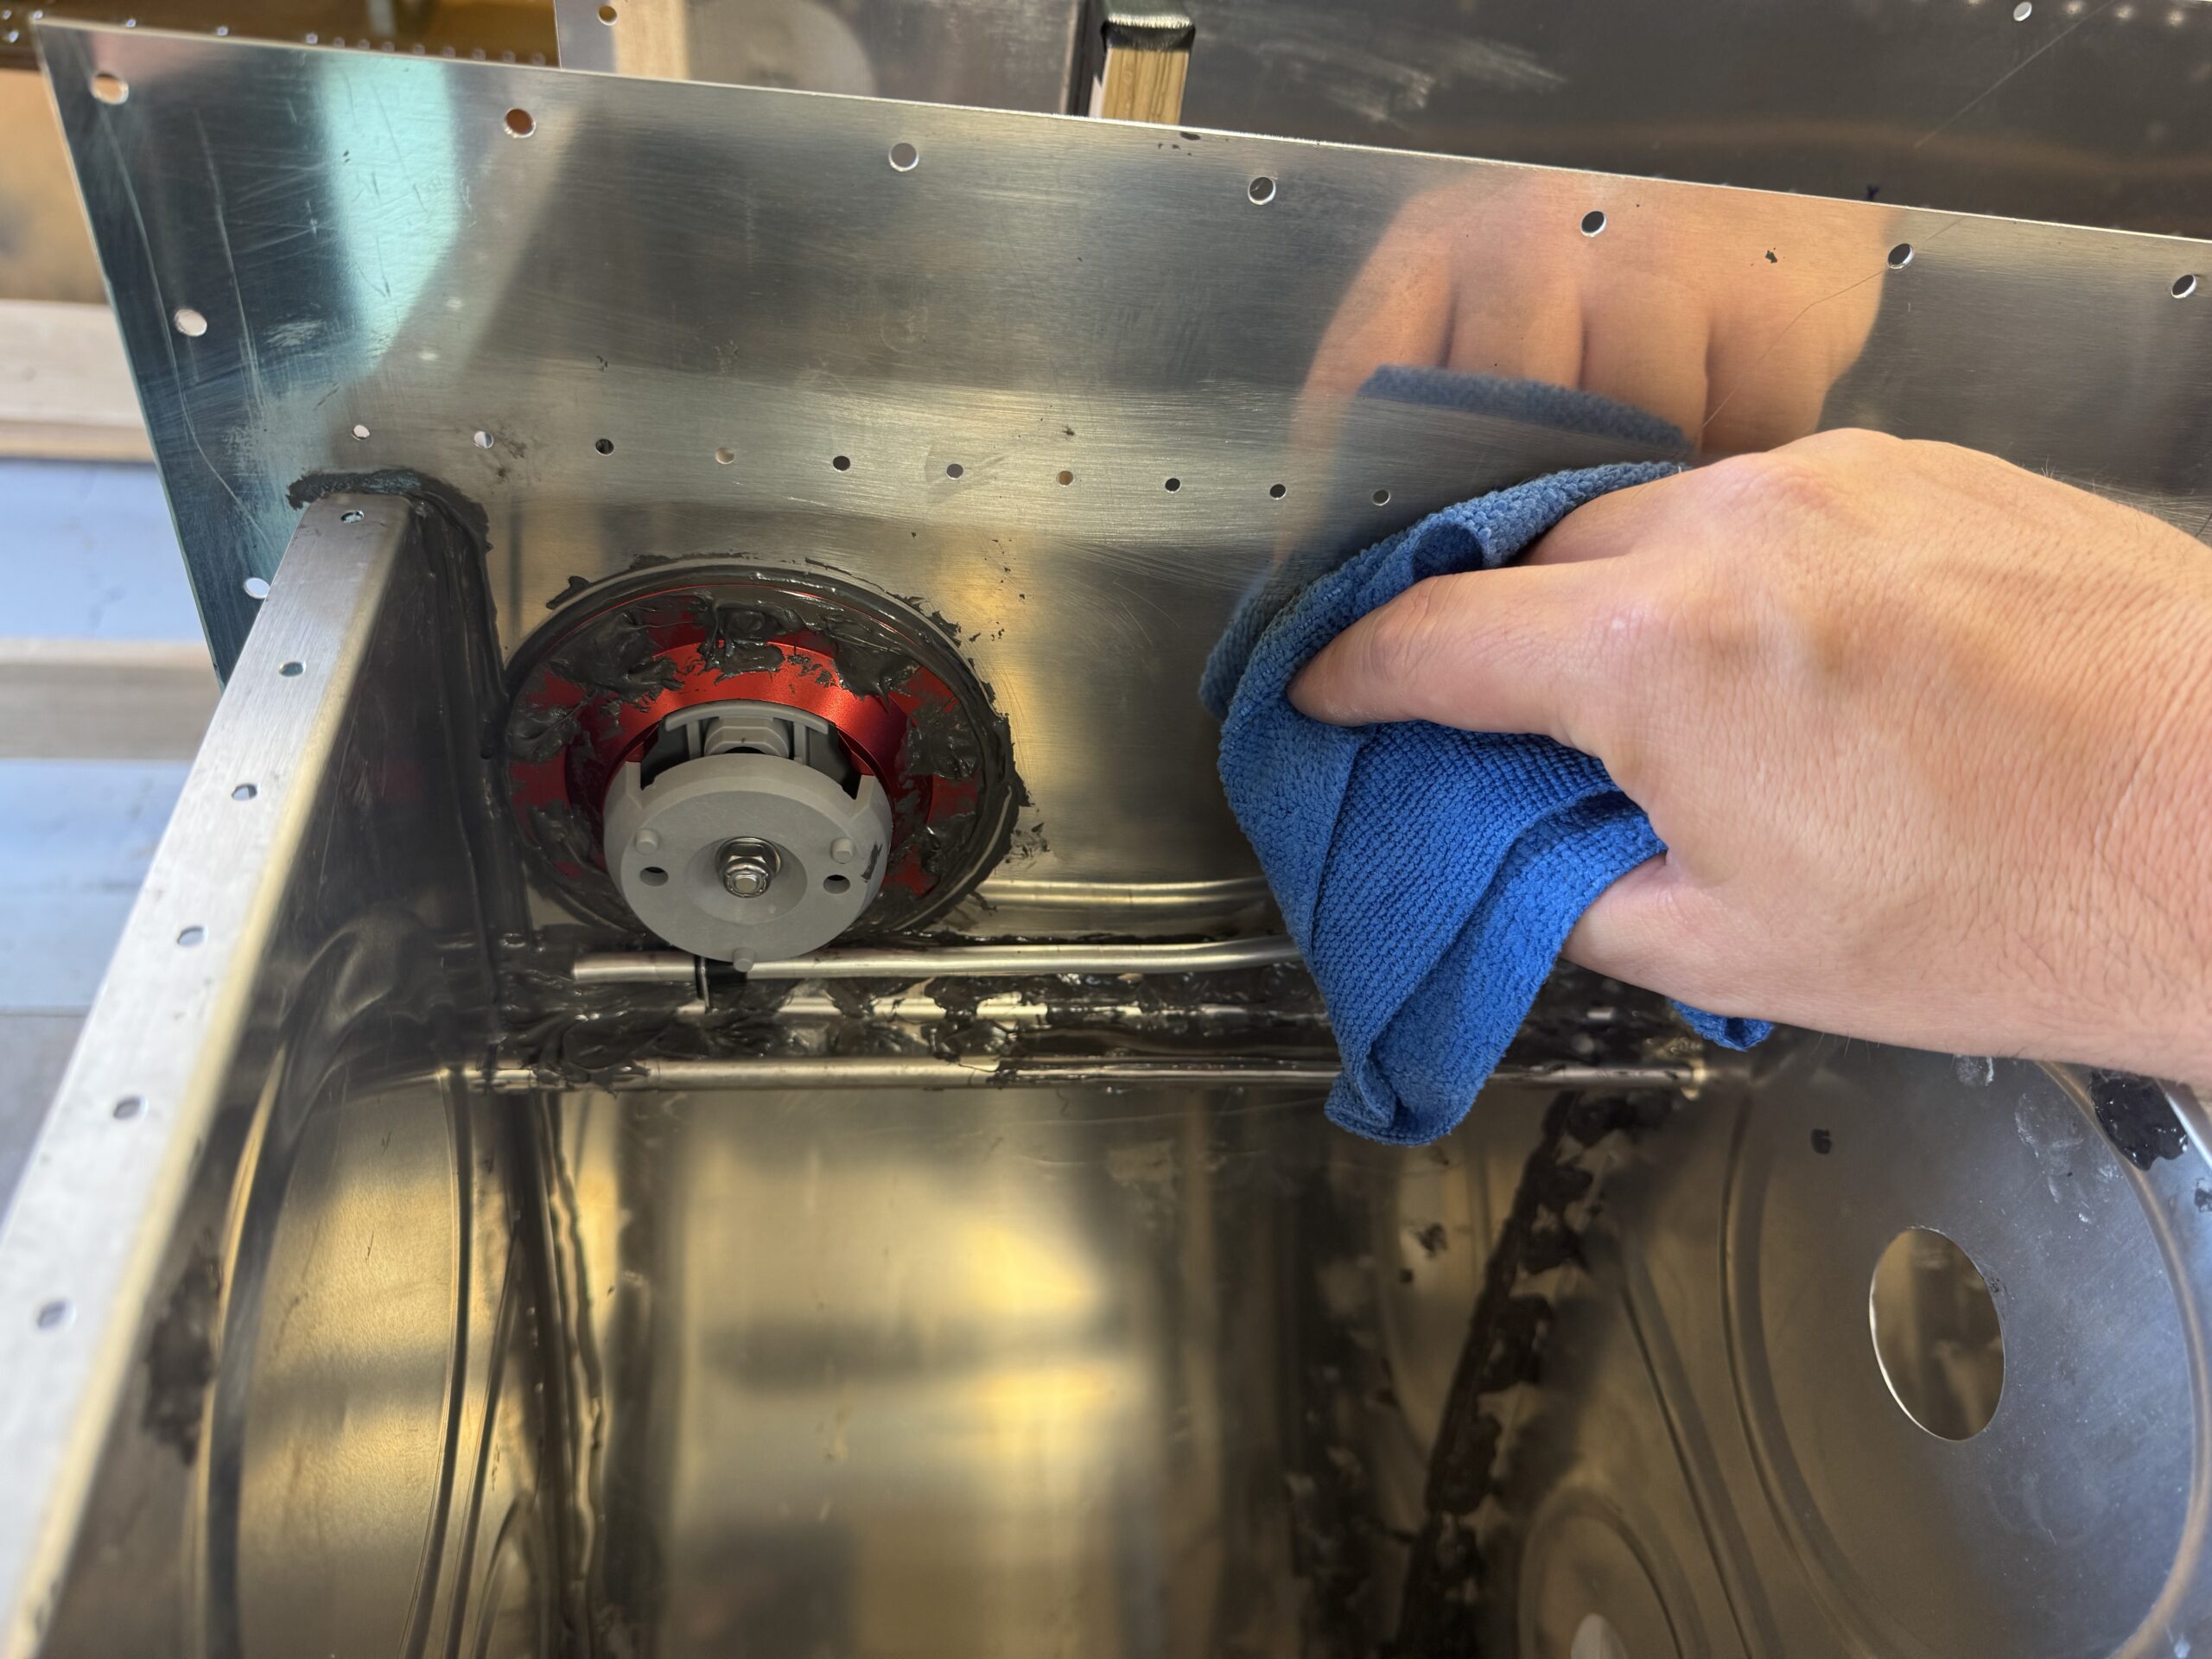
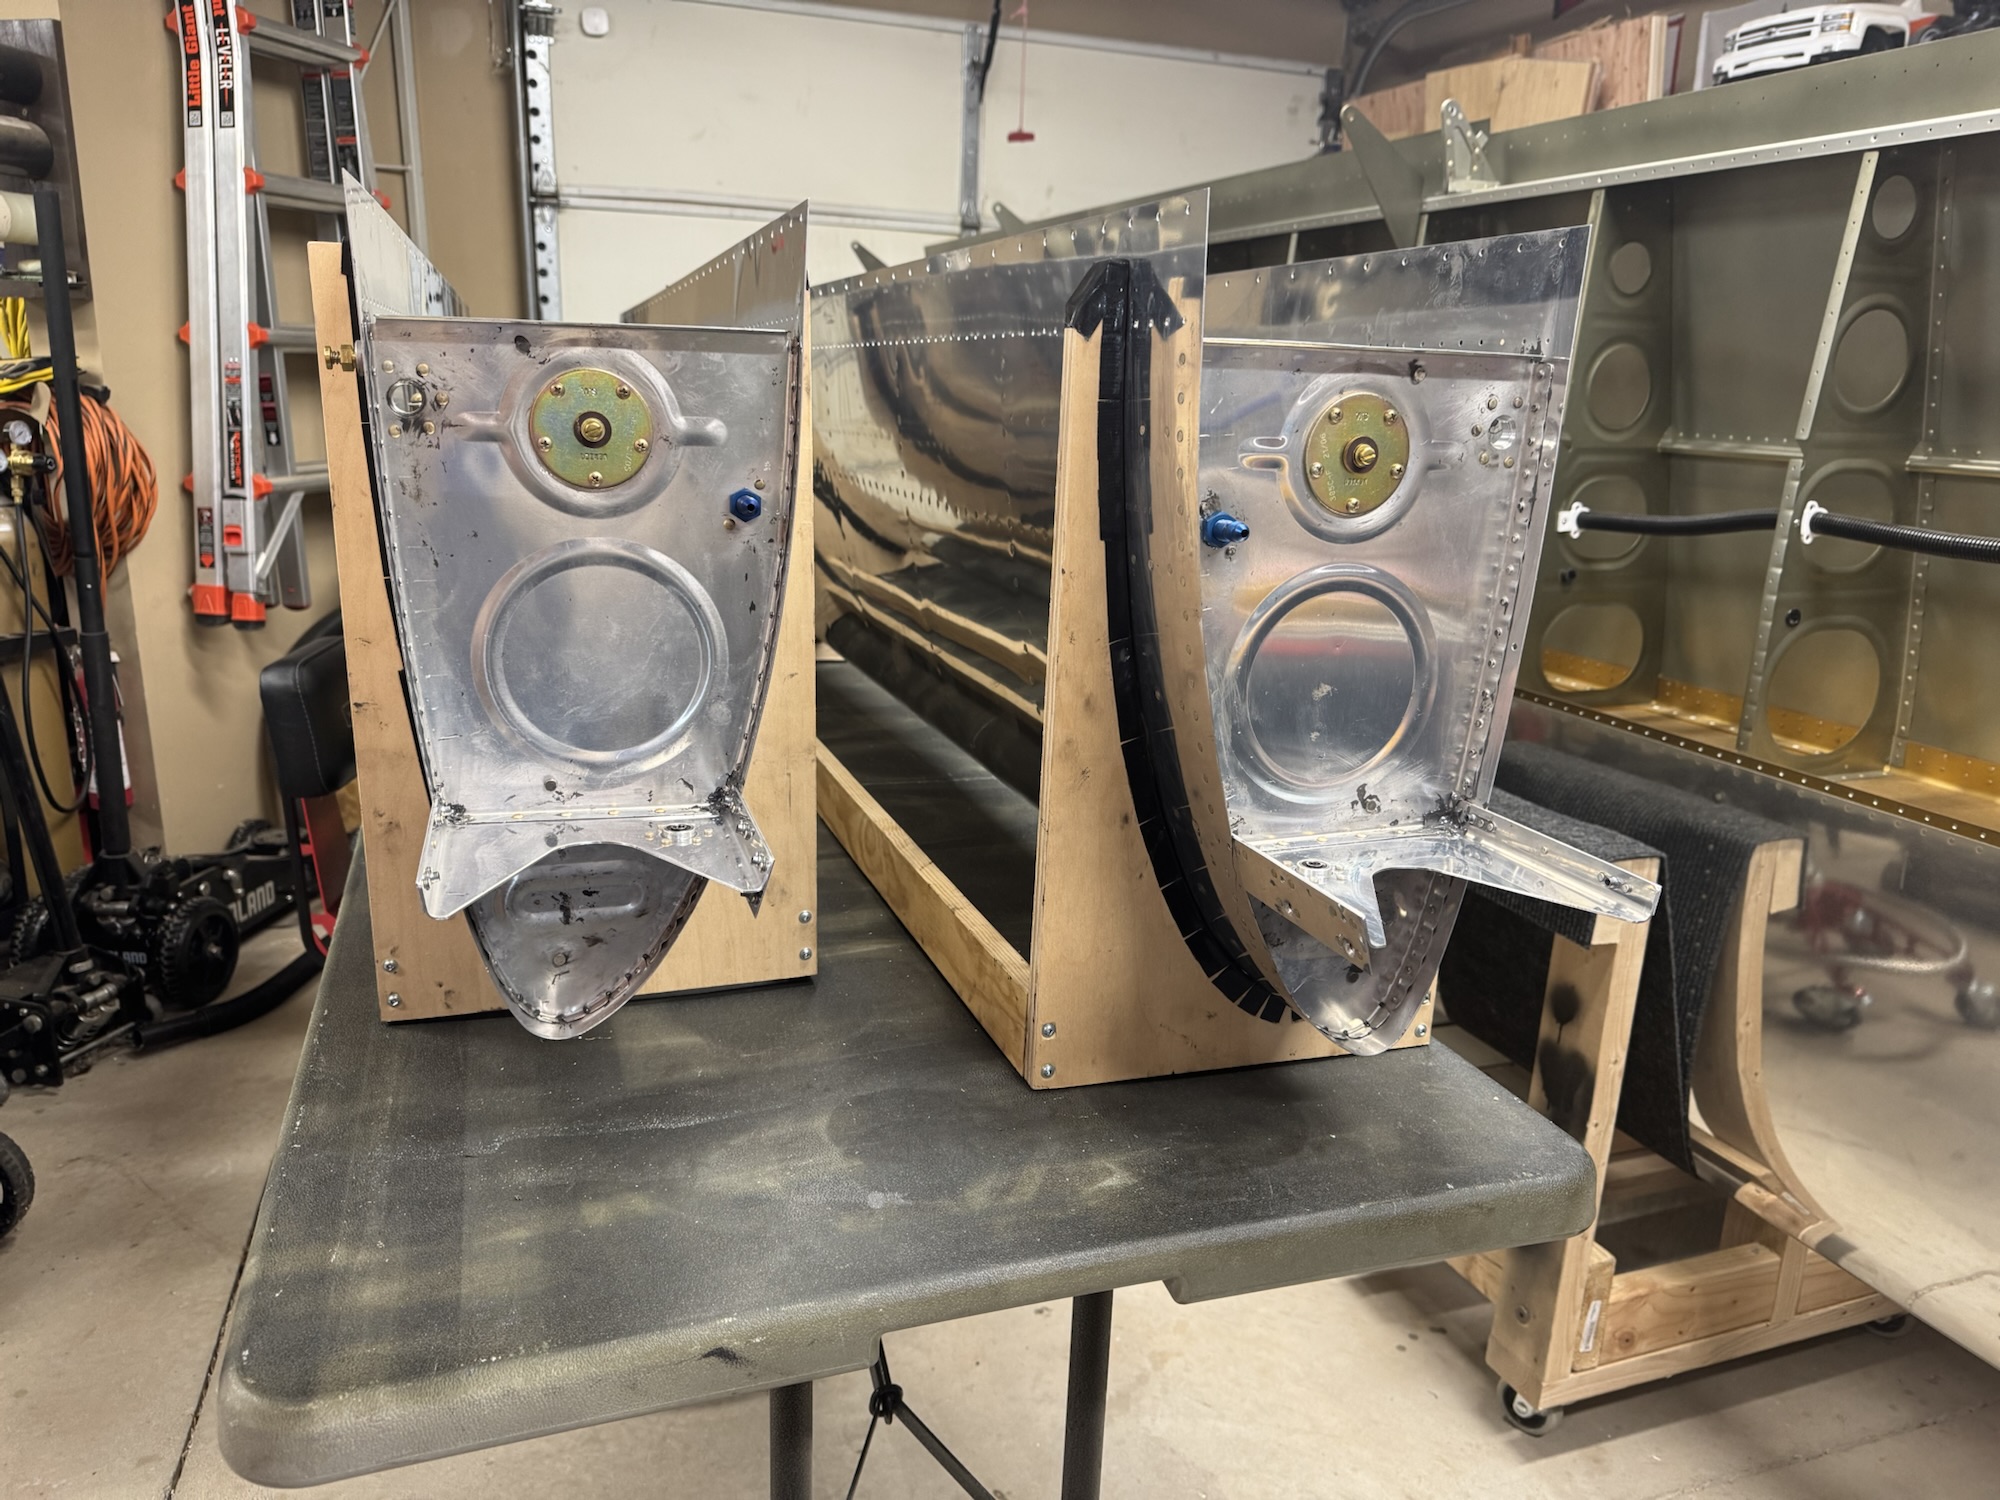
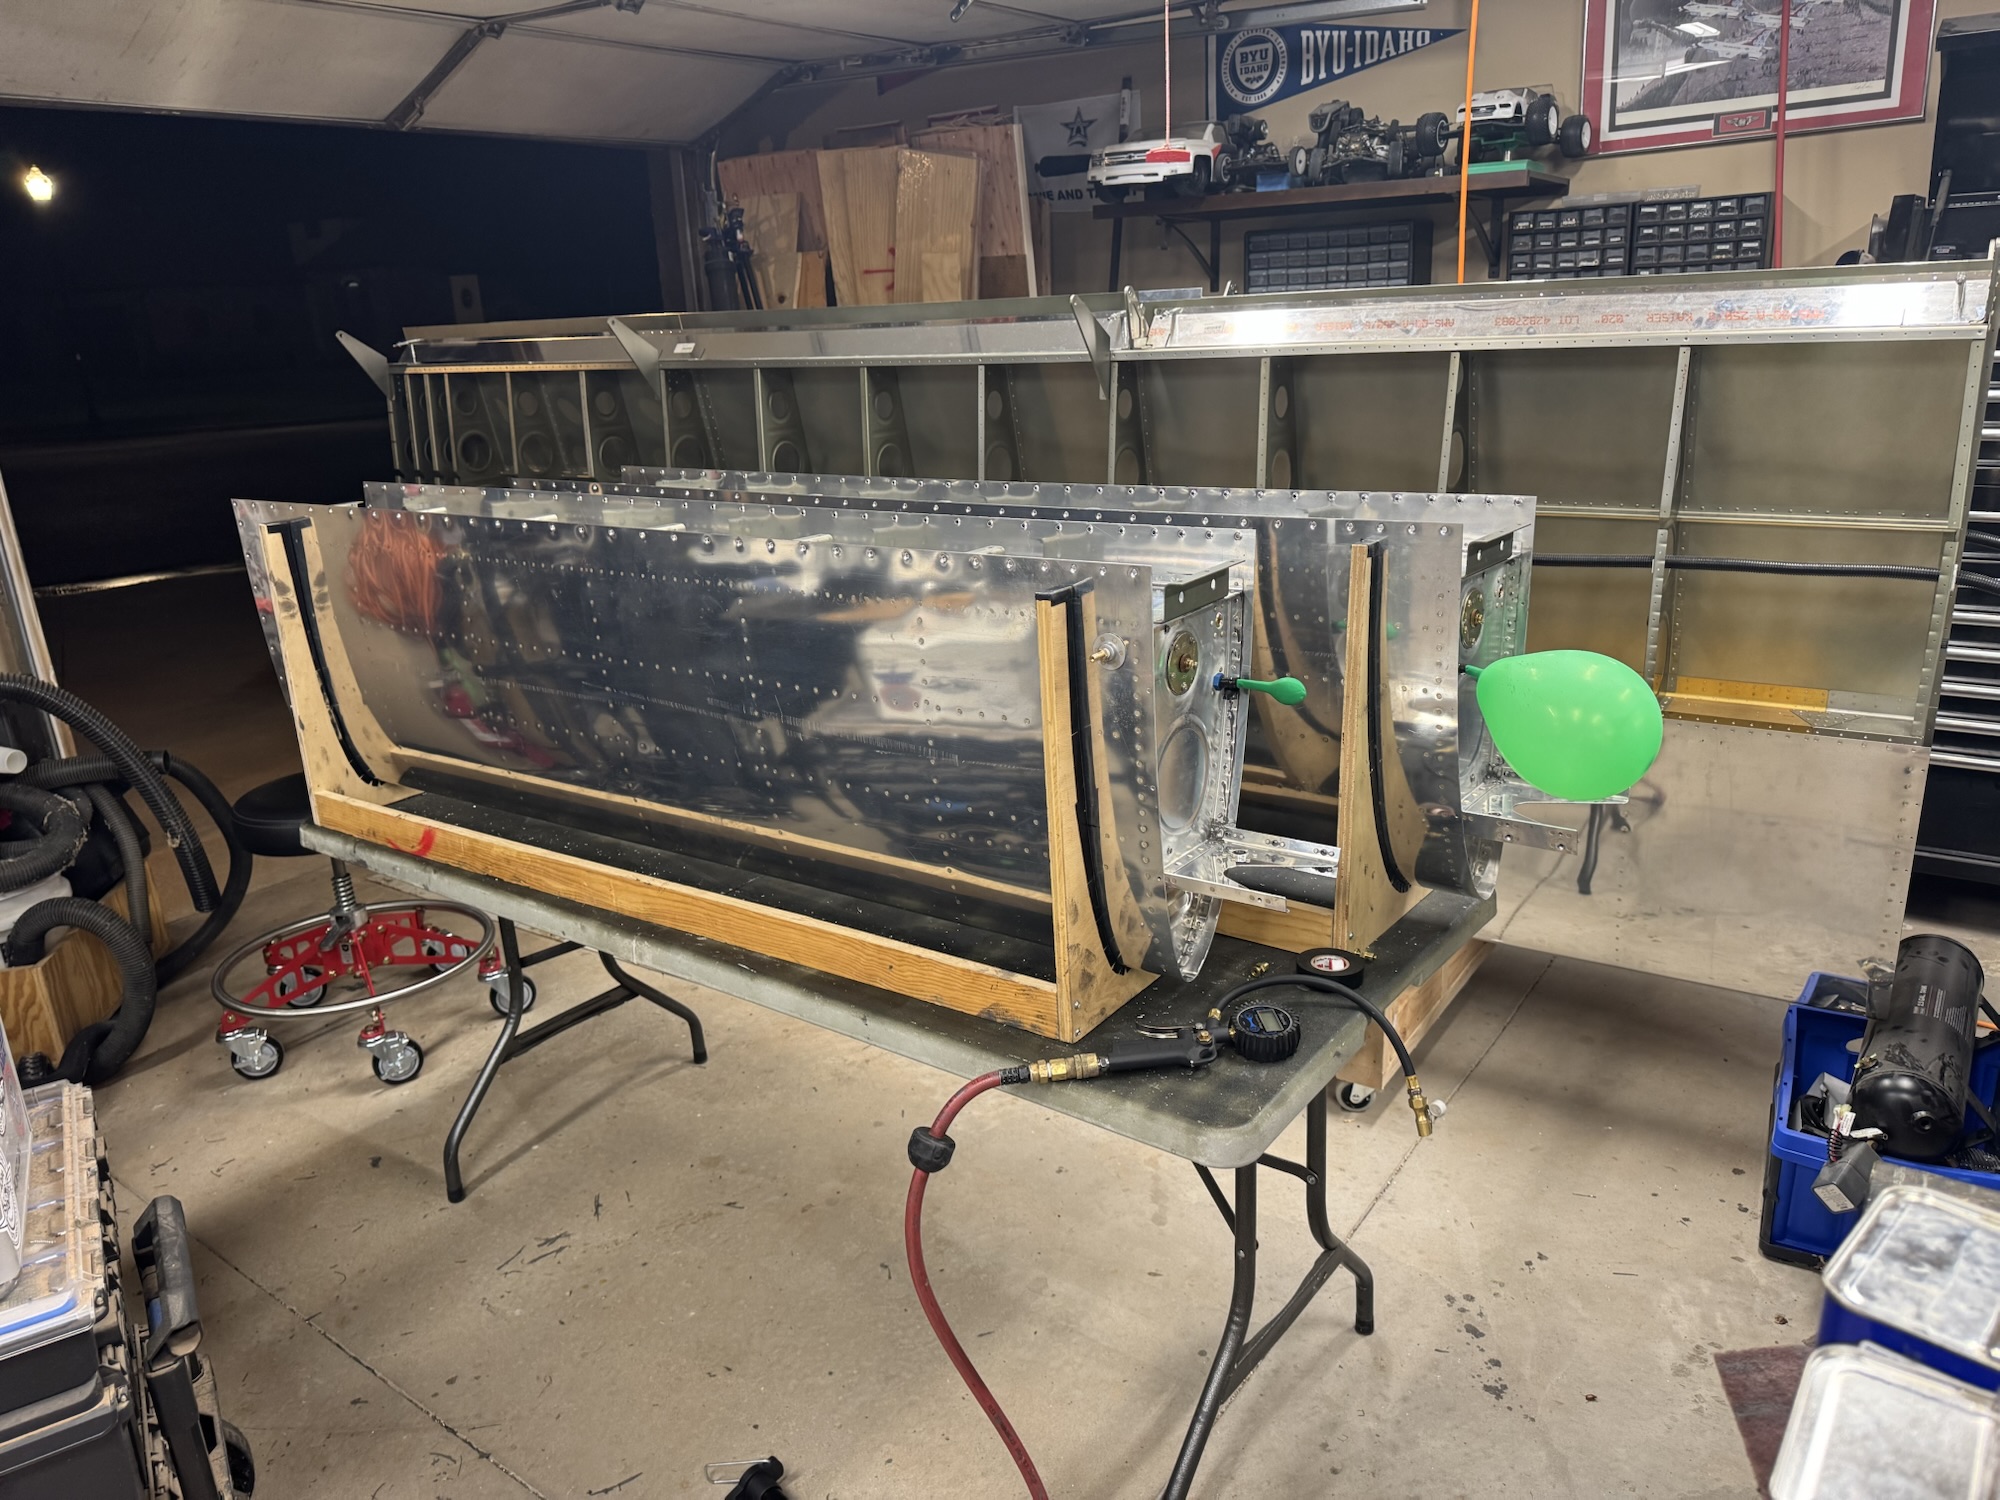
    The first thing I got to was the tanks. My testing kit arrived and I got it all setup. Luckily the right tank did not have any leaks, but the left tank had two. But luckily those two leaks were right near the gas cap so I was able to reach them with my finger. I got them sealed from the inside and then I put a little on the outside that I will scrape some away later after it cures. I put a tiny bit of pressure on it so that it could push some of the sealant a little bit deeper into the leaking passages and I’ll leave it like that over night. It should be enough pressure to push some sealant in but not enough to blow a hole through it since that sealant is so thick.

  • First Day of Flap Building

    First Day of Flap Building

    I got quite a bit of the initial work done on the nose ribs and brackets. I did make one mistake that I’ve ordered replacement parts for. The drill press caught the part and forced it off the table and up the drill bit, which elongated the hole. Unfortunately it elongated it WAY too much and this is a critical area where the control bolts will bolt through and I can’t have that. Hopefully the new parts arrive soon or at least while we are gone to Mexico. But I got all of the parts at least cut and match drilled for initial assembly tomorrow.

  • Tanks complete and ready for pressure testing

    Tanks complete and ready for pressure testing

    I got the rest of the 40 rivets set and I drilled and dimpled the screw holes on the edge of the skin. Now I just need to let these sit for a few more days to make 100% sure they are cured and hopefully the pressure testing kit will arrive soon. Next step is the flaps!

  • Tanks Fully Assembled (Almost)

    Tanks Fully Assembled (Almost)

    The rear baffles and Z brackets have now been installed on both tanks! I’m so glad that part is done and I can’t wait for my test kits to arrive so I can verify they are 100% sealed. I know the front half is sealed so now I just need to verify that the back half is sealed. It looks very promising from the little I can see into the tank from the fill hole. Tomorrow I will remove the few clecos that are in it, countersink those holes and then install rivets, and then I will dimple the screw holes along the edge that are marked to be dimpled. Then they will be 100% complete and ready to install after pressure testing. Fingers crossed that they don’t.

  • Leak Testing Completed Successfully and Fuel Return Port

    Leak Testing Completed Successfully and Fuel Return Port

    The leak testing was successful apart from the caps and the seal I did on the fuel vent line. With those fixed it did not leak anymore. I went ahead and installed the fuel return ports so that I can have it there when I finally make my decision on the ignition/fuel system type. I also did one last look through and cleaned the tanks thoroughly so I could seal it up tomorrow.

  • Leak Testing Before Closing Tanks

    Leak Testing Before Closing Tanks

    I felt it would be prudent to test the tanks in their current state for leaks. There are different ways everyone has done this but I’m just going to do water for now. I filled them up with water and the only leaks I had was my tape job trying to close off the vent line (which I replaced with an aluminum tube going above the water line) and the gas cap (which I just had to tighten it down so it would clamp down harder). So far so good! It seems to be holding water for now. I’m going to give it a couple of days so I can try to rest my leg and get my mobility back.

  • Day 3 & 4 Cleanup and Sealing Tanks

    Day 3 & 4 Cleanup and Sealing Tanks

    I did some cleaning yesterday and today but I forgot to post it yesterday. Not a huge deal since it didn’t really change the appearance of the tanks that much. I did find a single rivet that I forgot to encapsulate so I got that sealed and I also got the fuel level senders sealed up now too. I also ordered some 3/8″ NPT caps to close up the tank holes so I can put some gas in these and try it out. I might just try to fill it with water and see if that has any leaks before trying something more expensive like gas. Still trying to see if that’s a good strategy or not to make sure the forward portion of the tank is sealed before I close it off by putting the rear baffle in. I also still need to add the additional 3/8″ NPT fitting on the top inboard rib so I can have the fuel returns plumbed up in case I do a full FADEC engine.

  • Tank Cleaning Day 2

    Tank Cleaning Day 2

    First thing was the additional VA-141 3/8 NPT flanges came in today. Unfortunately one of them did not have threads all the way through like it is supposed to. I called Van’s to see if they are going to ship a replacement or if it is okay to tap it the rest of the way. Second, the plastic razor blades came in today and so I put them to work cleaning the tanks of excess sealant. I have to say, I’m really surprised how well these things worked and they didn’t mar up the parts at all. Really cool product and worked like a charm! I was able to clean three bays (almost half of a tank) today before my piriformis syndrome really started acting up. I hope to get over this soon!

  • EAA Tech Visit #4 and Cleanup

    EAA Tech Visit #4 and Cleanup

    Eric came by today and looked at my wing progress and the tanks. The only thing I need to fix is make sure I don’t have any strings or possibility of sealant coming loose. I knew I needed to clean it up but he pointed out a few that I hadn’t seen so it was good to have him look at it. I ordered some plastic razor blades that I hope will help with getting the sealant off the areas I don’t want it. I started some of the cleanup but it will take quite a bit of time to make sure it is fully clean. I also need to make sure I have good coverage on everything. I 3D printed some plastic razor blades but they were too soft and not sharp. But I’m ready to get this cleaned up and get it sealed and installed.

  • Tanks Ready for Inspection and Sealing!

    Tanks Ready for Inspection and Sealing!

    I went by the EAA tool crib today and got a flare tool so I could finish the vent lines and get the final half of the inboard ribs installed. Luckily that went off without a hitch and the tanks are now ready to be inspected! I called my wonderful EAA tech counselor and he has so kindly agreed to come out tomorrow to my house and take a look at the wings as well as the fuel tanks before I seal them up and then install them on the wings. I am also going to have him take a look at my pitot because of the damage I caused to it on the bench grinder when it accidentally got the electrical harnesses caught in it because of my lack of spatial awareness while I was trying to remove a small amount of material from the mast. I believe I can just re-sheath it in some heat shrink but I might have to reterminate them too which I’m good either way, I just want to make sure it will work properly. Either way, I’m happy with the progress and I’m excited to get these tanks sealed and installed!