Author: olanandkate

  • Empennage Finished & Stored

    Empennage Finished & Stored

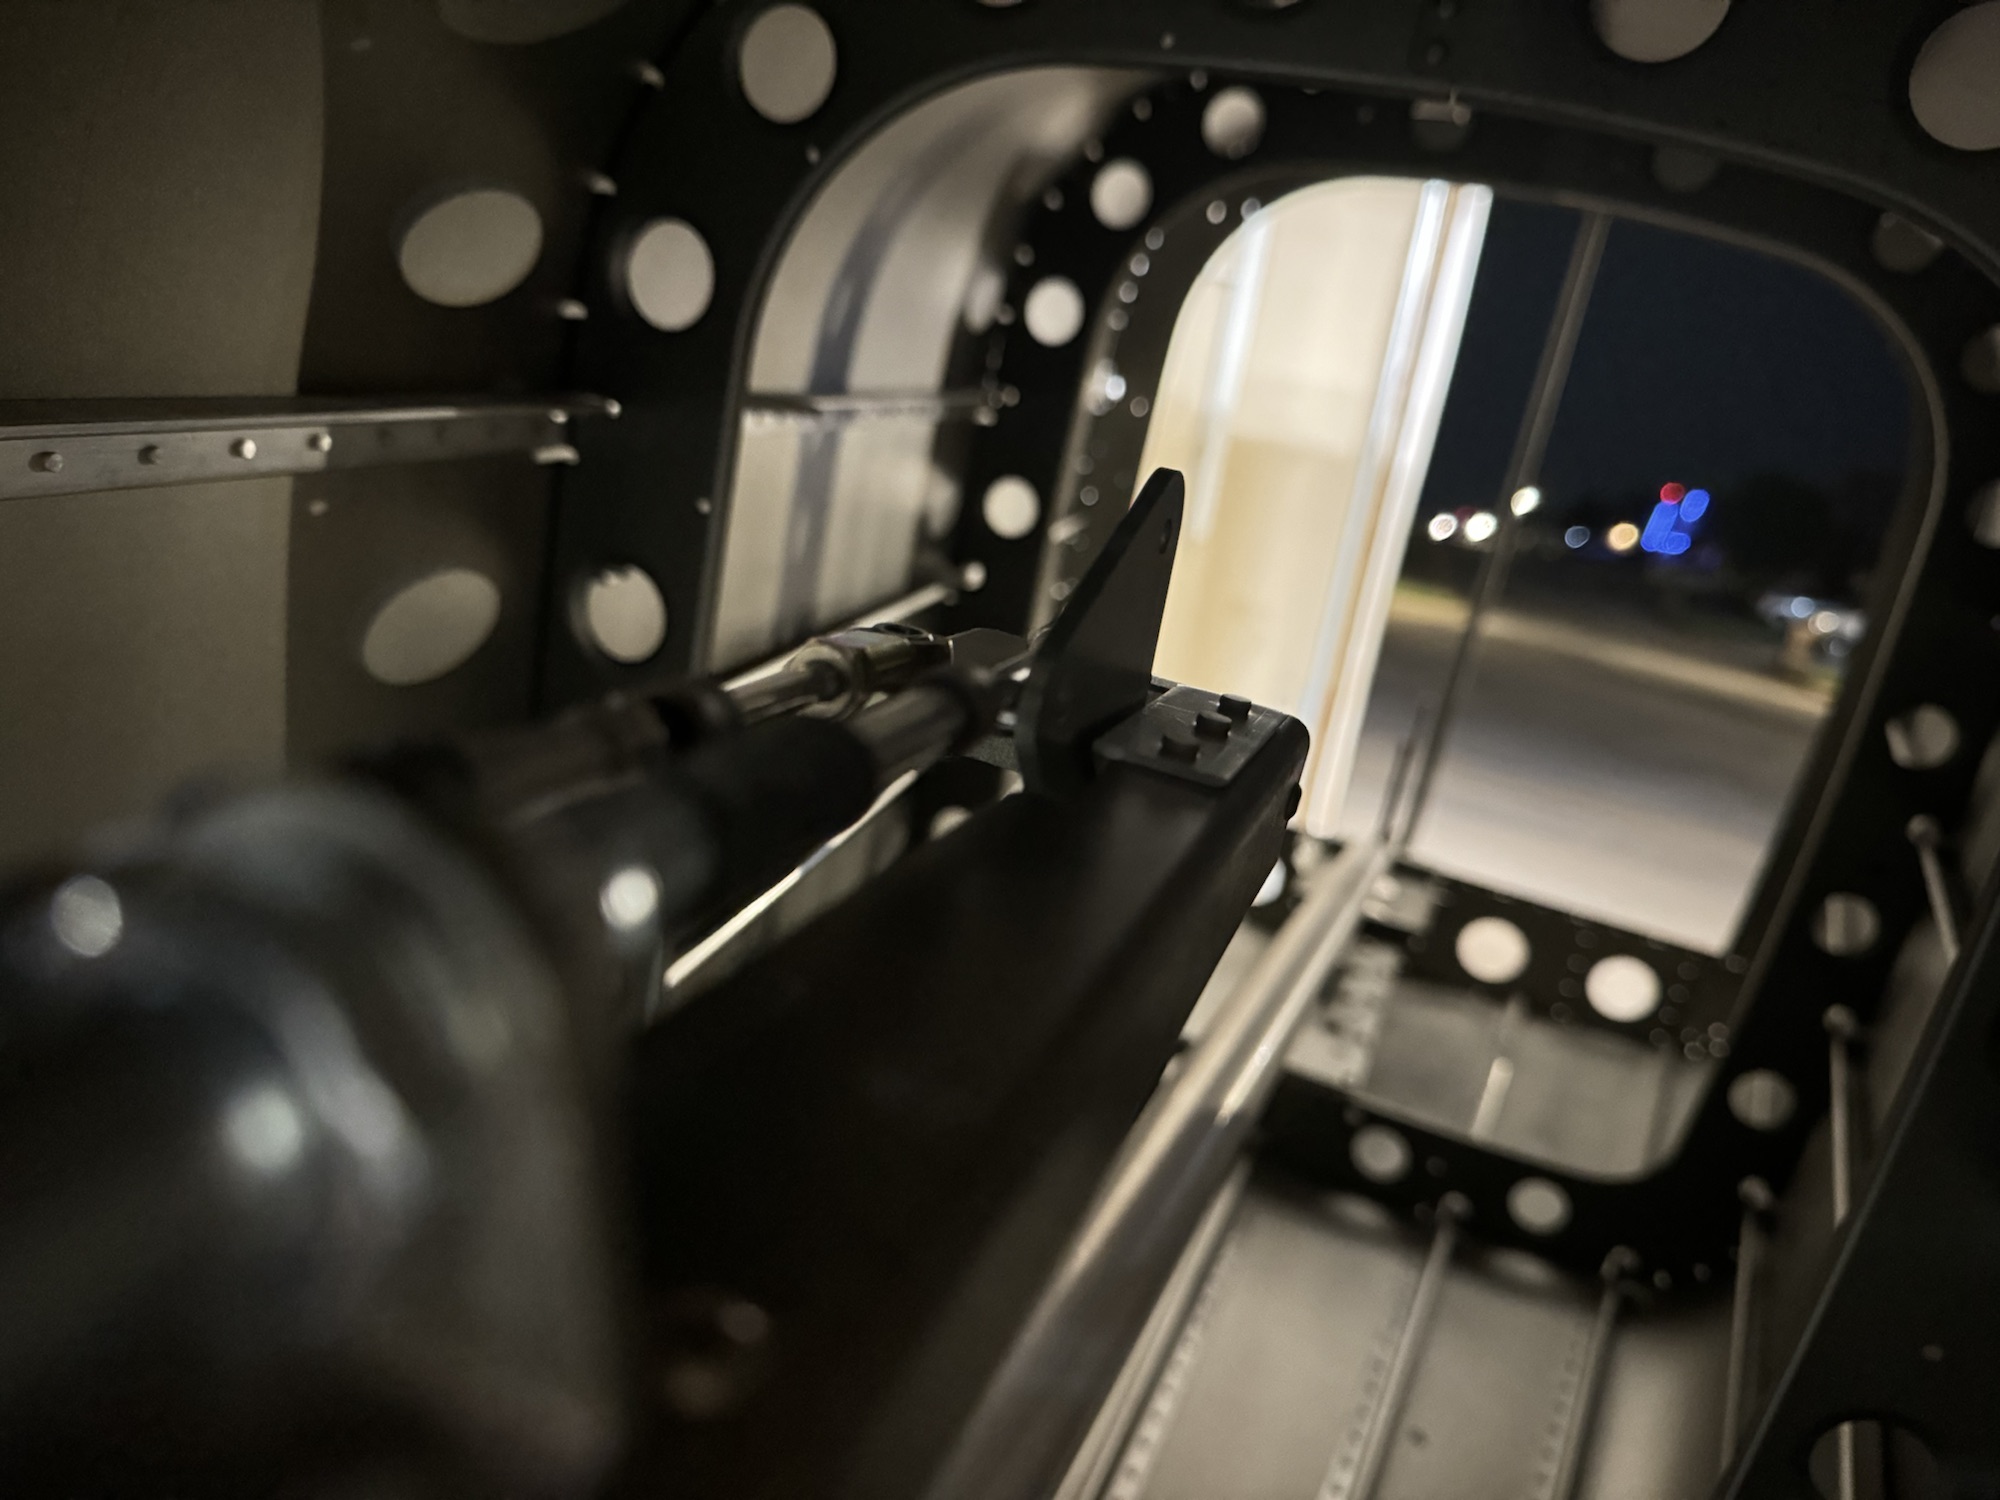
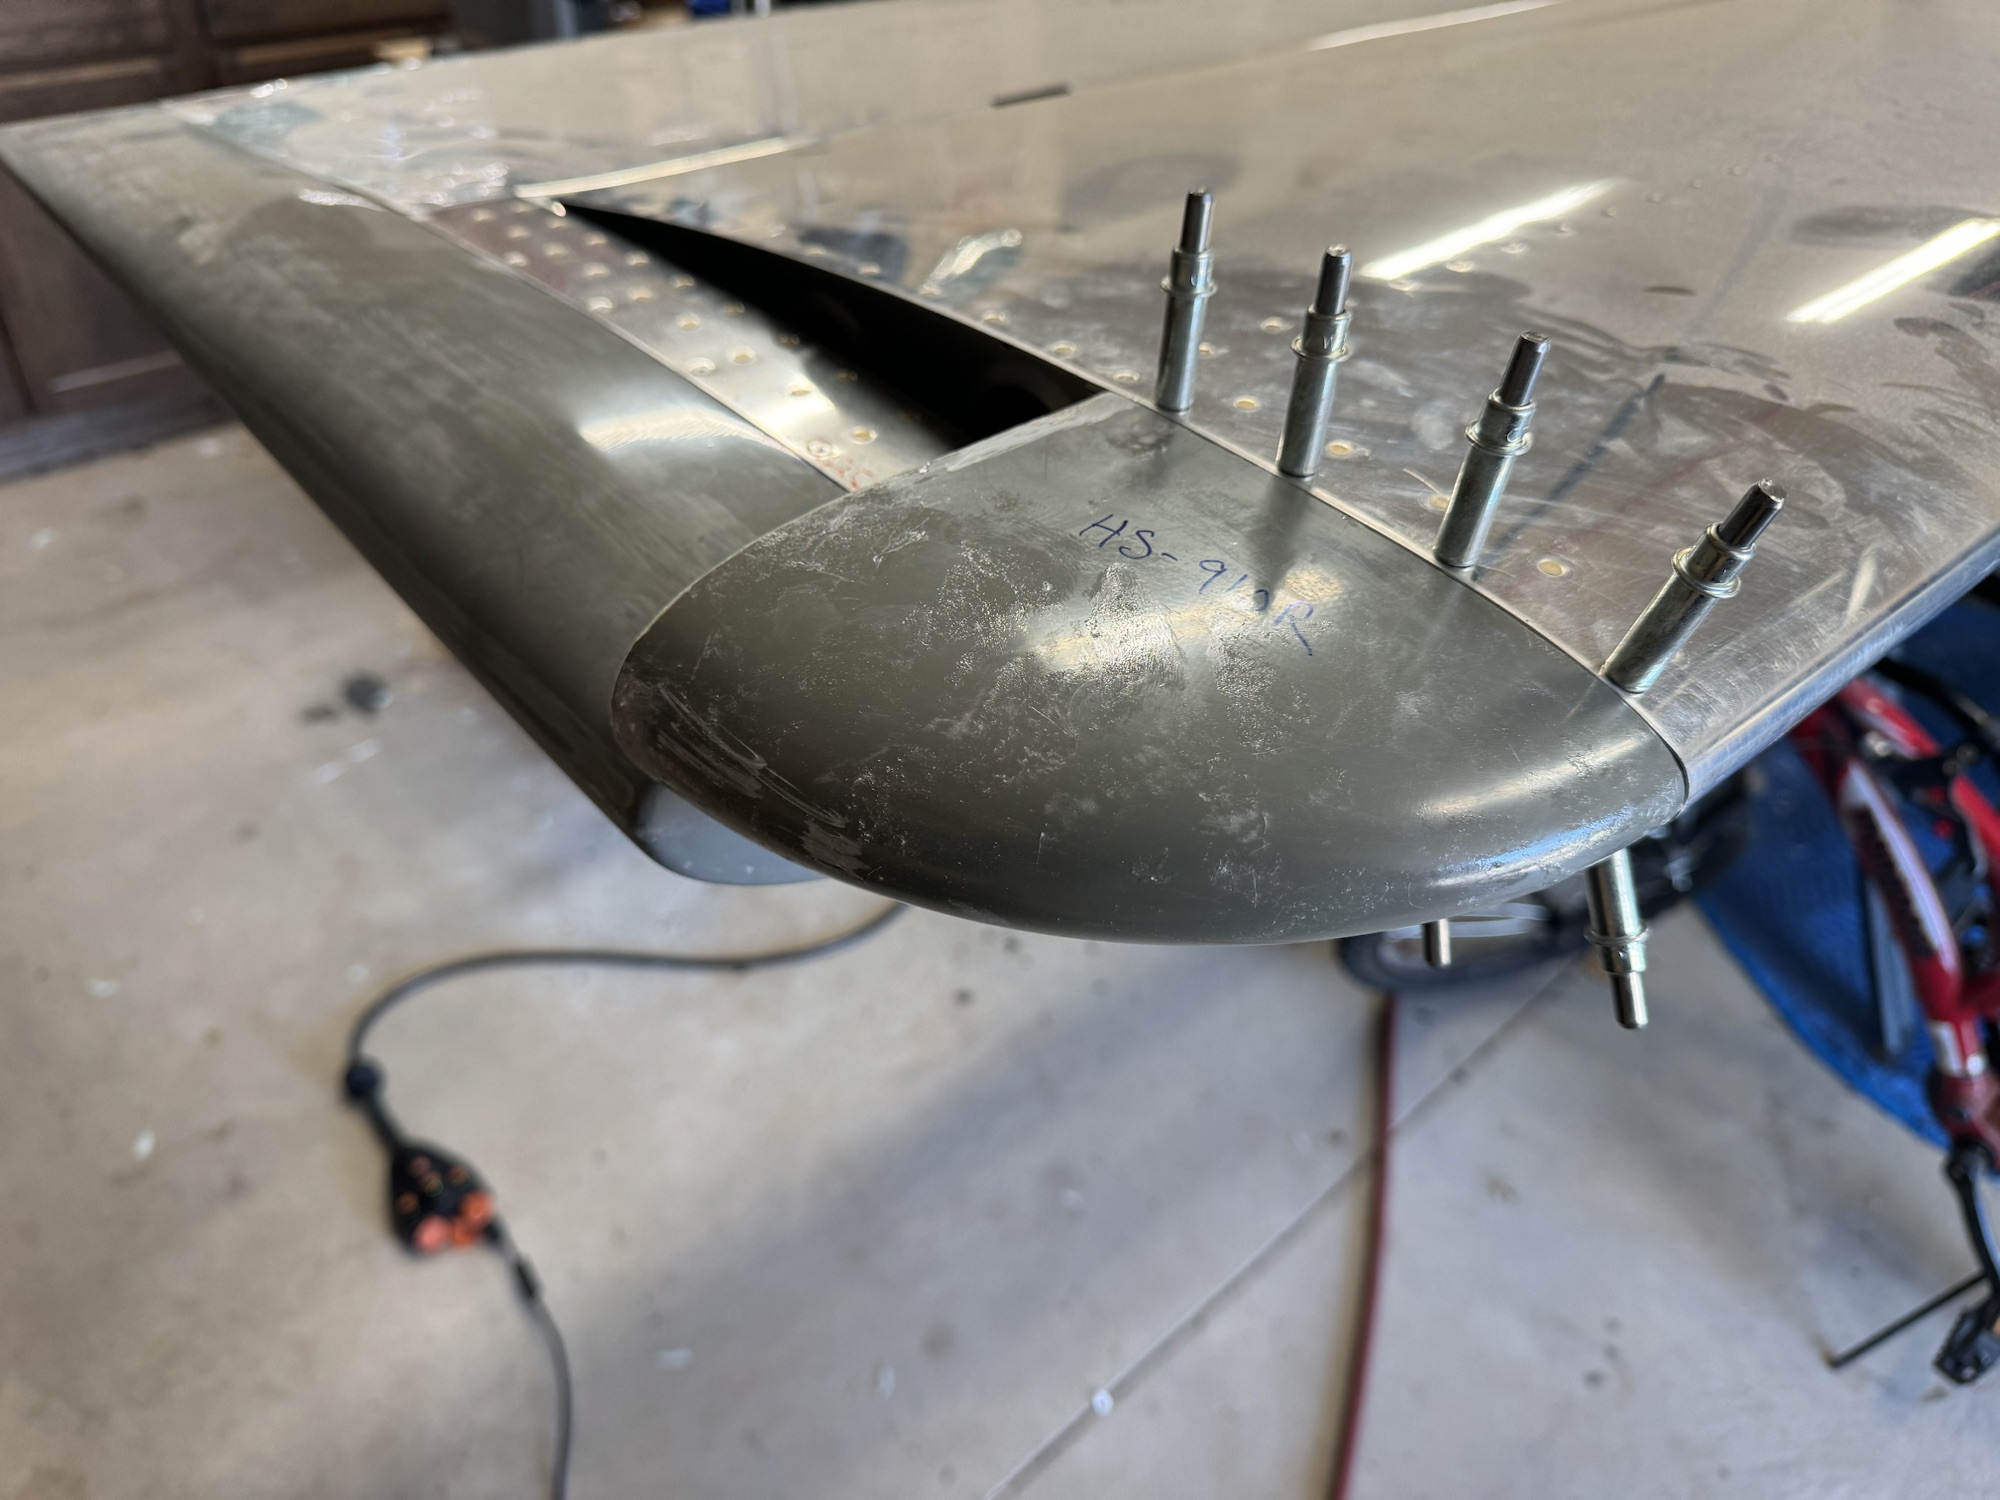
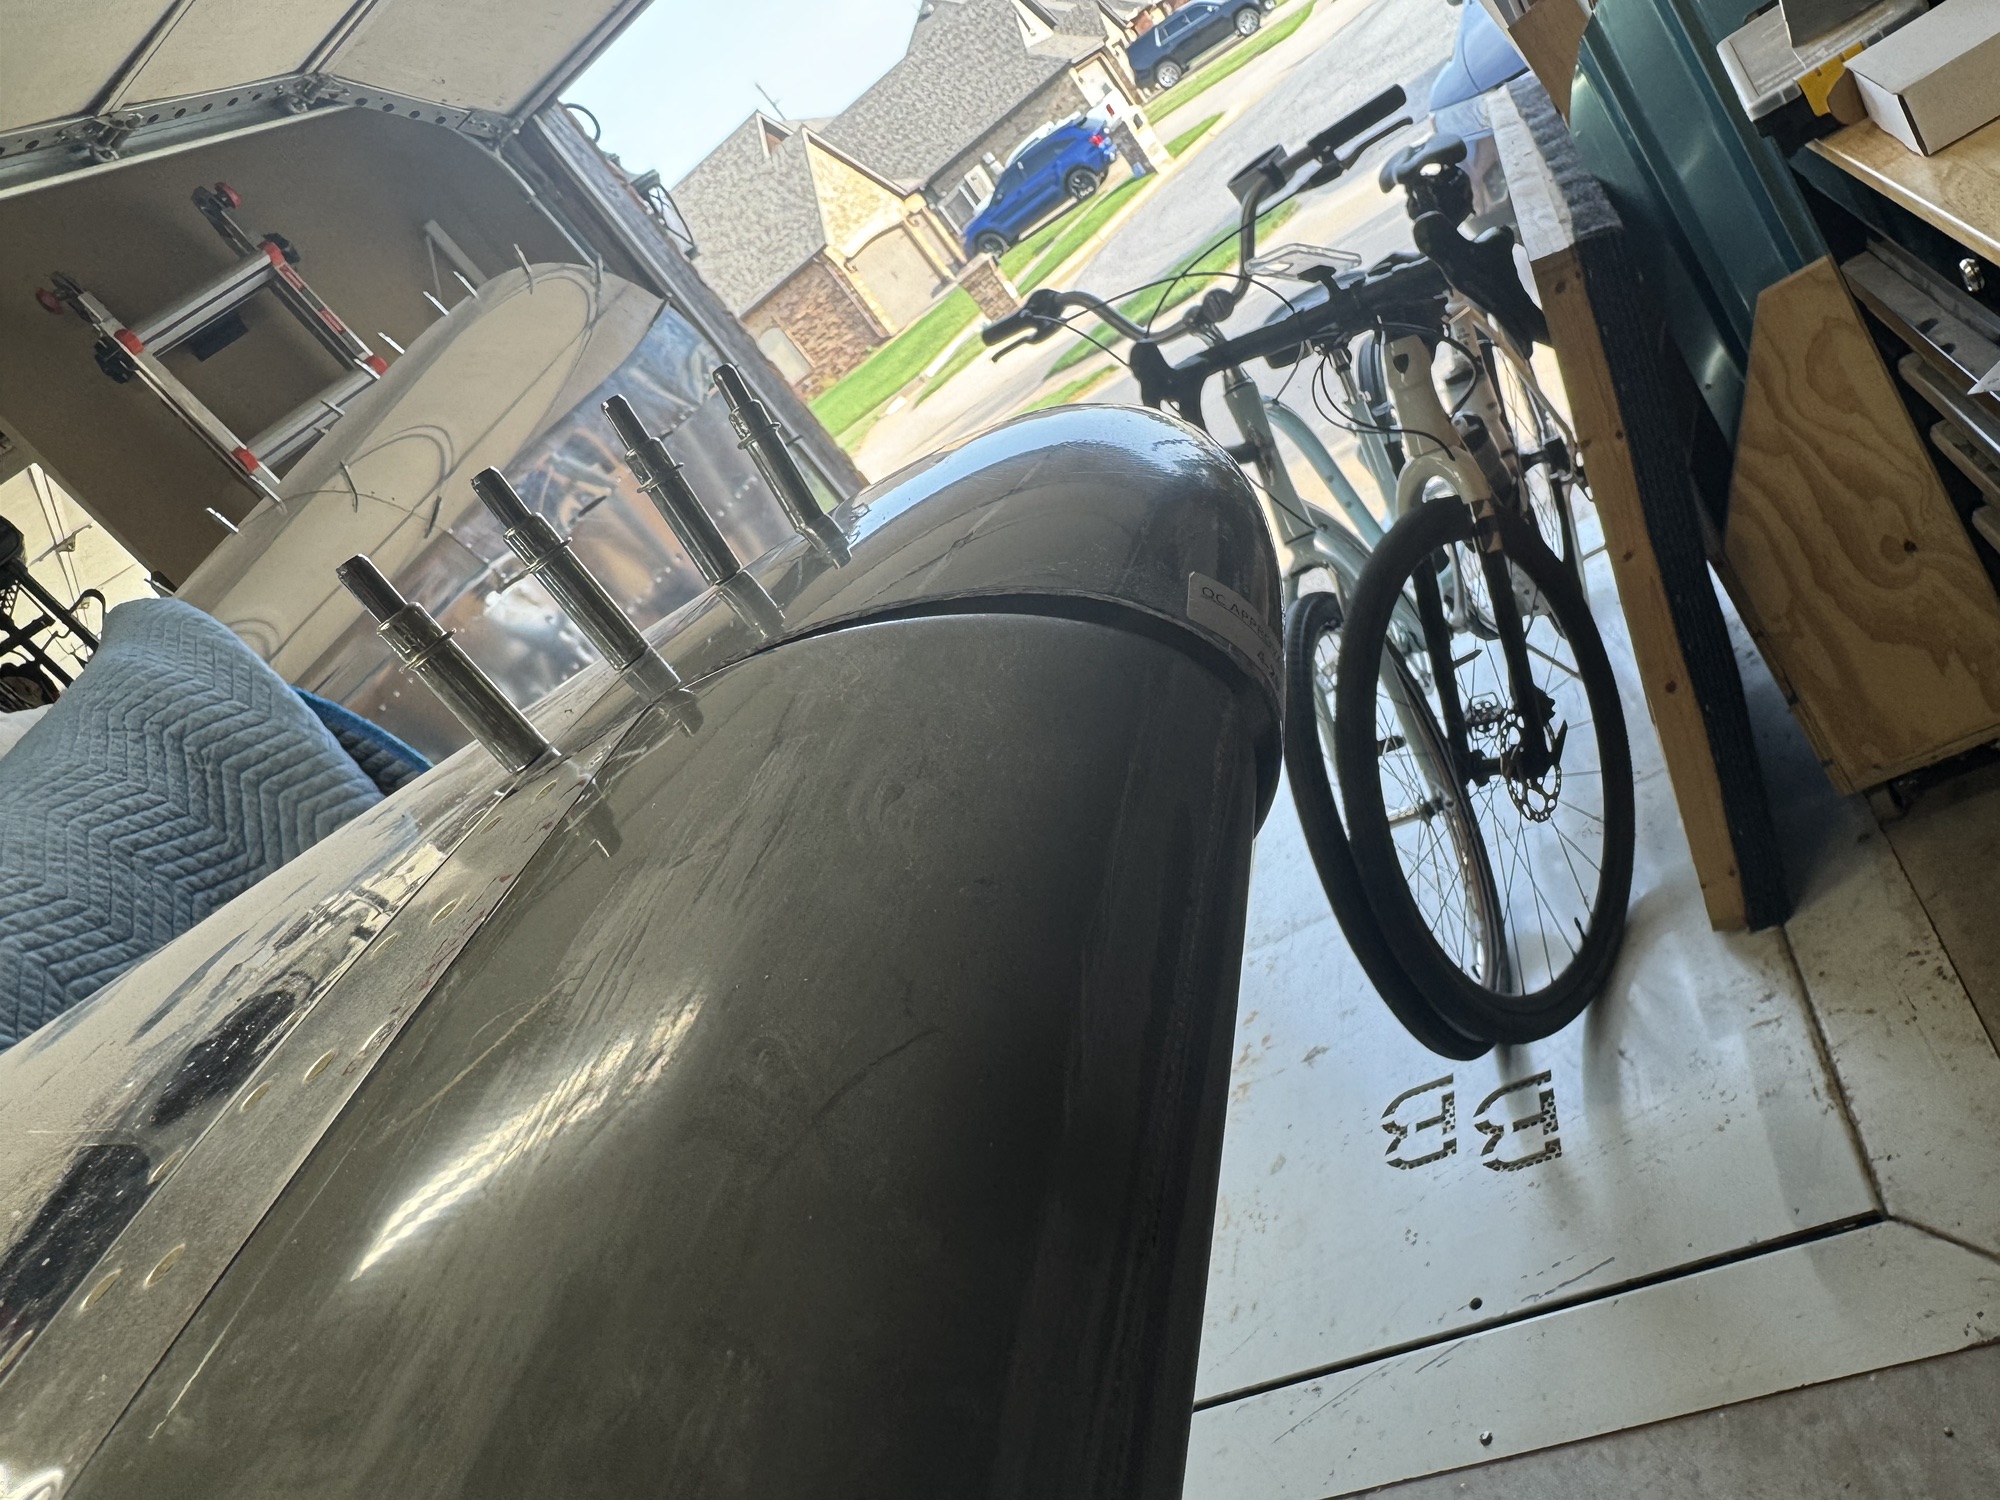
    I finally got everything put back together and checked all of the control throws and everything looked great! The elevator goes a few degrees beyond the expected amount. The one odd part I’m going to have to figure out is that I am unable to get the 35 degrees of nose up trim that I’m supposed to get. It only gets to about 31. I tried maxing out the amount I could pull the tab down and just couldn’t get anymore. I’m not sure why that is the case. It has to do with the cables that is for sure. I disconnected the cables from the bellcrank and I still couldn’t get anymore throw out of them even manually. I even maxed out the amount of threads I had inside the trim tab control horn and it didn’t help. Definitely odd but I will work on that when I get towards finishing the plane.

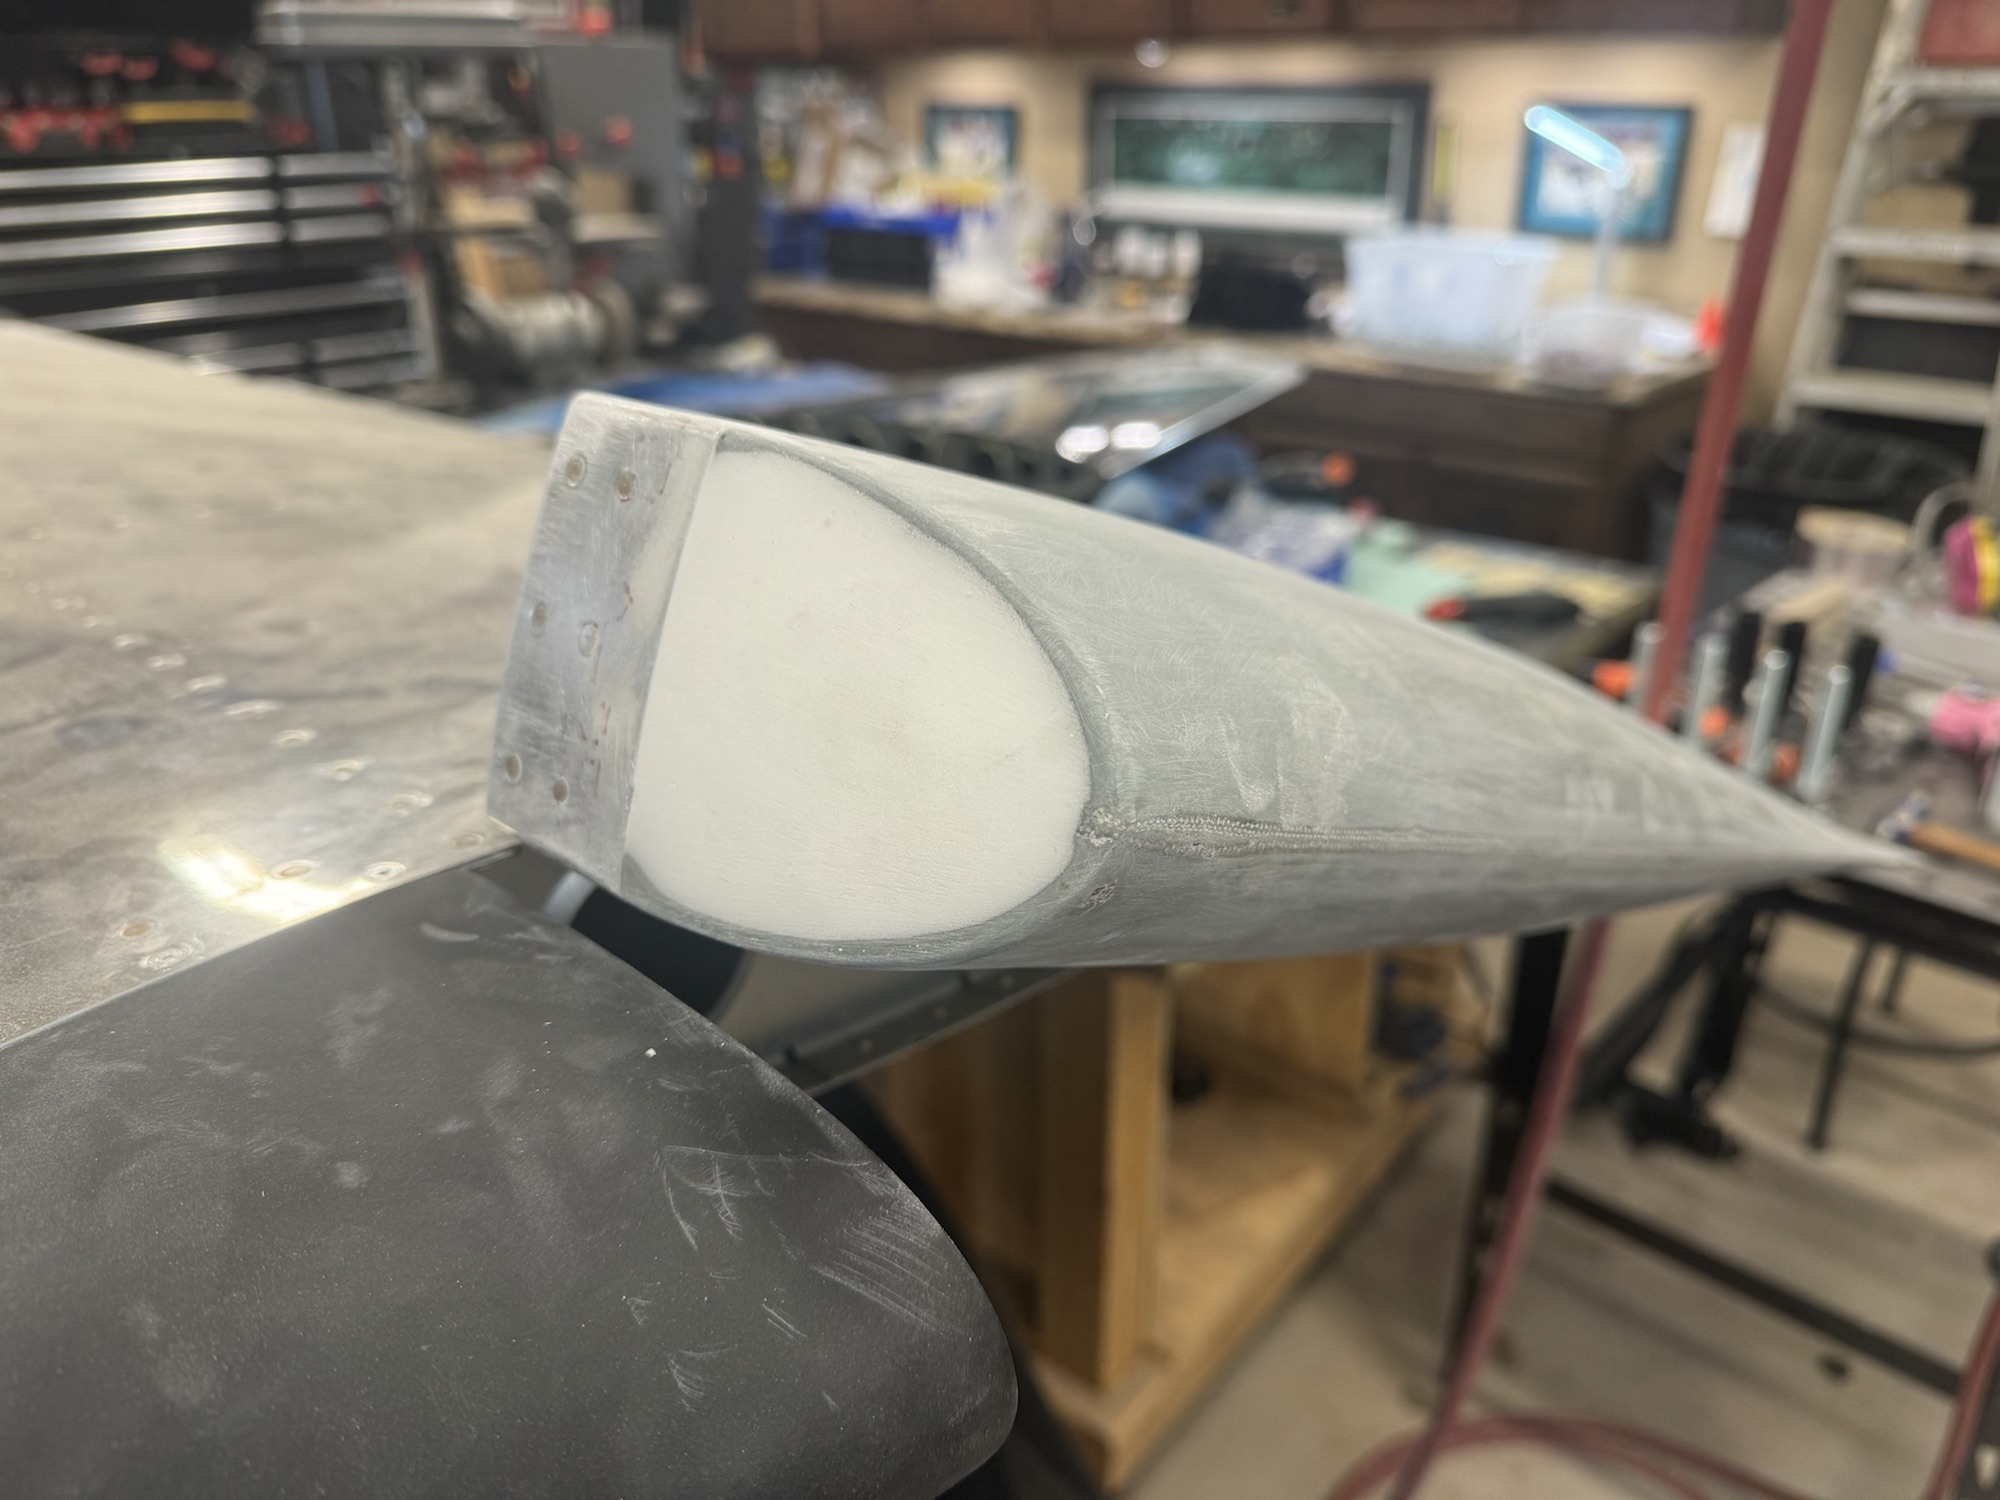
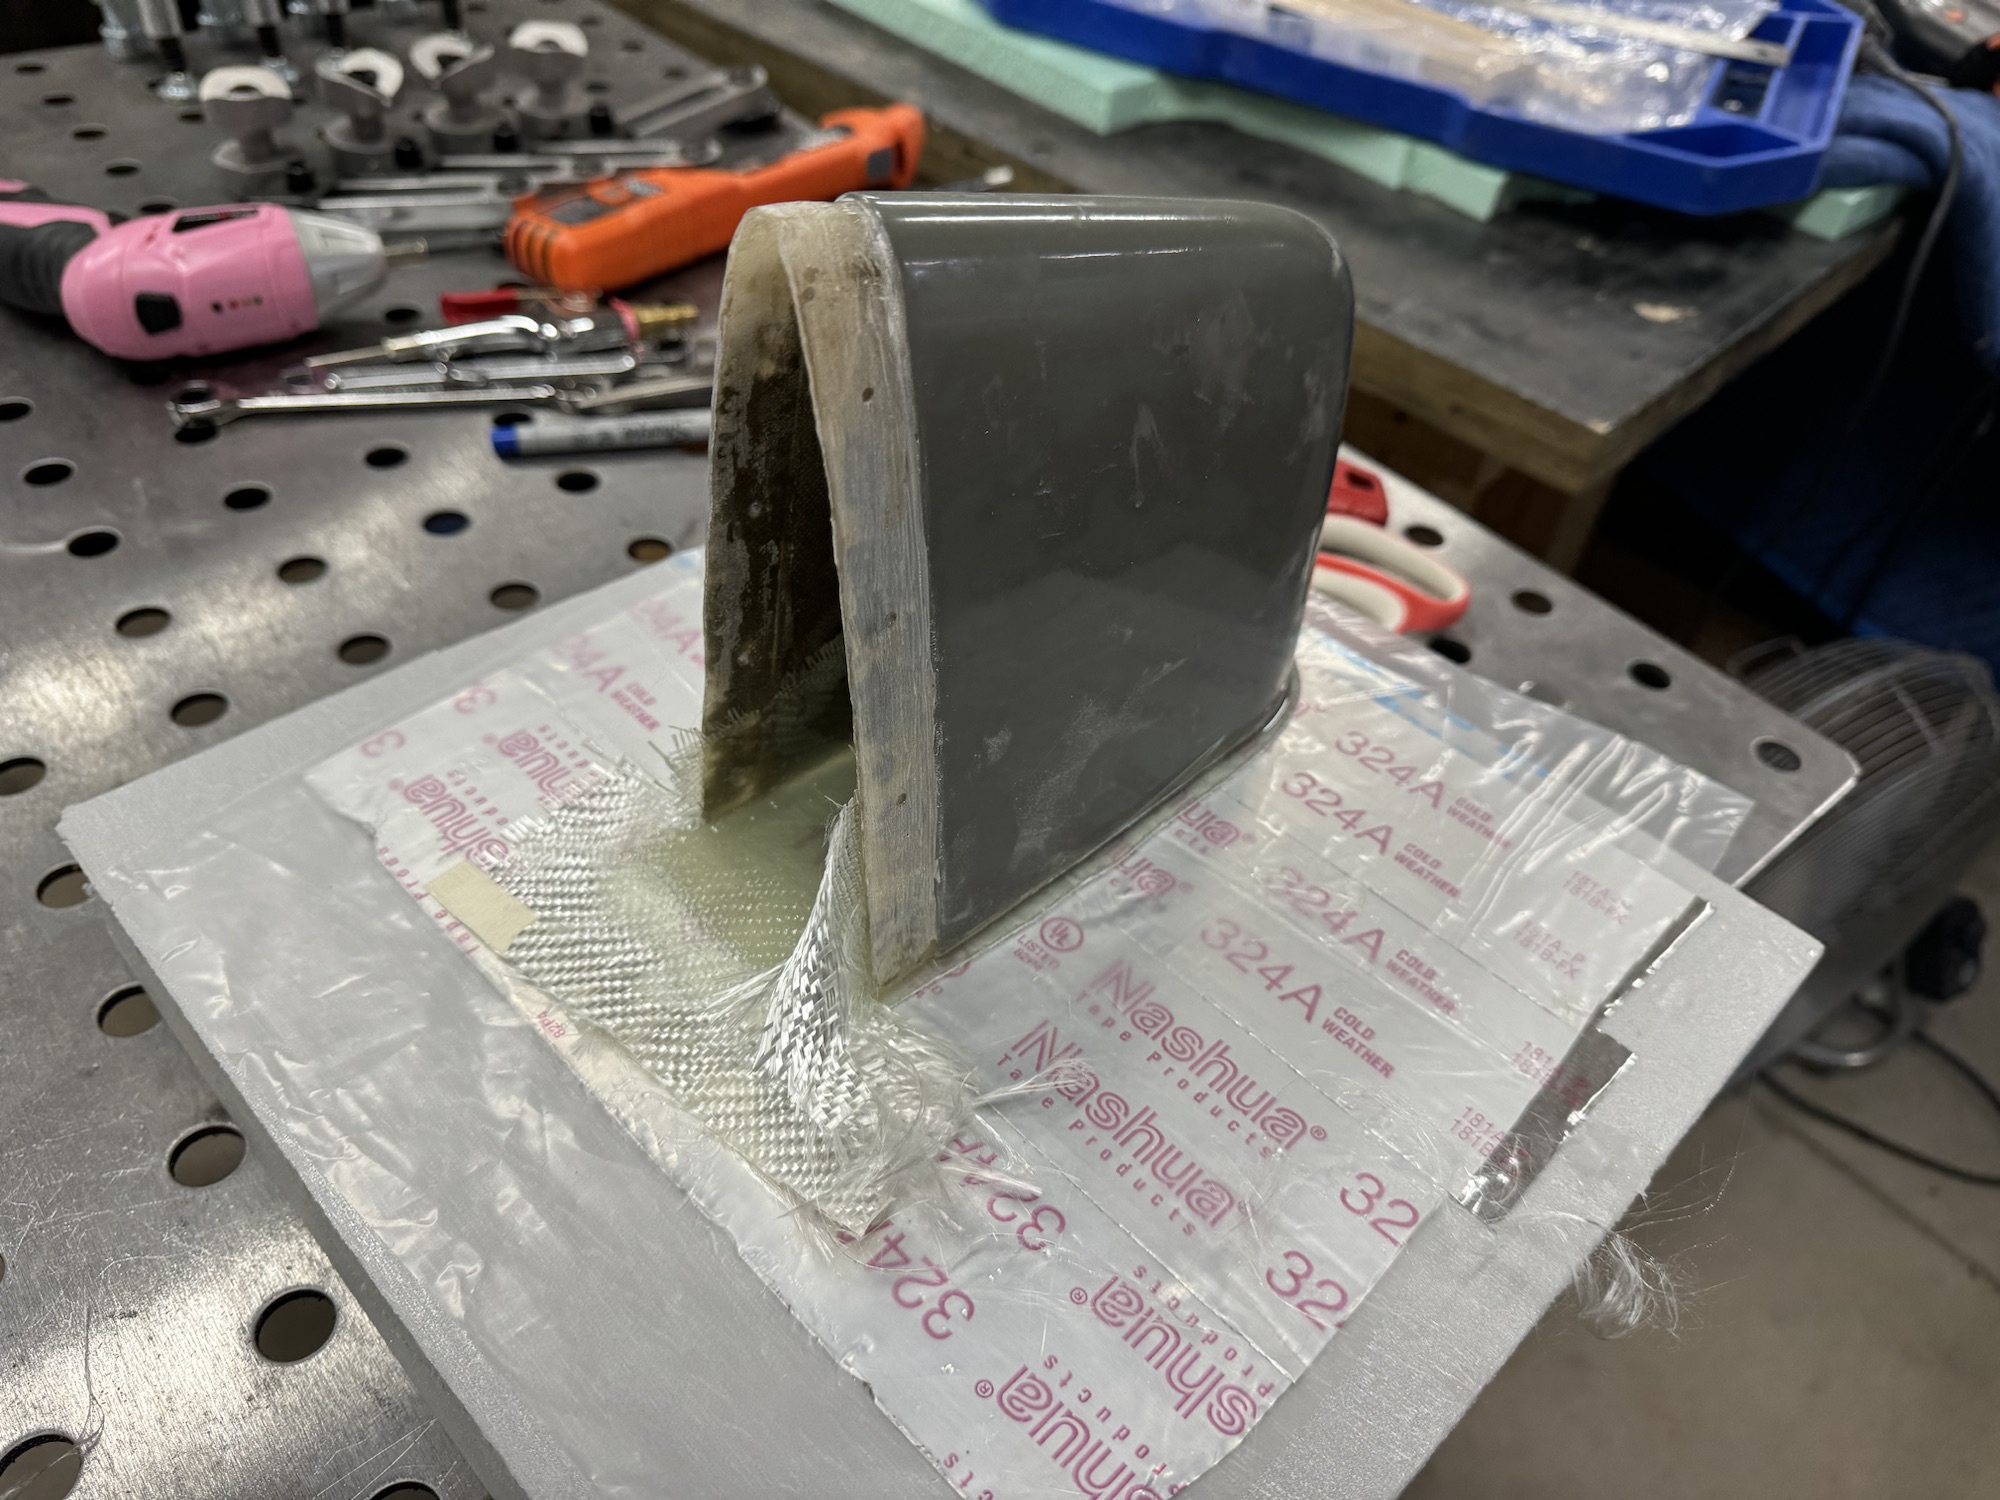
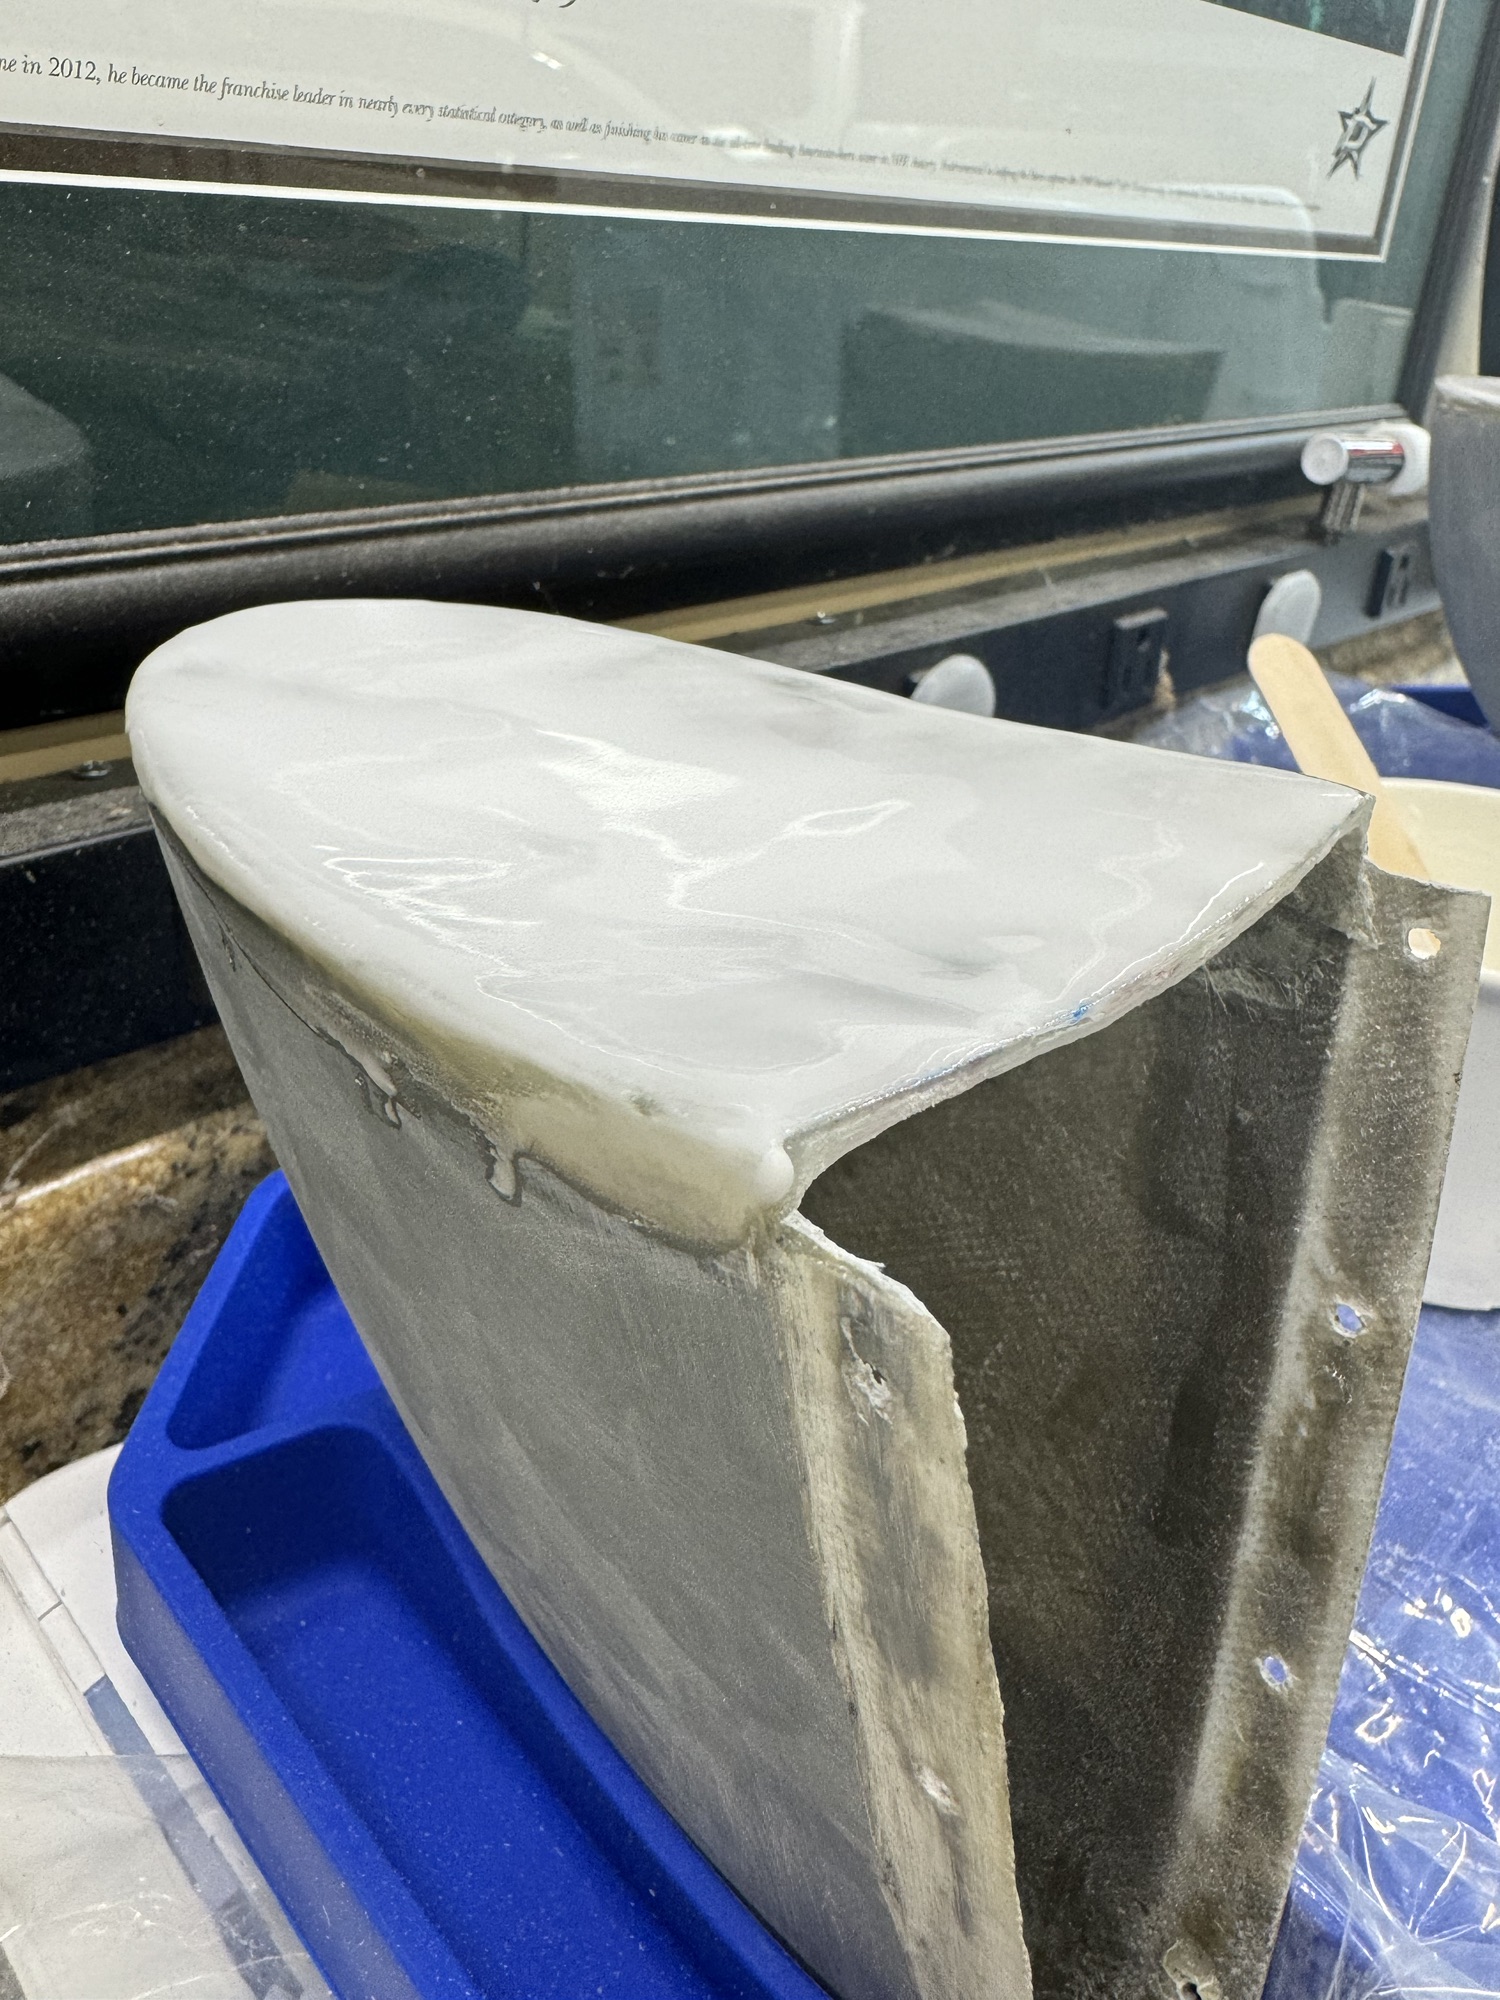
    Another thing I’ll continue to work on when I get to finishing the plane is getting all of the fairing transitioned smoothed out. I talked with a gentleman from church who told me I should back the fiberglass with a washer and that I should also sandwich epoxy between the aluminum and the fiberglass when I redo the riveting. I trust his opinion as he does alot of really solid repair work and he is very meticulous about doing things right. He was an inspector for Southwest so I’m going to bet he knows a thing or two LOL

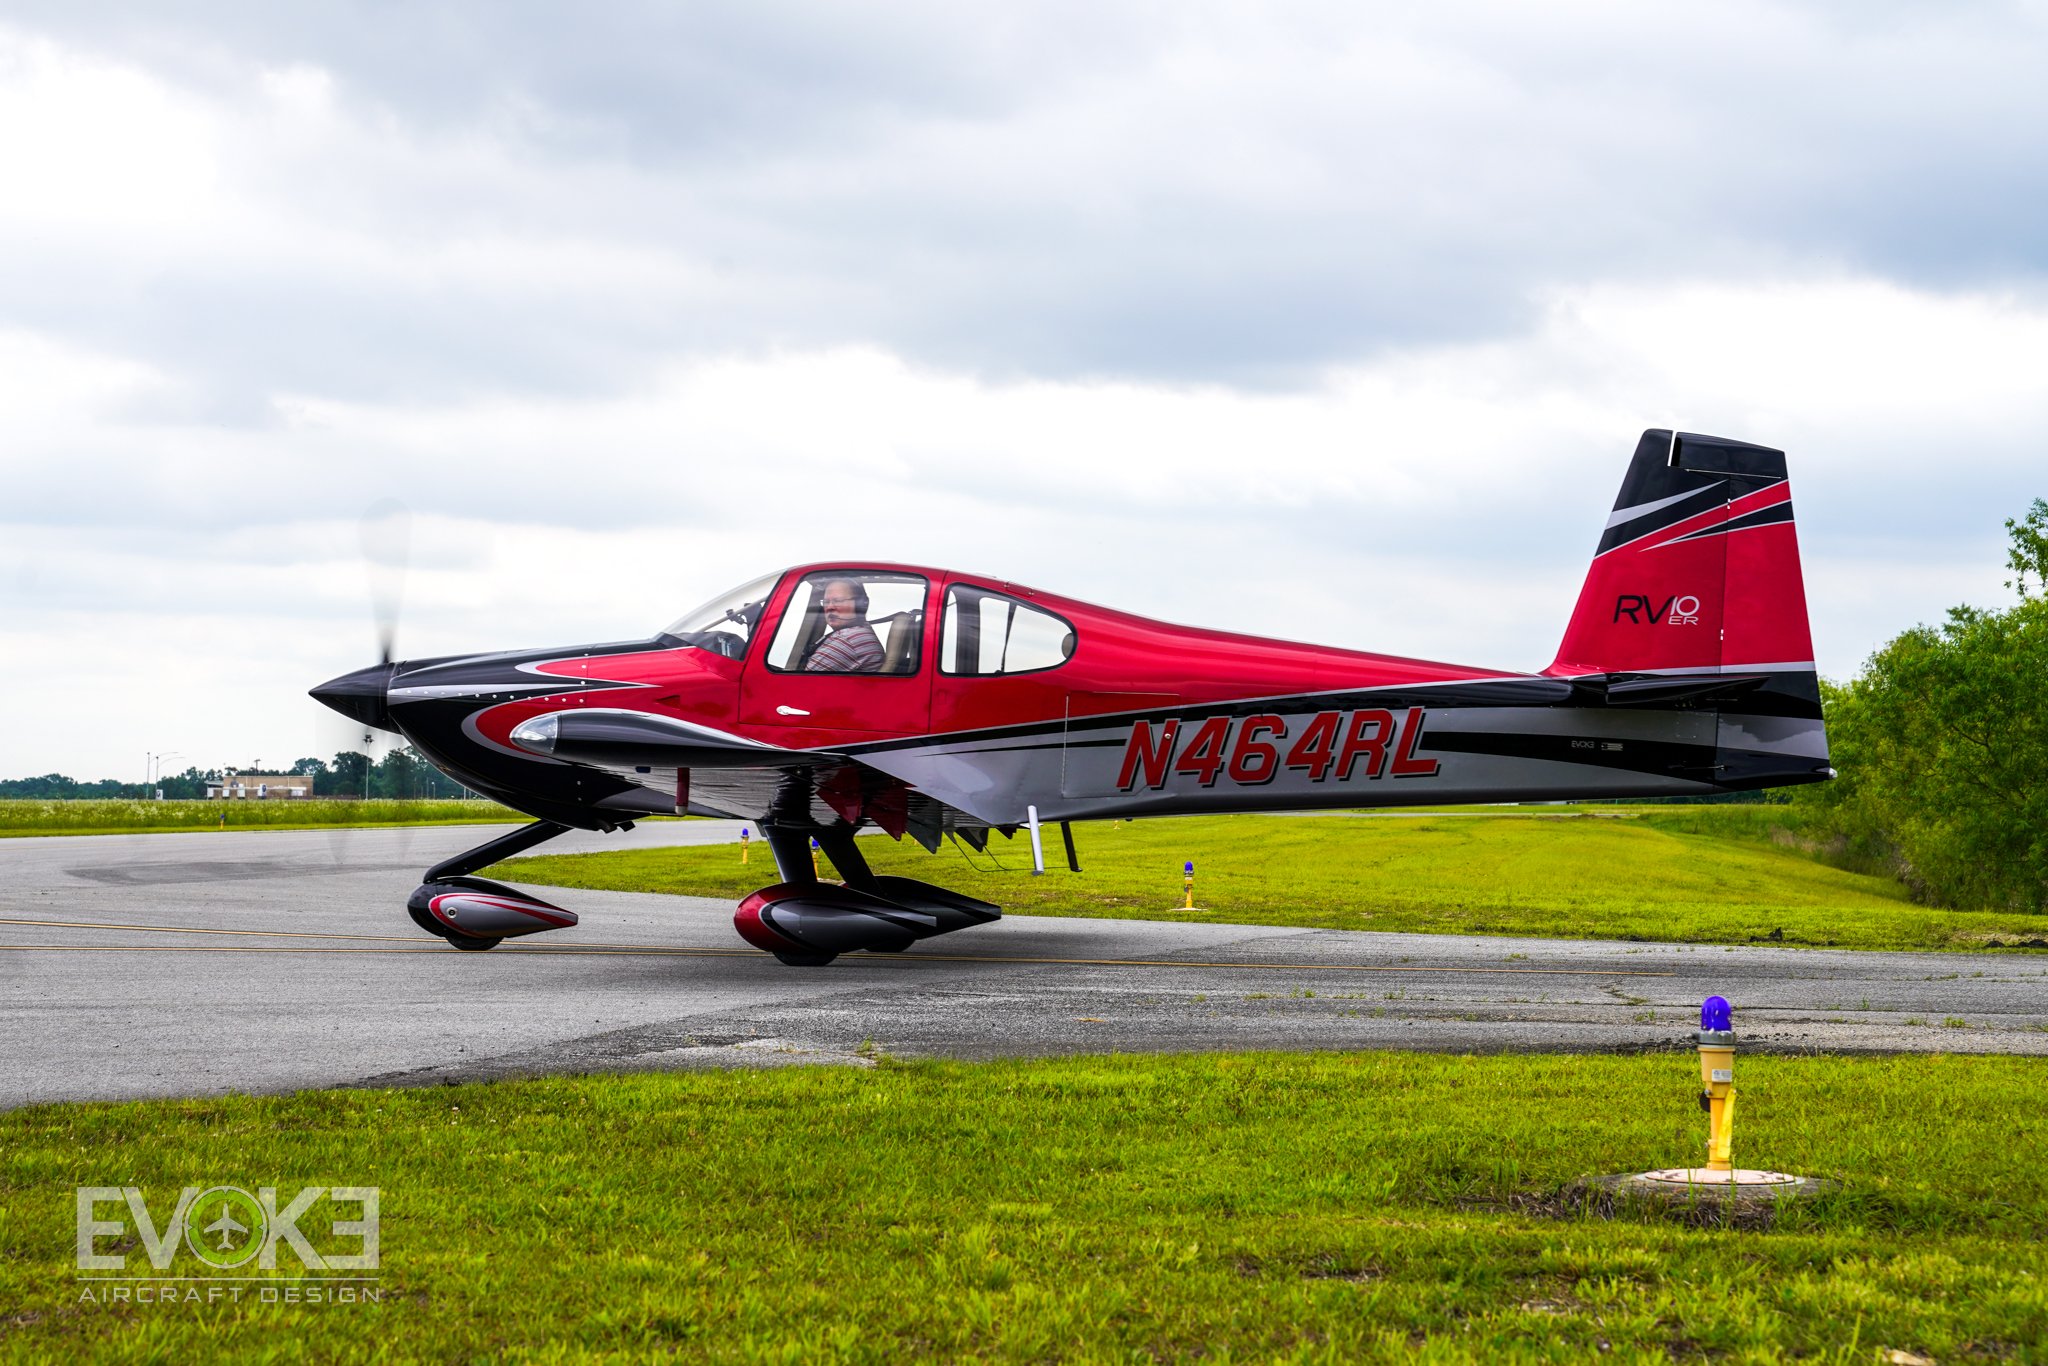
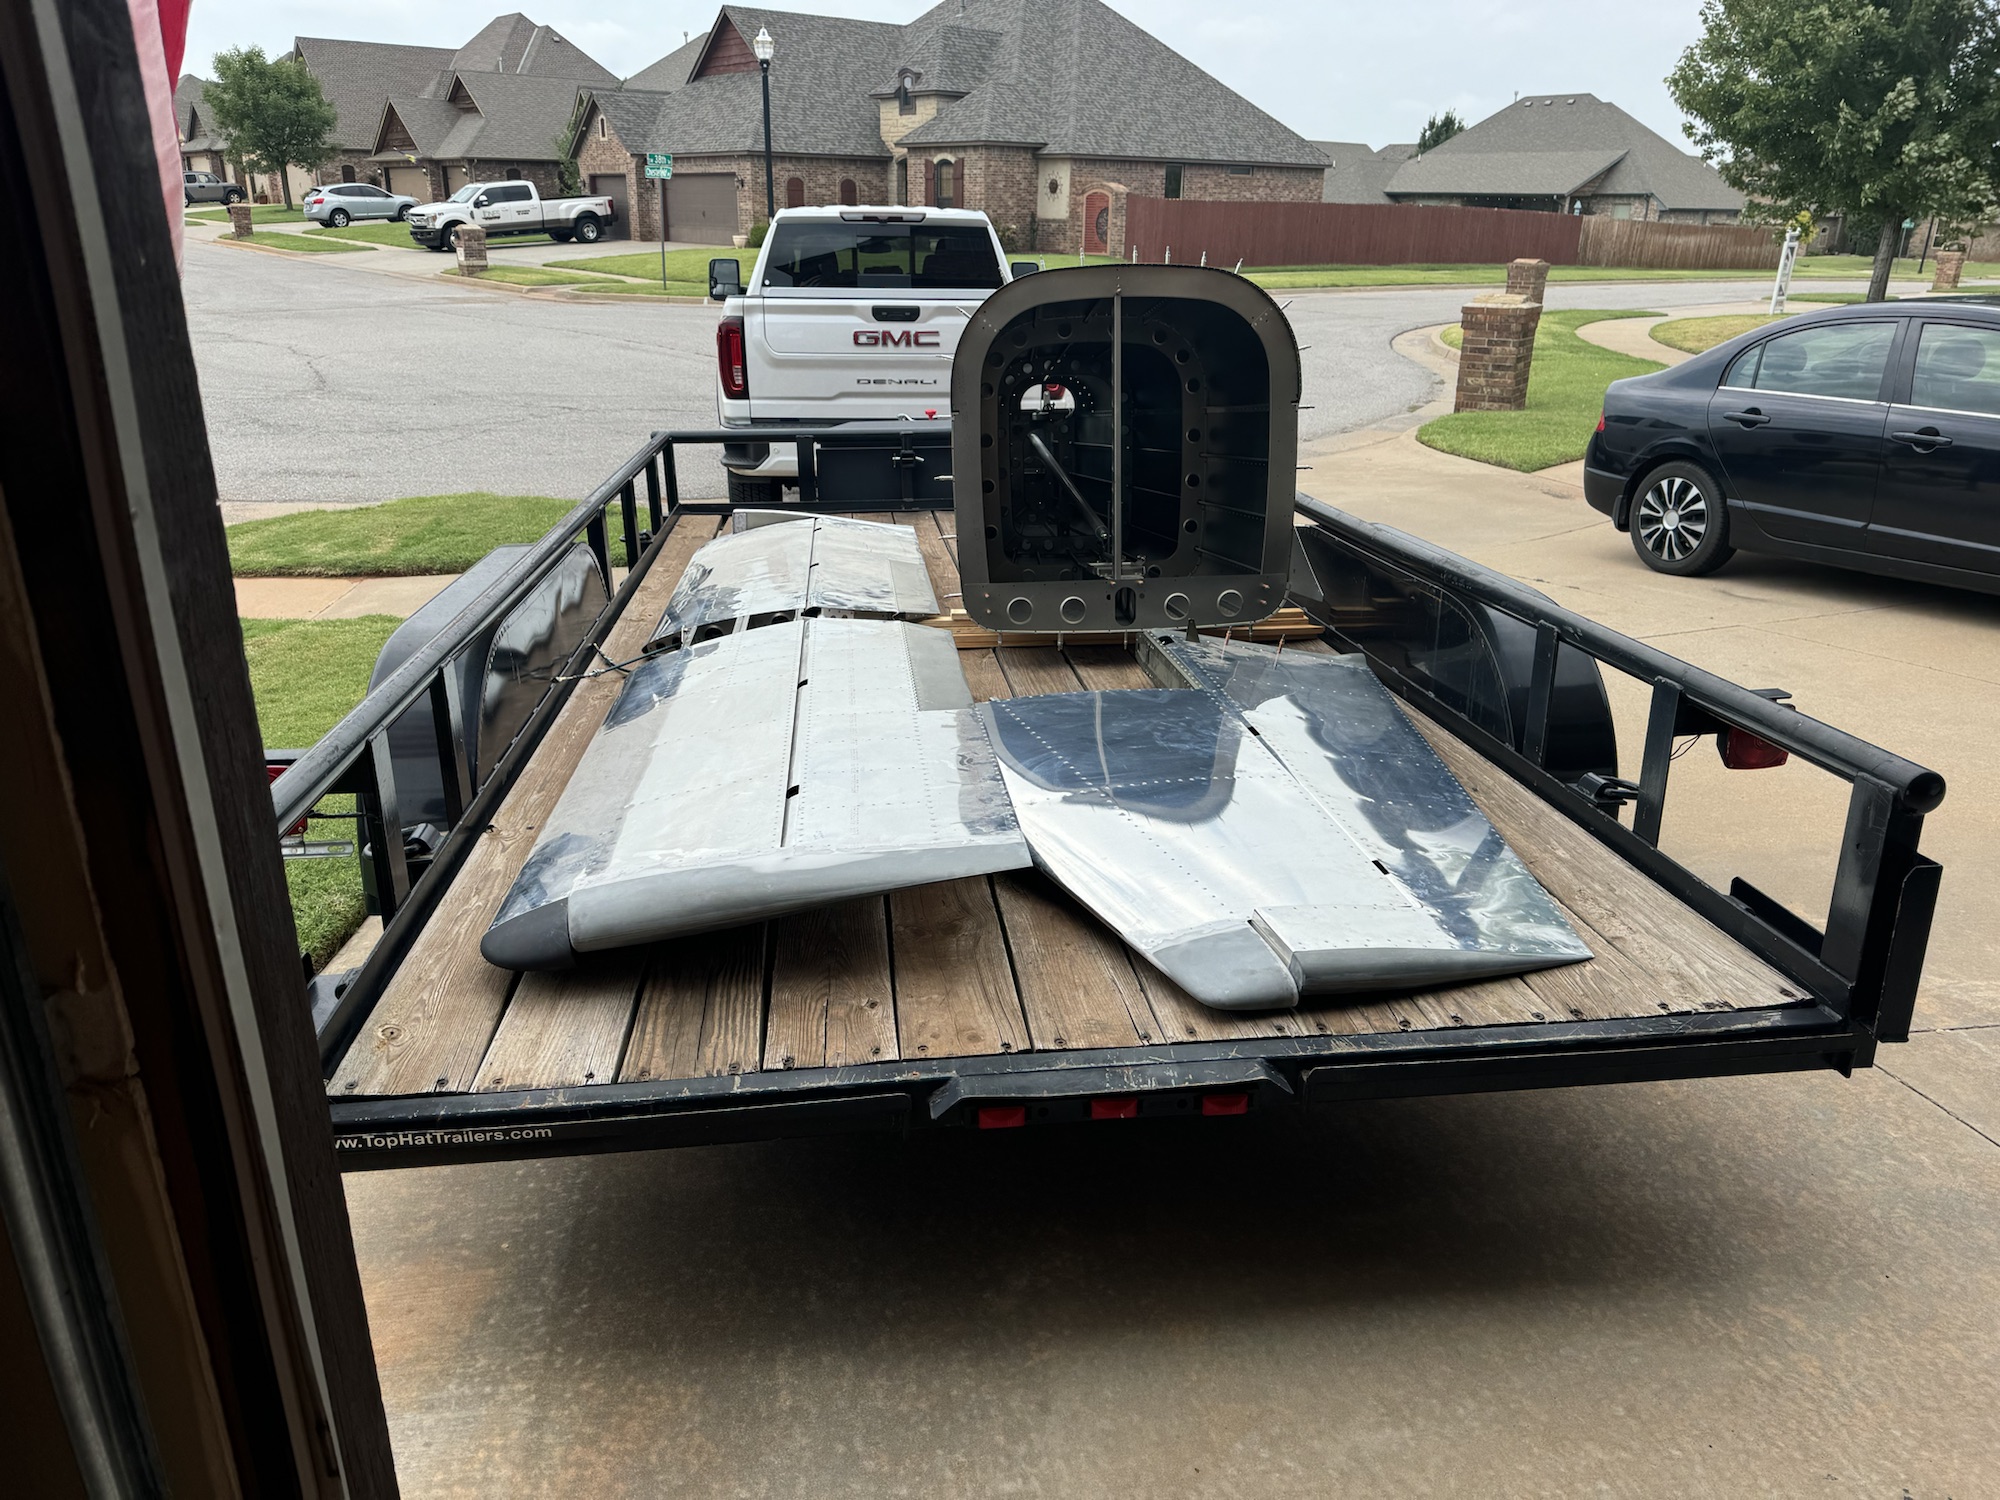
    Either way, I got all of the parts packed up on the trailer and put it in storage with the RV. It is off the ground and in an enclosed storage unit with the trailer so it should stay safe. I’ve never seen any water intrusion in there through the roof so fingers crossed. I hate having things away from the house where I don’t know what will happen to it but I trust this more than anything else right now.

  • Fixing Elevator Trim Tab Bellcrank Mounts

    Fixing Elevator Trim Tab Bellcrank Mounts

    I decided to go back and fix a mistake I made with the elevator trim bellcrank mounts. I was off when I drilled them and the elevator trim was not within specifications. I drilled out the rivets, threw the mounts away and built two new from scratch. This time they were spot on! I did damage the trim tab rubber gasket on the left elevator so I’m going to have to figure out what to do with that. I’m going to imagine there is some boot I can buy to put on it again… But I got everything almost put back together. I need to re-read the section on how to get the trim tab cables mounted properly again to the bellcrank so that I can then test the elevator trim to see if it is within specifications. I am betting it is now but we’ll see when I get a chance to finish reassembly. Of course I was so busy fixing things that I forgot to take pictures of the work. Here is where I left it tonight.

  • Even More Filler & Sanding

    Even More Filler & Sanding

    I did quite a bit of filler and sanding and I’m about as far as I want to get with it at this point. I’ll come back when the plane is nearing completing to get this done the way I want it.

  • More Filler and Sanding

    More Filler and Sanding

    I spent most of my time today and yesterday filling the low spots and sanding. Not alot of an update here but wanted to include pictures. I do need to order some thin fiberglass so that I can glass over the edges between the fiberglass parts and the aluminum. I’ve seen quite a few builders do that to have a very smooth and strong transition so I plan on doing that as well.

  • VS Tip Fiberglassing Continues

    VS Tip Fiberglassing Continues

    I trimmed and sanded down the first two layers of glass and it definitely wasn’t thick enough to cover the rear gap. I added three more layers and that still didn’t add enough thickness but I wanted to go ahead and get the interior glass layers done first so I put two layers in there to help hold it to the tip. I won’t have any time today with church but I plan to work on it some more on Thursday. I might add a few more layers of glass tonight to the back to add more thickness but I’m not sure. I’m going to do some research and see what others might have done in this scenario where the back portion needs to be filled quite a bit.

    On another note, the servo mounts for the three Garmin GSA 28 servos came in yesterday! I’ll need to figure out where they need to be installed. I know at least two of them are in the fuselage but I think the yaw control might be in the empennage.

  • HS Tips Primed and Installed – VS Tip Fiberglass First Layers

    HS Tips Primed and Installed – VS Tip Fiberglass First Layers

    I got the HS tips sanded, countersunk, cleaned, primed and installed tonight. I also got the fiberglass for the first two layers done for the VS tip tonight. Had to strap it down so it wouldn’t move on me as it was still wanting to bow in a few millimeters. So I set the width and clamped it down slightly to hold to width. Tomorrow I’ll glass the back side of it and then I’ll have to see if I need more glass layers on the back because it is so far from the front of the rudder. I might also double check my hardware for mounting the rudder and make sure it is at the right depth.

  • Paint Scheme Possibility

    Paint Scheme Possibility

    I was looking at some of the Evoke scheme designs that they have publicly available after seeing their design work on the Van’s Aircraft RV-10 that was on display at Oshkosh this year. I really like this design though it is a bit darker than I would want. Maybe some white instead of the grey? Or something, I’m not sure what. I need to get with Evoke or Scheme Designer’s and get my design completed already.

  • Finishing Surface on HS Tips & Prepping VS Tip

    Finishing Surface on HS Tips & Prepping VS Tip

    I spent time getting the VS tip cut and match drilled so that I can get it ready to fiberglass the back. It didn’t take too terrible long to get it ready but did take quite a bit of heat and molding to get the shape right. It had sunken in quite a bit in the middle so I had to expand that so it looked natural. But it is shaped and match drilled so it is ready for fiberglass.

    I then spent the rest of the time working on sanding the excess epoxy and smoothing out the HS tips before I added more epoxy mixed with microballoons to make the final rear surface smooth so I can prime the entire surface before I install them permanently. I’m happy with the result so far and will have to do more sanding of course when it cures. I’m happy with my work and progress though I am no expert and could be making tons of mistakes lol.

  • HS Tip Fairings Done

    HS Tip Fairings Done

    The horizontal stabilizer tips are now finished. It took a bit of getting over the fear of messing up the parts to start but I did it LOL. I formed foam to get the right shape to the outside layer. I wrapped it with AC duct tape but I forgot to put the mold release spray on it. Luckily the epoxy didn’t really stick to the aluminum tape so it took some time but it came free. I then put two layers on the inside to stiffen the the back side and it turned out excellent!

    I’ve now started forming the vertical stabilizer tip which wasn’t too terribly bad but is taking some work to get it done. Hopefully I can get that finished next week so that I can then put some bondo or whatever to smooth the surface and then prime these parts before installing them permanently.

  • Forming Horizontal Stabilizer Tips

    Forming Horizontal Stabilizer Tips

    I found a post from someone where they had the same issue with their horizontal stabilizer tips being out of shape. They used clamps and heat to shape it, which I remember from the fiberglass 101 class that they stated that if you get fiberglass warm enough (180F or so) you can change its shape slightly. Sure enough I got it to shape. I still have a little bit of an issue with the shape but I’ll get there after some time and patience.