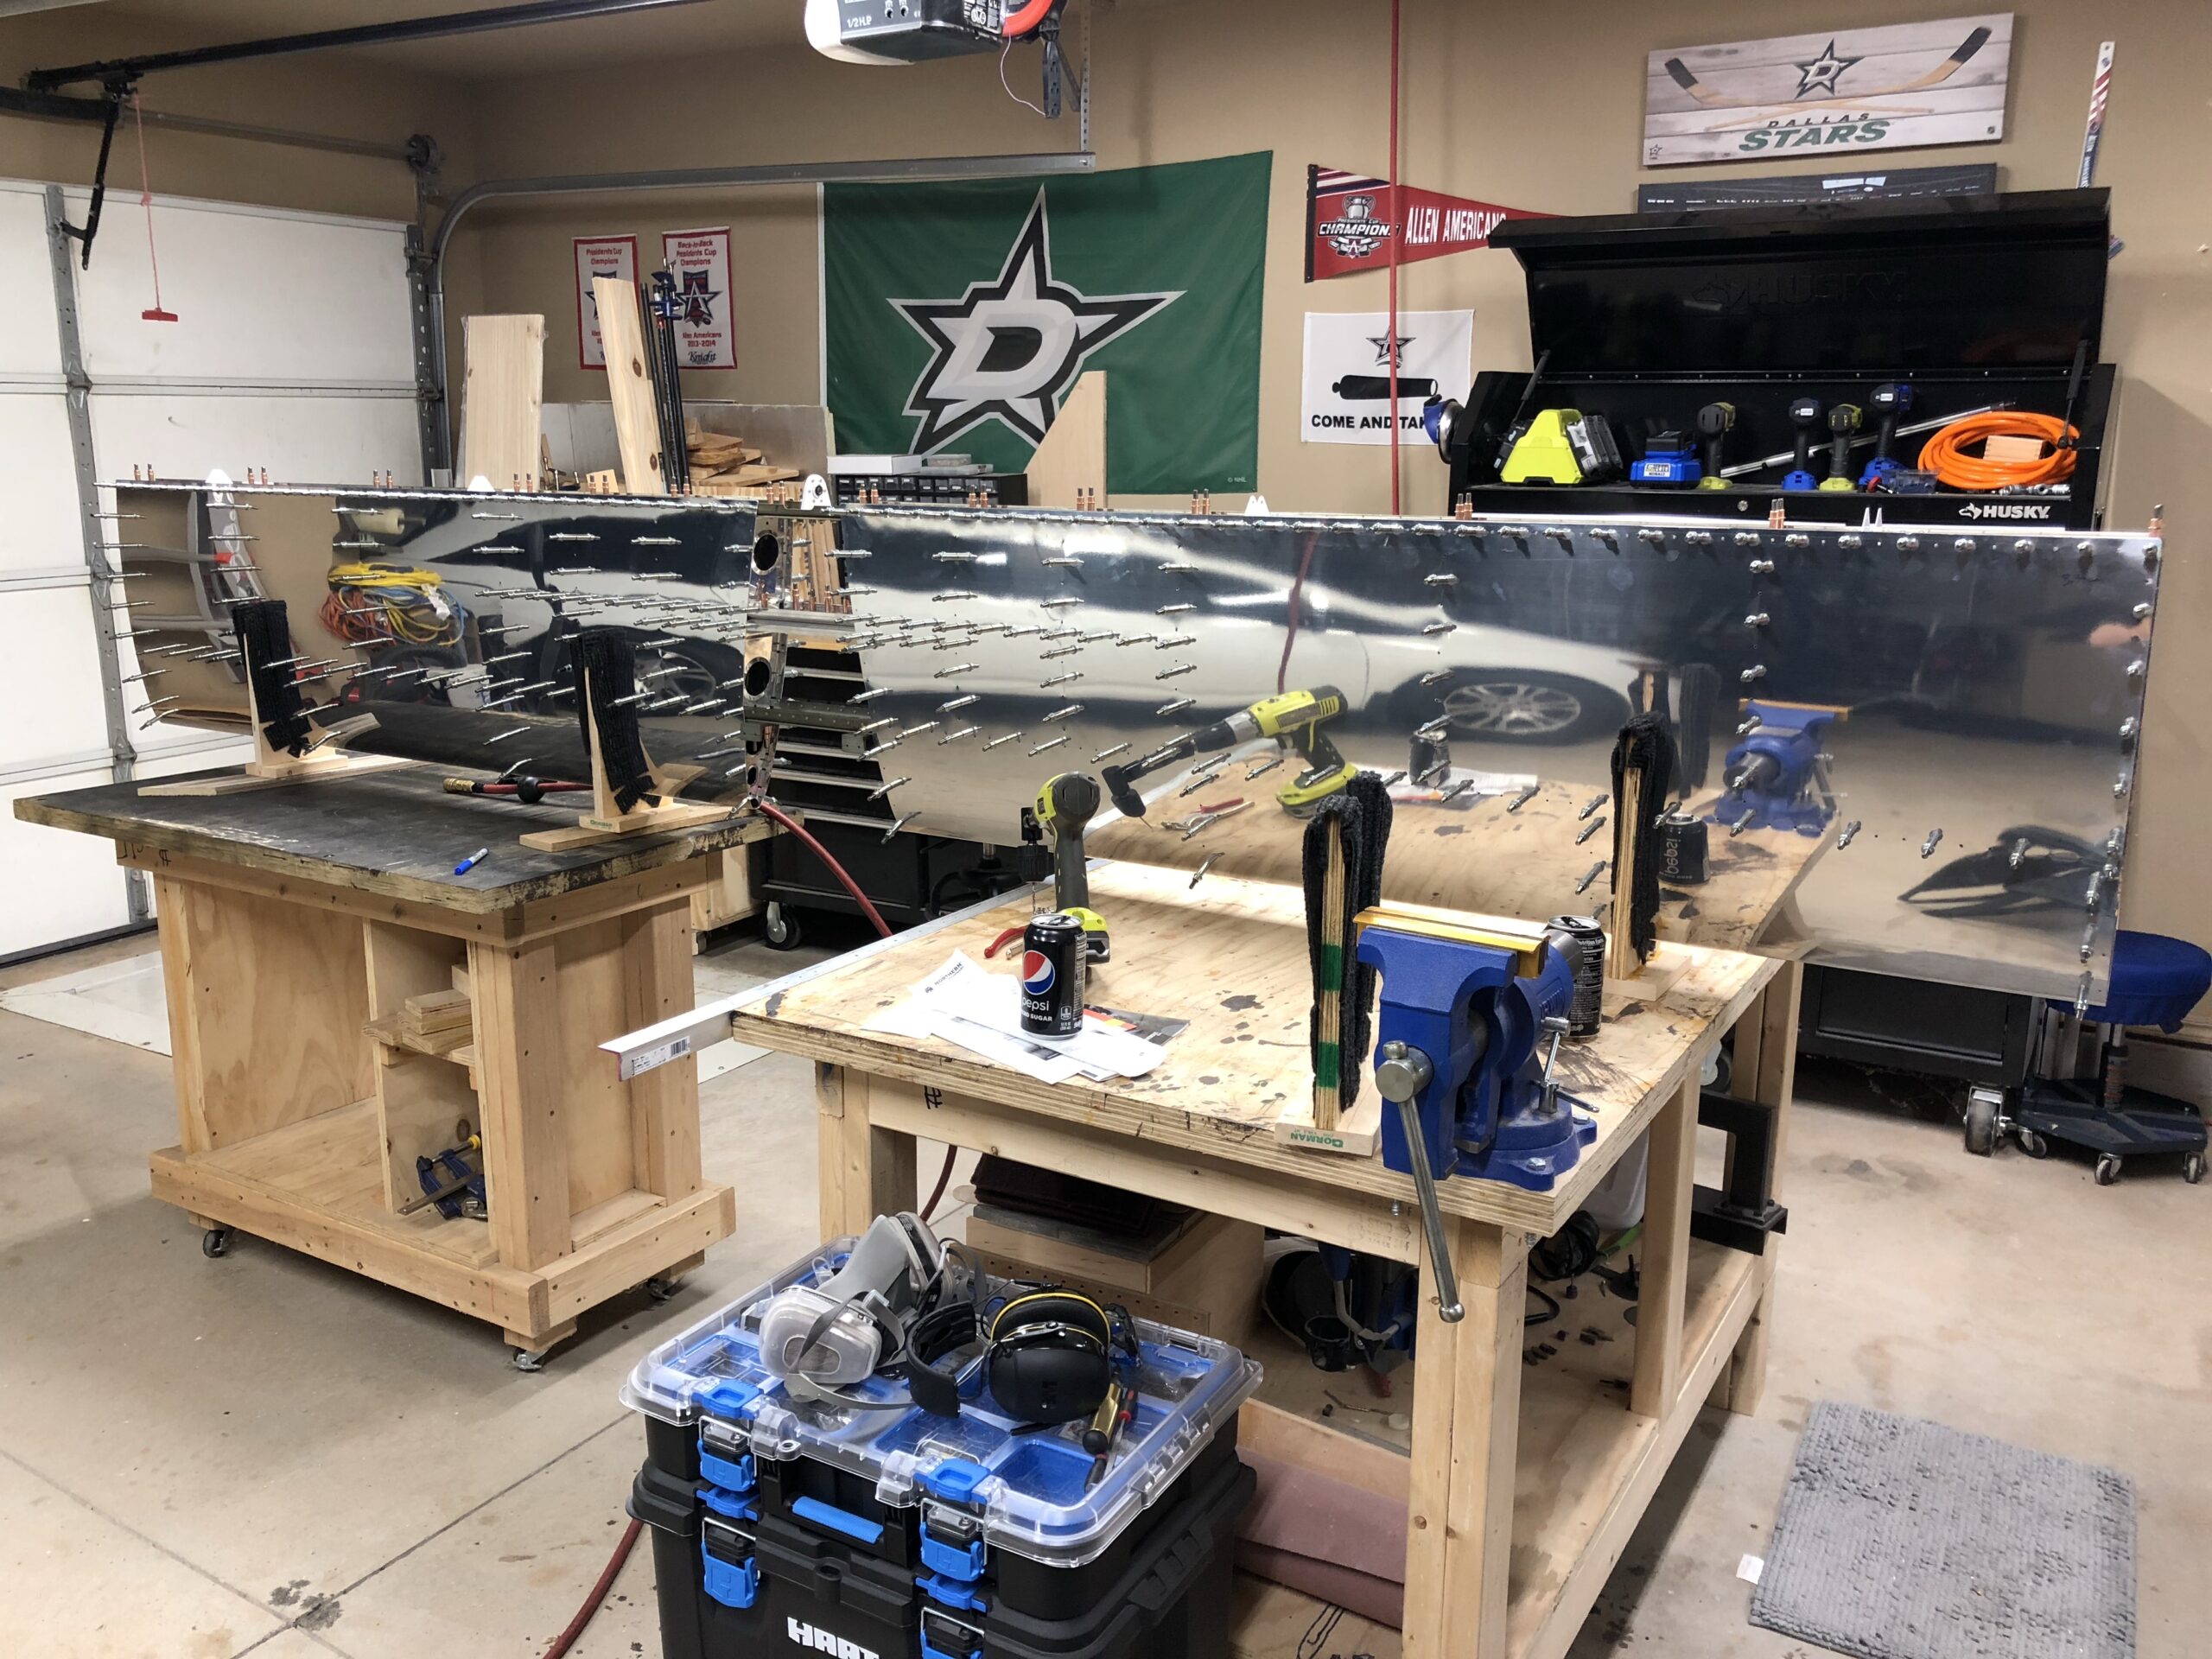
I did quite a bit of work over this weekend. I finished all of the deburring on Friday night (6/11/2021) and got everything ready for priming the next morning. I primed all of the parts and then while the paint cured we went and look at travel trailers with the kids. I think while I’m building this and we have more kids than we can fly in the RV-10, we will travel around the US in a travel trailer, but we are going to rent one first to see if it’s really for us. So we’ll see!
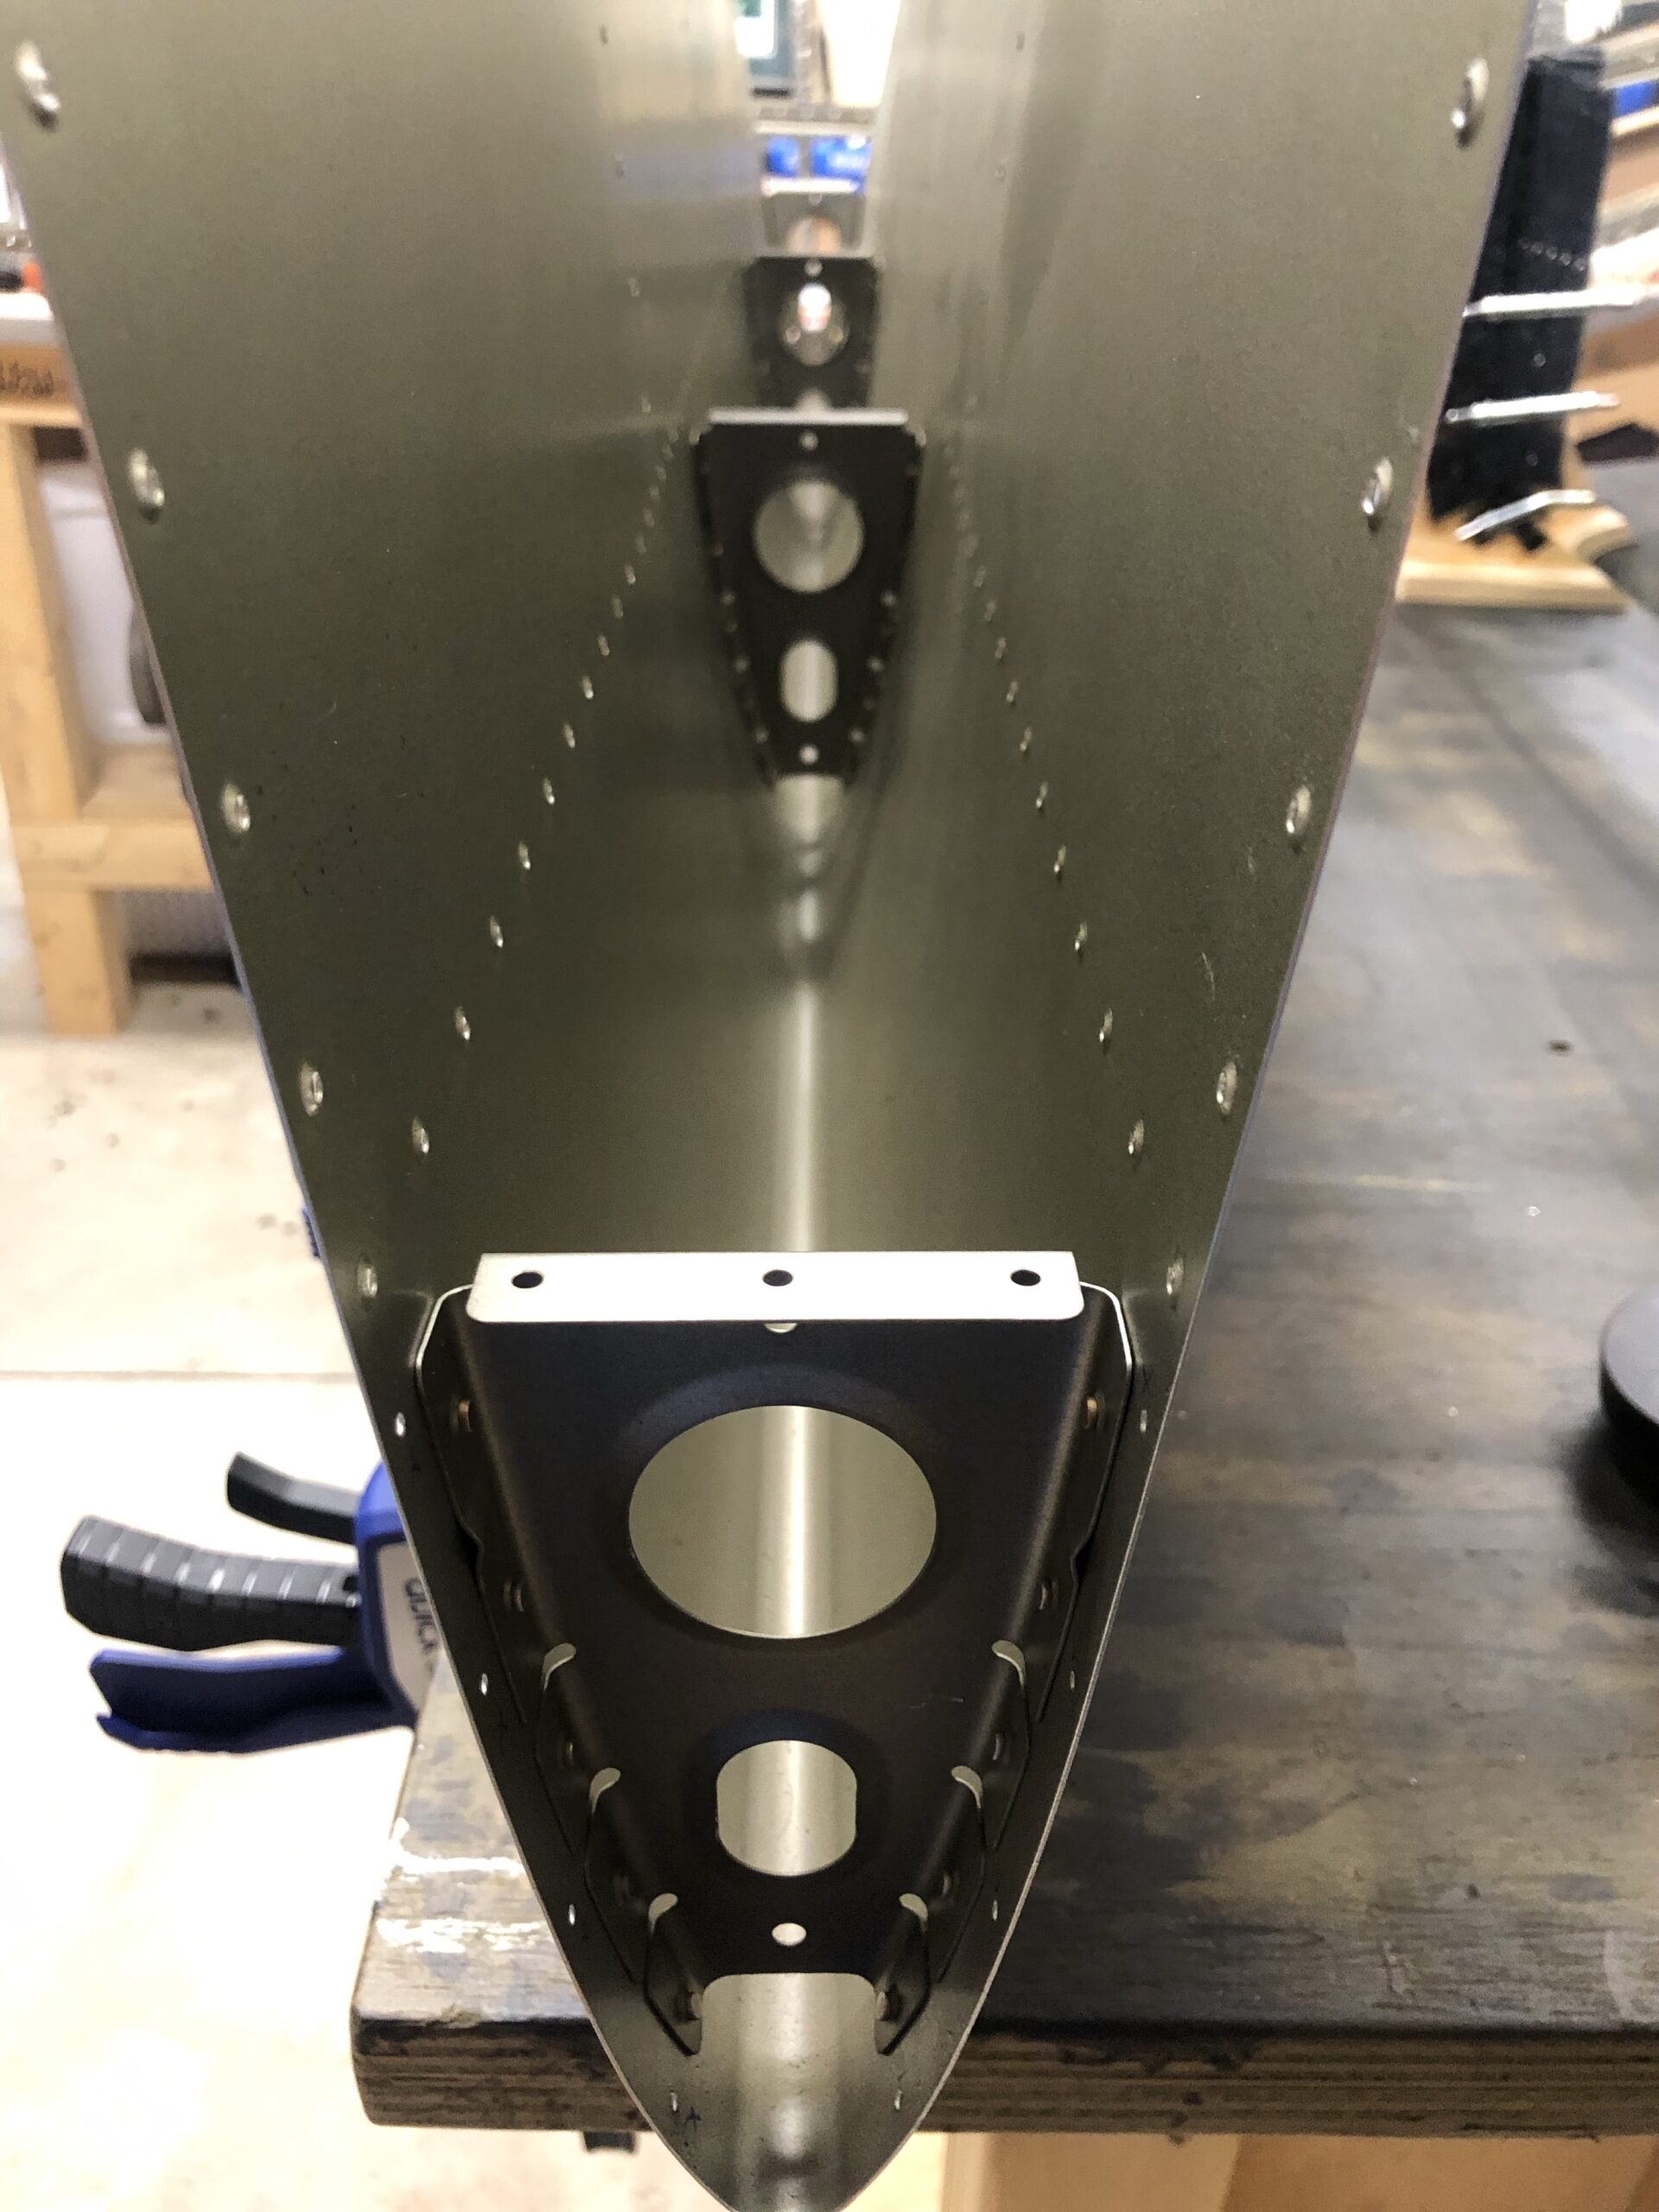
After it cured, I put together the inner rib and spar assembly and I got almost all of the nose ribs installed. I have two more nose ribs to rivet into the nose and then I can get the inner rib and spar assembly riveted in place. My biggest worry is how to rivet all of the inner rib rivets. That will be a tight area to get those rivets set so fingers crossed I can get that done without too much of a hassle.
Parts deburred and ready for priming!Me with the inner assembly and the skins with the nose ribs almost doneClose-up of the one skin with nose ribs fully setEverything waiting to go together on my next build session!
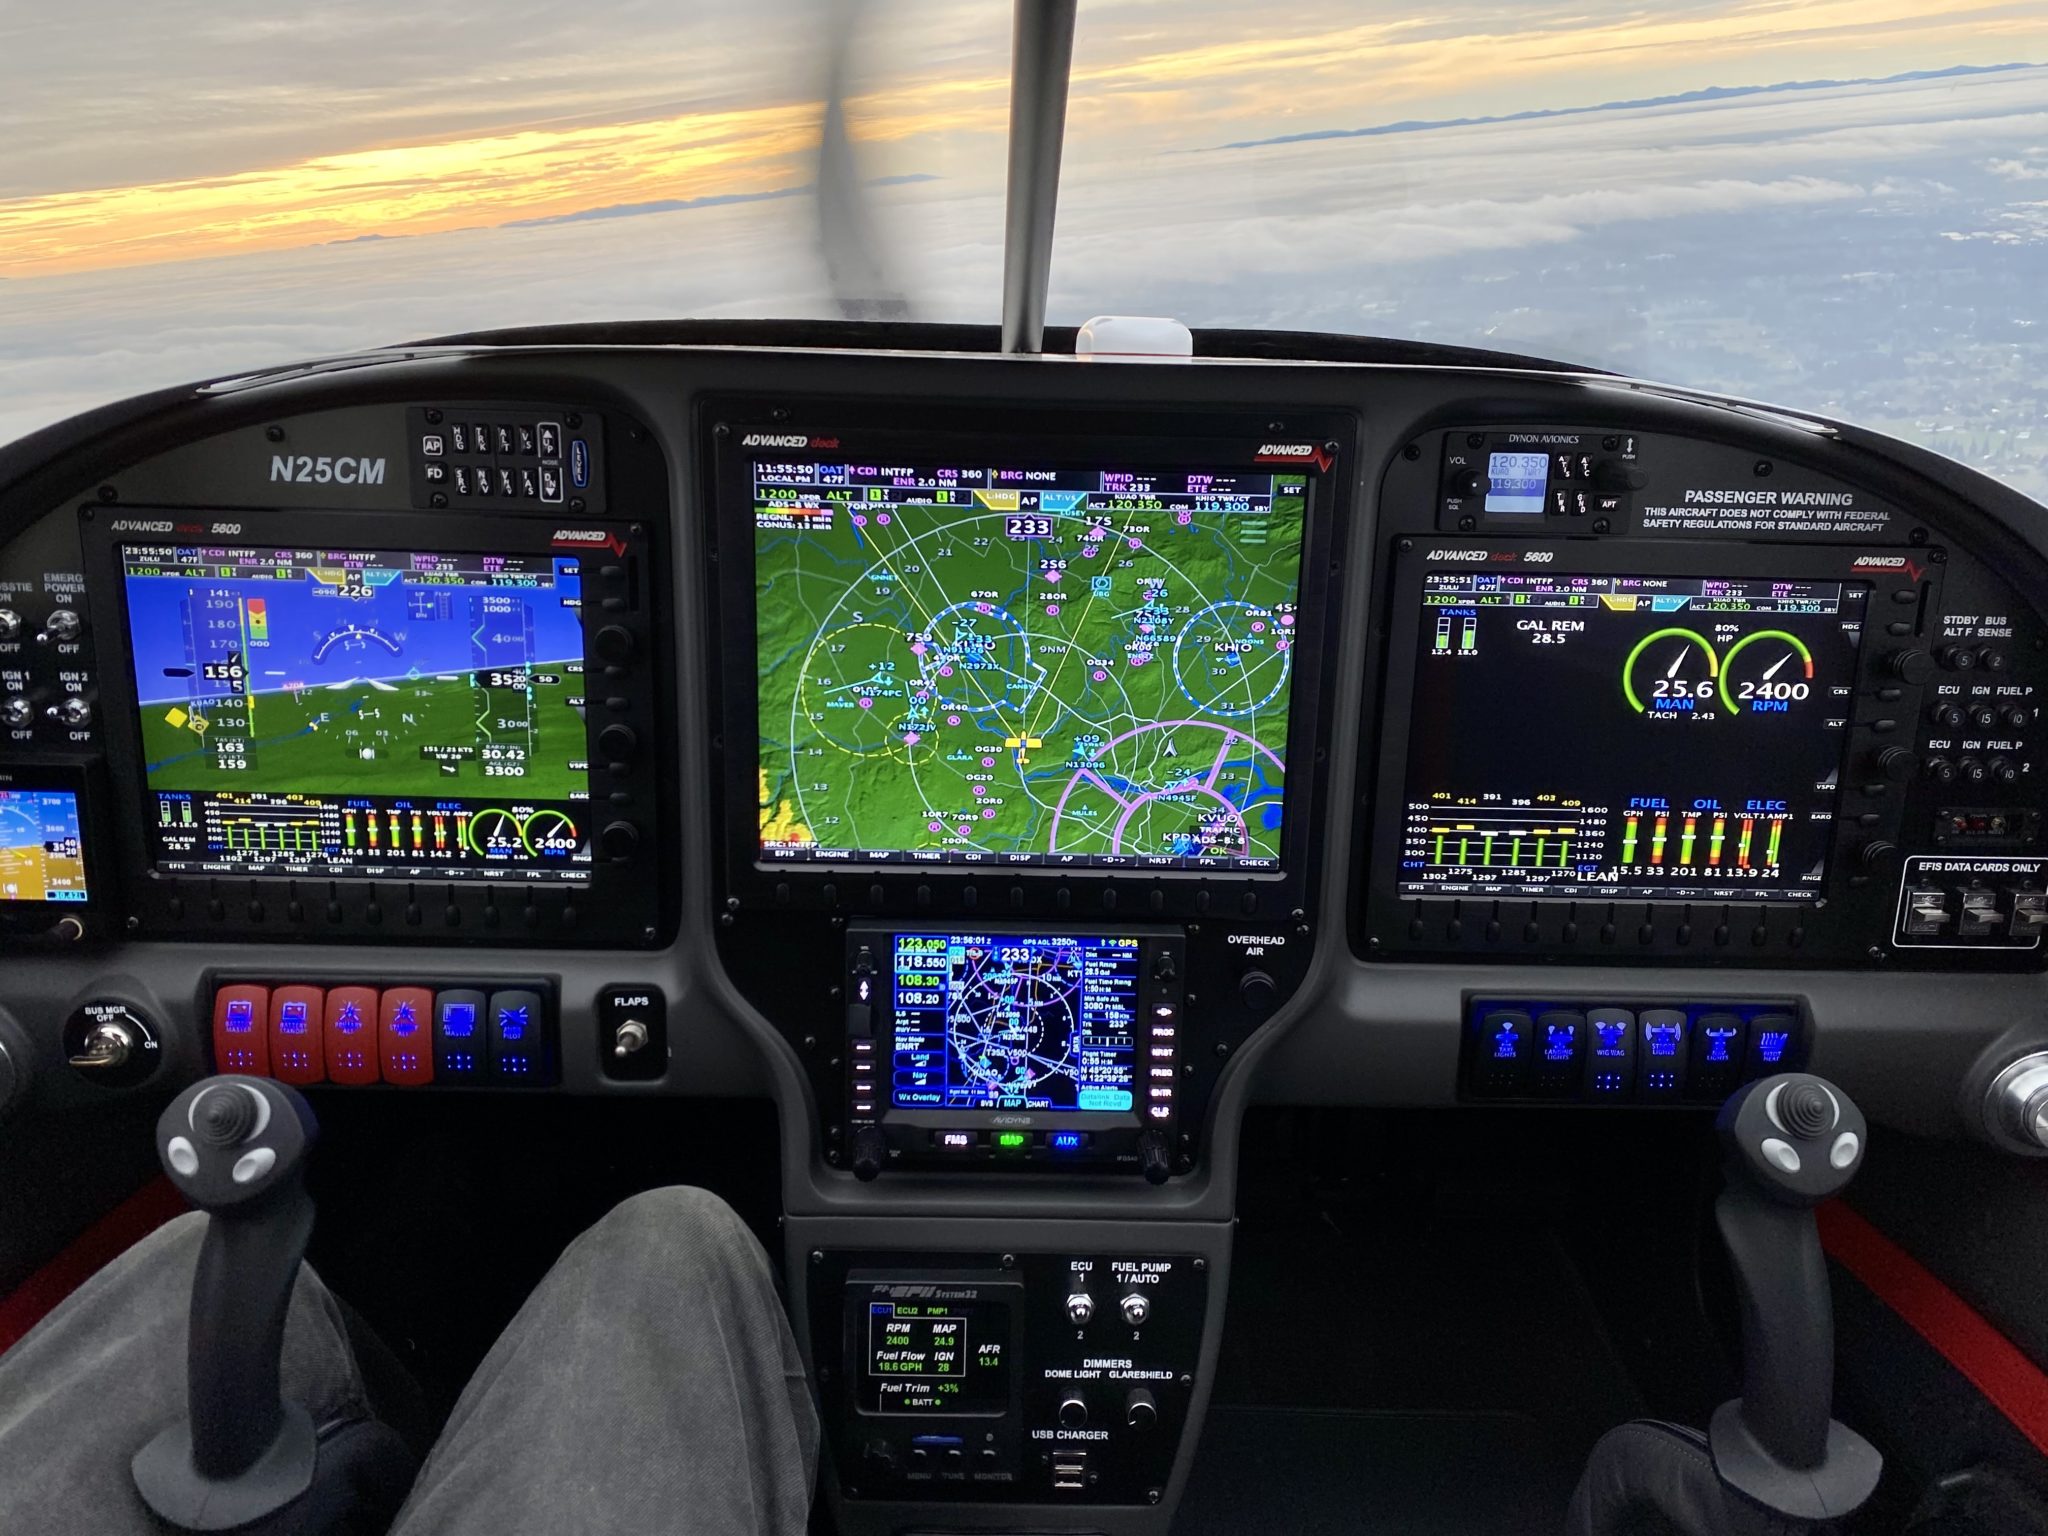
I was trying to get everything more fleshed out in terms of how things will look in the interior, exterior, avionics, etc. Specifically with the avionics as I want to make sure that if I need to install any servos, antennas, sensors, etc. that I am getting them installed at the most opportune time.
I started off with the interior as that seemed to be the easiest to start making decisions on. The Aerosports company has some really good looking panels and center consoles that I want to make sure to include in the build so I decided they might be the best place to get the entire interior from. You can see more what I selected, but I specifically liked the quad center console as well as the overhead console.
The layout I am looking to use with the G3X Panels, throttle quadrant, fuel selector, etc.The rendering of the overhead console
I think started looking at the paint job. I sent a few emails and Planeschemer came back with a very quick response! I’m imagining that it is a canned response, but it was nice to get access to more of their example work that would give my wife and I an opportunity to see what we wanted to select. We are definitely looking more towards blue as the main color, which I think this scheme I’ve already found but with a dark blue instead of the dark red would be excellent.
I like that it has plenty of white and grey/silver with the black accents, but then having some dark blue like a midnight blue pearl.
Then on the avionics I found a really excellent website that a builder documented the exact layout of his avionics. It gives me an excellent starting point to figure out what components I need to start planning for and I’m including his research here just in case his site goes down.
This layout was very well designed. The one change I would like to make is to push the middle screen further up and try to fit in a GTN 750Xi. I would also have a second radio that is able to receive NAV signals so that I can do true IFR with two NAV radios. The GTN 750Xi would have one COMM/NAV radio and I plan on getting a GNC255 as my secondary COMM/NAV radio. If that changes then great, but the remote COMM unit that the G3X has seemed to only be a COMM radio. I would push down the autopilot and put that second radio just below the GTN 750Xi and put the audio panel just above the autopilot.
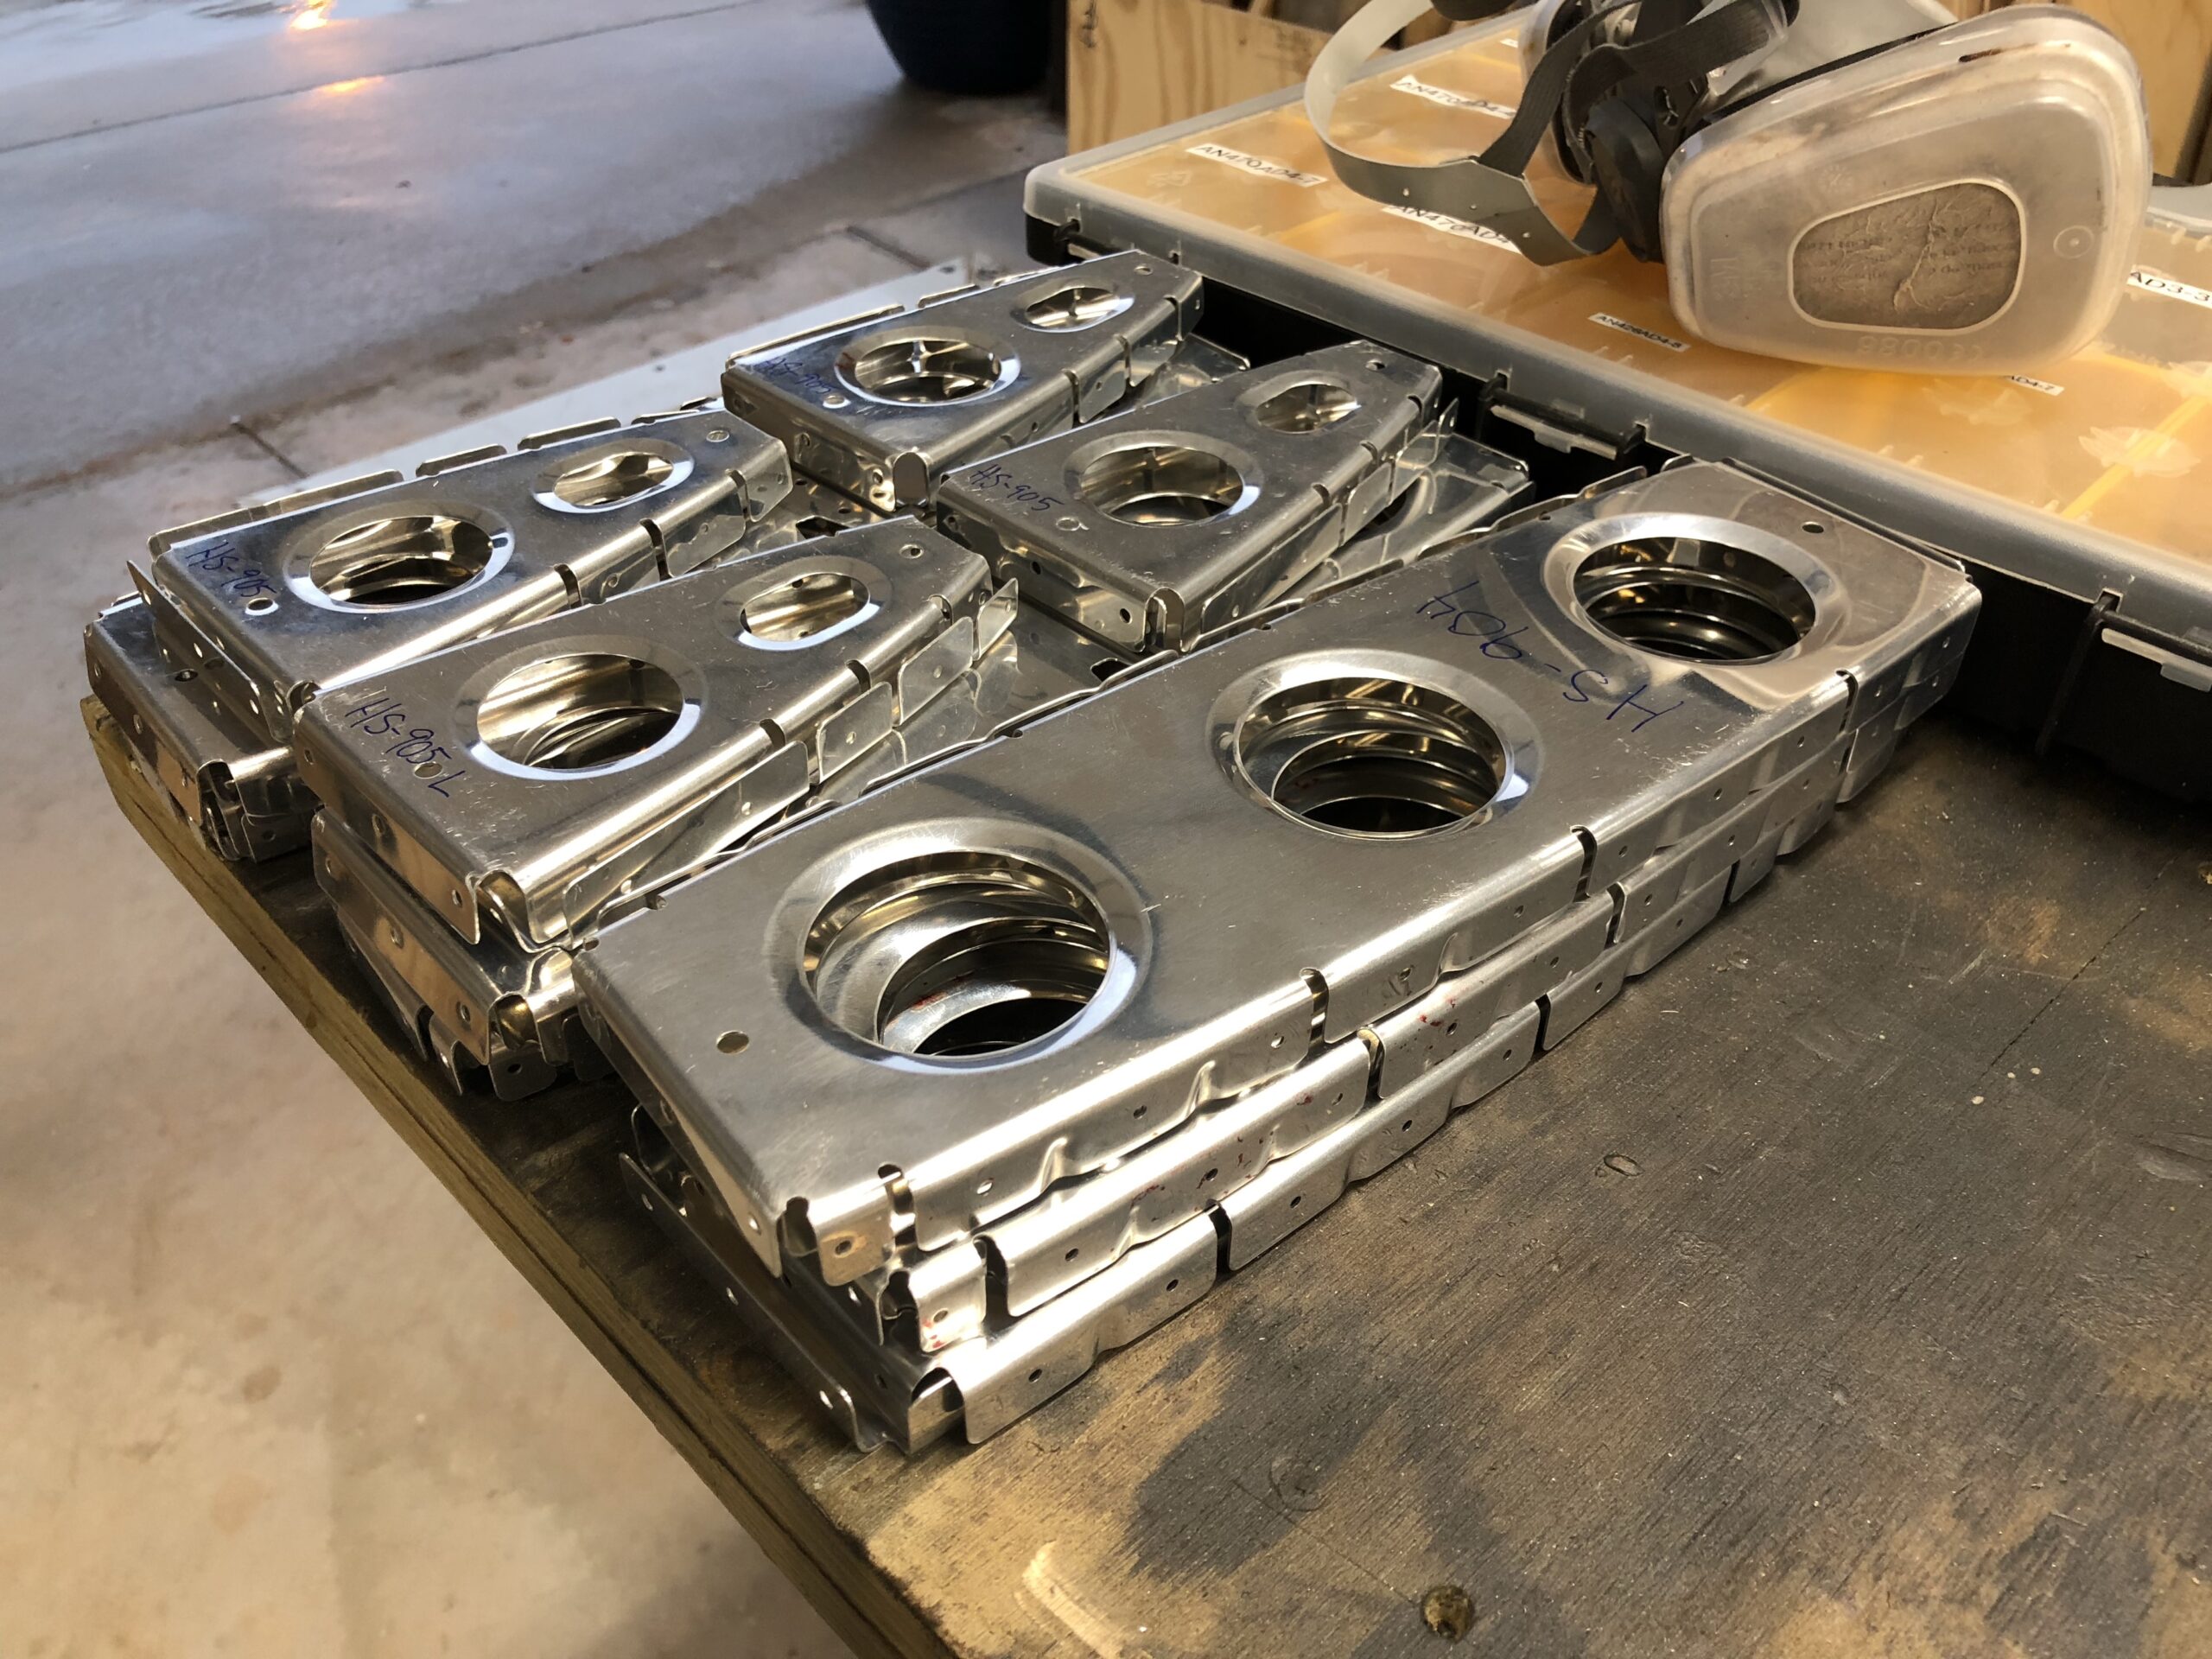
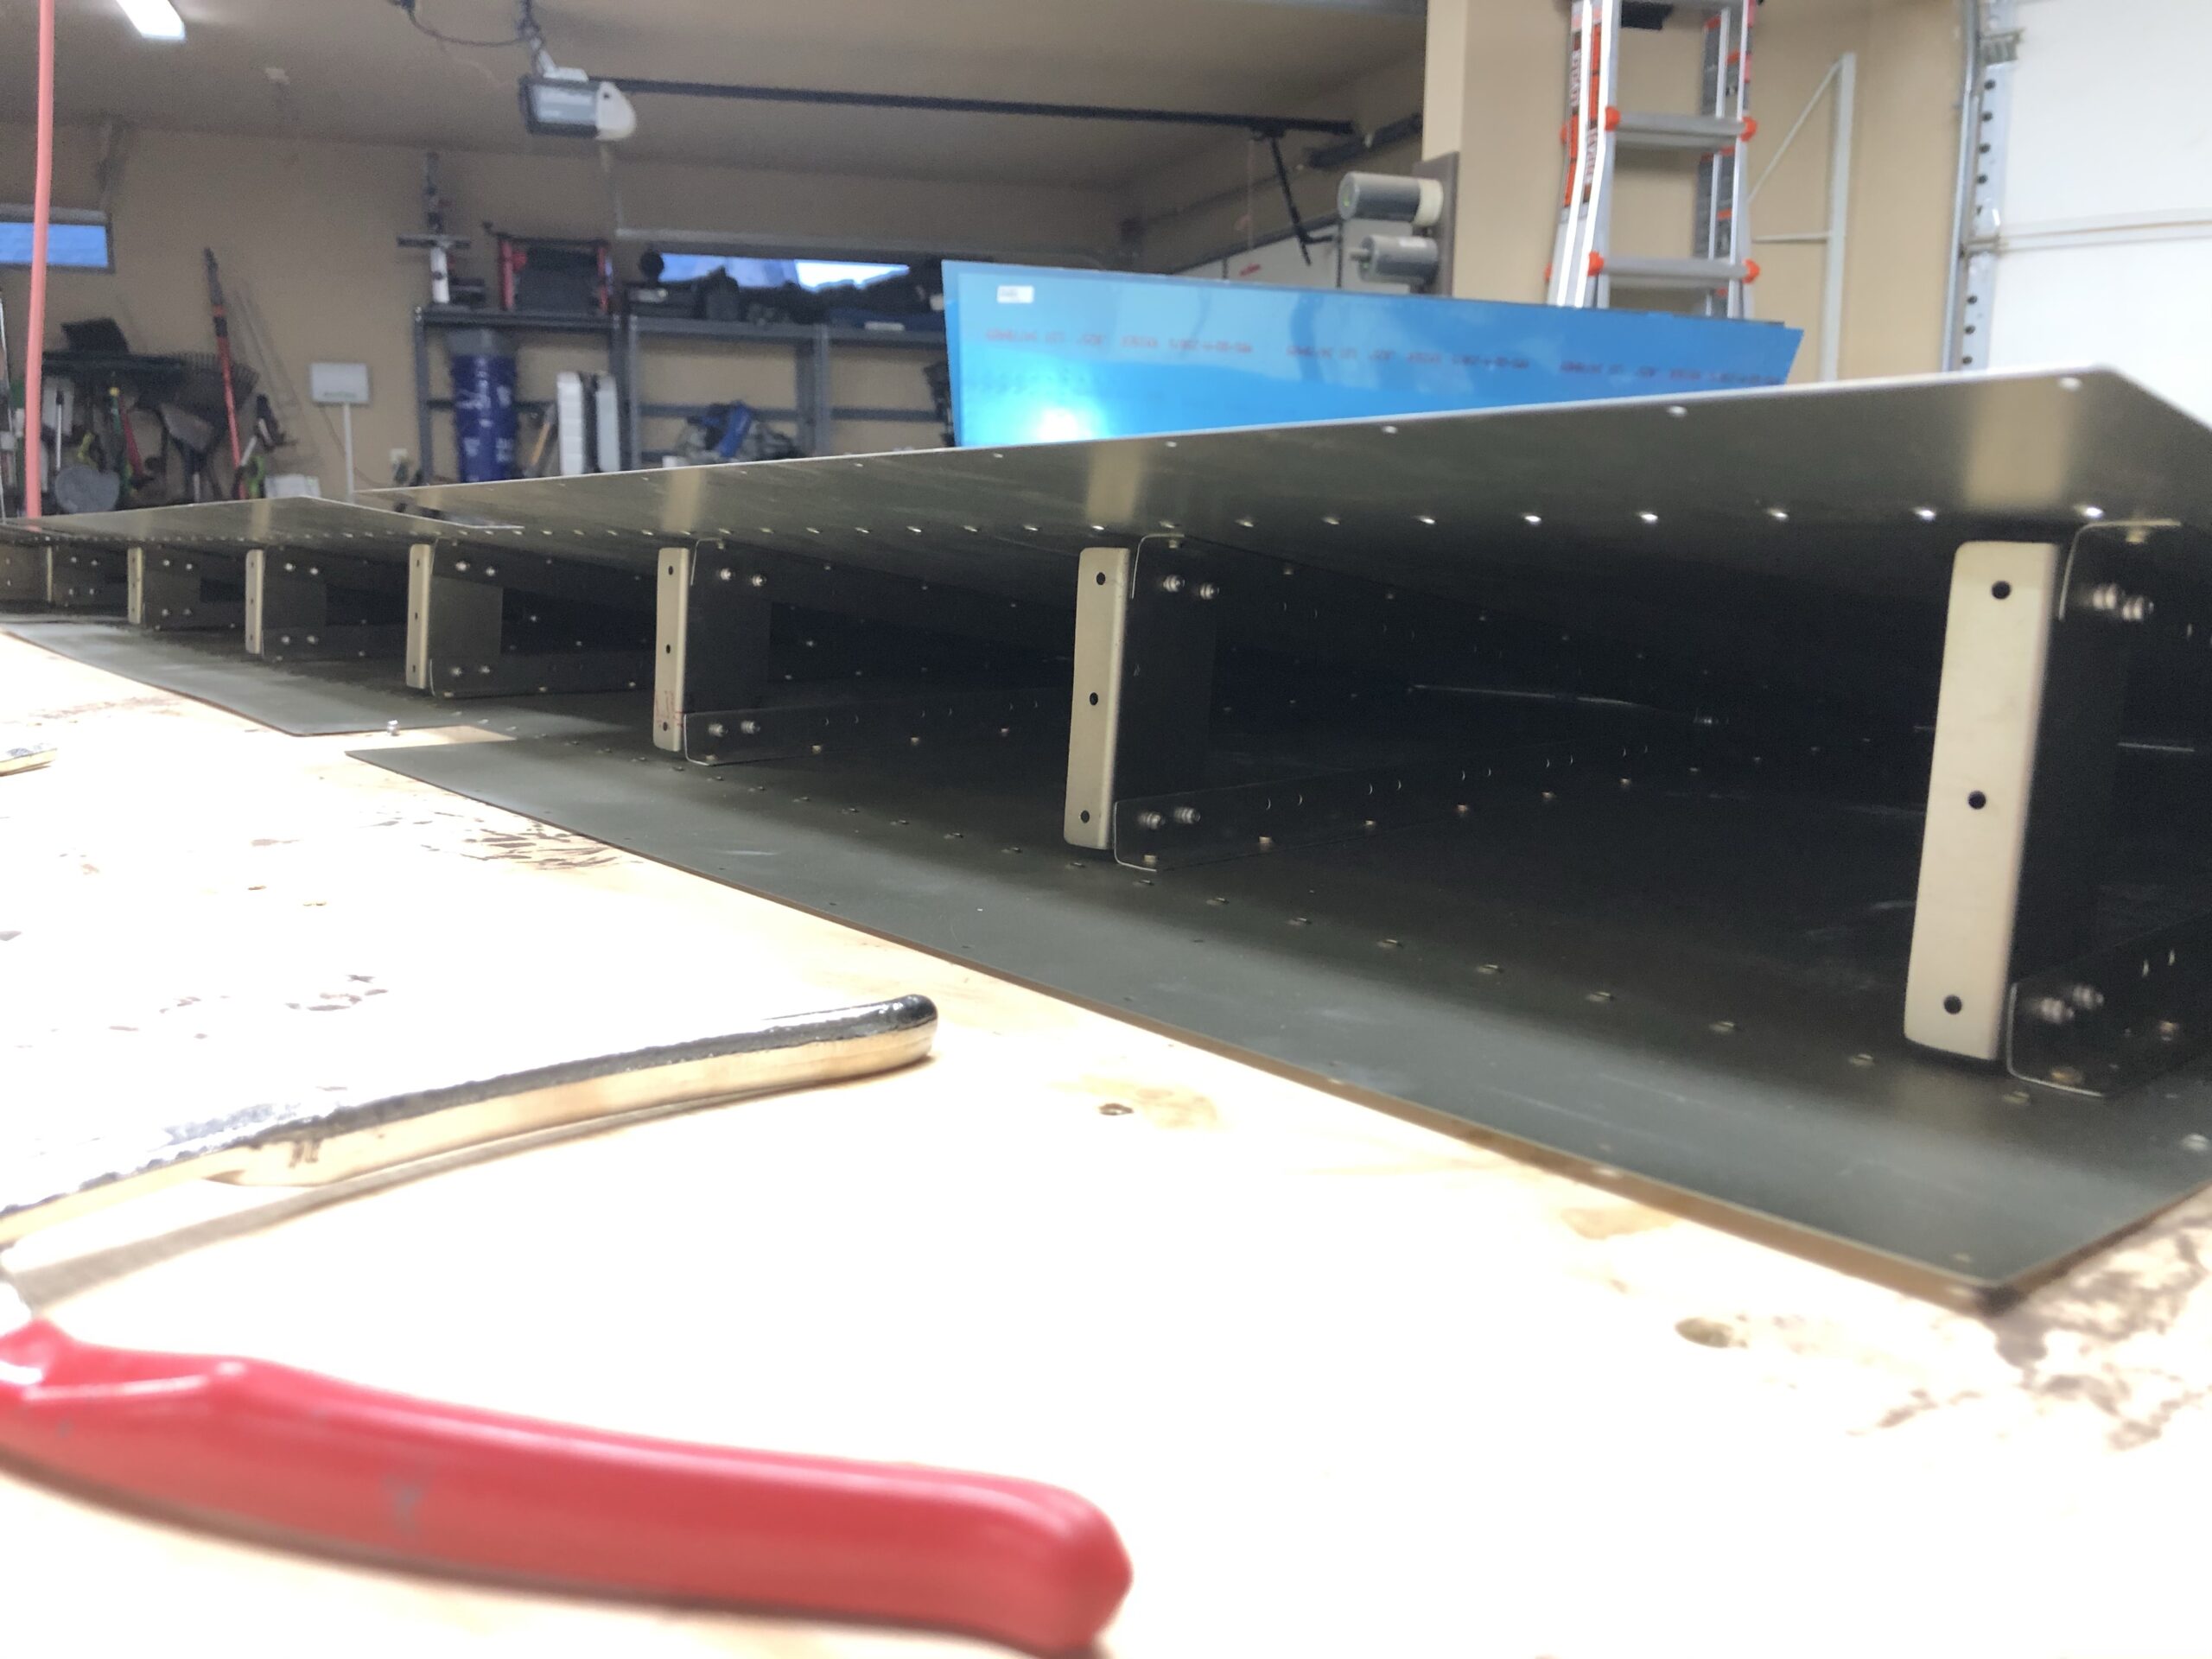
I spent the majority of this weekend getting the HS put together, final drilling the holes, and then I deburred the outside holes of the skin. I did have to order a tight quarters drilling set. I tried using a right angle drill attachment from Northern Tools but it was still too wide to get into the very corners where the HS-1015 stringer lives. So I’ll have to wait for that to arrive before I can disassemble the HS and finish the deburring. I might still move ahead to the deburring and just put the parts connected to the stringer back together, but I’m not sure though. Either way, it was really cool to see the whole thing together and to see how it is constructed!
My wonderful daughter next to the skins that fit perfectly in the cradles!All of the frame together and the holes have been match drilledHalfway assembled!Fully assembled, match drilled, and the outer skin holes deburred
Tonight was all about getting prepped for my next big day of contiguous time. I’m busy the next couple of days with church activities so I wanted to get these done today so I’m ready to go next time. It wasn’t too difficult to hack these out luckily.
It was a really good Memorial Day this year. We didn’t get to go outside since it rained all day long, but we did watch the PBS Memorial Day Concert on YouTube. It definitely touches my heart to remember all of what has been sacrificed for our country to stay free. From the people who gave the ultimate sacrifice, to the medical personnel, and even those who support the war efforts from home. Every single one has given a sacrifice or time, blood, sweat, and tears. It was a really good day of reflection.
I did take some opportunity while I was watching some shows today to finish the deburring of the last parts for the HS. It didn’t mention to deburr them but I felt I might as well get it done now while I have all the deburring equipment out. It was about two hours worth of work today.
I did run across an interesting issue. In the instructions, it asks you to cut an oblong hole in two of the nose ribs for the trim cables to go through. My nose ribs already had lightening holes in them and I measure the holes and they covered the area of the oblong hole that they wanted us to cut so I’m going to guess it’s no longer required. I’ll keep searching for an answer and if not I’ll contact Van’s just to make doubly sure.
Deburred, fluted, and flanges straightened
Edit: I just realized that I had not posted my previous days of working on the deburring, fluting, and straightening of the other horizontal stabilizer ribs. I’ve added those images here and the time here as well. It took me almost 8 total hours to get all of this done due to the tight areas and the flanges.
Leading edge ribs all doneMid ribs all ready to go!
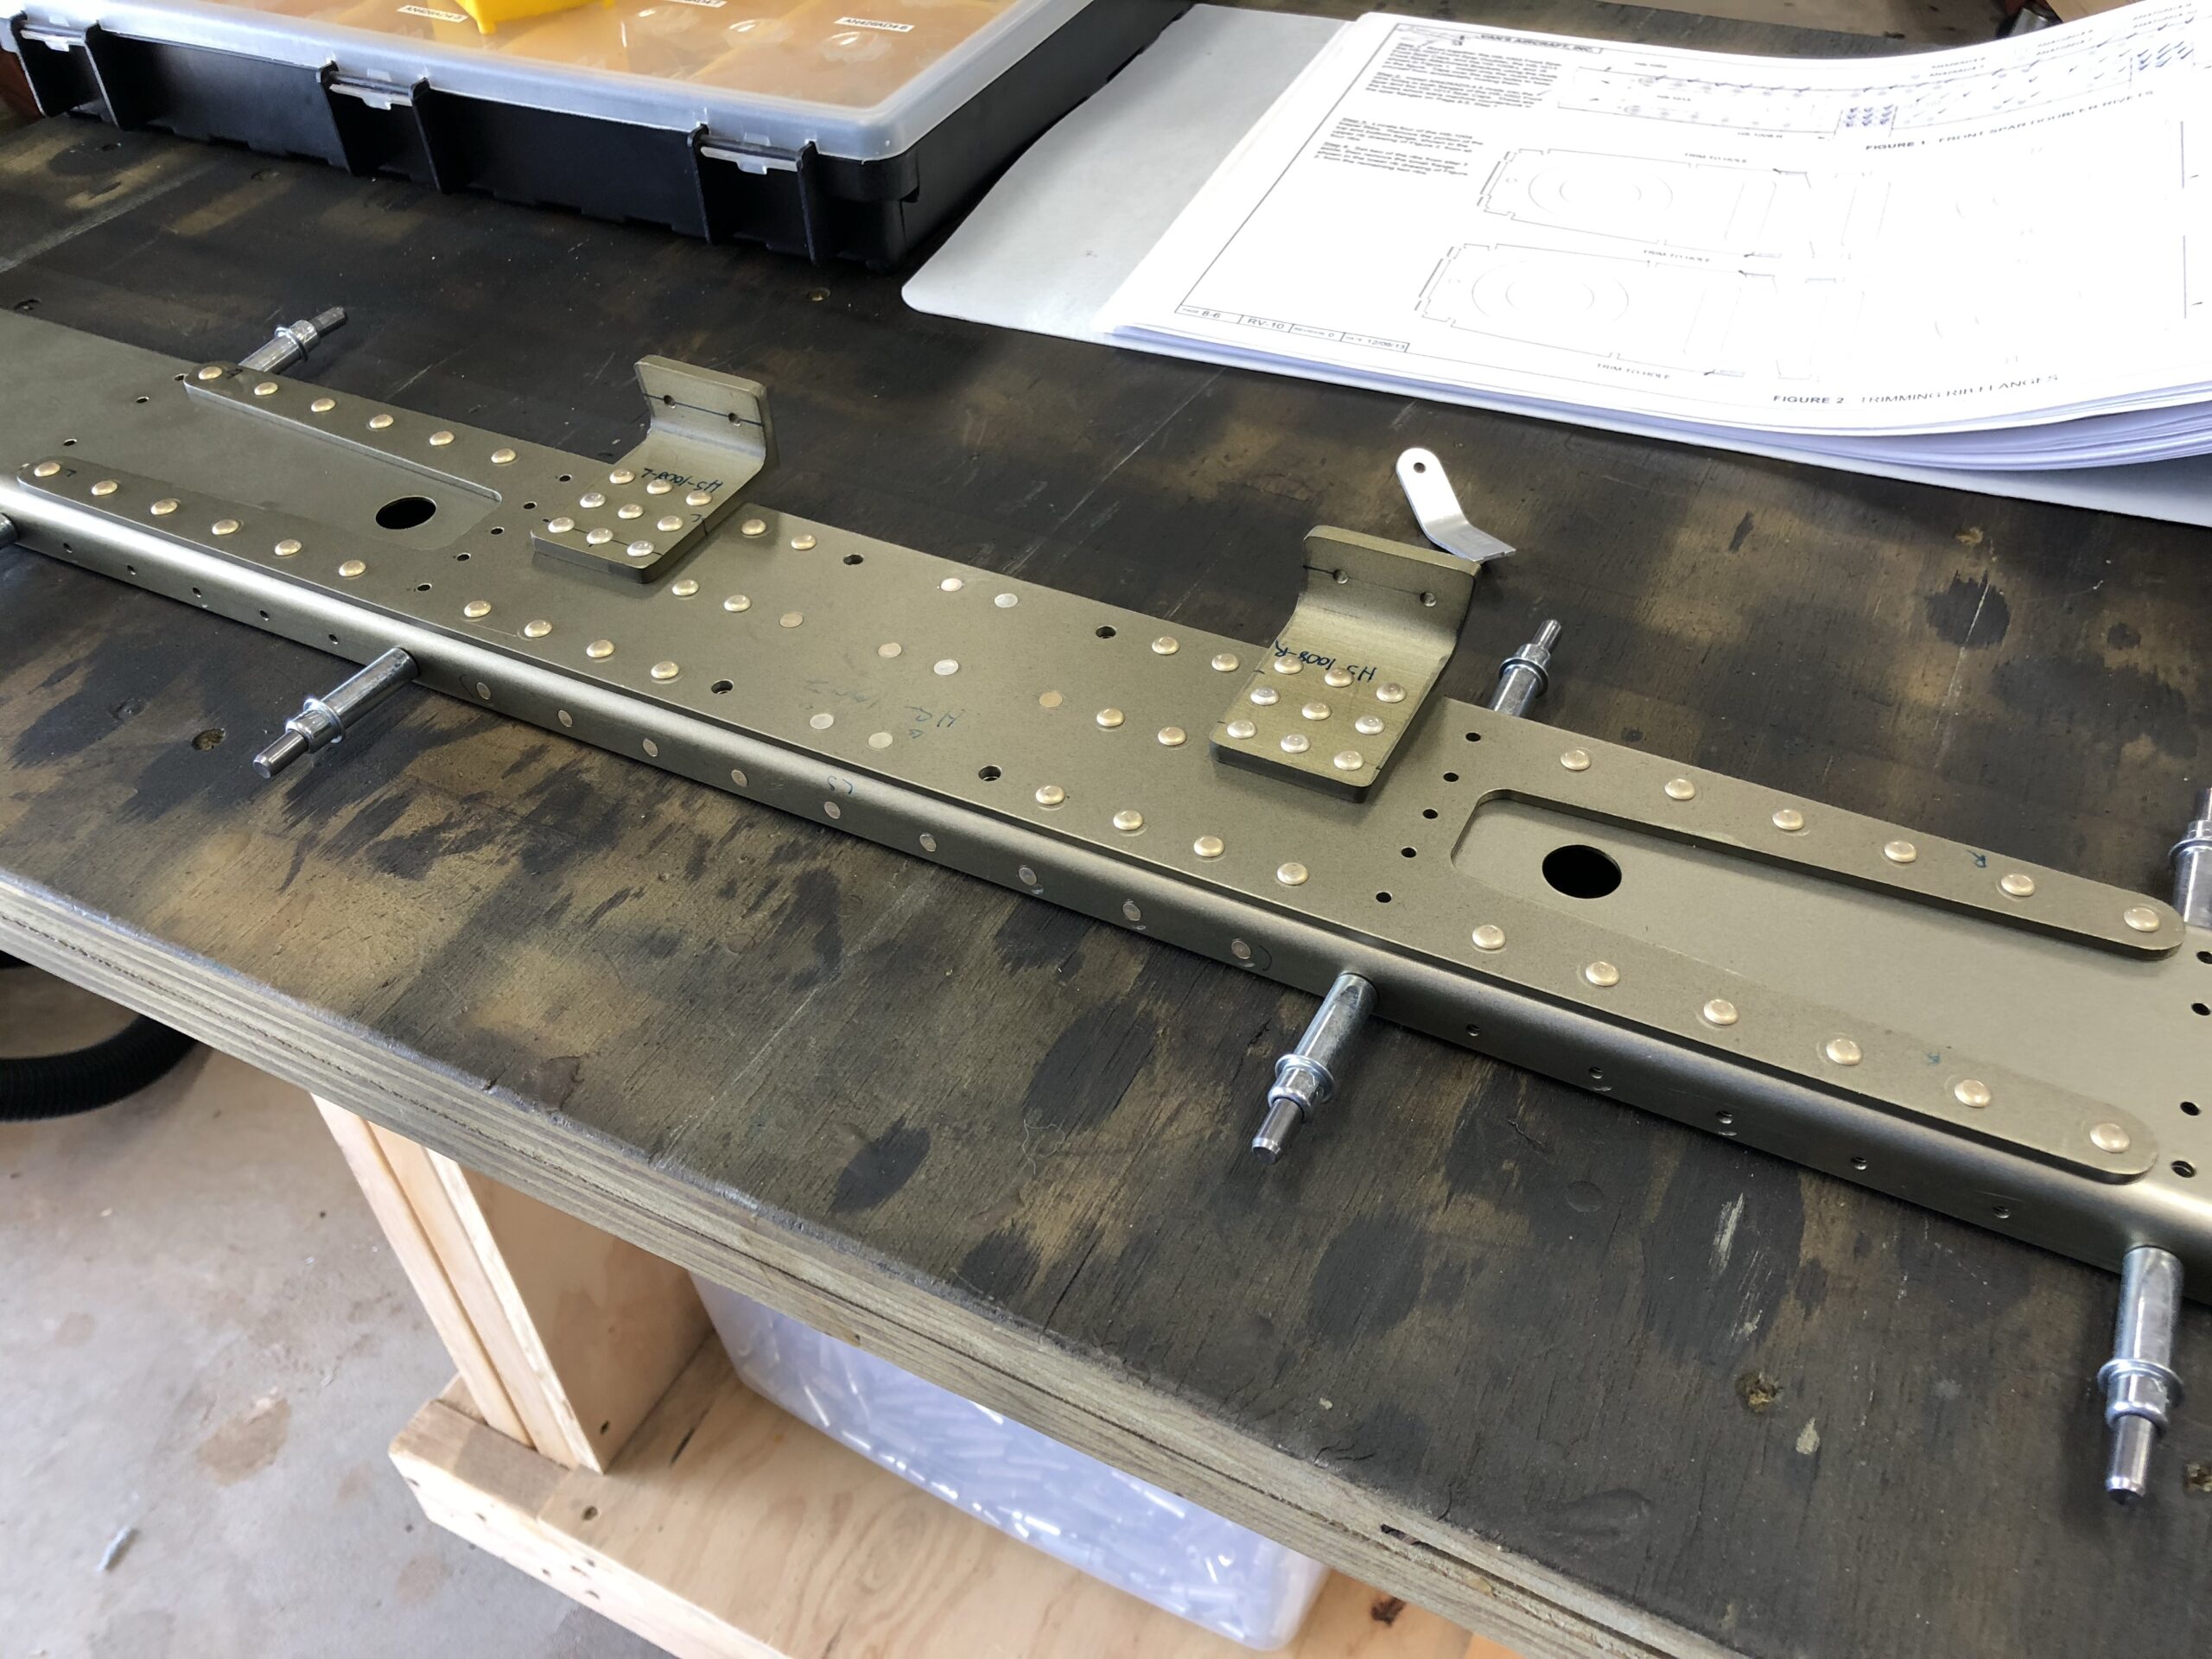
Now that I’m done with the rudder, I immediately started back on the horizontal stabilizer again. I pulled all of the parts out and did a ton of drilling, countersinking, deburring, and prep work. I should have documented better during this process but I was just jamming away while doing this. Below are the pictures from the work with comments below them. Luckily I’ve started getting the priming down. I lowered the pressure to 50 psi and it really smoothed out the paint. I did have to slow down during some of this because I got my second COVID shot and I started feeling pretty lethargic and tired. Either way, enjoy!
Drilling, countersinking, and deburring completeUp-close of the brackets that I had to fabricateUp-close of the spar doubler and the bracketsPrimer looking much better this time!All the parts primed and dryingAll of the riveting done and ready to go on to the next steps!
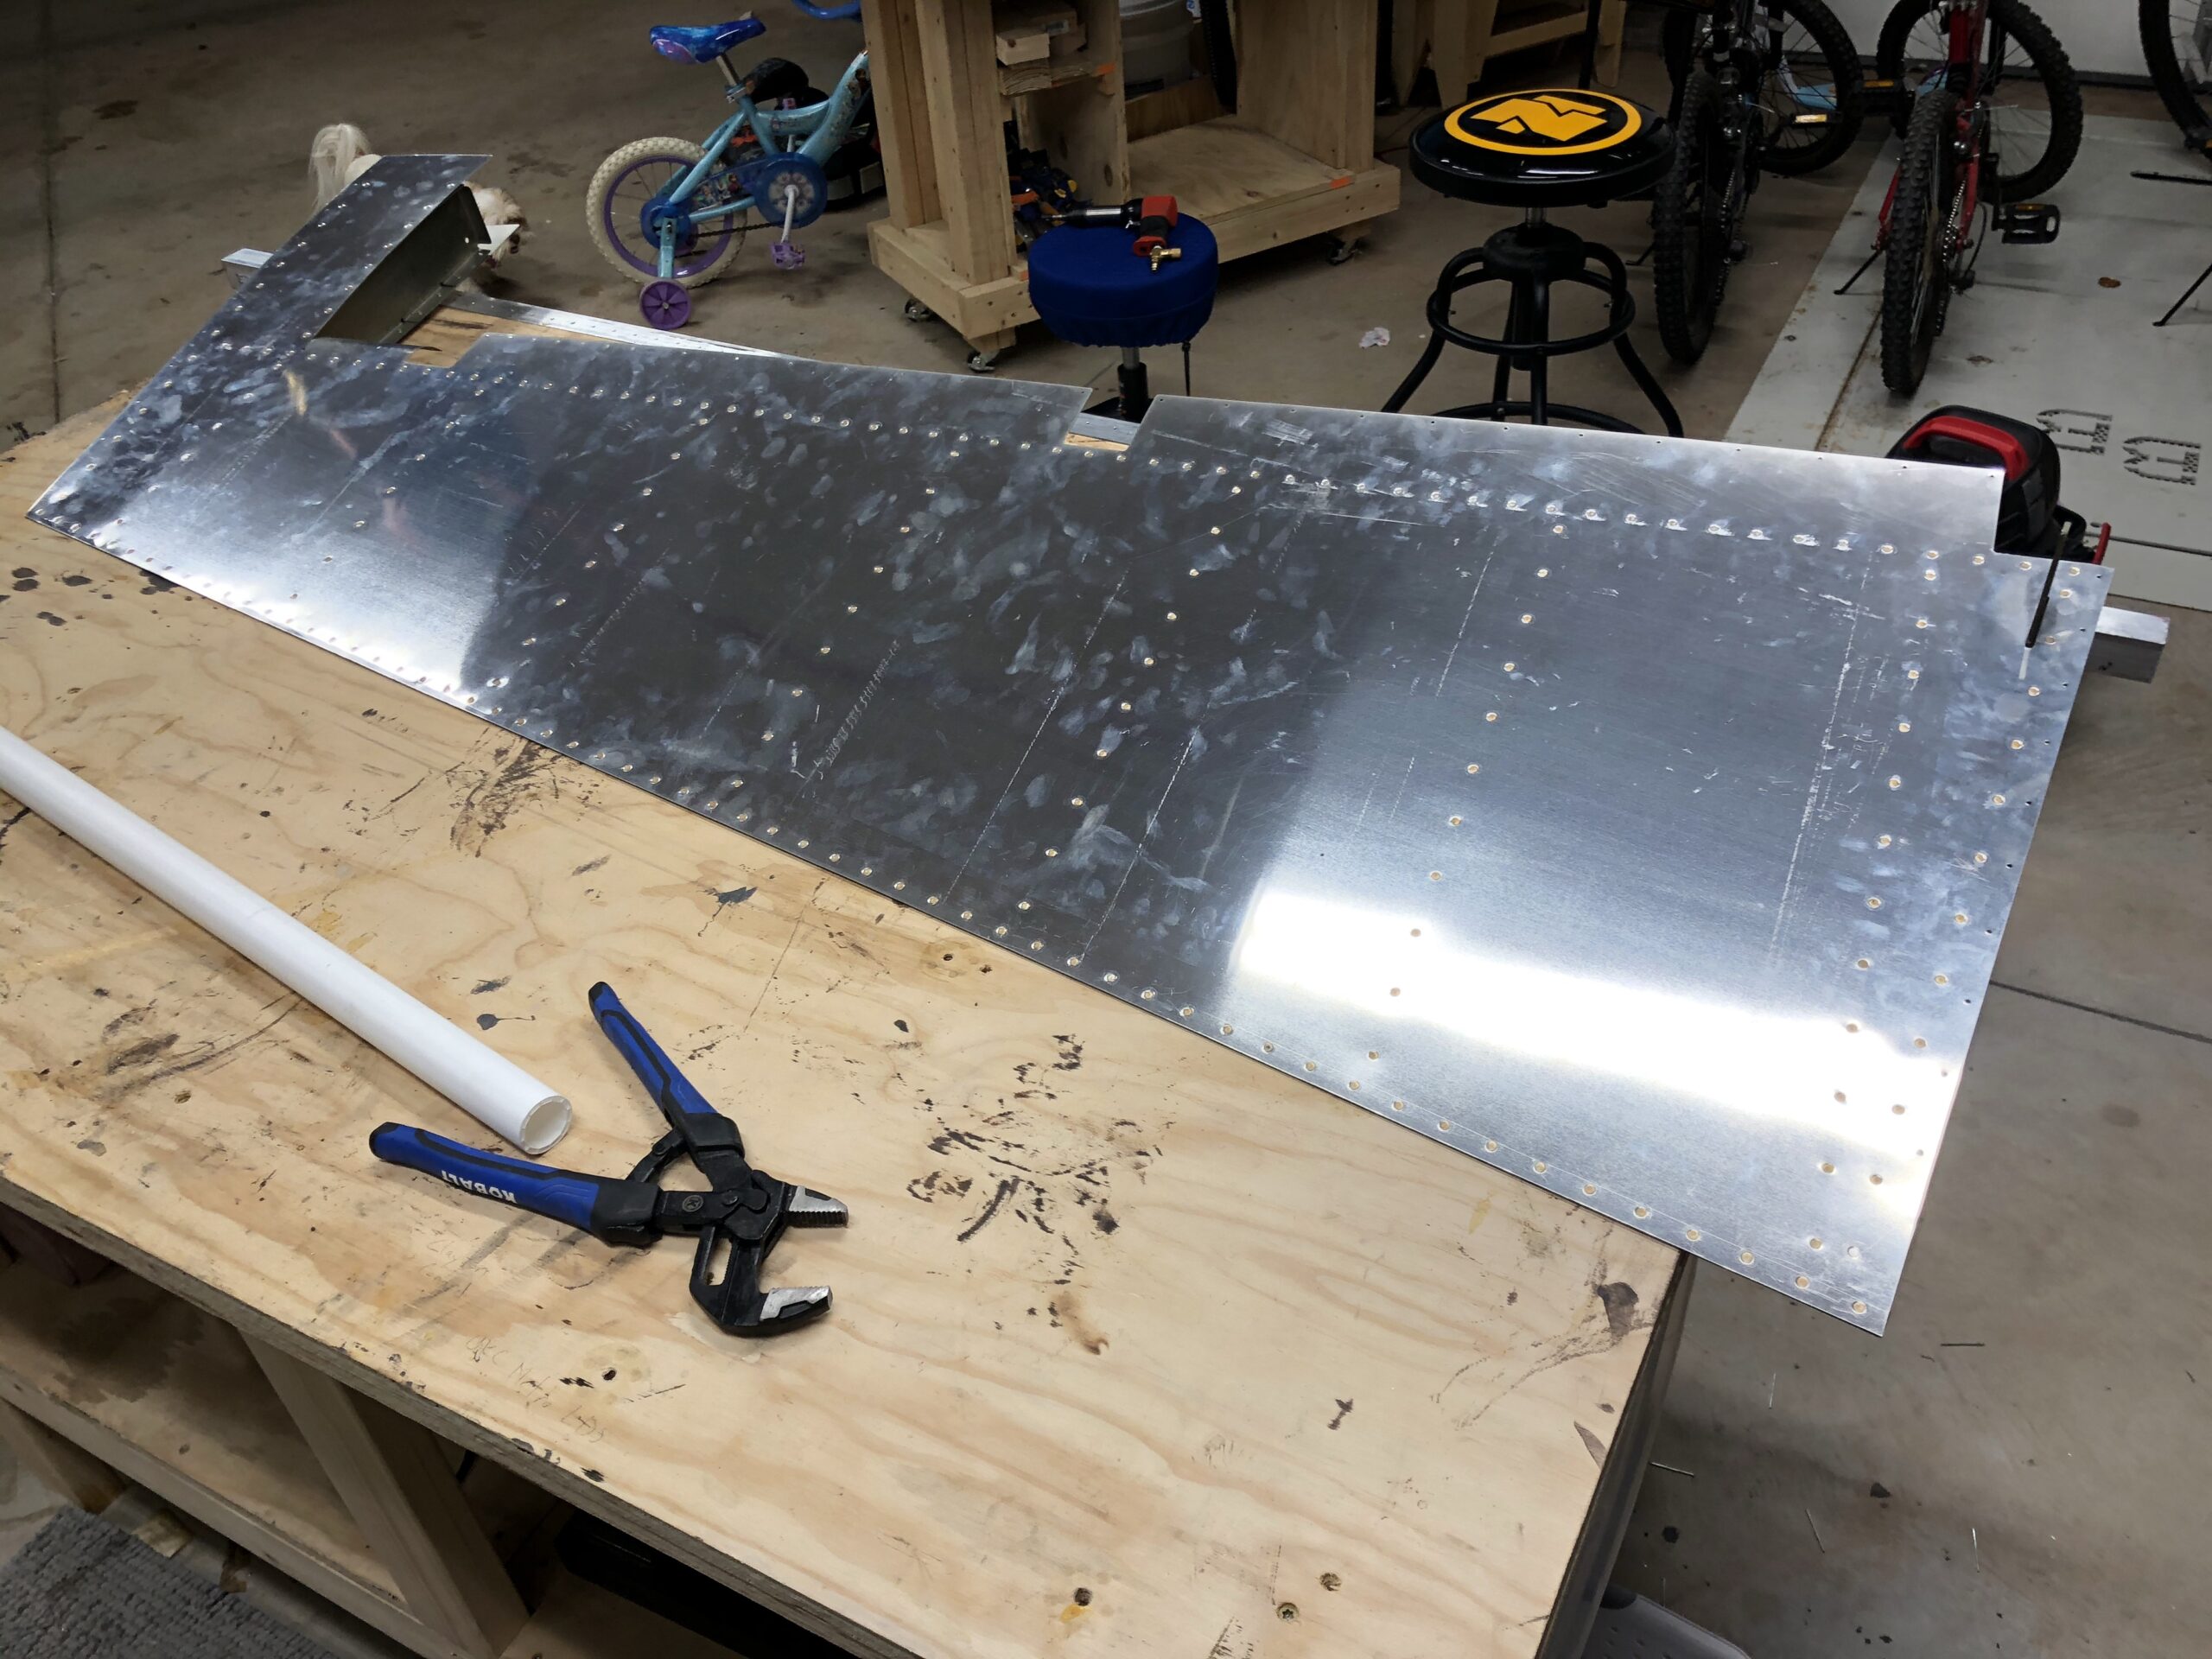
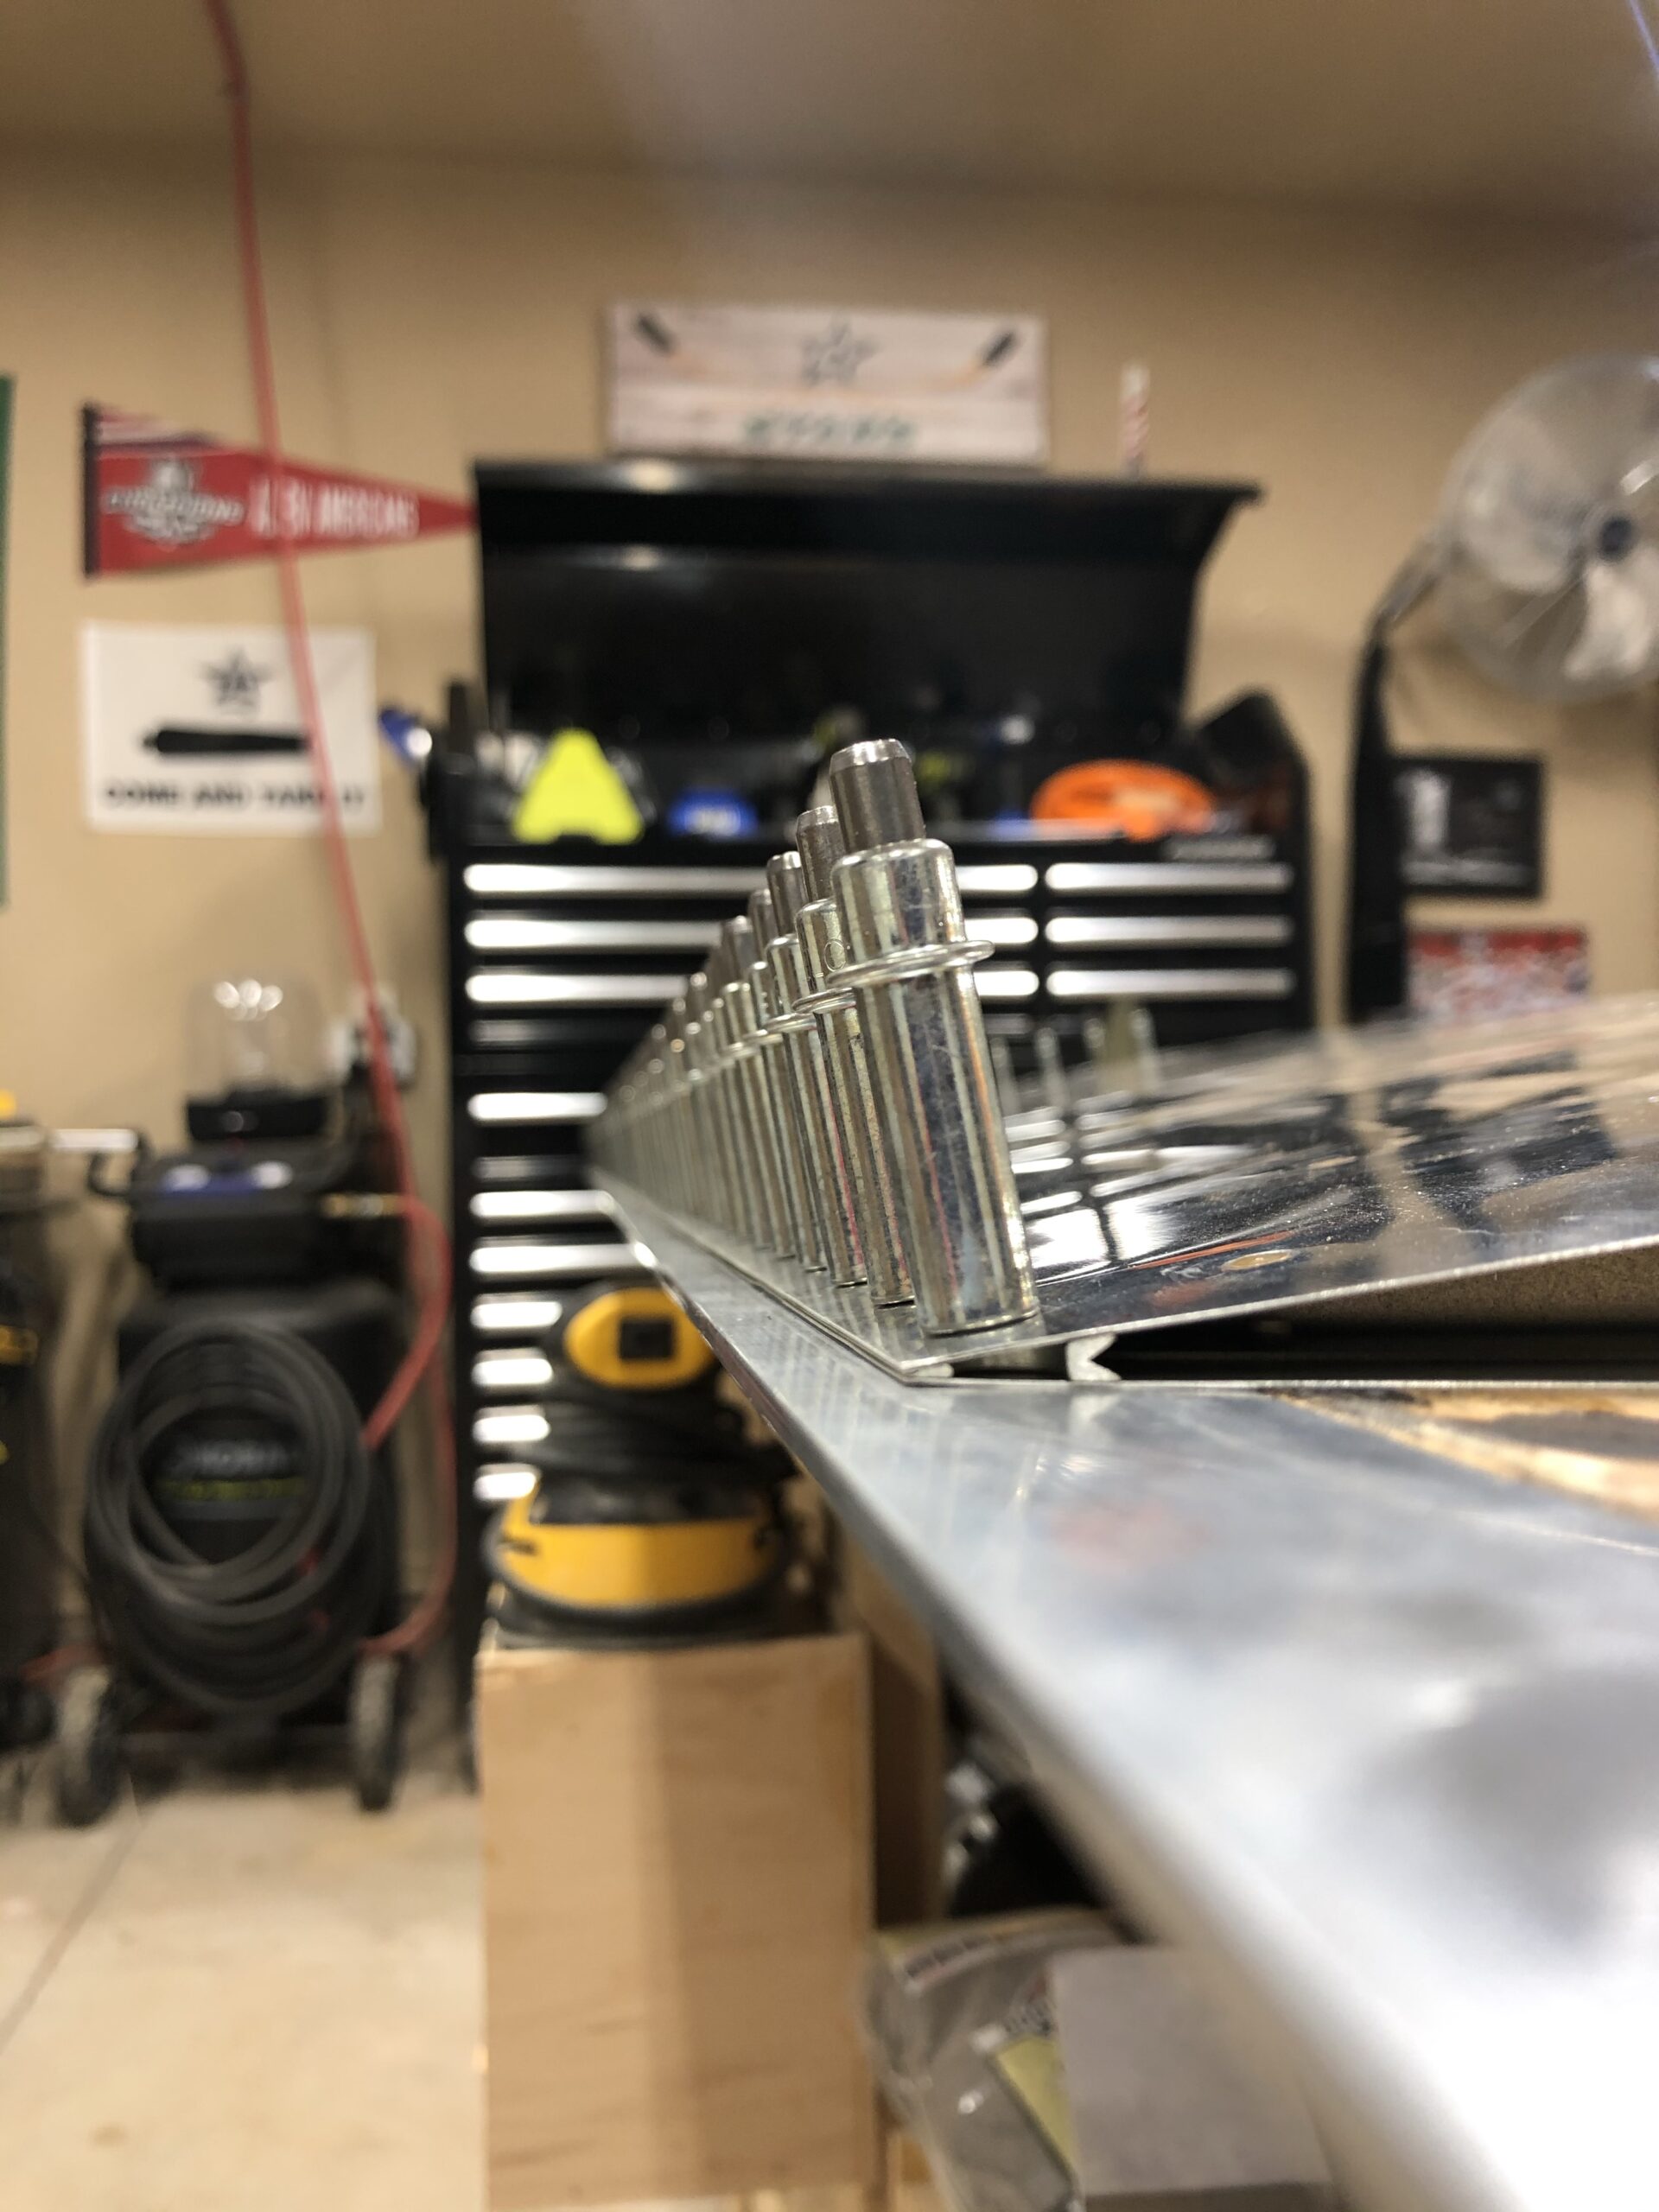
I didn’t take many pictures of the finishing process, but it took me quite a bit of time on Saturday to get it done. I got all of the front edges rolled first. Luckily, the tool that I saw on the internet worked really well. It was just a bedroom clothes hanger pole and some 7/8″ sockets epoxied to the inside. It worked really well and I bet I’ll be using this same tool quite a bit in the future with other rolled edges.
Edge-rolling Tool
The front edge forming was actually easy to do but just time consuming. I luckily hit the predrilled hole in the counterbalance weight but that also was easier to do by drawing a line in-between the two screw holes and then splitting the difference in the length between them both and it was right smack dab in the middle of the pre-drilled hole. It turned out pretty good though!
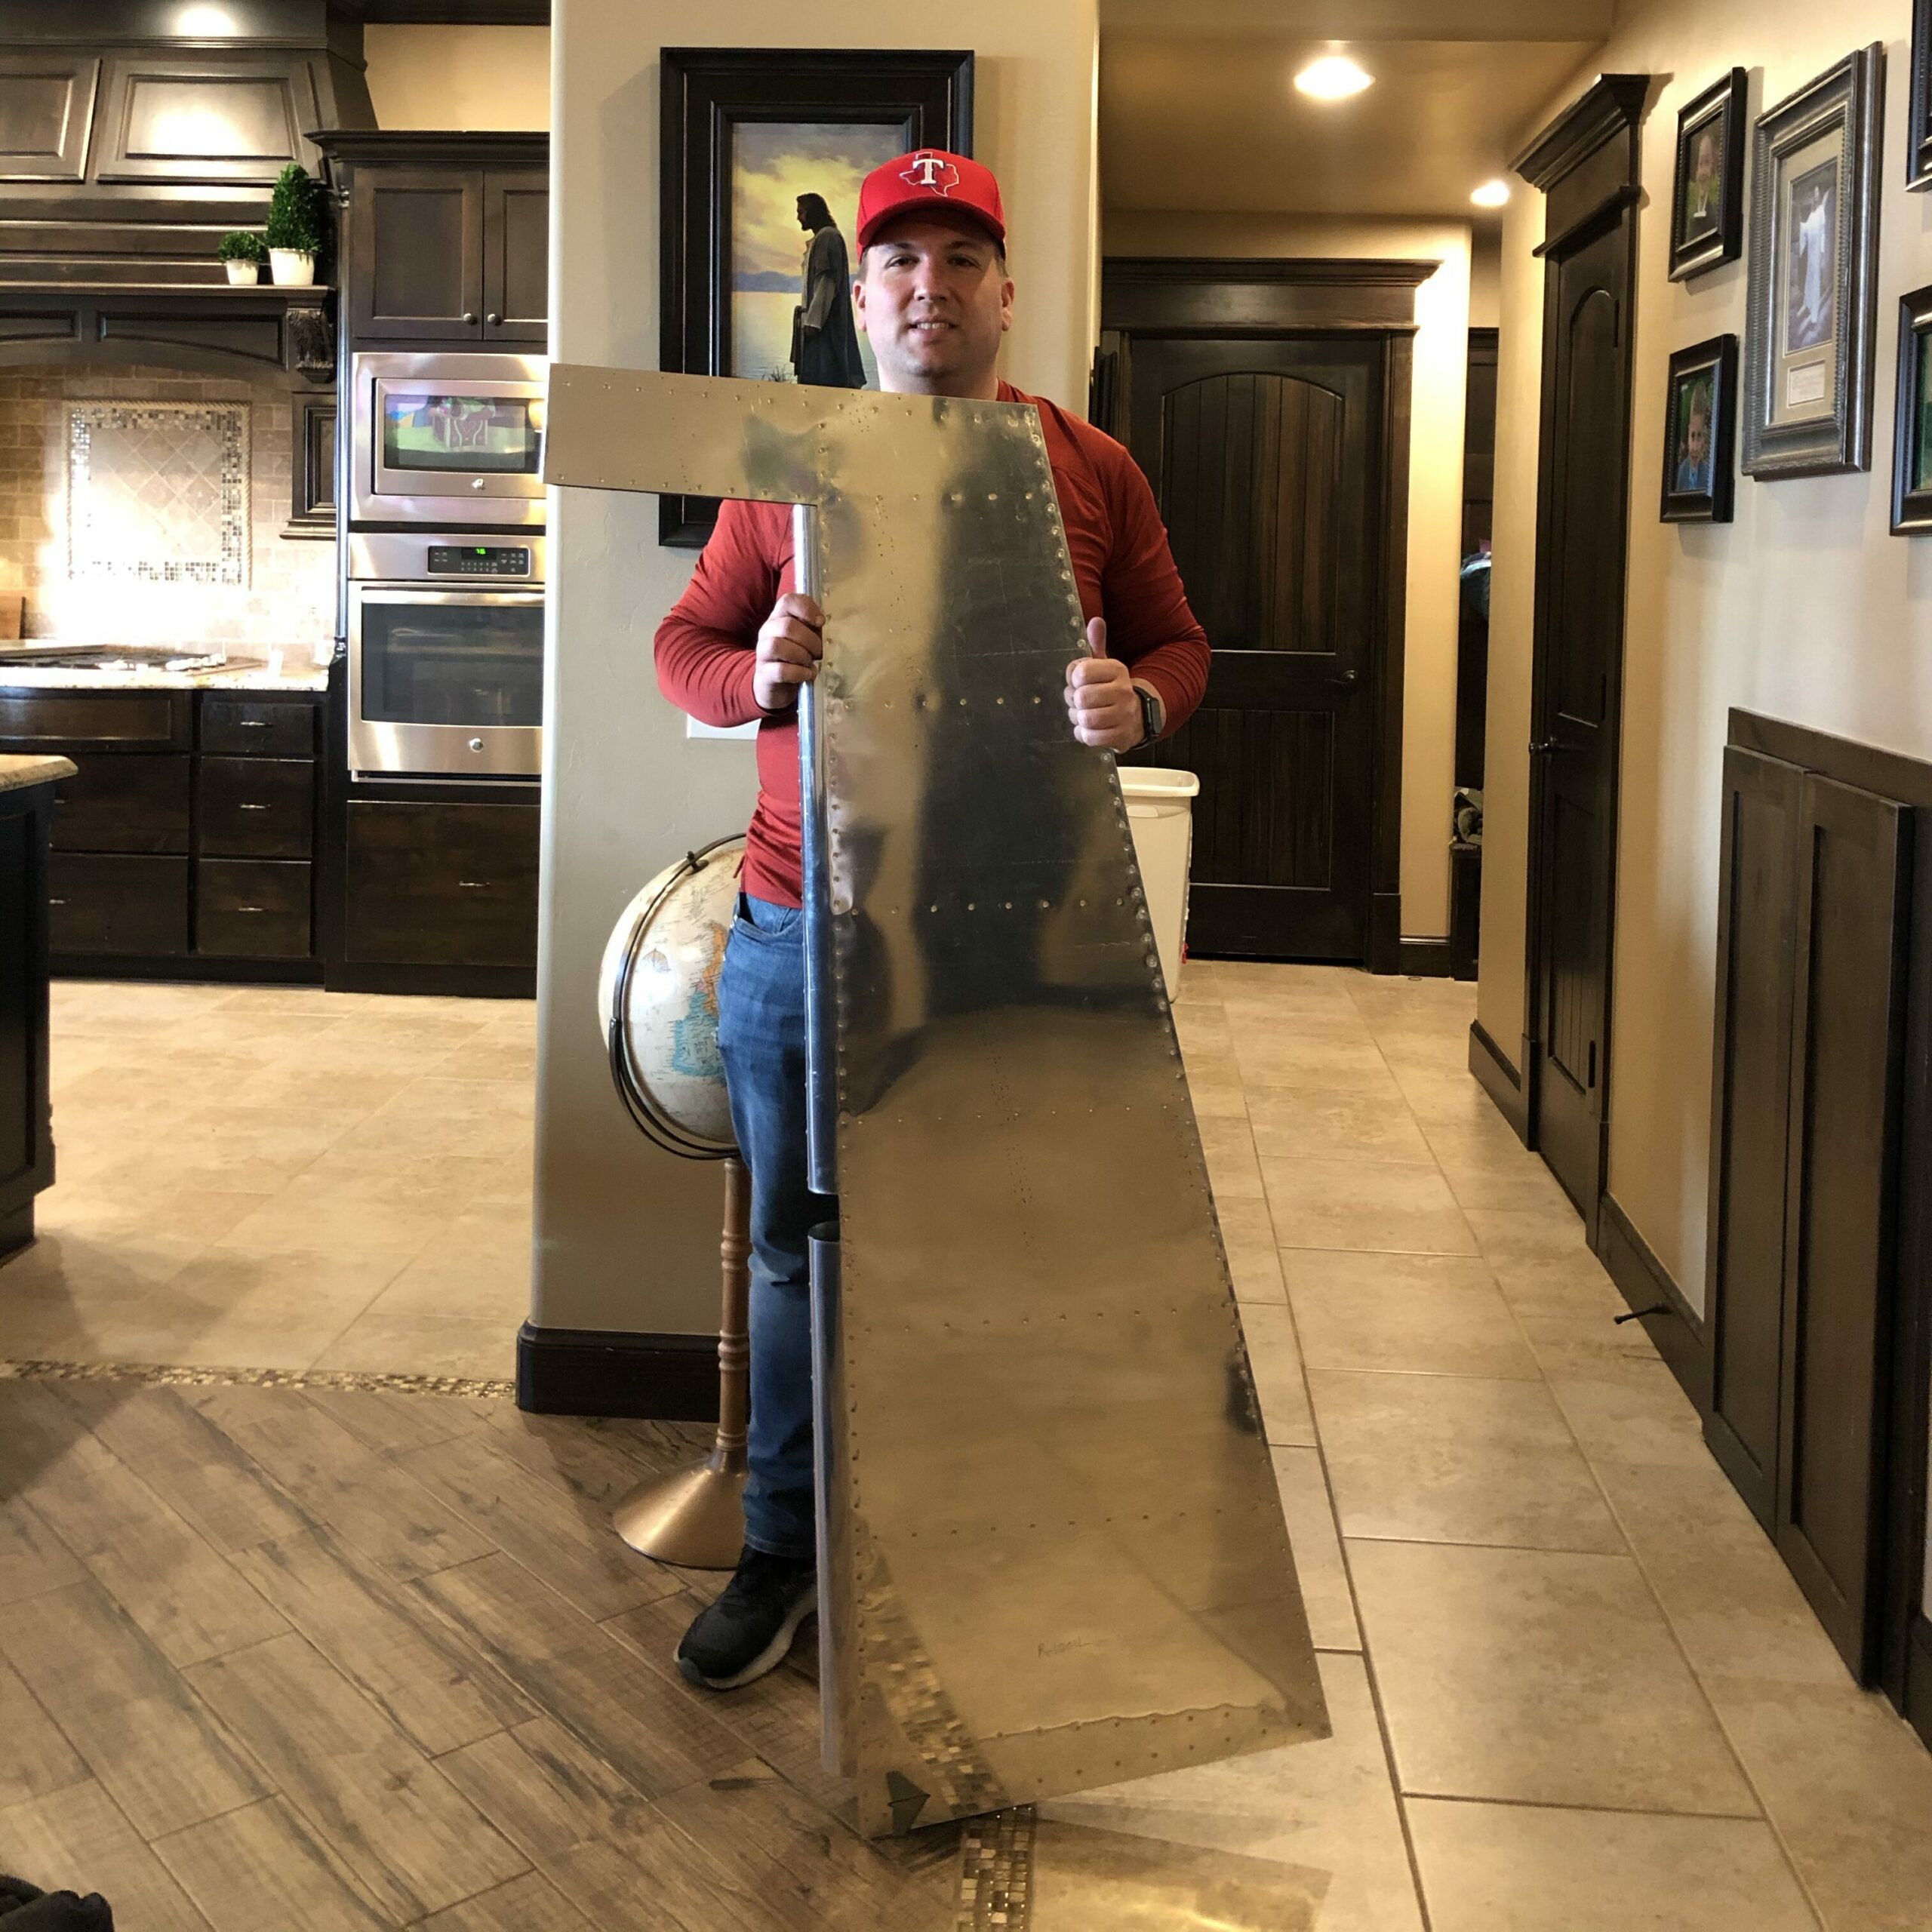
Front edge of rudder covering the counter-balance weightThe finished rudder!
Before all of the travel we had planned for the Mother’s Day weekend, I decided to button up the trailing edge of the rudder as well as get the spar riveted. I was able to use the squeezer for most of the spar, but there were a few places that I didn’t have enough depth to the yoke I’m currently using so I had to break out the rivet gun and bucking bar for those. I tried to use my trailing edge squeezer set but I tried it once and it was creating some odd looking rivets so I decided just to do the backriveting the way they explained it in the manual. There were a few places where I attempted to rivet it too much and created some circle indentions from the backrivet bottoming out against the rudder. I tried to keep that to a minimum but I kept trying to get my rivets perfectly flush instead of just enough. Either way, it was a long and tedious day but the rudder trailing edge looks awesome for my first time if I do say so myself!
Trailing edge and spar riveted in place!Some of the marring I was talking about. I thought it wasn’t flush so I tried a few more hits and ended up with these beauties.First attempt at rolling the front edge. I’ll have to get some better tape because it kept either letting go or tearing.
I finally had enough contiguous time to get the rudder internal stiffeners and sheer clips riveted together and the trailing edge sealed. Now just to wait a few days for it to cure and I can finish the riveting and button this up finally!
All the sheer clips and stiffners rivetedAll set and ready to wait and cure!This crap gets everywhere! I kept finding fresh spots on me and my clothes for an hour afterwards.
I spent most of this weekend getting stuff put together on the rudder to make sure things lined up, etc. I noticed that the trailing edge of the rudder wasn’t super flat so I decided to follow the route that quite a few others have done which is to setup an angle iron jig. I got that done this weekend and now I have just a few small places where I think the counter sinking isn’t 100% but I’ll get that cleaned up here soon and get this thing closed up. I wasn’t 100% happy with the rivets on the stiffners…. The rivets kept wanting to fold over doing the back-riveting. I tried my absolute darndest to keep that rivet gun 100% vertical, but that’s impossible with out a level on the backside of it. I would just give a few taps with the rivet gun and then check. Do a few more and check again. But usually once it started folding over it was a do-over. Oh well…
I also had to spend a bit of time redoing the lights in the garage. The original ones were already burned out. I couldn’t believe it. I got a different brand this time which required me to remount these.
This was probably the best I could do with the rivets. It kept spreading the rivet holes too much and created an odd head.Overhead view of rivetAngle view of the rivetIt 100% together just to check fitment and lookThe rudder now ready to get glued and on the jigMuch better now with it being straight.Some of the countersinking I will have to go back and check.