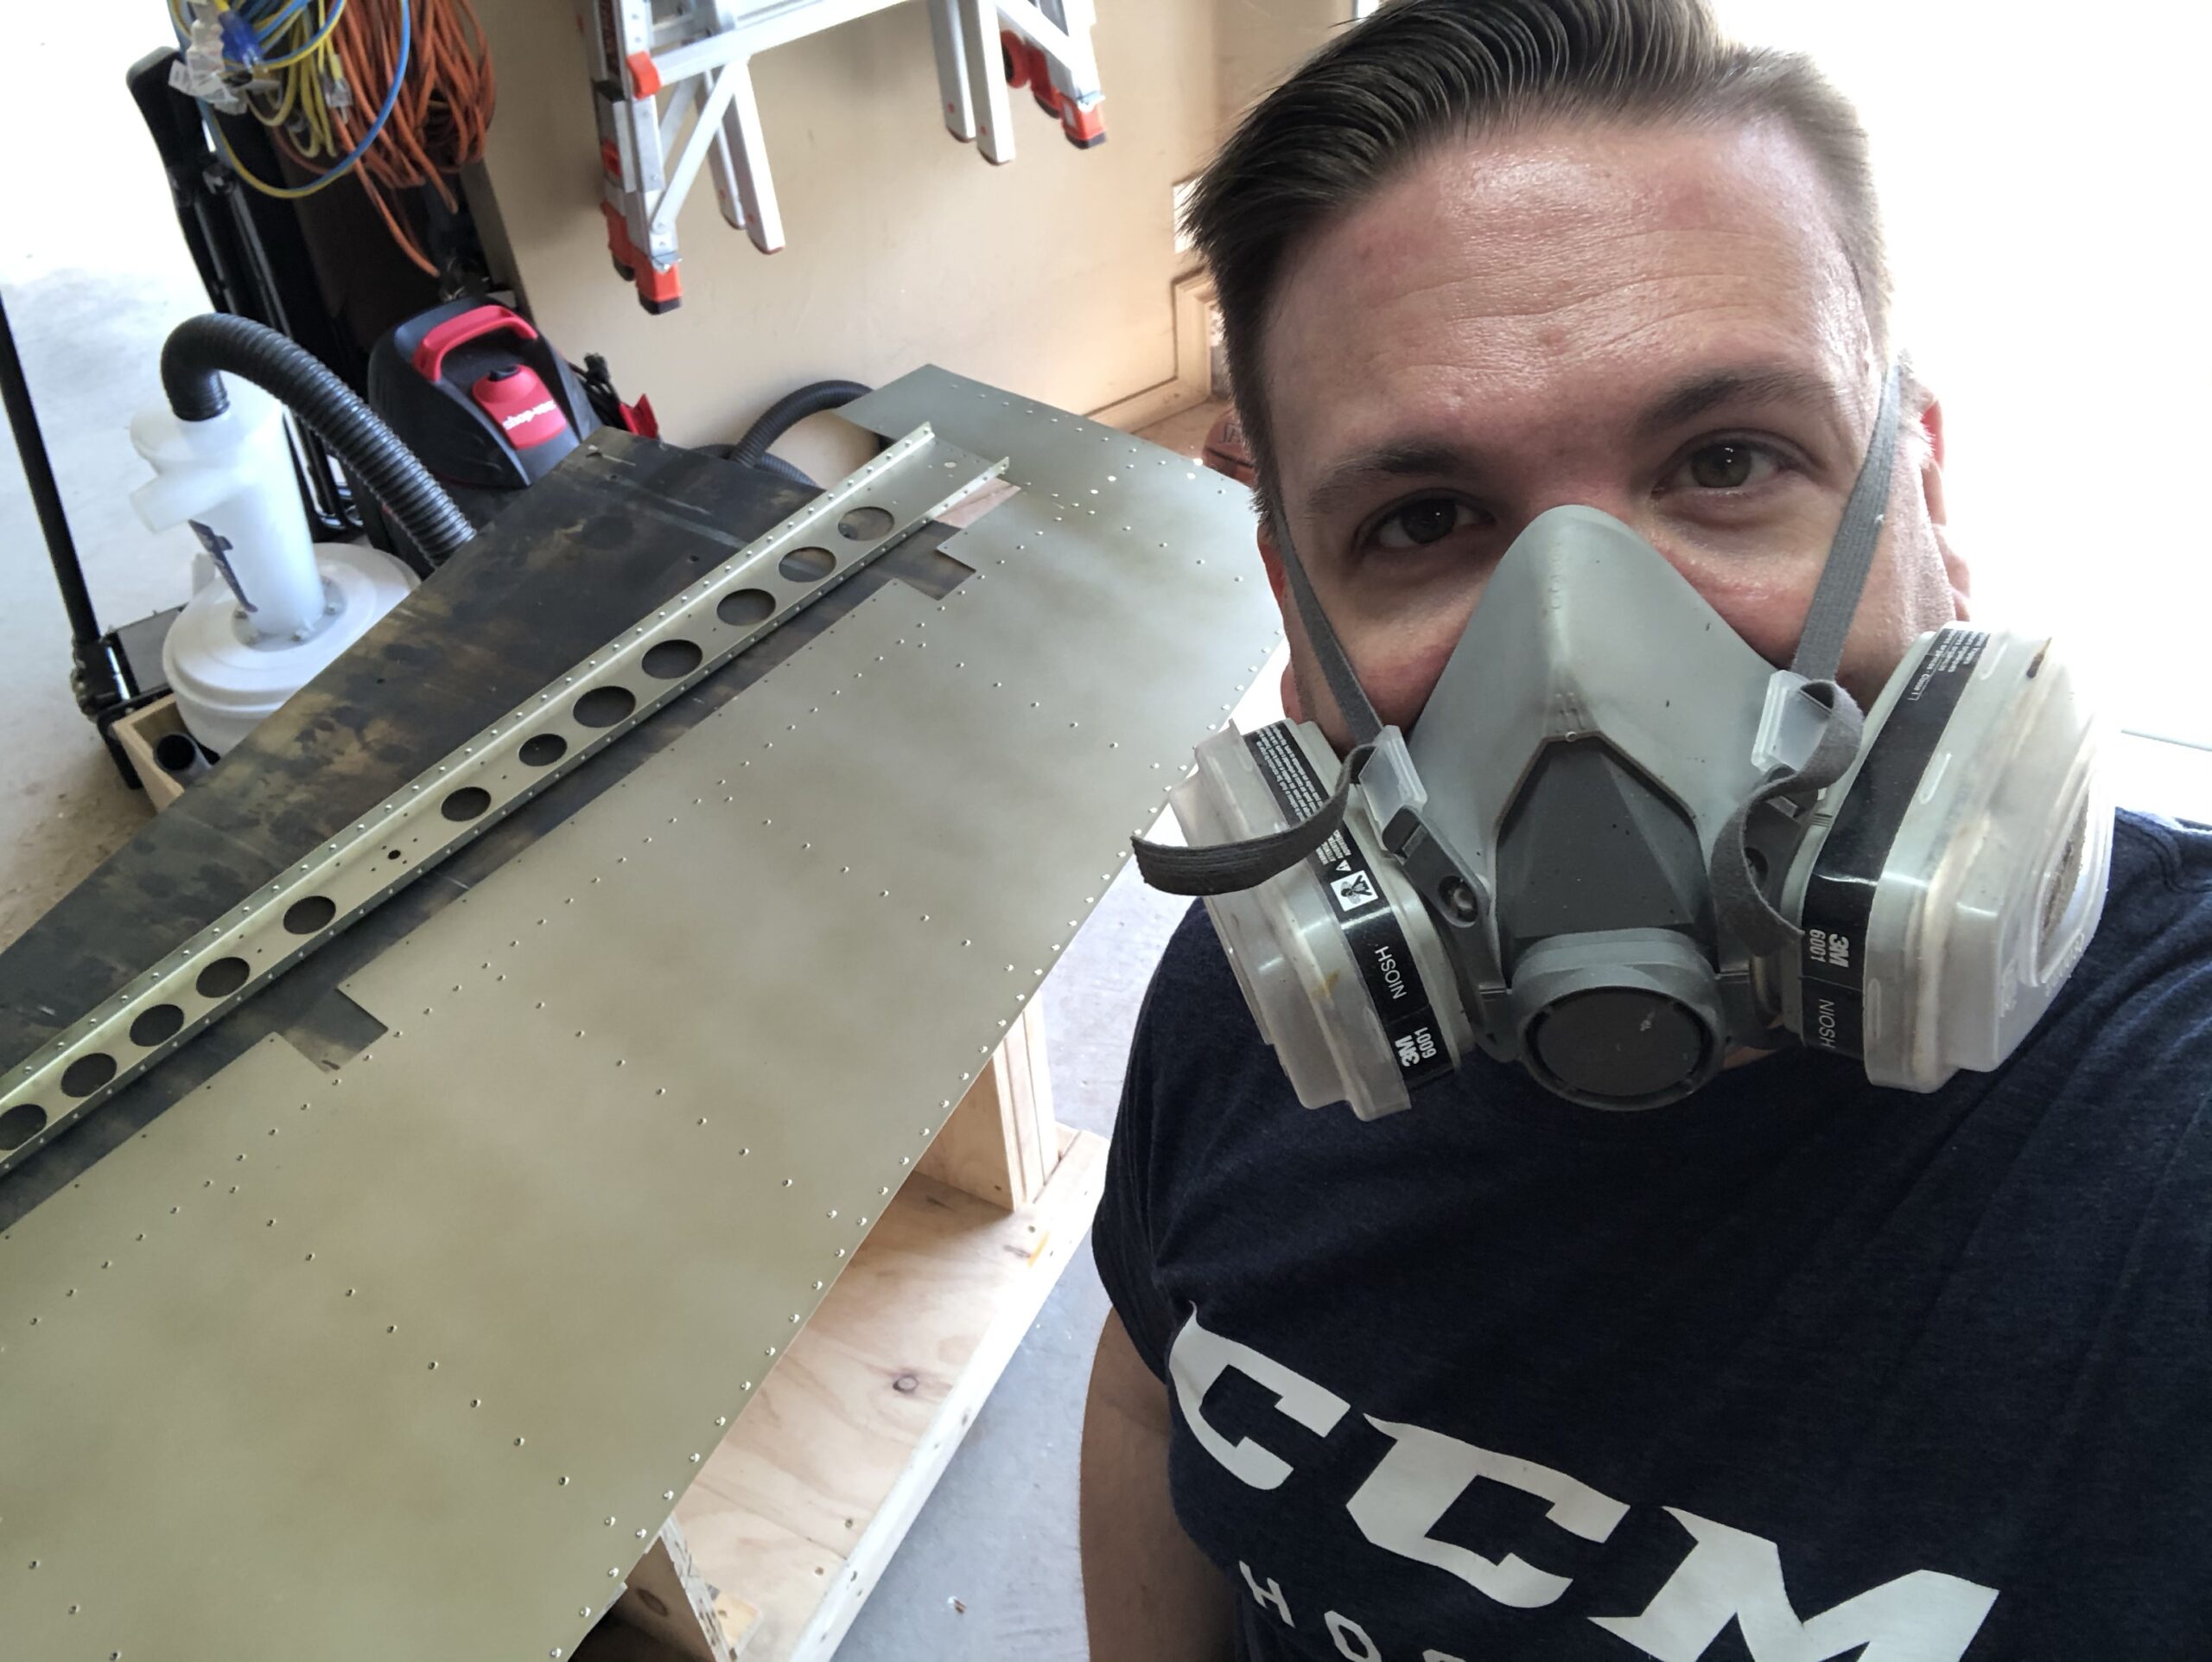
I spent some time today getting these parts deburred, dimpled, and primed so that I can start riveting when I get back after the funeral tomorrow. Luckily these were final sized hole pieces which made it much quicker in getting back to where I was before the rudder fell.
Me in PPE just finished up the primingJust the parts. It’s odd that the paint looks uneven in the photo but not in person. I must need to work on my spraying technique
I finally got some time to cut the new rudder ribs and sheer clips as well as rivet them to the new skin I had ordered. I went ahead and put the entire rudder together again just to see how it looked, fit, etc. I was short on table space (first error) and decided to keep working with the rudder in a precarious position (second error). As I went around to get another few clecos I bumped the table and the rudder fell to the ground.
Side view of the damageLooking down on the damage
After bending the damage out (I don’t have a picture of the damage after it dropped) I noticed that it had creased the skin and the bottom of the spar and they had a fine crack in them. With a huge sigh I went back to my desk and ordered the replacement skin and spar and put it to the side to cool off.
I finally got some time tonight to get out in the garage and disassemble the work I had just done. Luckily this time I was much better at getting the rivets off without enlarging the holes. So I didn’t have to order any new stiffeners. The new spar is my next step to prep and then the skin after that and I’ll get it all riveted back together. I hope to get some time to do that tomorrow but I have quite a few church activities to attend to. I also won’t have time on Monday or Tuesday as we will be holding the funeral for my grandfather-in-law. Here’s the aftermath of all the rivet drilling, or at least some of it. I had swept some of it to the ground already.
A small amount of the rivet drilling carnage
Luckily I’m not discourage still. I enjoy working on this and I’m learning lessons all along the way. I have gotten better at removing rivets like I stated and I’m also getting a little bit better at priming the parts. Still loving this 🙂
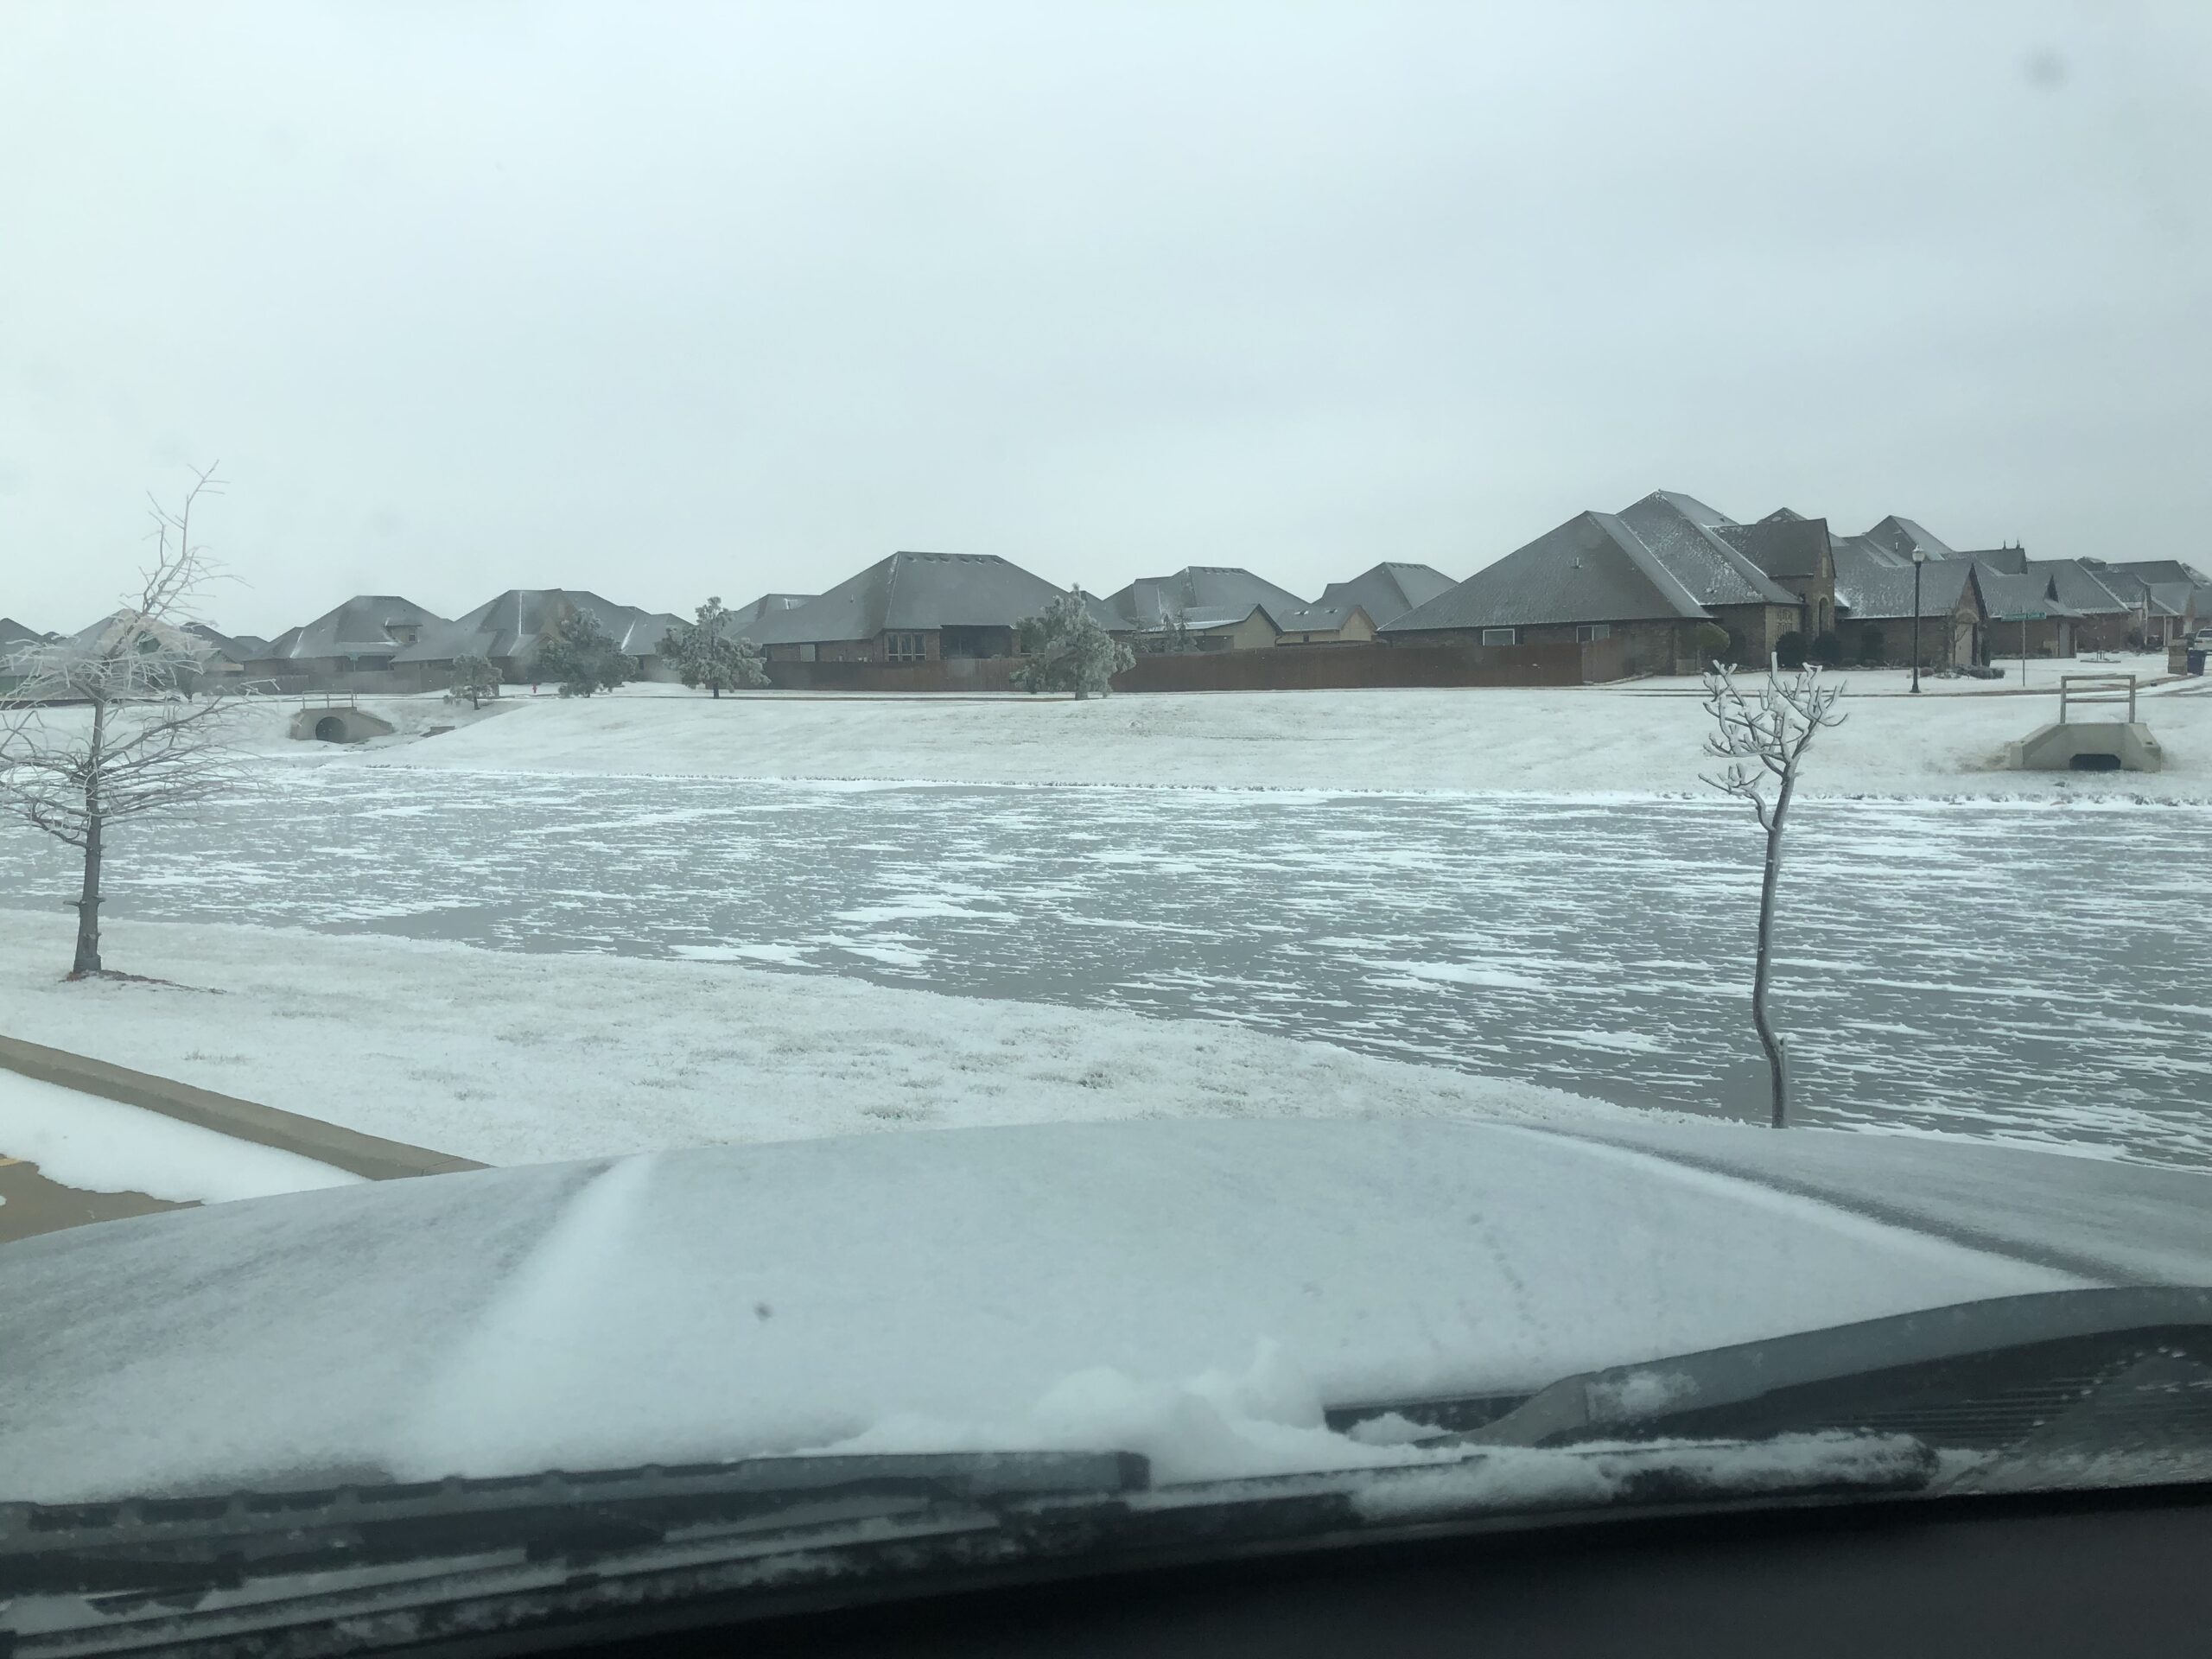
I spent a good 2 hours getting the new rudder skin deburred, dimpled and riveting the stiffeners on. I am kind of at a stand still now as I’m waiting for parts to come in which might be a bit longer with all of the snow going on here. Crazy snow and temperatures have covered Oklahoma over the past 5 days. I have been working from home for the past week with the ice that came before the snow. Luckily I’m catching up on some reading and cleaning up the garage so that it’s ready to redo the stiffener work and then getting the rudder put together. I’m super excited to get the parts in!
Our community pond frozen over! Enough to where it held my weight
I also found a really nice and simple paint job for the plane! I really like this simple idea and it’s actually a fairly normal paint scheme as well, but it’s the silver, metallic, blue that they have that also makes it look really nice.
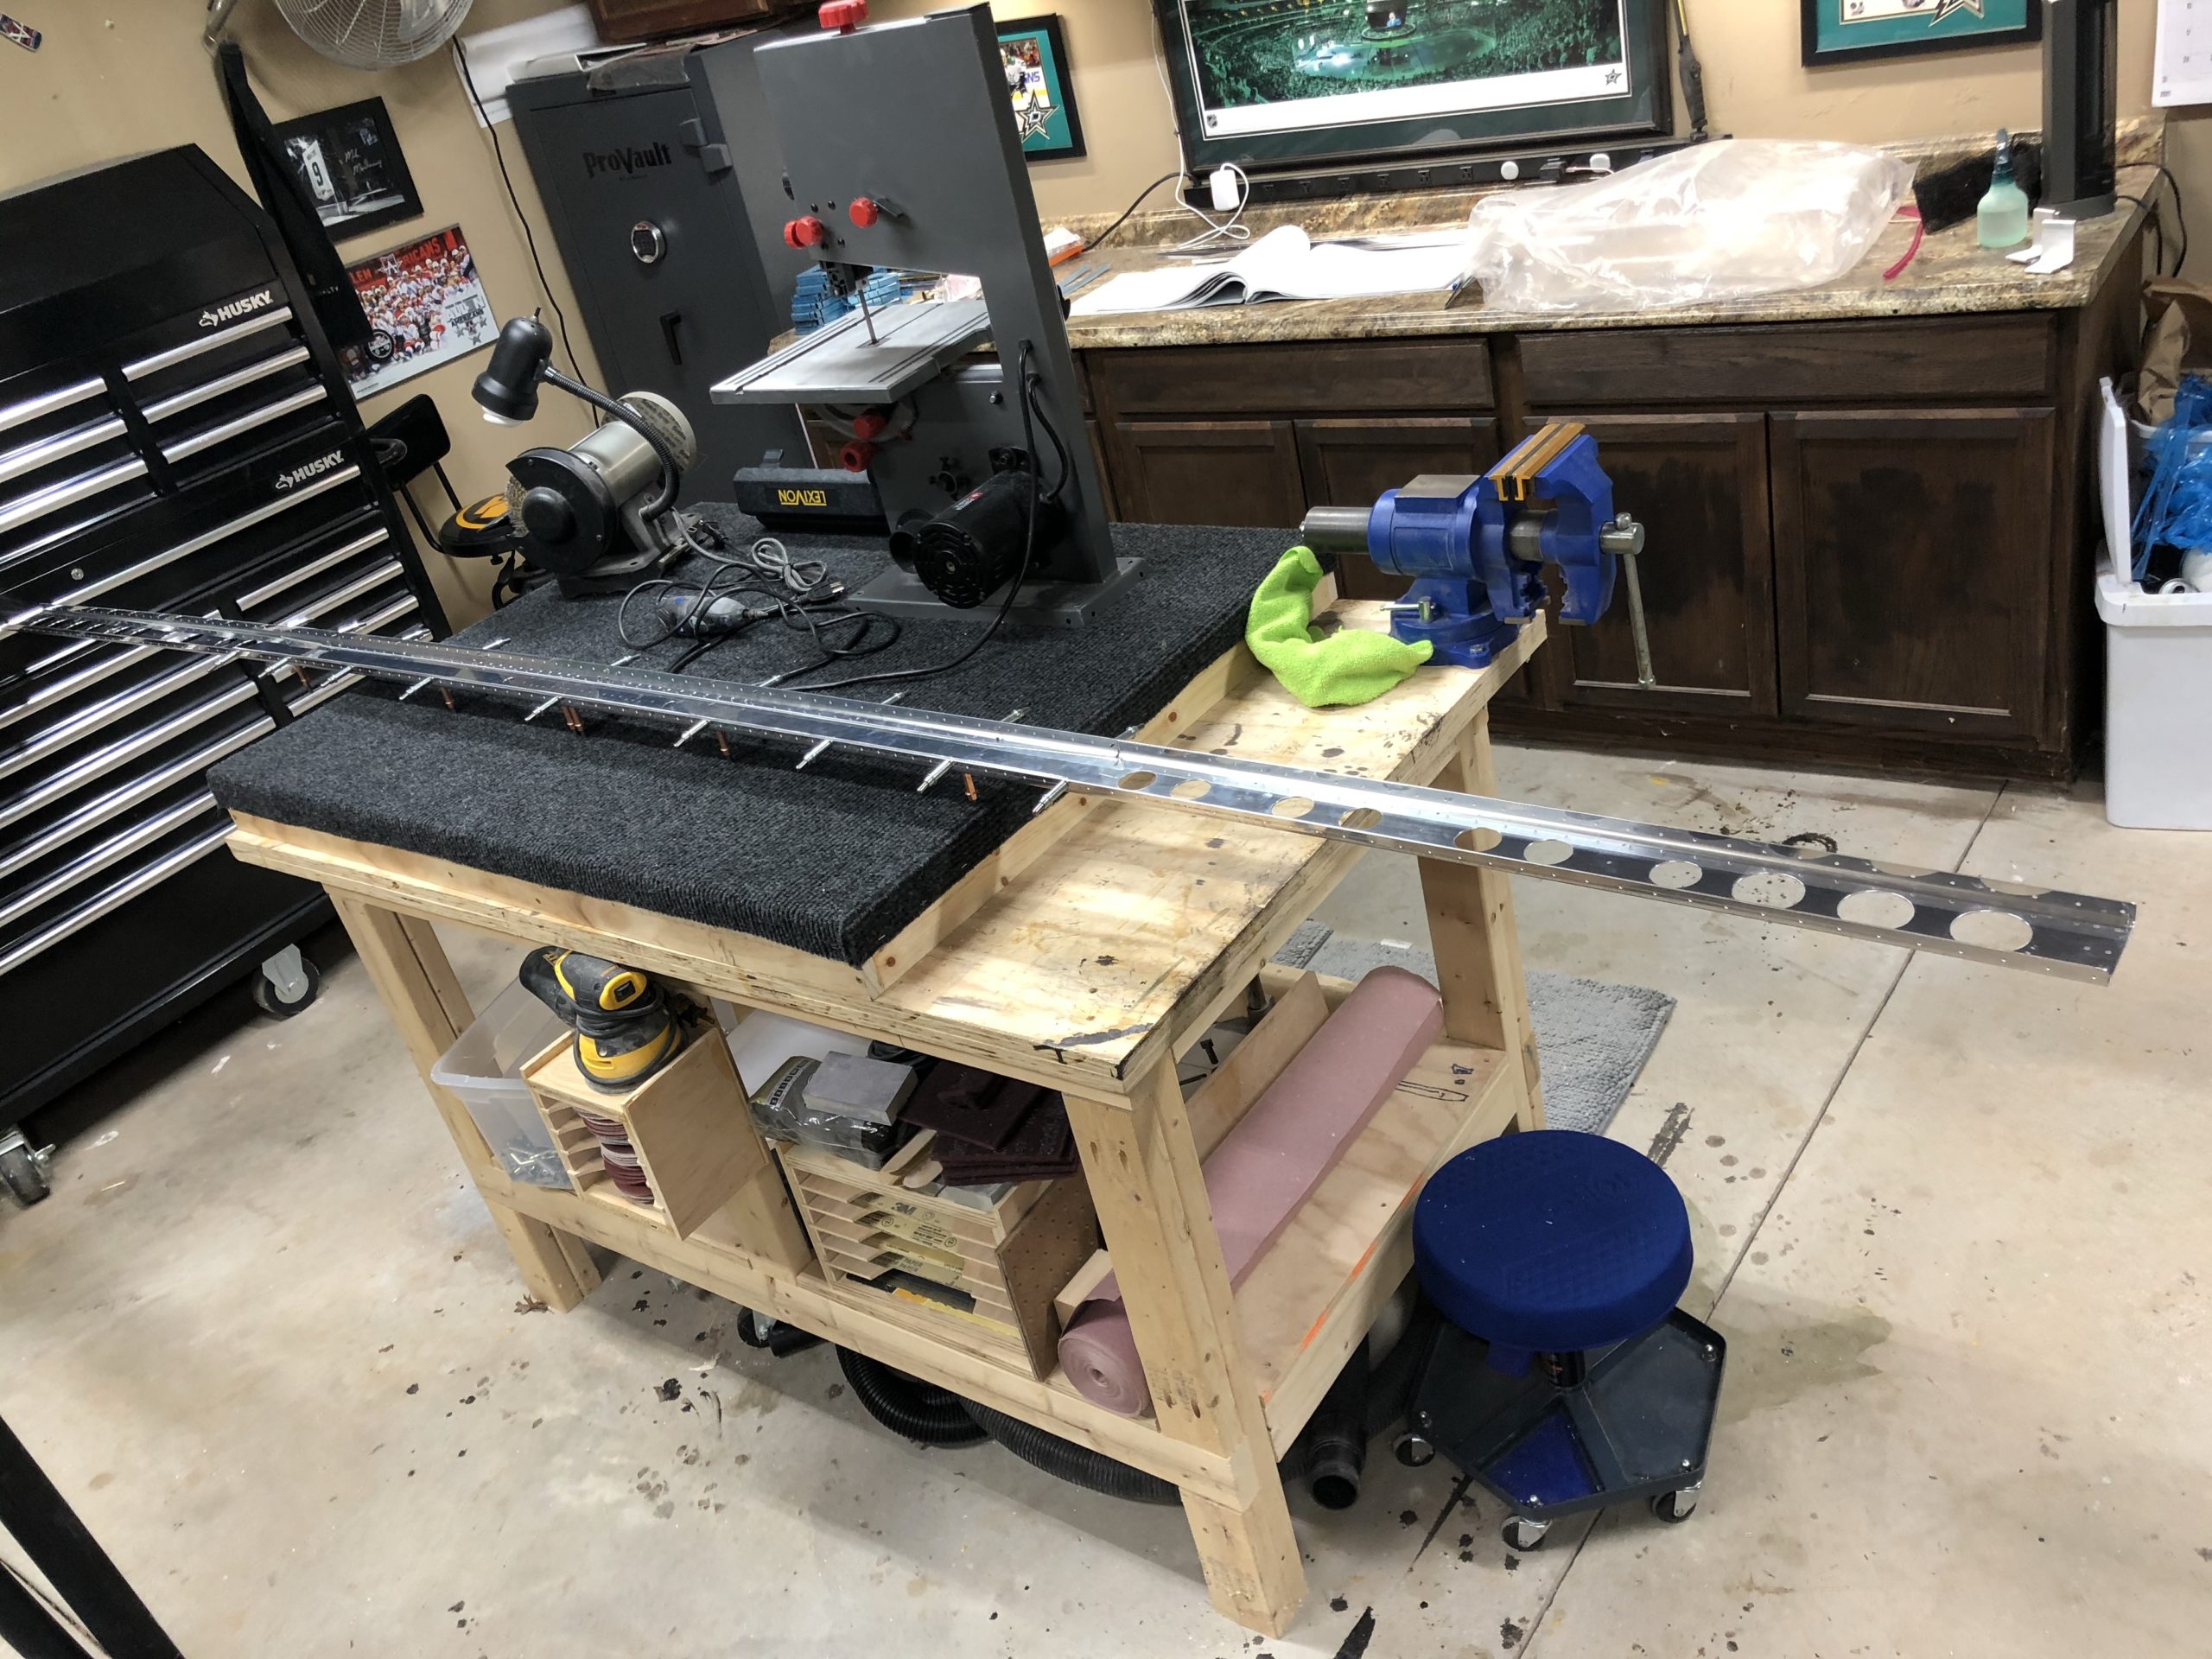
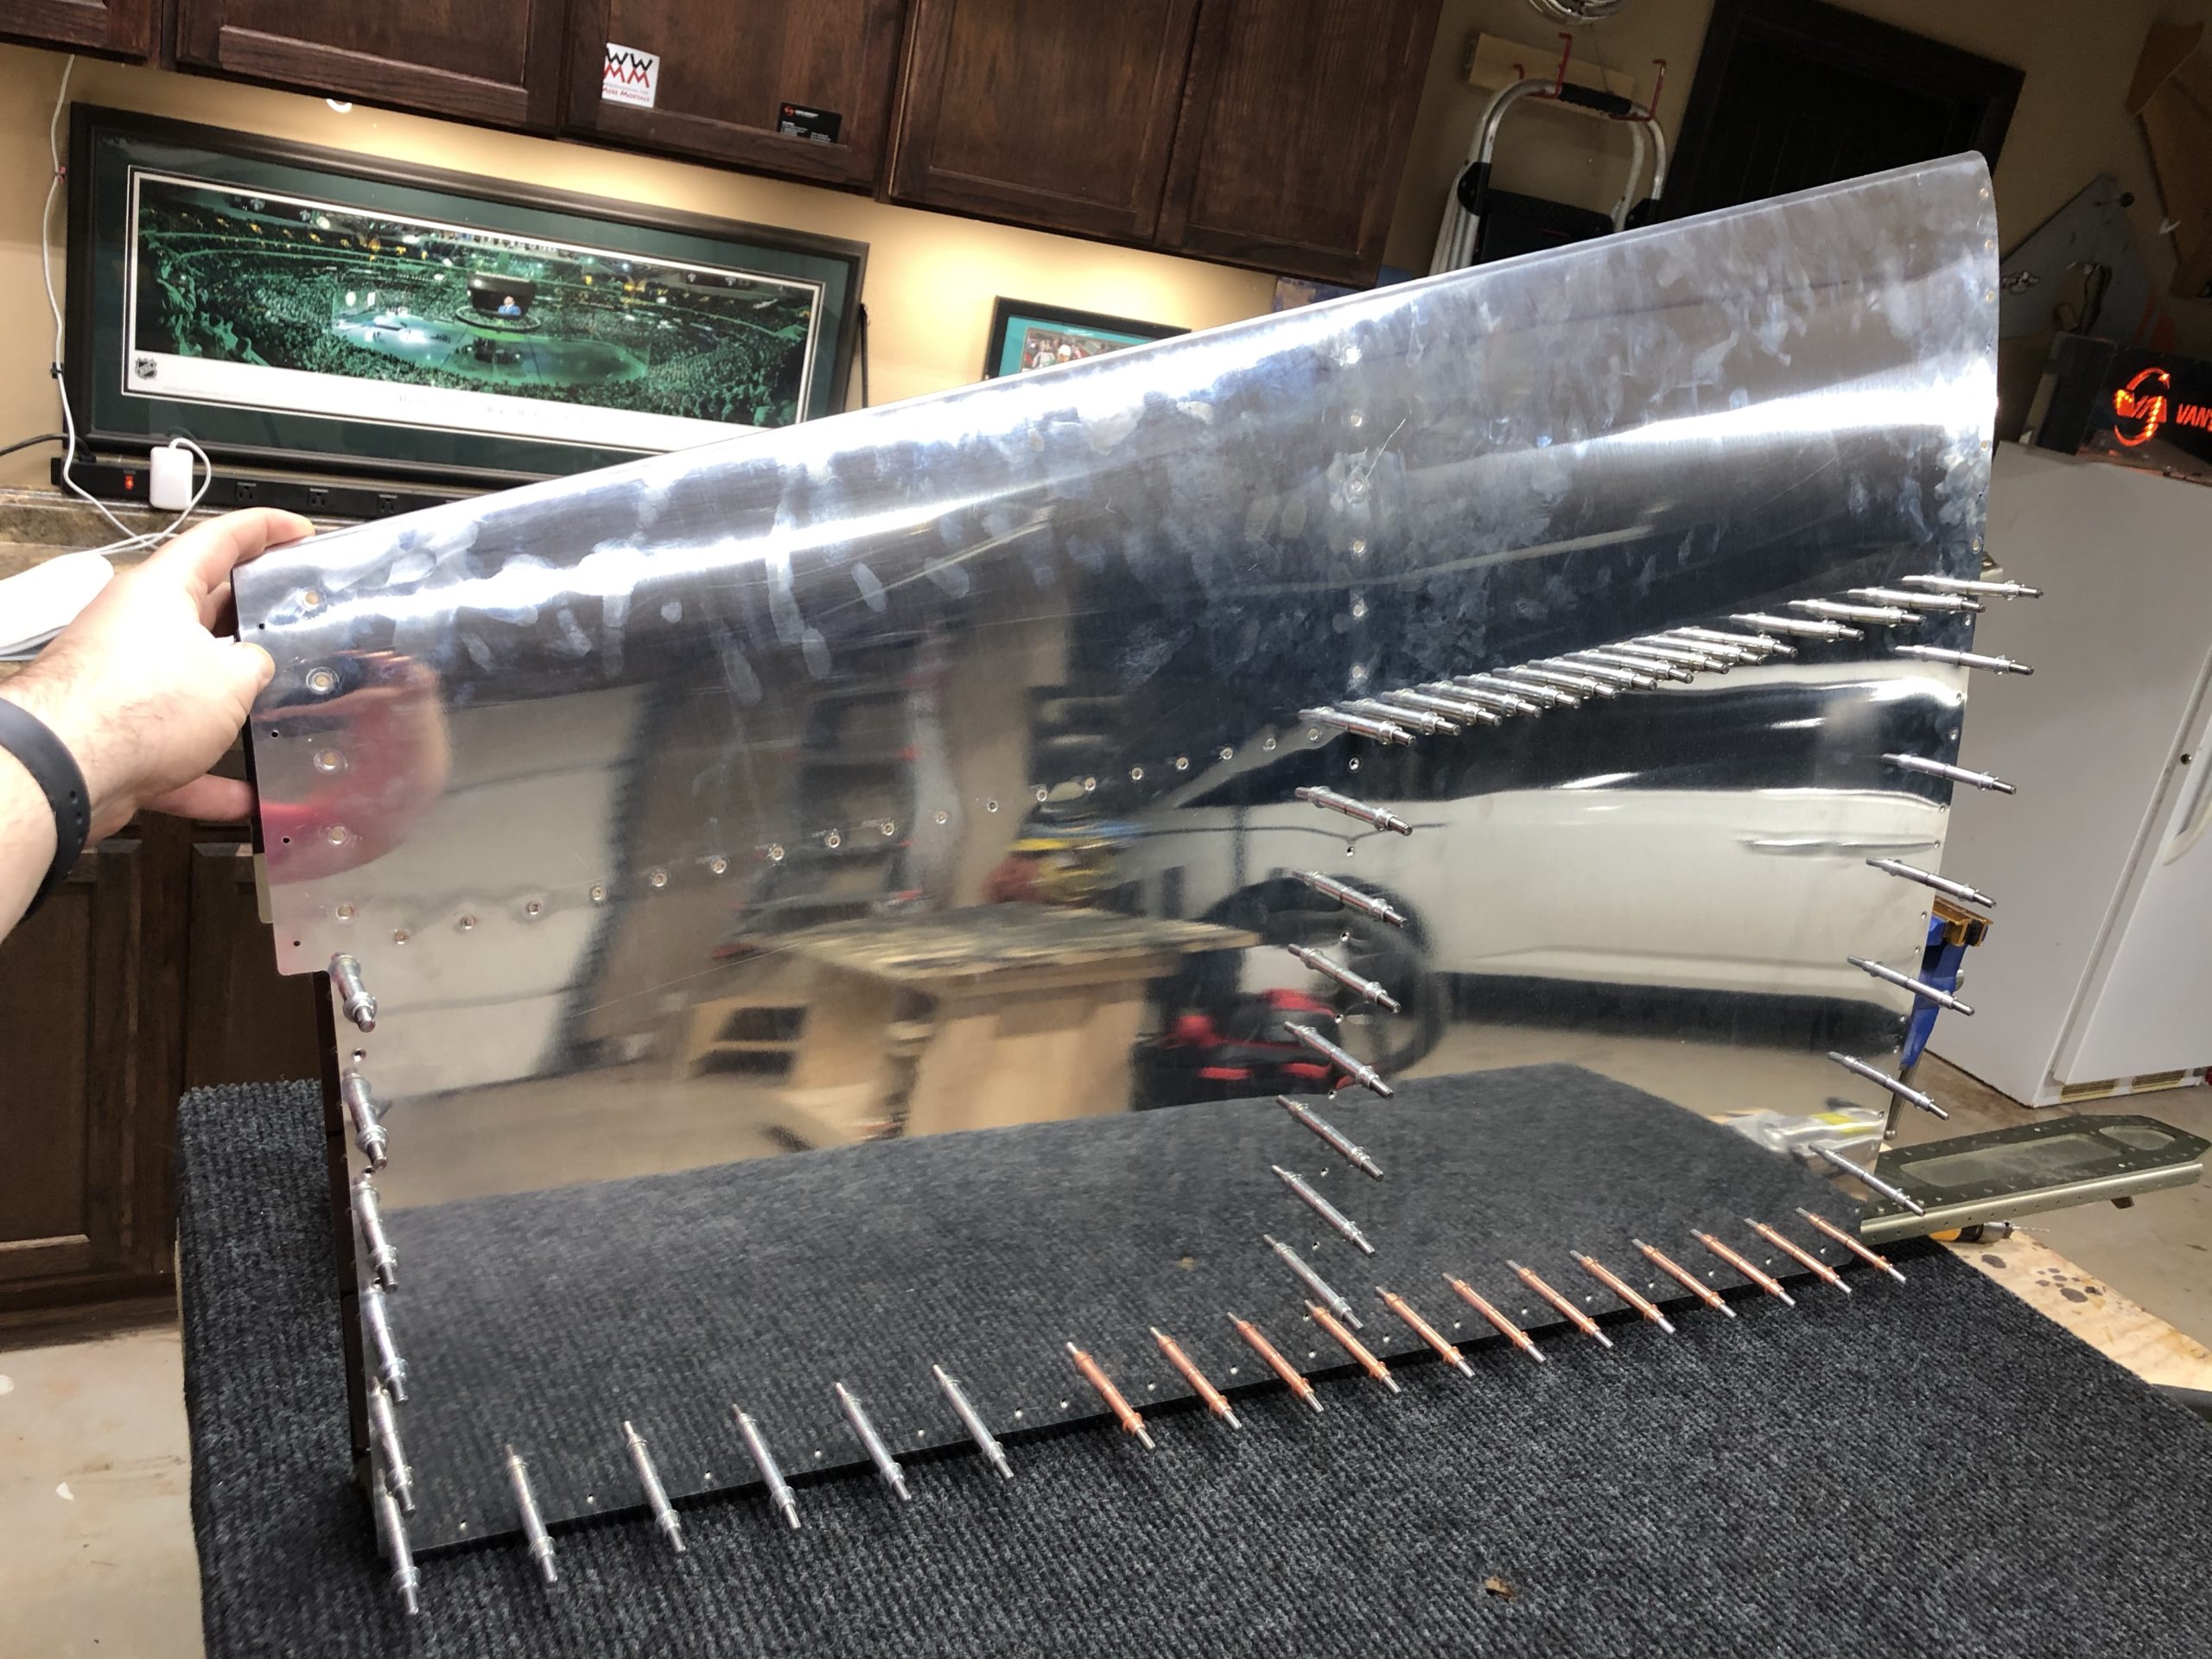
This took alot of time doing these steps. Alot of deburring due to the lightening holes in the spar and a ton of drilling due to the length of these spar caps. But it looks and feels great! Glad to have this done so I can move on tomorrow.
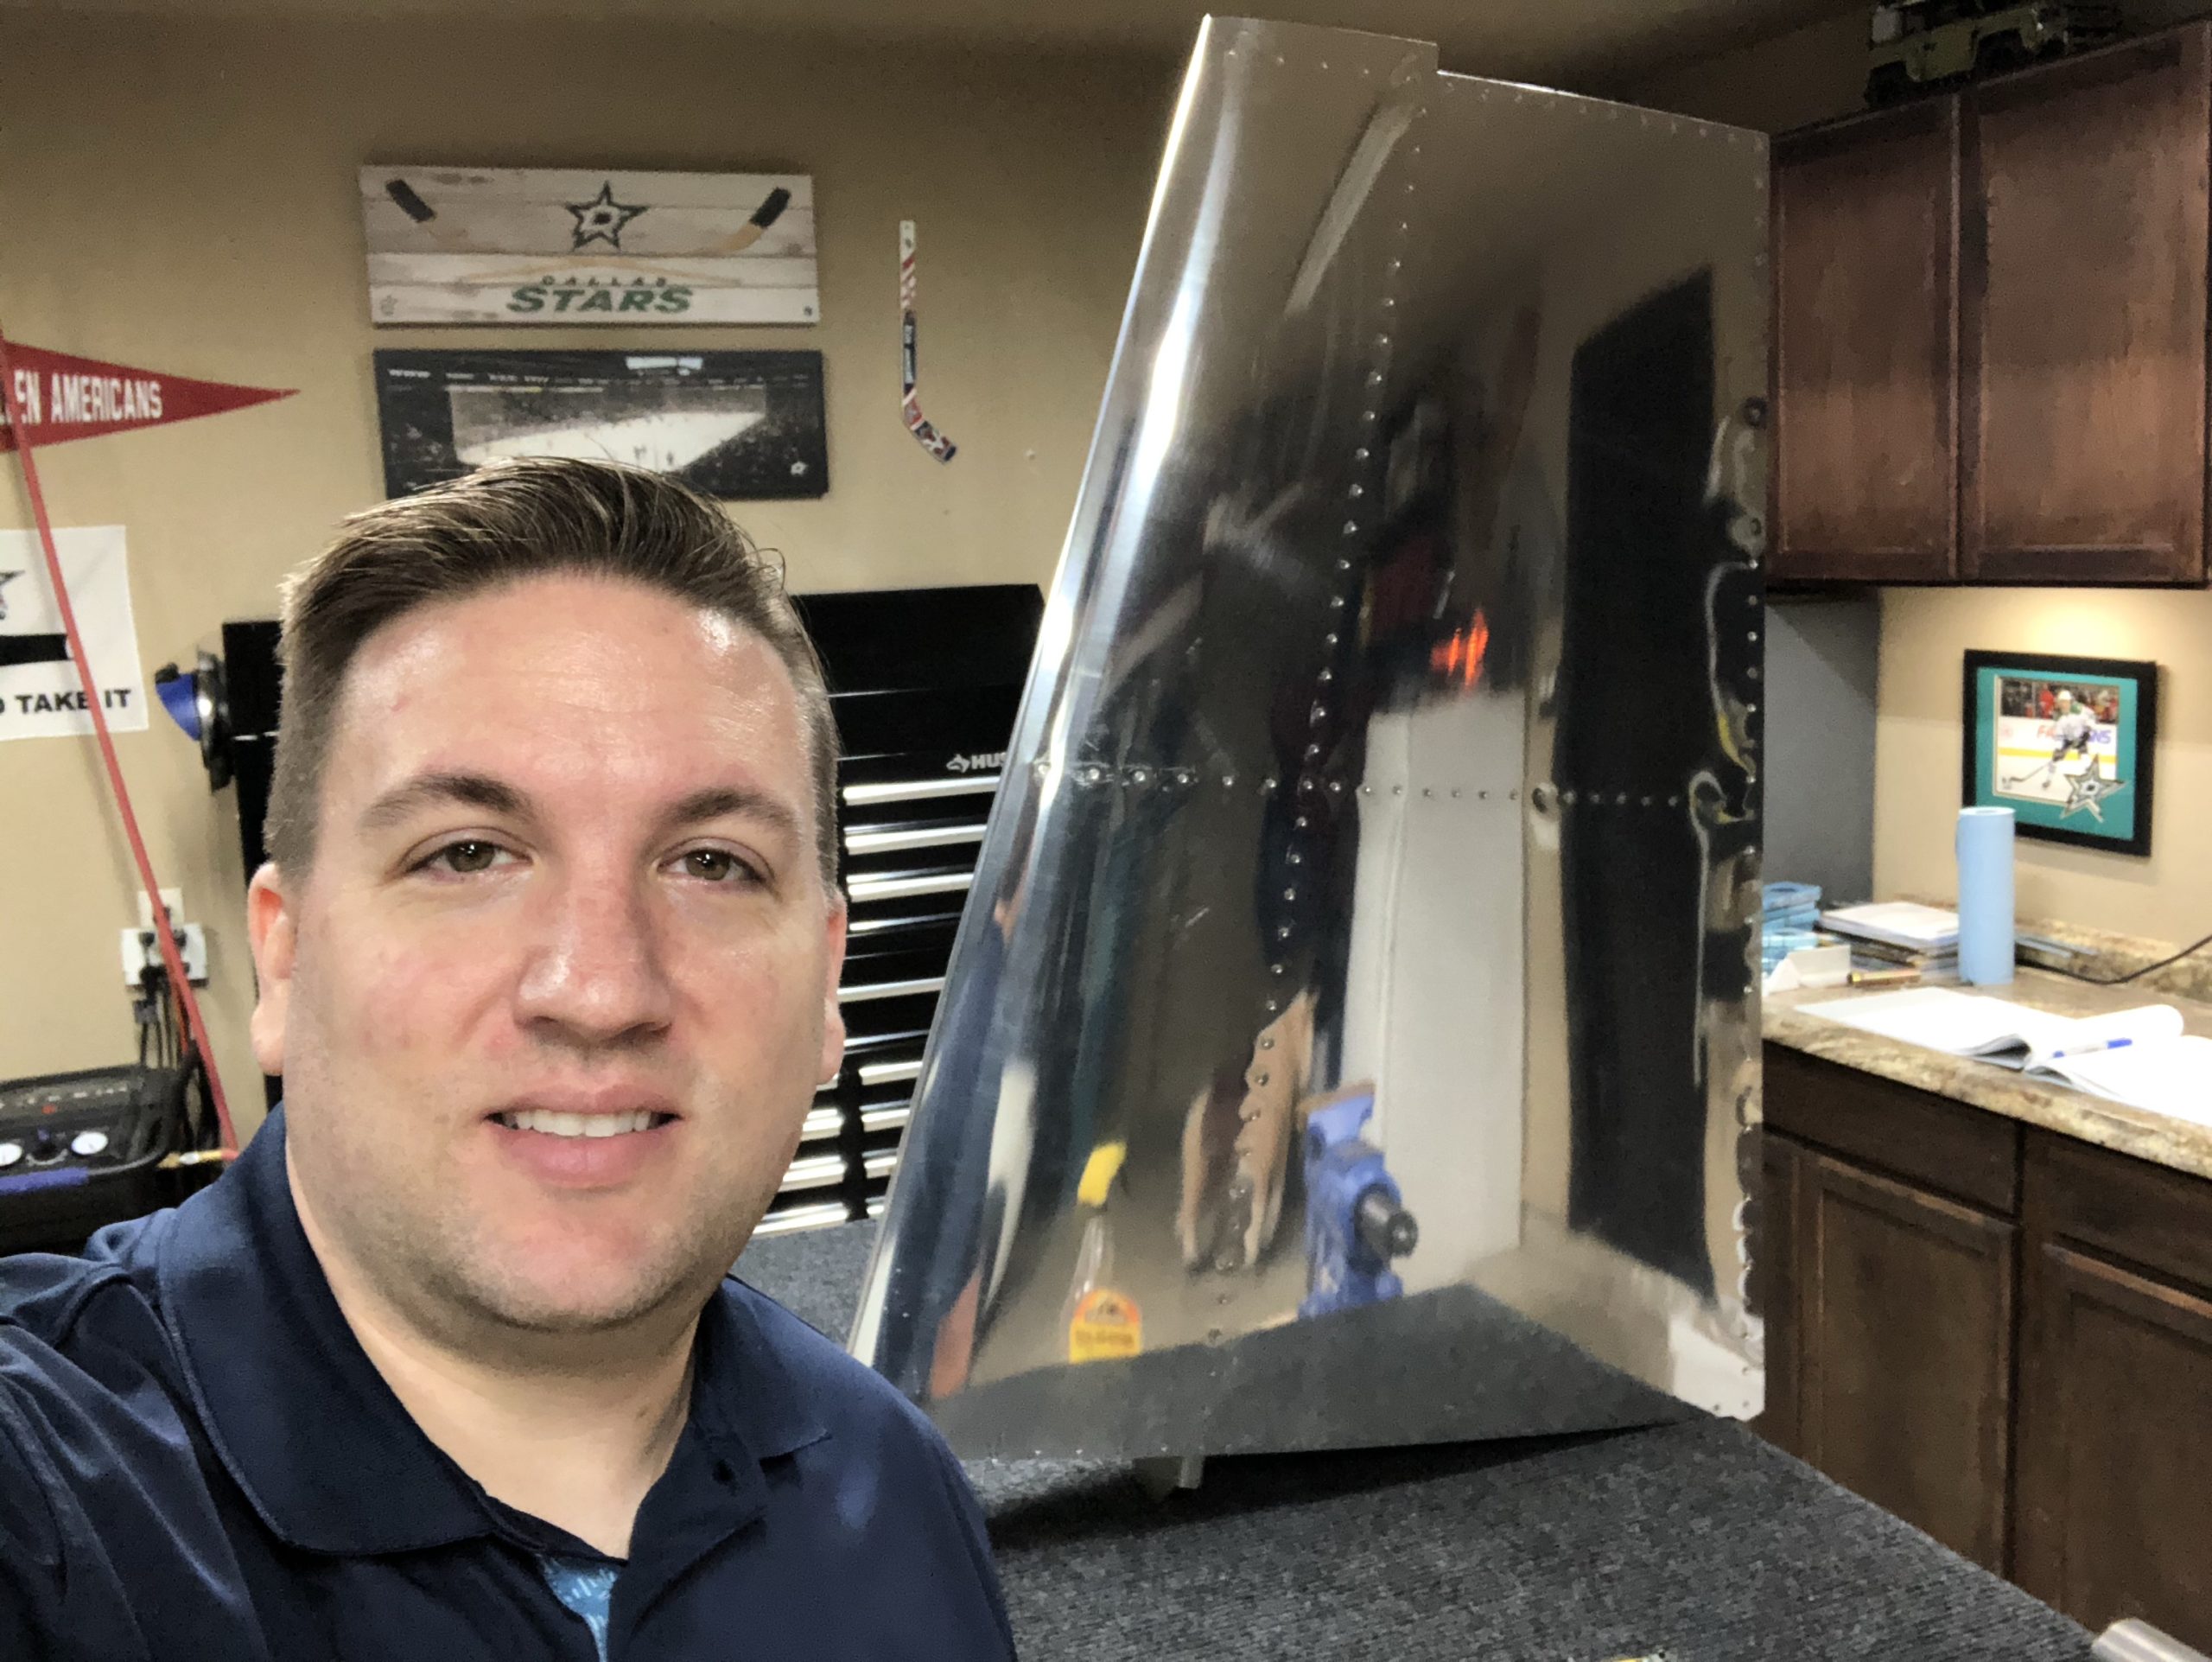
Almost can’t fit it in frame. Super long spar!
I also had a tool arrive today, which was the small size torque wrench. It had good reviews on Amazon and it was only $50. I hope I didn’t waste $50…
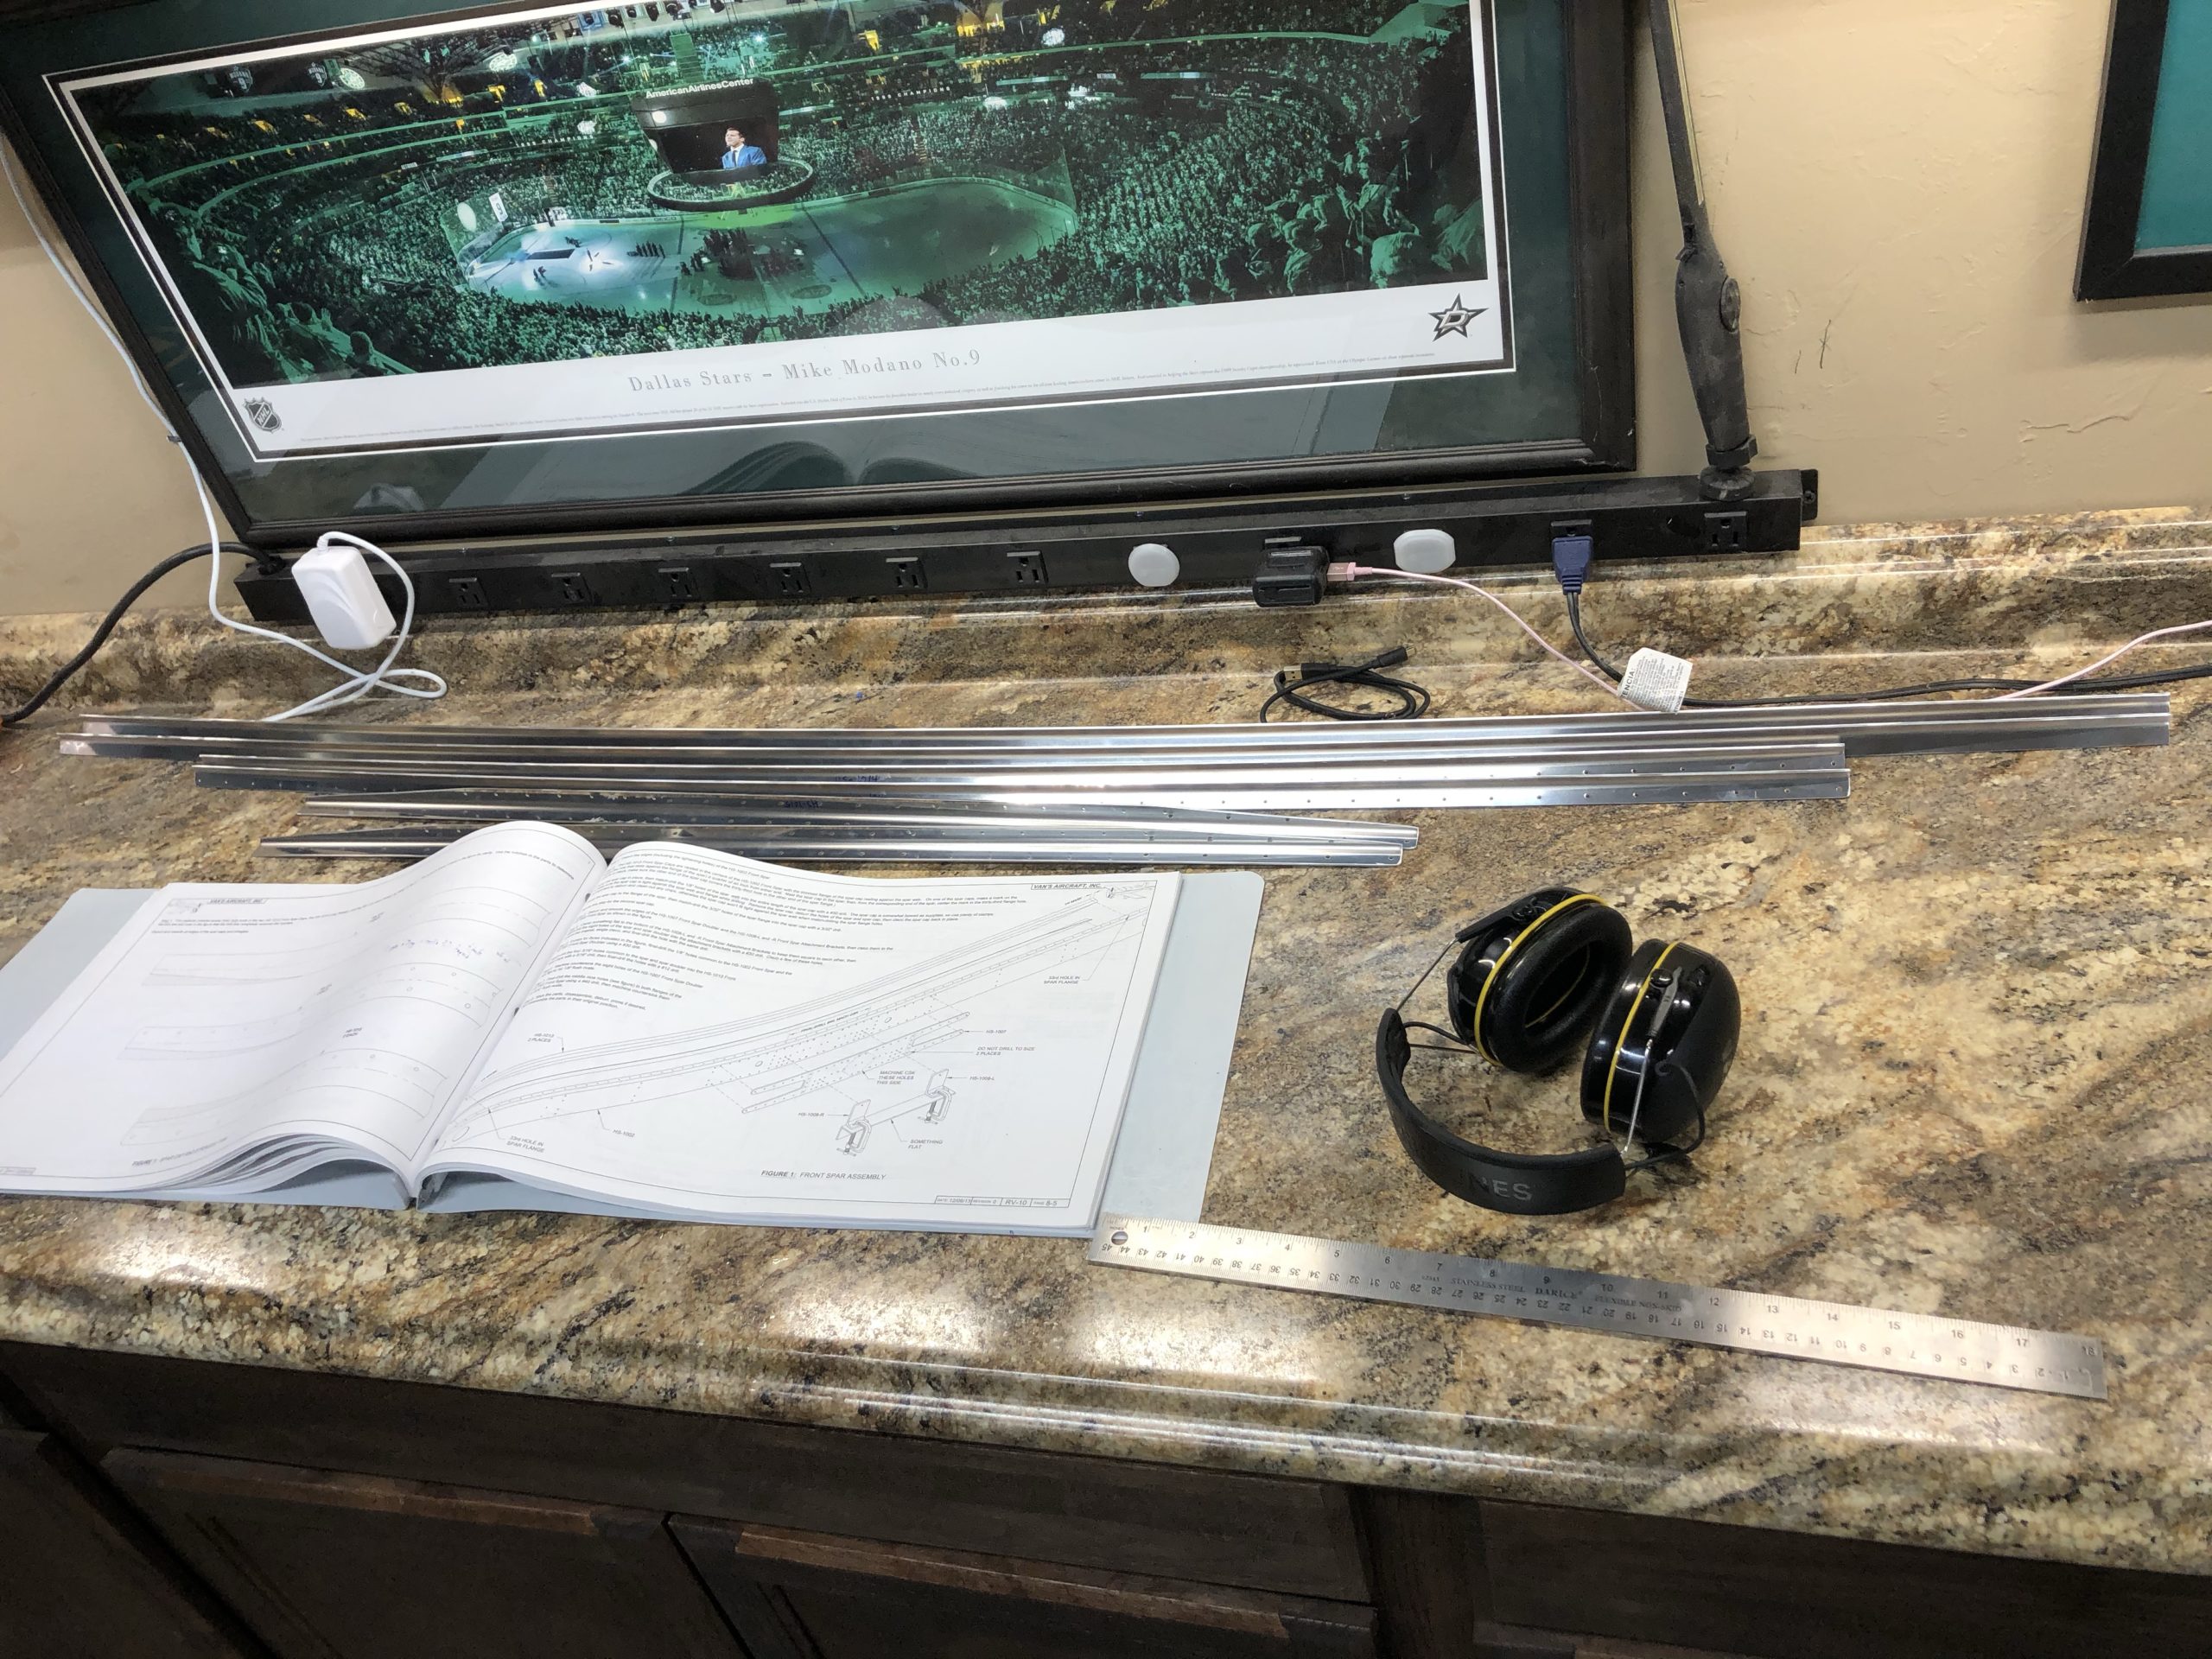
While I’m waiting on some rivets to show up as well as a torque wrench for the low end torque ranges to show up, I decided to soldier on. I started with step 3 of page 8-3. I started measuring out and cutting the figure to the top left, but neglected to notice that you needed to cut down the flanges to a specific size first which is in the bottom right diagram in the picture below. Seriously? Why can’t that be the first diagram? You will have to make those cuts first before you make the cuts in the top left diagram. And of course I didn’t notice it until I had already cut out both. So I had to reorder the AA6-187 x 2 x 2 1/2 x 5 which luckily wasn’t that bad and hopefully they’ll wrap it up in the same order I made yesterday for the rudder skin and a few other parts.
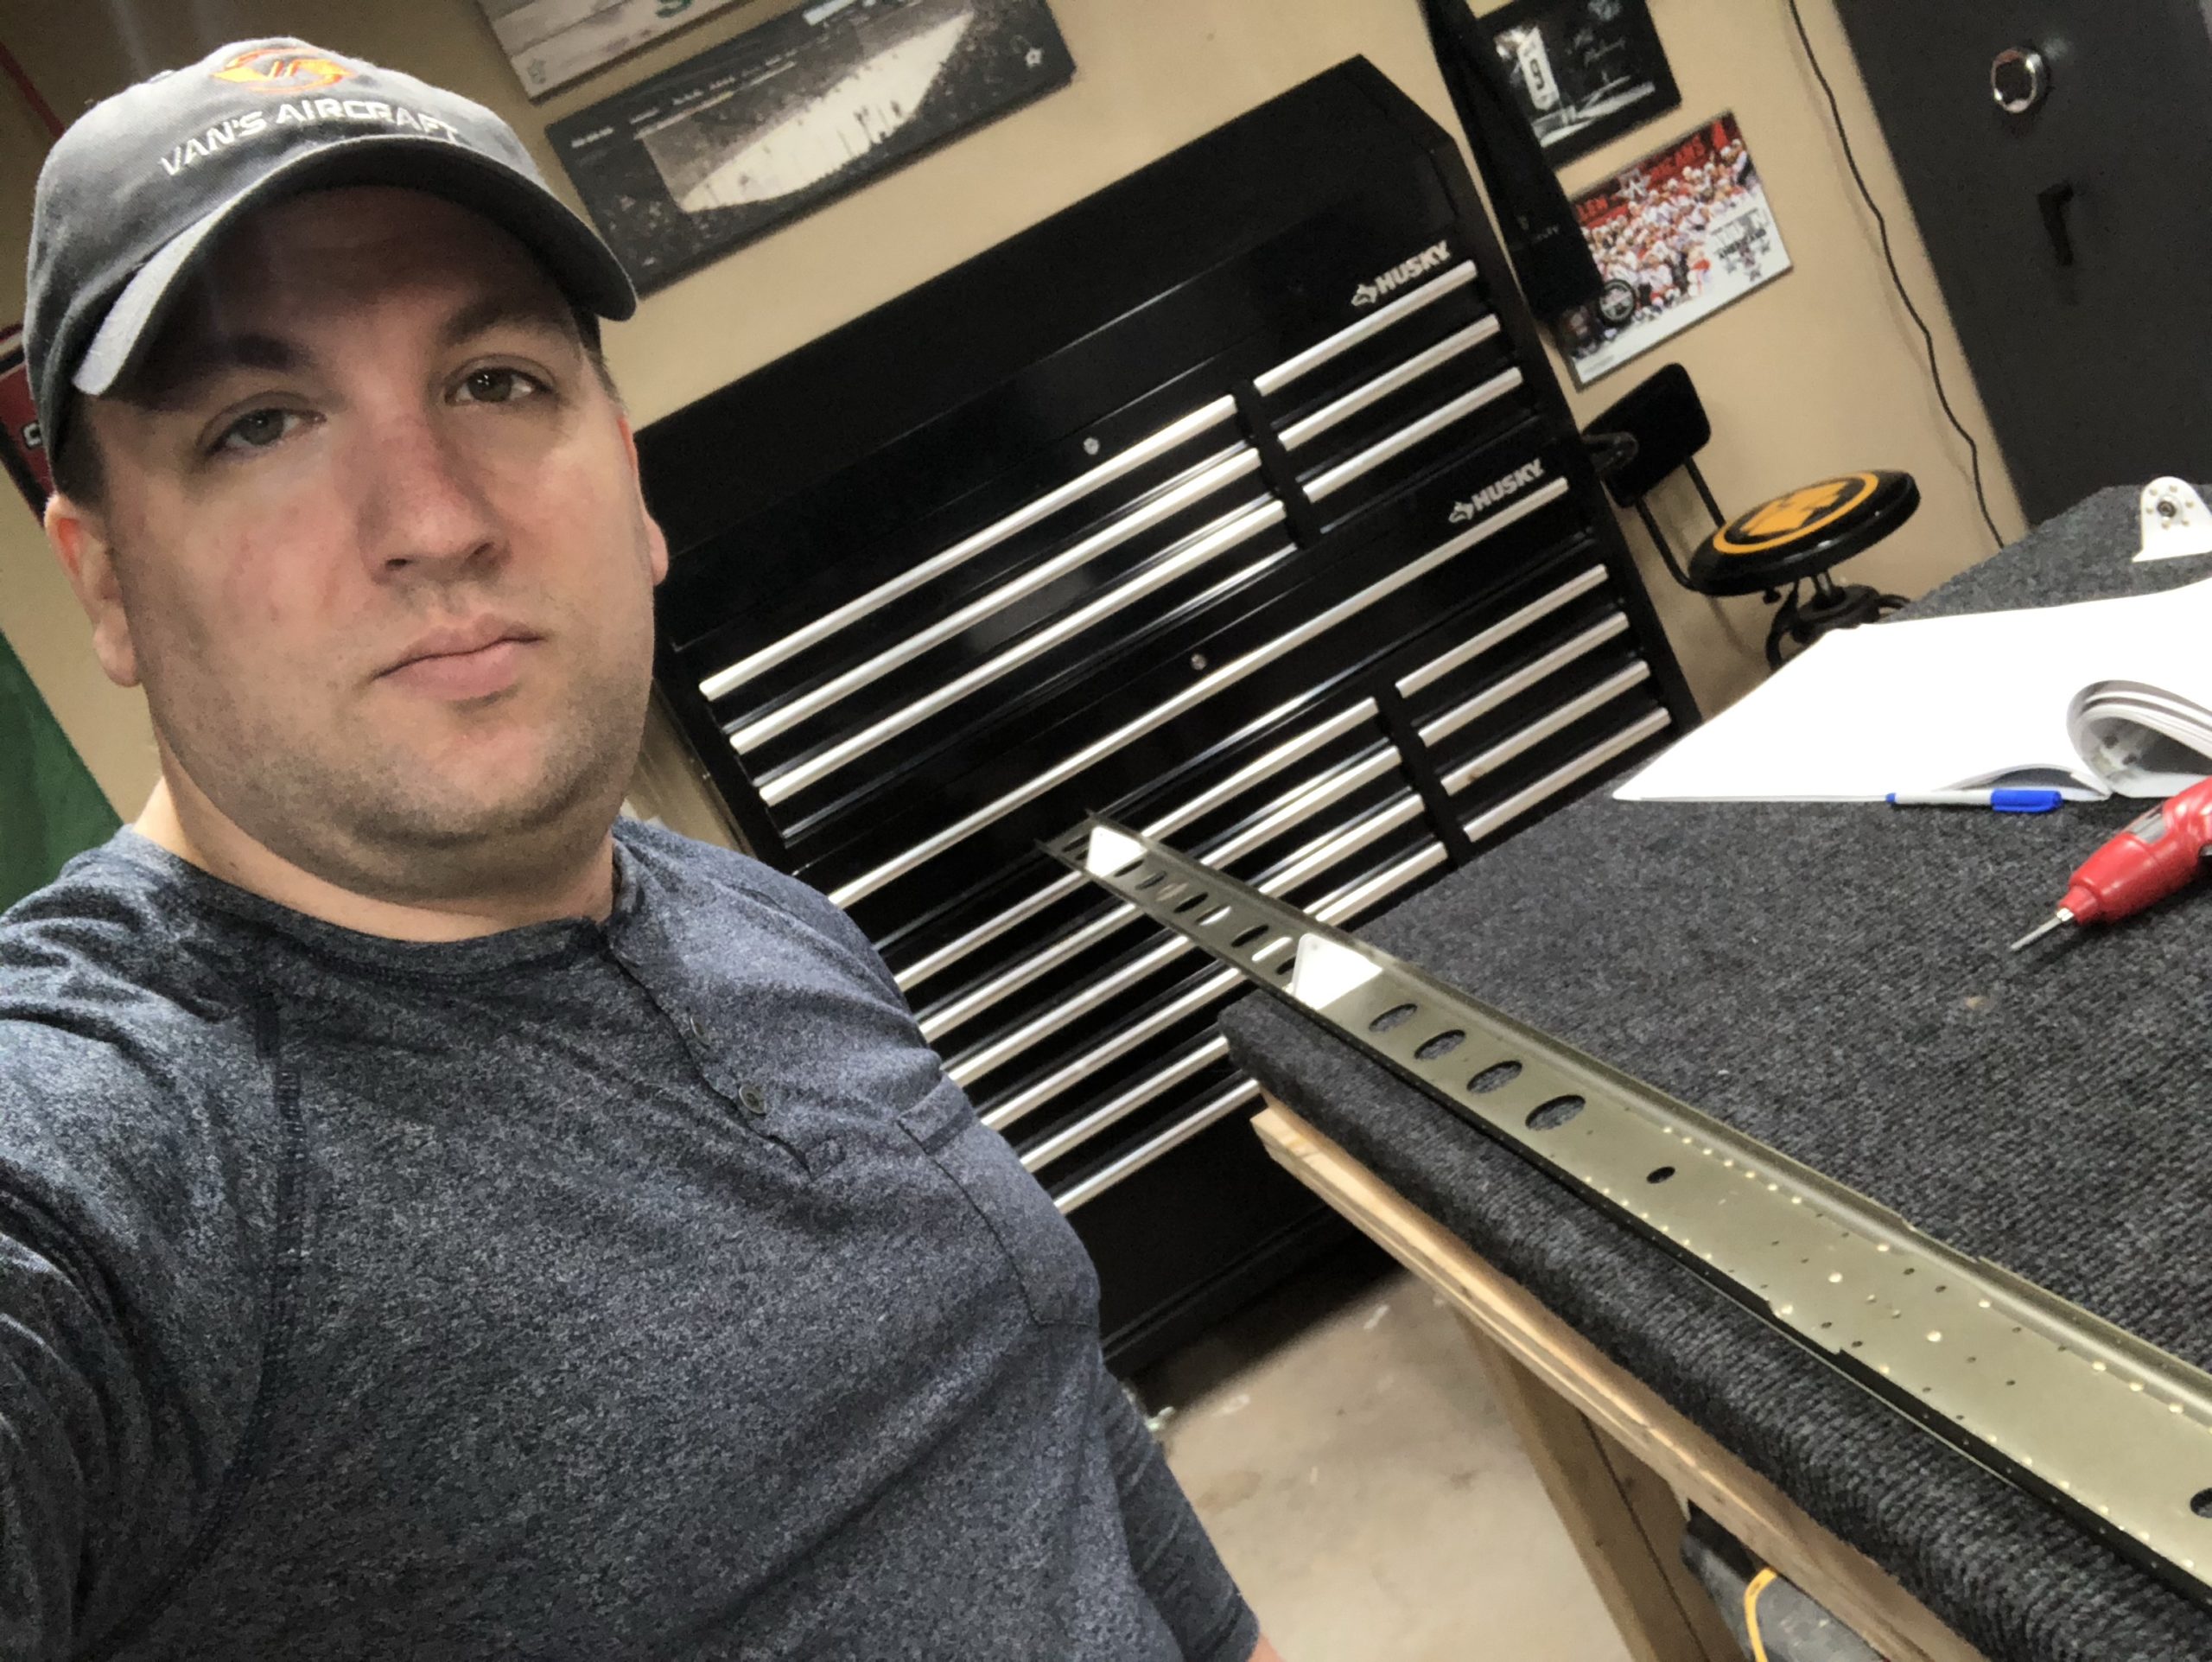
With that all screwed up (lol) I moved on to the next part. I started on page 8-4: step 1 which was cutting some angles off of the spar caps and stringers. Luckily that was something I was well familiar with from the VS so that went smoothly and without any issues. It does take a while to get the cuts done right and then deburring the entire piece, but it’s done and ready to go on to the next step!
I had time to speak with one of our local EAA Technical Advisors, Stephen Muehlberg. He gave me a ton of awesome tips and advice on how to continue working and improving my quality. It really spurred me on today, so I started up on the HS, since I’m waiting on the rudder skin, stiffners, and shear clips to come in. I riveted almost all of the spar doubler (minus the AN426AD4-6 rivets since I’m out of those) which really taught me alot about how to hold the squeezer so that I get zero impressions from the dies. At least with my squeezer and yoke combo, I have to slightly anticipate the downward tilt of the squeezer. And, not by much I should add. Just enough where it’s perceivable that the angle is off a tad, but once it squeezes down it straightens out perfectly. It’s looking good, but I did have to order some additional parts from Spruce. I got some additional AN426AD4-6 rivets, plus some rivet gauges, and I need to get a good low range torque wrench. I have one for my automotive applications, which normally stay within the 30-120 ft-lbs range, but I need something that will get me into the lower in-lbs and the lower ft-lbs range. I’ll have to look into that, possibly even get a digital one. We’ll see
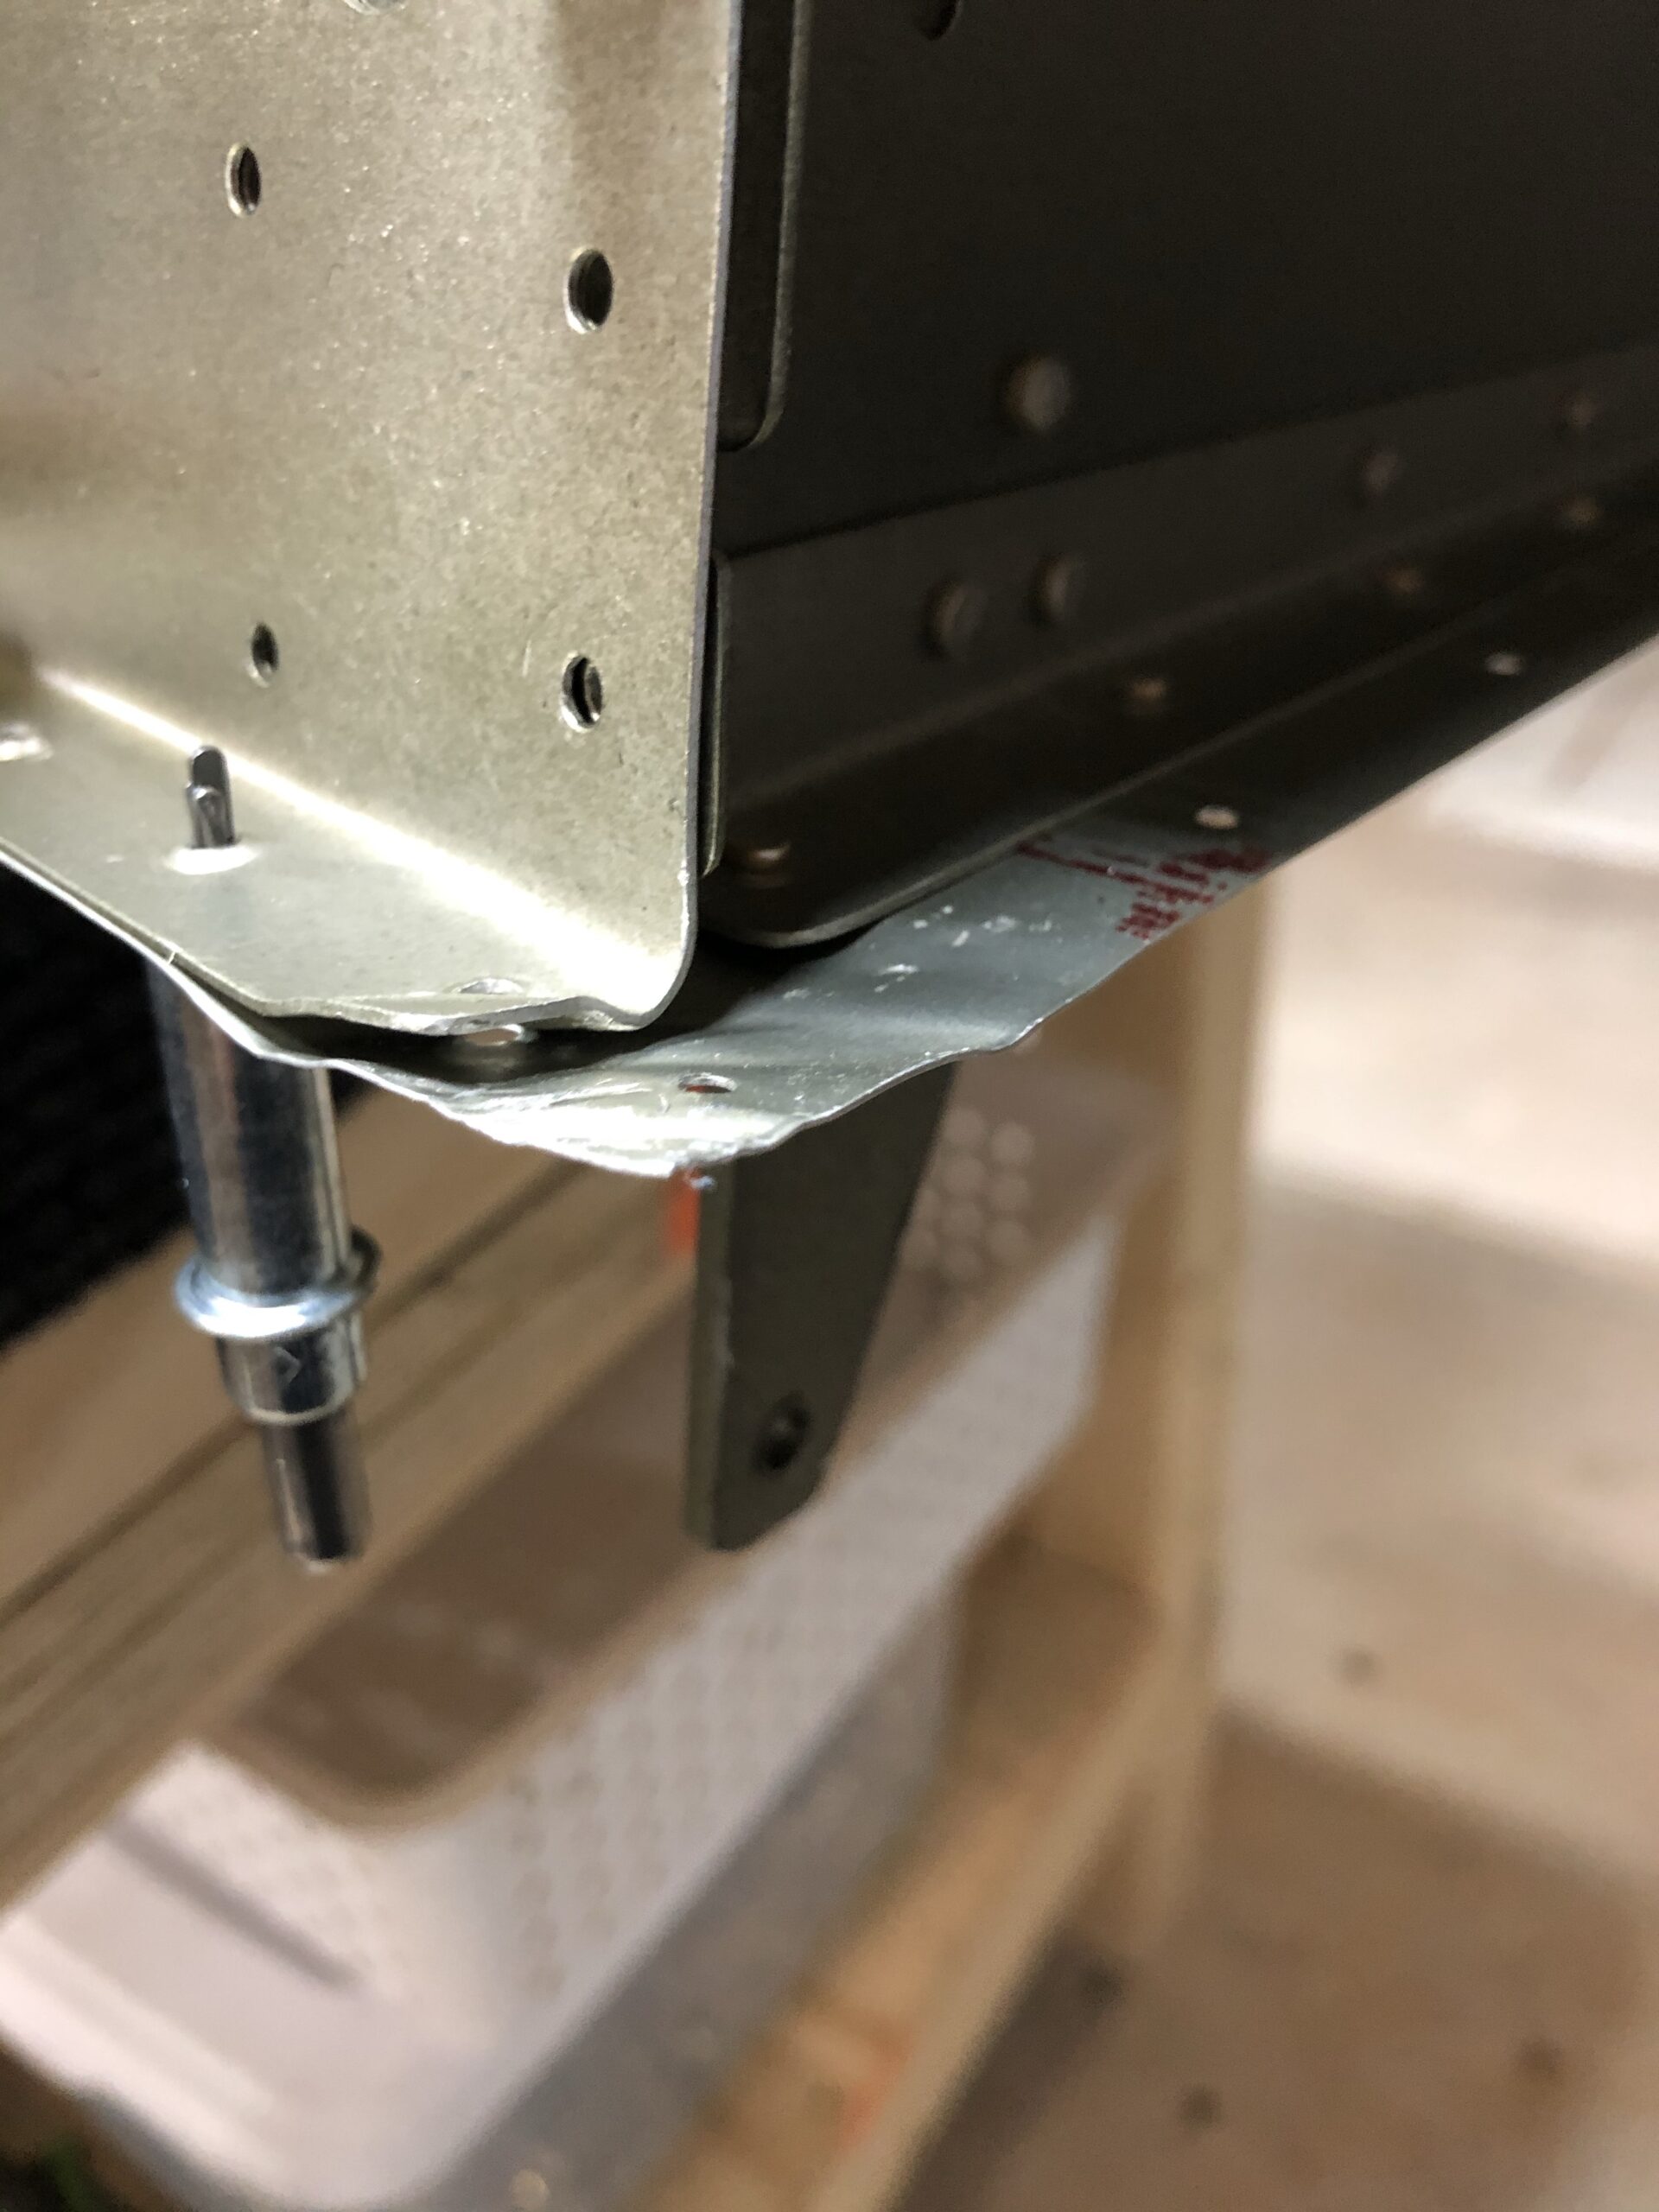
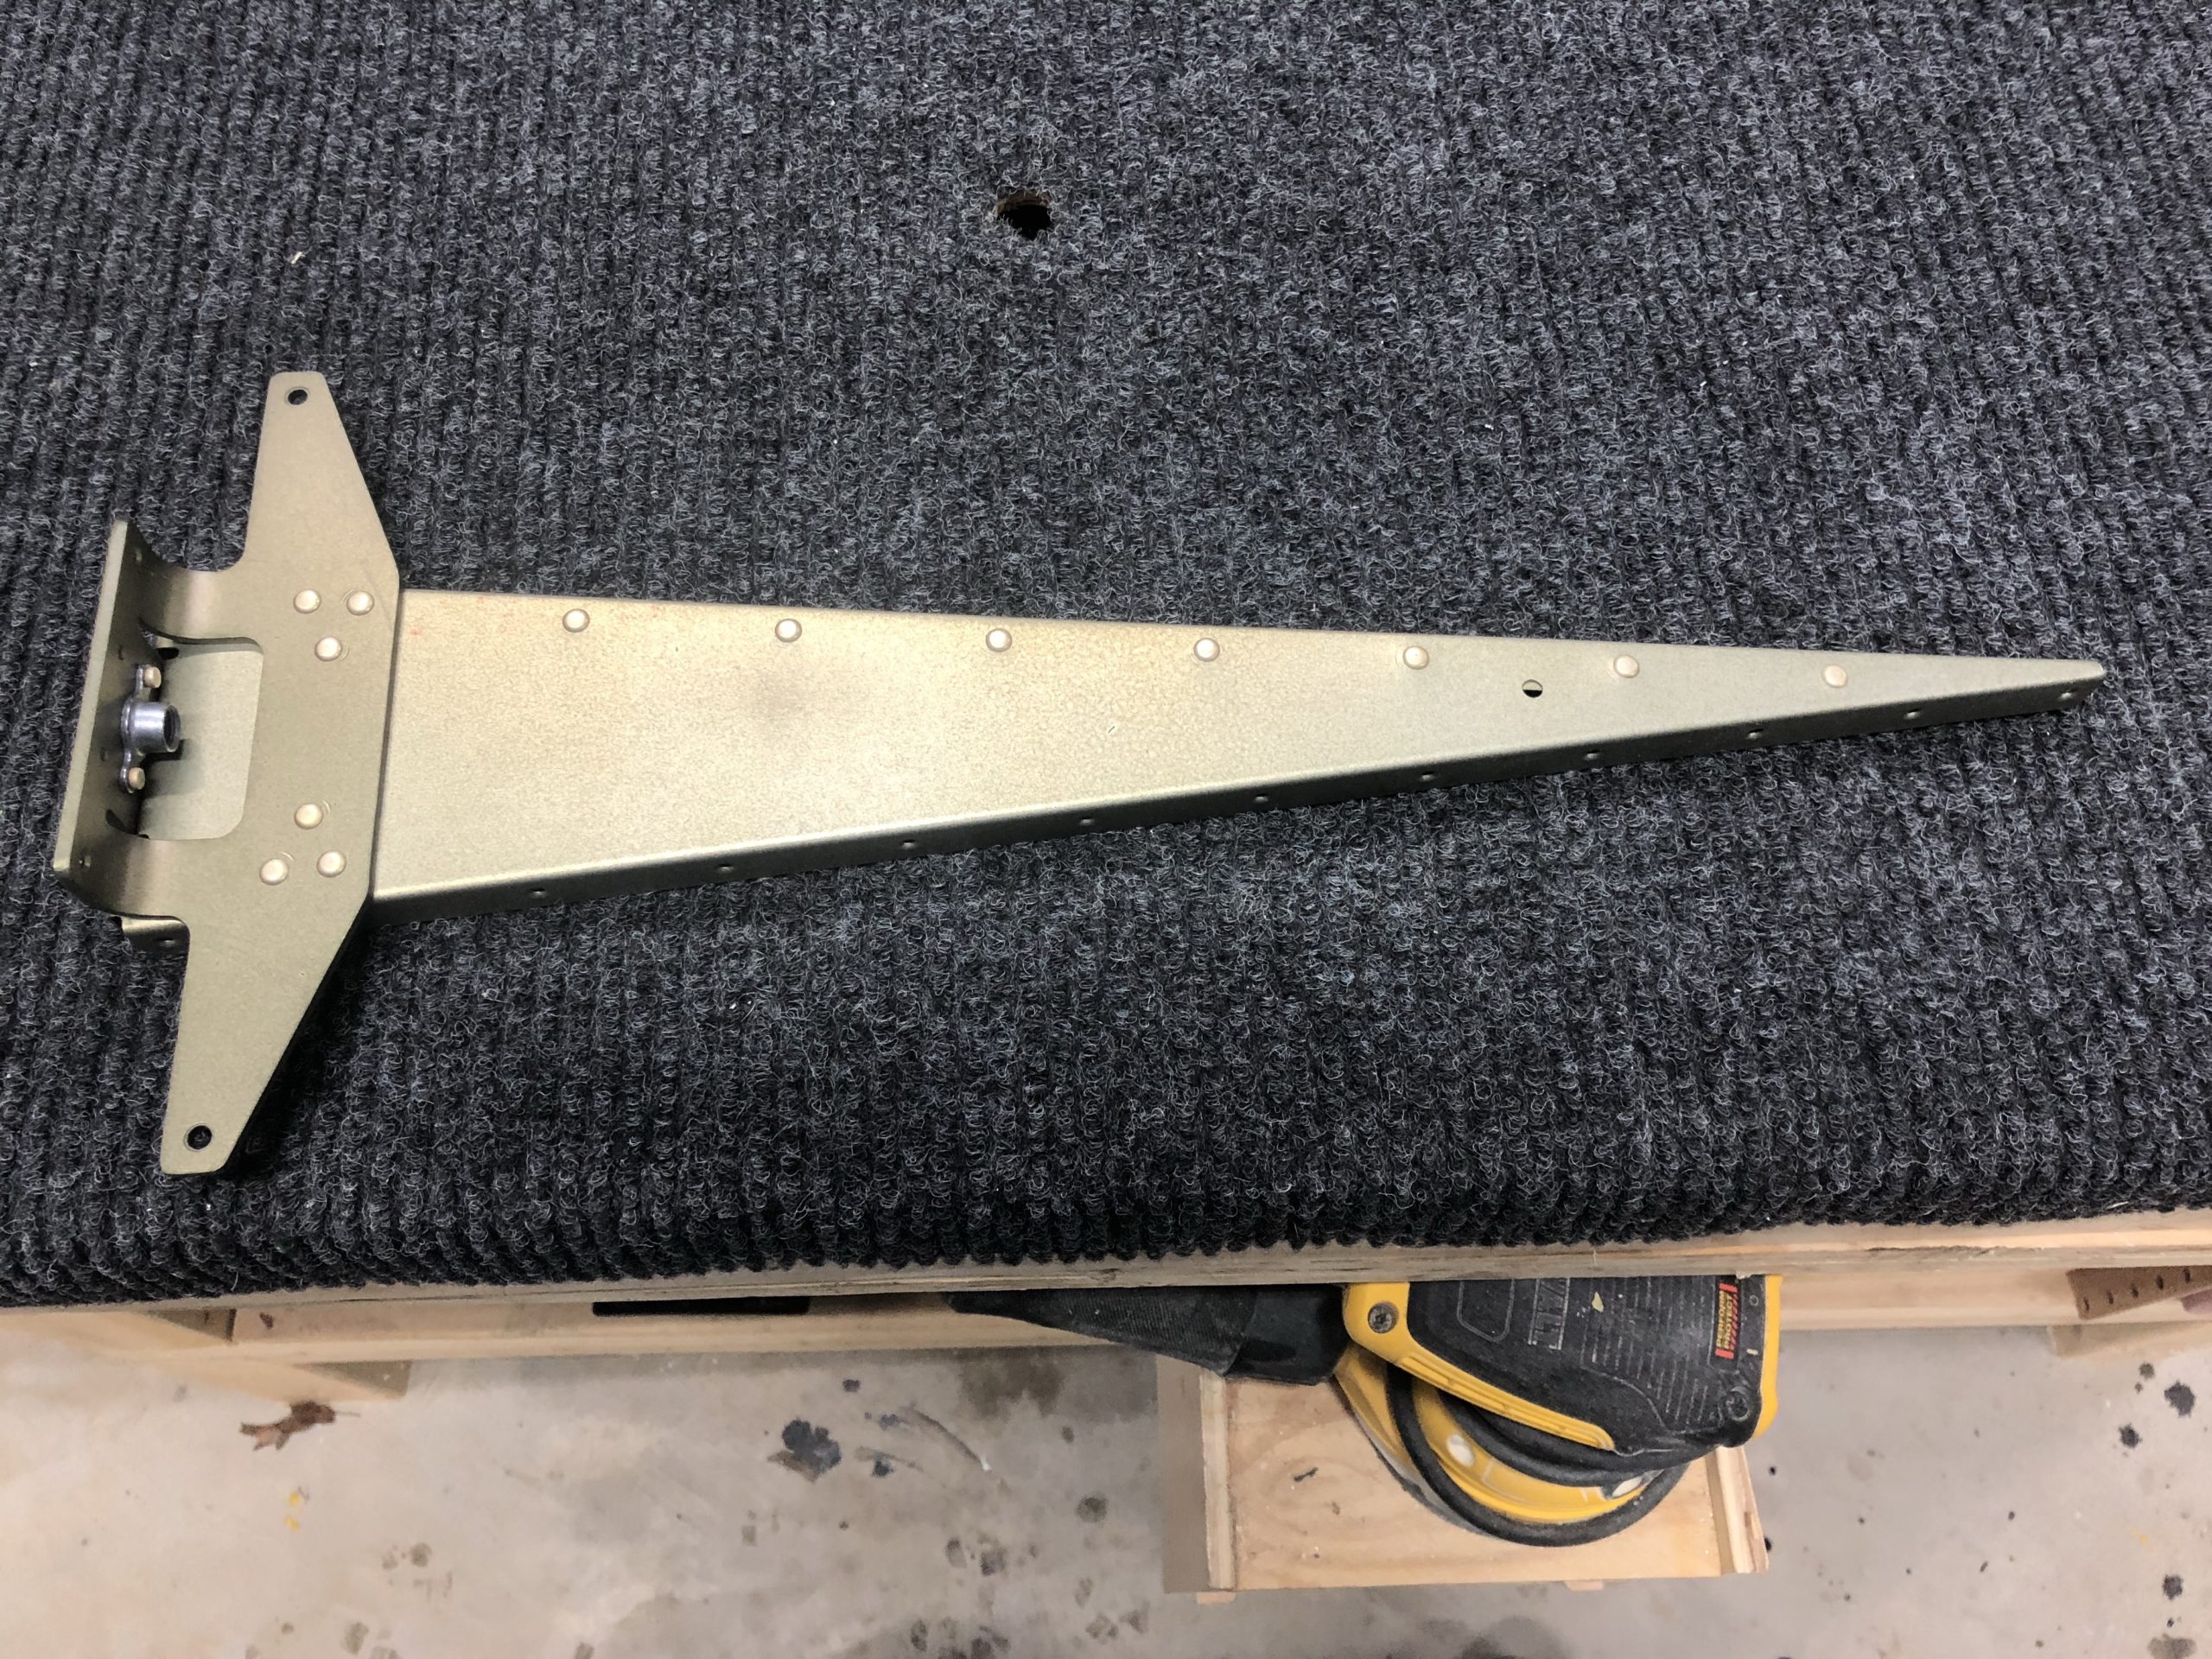
Inboard hinge bracket assembly complete!All of the AN470AD4-6 rivets installedInboard hinge bracket assembly temporarily installedBackside of inboard hinge bracket assembly. The washers they call out for (AN960-10) are referenced as NAS1149-F0363P in the parts Van’s sends you
I finally buttoned up the VS! I made a few mistakes while building this but they weren’t things that couldn’t be fixed. It was a great learning experience and I’m stoked to keep going, learning, and perfecting my technique!
I thought my attention to detail was pretty high, but oh boy this taught me a HUGE lesson about attention to detail. I will be reordering a part of the rudder. I tried fixing the dimples on the trailing edge and they were just not working. Really, it’s not the dimples themselves, but the skin around them. I built the table top that goes around the C frame but it was sitting just a tad too high. With that, it was creating this concave and wavy looking trailing edge on the skins.
Again…. I’m not frustrated or mad, etc. This was VERY enjoyable and I’m super excited to see the level of quality as I get better and better. I feel sorry for the guys at Van’s that are going to have to pack my order… That’s the only embarrassing part about this. LOL
I was a little hesitant on getting the riveting done on the front spar between the upper and middle in-spar ribs. That was a tight area and I didn’t want to bend anything. Luckily I was worried for no reason. I pulled quite a few clecos out, but I did what the instructions said which was only pull out as many as you need to get in. Sadly I have thick arms so I had to pull out quite a few, but I just made sure that I had a cleco in every single hole along the front spar and about five clecos down the in-spar ribs. The only thing that bugs me about the work that I’m finishing now is the dimple on the skin. It doesn’t appear that the dimple and the rivet are meeting flush at the very lip of the rivet. I’m going to have to look up the tolerance for this before I move on and end up wasting a ton of time having to drill out rivets or start from scratch. Luckily I’m not too opposed to starting from scratch on these pieces because I would prefer it to be built right than to force forward shoddy work.
First set of rivets on the right side of the VS along the front sparThe gap between the rivet and the skin. Bugs me and they are all this way. I believe it’s the dimpling (maybe the die)The rubber hose I had originally glued to fix my gap between my flange and the skinRivets set and the skin is flush around the rivet!
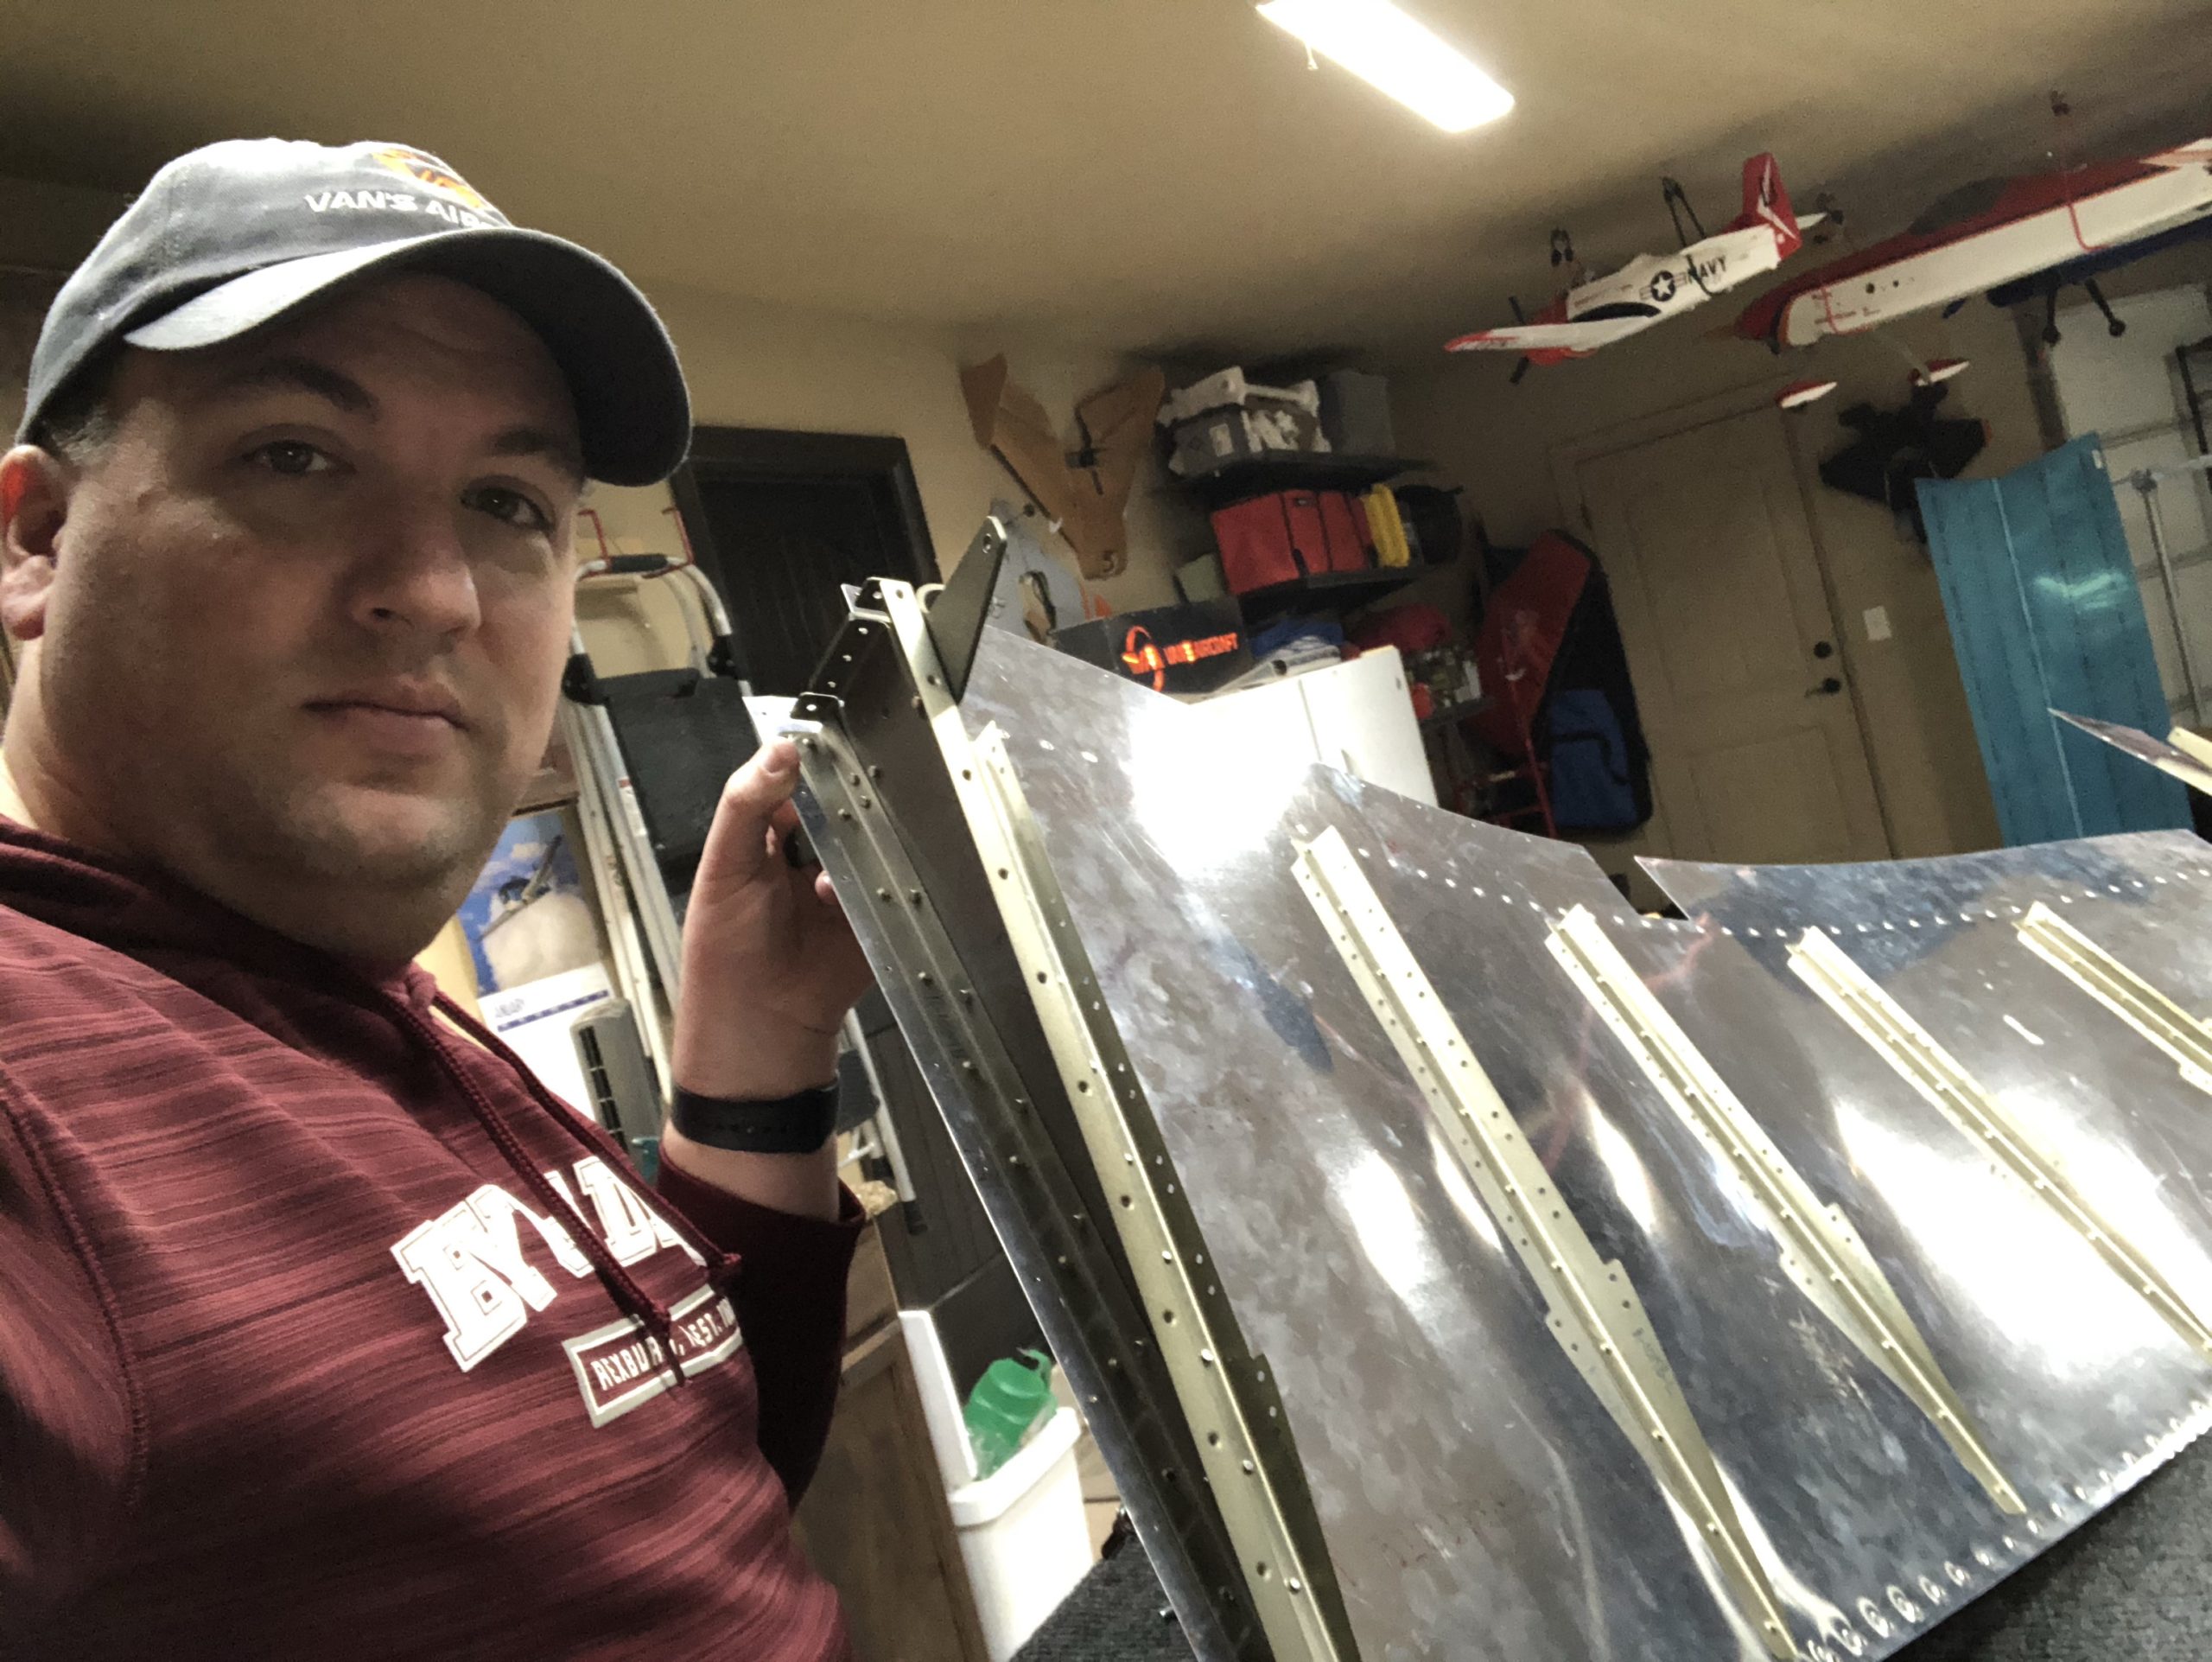
I wanted to get the rudder ready to assemble while I wait for the tank sealant to show up to finish it up. I got all of the rest of the parts attached to the rudder skins and I went ahead and just put them together just to make sure it all still fit well. Everything went well and it’s ready for tank sealant!
Me with the right rudder skinRudder skin on the tableTemporarily assembled rudderTop of left skin rudder
I got the bottom section of the rudder as well as the reinforcement ribs along the inside of the rudder skin done. Not too bad, but I did learn a little bit on the backriveting. Even with a rivet that is of the correct length you can still have it fold over. I had to drill a few out for that specific reason. I would give the rivet a burst, pull it off to take a look and then repeat until the rivet was set to make sure it didn’t start folding over.
Finished rudder skin set asideFinishing up the other rudder skinFinished lower rudder control