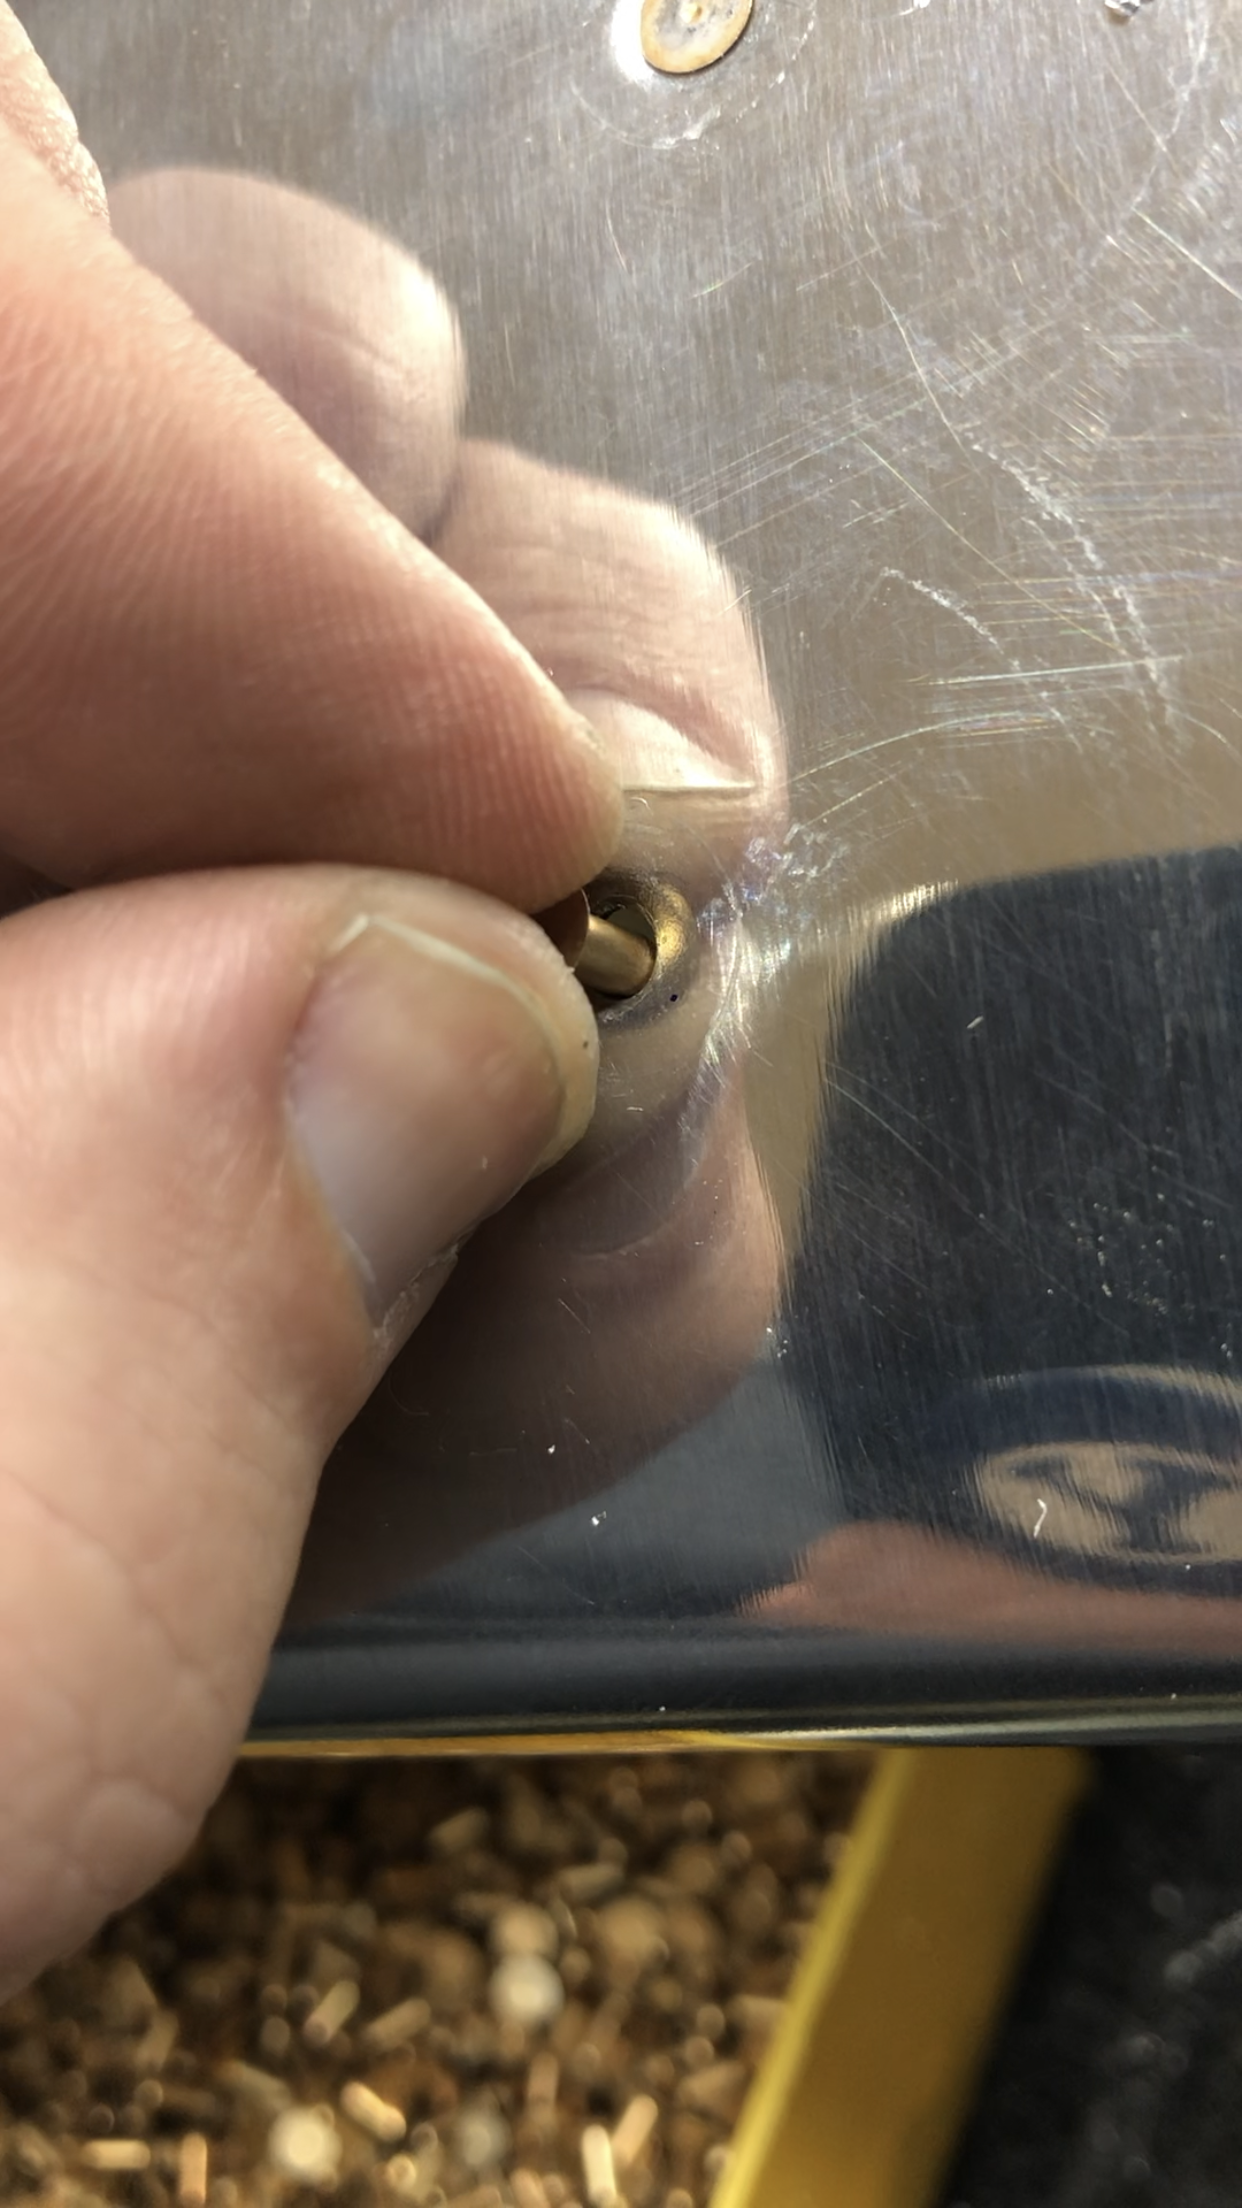
After a hiatus with COVID and holidays, I finally got the skin rivets started. I got a few going but I ended up having my first bad rivet not too long down the road. I pressed too hard from the bucking bar and ended up with the rivet slightly high on the skin. I drilled it out but was off on my drilling. This will be my first use for an “oops” rivet. Luckily I purchased those at the beginning.
I also spent some time redoing some of the rivets on the spar that I felt were off. They had the rivet cup off to the side and ended up with the little smiles on the AN470 rivets. LOL
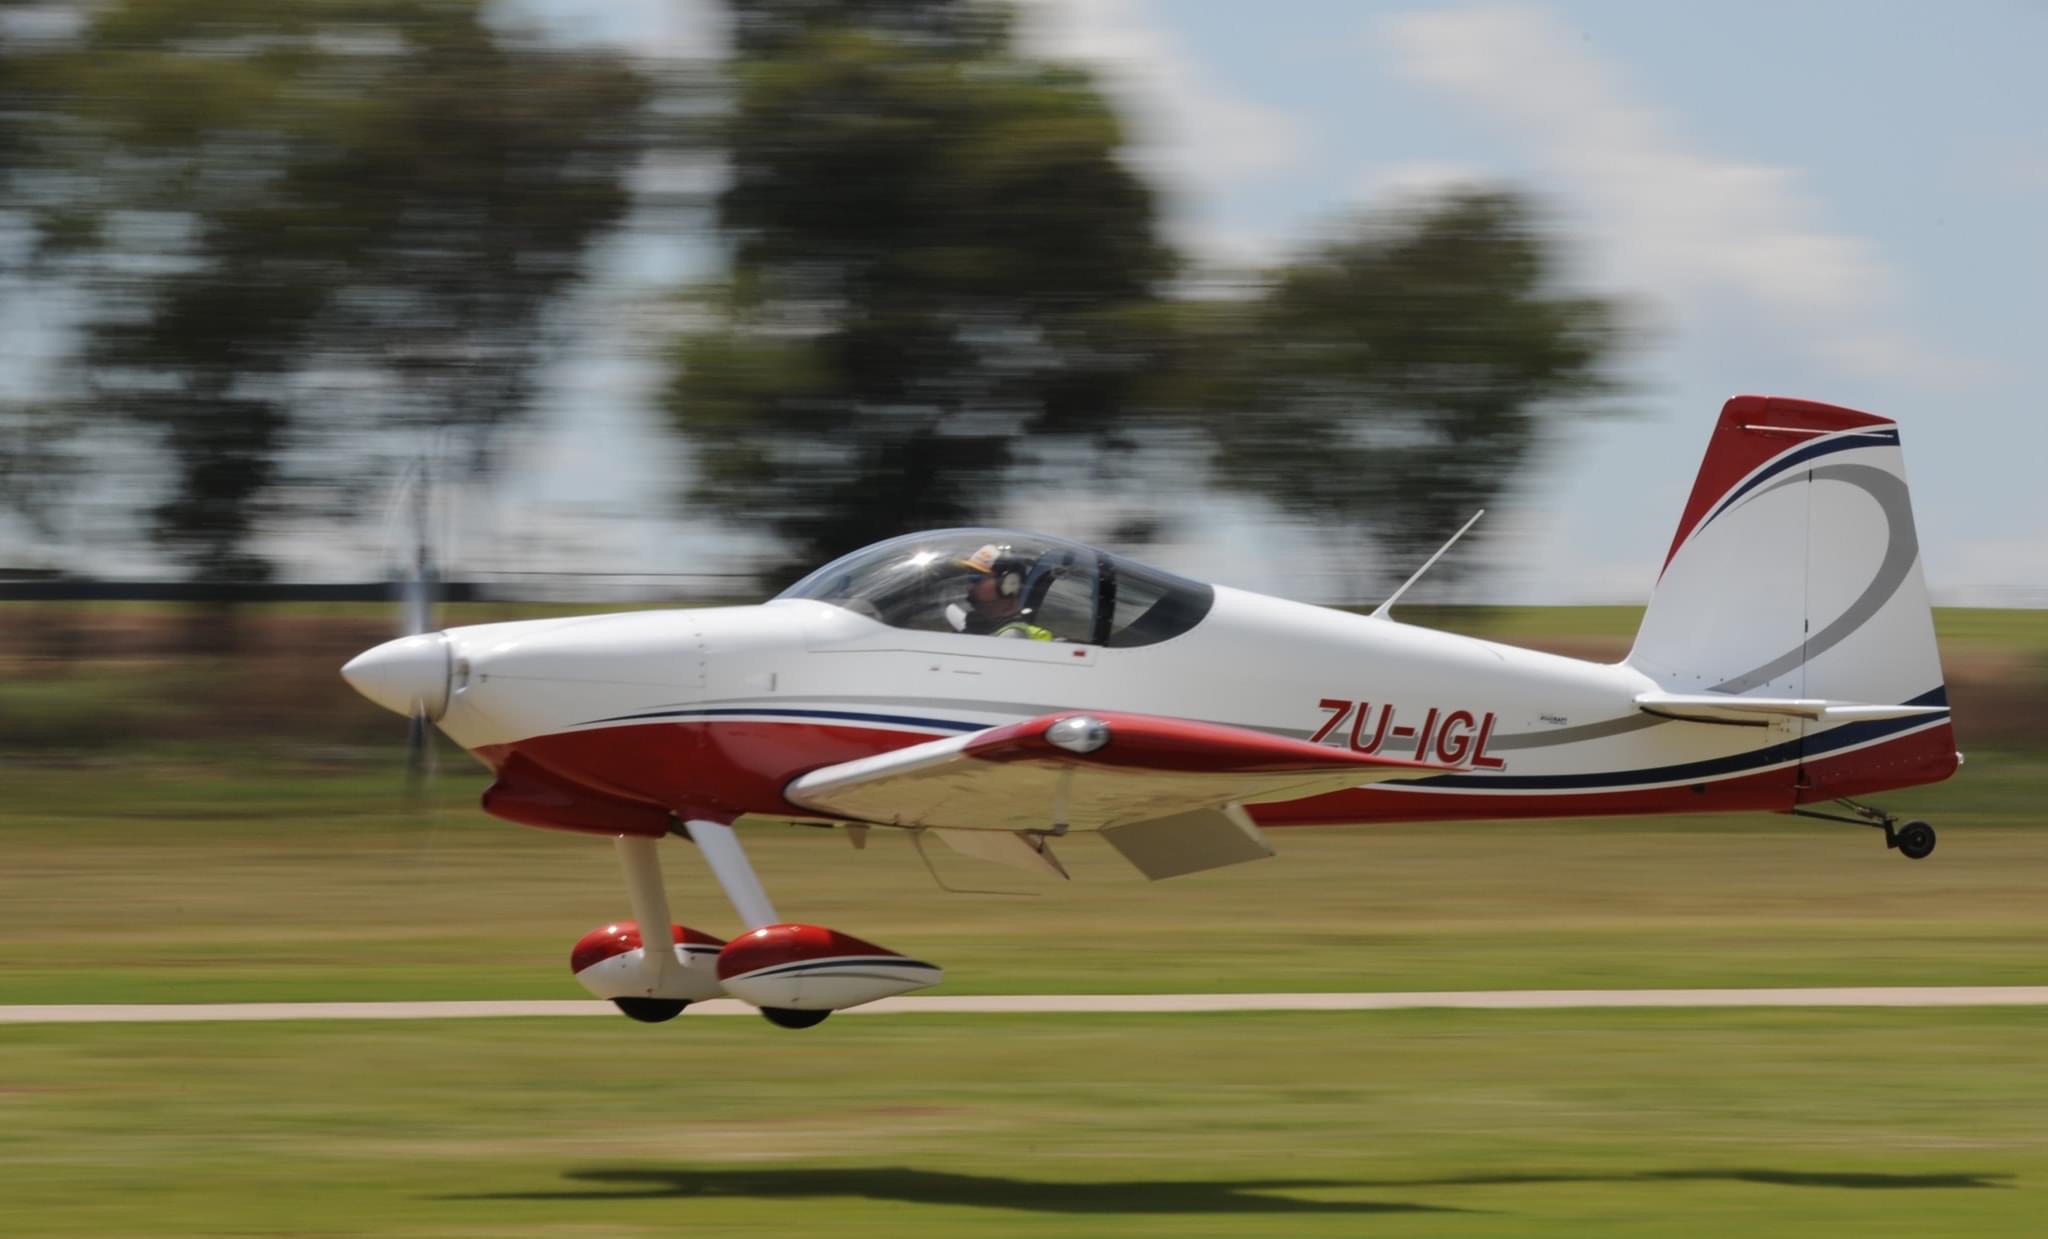
I am almost back 100% I am finally feeling normal again and my oxygen levels are almost back to what they were pre-COVID/pneumonia. While I was perusing Facebook, I saw someone post some additional photos of some paint schemes that I liked. These aren’t RV-10s, but they are awesome looking! More things to mull over while I’m building.
Awesome bright paint scheme. Looks a little like Dusty CrophopperI love the maroon, black, and silver. Very clean and simple paint scheme.
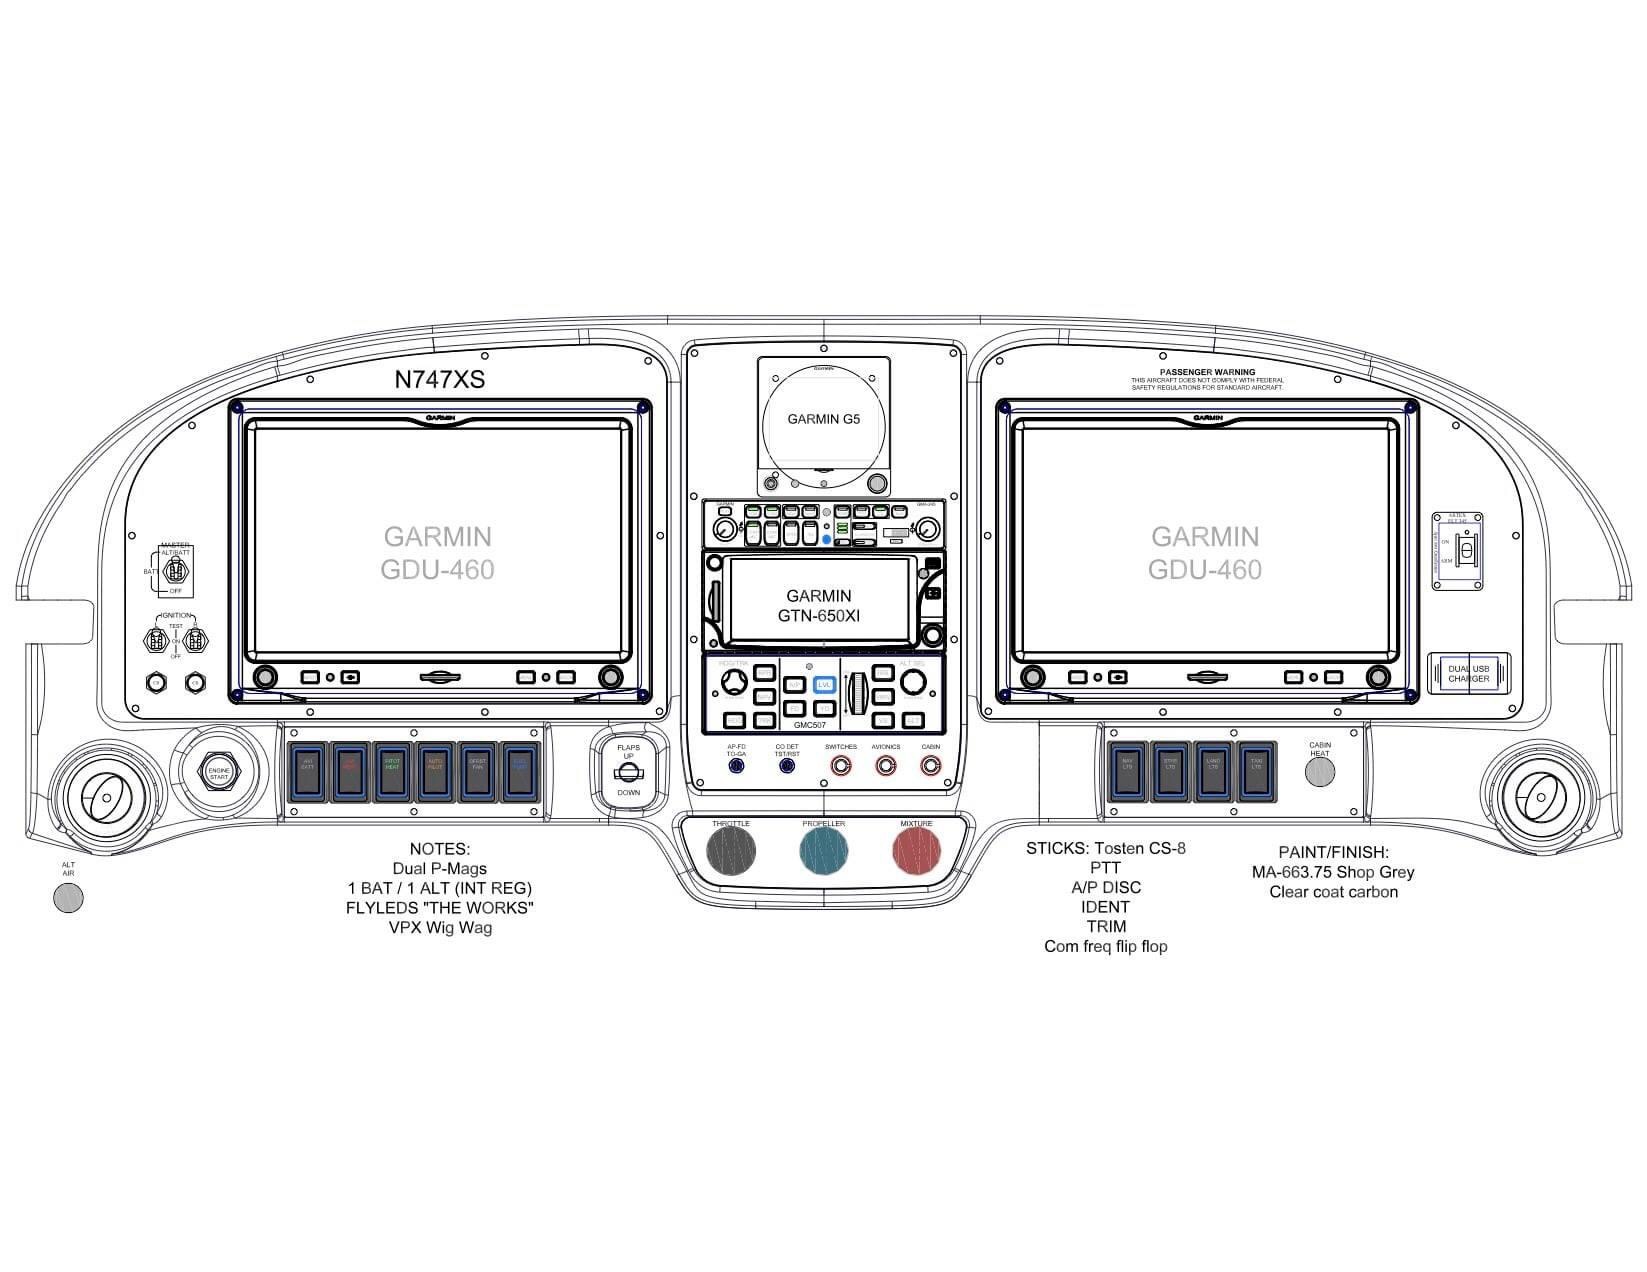
I am part of a Van’s builder group on Facebook and one of the members posted their panel layout which I thought was very simple and well placed. I wanted to note it here so that I could remember to review this when the time comes down the road.
Well, the luck finally fell on me. I got COVID so I’m spending alot of time in isolation from everyone. I spent some time doing some riveting but it’s gotten a little worse recently so I’m going to put this on hold until I get better.
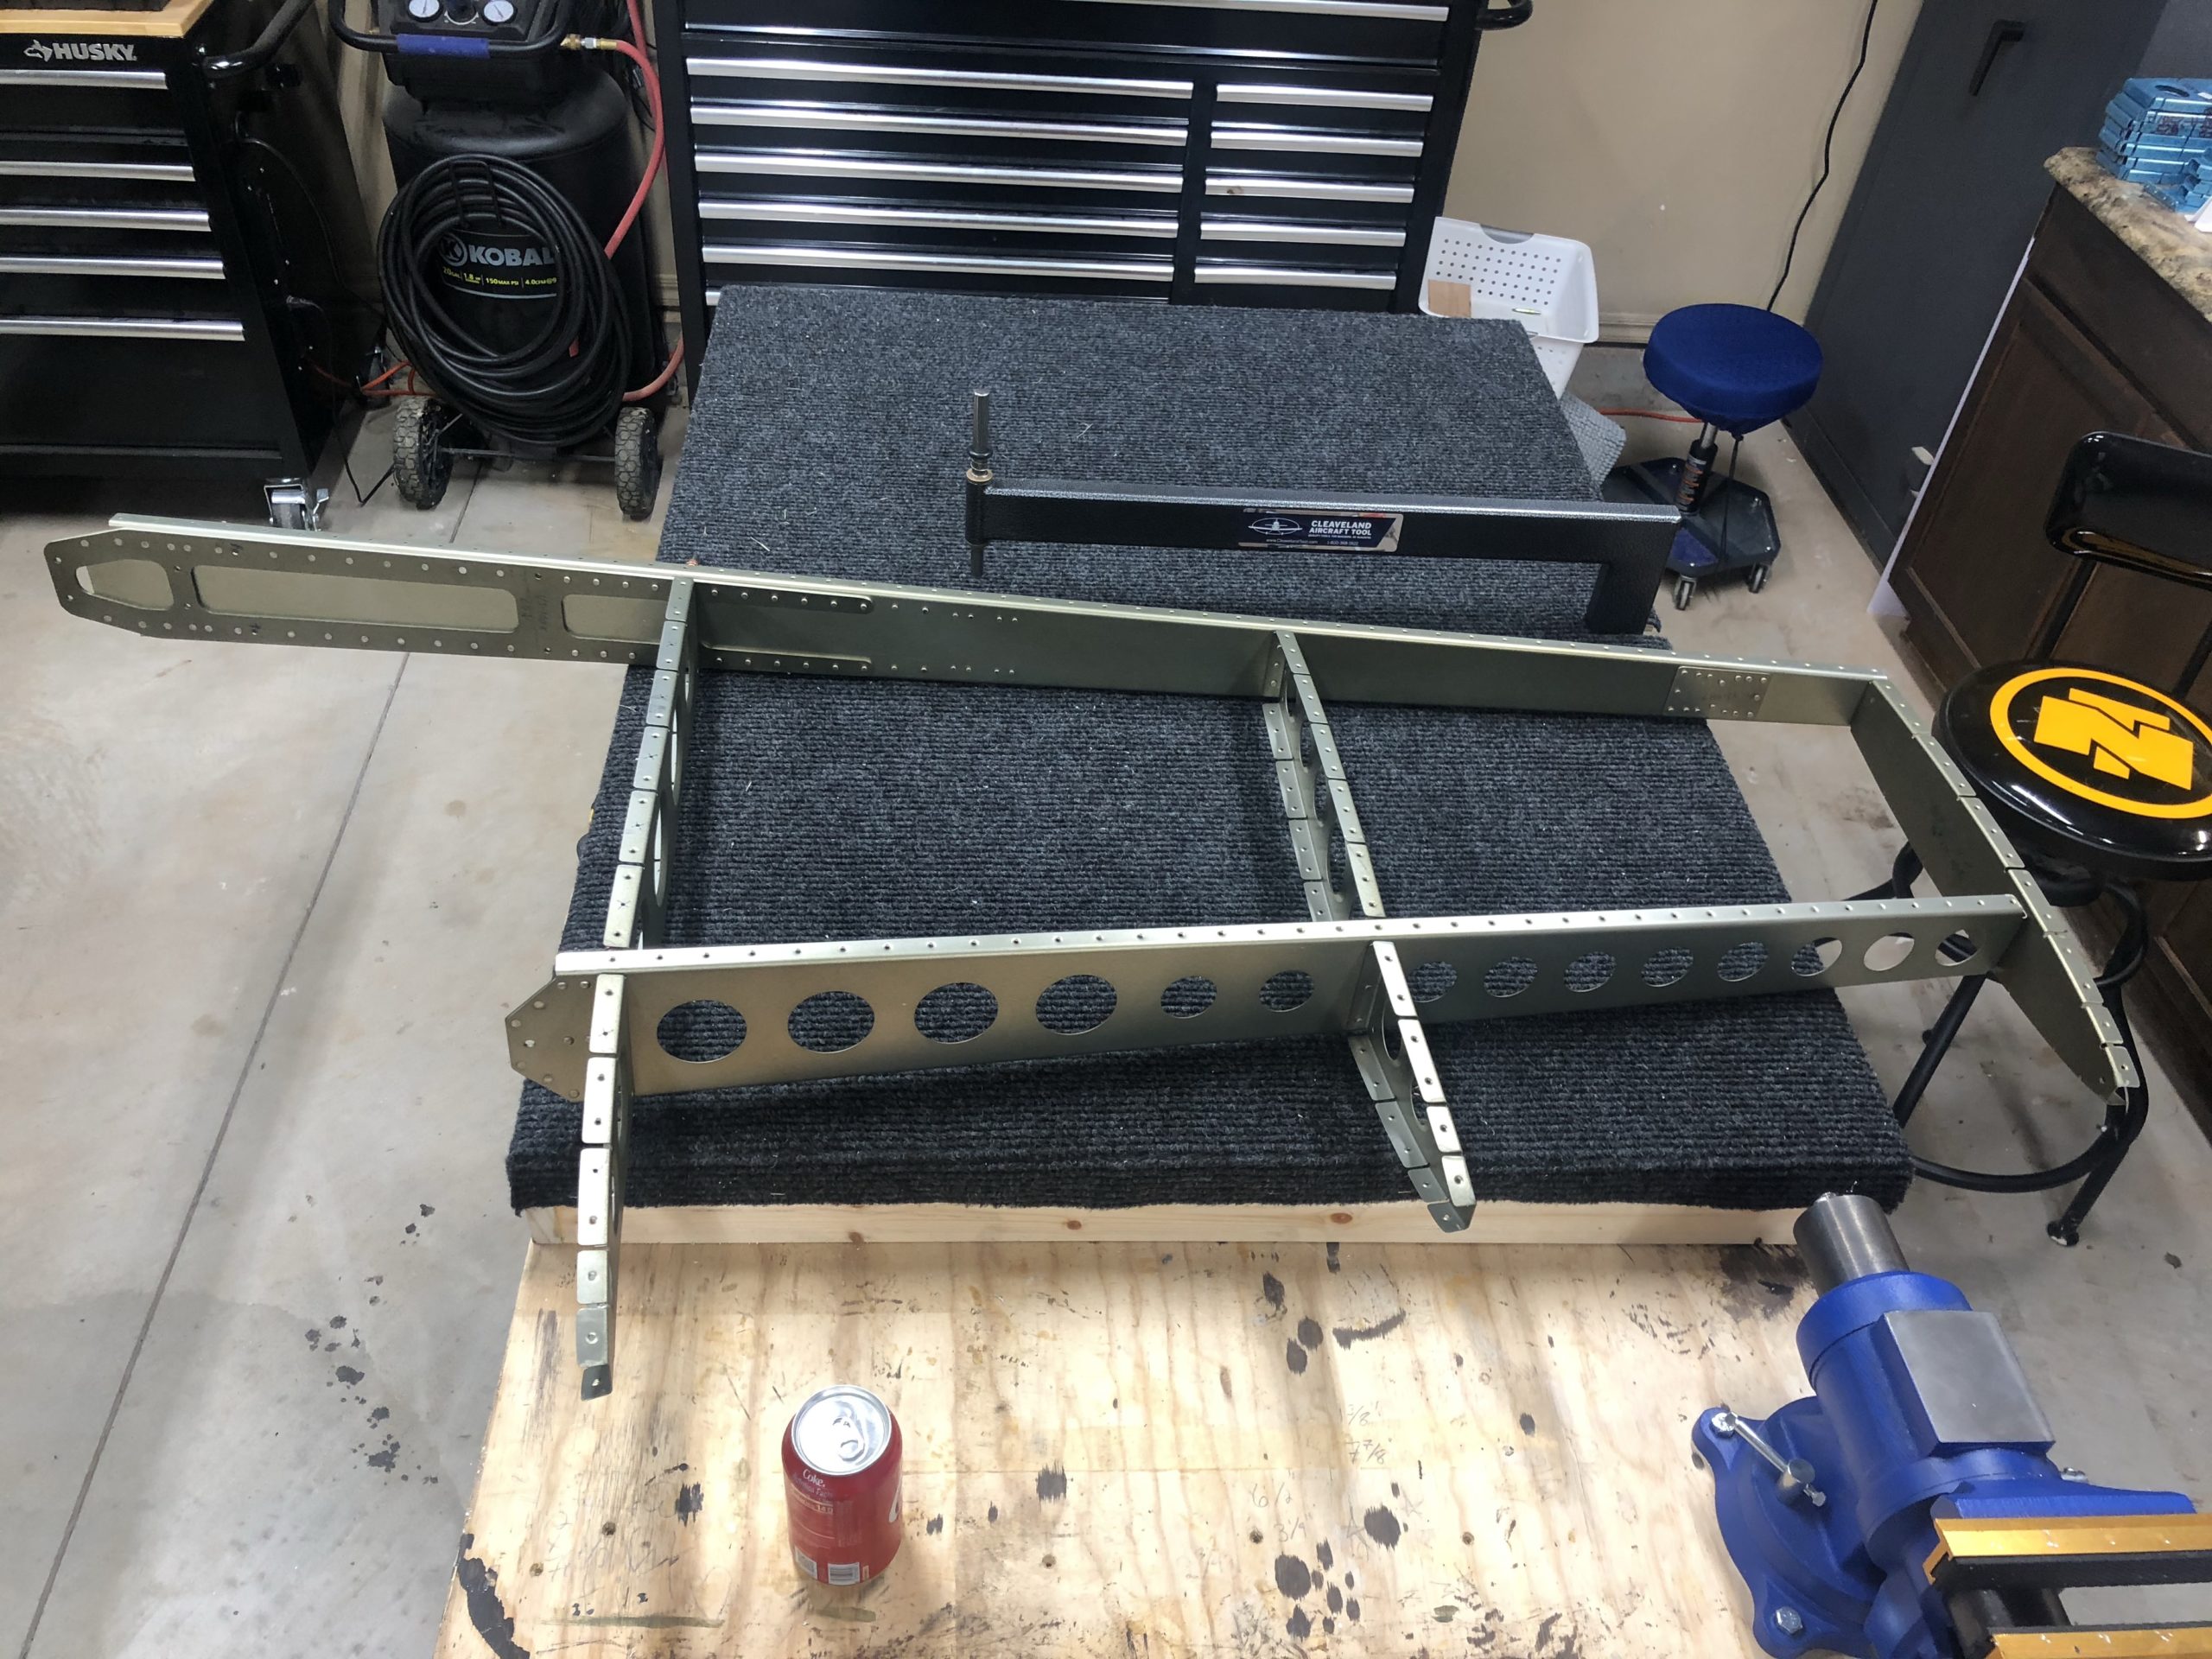
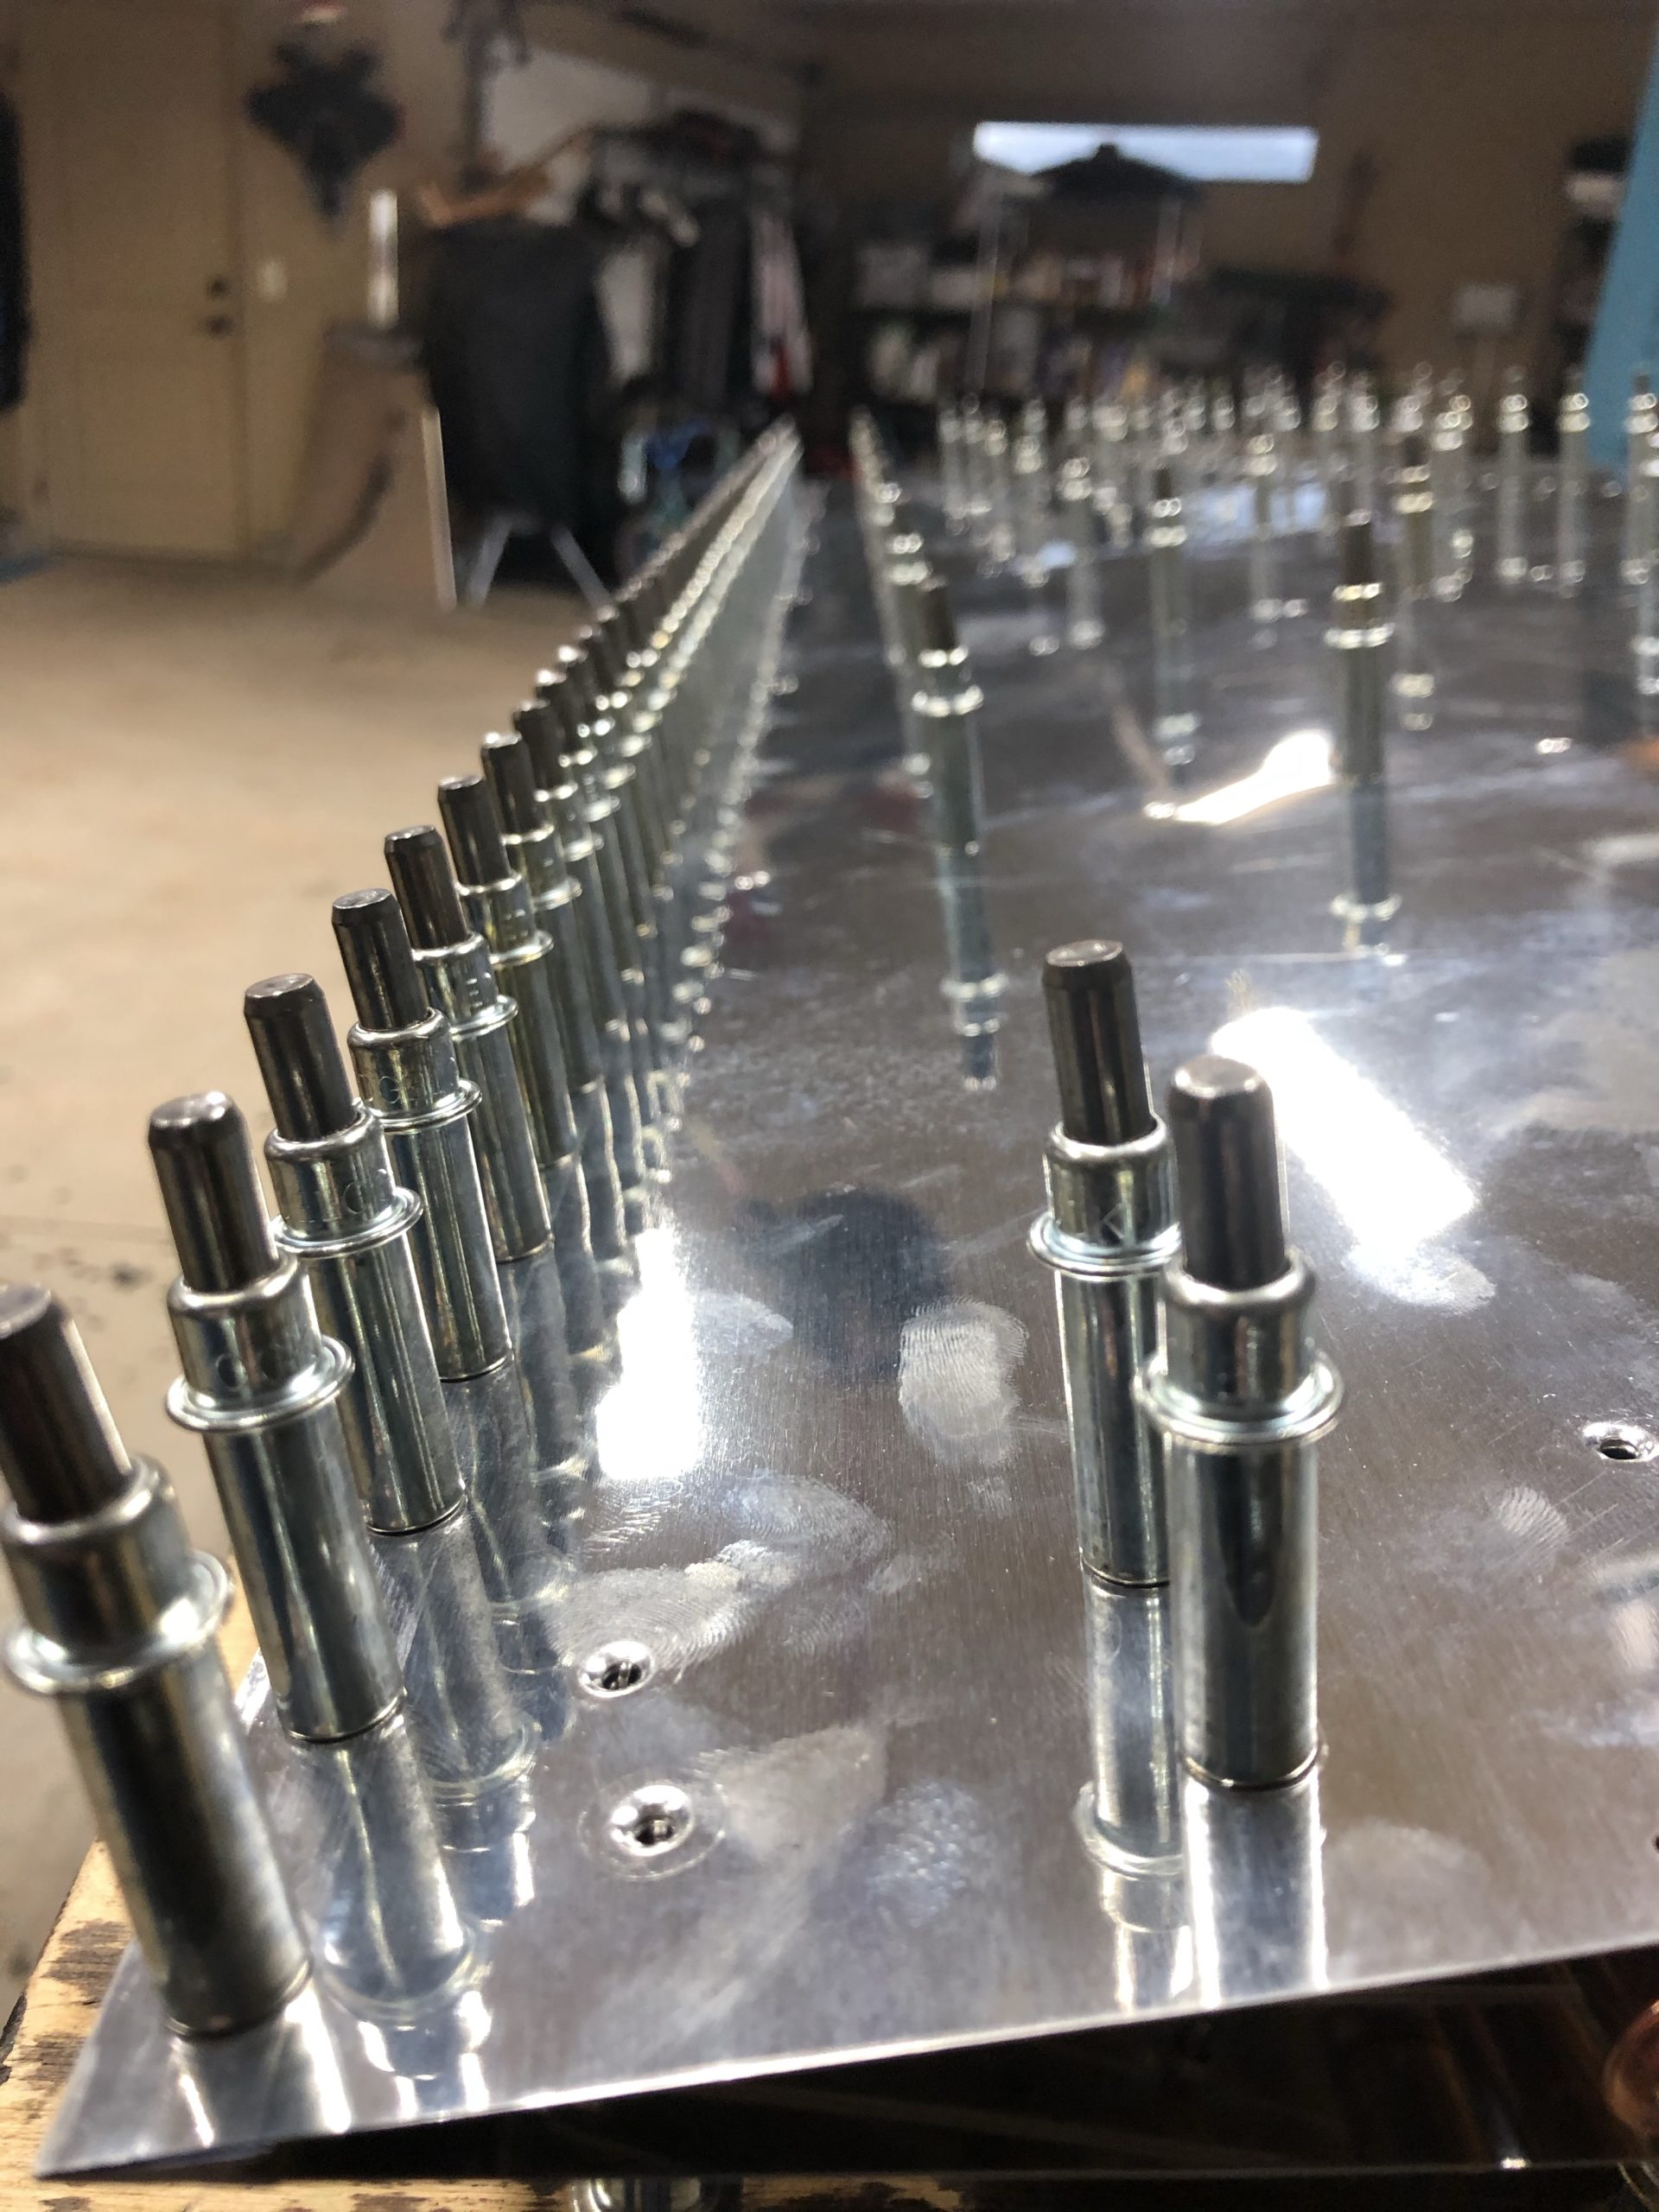
I got all of the riveting done for the skeleton where the next step is putting the skin on. It’ll be cool to get that done when I feel better.
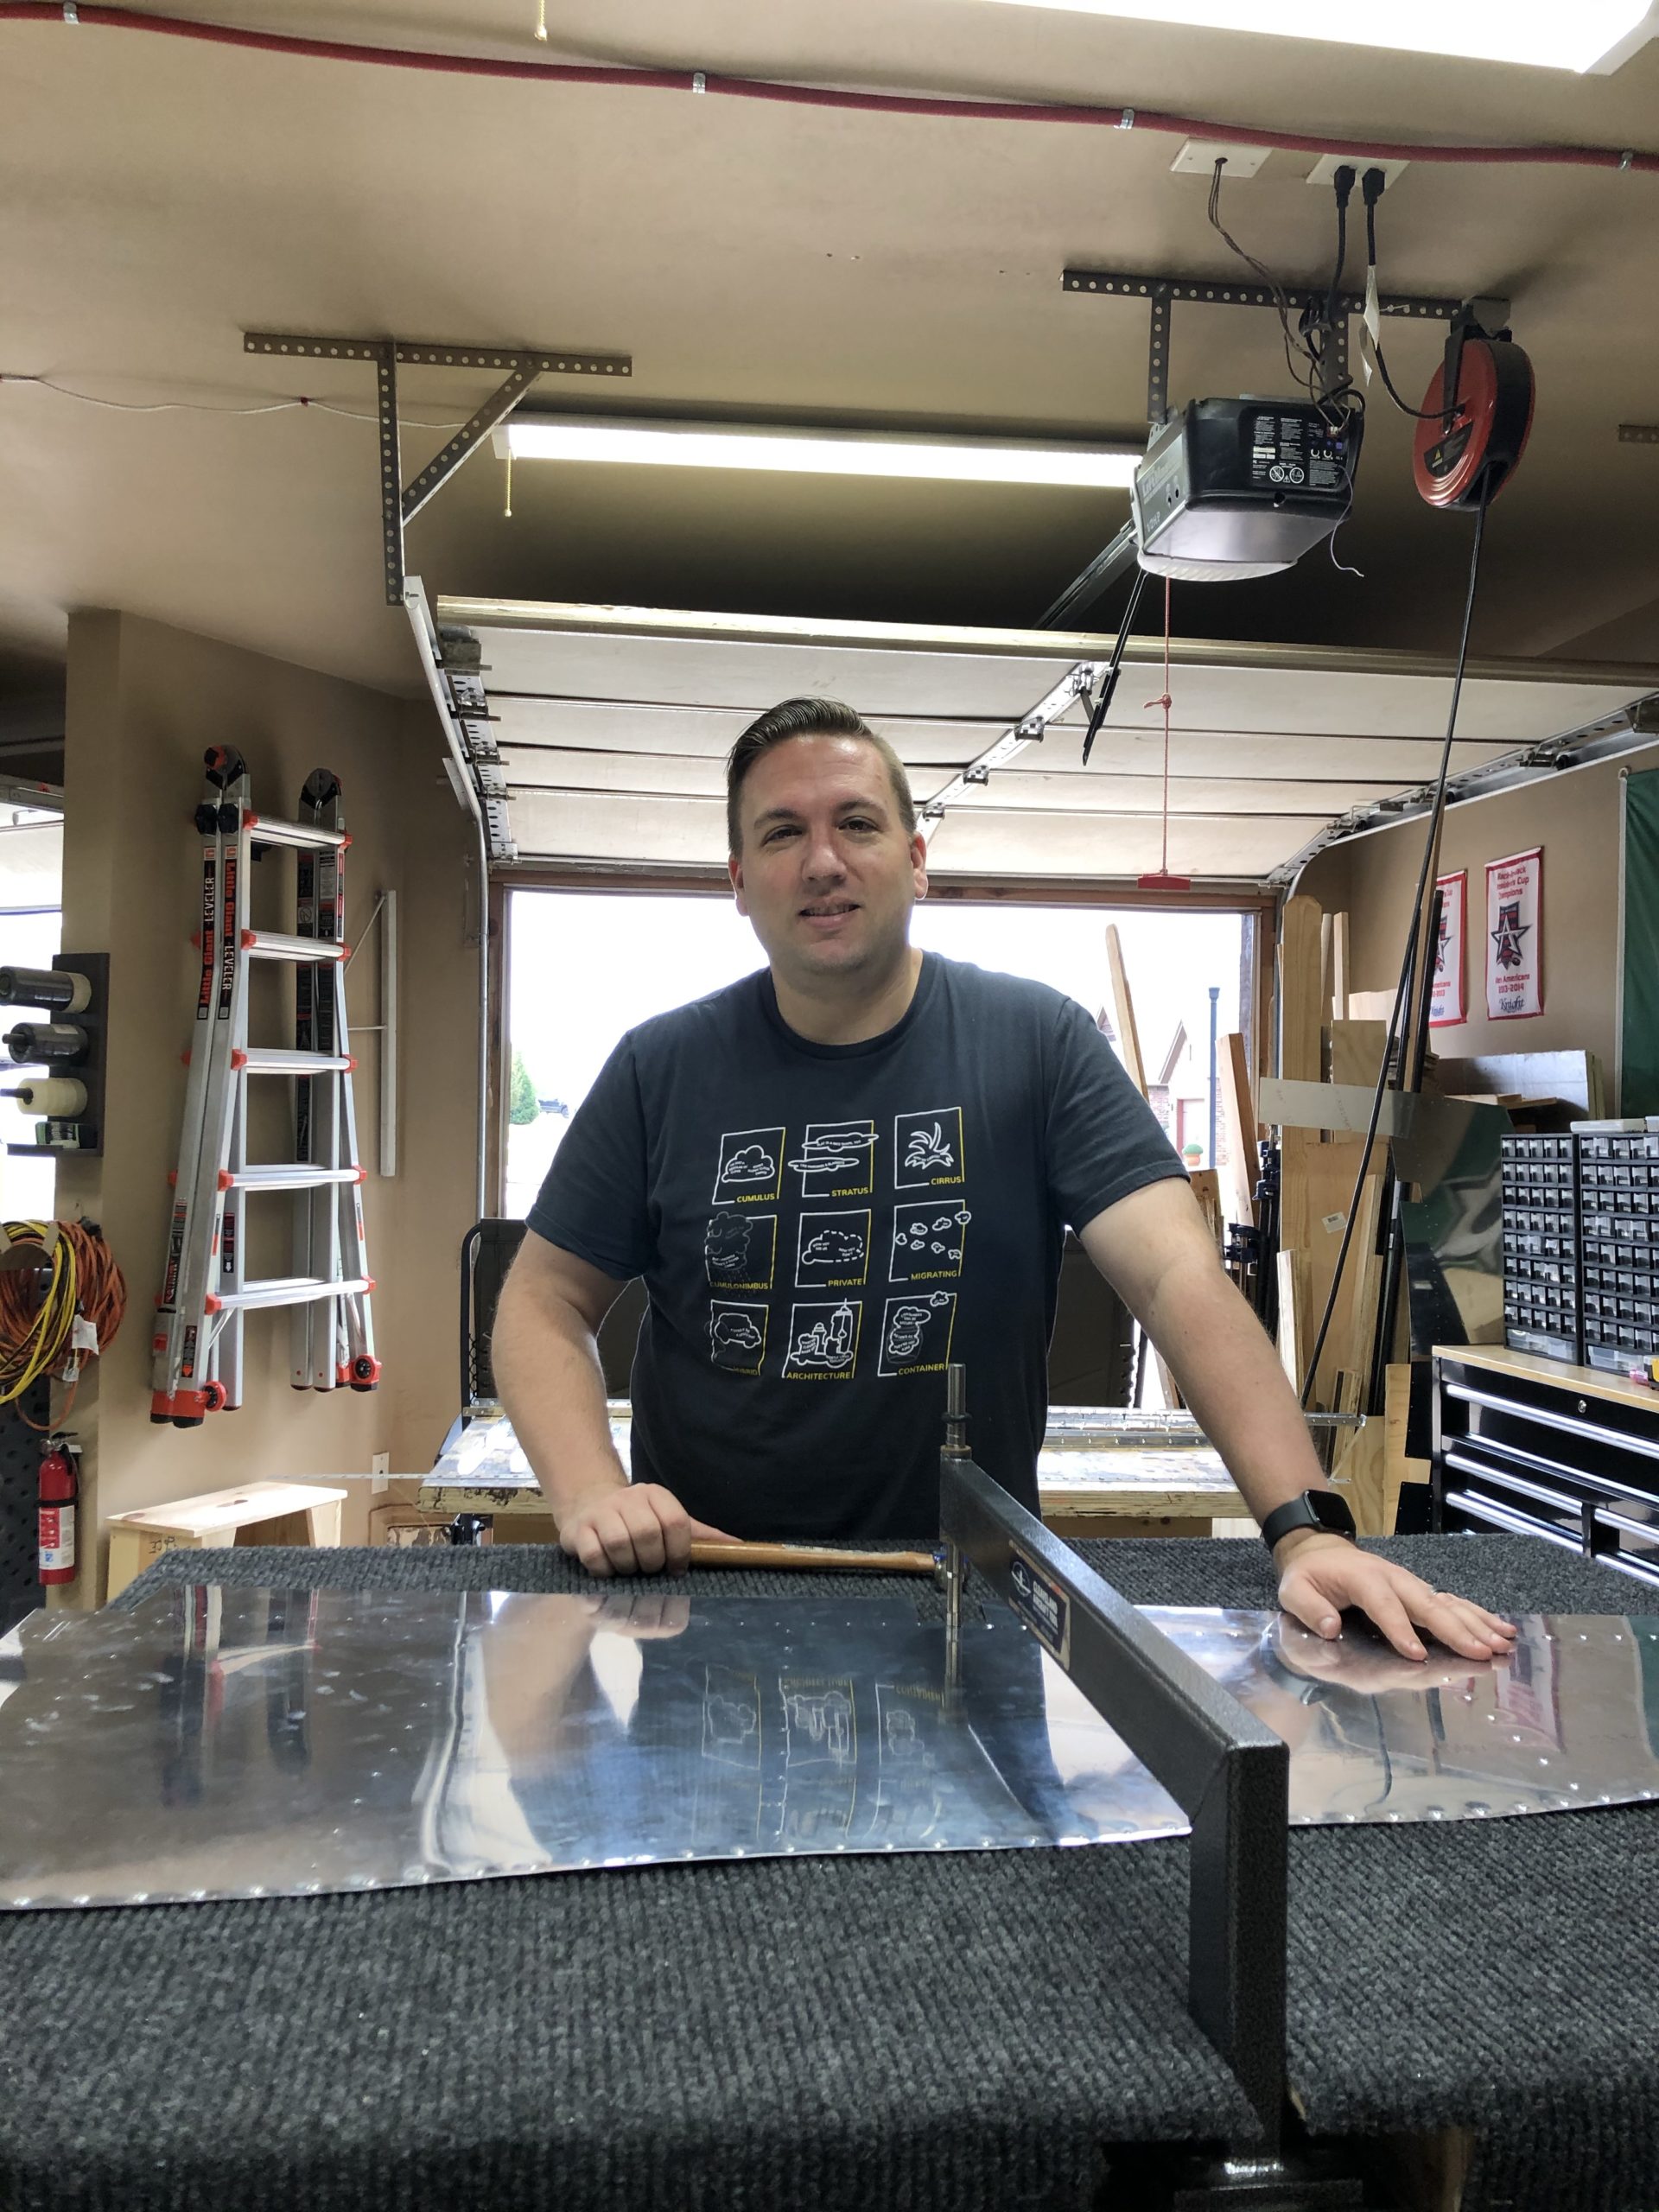
Spar riveted togetherFirst set of rivets for the ribs inJob completely done! Skin is next!Working with a mask so I don’t leave contamination for my kids and wife
Today was the first time getting the chance to prime. I had all of the parts from the VS, rudder, and first few steps of the HS to prime. I took some ideas from these two paint booth setups to figure out how to do my own version.
Both of these were excellent setups. I did a more basic version to get started on this one and setup the following square with a door.
Basic paint booth with forced air fan on the left and a vent fan on the right
It started sagging in the middle because I didn’t have a pipe holding them separate so that will be something I will improve in the second version of this. The fans were fine the way they were. I will say that I will need to make sure I sweep very thoroughly as there were a few grass clippings that wound up inside. I also need to find a better way to attach the film to the bottom of the pipes because in some sections the film came off and left some holes for air to come in or escape from.
I also need to create a seal around the door that was close to the garage door. It was letting air escape there quite a bit as well. I think on my next version of this, I’m going to make each panel where it can be separated and zip tied together, but I’m still mulling that over for now.
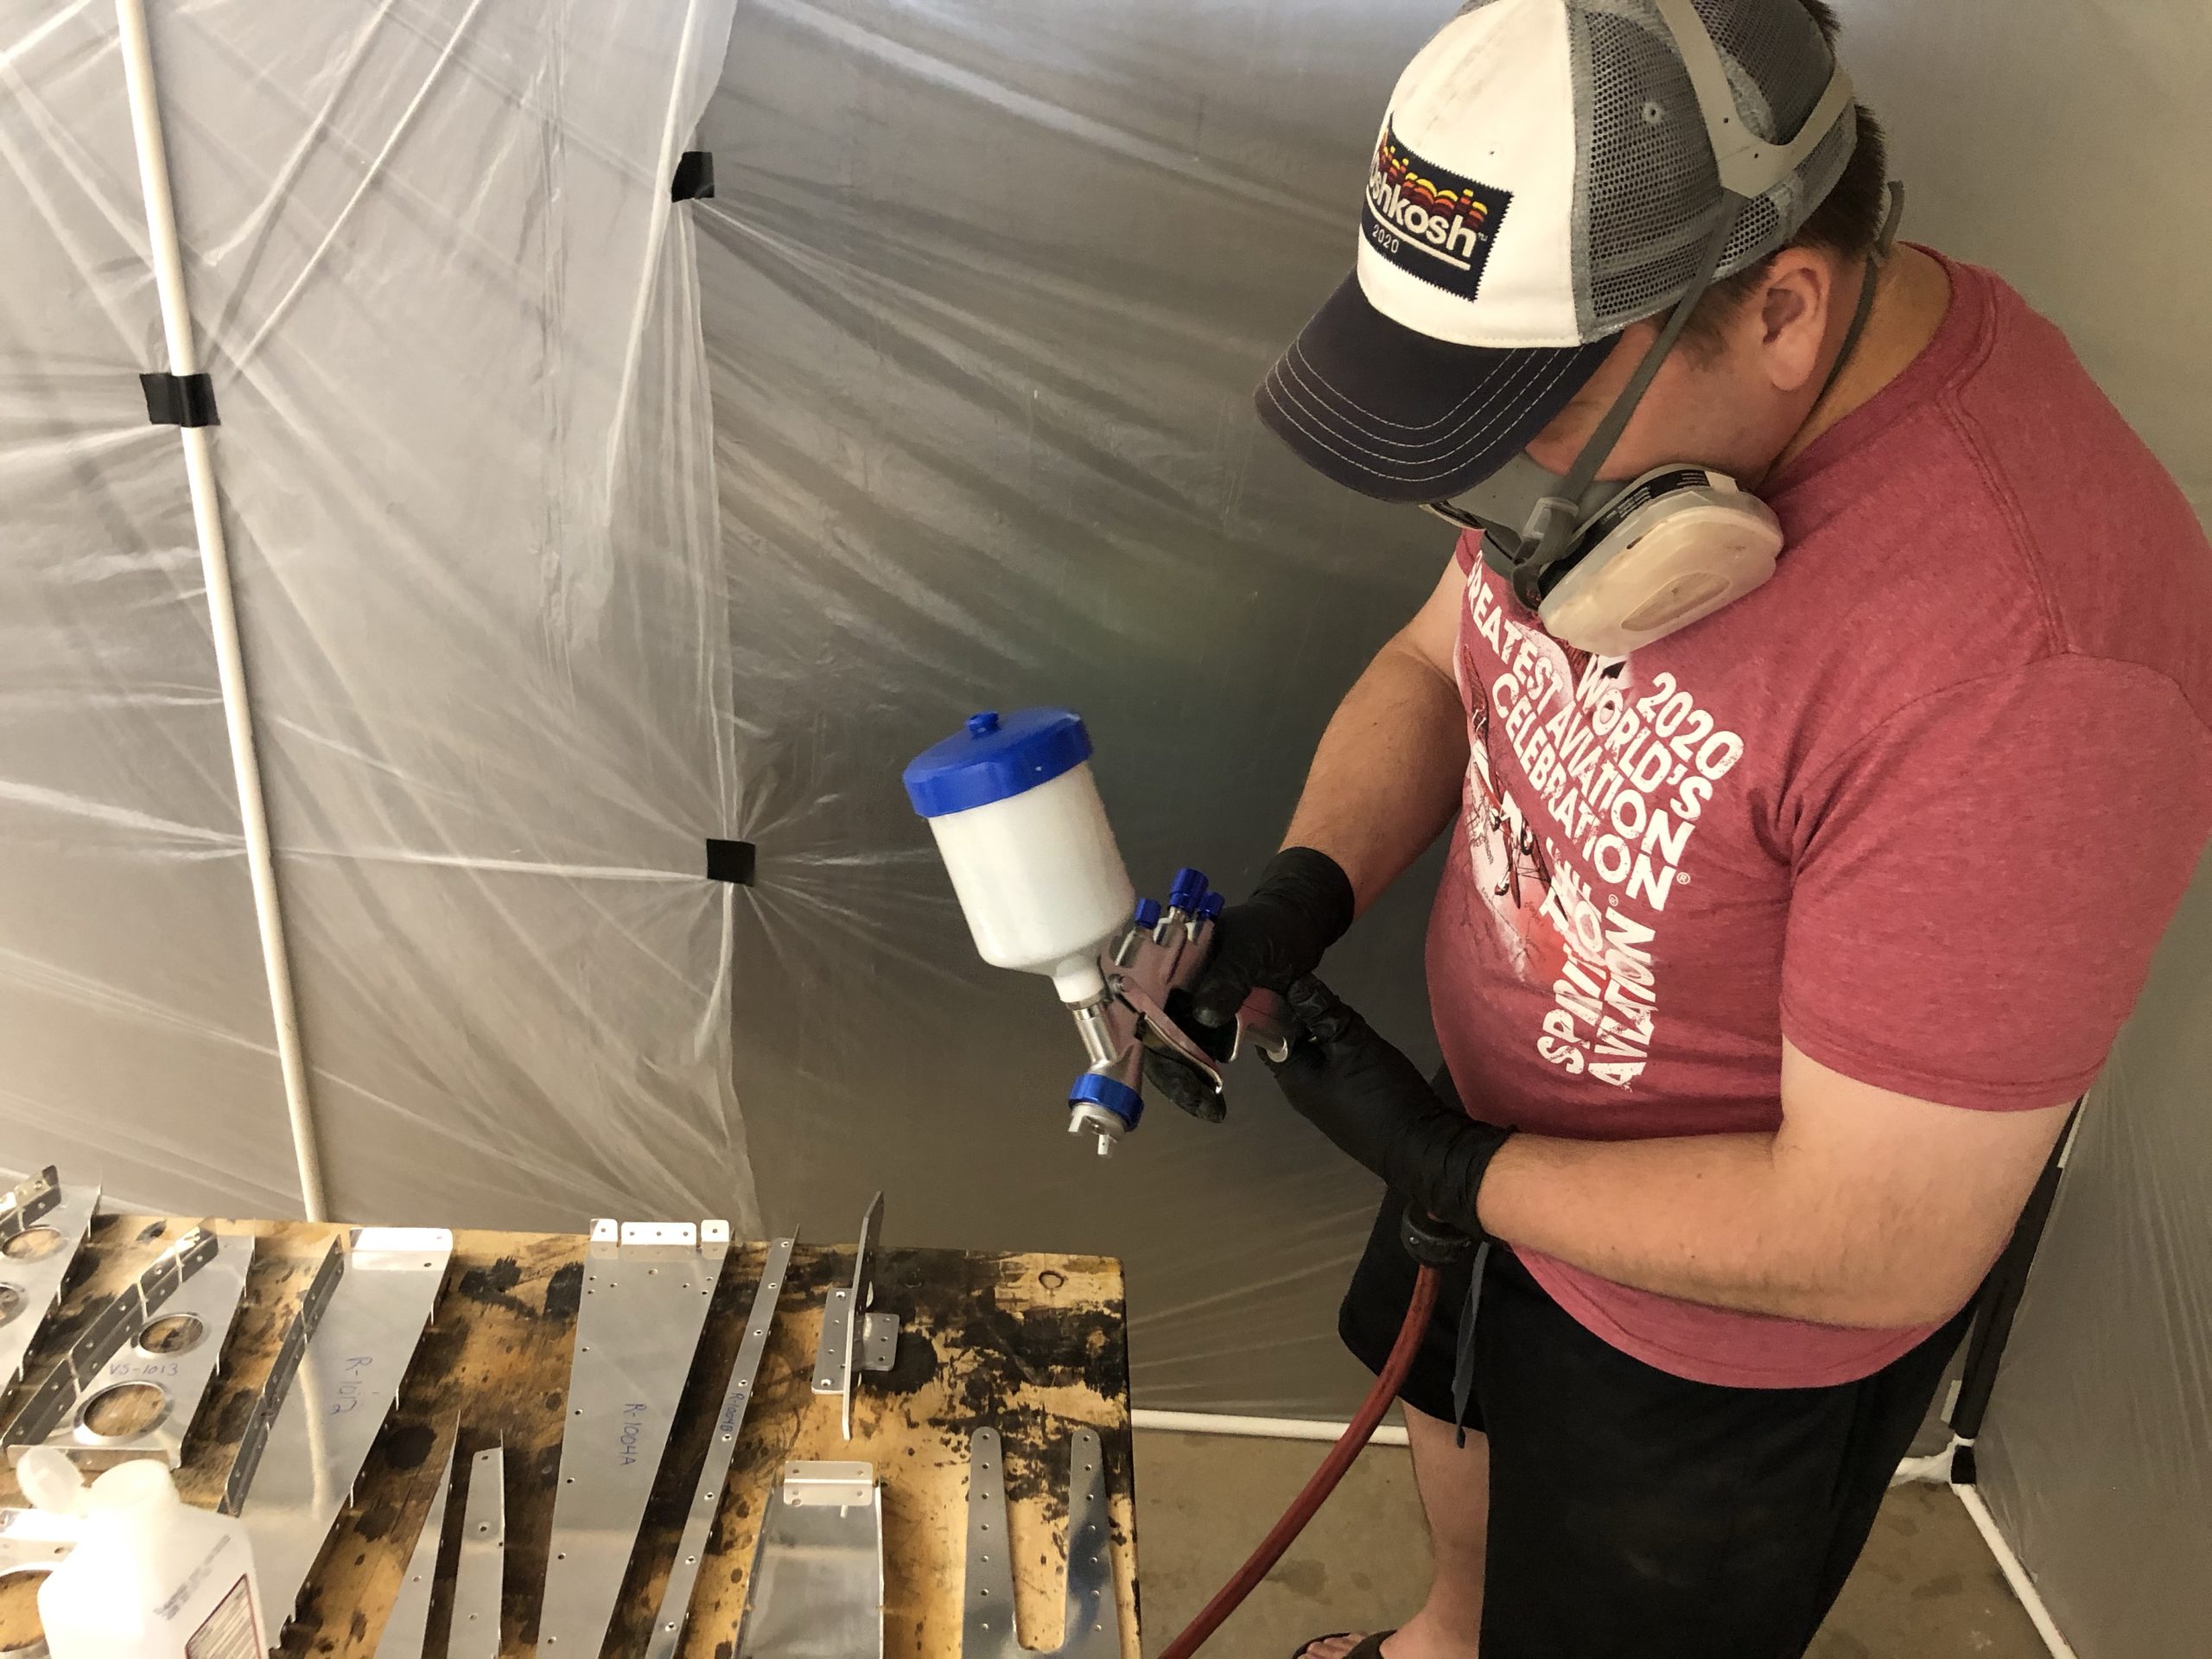
I got all of the parts sprayed and with some advice from some people who are experienced the the P60G2 primer I have some options to improve my coverage for next time. They said instead of reducing it 1.5 to 1 with reducer I should go with a 2 to 1 ratio of reducer to paint. It sprays better and provides a more even coat rather than this blotchiness I was getting. I also need to remember to get an air drier for the air system. That could also be causing some issues with this blotchiness if water is being introduced into the mix.
Either way here are pictures from me spraying some of the parts and the completed parts.
Remarking some parts that I had to clean off around my original part marksCleaning parts with isopropyl alcoholMixing up the paint since it’s been sitting for a few monthsStarting to spray!All the parts after sprayingUpclose of the coverage. I got a Tyvek suit because I see some of my hairs wound up on the part. You can also see the blotchiness I was talking about earlier
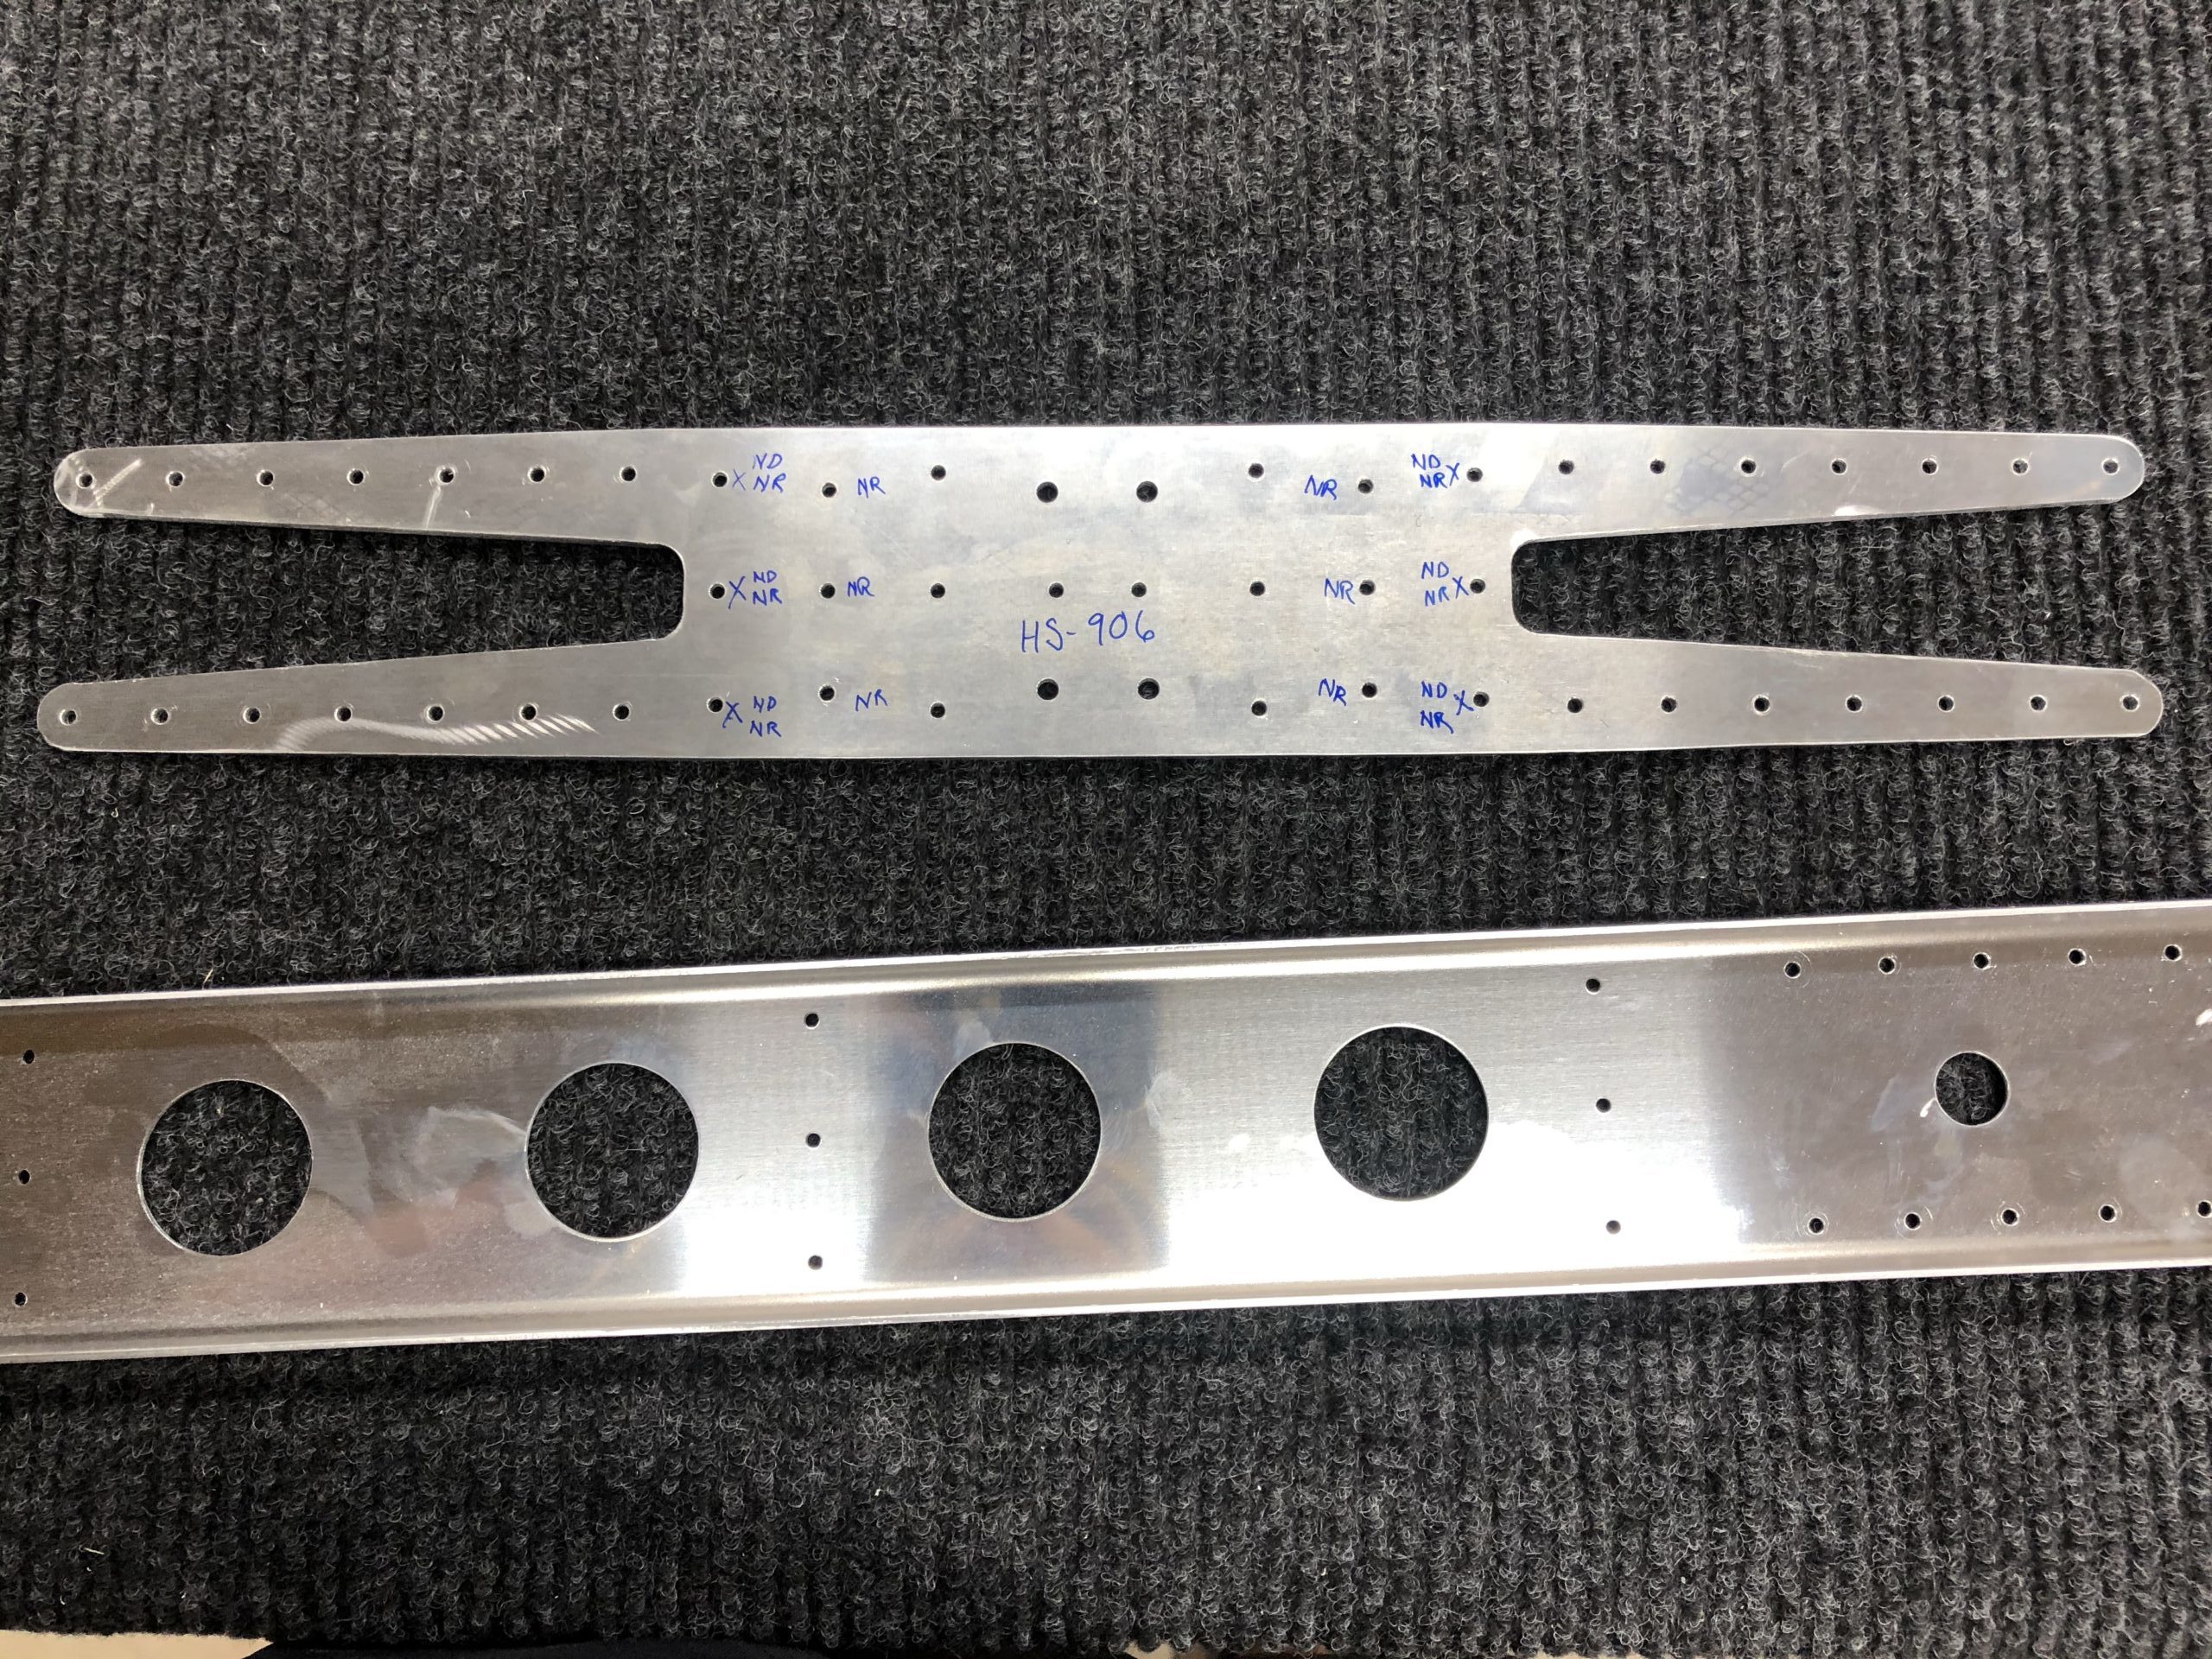
This was the biggest piece I’ve ever had to deburr. It took quite a bit of time just getting the spar deburred, let alone the doubler. It looks great now though! I also got the bend out of the doubler as best I could. It’s pretty flat, but not 100% perfect. Everything was final size drilled and deburred. I think my next step is to do my first bit of priming. They are already asking that you prime these two parts for the HS to start riveting. So I think that will be what I start planning for tomorrow and doing this Saturday. Need to do some research tomorrow though on how best to set this up. I’ve seen some setups where they put painters drop sheets and create a tent with them. On one end you have a fan with a filter over it blowing air in, and then a filter on the exit side as well. But, I’ll continue that research tomorrow.
The doubler all prepped and marked for primingSmall section of the spar where the doubler will go. Also prepped and ready for priming
I spent the whole part of today finishing the dimpling on the skin. I used the close quarters dimple die for a few holes but they just didn’t turn out very well. So I used the other close quarters die that is mounted to my table to redo those. After that it was all taking apart the frames so that I could set the pieces aside for later priming.
The skin before I fixed some of the close quarters dimpling issues. You can see one right in the big middle of the skin at the noseAll the parts for the VS and the rudder disassembled and set to the side so I can get more of the HS done and prime them all at once
The new skin arrived! And I was surprised that it had final sized holes! Sped up the work a TON. I almost got all of the dimpling done, but I’ll finish that tomorrow. I did break the small tip of the male dimple die off inside of the holder. I was able to get it out though so that’s good, but I don’t know why it broke in the first place. Alignment looked ok on the C-frame, but I might do a deeper inspection on it to see why it broke.
New skin almost dimpled!Broken male die on the left, good male die on the right
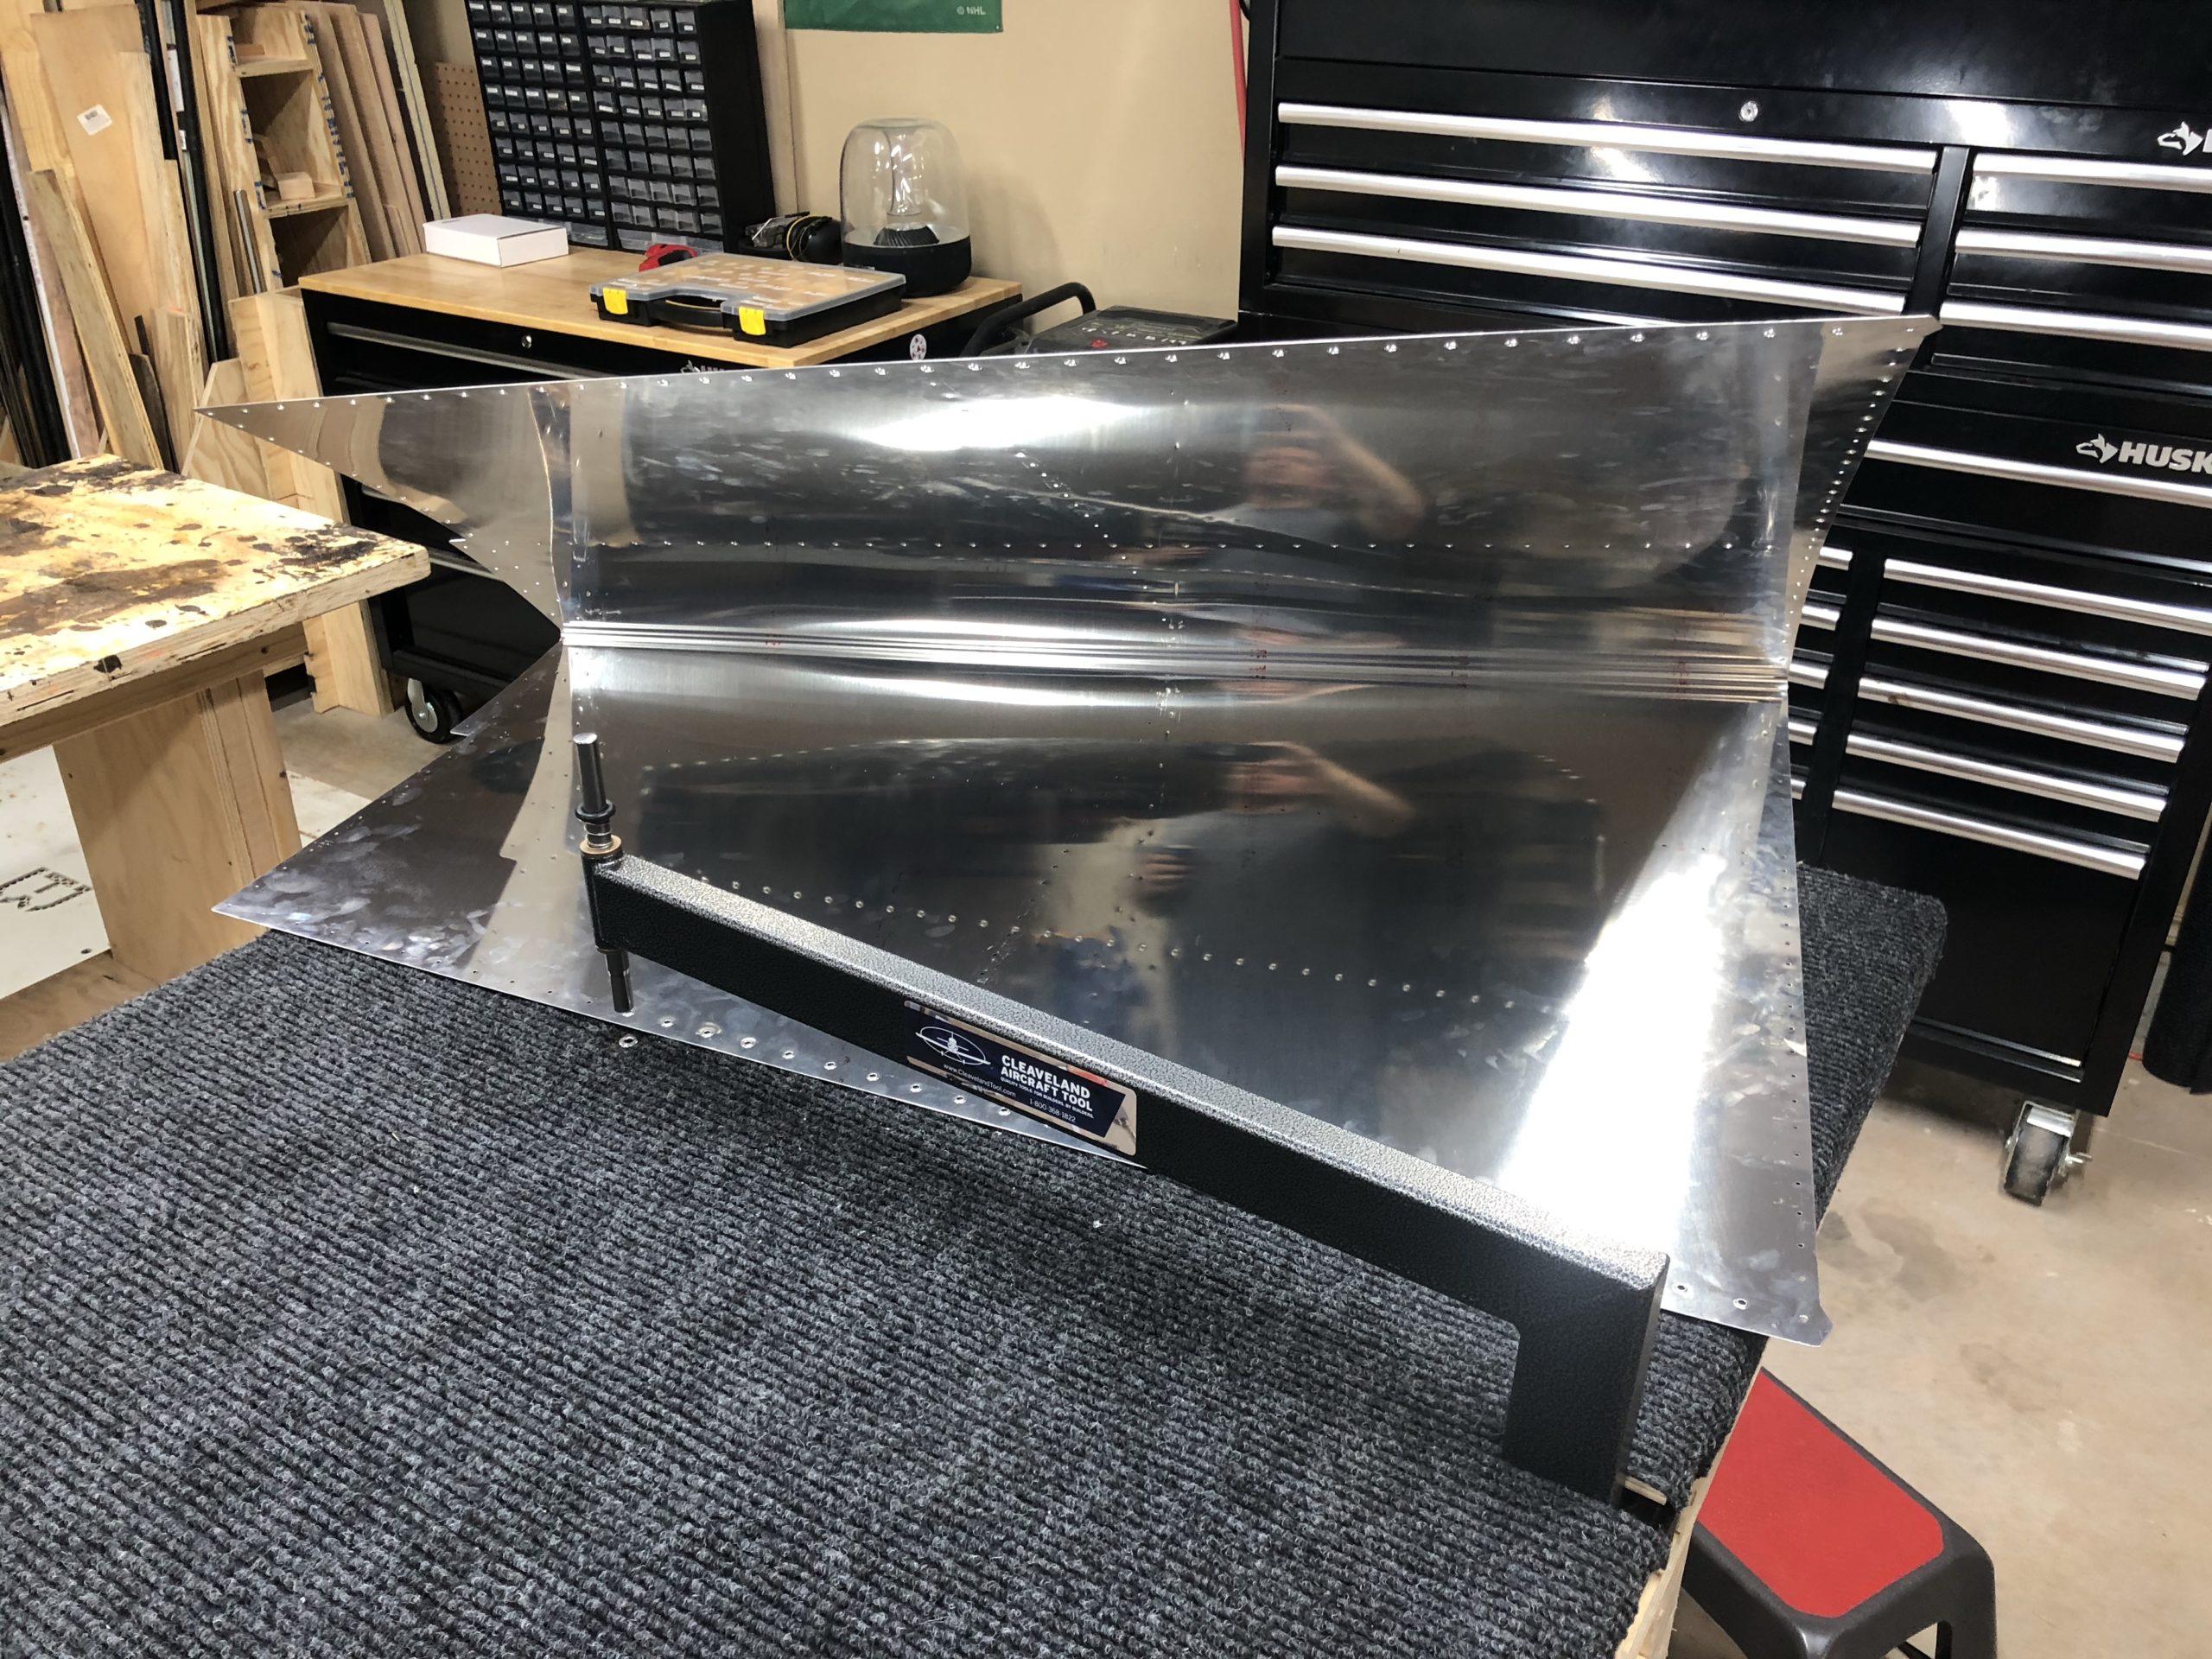
I didn’t do too much work today as I was trying to determine if I could fix the trailing edge of the rudder skin or if I should reorder it. I put the rudder back together to check fitment after doing the dimpling and the rudder trailing edge is ok, but I’m just not sure if I like it. With my C-frame being too low originally and causing that cupping around the dimples it makes it a little wavy. But after sticking a cleco in each hole it smoothed out alot. I’ll have to re-read the instructions too but I thought there was also supposed to be some pro-seal that went on the trailing edge and I feel that if I rivet it down and then put two boards on it and clamp it together for a good period of time it might fix it. I don’t know, we’ll see and I’ll do some research on how best to flatten the skin.
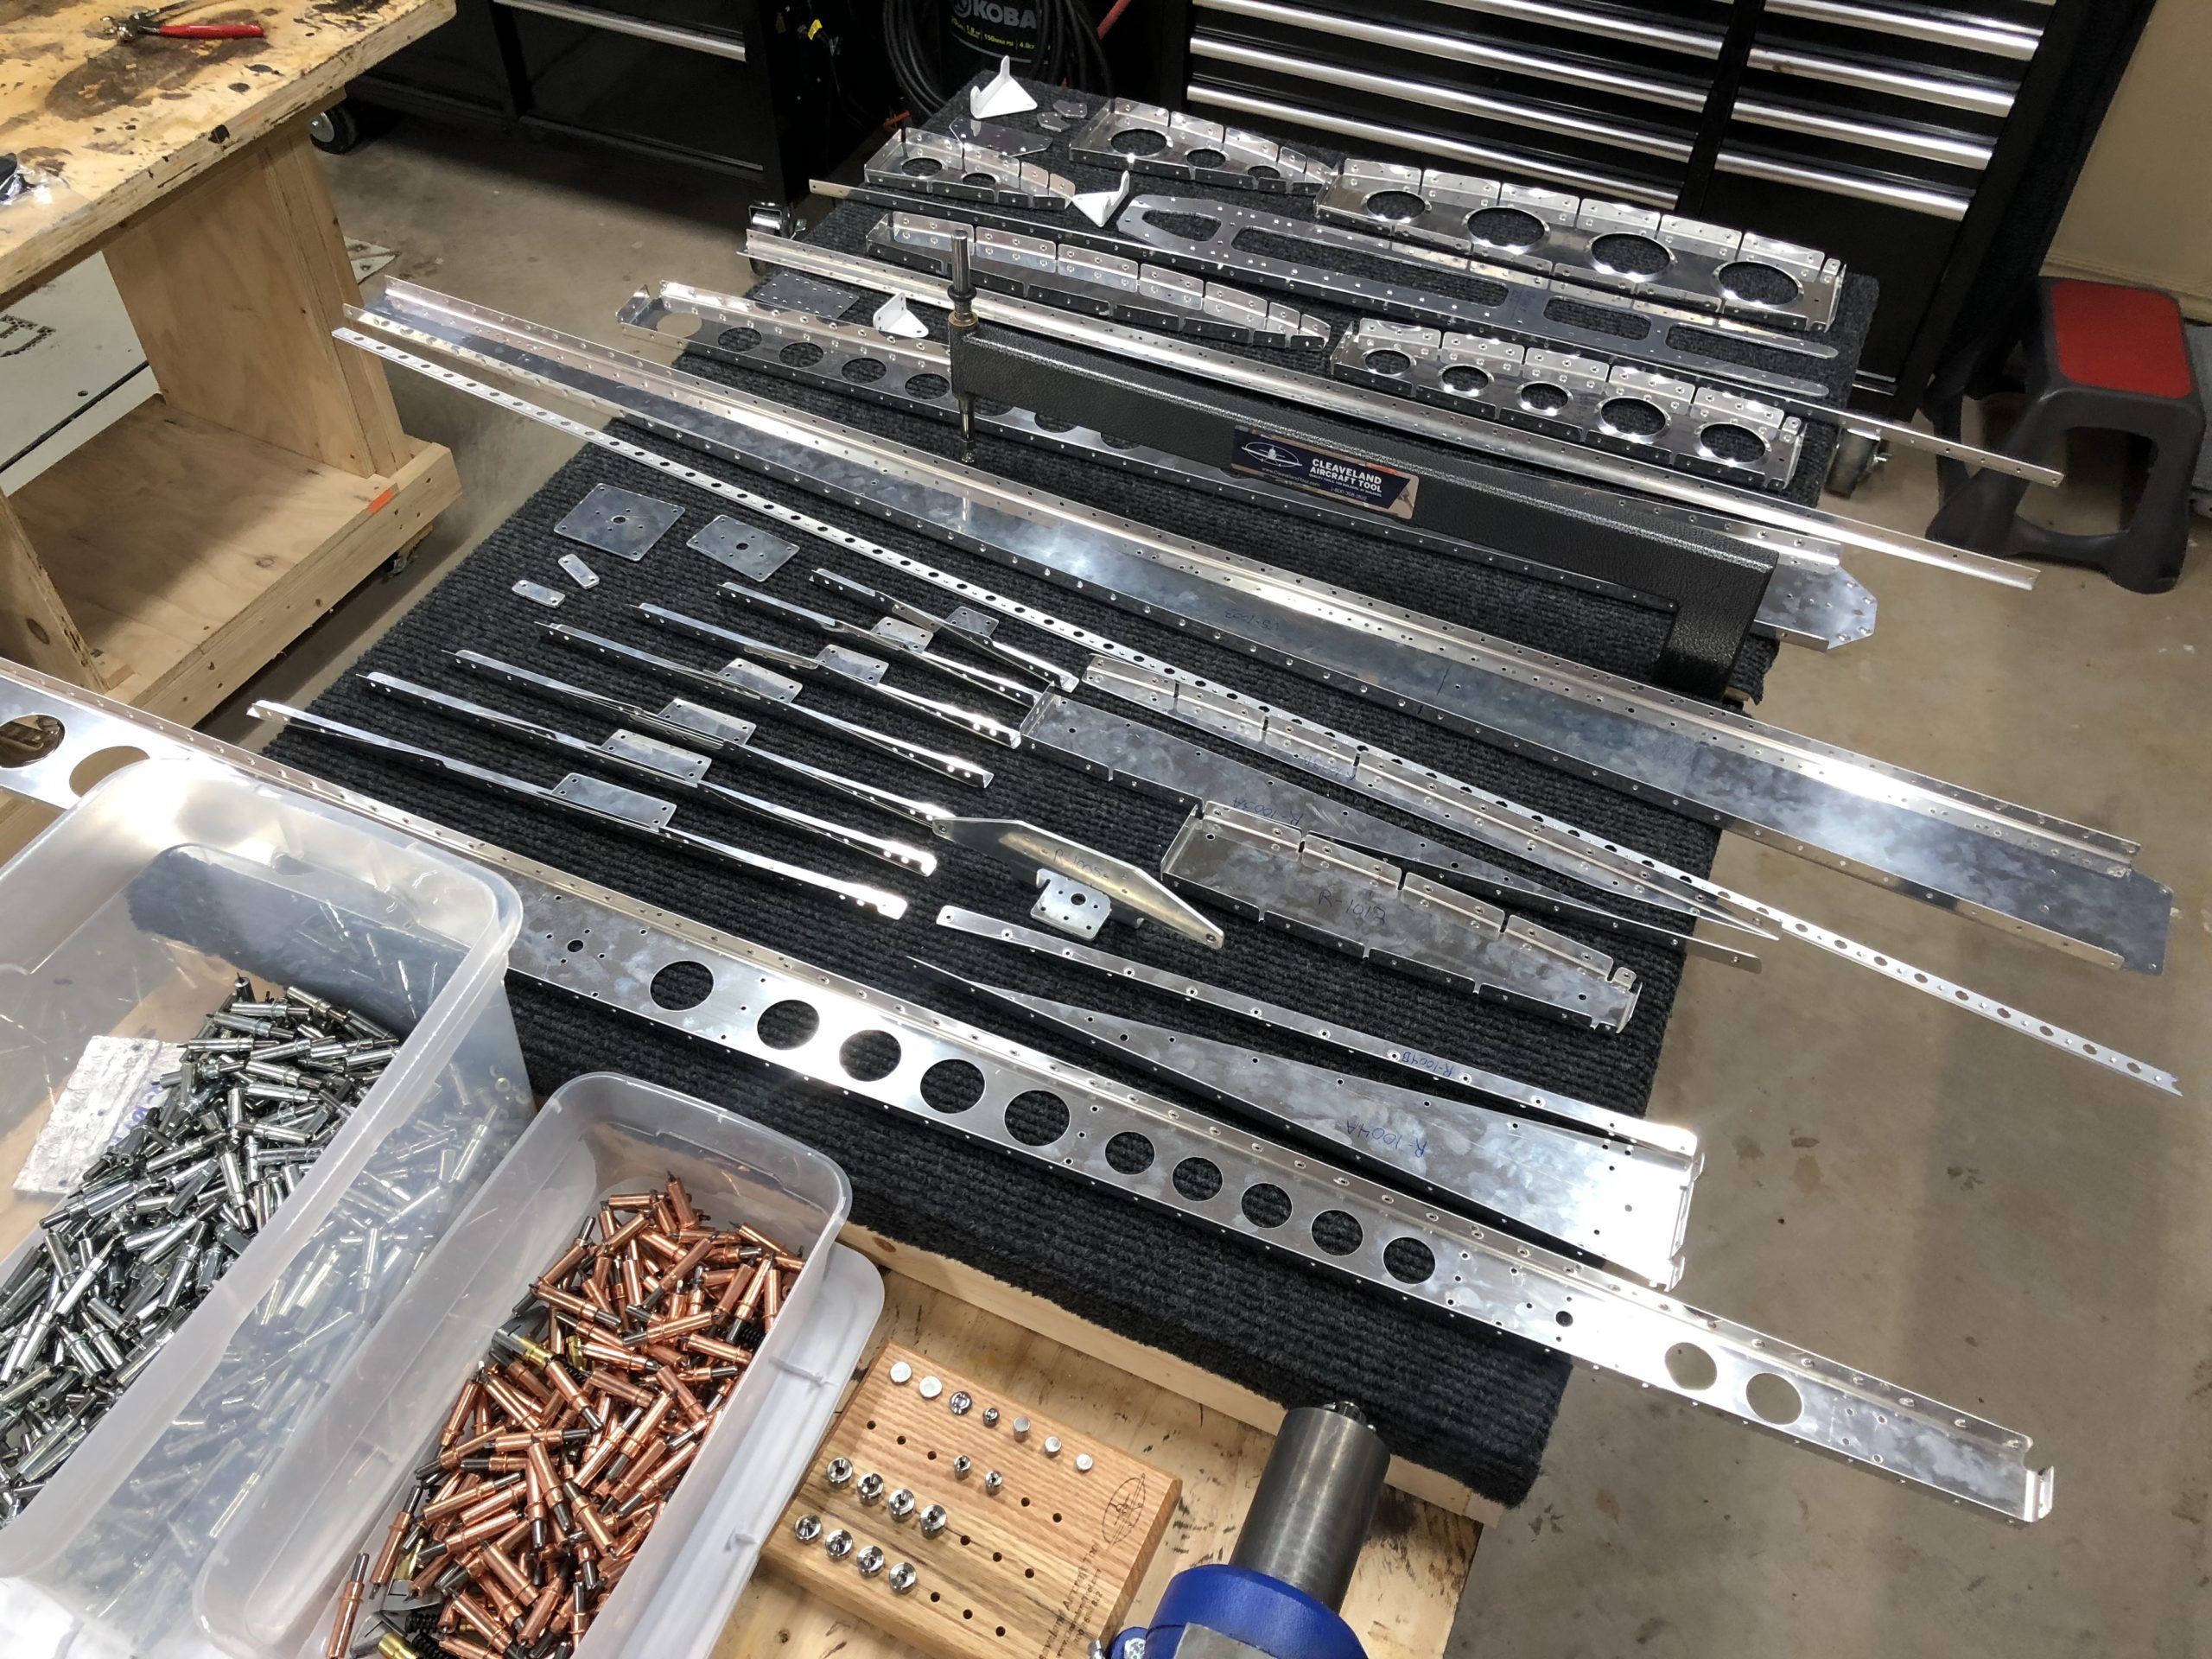
I also spent some time gathering up the horizontal stabilizer parts as I wanted to get that completely ready to go as well so that I can spray the parts for the vertical stabilizer, the rudder, and the horizontal stabilizer all at once rather than mixing a little bit of primer here and there. I even might do the elevators too to get them to the point where they can be primed. Either way it was good to get all of this put together and to check things out.
Rudder back together after dimpling everythingLooking down the trailing edge. You can see a little bit of the waviness in focusIt’s so pretty to look at everything in line. The OCD side of me is very happy.All of the HS parts (minus the skins) are gathered together
I didn’t spend too much time today on this. I spent alot of time trying to get the platform setup right. I started dimpling the trailing edge and it just didn’t look right. It was cupping and the dies were leaving marks on the skin. So I re-read the instructions for the C-frame and I decided to change hammers from my framing hammer to an 8oz ball pean hammer. I’m also swinging alot softer. It said that it would be a light hit. It takes two hits now to get the dimple done and they look right!
Trailing edge from high upUp-close of the dimples with the cupping. The male dimple was too far down in the platform. Heights before adjusting the C-frame height.Level after raising it 3/8″Dimples after the adjustment. MUCH better8oz ball pean hammerFinishing the dimpling on the first skinMy happy pose. This was very cathartic and I really enjoyed seeing how well the dimples looked