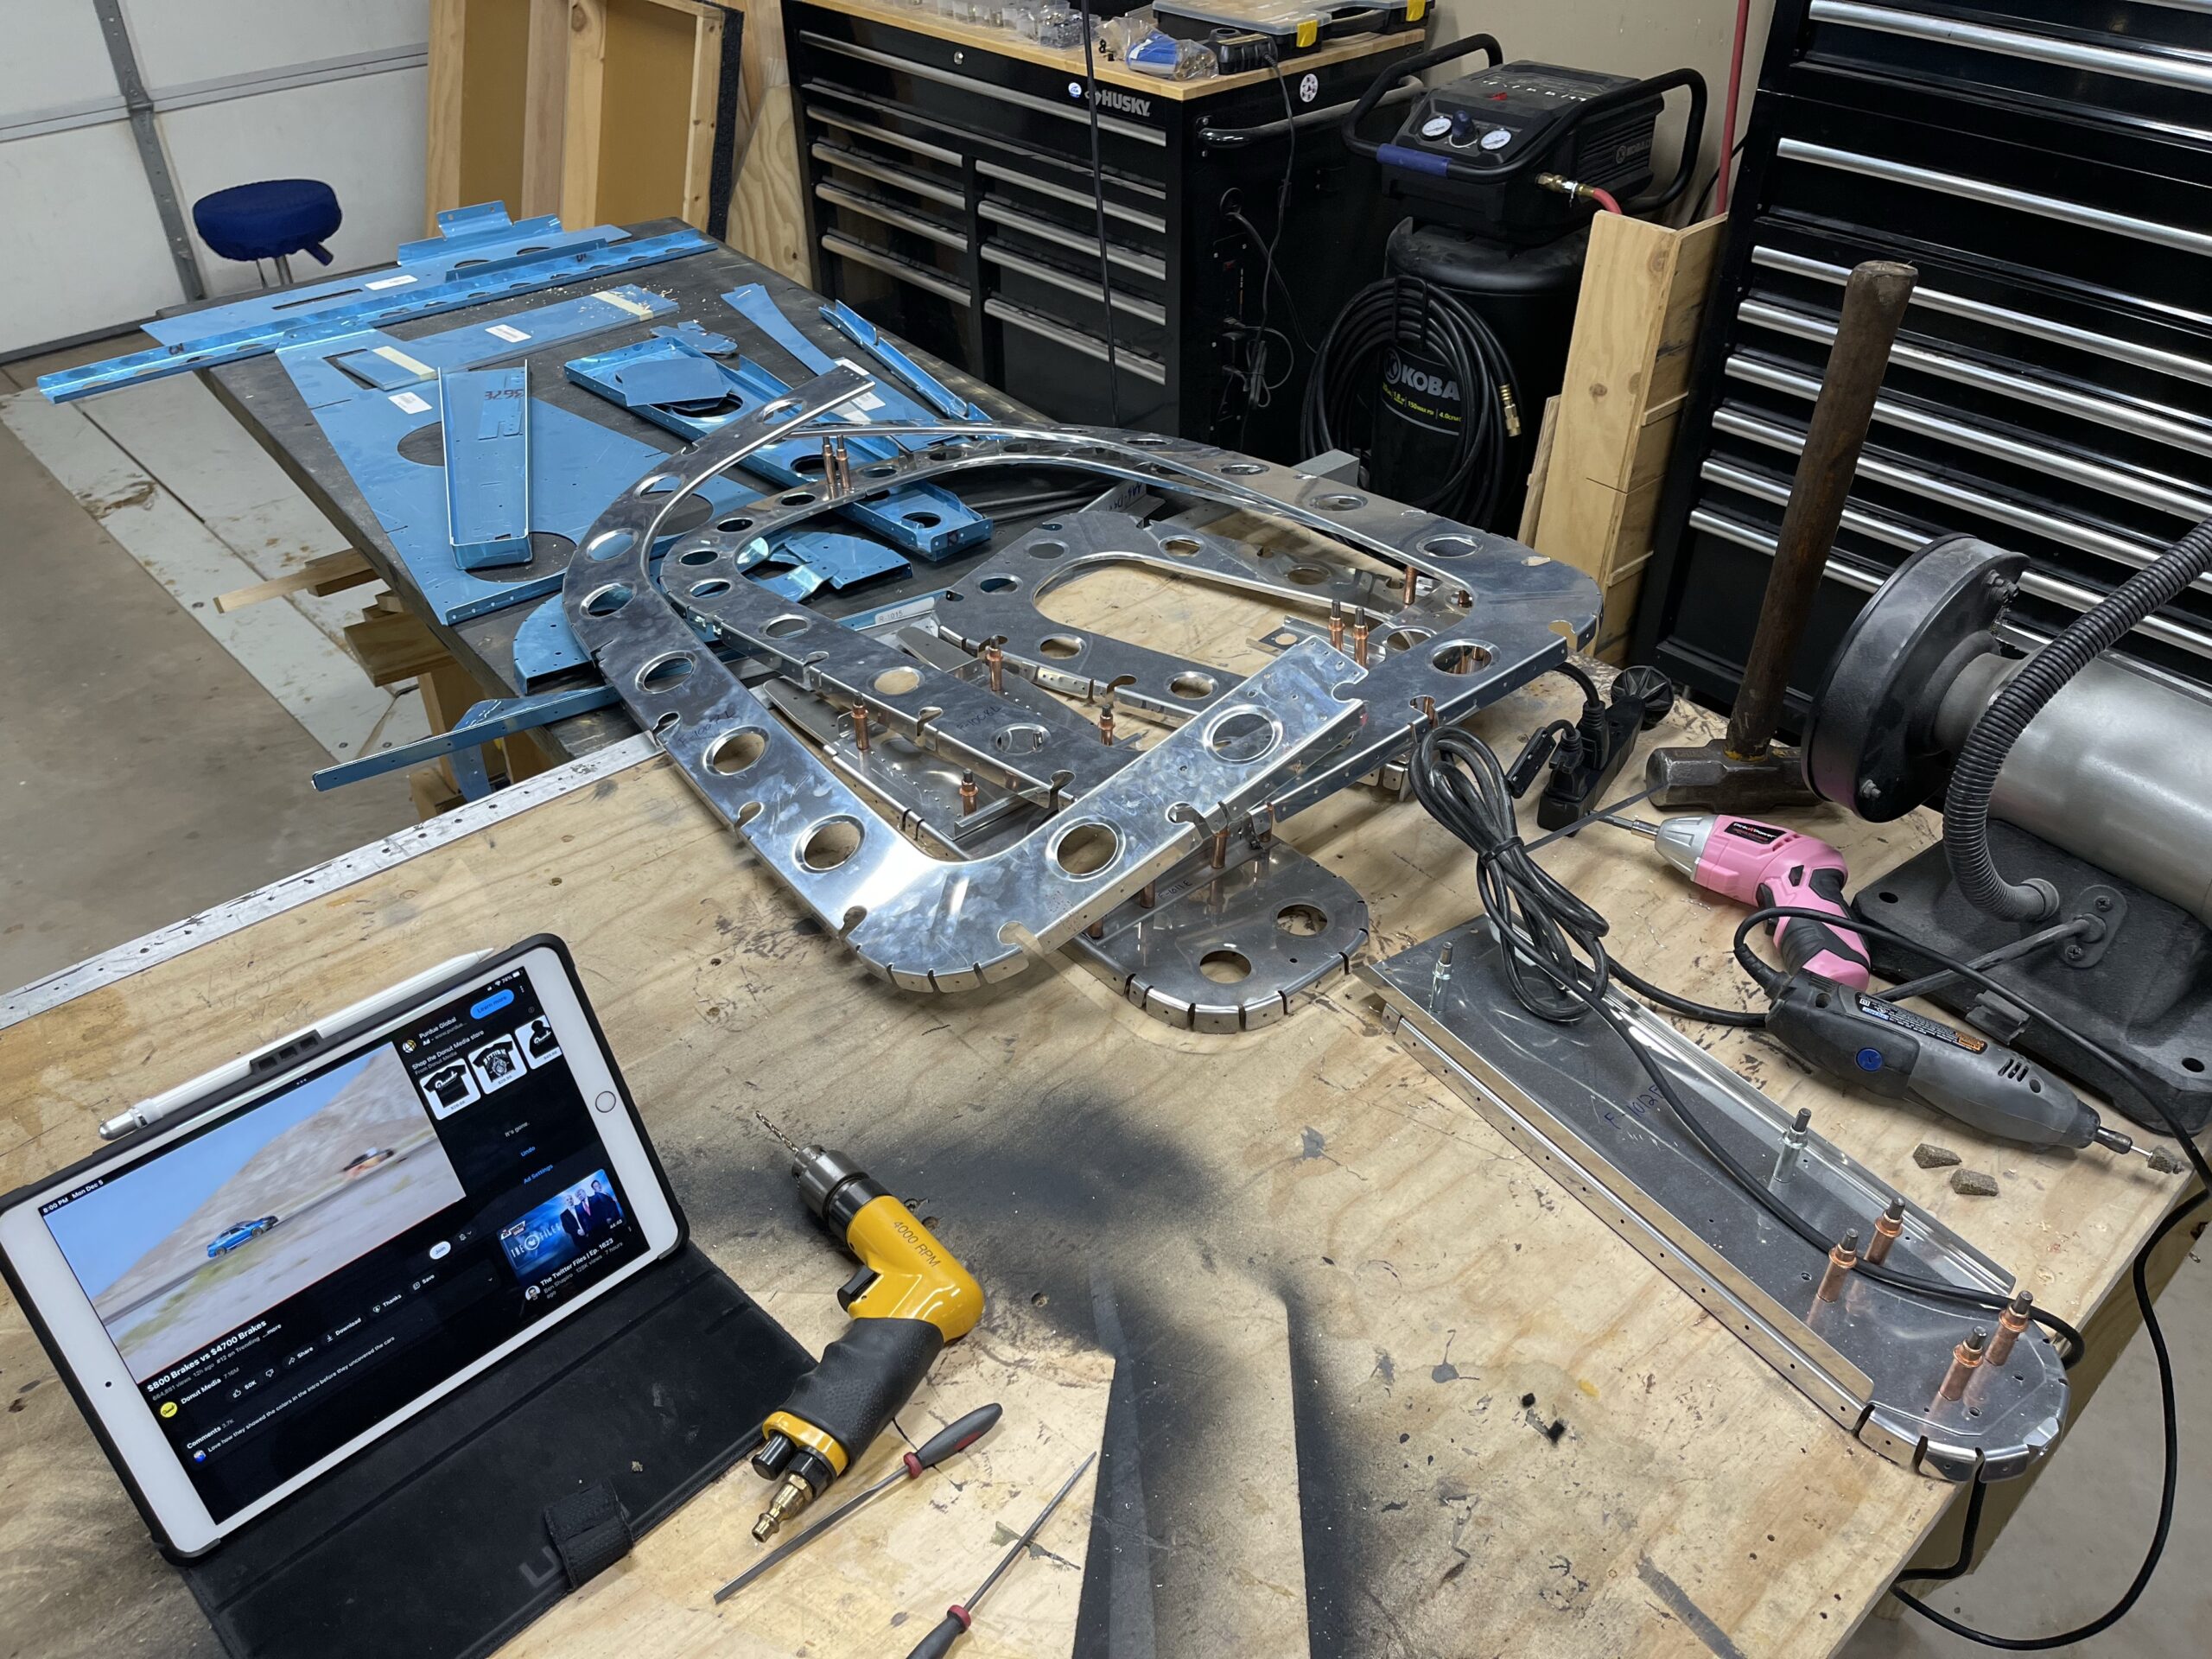
Over two days I was able to get the rear bulkheads situation fixed with some shaping of the tabs on the bulkheads and I drilled all of the holes for the stiffeners. I also got the rudder stop stiffeners cut and installed. I now just need to work through cutting and shaping the rudder stop bracket and then I will be done with page 10-8. I also need to remember to stop drilling into my hand and hurting myself LOL
All skin match drilling completedNever drill with your finger behind the material LOL. I thought I had it positioned further away but I guess not
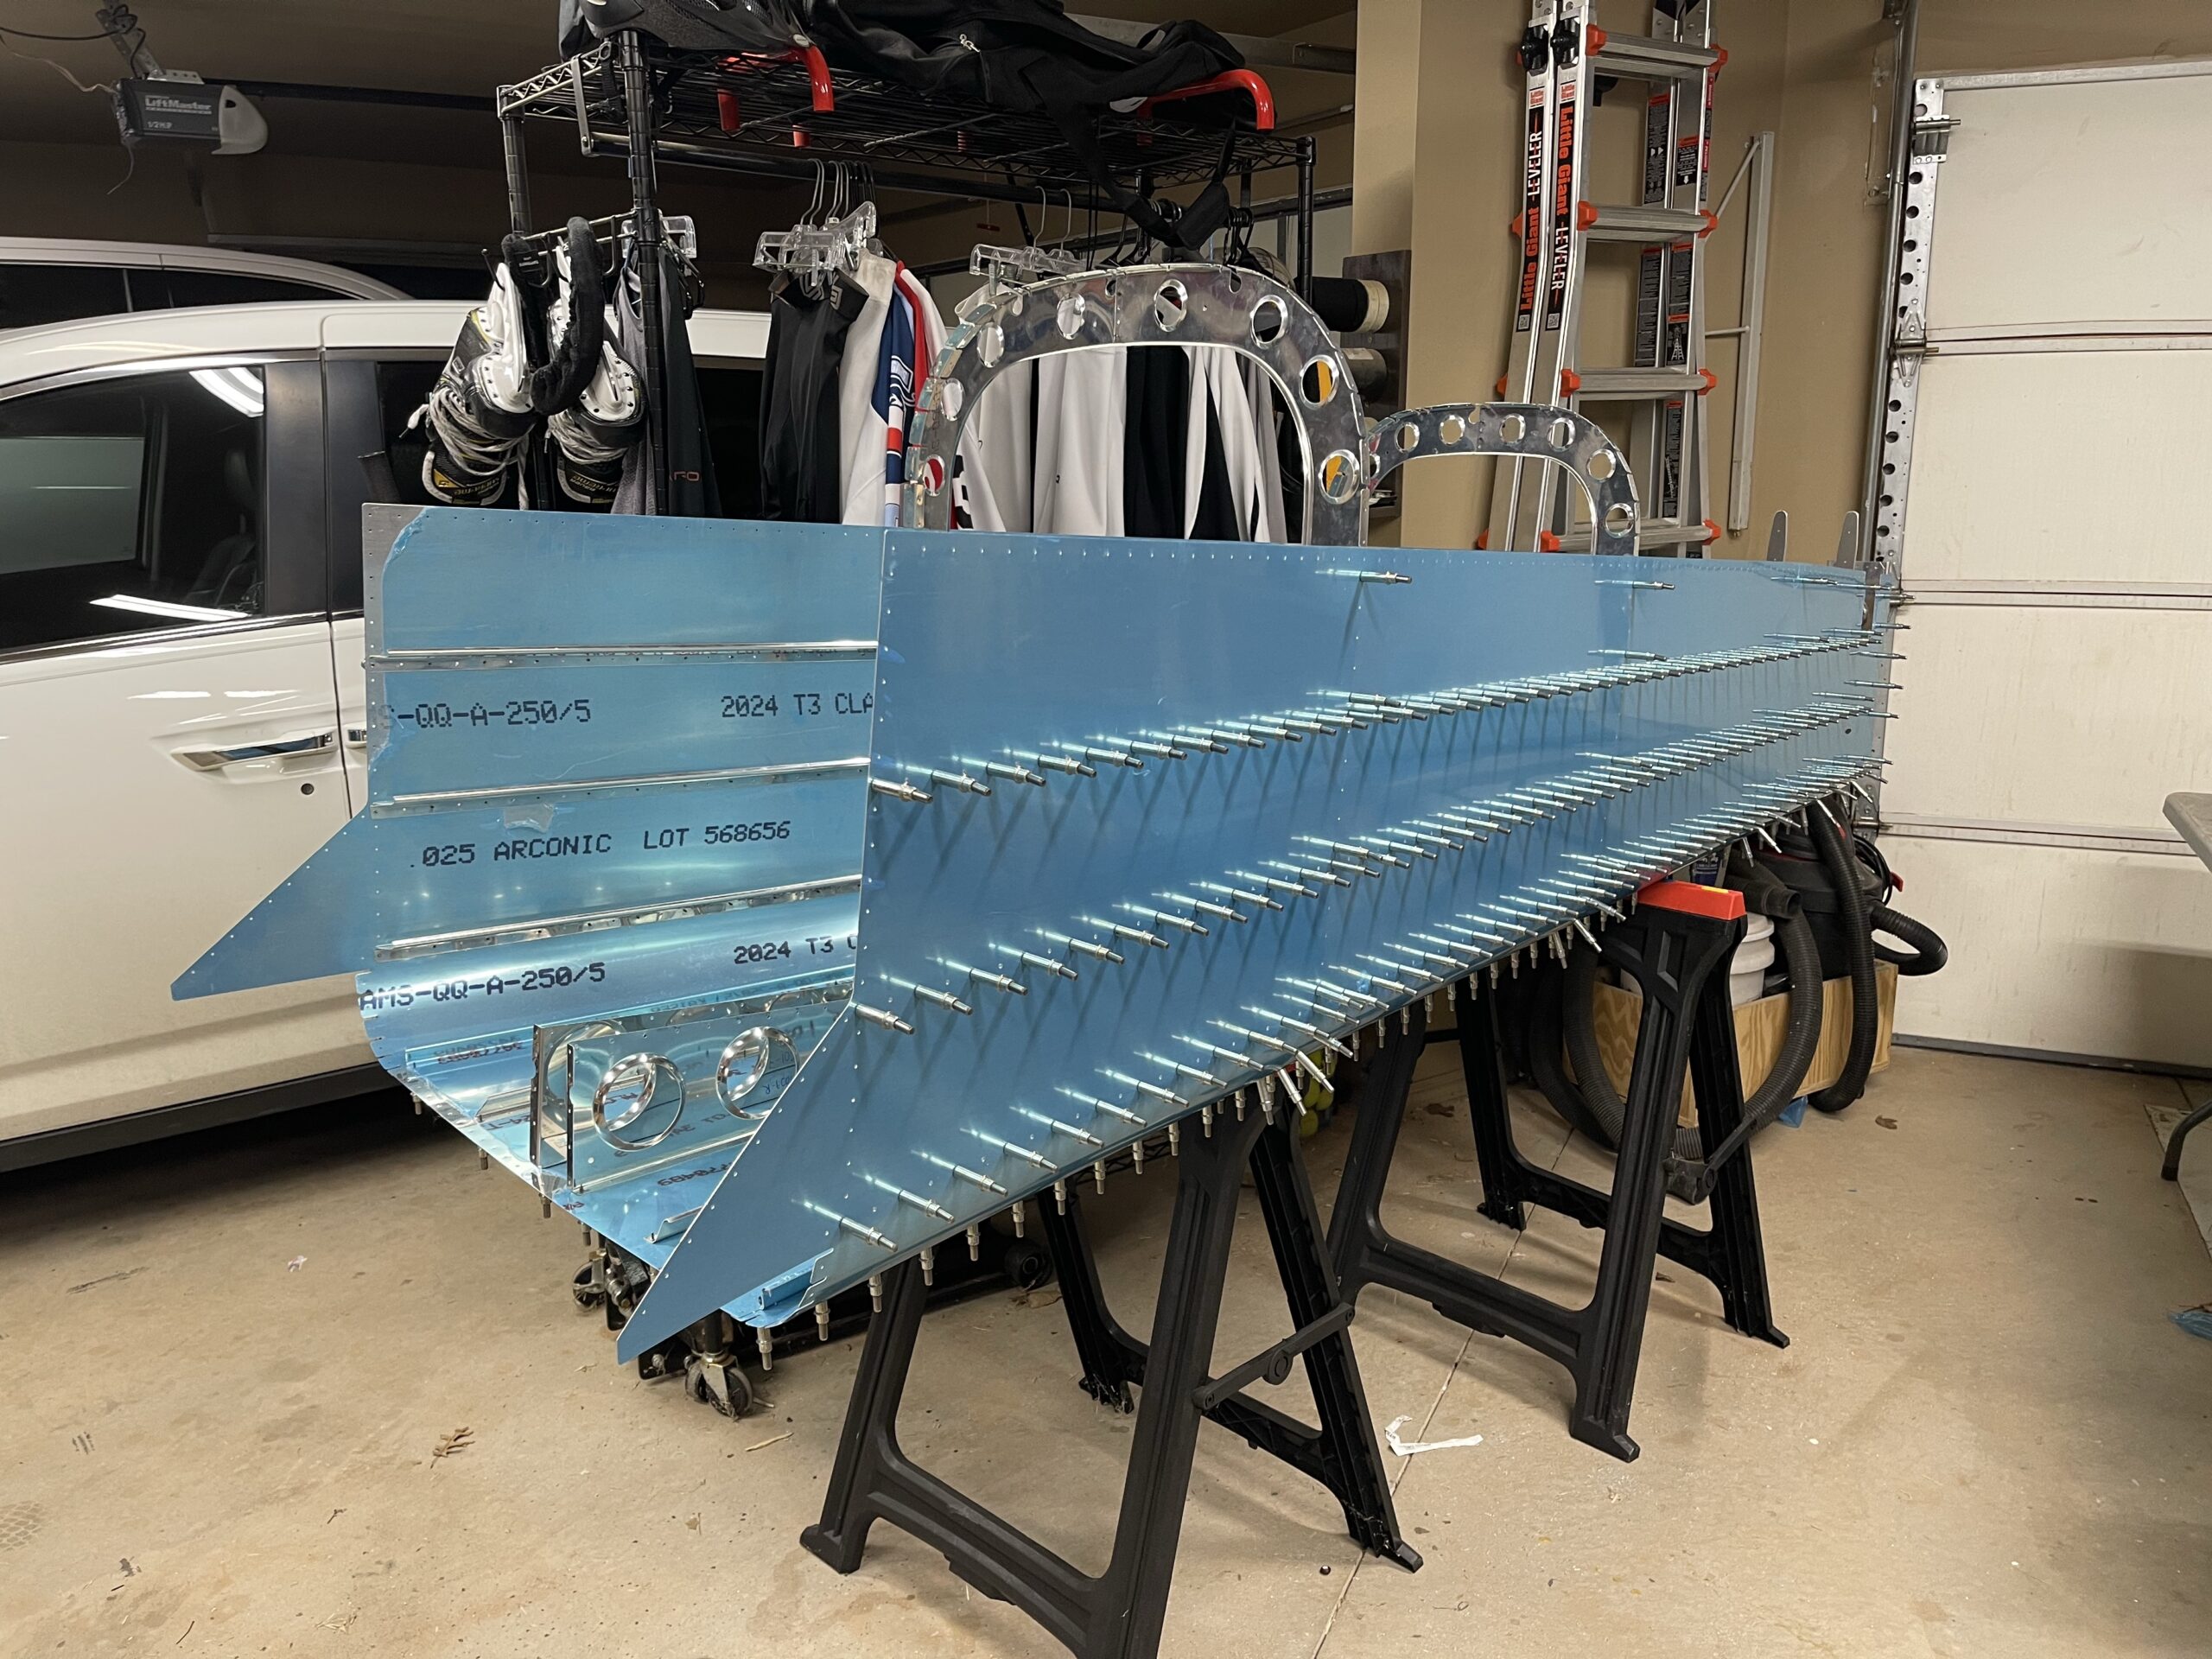
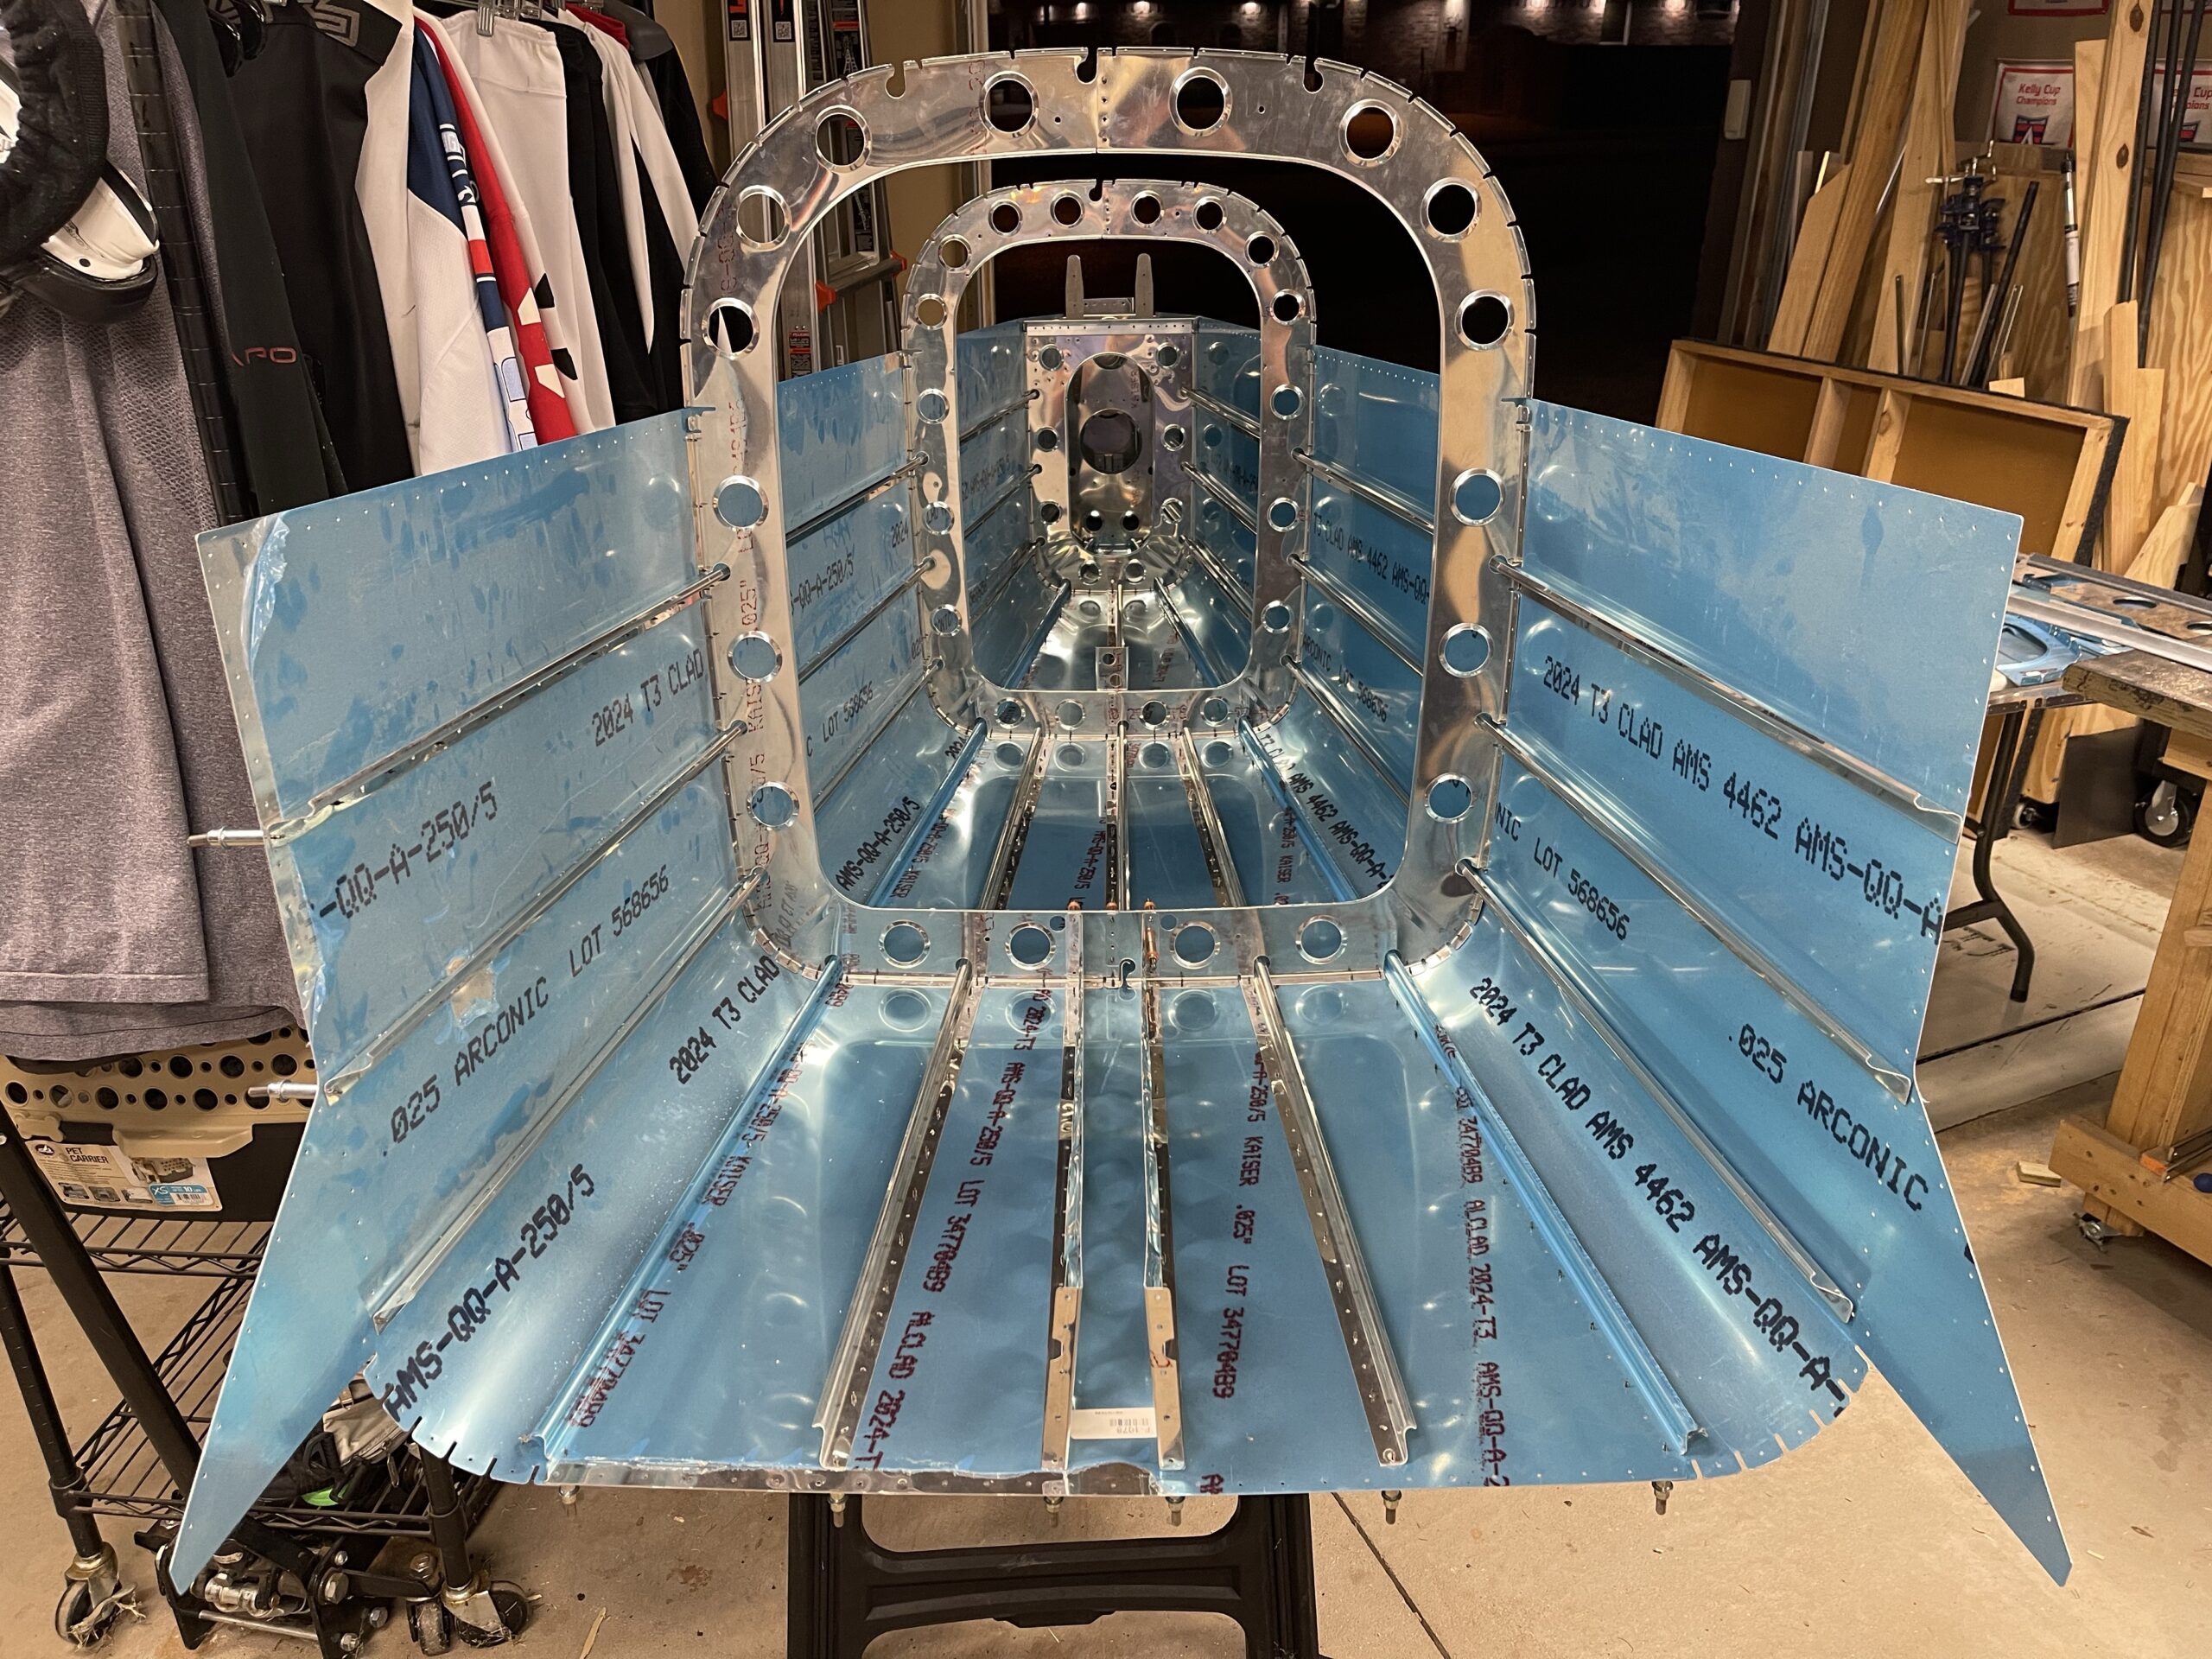
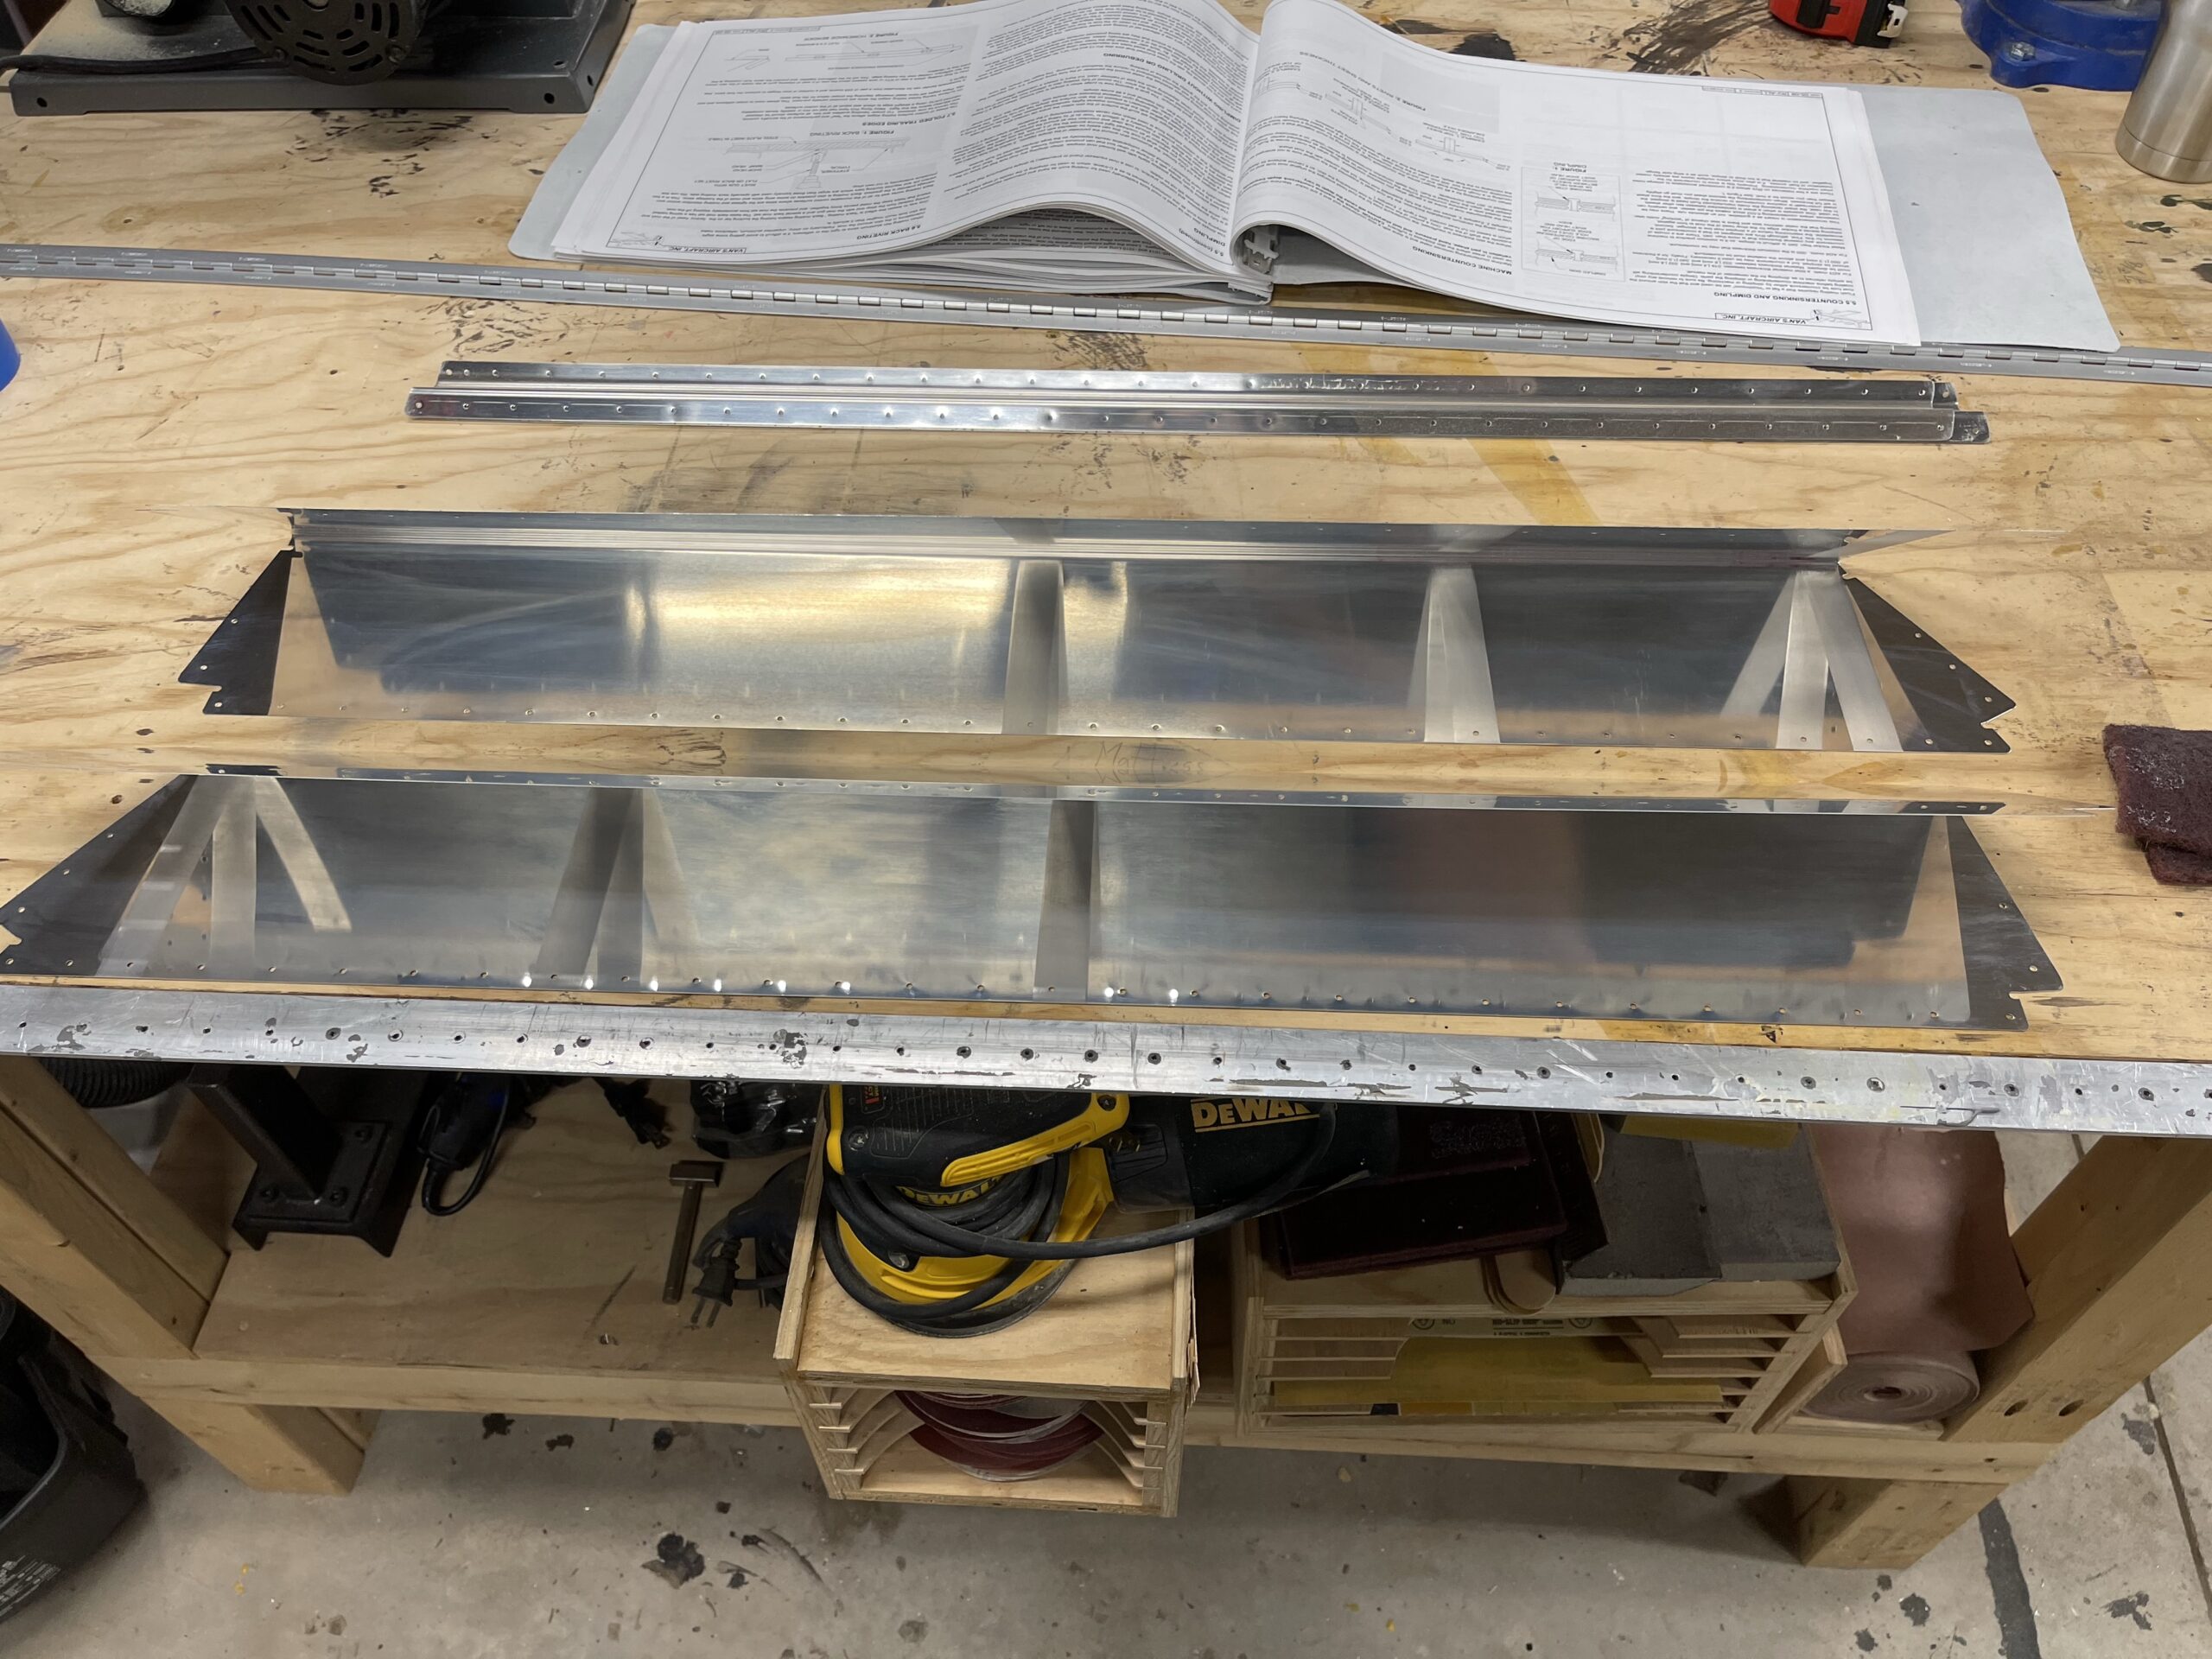
The tailcone is mostly assembled now. I got the bottom and right hand side drilled. I still have to drill the stiffeners on the left hand side but I at least got it put on. I also got the longerons bent and shaped the way they asked. I am having a little bit of trouble with the rear tail assembly but I’m seeing that there are some clearance issues I will need to take care of. The rear two bulk heads were not deburred for some reason. I must have forgotten them but I also need to shape the tabs so that they create more of a curve than this notched and blocked component. I plan on doing that today and that should fix the clearance issues. I also removed the blue coating from the rear skin as I think that would also cause some issues. I’ve left it on the skins for now since I don’t believe it will cause an issue with the drilling. I’ll remove it before I deburr and dimple the skins. I love the progress I’m seeing and I hope to have this piece done soon before Spring Break comes.
This has taken quite a bit of work. I could only think of a cutoff wheel to cut these stiffeners but I did not like the inaccuracy of the cuts. I tried to keep it as close to 45 degrees as much as possible but doing this free hand was not easy. I was hoping to try to get a miter saw blade that would work on metal but I feel those would tear at it more than truly cut it. Either way, they are all cut and deburred.
I got the edges marked for the rivet line and then I realized I didn’t verify that it was set to 5/8 inch by placing a rule on the line. Sadly, it was off by a sixteenth so I had to erase those lines and redo the work. LOL. I got a third of them remarked and I’ll finish the other two tomorrow. I will say that I need to find a better way to mark a straight line on these parts. I’m using a combination square but I can’t mark more than 1 1/2 inch at a time. In wood working, I could run my speed square down a board but the speed square doesn’t go down as far as I need it, plus I don’t like running that metal against the parts which would scratch it. Sadly the combination square is also leaving a few marks here and there when I am not careful enough. Either way, I hope to be done with this tomorrow and see what we have in store next.
I’ve spent a lot of time recently getting our RV setup. Now that that is done and we are just enjoying it I have a little more time on my hands. I’ve spent a lot of time deburring these tailcone parts which take a lot of time just because of the amount of edge that it has. Plus these seem to have been cut pretty poorly. They had a ton of these tiny tabs that made me thing or a sheet of paper that has been ripped off that had perforations. And I’m short on the deburring wheels which they’ve been on back order. Either way, I’ve been working with what I have and the files that I have. Hopefully I’ll be past these steps soon so that I can assemble the tailcone and see what it looks like.
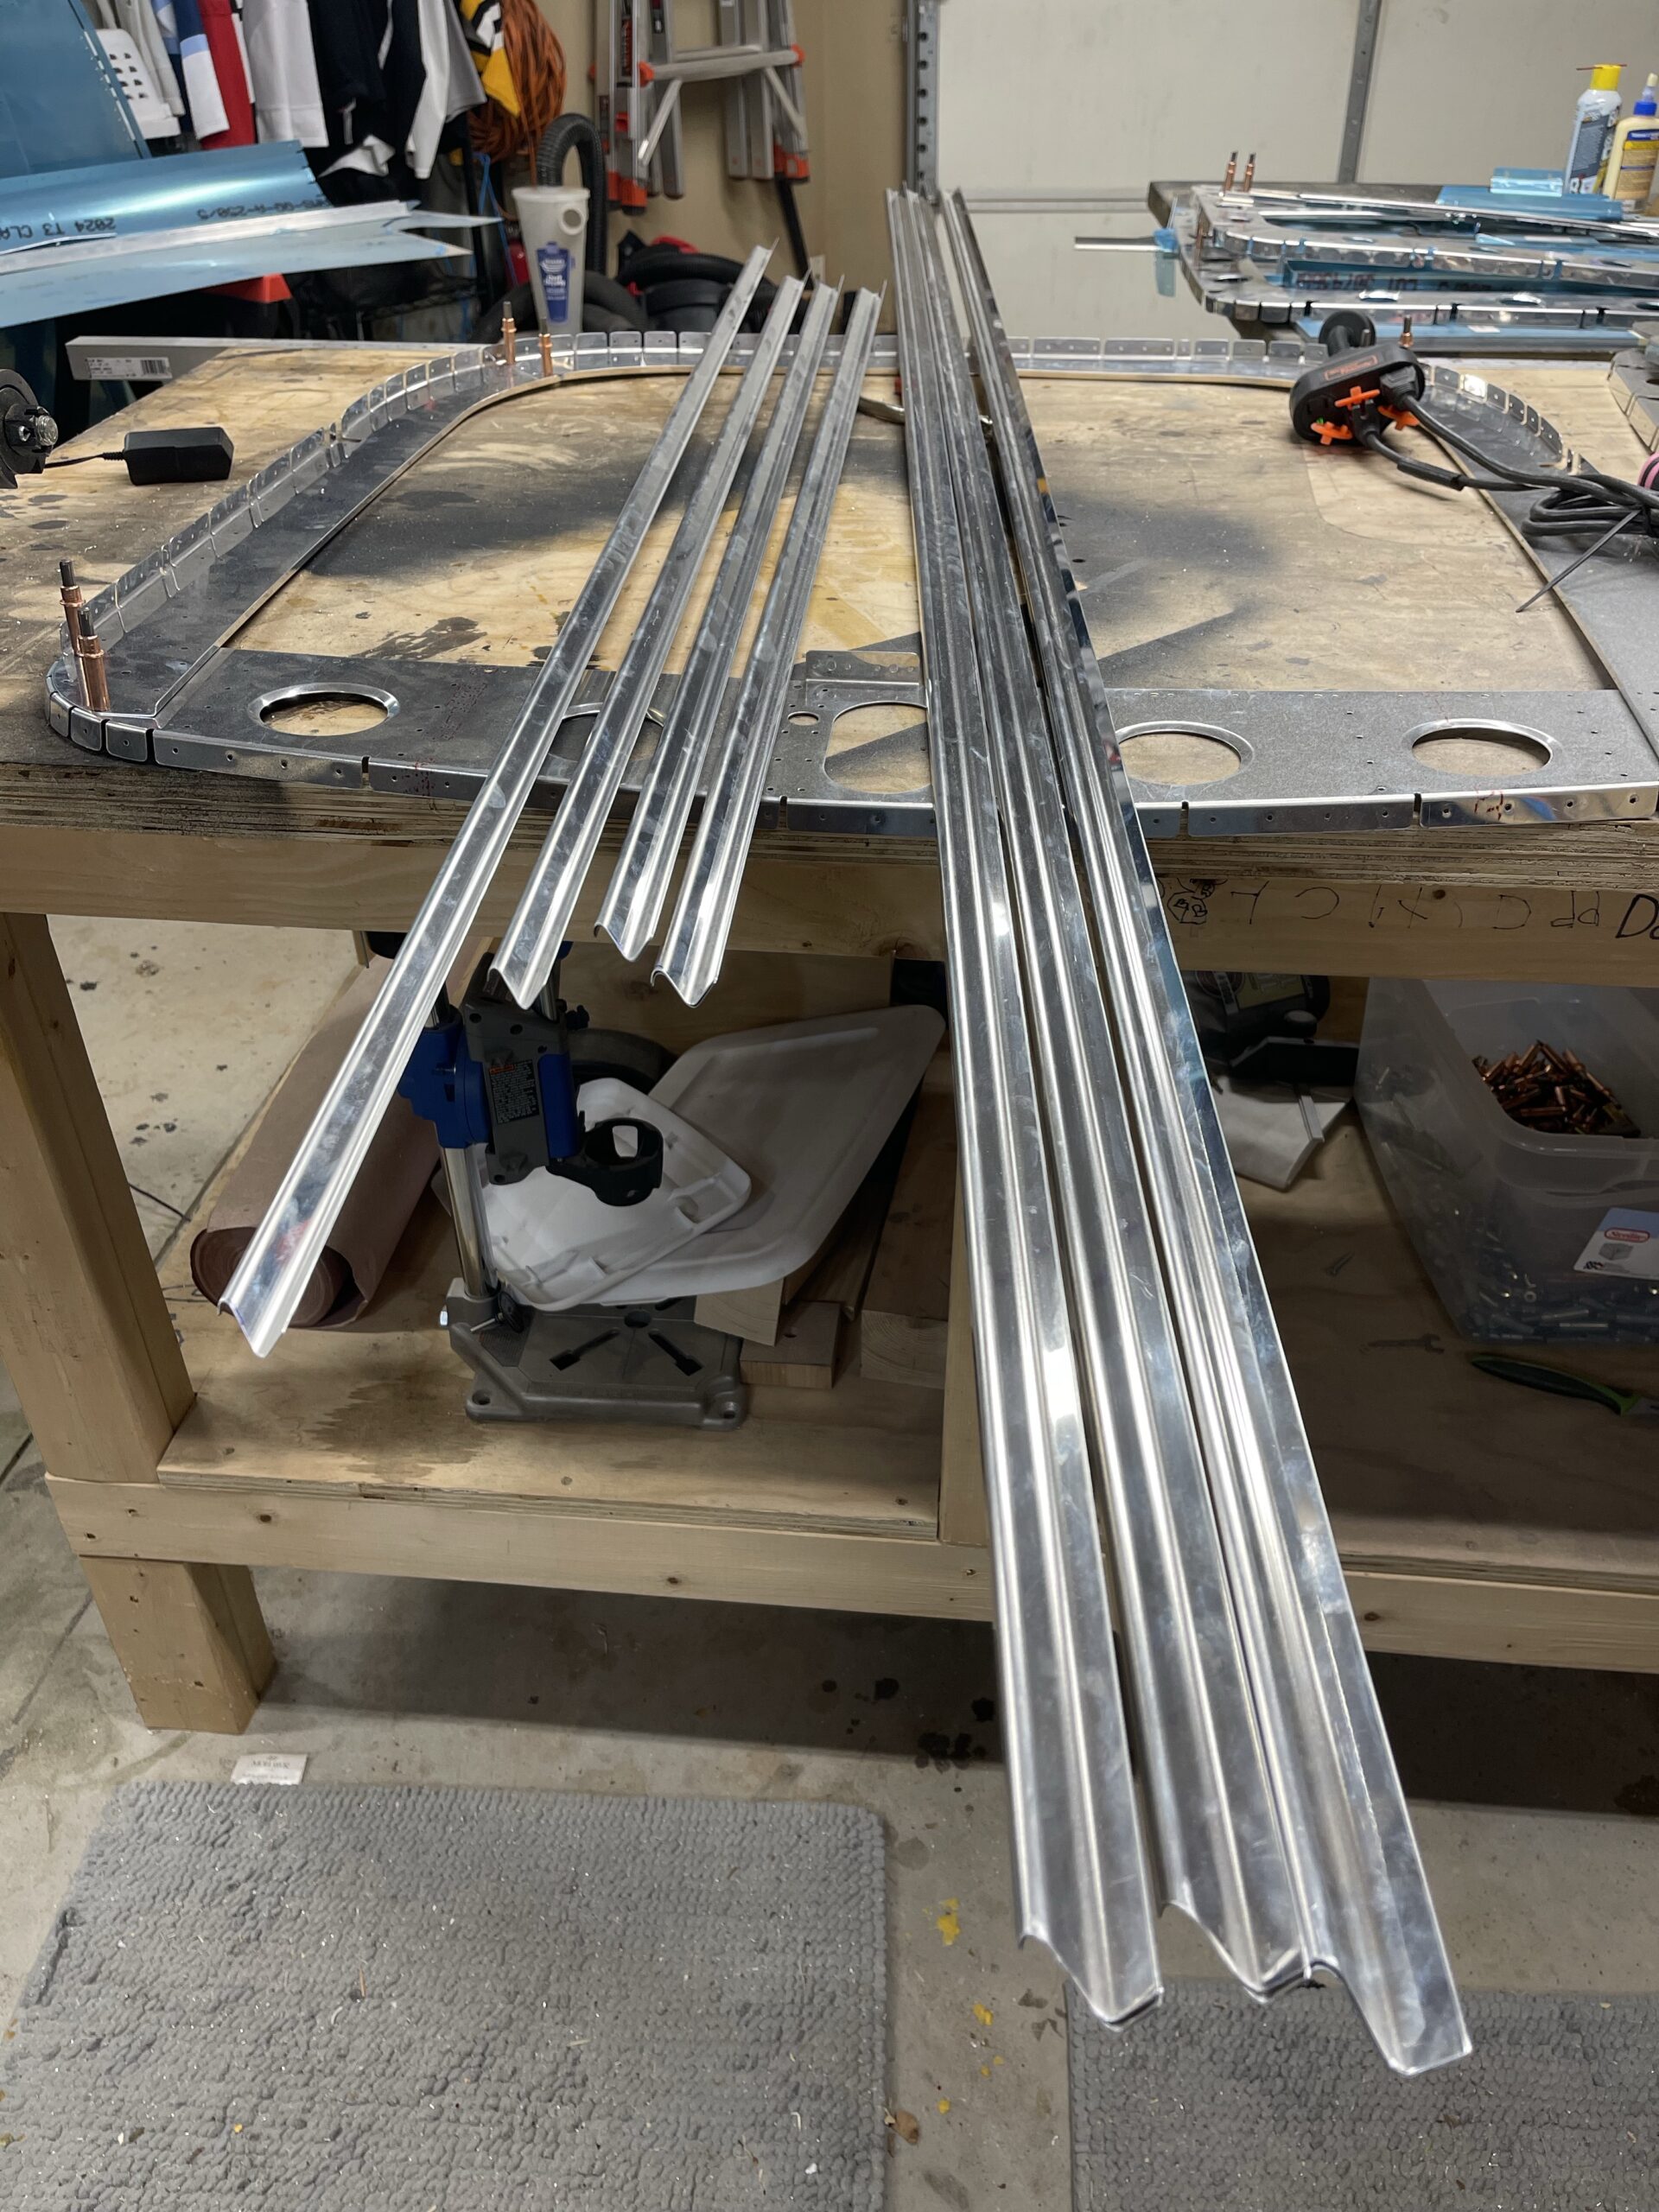
I dragged all of the parts from the attic and started on the tailcone. I had to order a 3/8 – 16 tap as I don’t really keep an assortment of taps around unless I need one. I got the first three steps done and I need to start cutting the angle material and J channel material for the next step.
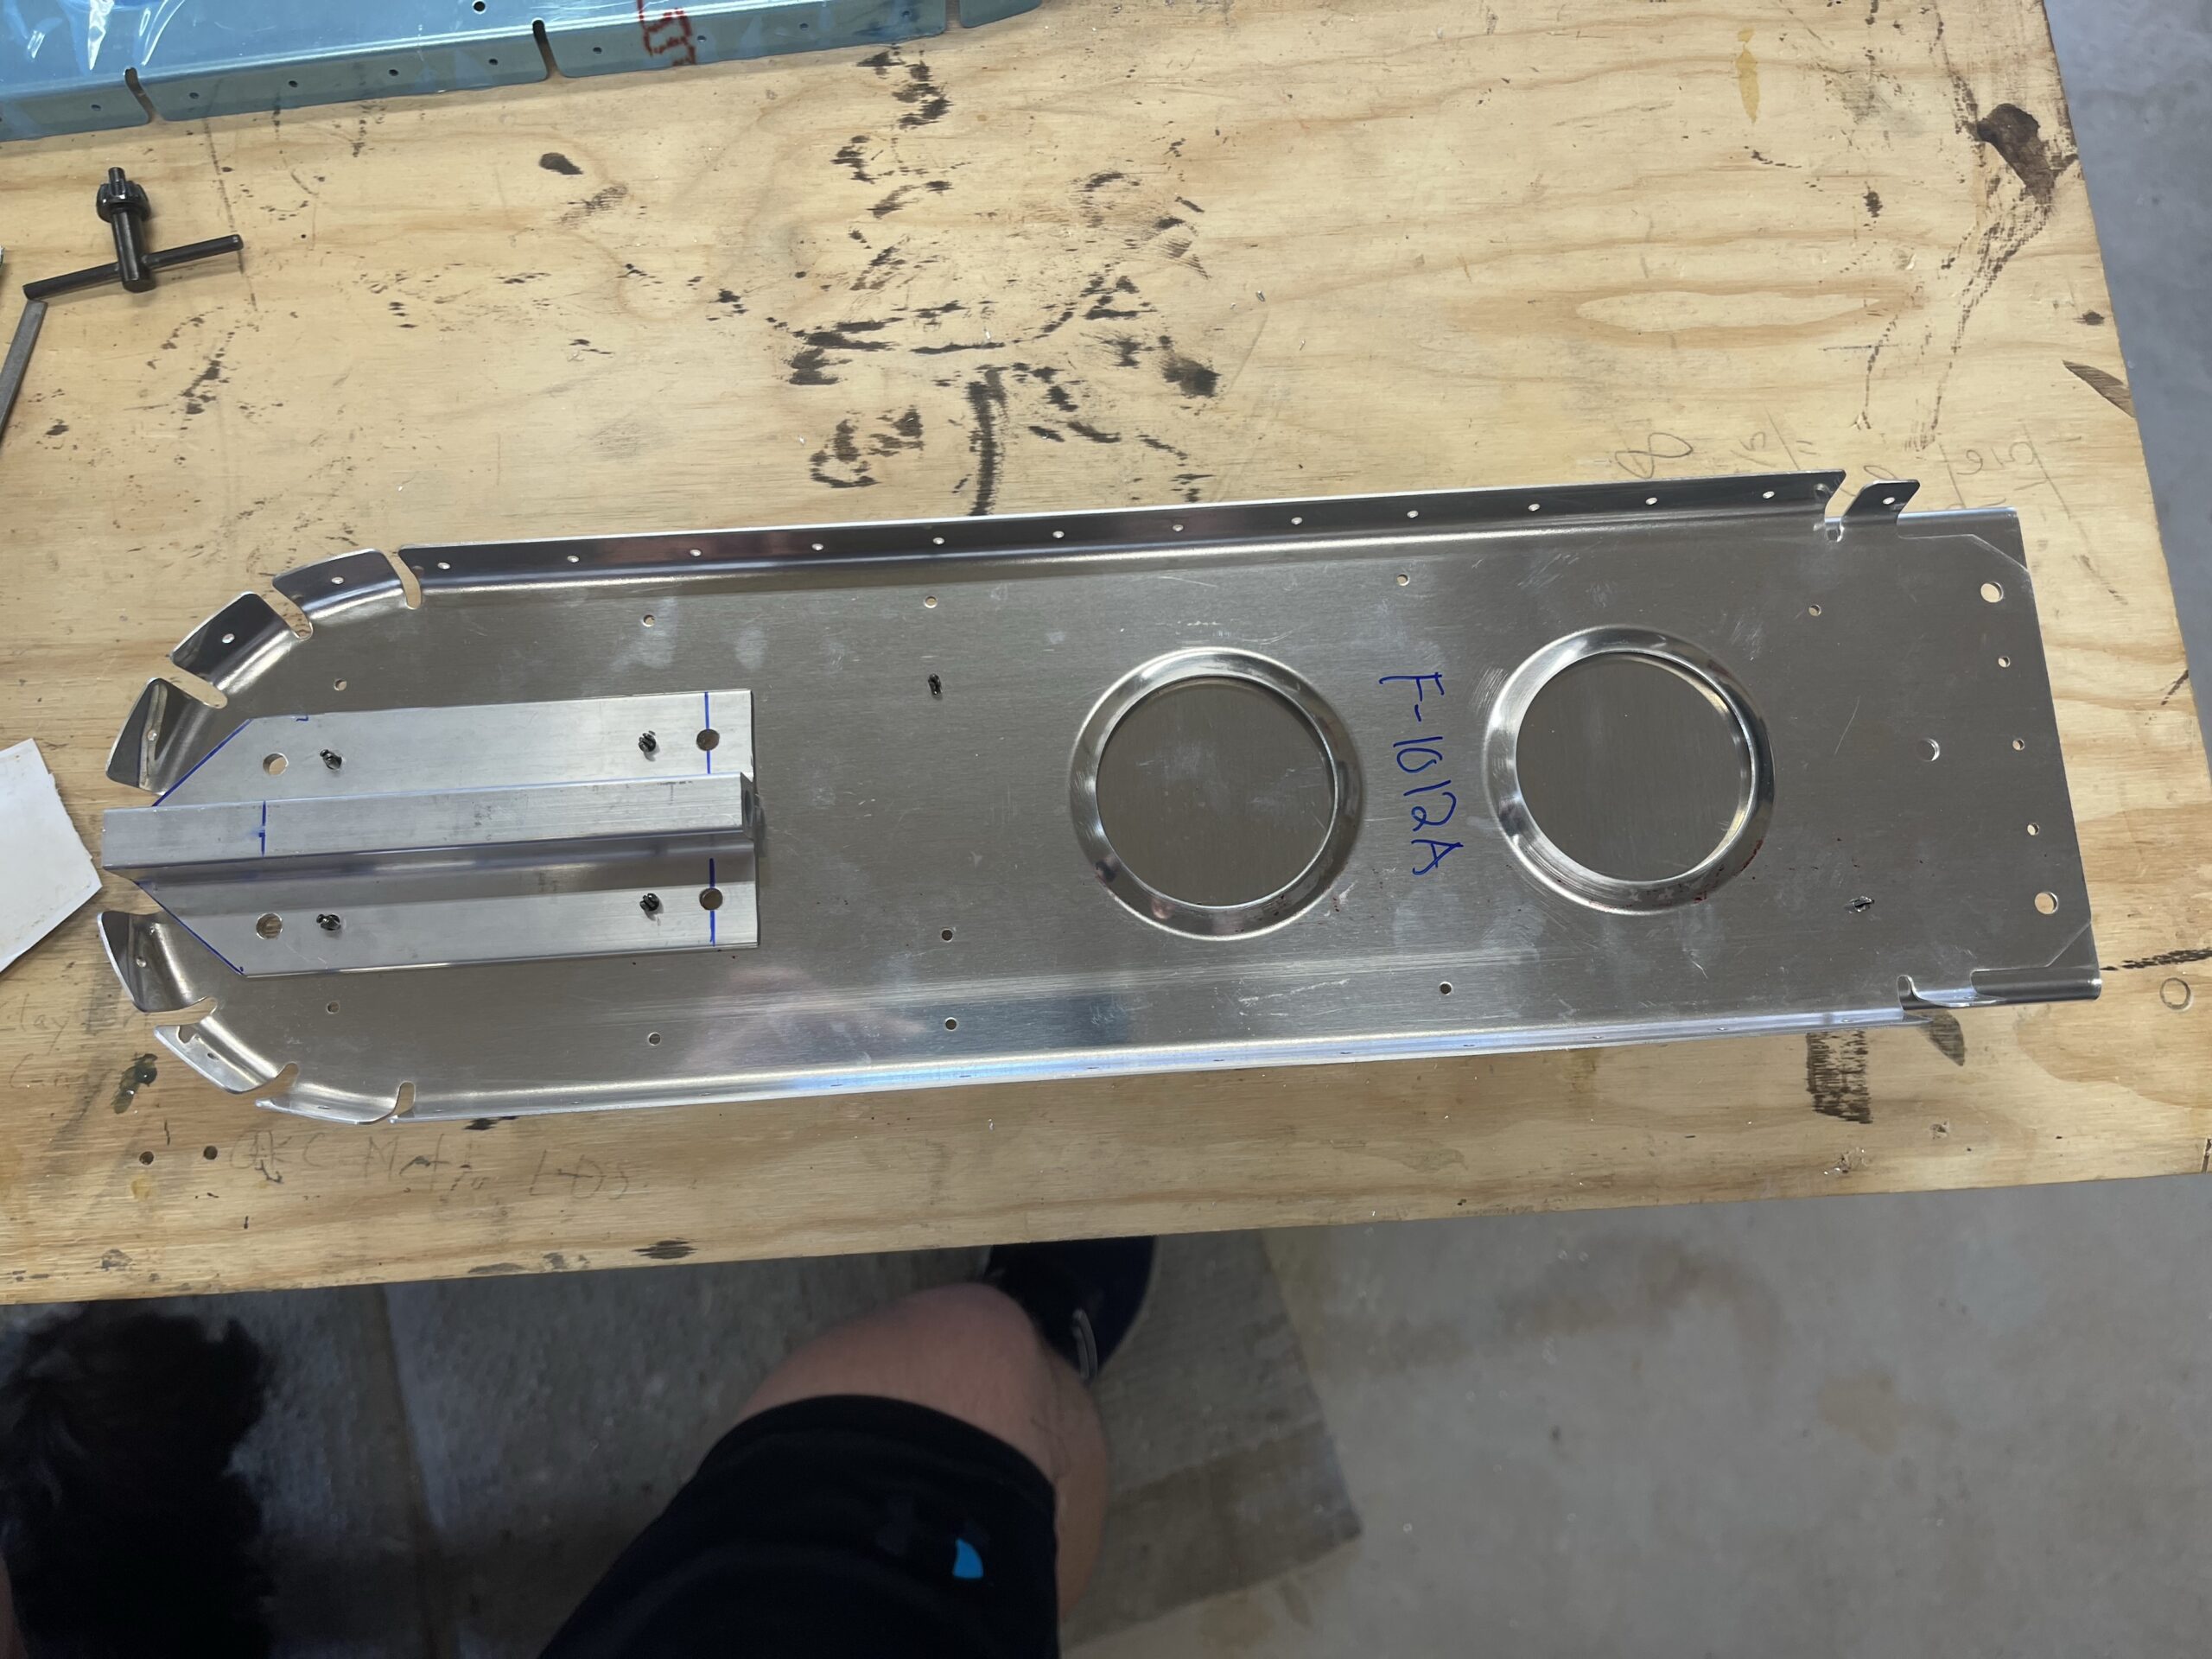
I finally finished the elevators! I will have to come back and redo the trim tabs. It appears when I drilled the end rivet holes I got them off. There is a pretty bad twist in BOTH of the trim tabs. Not a big deal, I’ll just order new parts and rebuild them down the road. It is nice to have these elevators done!
I spent some time on Saturday and Sunday getting the trim tabs sealed up and I at least drilled the holes for the elevator side of the trim tab hinge. I’m going to have to wait until Thursday to do the rest of the hinge drilling on the trim tabs since I have church visits on Tuesday night and then Mutual on Wednesday. I just got it sealed up last night and I want to let it sit for a couple of days like the instructions say so that it cures properly on those foam ribs and tank sealant. But I’m almost done though with the elevators and then I can get on to the tailcone. I want to get as far along on that as possible since the wings should be shipping any day now.
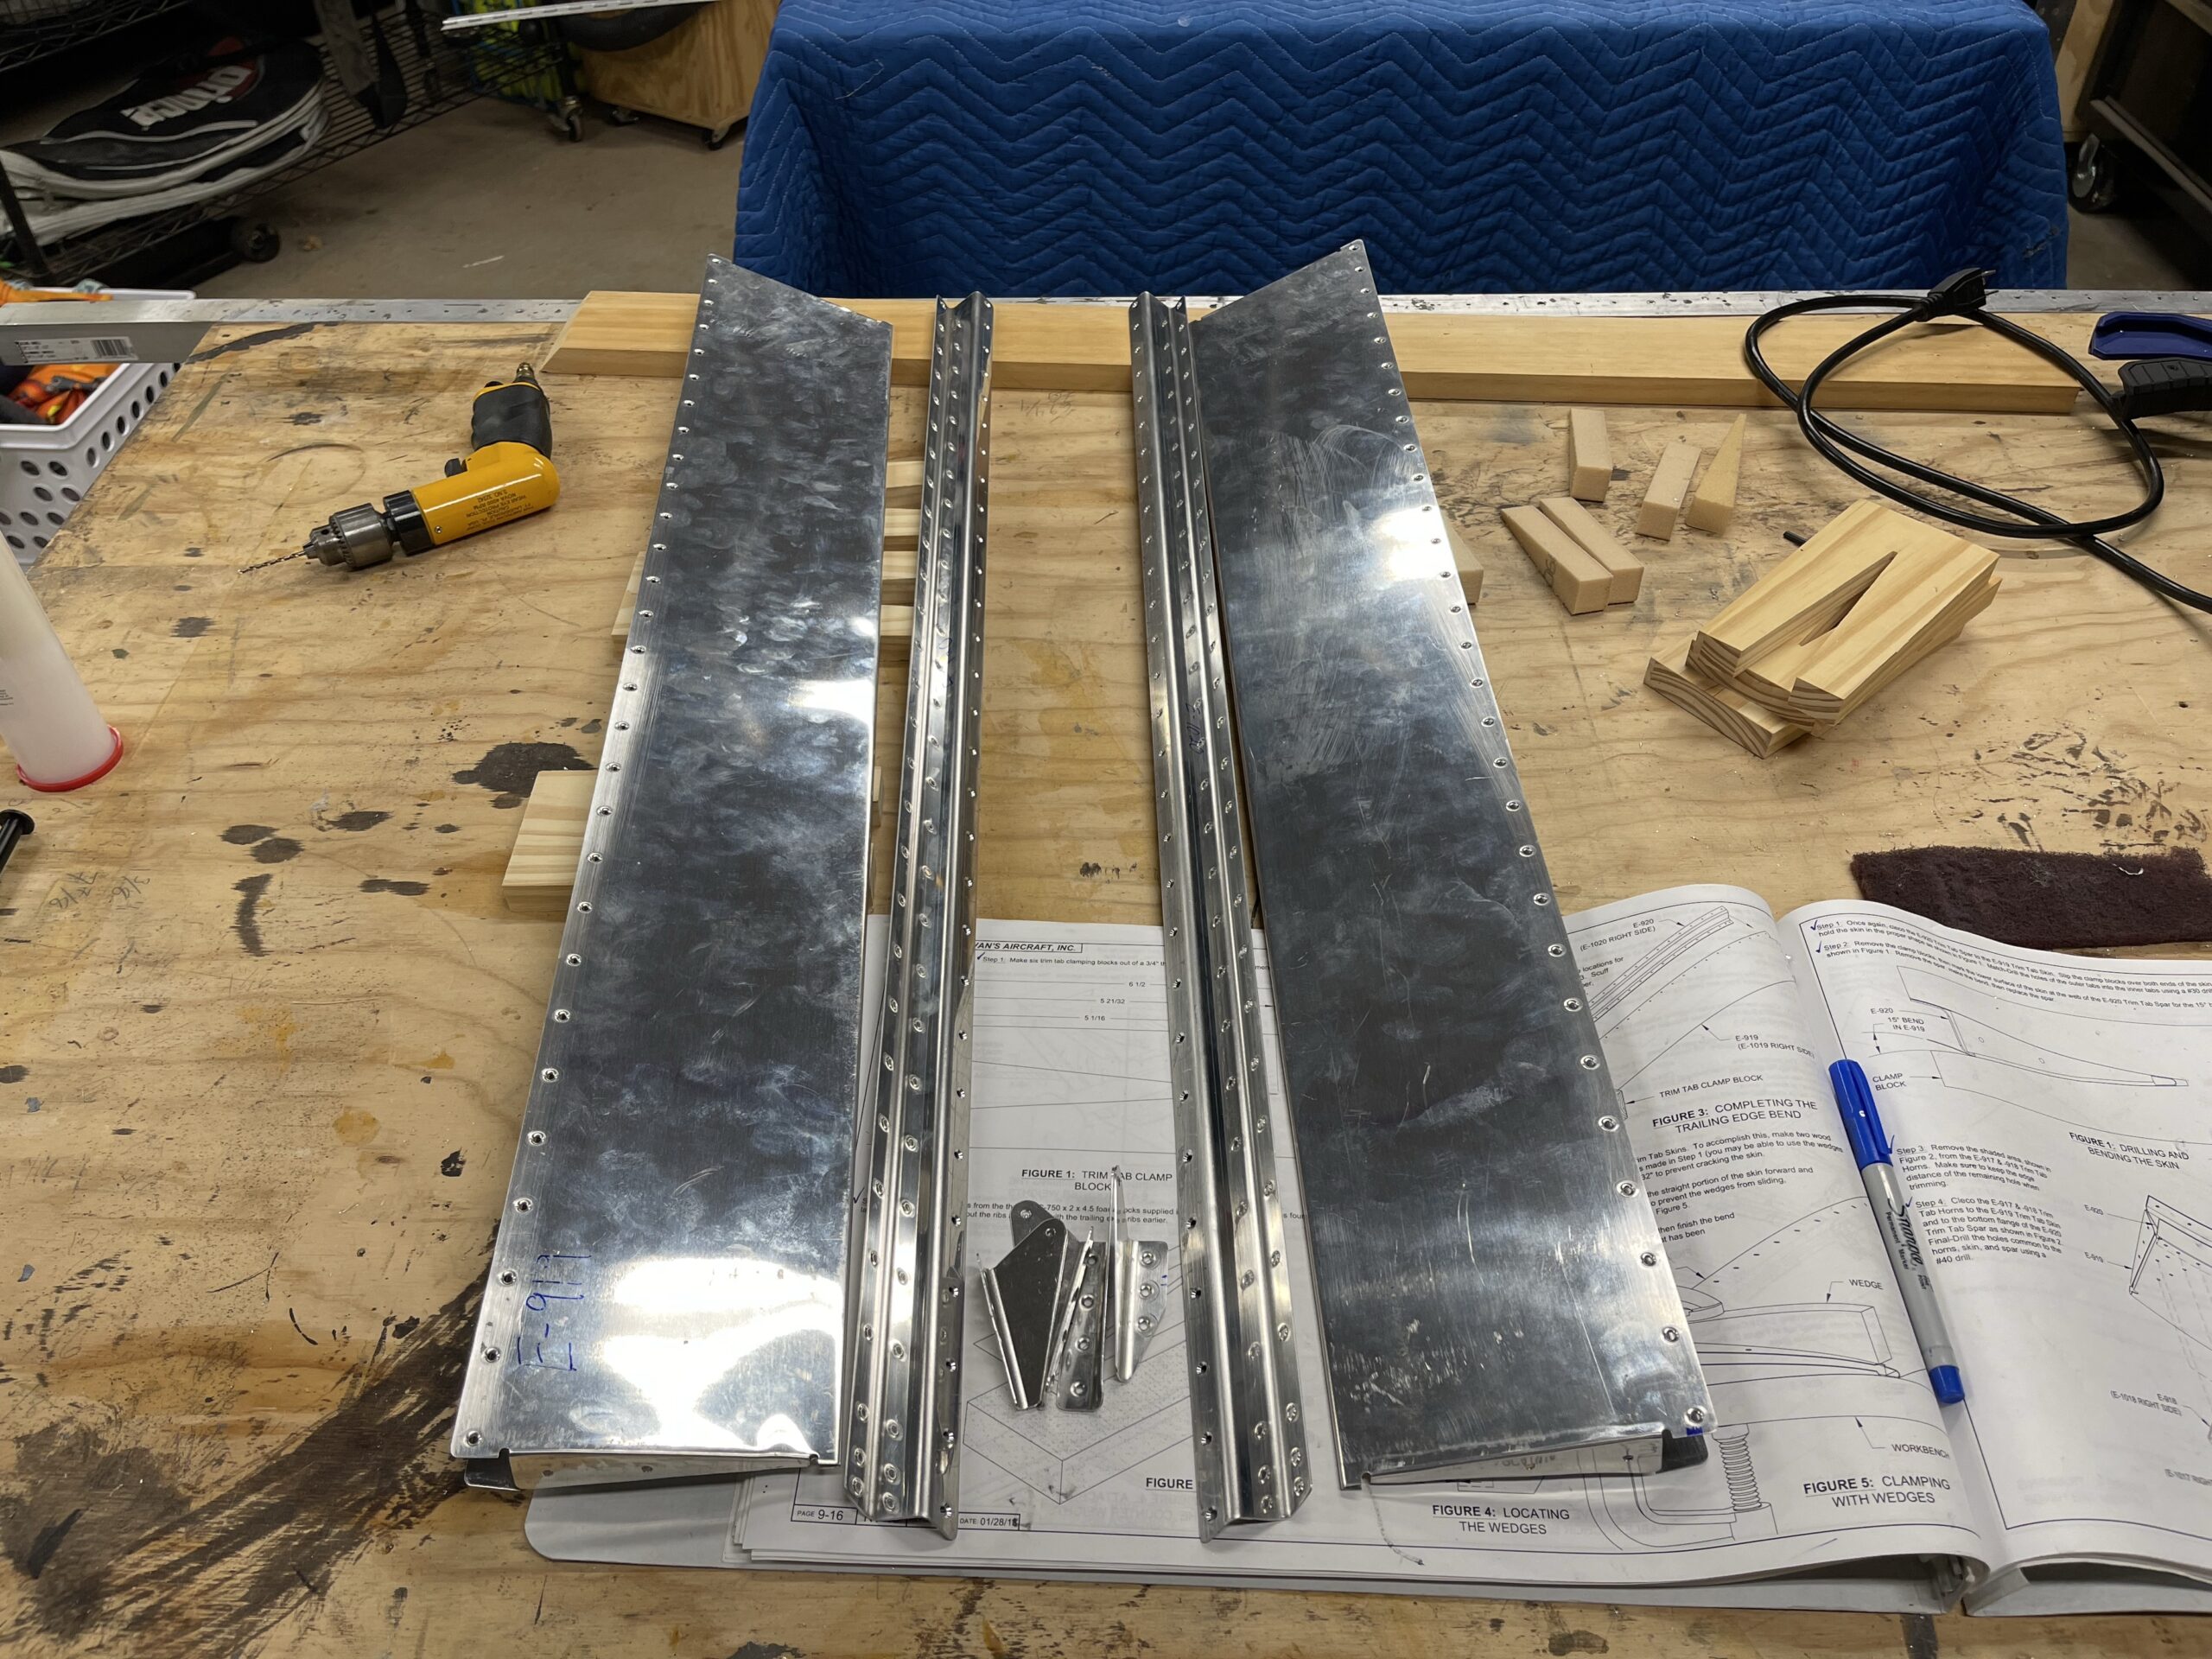
Trim tabs riveted and sealed. Just need to let them cure nowHinges drilled on the elevator side. Need to take them off and deburr the drilled holes.
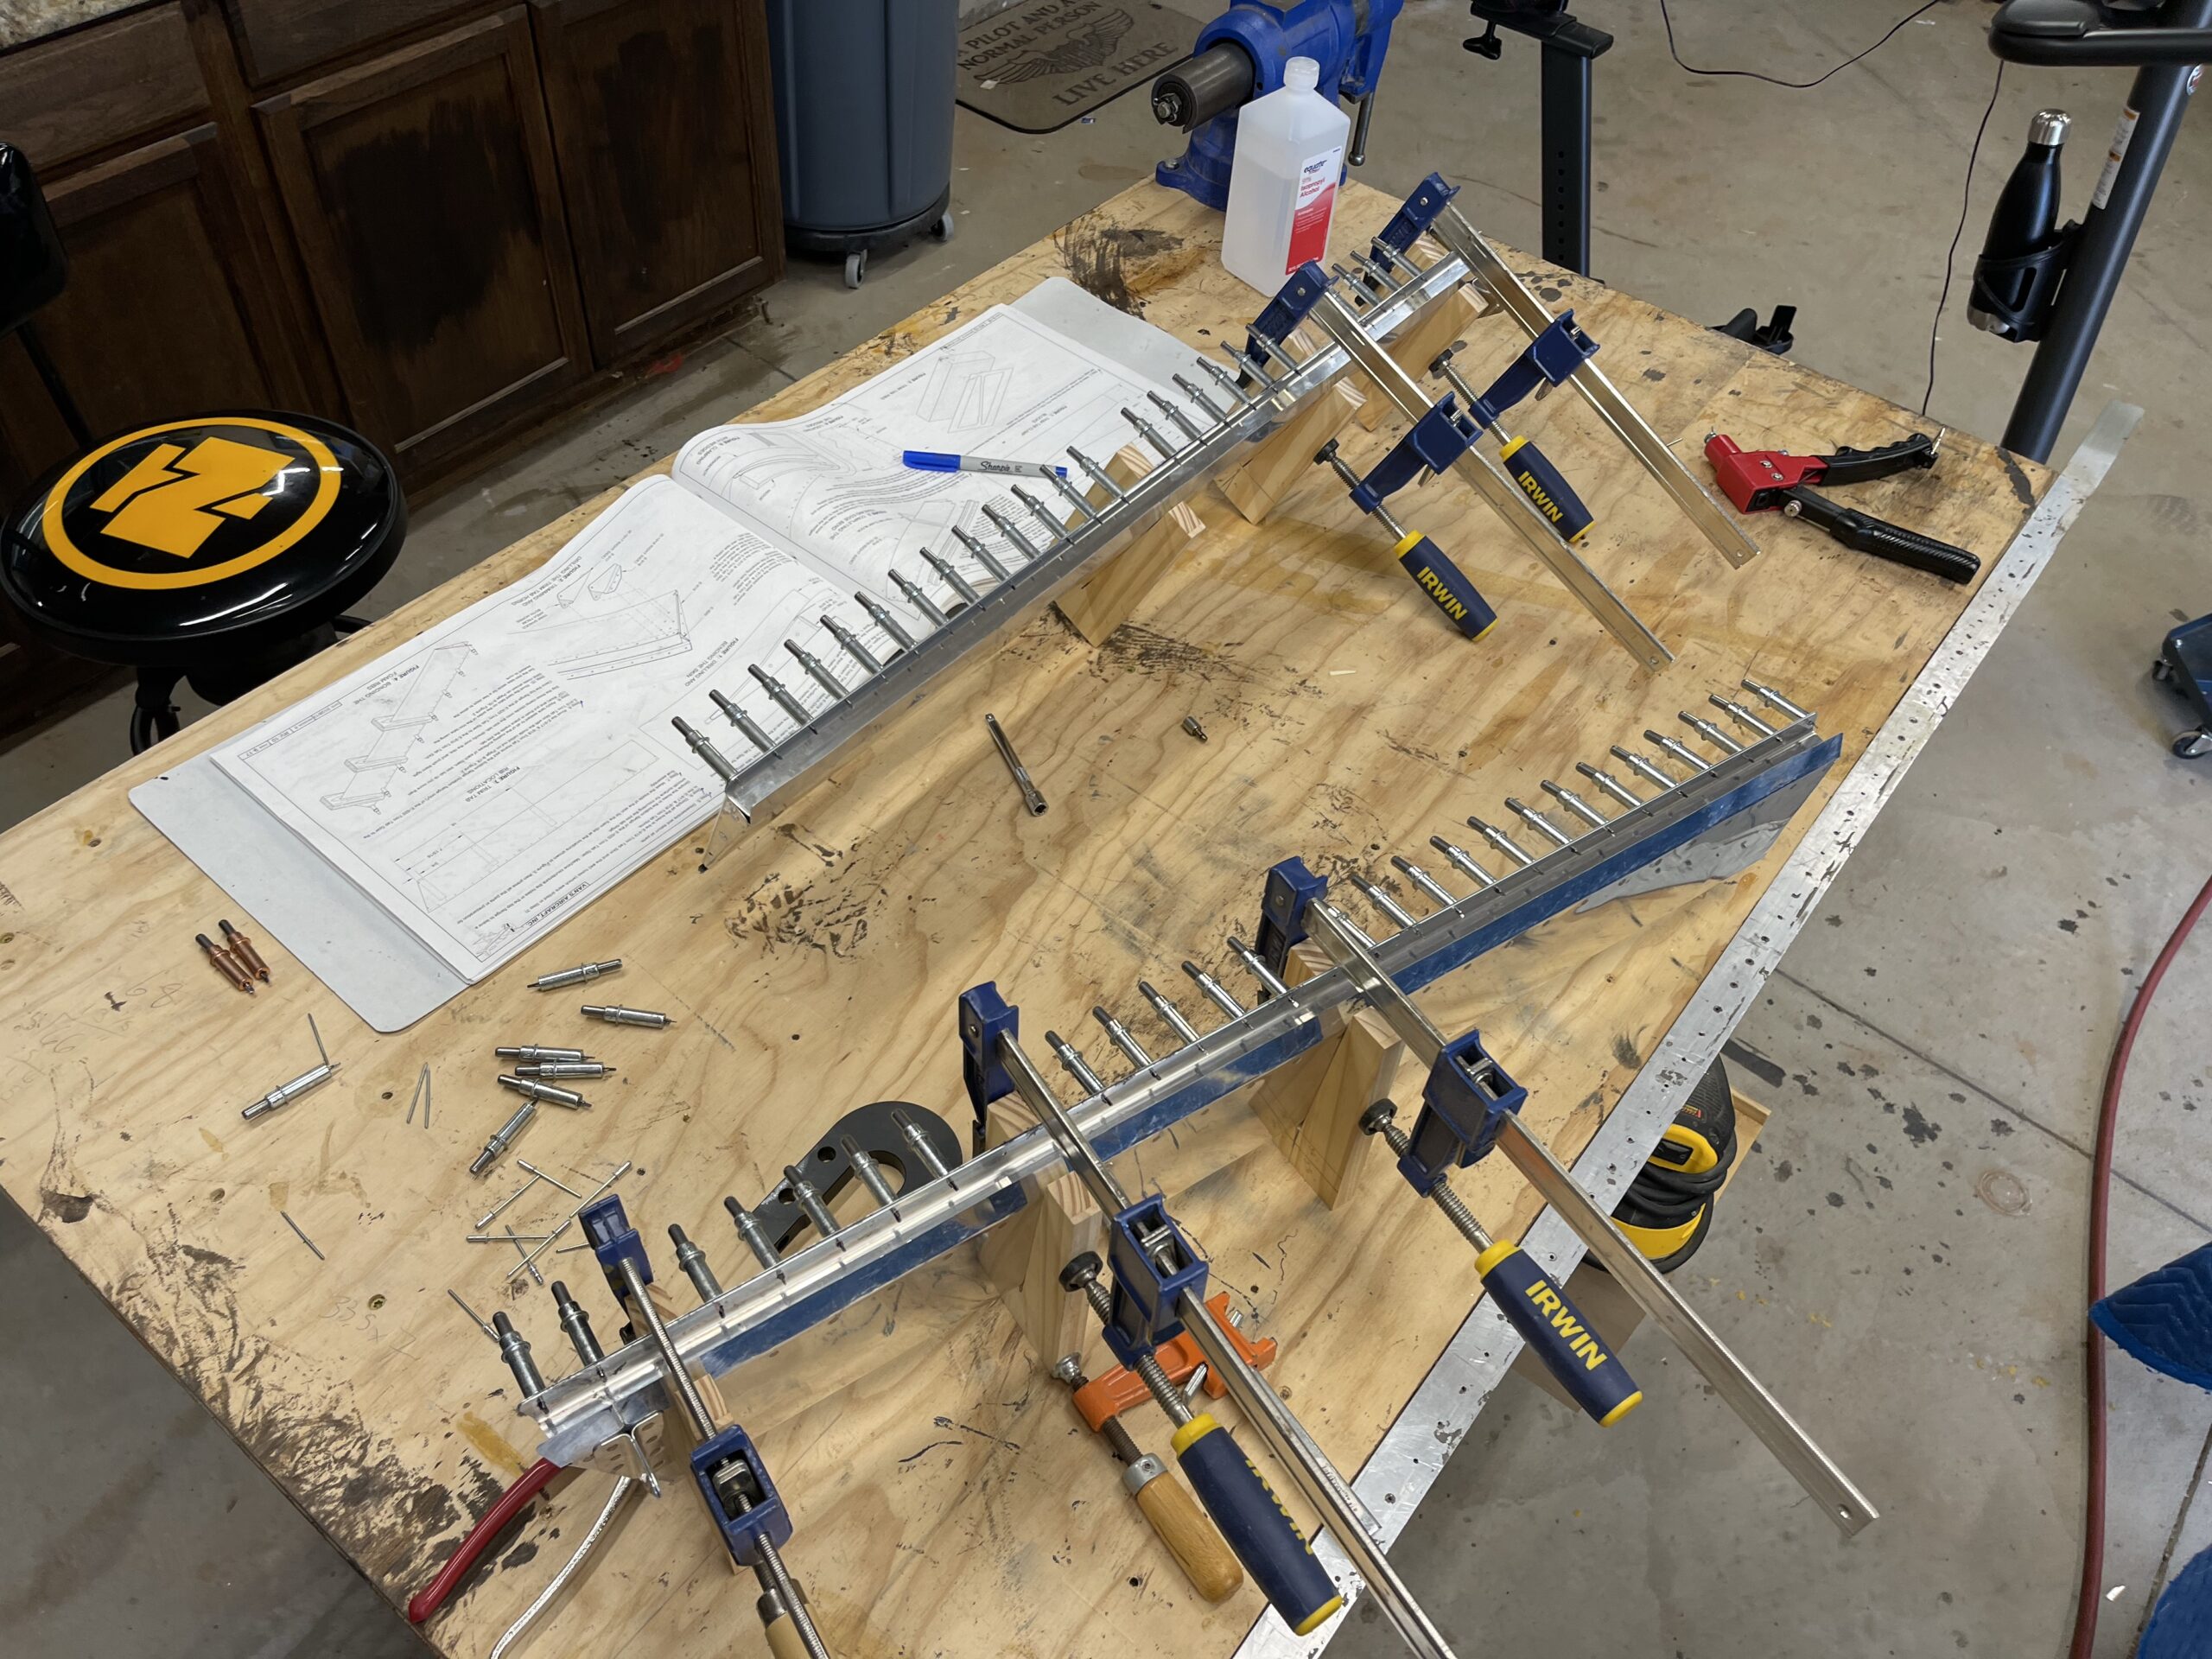
I spend a little bit of time this weekend working on getting the bend right on the lower portion of the trim tab skin. My initial go at it was still kind of wavy. I went to bed but didn’t like how it turned out. The next night after work I sat in there and really worked up and down getting the waviness out of the bend and the second go I feel look much better. I’m not a pro but it looked straight to me and seemed smooth enough. I used my snips to get the majority of the material off of the control horns and then cleco’ed them on. I will finalize the material removal on the deburring wheel when I go to prep the parts before dimpling. I am going to do the final size drilling tonight which shouldn’t take too long.
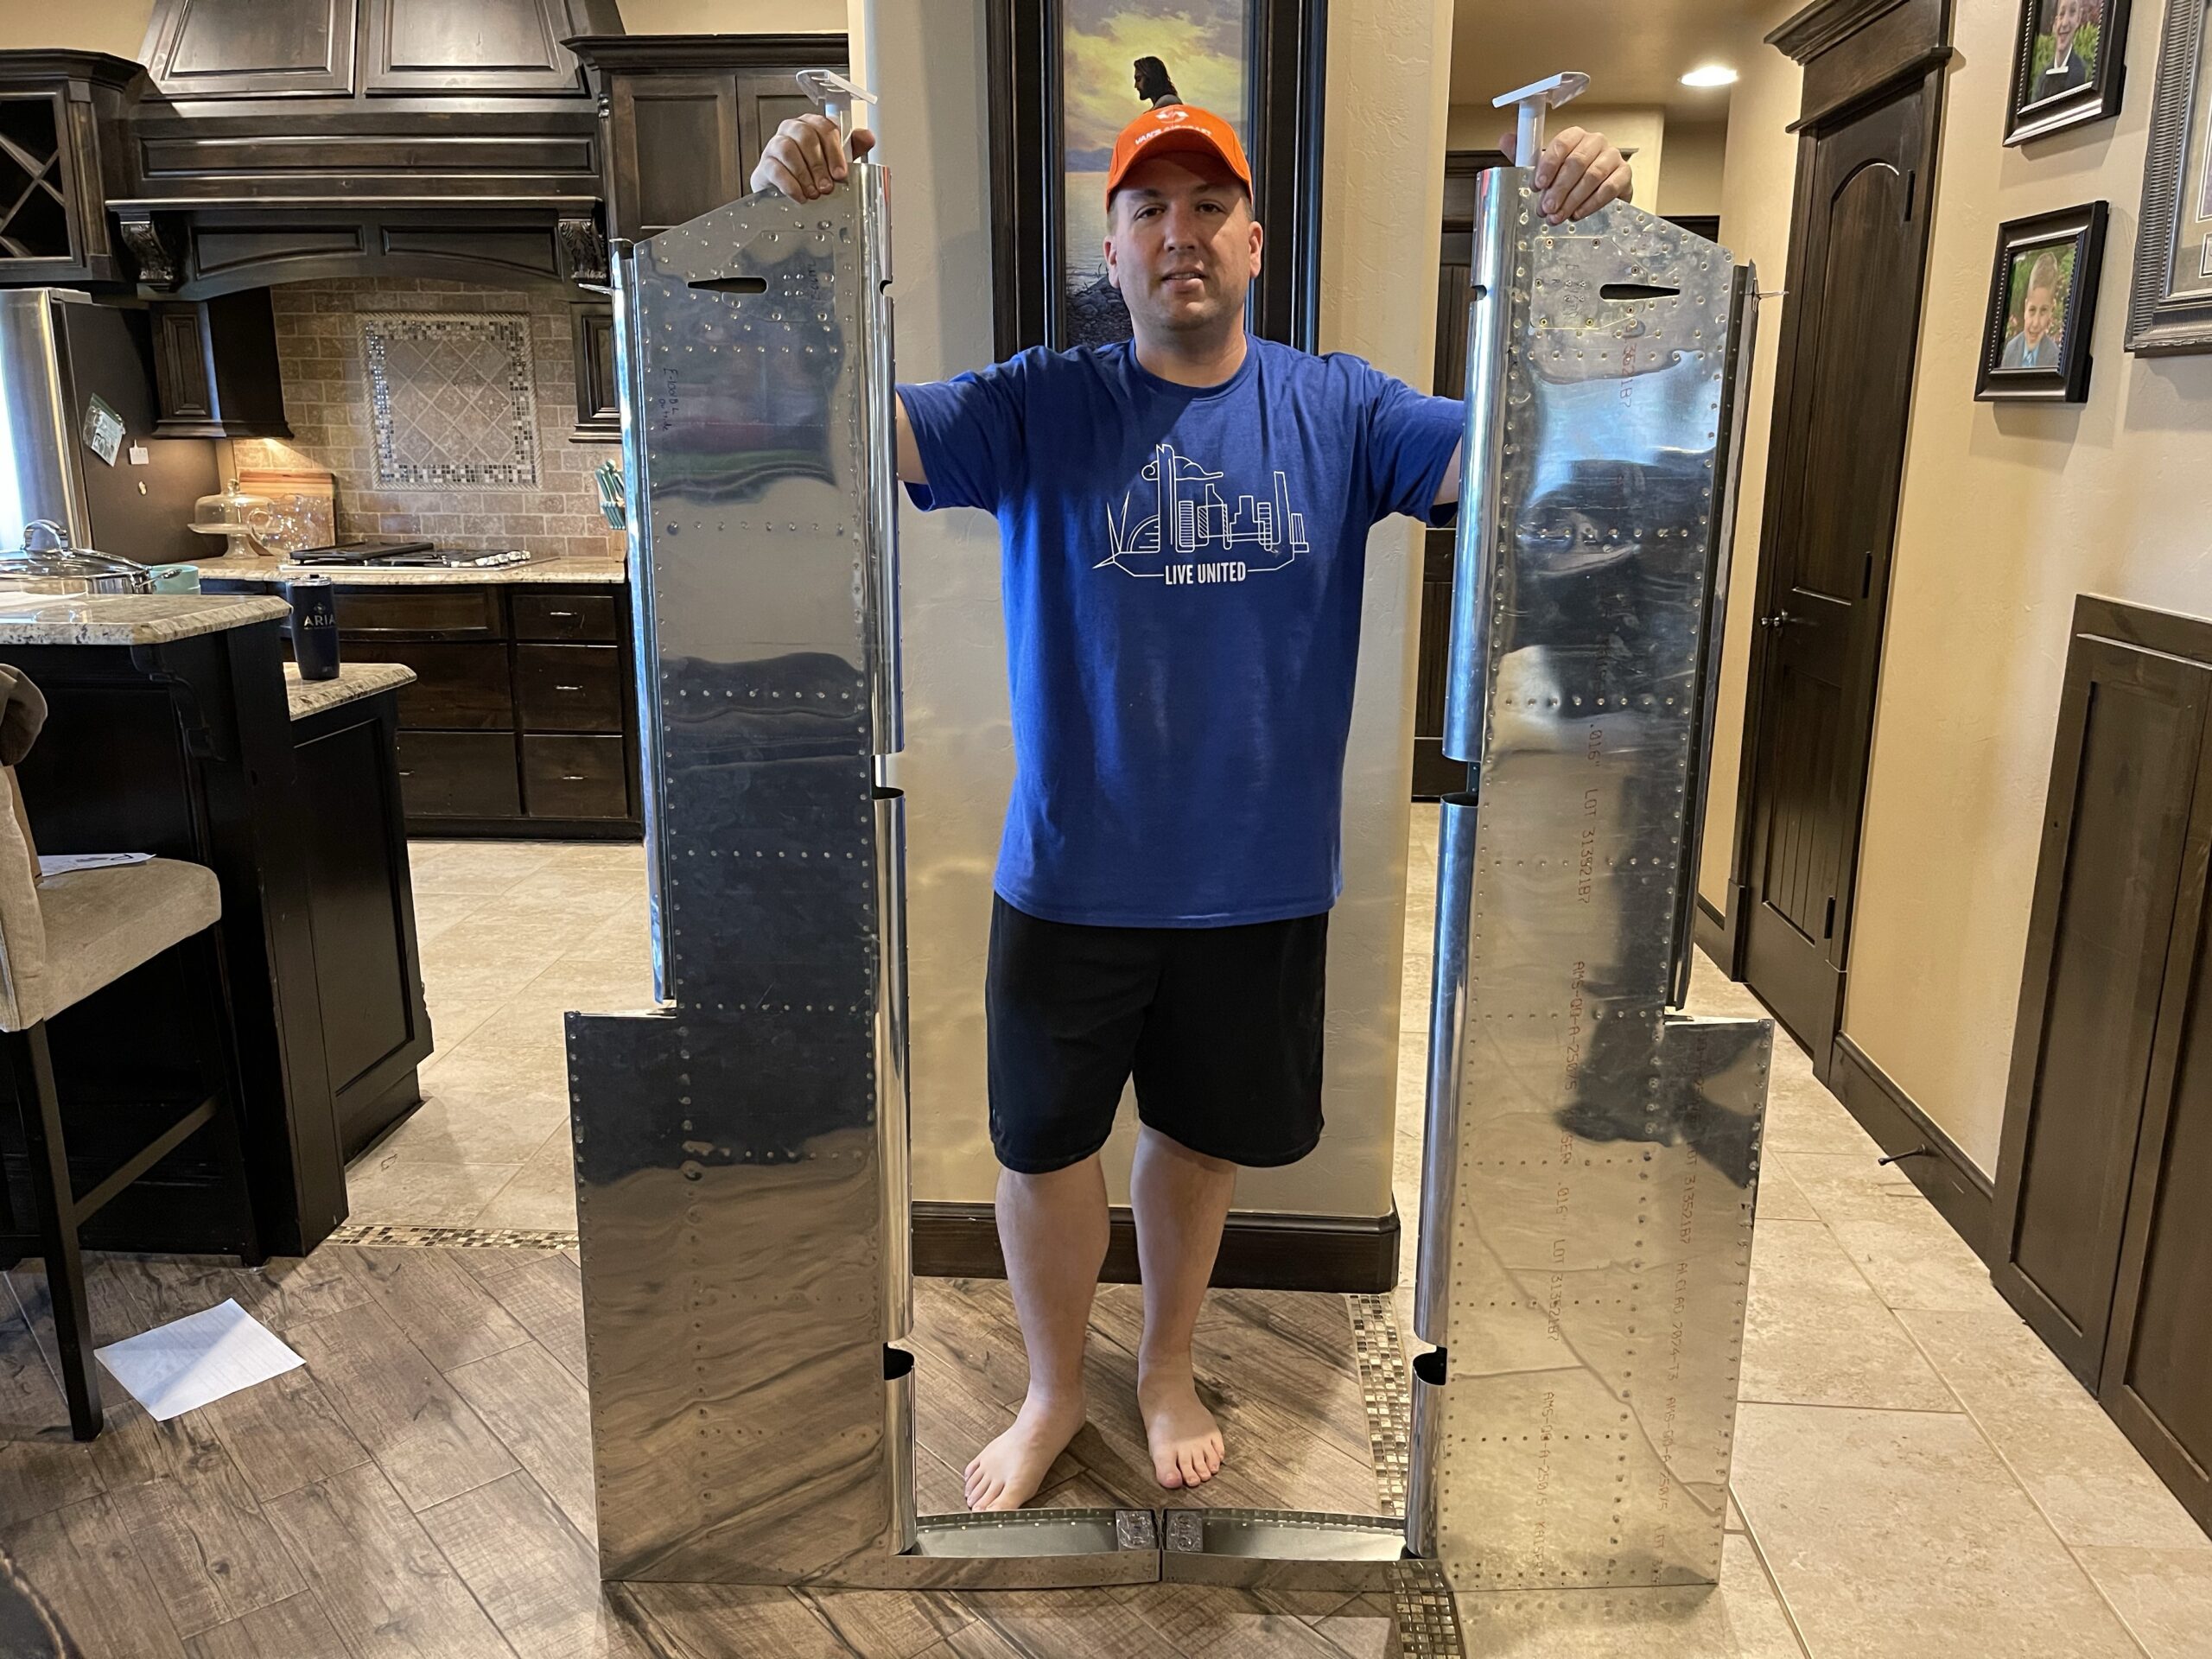
Another update on the wing kit! It’s all paid for and I got an email that it was crated while I was at Oshkosh and they are working on shipping arrangements. Curious to see what those shipping costs are going to be. Might be cheaper for me to take a few days off and go drive to pick it up lol.
First try – picture #1First try – picture #2Final go – much better!Horns cut and cleco’ed. On to final-size drilling!
I got the trim tab holders cut out from some spare wood that I had laying around. Even though I had to cut them by hand instead of some kind of template, etc it still came out pretty good. After doing all that work I realized I should have used some double-sided tape to stick them all together and then cut them all in the same go. Hindsight is 20/20. I also got the skins prepped for the tank sealant that will be used with the foam ribs. After that I got all 6 ribs cut out from the foam. I need to stop by Lowe’s to get a 2×8 and some hinges to make the brake that they mentioned in section 5. Hopefully I’ll get some time to get that done tonight before church.