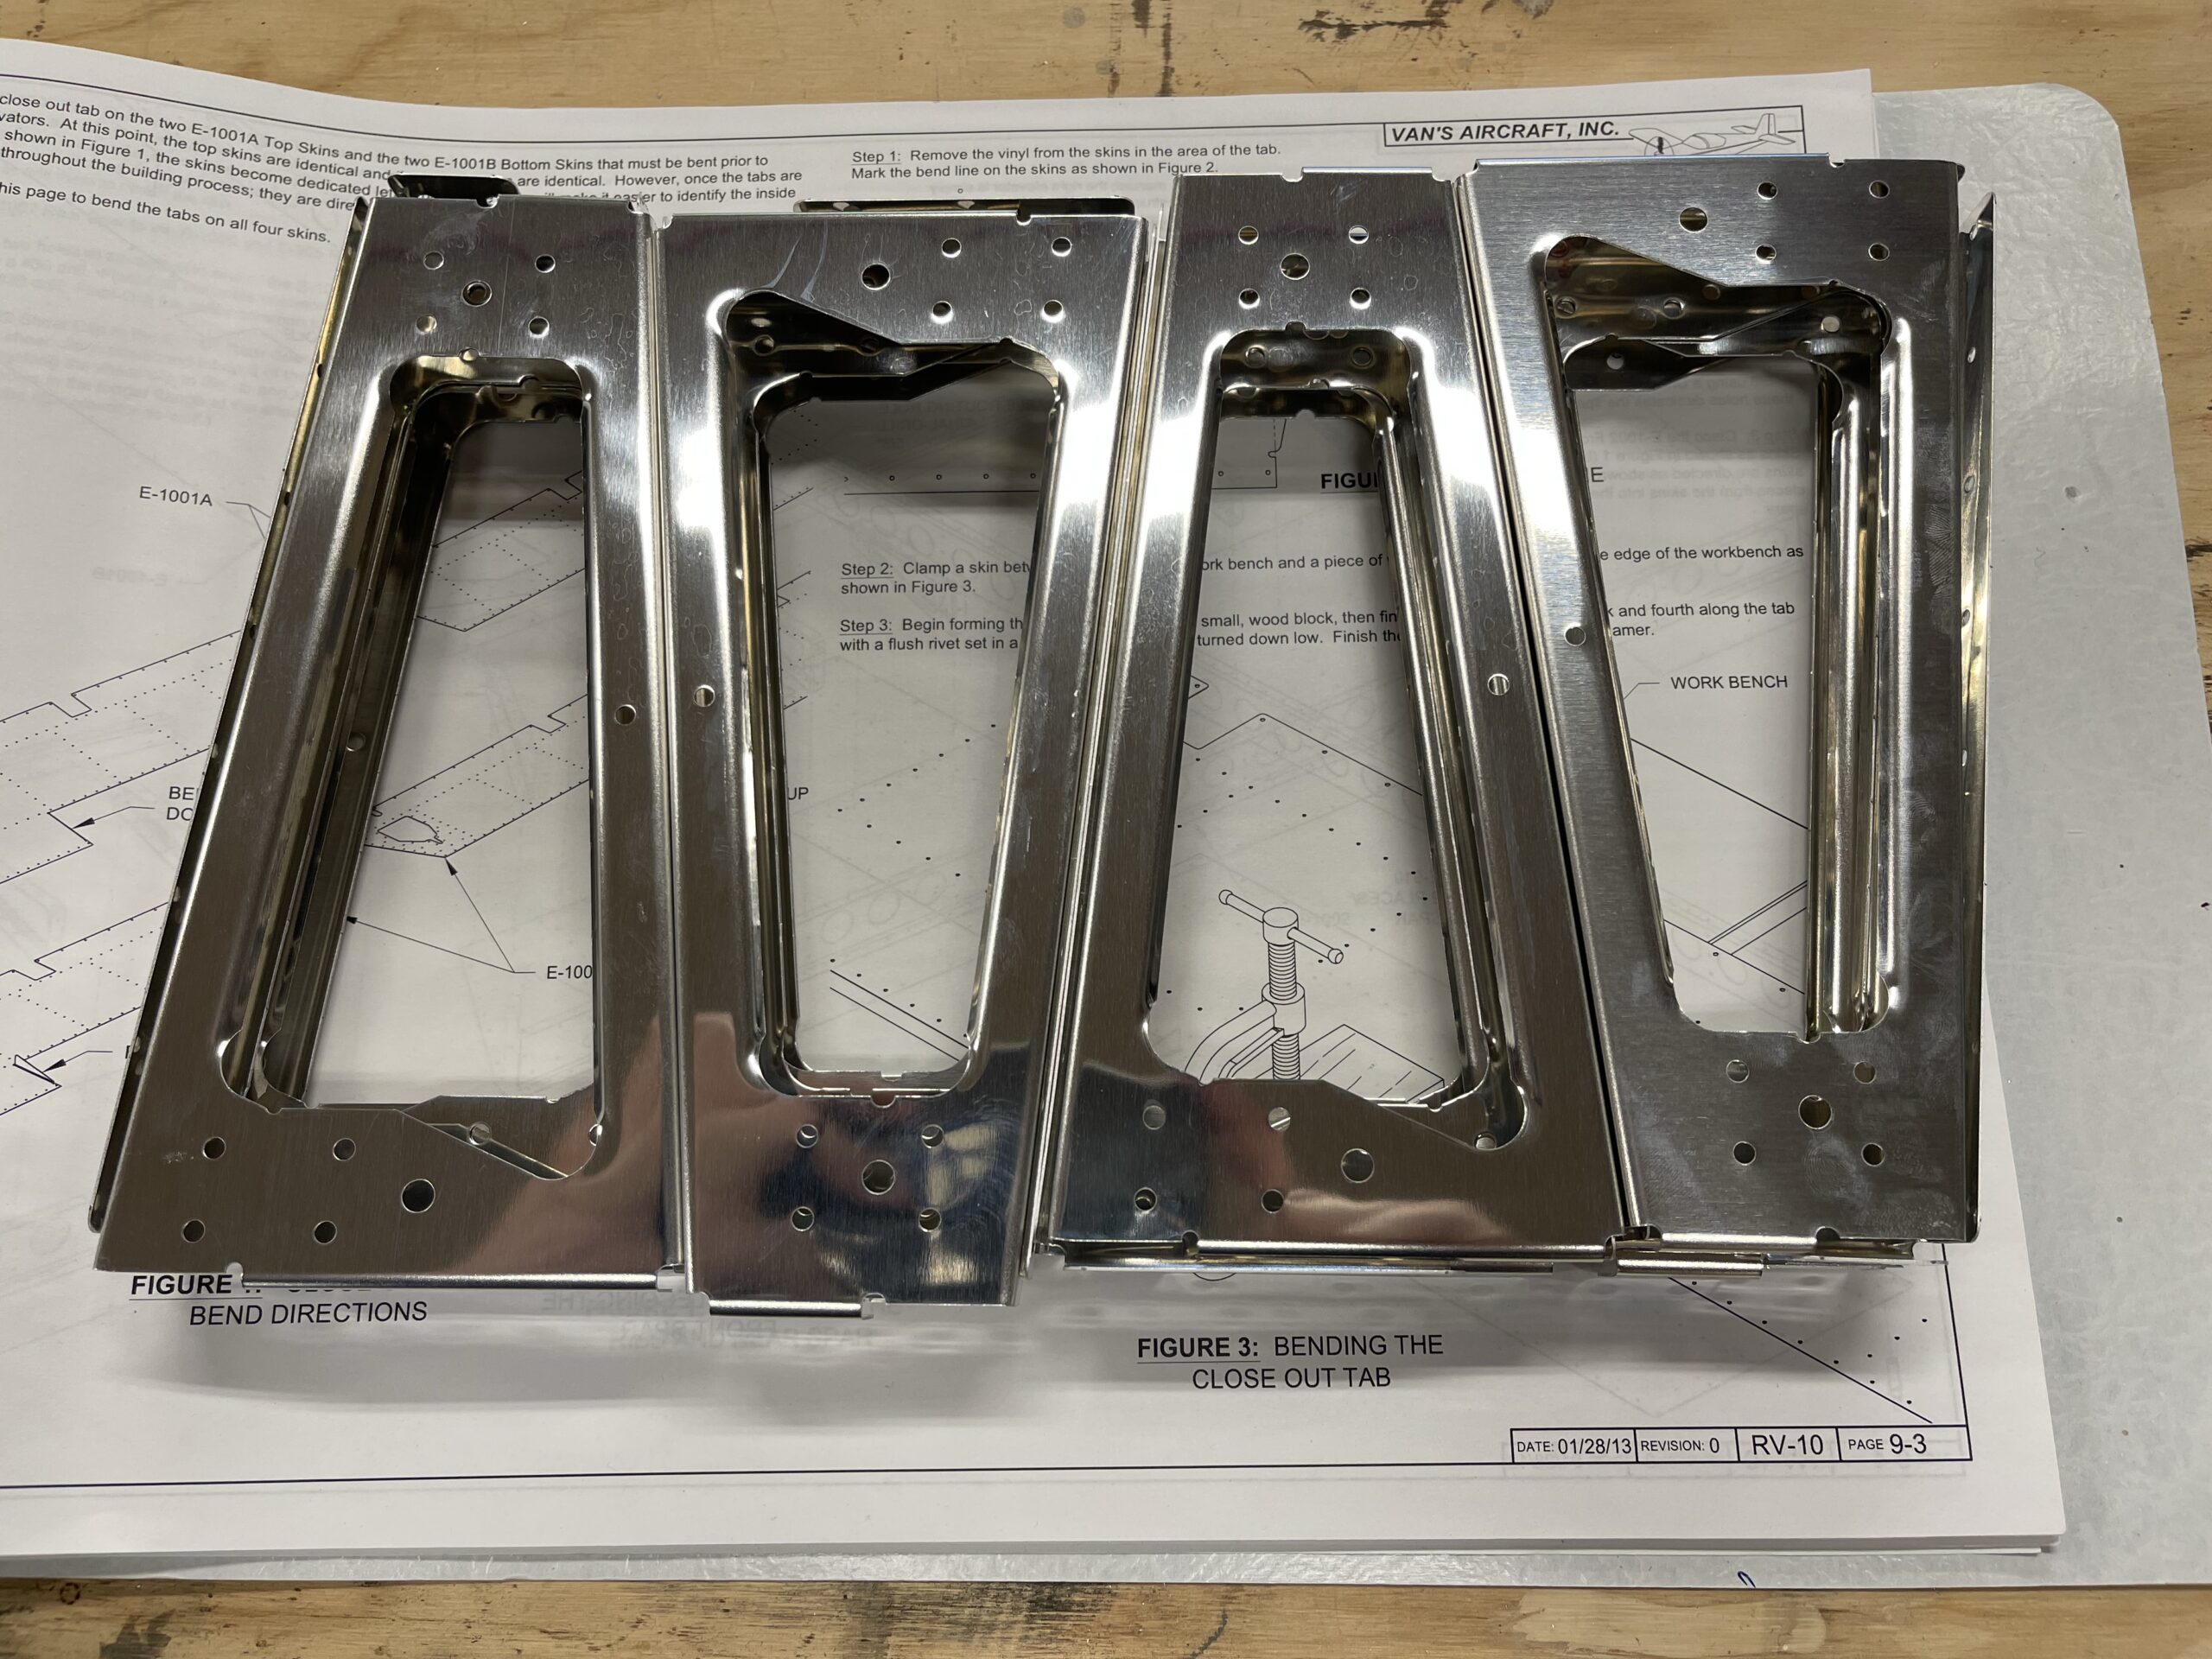
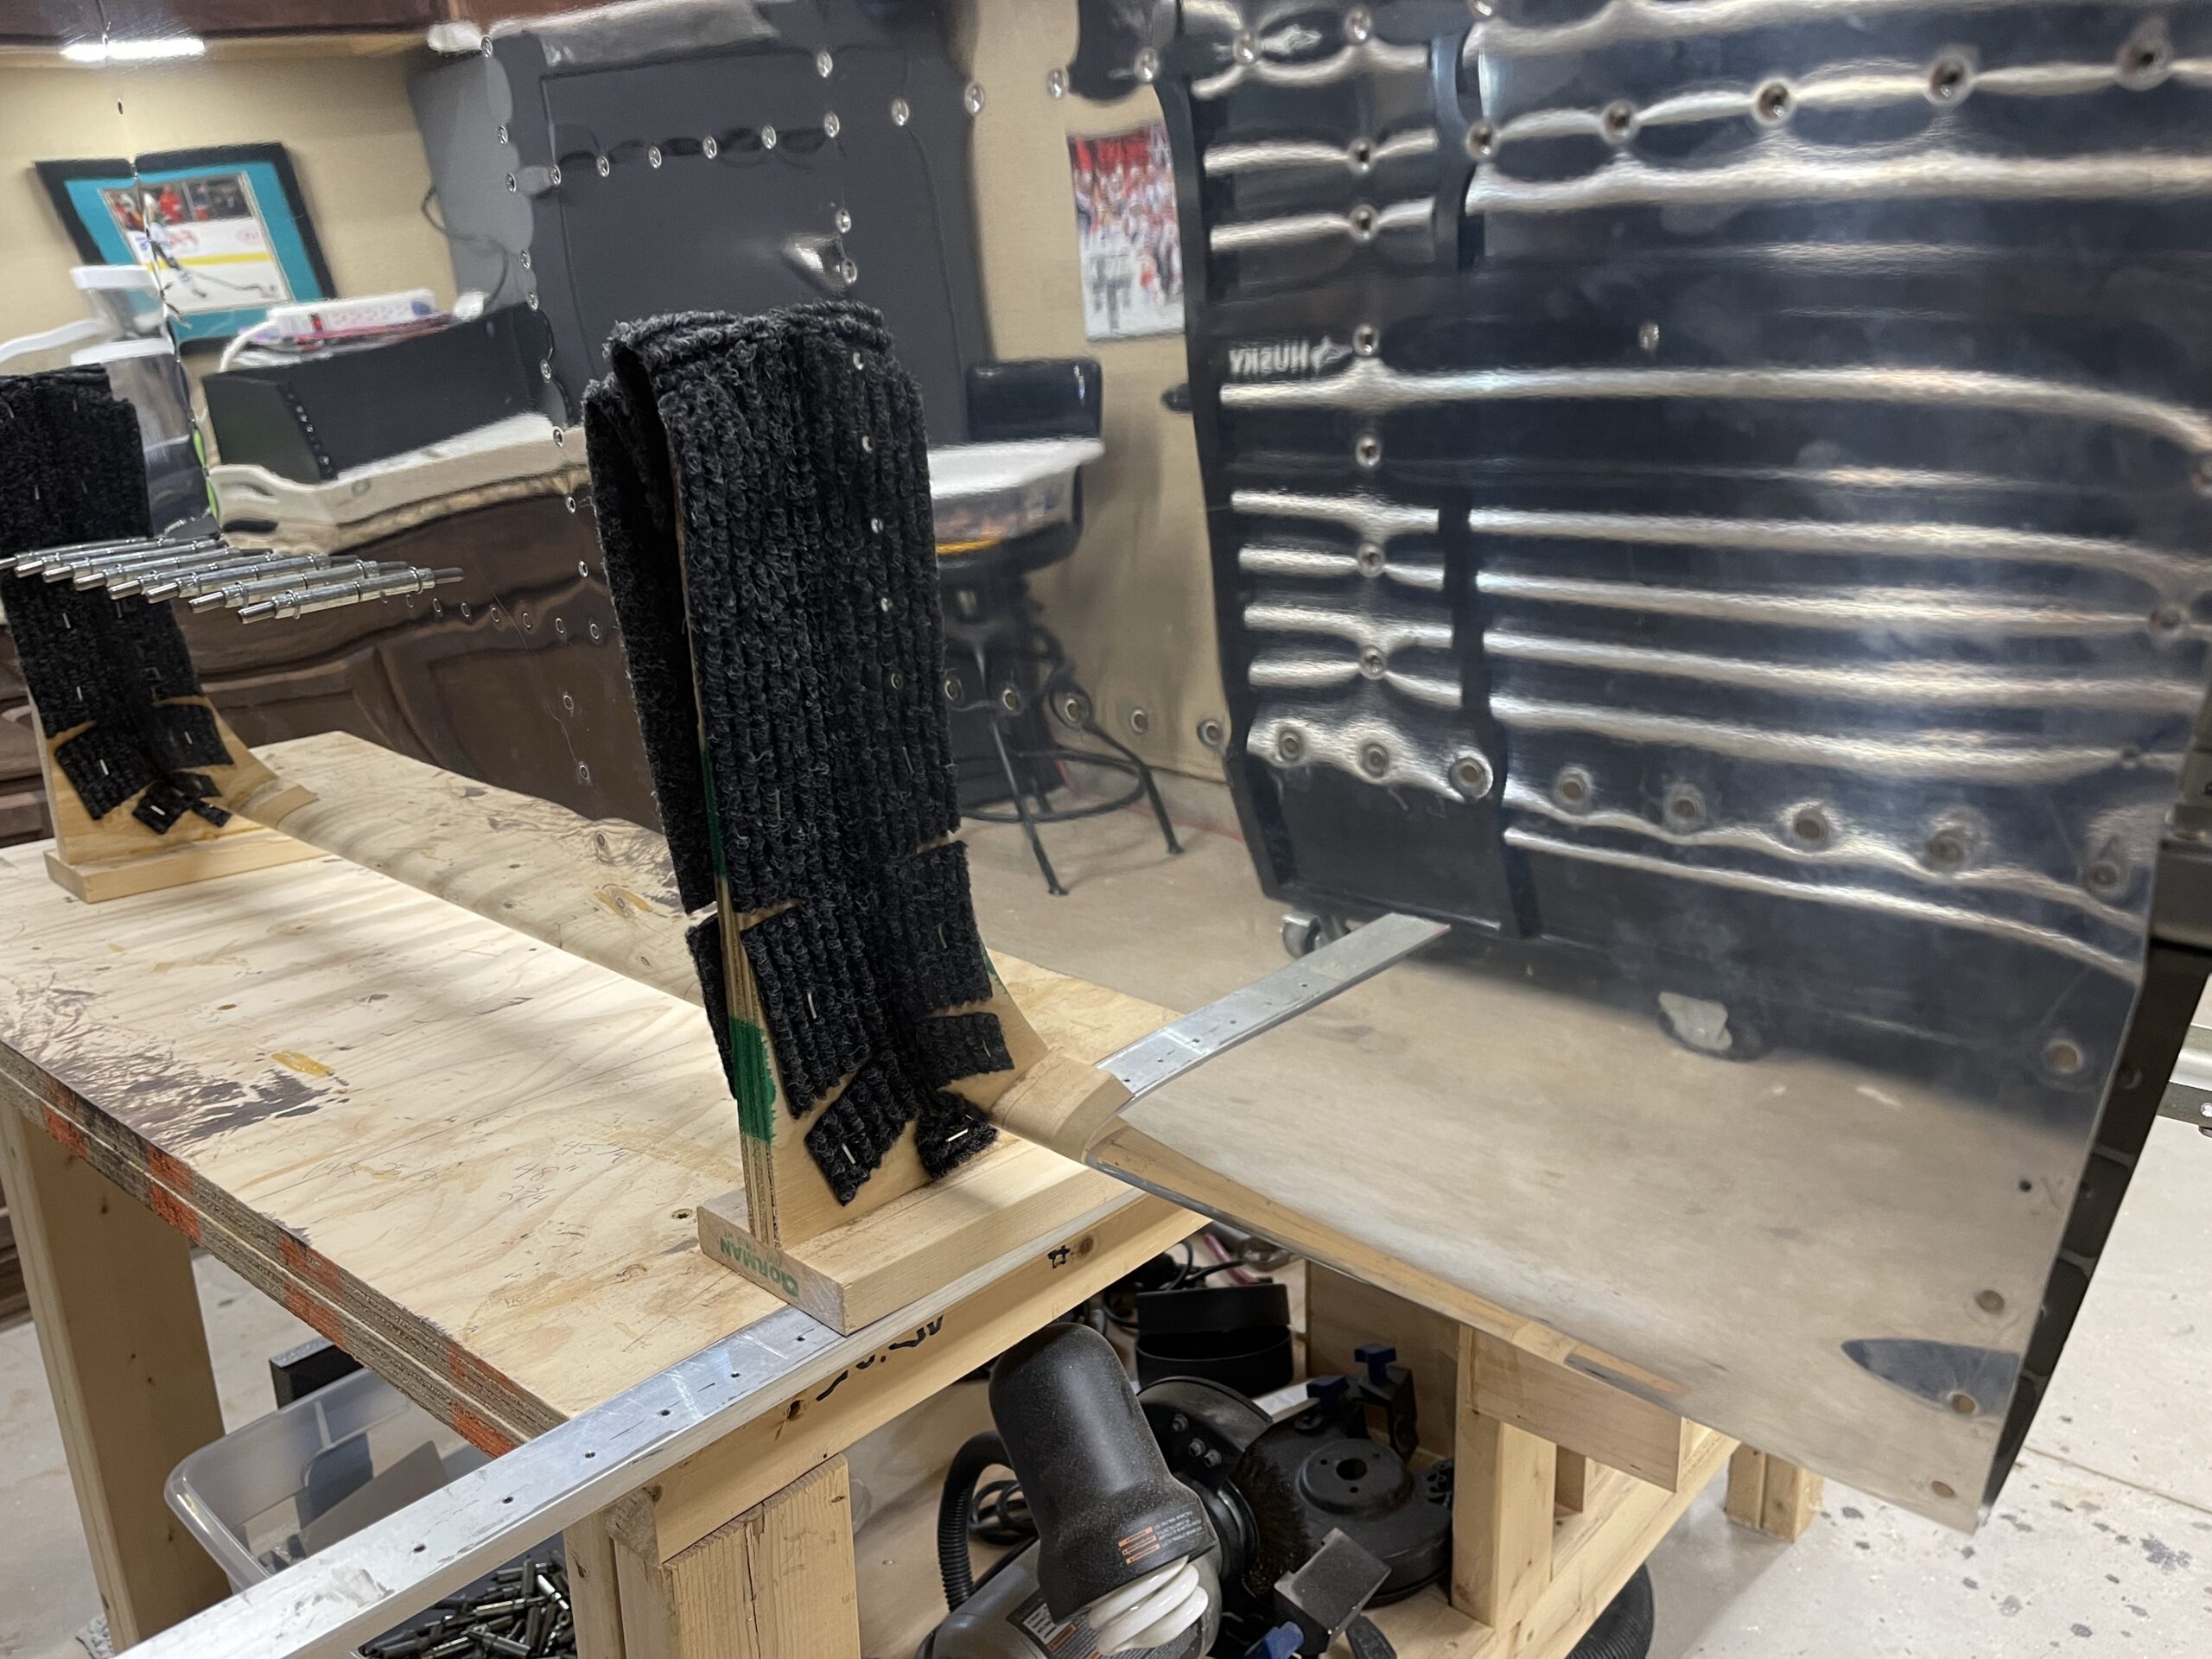
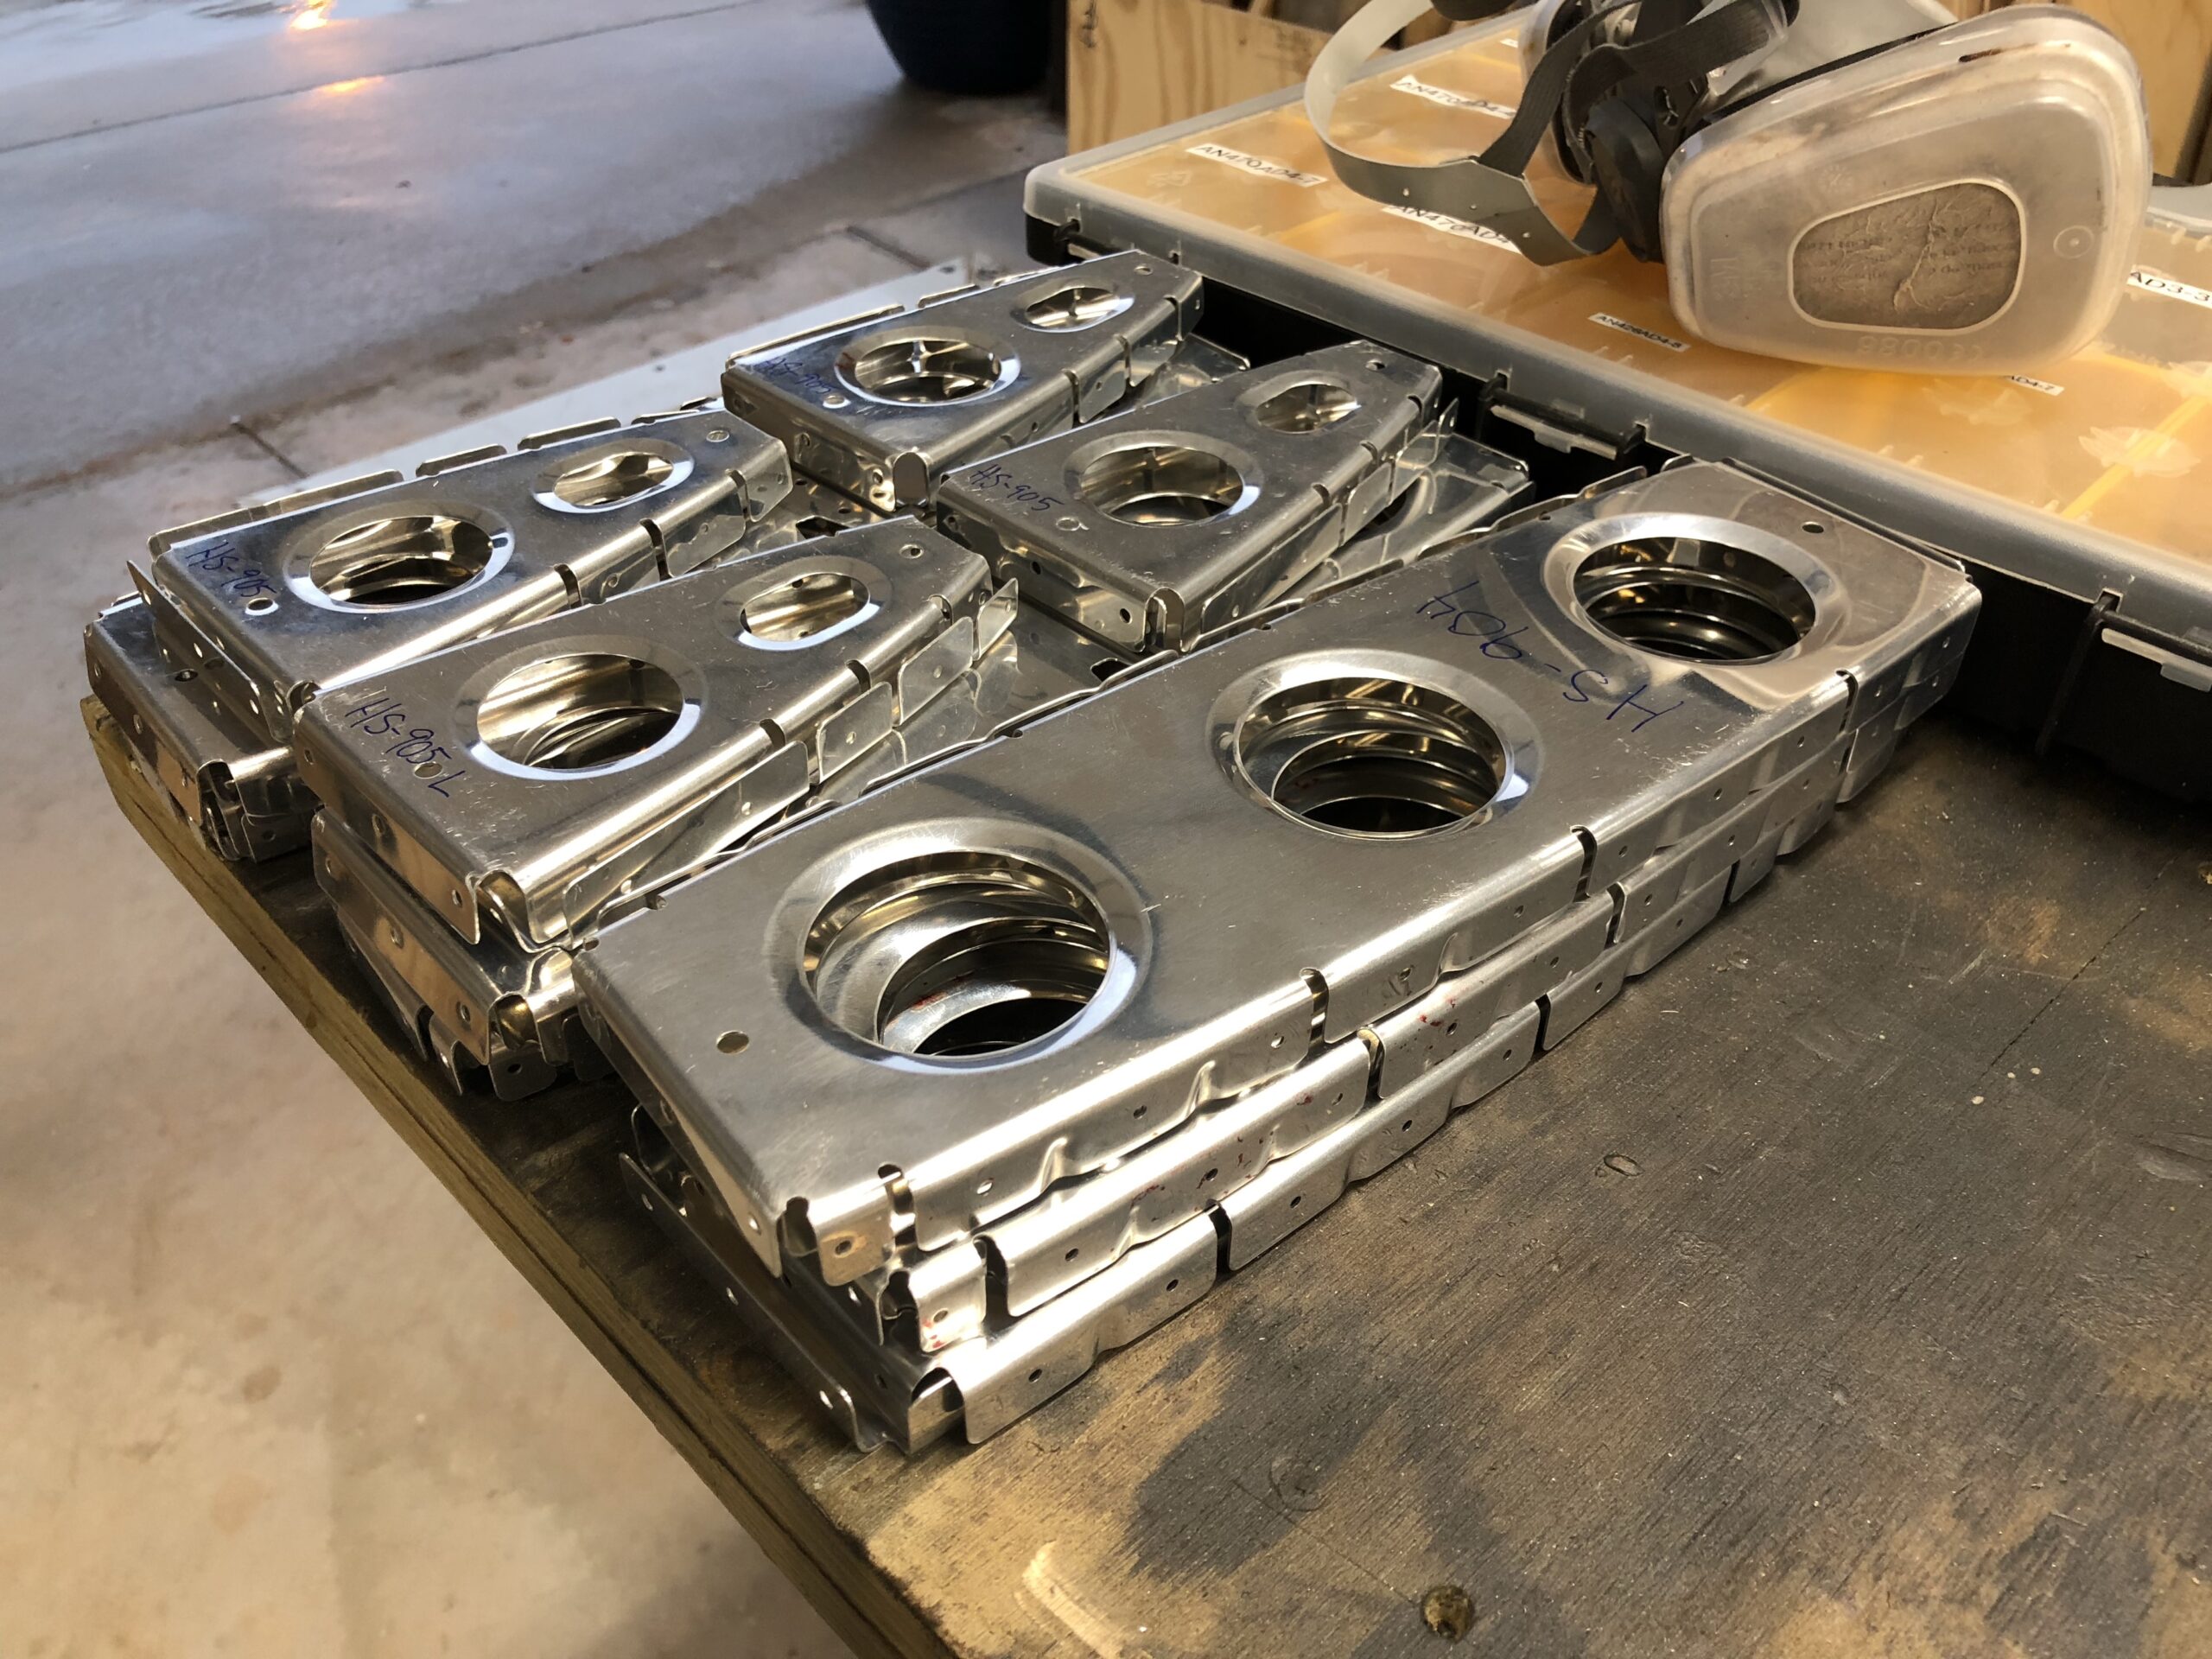
I got quite quite a bit of clecoing done today as well as a little bit of the match drilling. The coolest part was doing the tab bends on the E-1001A & B skins. Using the mushroom bit in the rivet gun worked like a champ on getting those bends nice and clean. I did learn that it is best that your work surface have a hard edge to it. My work bench has a bit of a rounded edge so I put a piece of wood that still had a sharp 90 degree edge on it at the end of the bench to clamp the skins onto. That made this function a lot better. I did get one of the tabs off slightly due to the skin slipping some and me not noticing it. We will see how much that affects it down the road. I might have to re-bend that but not sure how well this alclad aluminum will take re-bending.
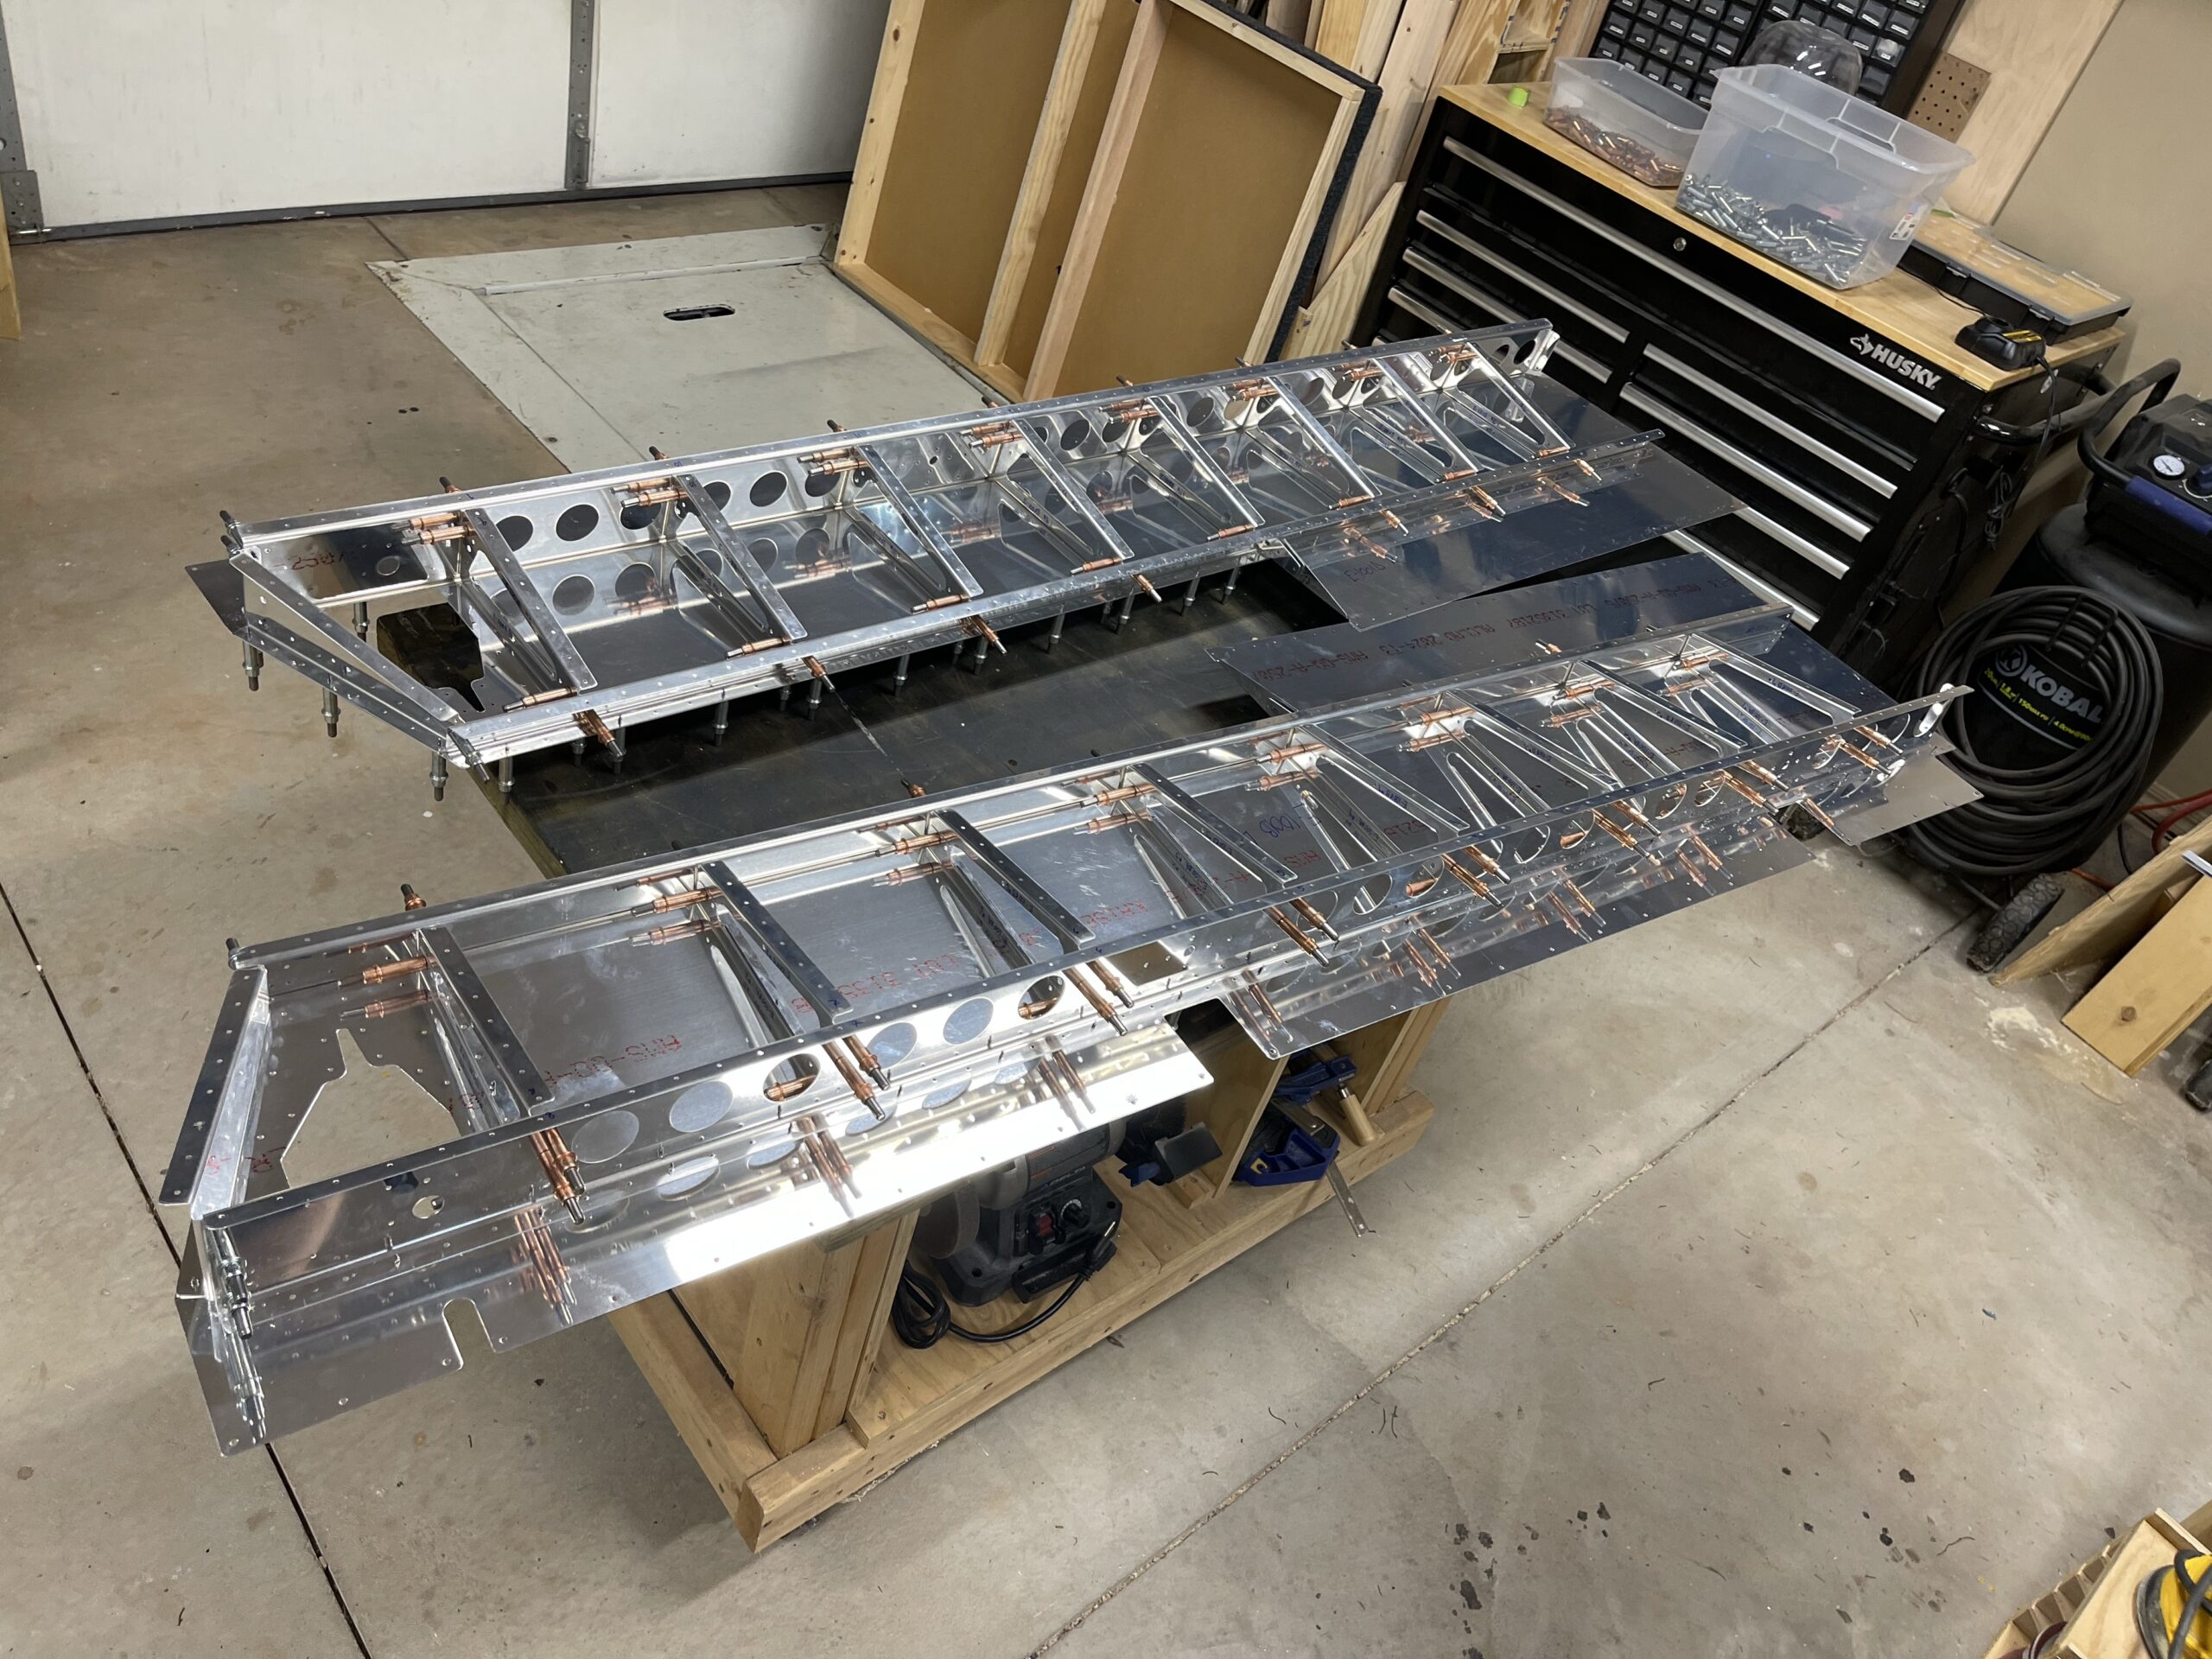
This is the right elevator. It is slightly further in than they expectedThis is the left elevator. It is even further in than they wanted it to be. I even measured these but while I was bending it it must have slipped some.The Left Elevator trim tab reinforcement panel clecoed in placeRight Elevator trim tab reinforcement plate in placeThe two assemblies together and ready for match drilling tomorrow
I spent quite a bit of time going through and deburring all of the elevator pieces minus the large skin edges. That took the most time out of all of this. I then worked on the 903 and 904 pieces to get them straight and level. Mine came pre-fluted but I ended up having to remove the majority of what they put in as it was causing it to bow pretty bad. I then assembled everything and I’ll do the match drilling tomorrow. My ribs for the elevator were already final sized, but the 903 and 904 ribs were not, so that I will finish tomorrow after we’re done shopping for Black Friday.
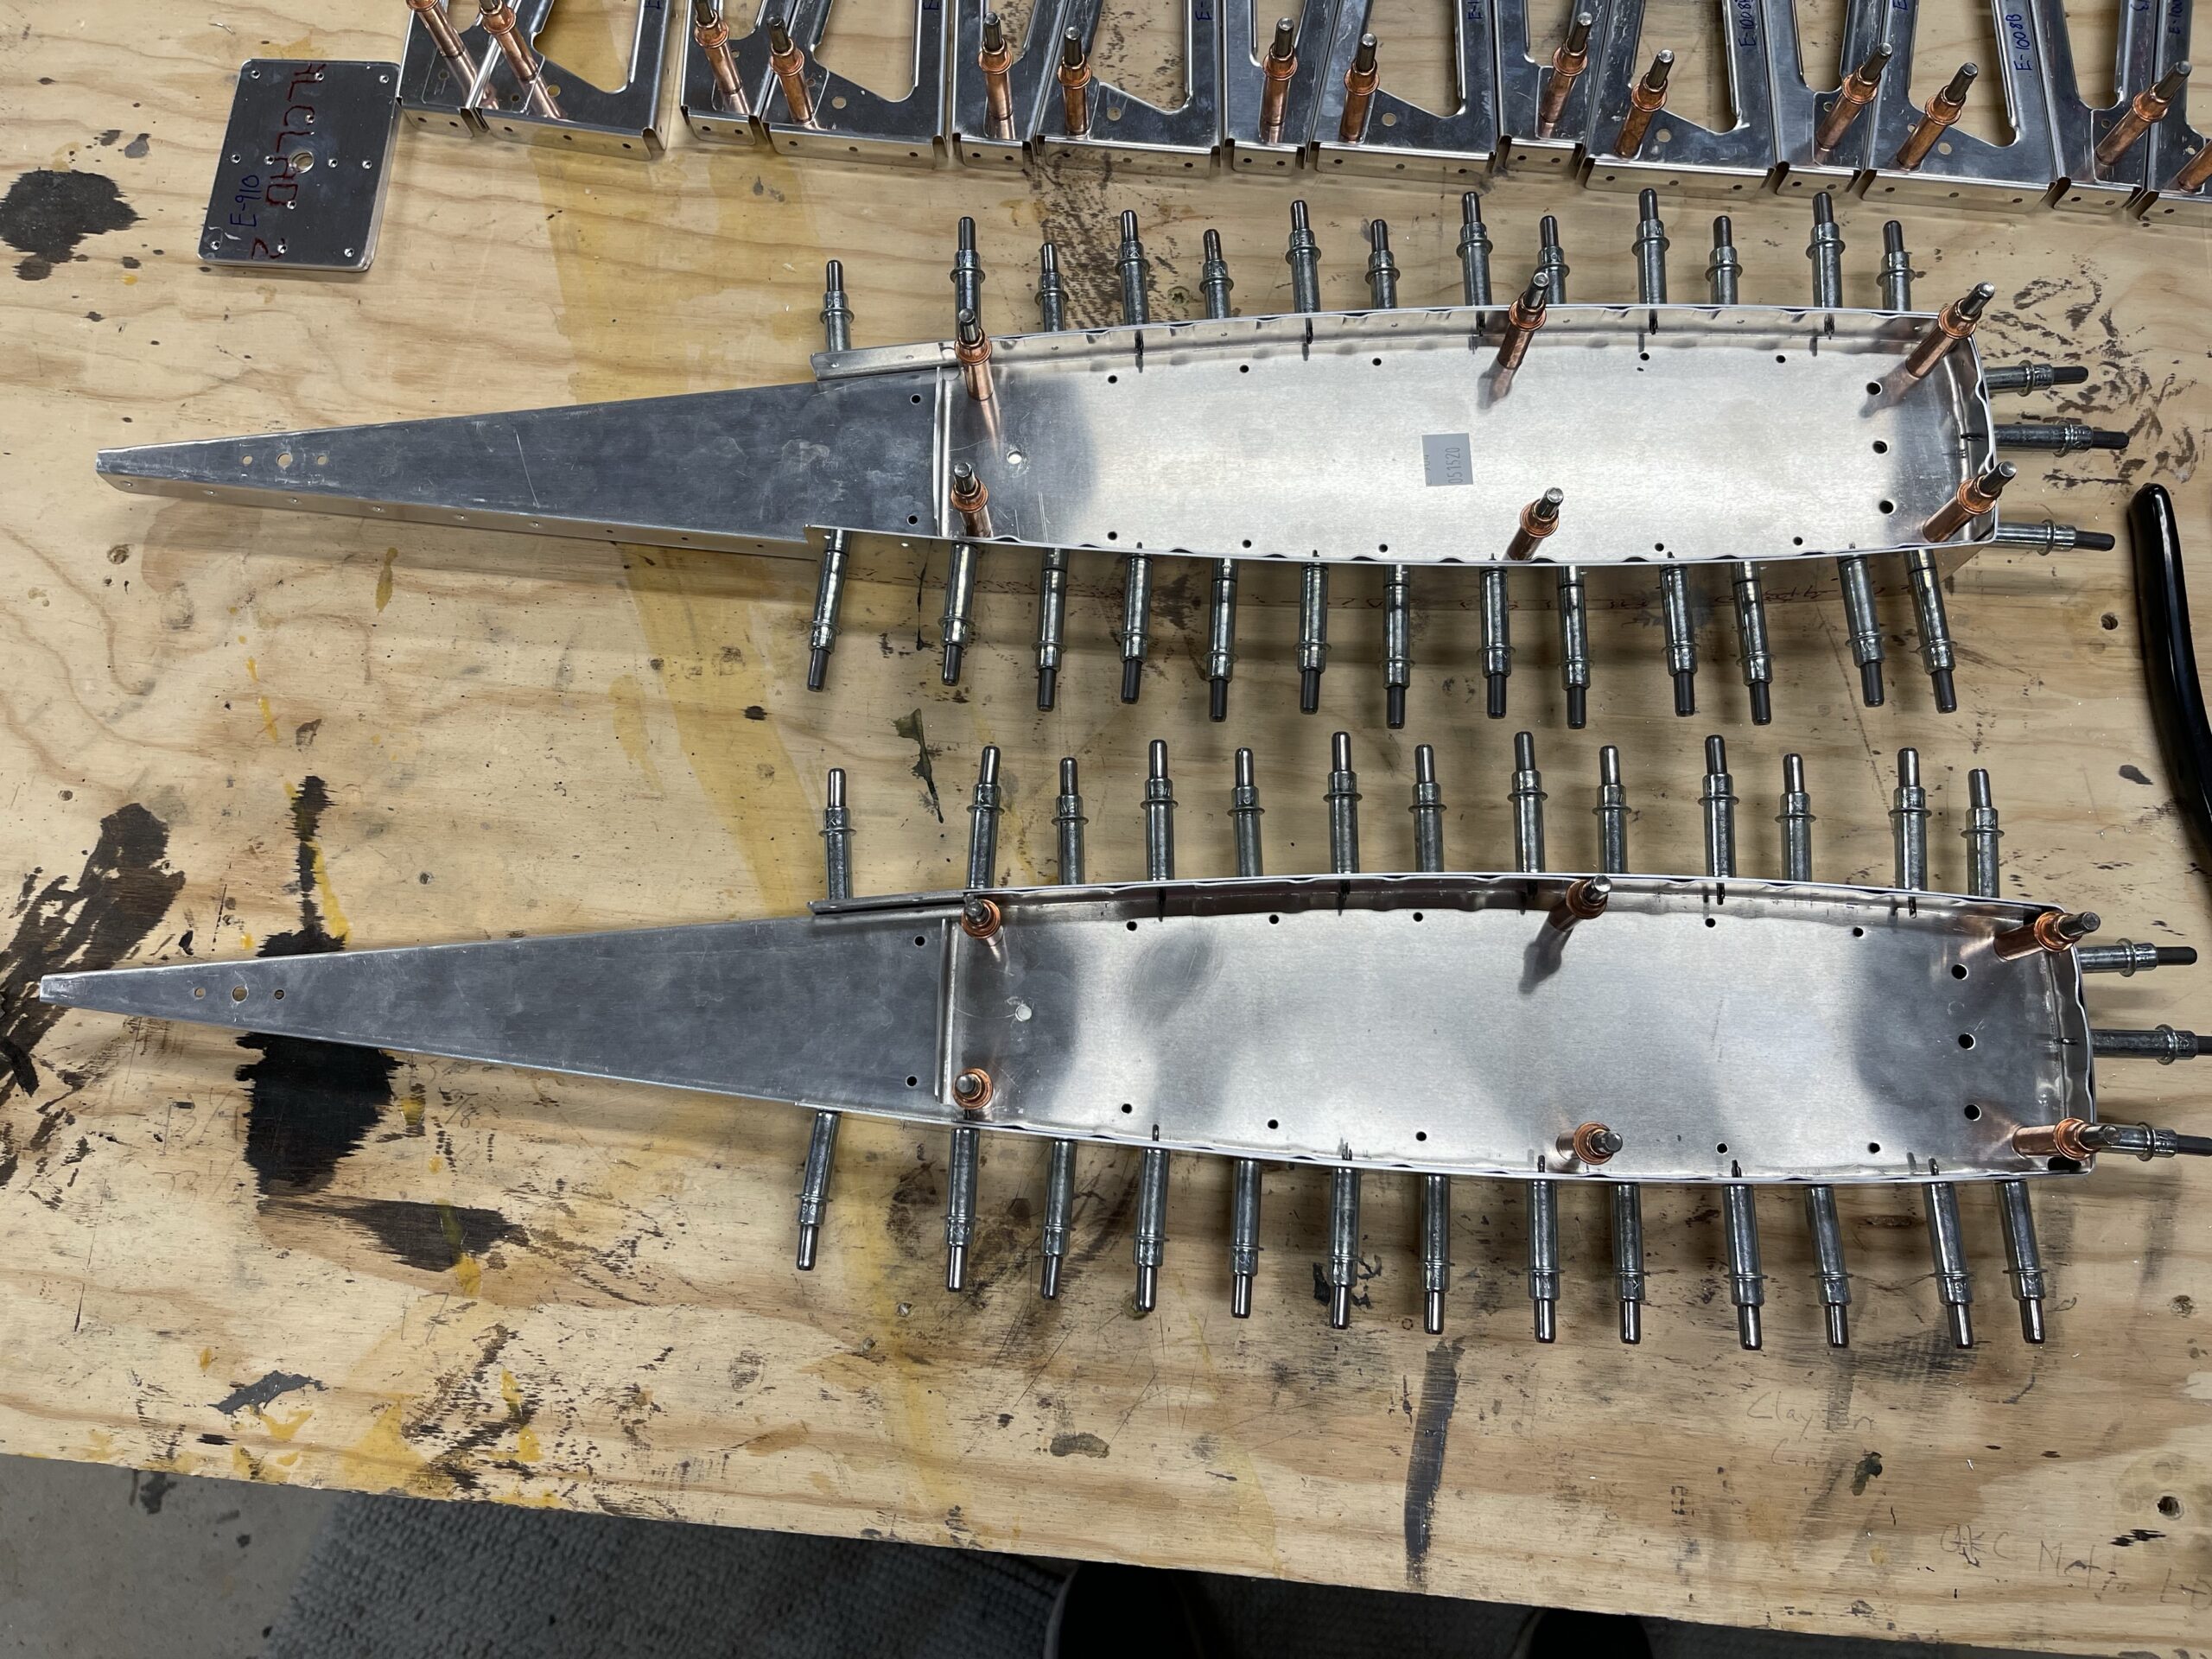
The deburring station after I was done. Aluminum dust everywhere!The ribs all clecoed together. They didn’t need match drilling though as the #30 drill went through without removing any materialThe assembled elevator ends. I’ll have to match drill these tomorrow
My son and I found all of the elevator parts in the attic and brought them down to start working on them. I’m not including the searching and inventory time in yesterday’s work. We got all of the protective plastic off of them and I cut the ribs per the instructions. The band saw made quick work of them, but it tends to leave them pretty jagged. I ran all of them through the initial deburring on the wheel and tomorrow I will finish the deburring with the Dremel so that I can get into the tighter areas.
Brendon helping me remove the protective plasticReady for cutting!Tool of choice! Not the best bandsaw in the world if you ask me, but it gets the job done.All cut and ready for deburring
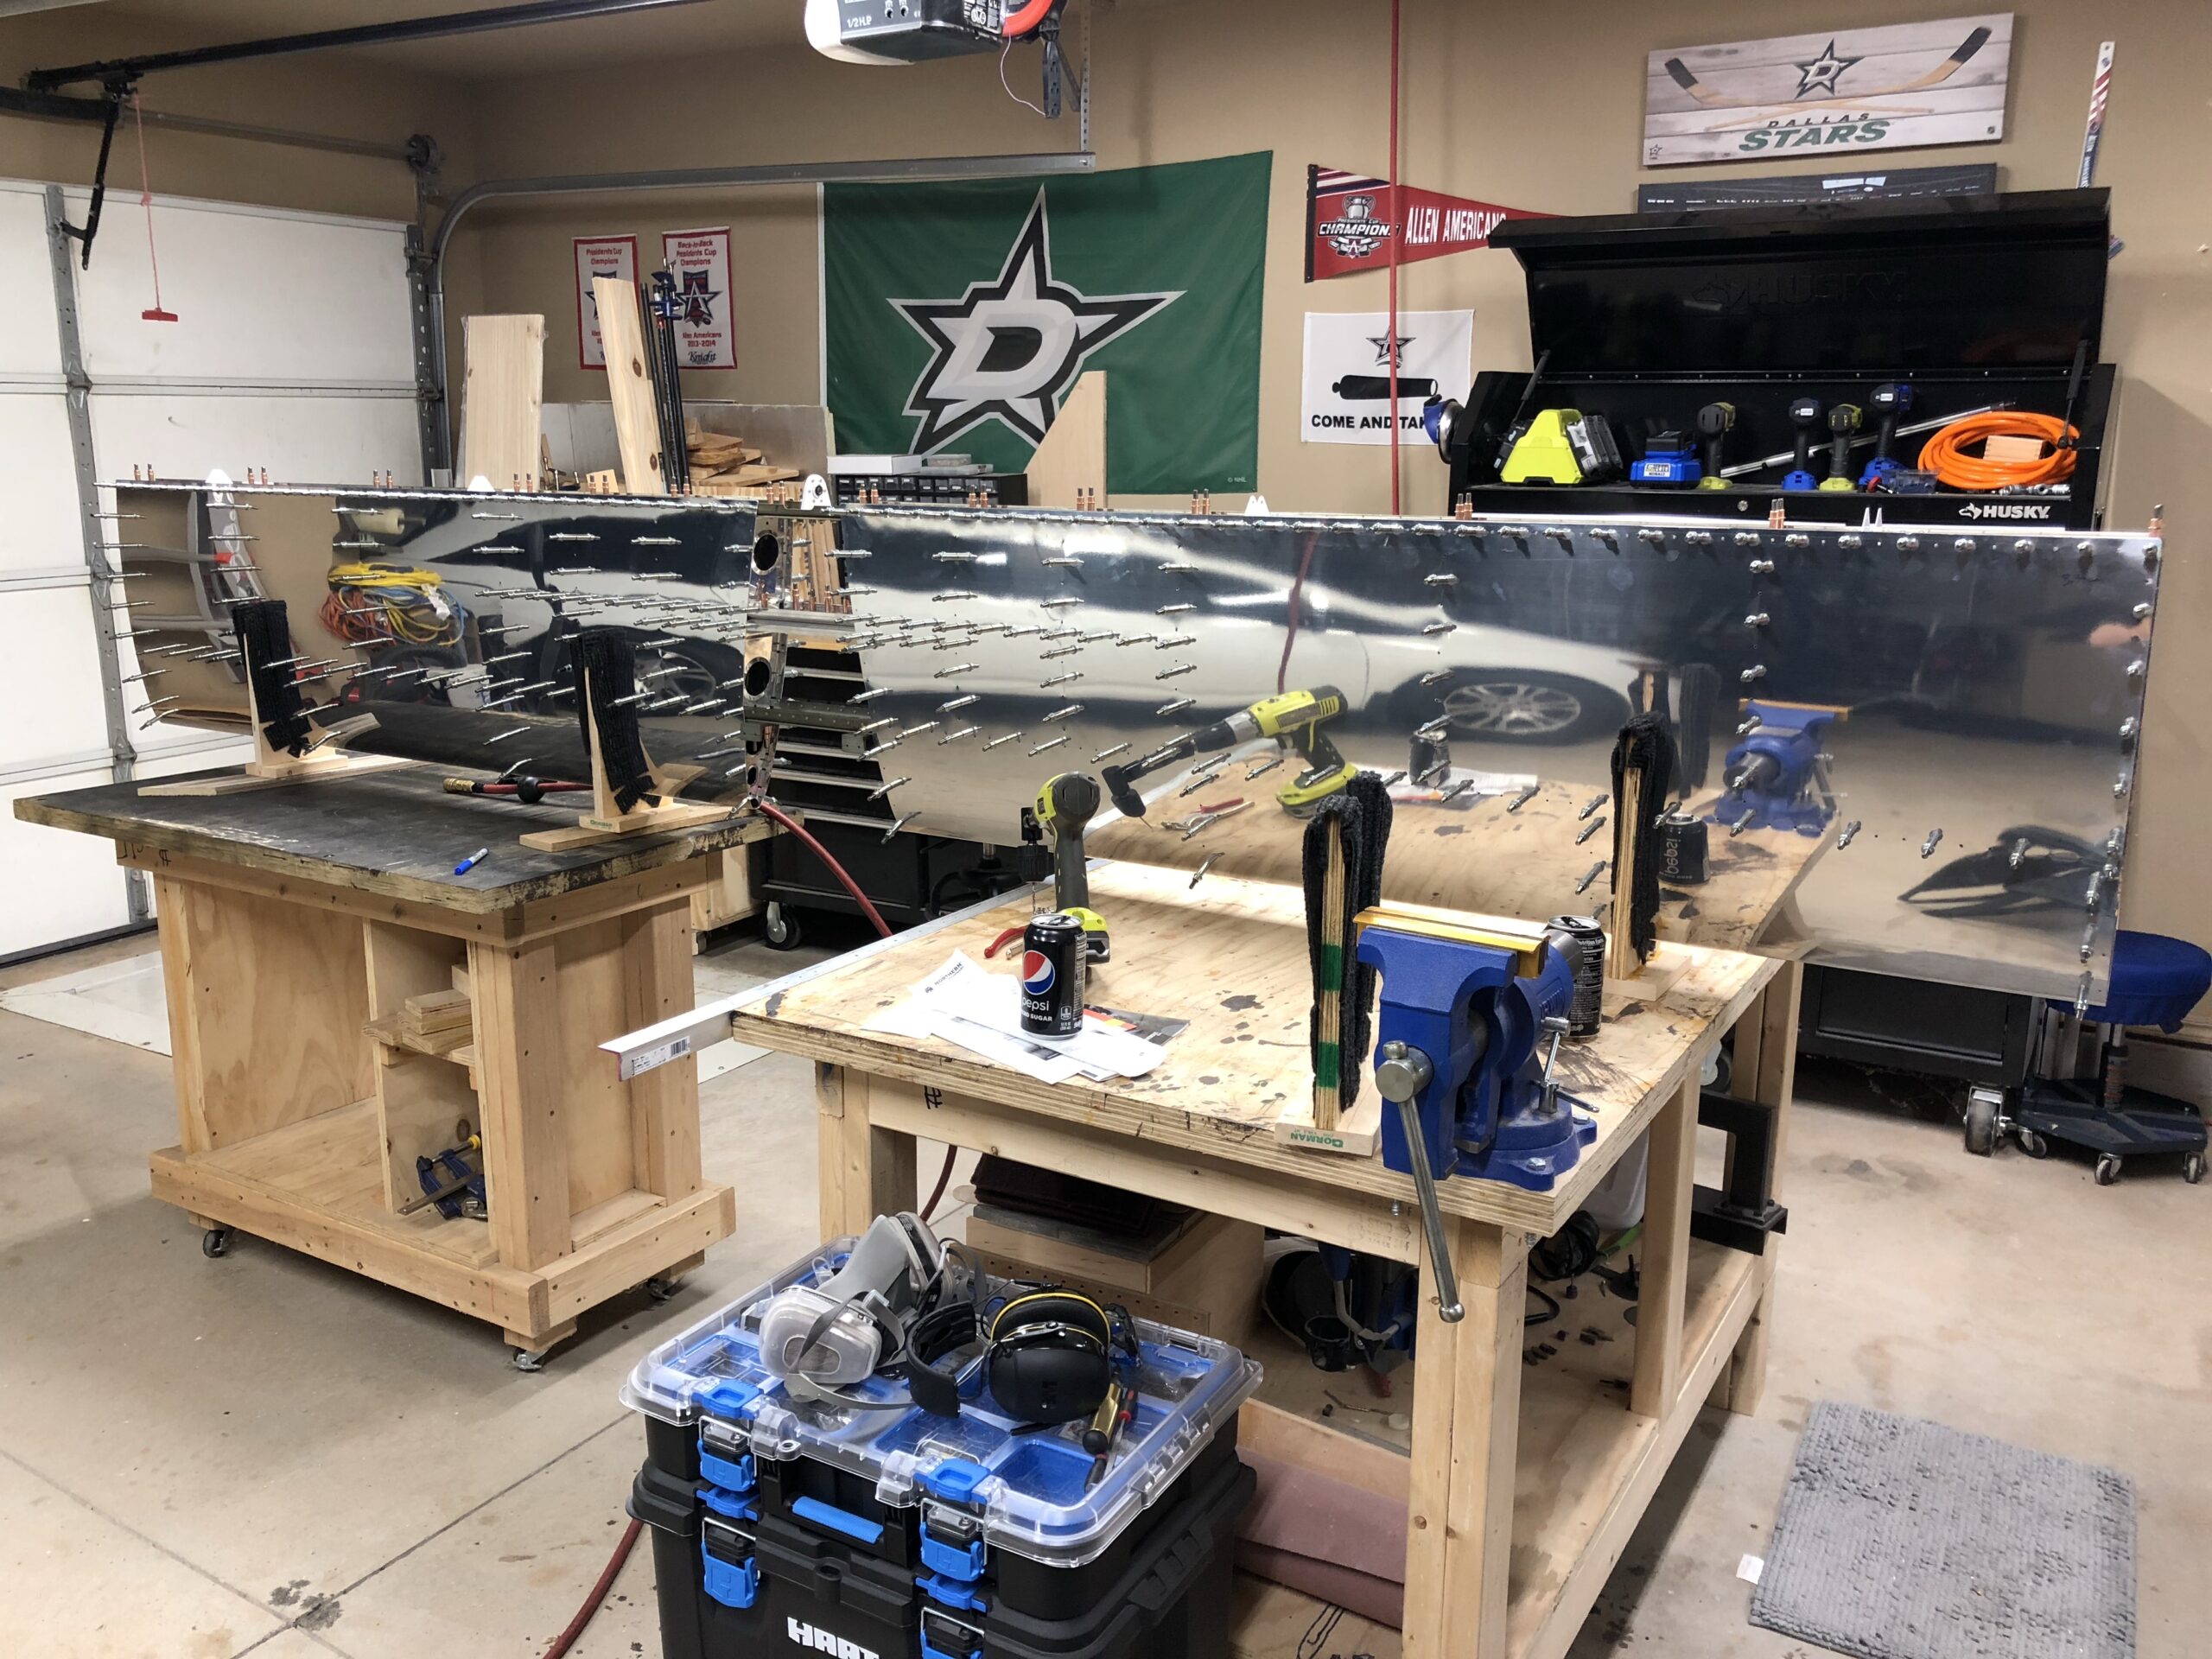
Oh man, this was a TON of riveting. My previous sections didn’t have this many rivets, but it was very rewarding! After I got caught up and then some on Friday after work, I really dug in all day Saturday and a little bit on Sunday. This was all riveting the entire time, starting from the front spar, to the stringers, to the skin outwards and then finally to the rear spar. It was really fun and there were a few things I learned along the way.
The main issue I encountered was when I was going to rivet the LP4-3 blind rivets for the rear spar to the mid ribs. The middle rivet was fine, but the outside ones were too close to the flange for me to get a straight shot with the rivet guns I had. I decided to keep moving and deal with it later. When I opened the drawer to get another tool, I saw the dies for the blind dimpling tool. I realized that if I stacked then together, I could then create enough space to get my riveting gun in there!
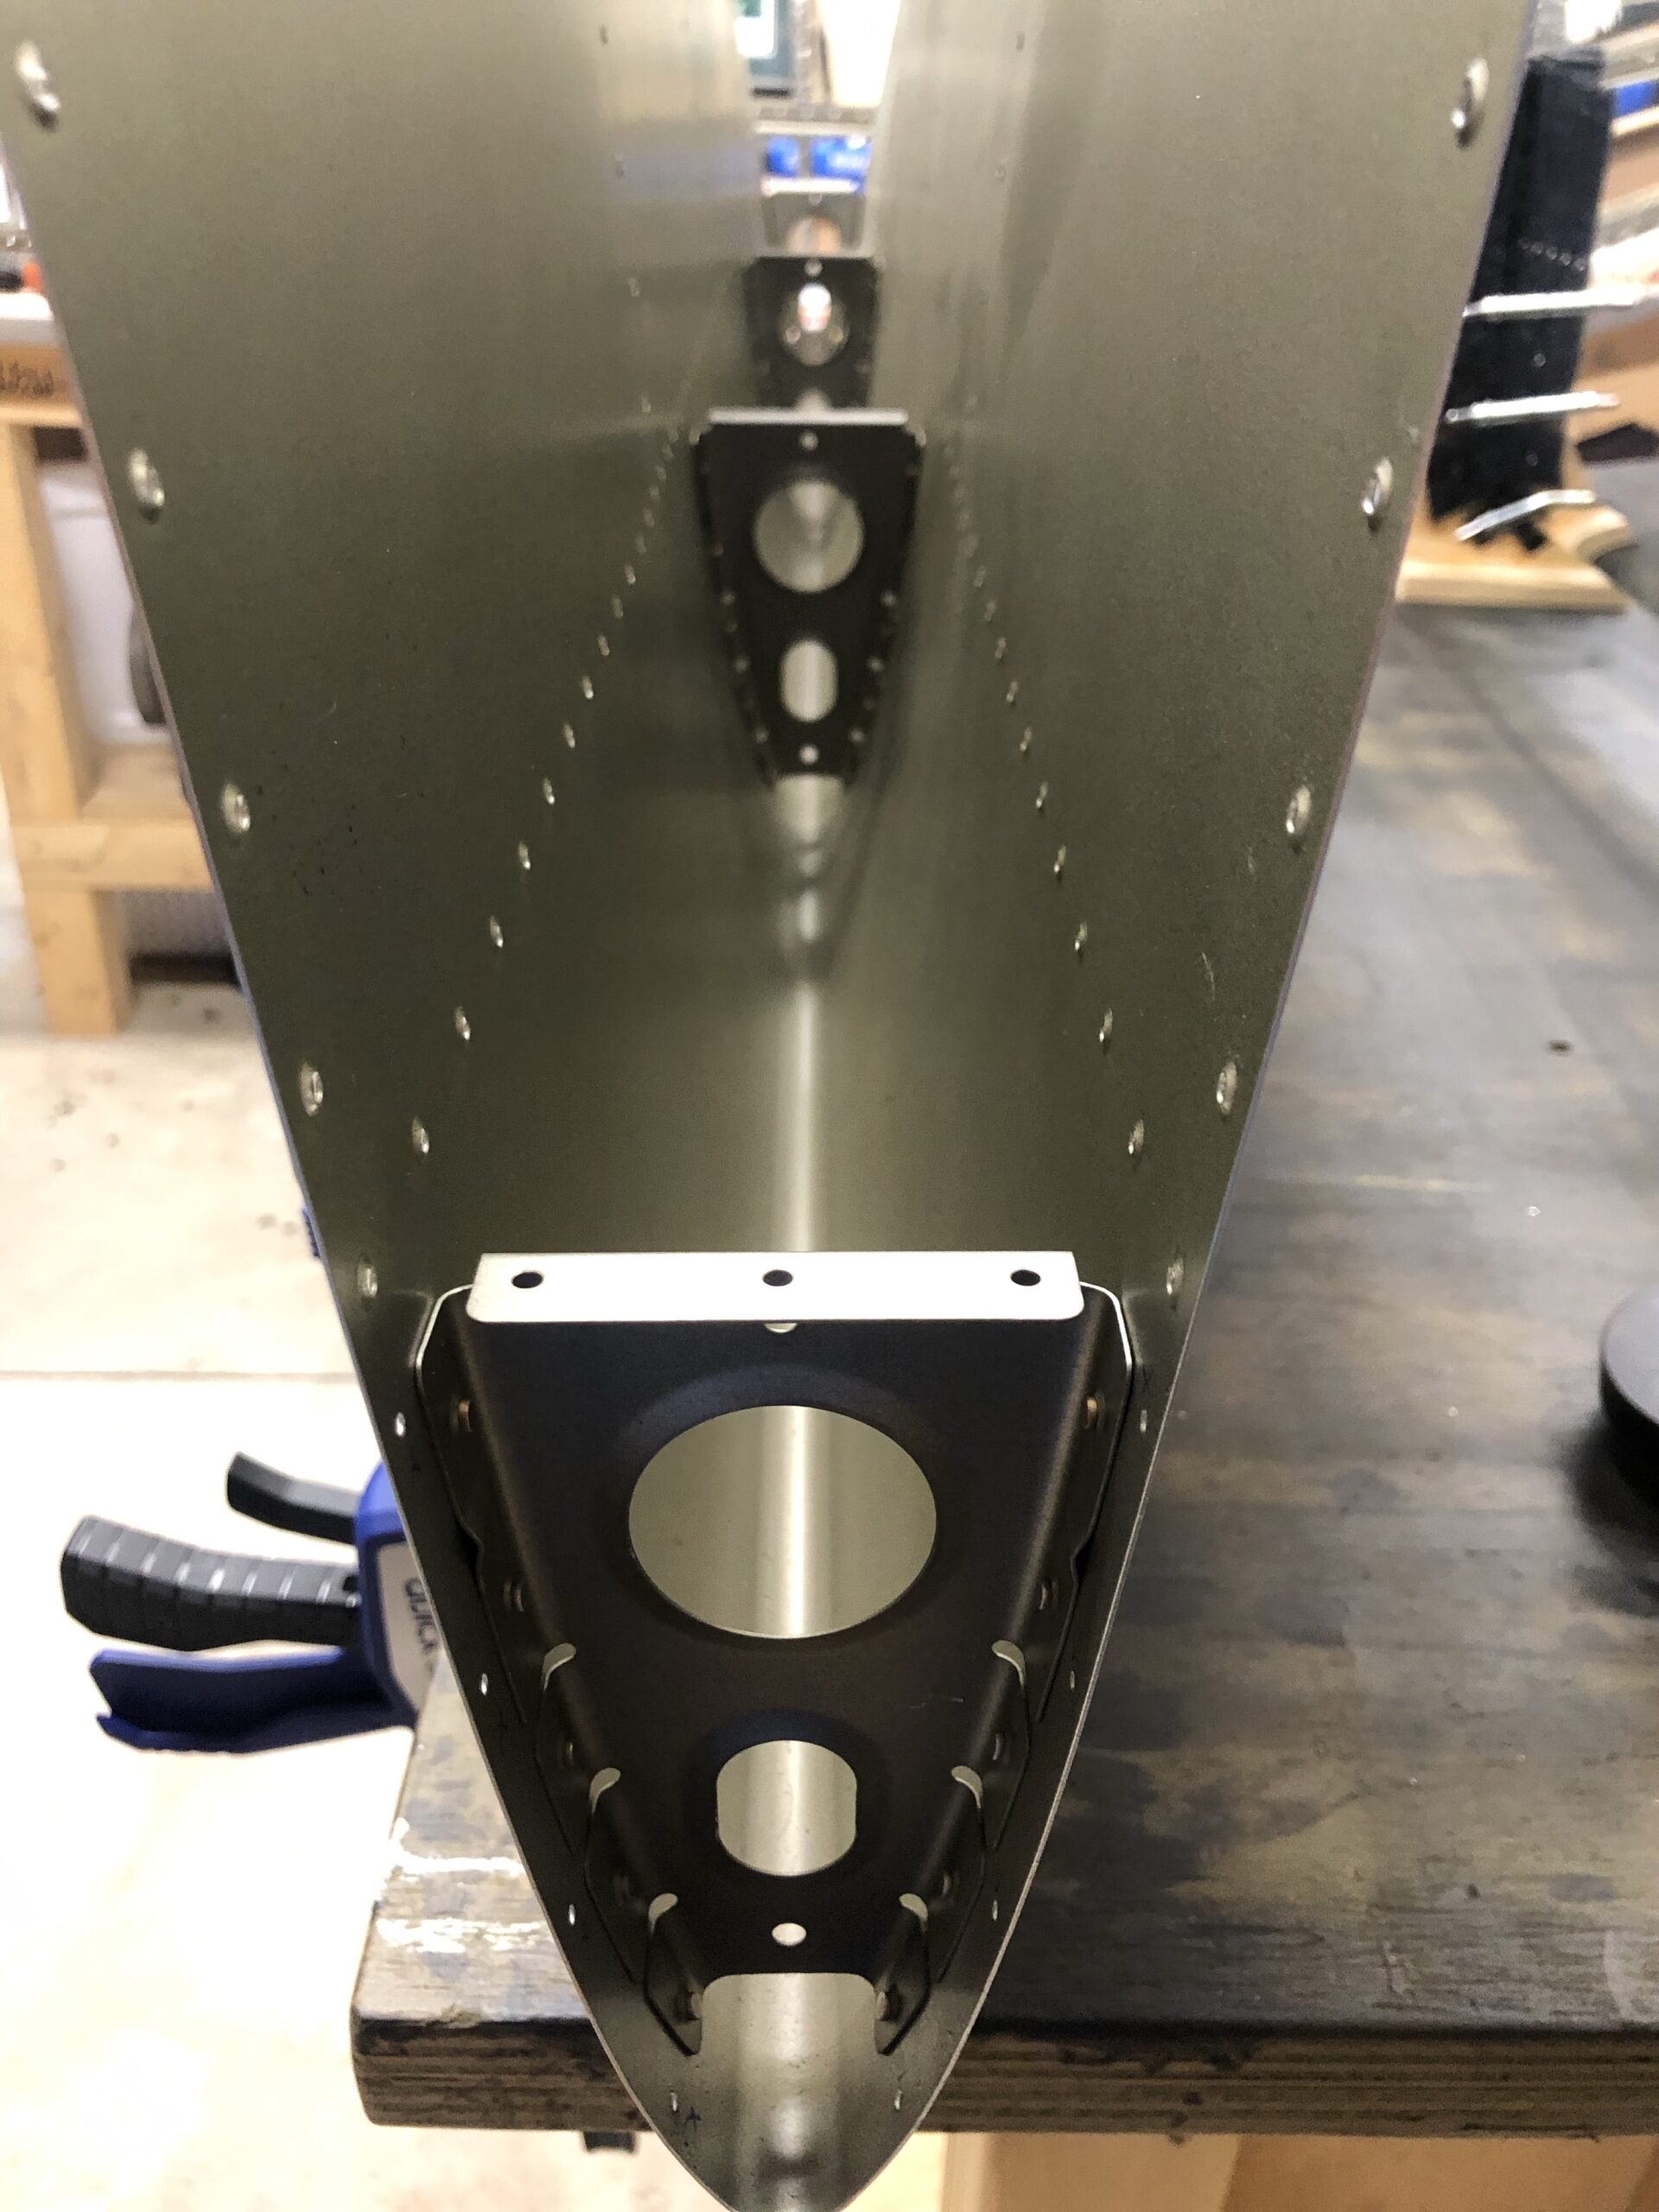
A side view of the issue I was encountering. The rivet gun was cocked to the side against the flange instead of being straight on against the spar webbingThe solution setup on the gunThe dies providing me with enough elevation to get above the flangeThe front spar, stringers, and inside mid ribs all riveted before I took a break to take Andrew to his guitar lessonAll of the mid ribs have been riveted! I took a break to get some sleep and go to church super early the next dayThe finished product! I decided to take a few hours Sunday night to finish it up. I was too excited!
I was super exhausted after working on this so much on Friday and Saturday. I spent a total of 15 hours and 15 minutes on it this weekend to wrap it up. I’m super excited that I’ve continued to hone my skills with this portion of the build and I’m ready to get on to the elevators! During my breaks tomorrow with work I’m going to go into the attic to gather all of the parts and bring them down to the garage.
It has been a long while since I last worked on the plane. I’ve not had much time and I probably need to see how best to use an hour here and there to do this build. I had a good three hours today (11/19/2021) so I got after it. I left this off when I riveted the nose ribs into place and got the front spar riveted. I then noticed that I did not fully rivet two nose ribs and I would have to remove the front spar to get to them again. I drilled out most of those rivets but that is where I left it in June. That was three hours worth of work there.
Fast forward to tonight and I fixed my mistake with the unriveted nose ribs and got back to where I was plus some. I got a good row of rivets done on the front spar flange to the skin. Tomorrow I will have quite a bit of time and I Hope to complete the front spar flange riveting and hopefully start on riveting the mid-rib flanges.
I did make a discovery on these two different mushroom rivet heads. The one surrounded with rubber requires quite a bit of force to seat the head to the skin. I’ve found it easier to use the standard mushroom head to get some decent looking rivets that are very flush with the skin.
Here are the results of tonight’s work.
Section of riveted front spar flange holesThe front ribs that I forgot to rivet are now done!
I did quite a bit of work over this weekend. I finished all of the deburring on Friday night (6/11/2021) and got everything ready for priming the next morning. I primed all of the parts and then while the paint cured we went and look at travel trailers with the kids. I think while I’m building this and we have more kids than we can fly in the RV-10, we will travel around the US in a travel trailer, but we are going to rent one first to see if it’s really for us. So we’ll see!
After it cured, I put together the inner rib and spar assembly and I got almost all of the nose ribs installed. I have two more nose ribs to rivet into the nose and then I can get the inner rib and spar assembly riveted in place. My biggest worry is how to rivet all of the inner rib rivets. That will be a tight area to get those rivets set so fingers crossed I can get that done without too much of a hassle.
Parts deburred and ready for priming!Me with the inner assembly and the skins with the nose ribs almost doneClose-up of the one skin with nose ribs fully setEverything waiting to go together on my next build session!
I spent the majority of this weekend getting the HS put together, final drilling the holes, and then I deburred the outside holes of the skin. I did have to order a tight quarters drilling set. I tried using a right angle drill attachment from Northern Tools but it was still too wide to get into the very corners where the HS-1015 stringer lives. So I’ll have to wait for that to arrive before I can disassemble the HS and finish the deburring. I might still move ahead to the deburring and just put the parts connected to the stringer back together, but I’m not sure though. Either way, it was really cool to see the whole thing together and to see how it is constructed!
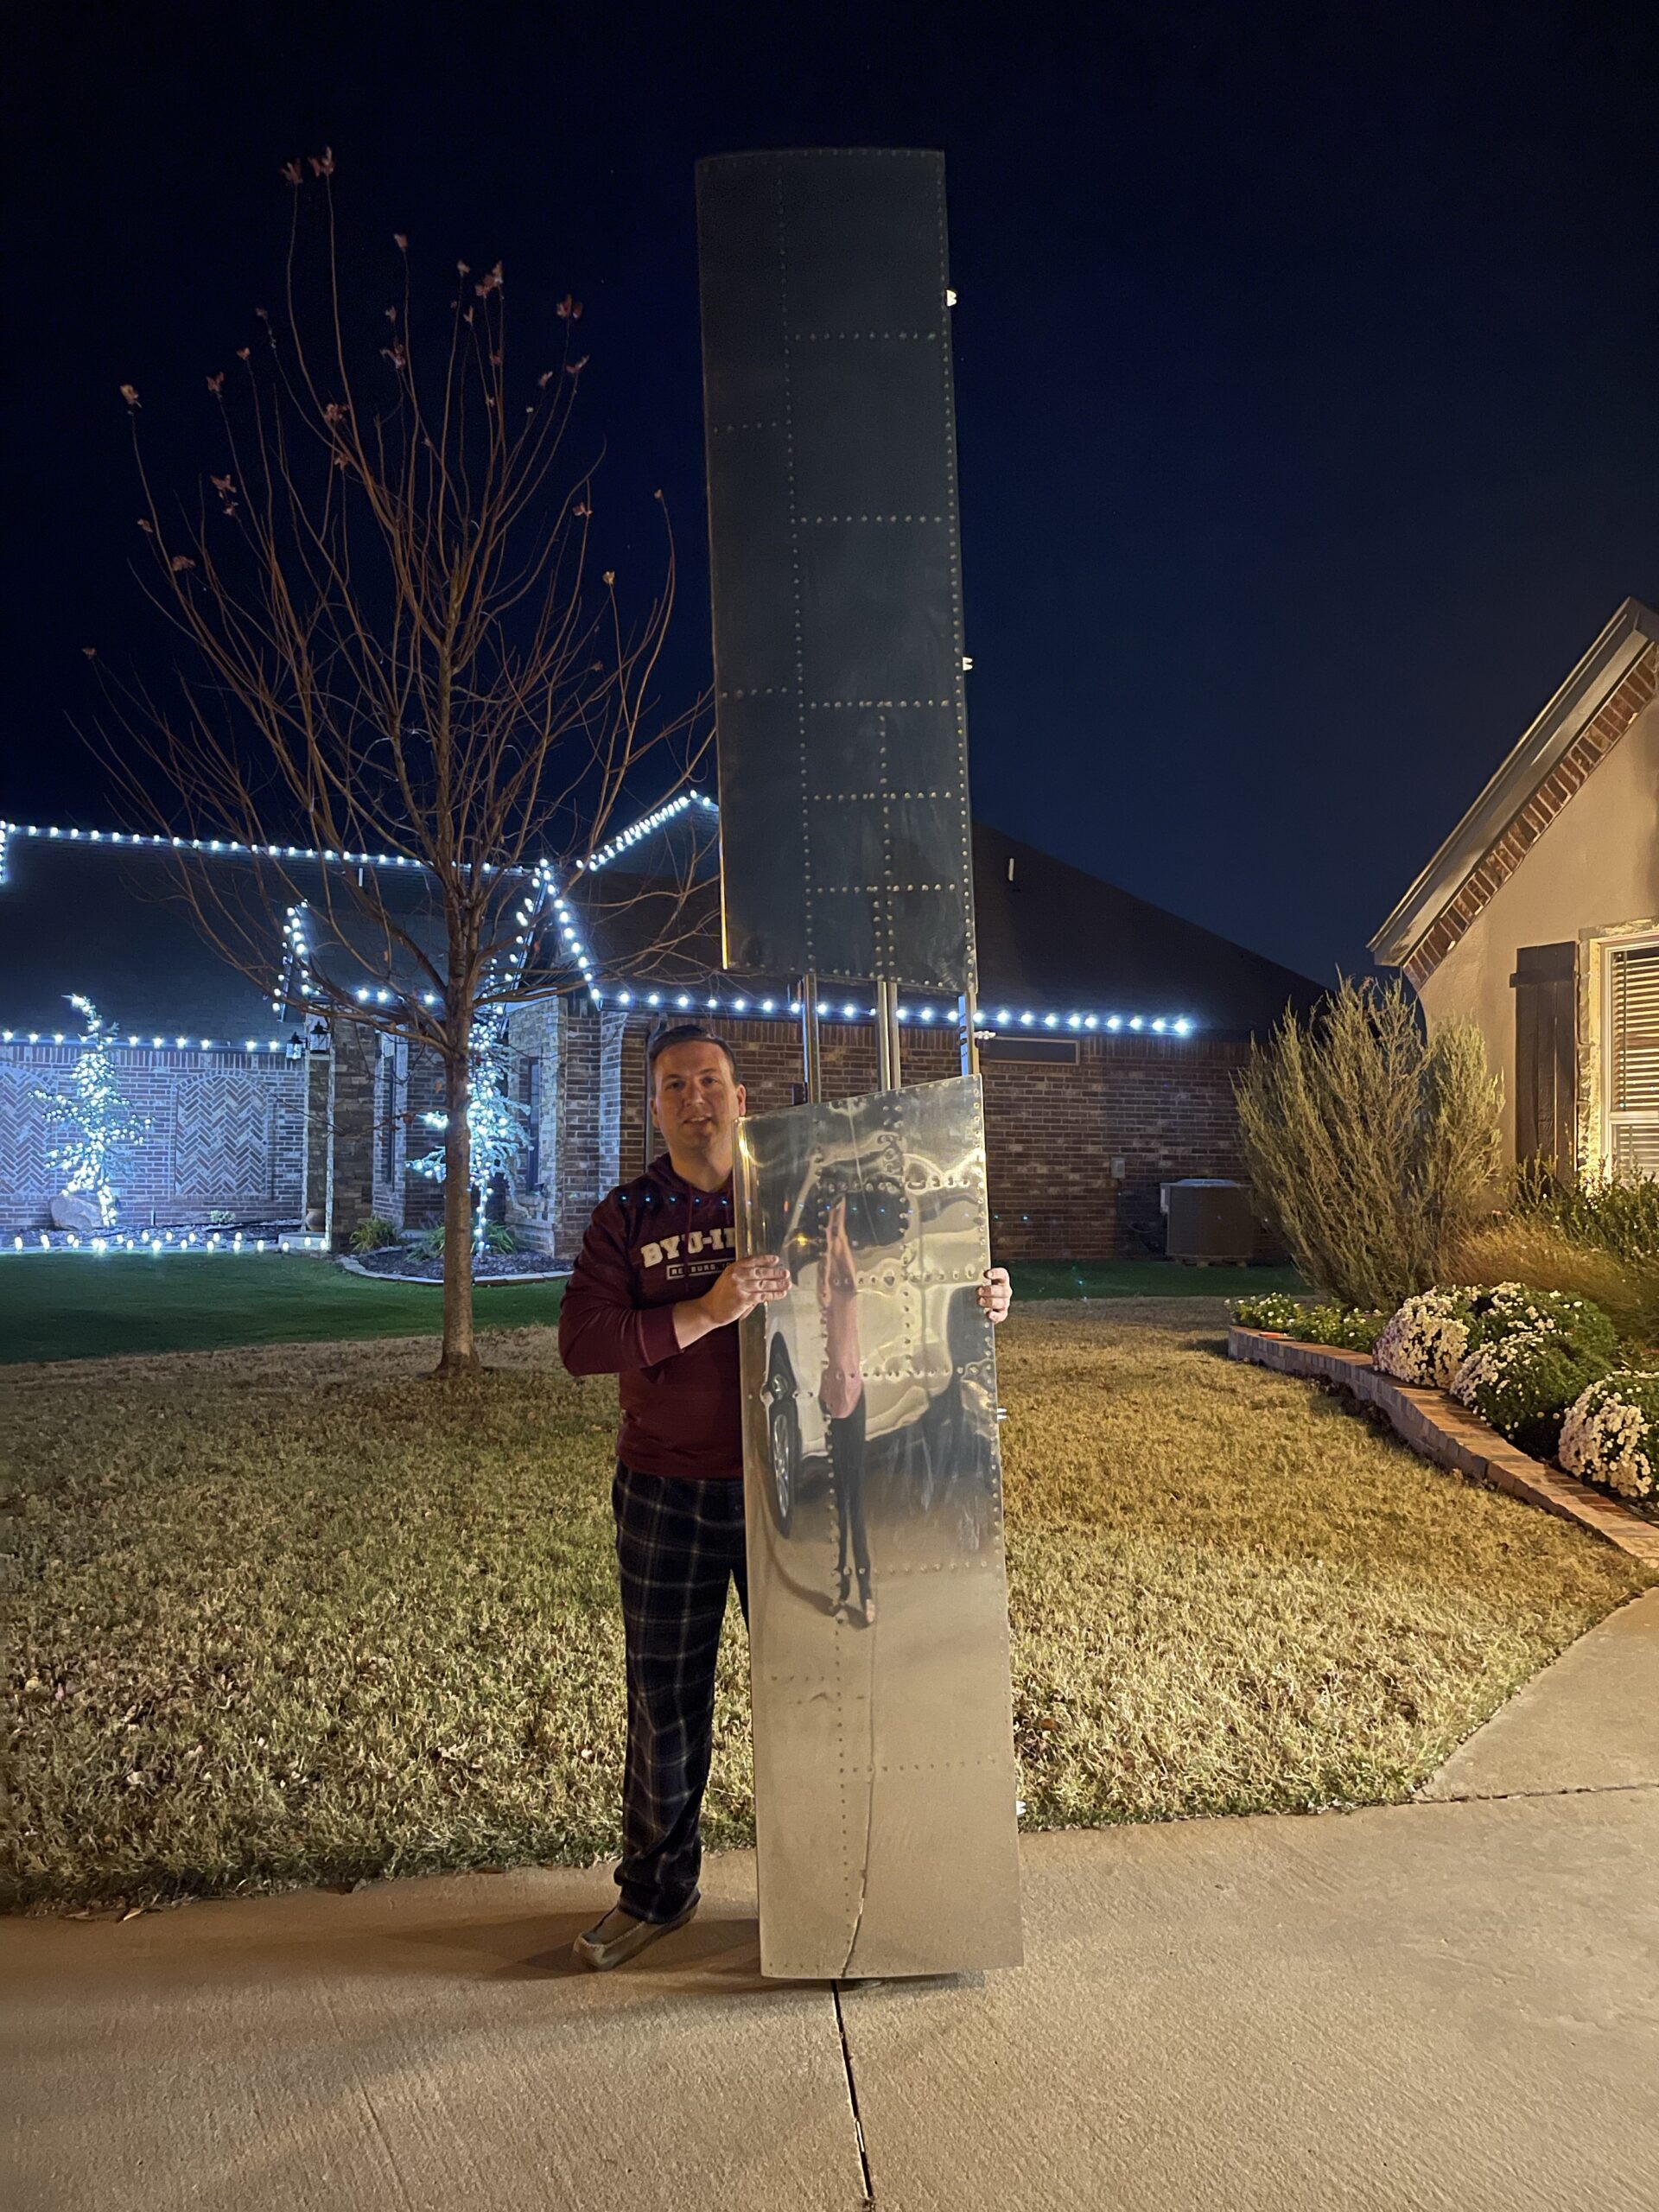
My wonderful daughter next to the skins that fit perfectly in the cradles!All of the frame together and the holes have been match drilledHalfway assembled!Fully assembled, match drilled, and the outer skin holes deburred
Tonight was all about getting prepped for my next big day of contiguous time. I’m busy the next couple of days with church activities so I wanted to get these done today so I’m ready to go next time. It wasn’t too difficult to hack these out luckily.
It was a really good Memorial Day this year. We didn’t get to go outside since it rained all day long, but we did watch the PBS Memorial Day Concert on YouTube. It definitely touches my heart to remember all of what has been sacrificed for our country to stay free. From the people who gave the ultimate sacrifice, to the medical personnel, and even those who support the war efforts from home. Every single one has given a sacrifice or time, blood, sweat, and tears. It was a really good day of reflection.
I did take some opportunity while I was watching some shows today to finish the deburring of the last parts for the HS. It didn’t mention to deburr them but I felt I might as well get it done now while I have all the deburring equipment out. It was about two hours worth of work today.
I did run across an interesting issue. In the instructions, it asks you to cut an oblong hole in two of the nose ribs for the trim cables to go through. My nose ribs already had lightening holes in them and I measure the holes and they covered the area of the oblong hole that they wanted us to cut so I’m going to guess it’s no longer required. I’ll keep searching for an answer and if not I’ll contact Van’s just to make doubly sure.
Deburred, fluted, and flanges straightened
Edit: I just realized that I had not posted my previous days of working on the deburring, fluting, and straightening of the other horizontal stabilizer ribs. I’ve added those images here and the time here as well. It took me almost 8 total hours to get all of this done due to the tight areas and the flanges.
Leading edge ribs all doneMid ribs all ready to go!
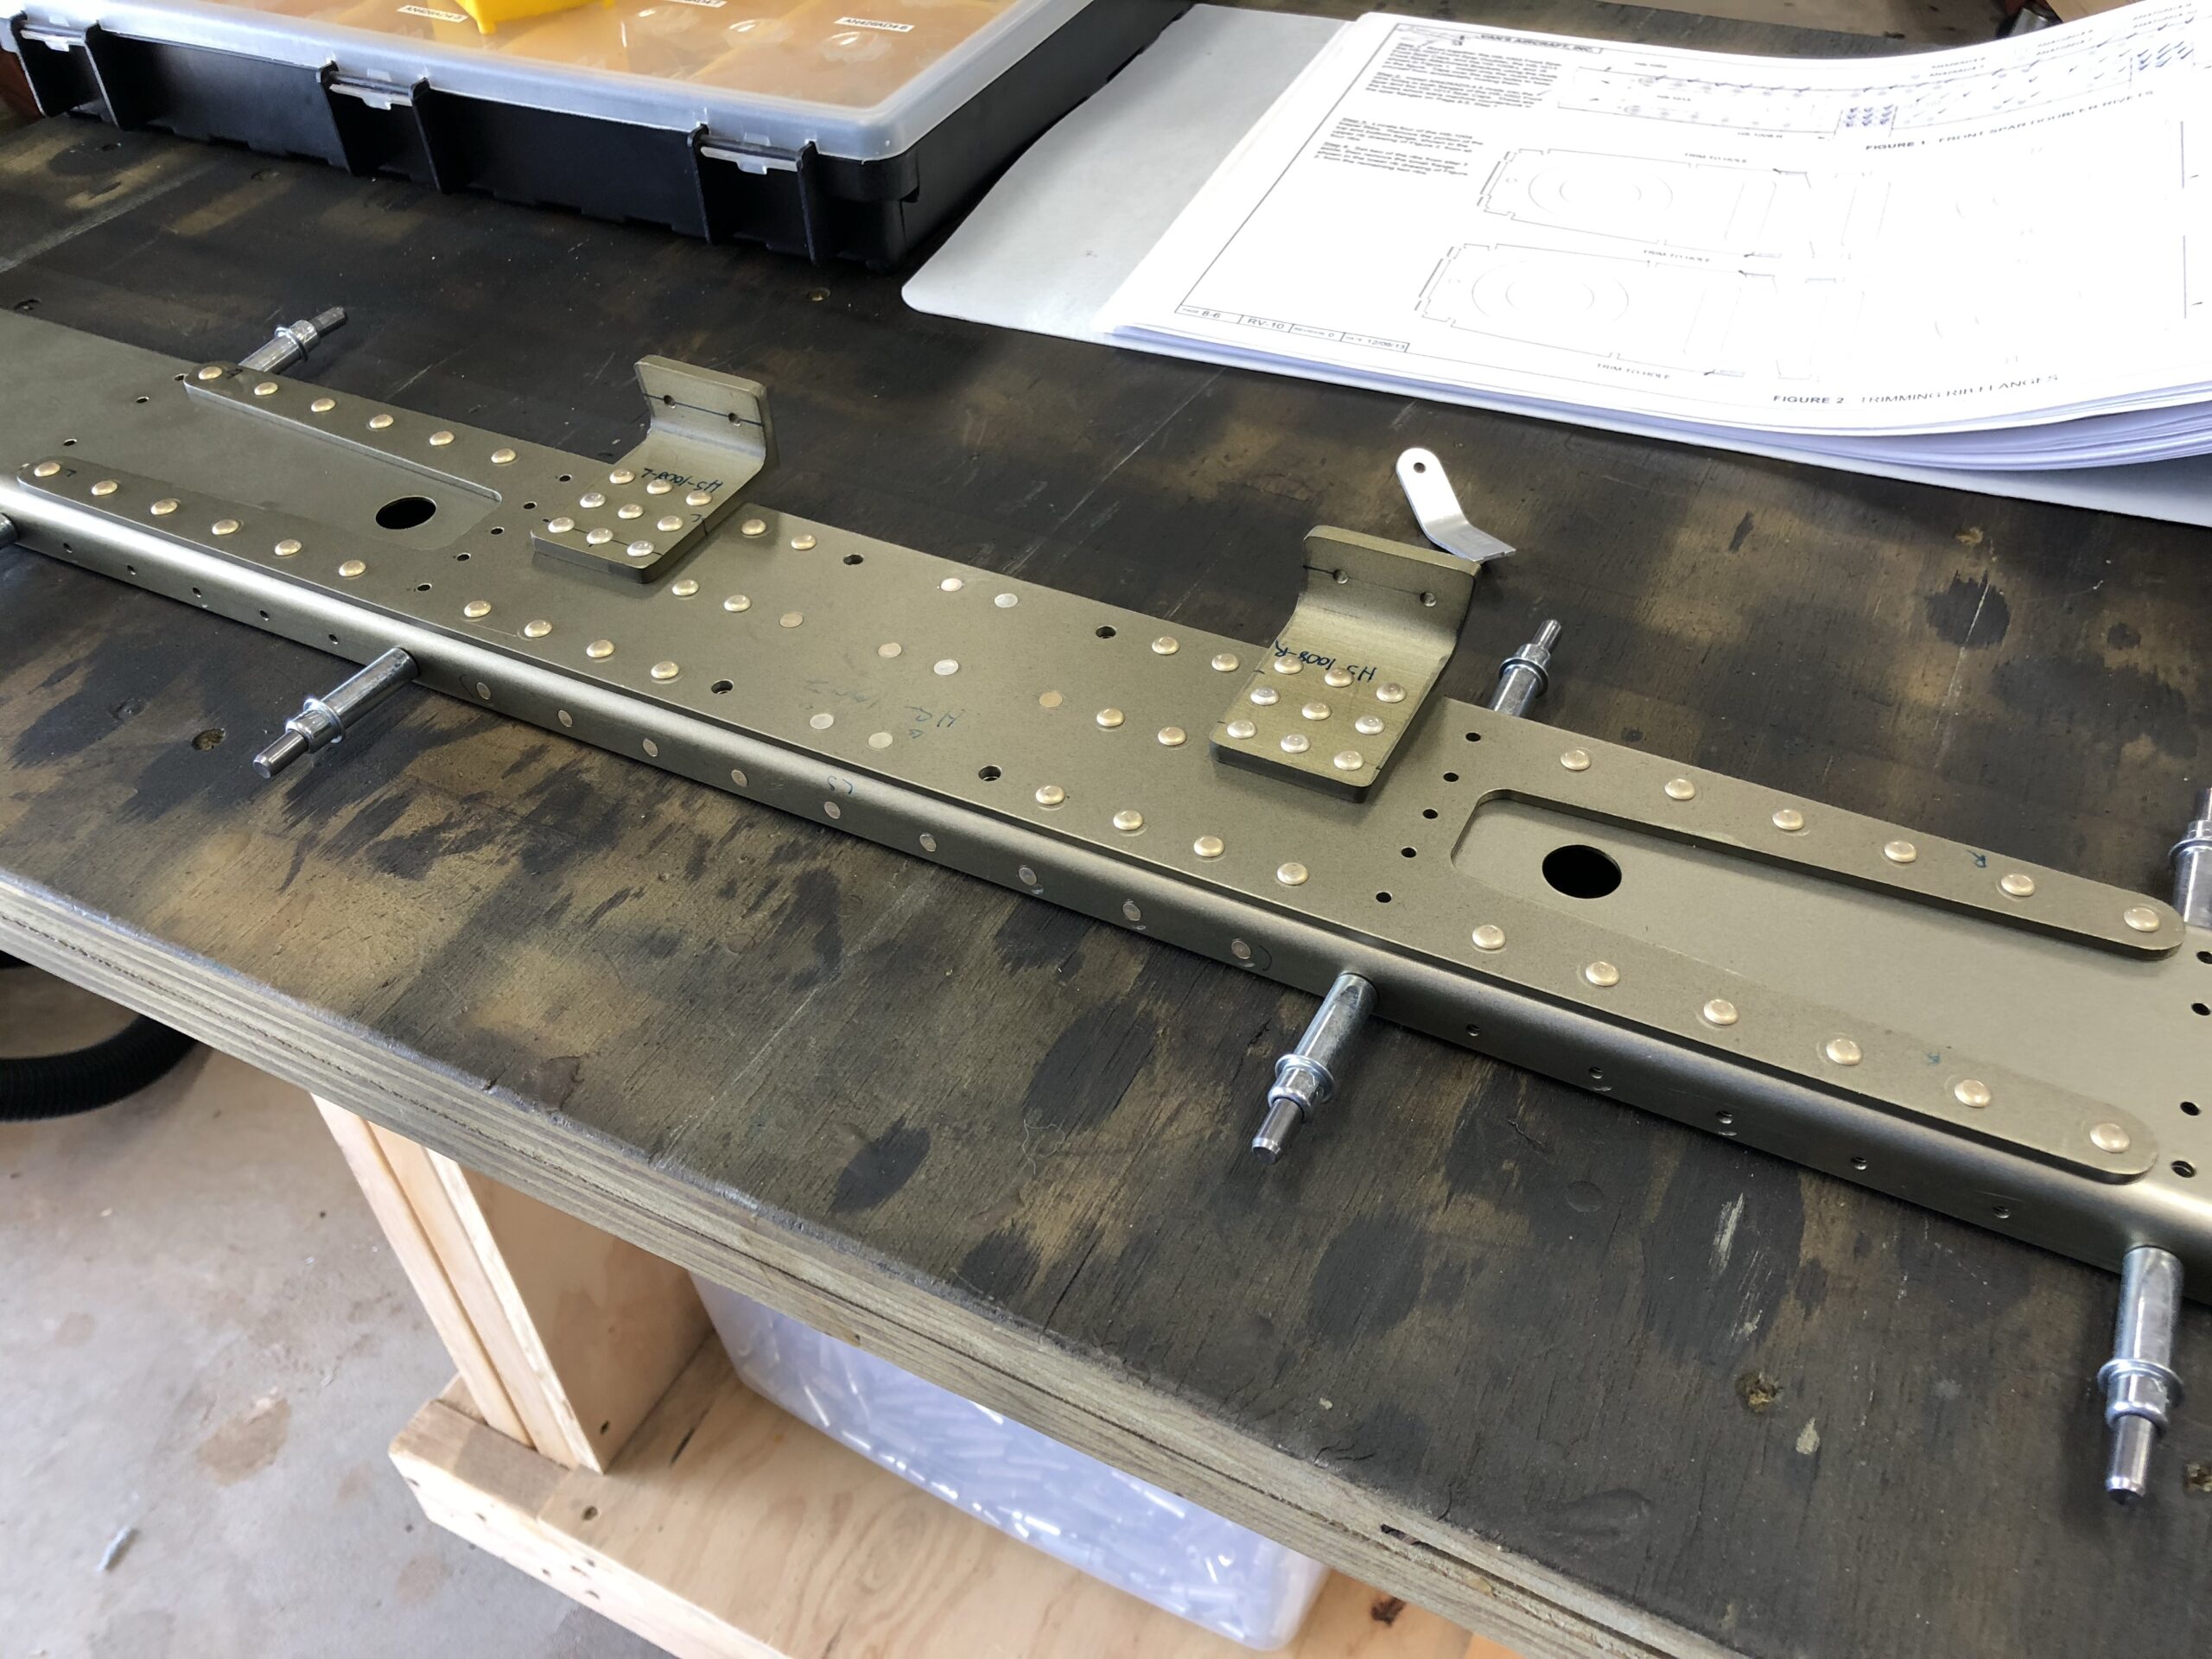
Now that I’m done with the rudder, I immediately started back on the horizontal stabilizer again. I pulled all of the parts out and did a ton of drilling, countersinking, deburring, and prep work. I should have documented better during this process but I was just jamming away while doing this. Below are the pictures from the work with comments below them. Luckily I’ve started getting the priming down. I lowered the pressure to 50 psi and it really smoothed out the paint. I did have to slow down during some of this because I got my second COVID shot and I started feeling pretty lethargic and tired. Either way, enjoy!
Drilling, countersinking, and deburring completeUp-close of the brackets that I had to fabricateUp-close of the spar doubler and the bracketsPrimer looking much better this time!All the parts primed and dryingAll of the riveting done and ready to go on to the next steps!