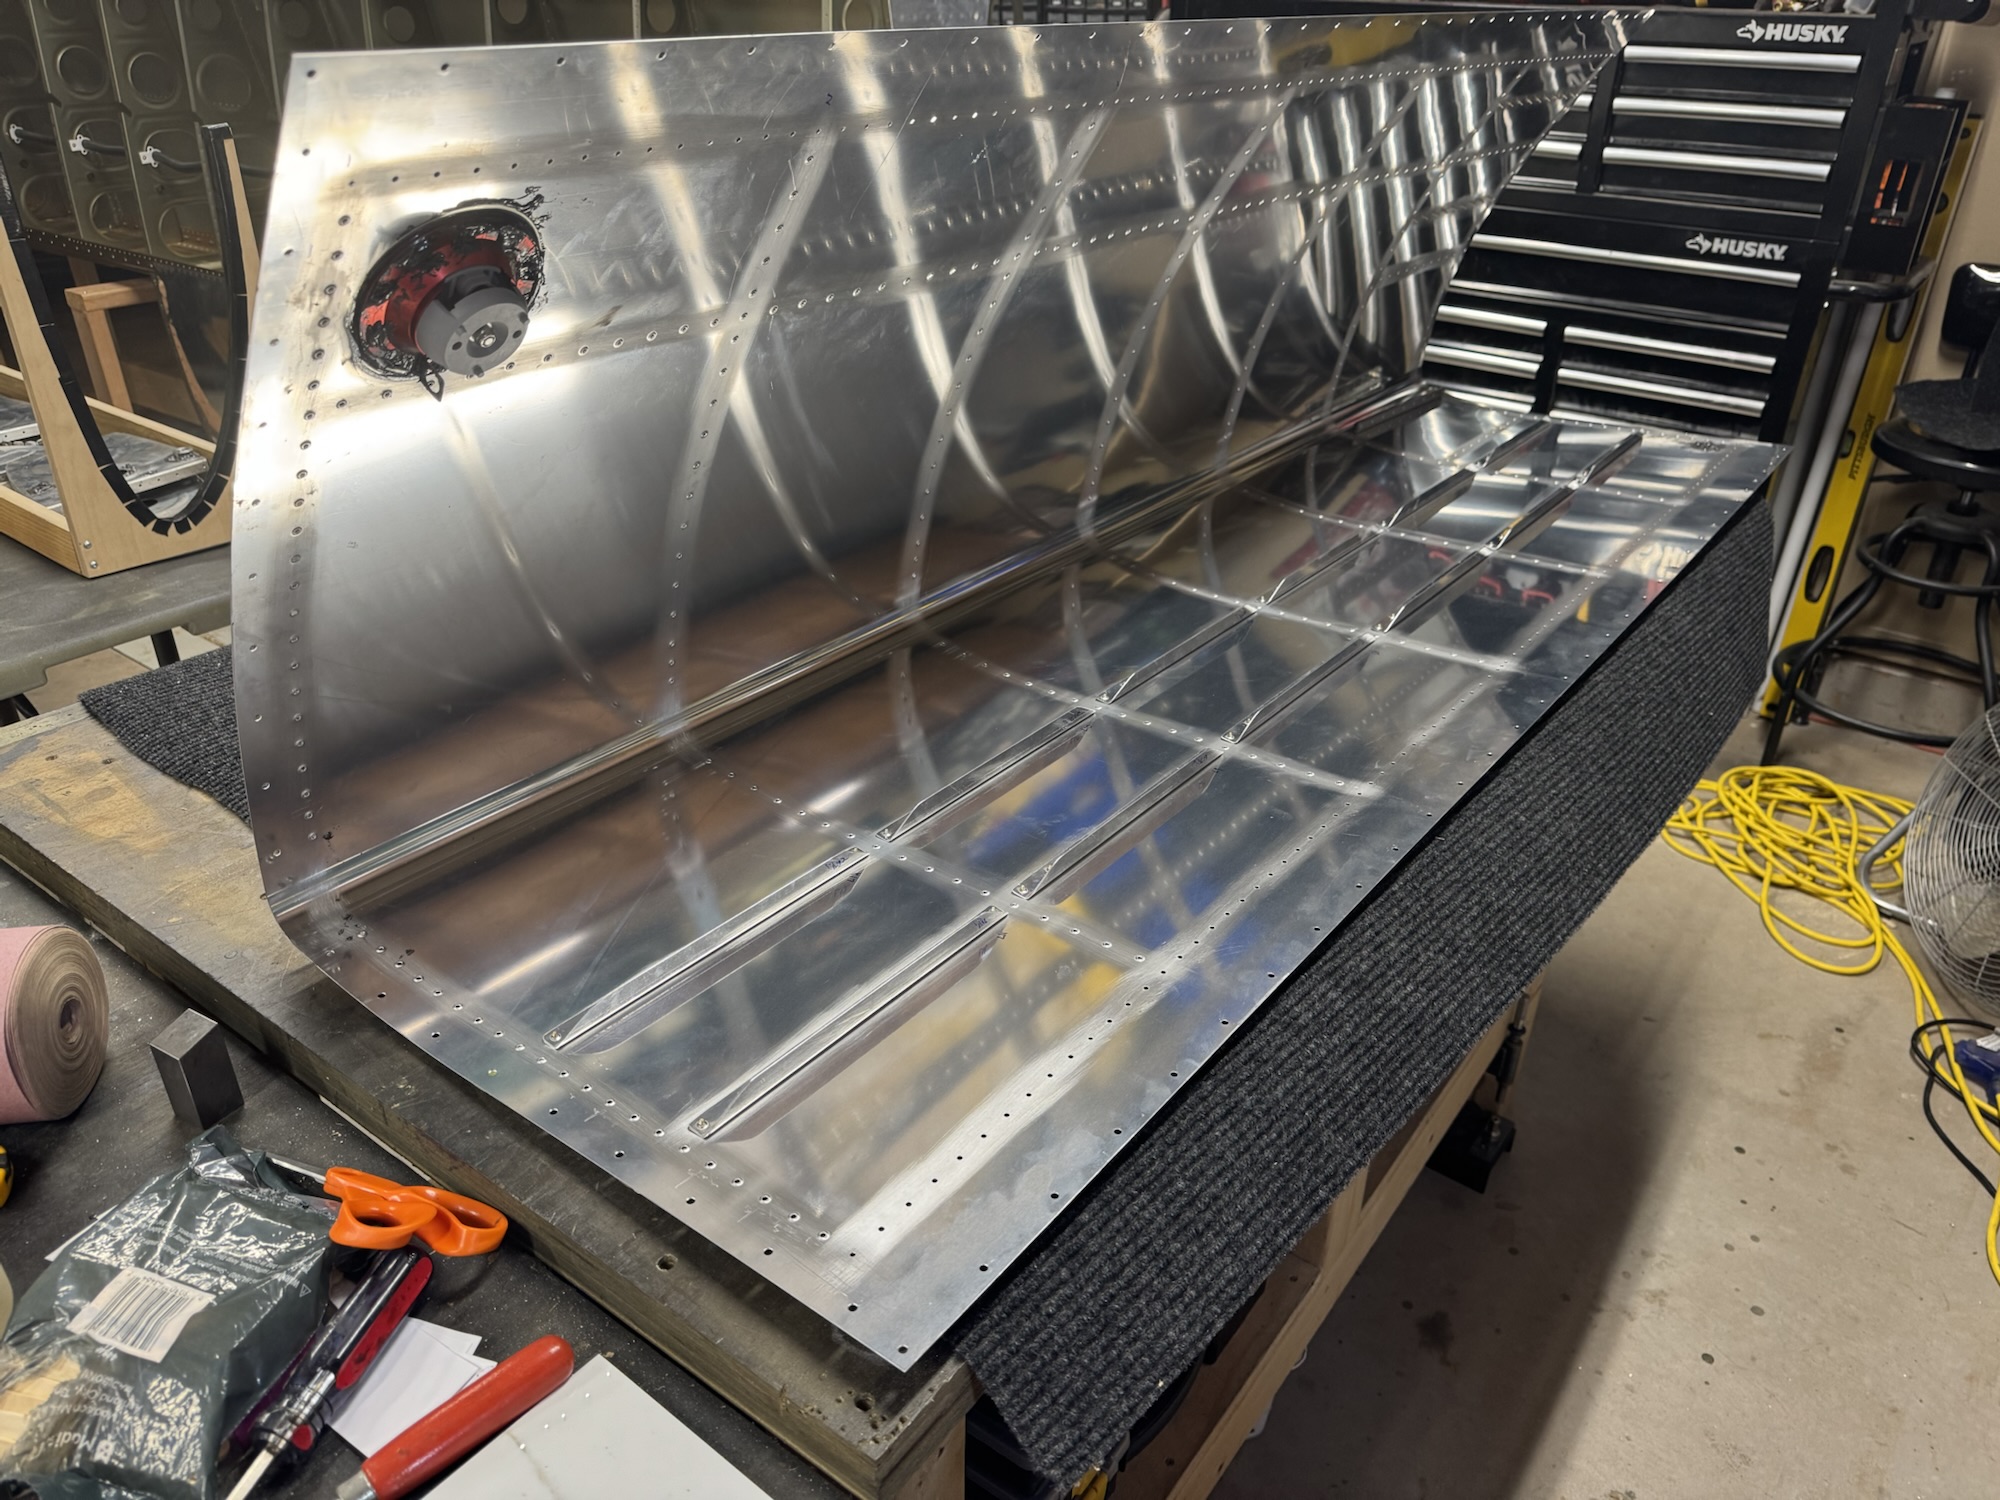
I got a little bit of time to work tonight and finished up the left wing tank stiffeners. Not much else to report besides that.

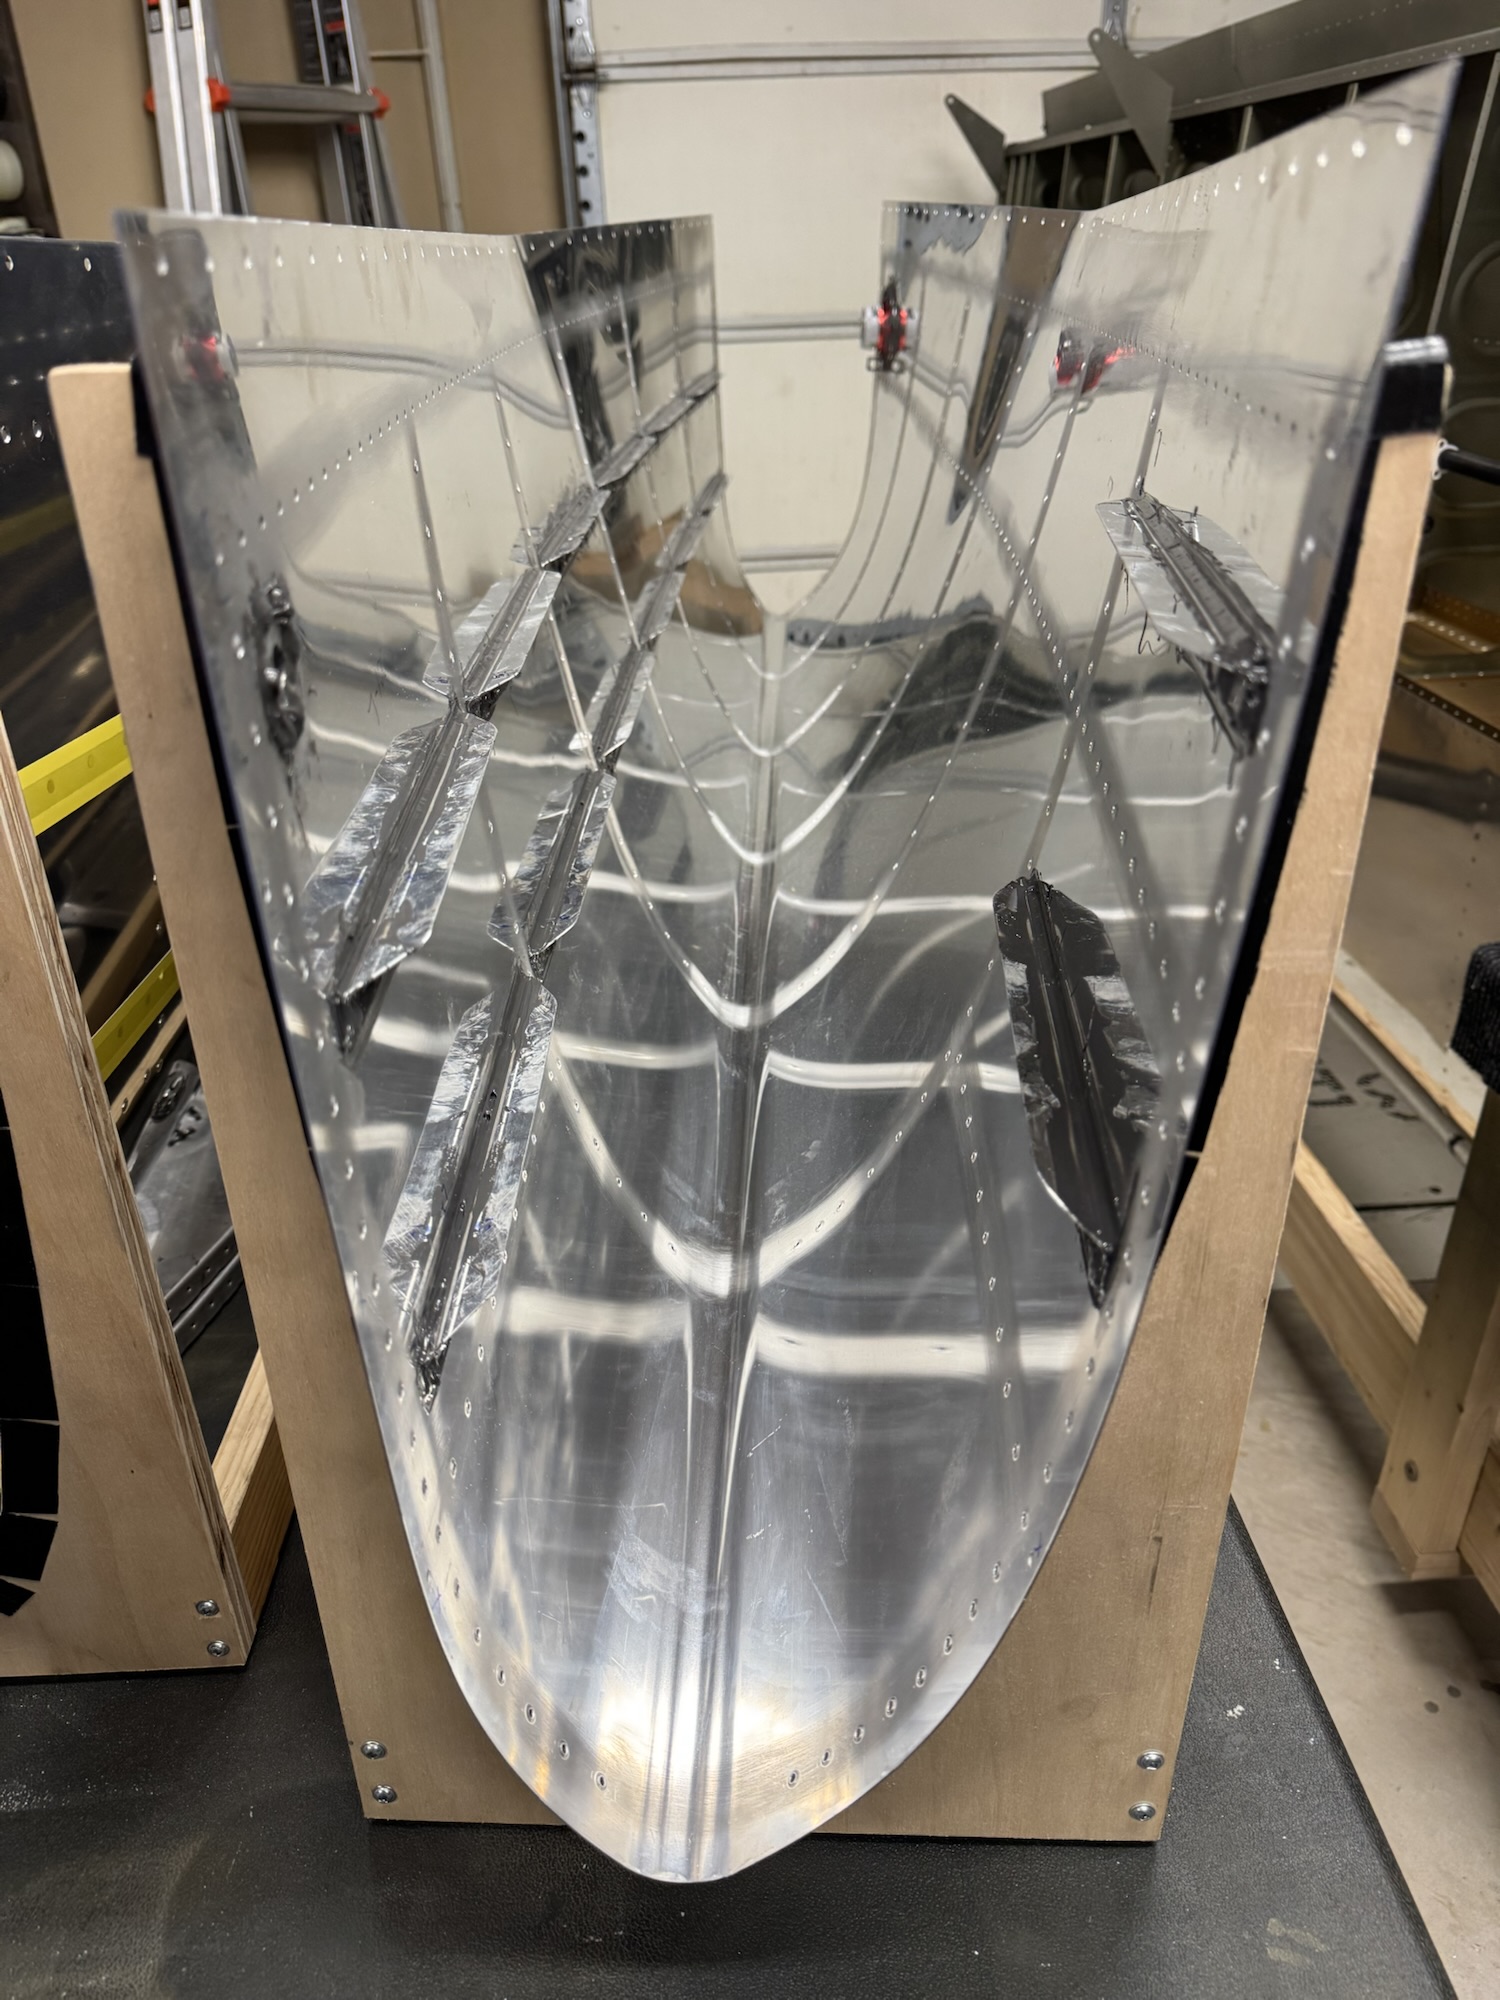
I got a little bit of time to work tonight and finished up the left wing tank stiffeners. Not much else to report besides that.
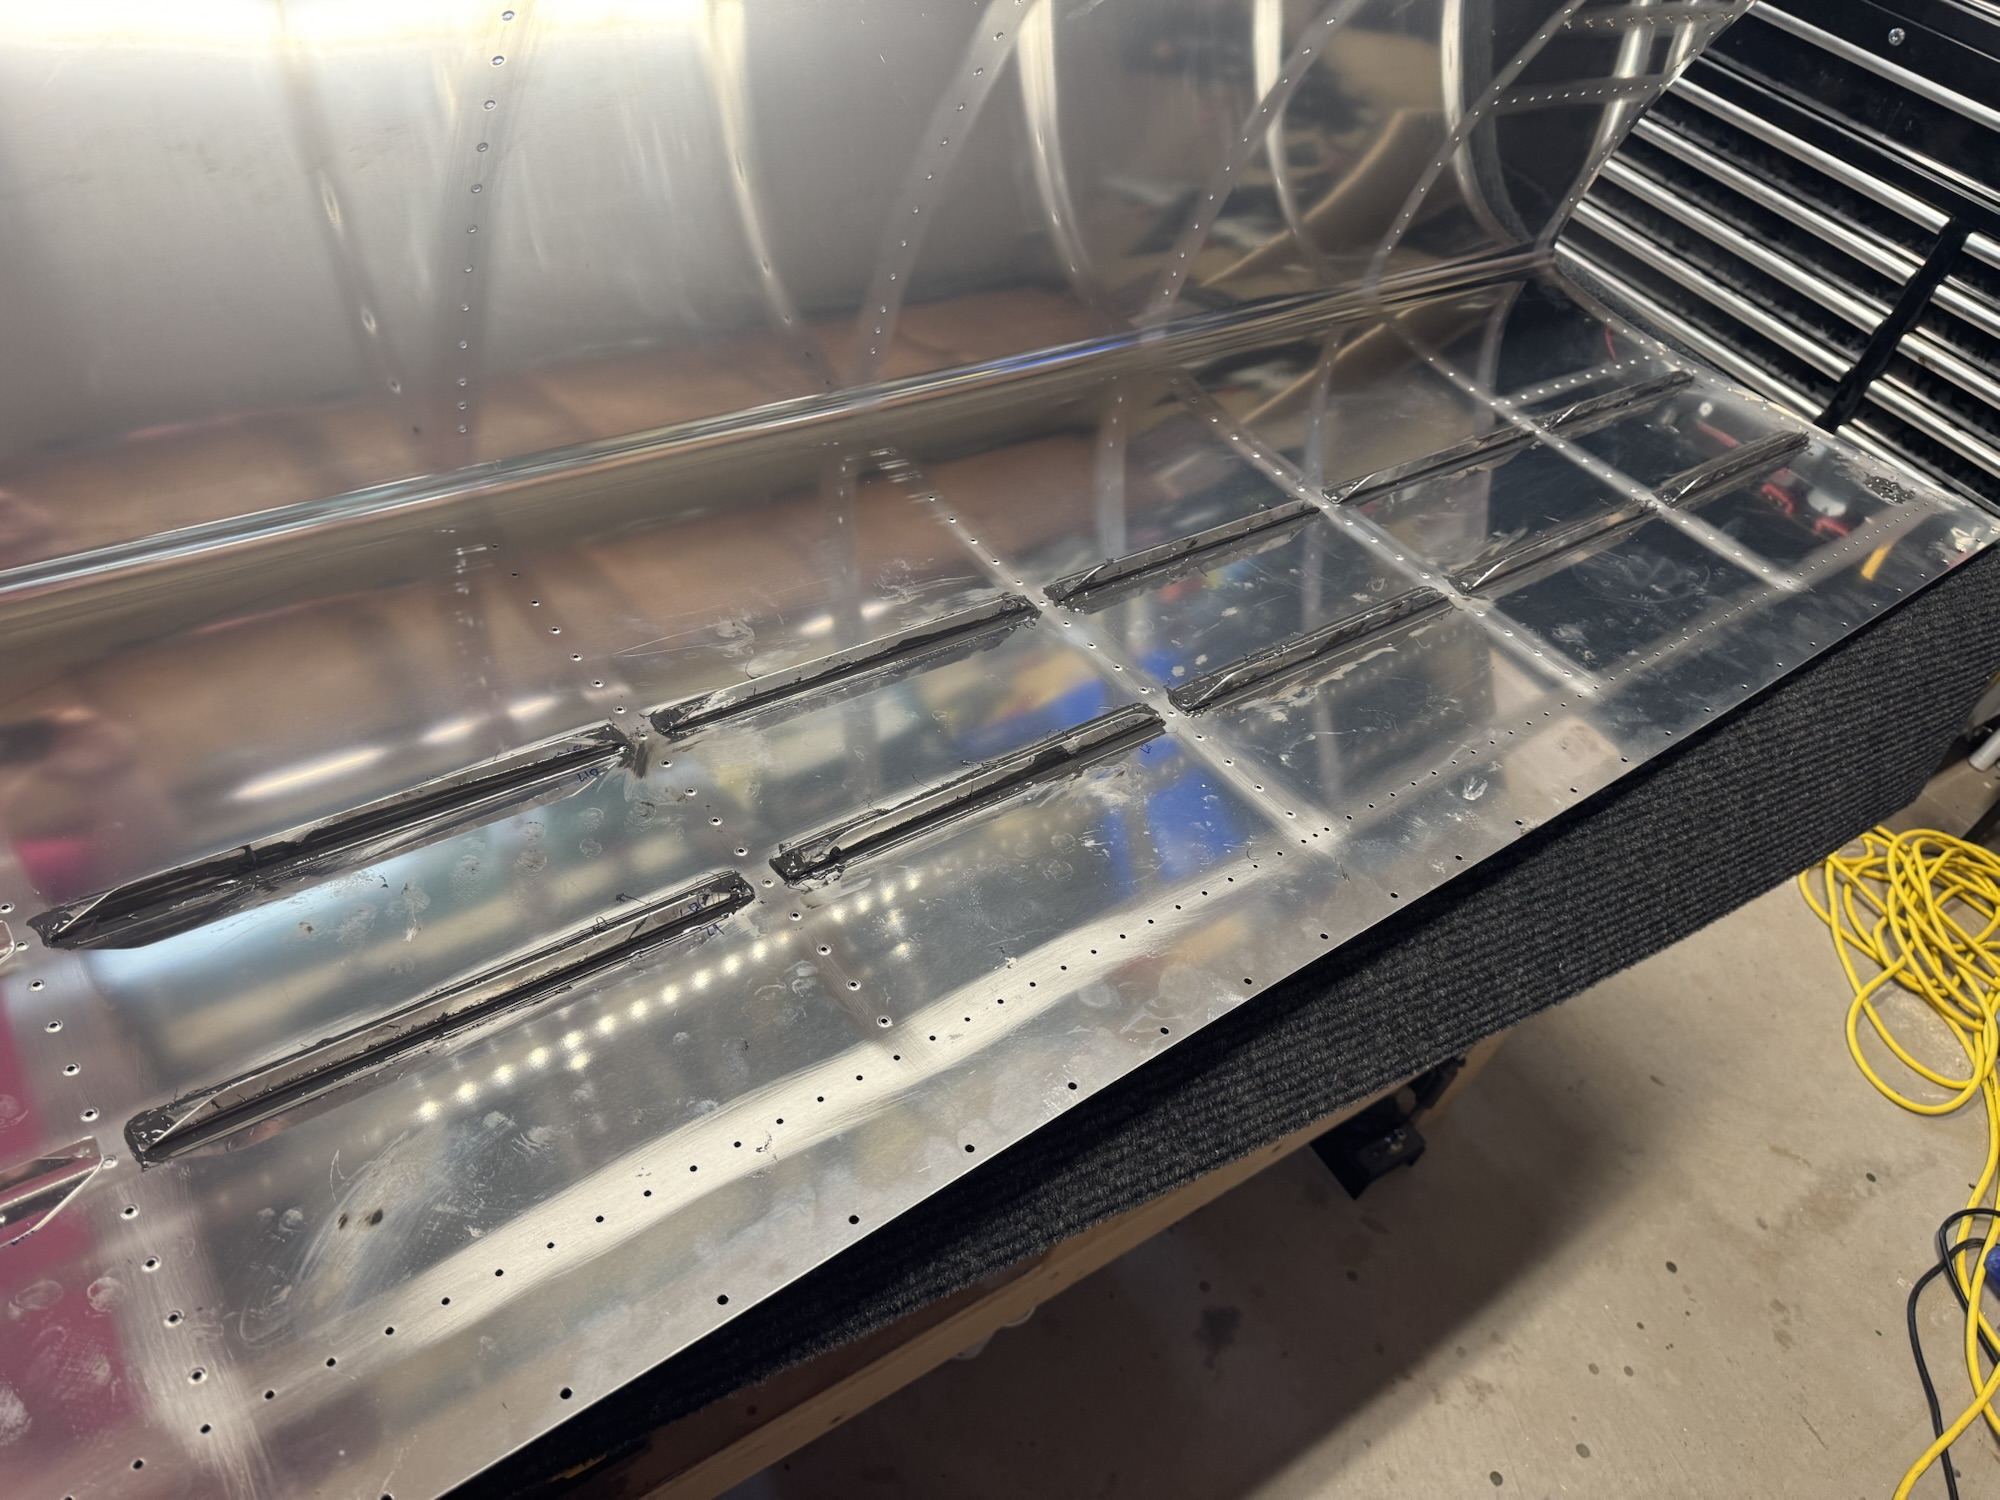
I’ve only got four more stiffeners to complete on this side. It was basically rinse and repeat for each stiffener. I hope to get the other stiffeners done on both sides by Wednesday but I have somethings I’m doing tomorrow night so fingers crossed I get the time.

I took a little bit of time today before going to bed to make sure the sealant I had installed yesterday was curing well. It is definitely cured pretty well since it is pretty warm outside. I cleaned up a little bit that I did not cleanup yesterday. Luckily it is not fully cured as I was still able to get it off with a lot of elbow grease. I also lined up rivets for the tank stiffeners tomorrow on both skins.


It was quite a learning experience today. I got the end ribs done first. I realized quickly that the sealant is very hard to control and gets EVERYWHERE. I had done it in small quantities for the rudder and other components but it was at the very end of the project and it didn’t take me long to do the steps involving the sealant so it was much easier to wipe off. This though took a few sessions and I was getting to the end of the workable life of the sealant. So… am I happy with how it looks? No… Is it functional and seals. I believe so and we will figure out during the pressure test at the end. Here are pictures from all the work I did today.

I realized I didn’t scuff up the edges of the ribs. I went back and did that. I hope I was able to scuff it up enough in the dimples but I’m pretty sure I did. I also made and bought some tools to help with the sealant process that Van’s mentions in their video and I’ve seen on forums. Got a tile that I can use to mix the sealant on and then scrape off the remnants when I’m done. I also had to visit my EAA tool crib as I didn’t have a rivet set for a 3/16″ rivet which I will use to seal up the tooling holes on the inboard and outboard ribs. Lots of leg work today but not much progress. Hopefully I can get started on it some tomorrow but we will see.

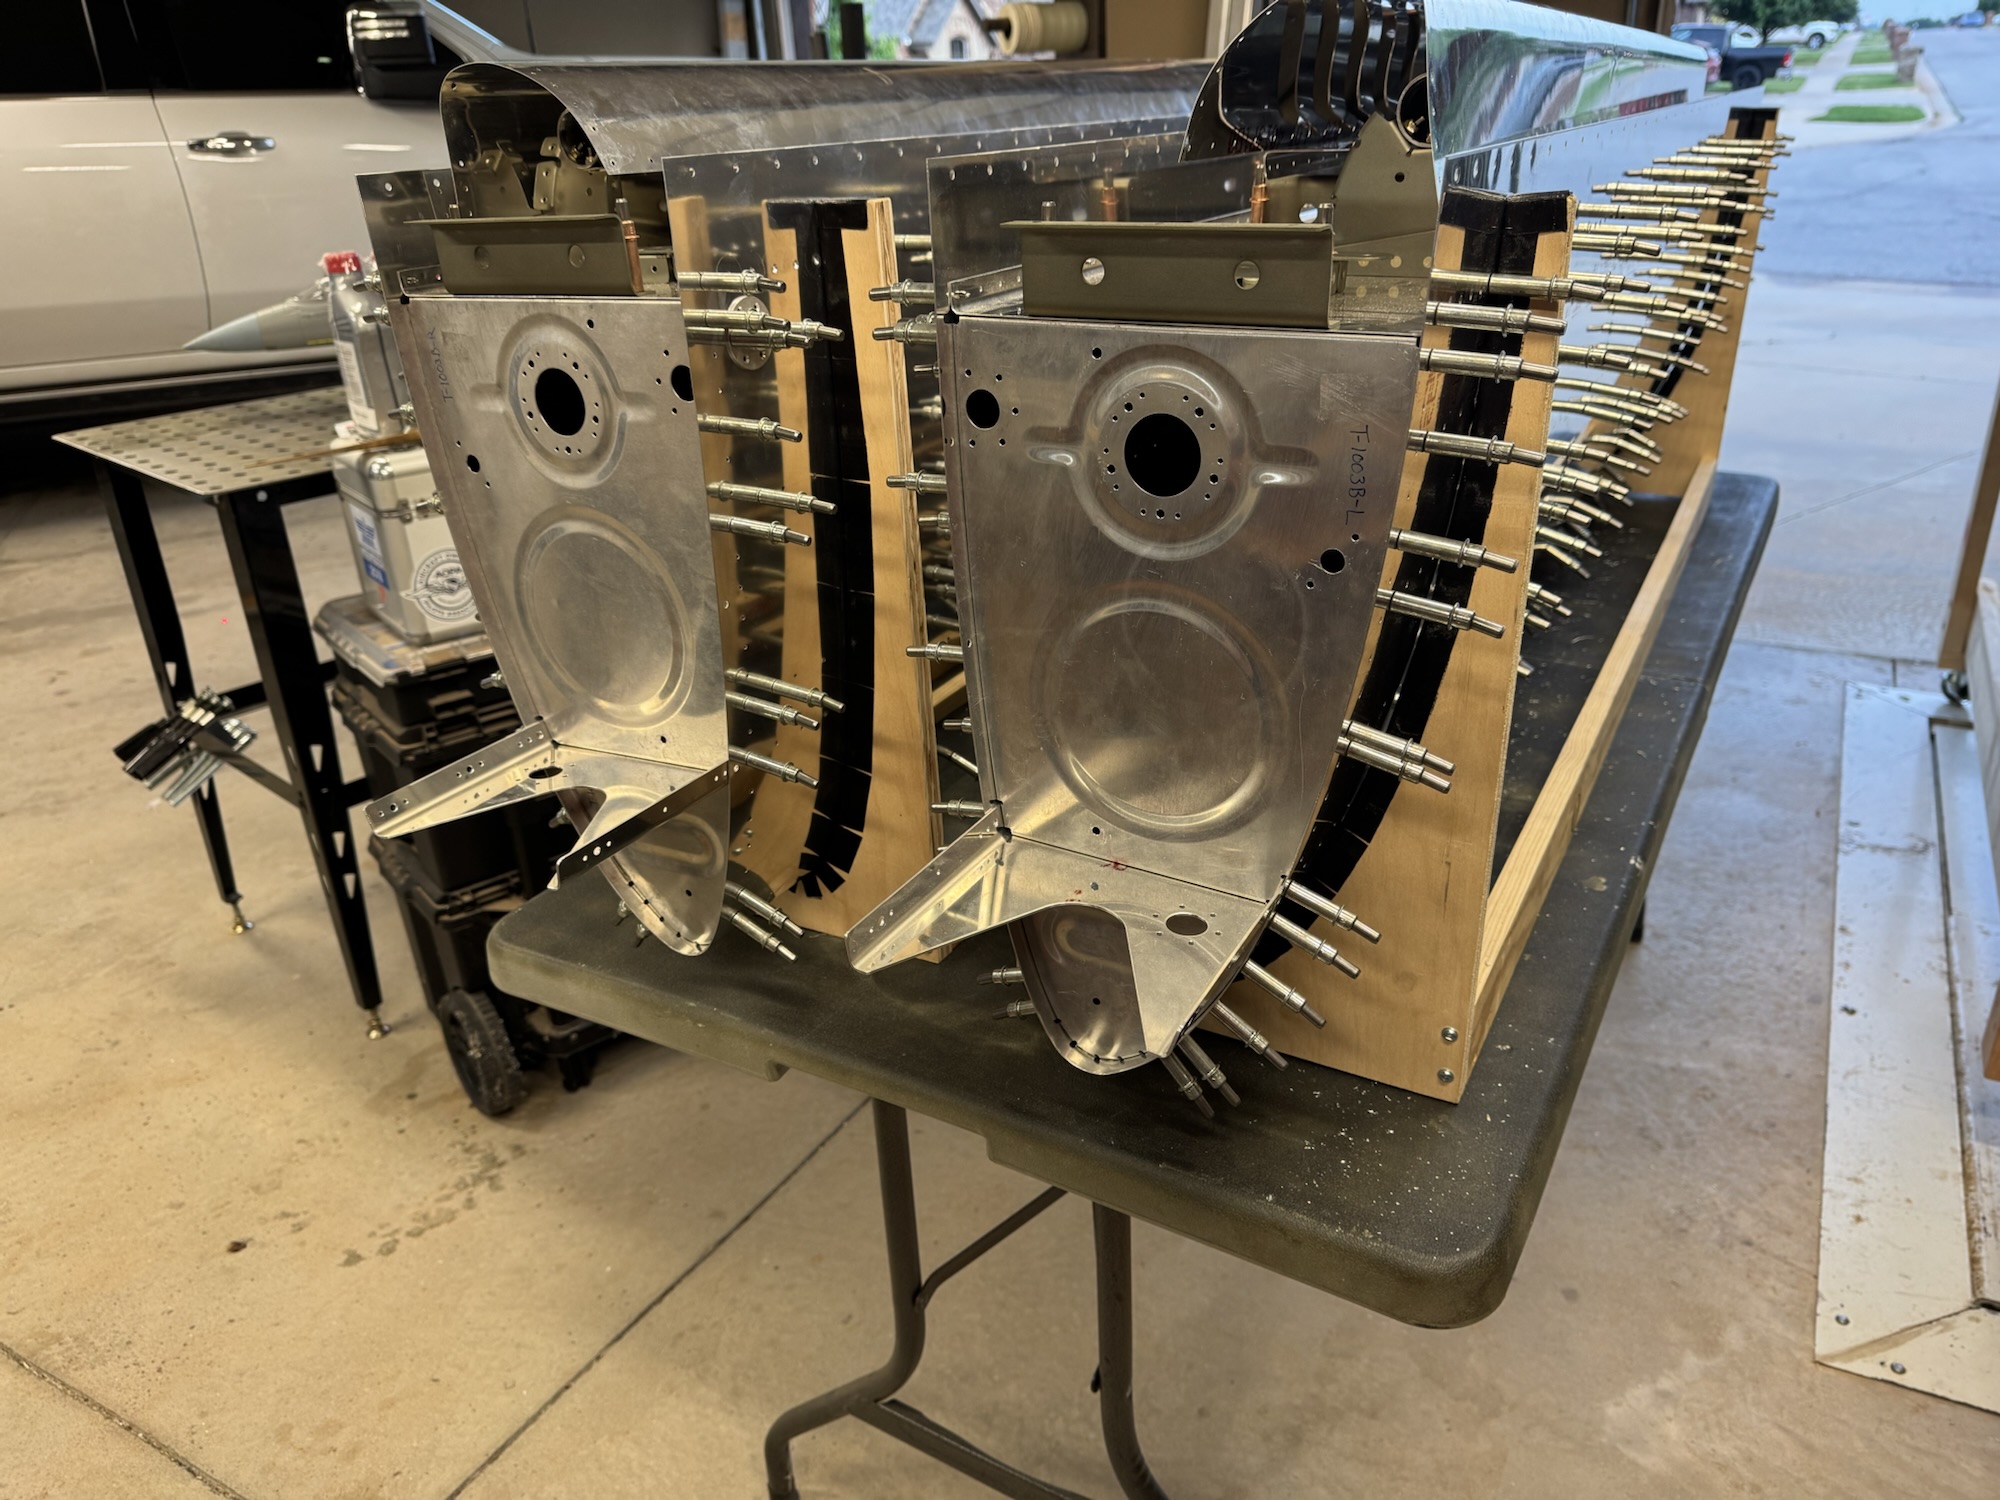
I decided to start reading further ahead in the manual and see what this attach bracket actually supports. It doesn’t attach to the fuselage and as I was looking through the wing attach section I saw on page 44-2 figure 3 that they specifically call out those holes I was curious about as being countersunk. I then went to try to flatten the dimples and they just didn’t look right and also one of them cracked. So I just decided to order a new one and I’ll get that squared away later. I should have remembered this advice to look ahead when I last called Van’s and tried to determine what to do with those holes. Either way, this was a simple lesson learned and I just have to wait for the shipment to arrive.
I went ahead and got everything countersunk and dimpled that needed on both tanks and decided to call it a day there.

I got all of the deburring done, I got some countersinking done, and I also got some dimpling done. Just alot of “mindless” tasks as you watch some shows and work. lol

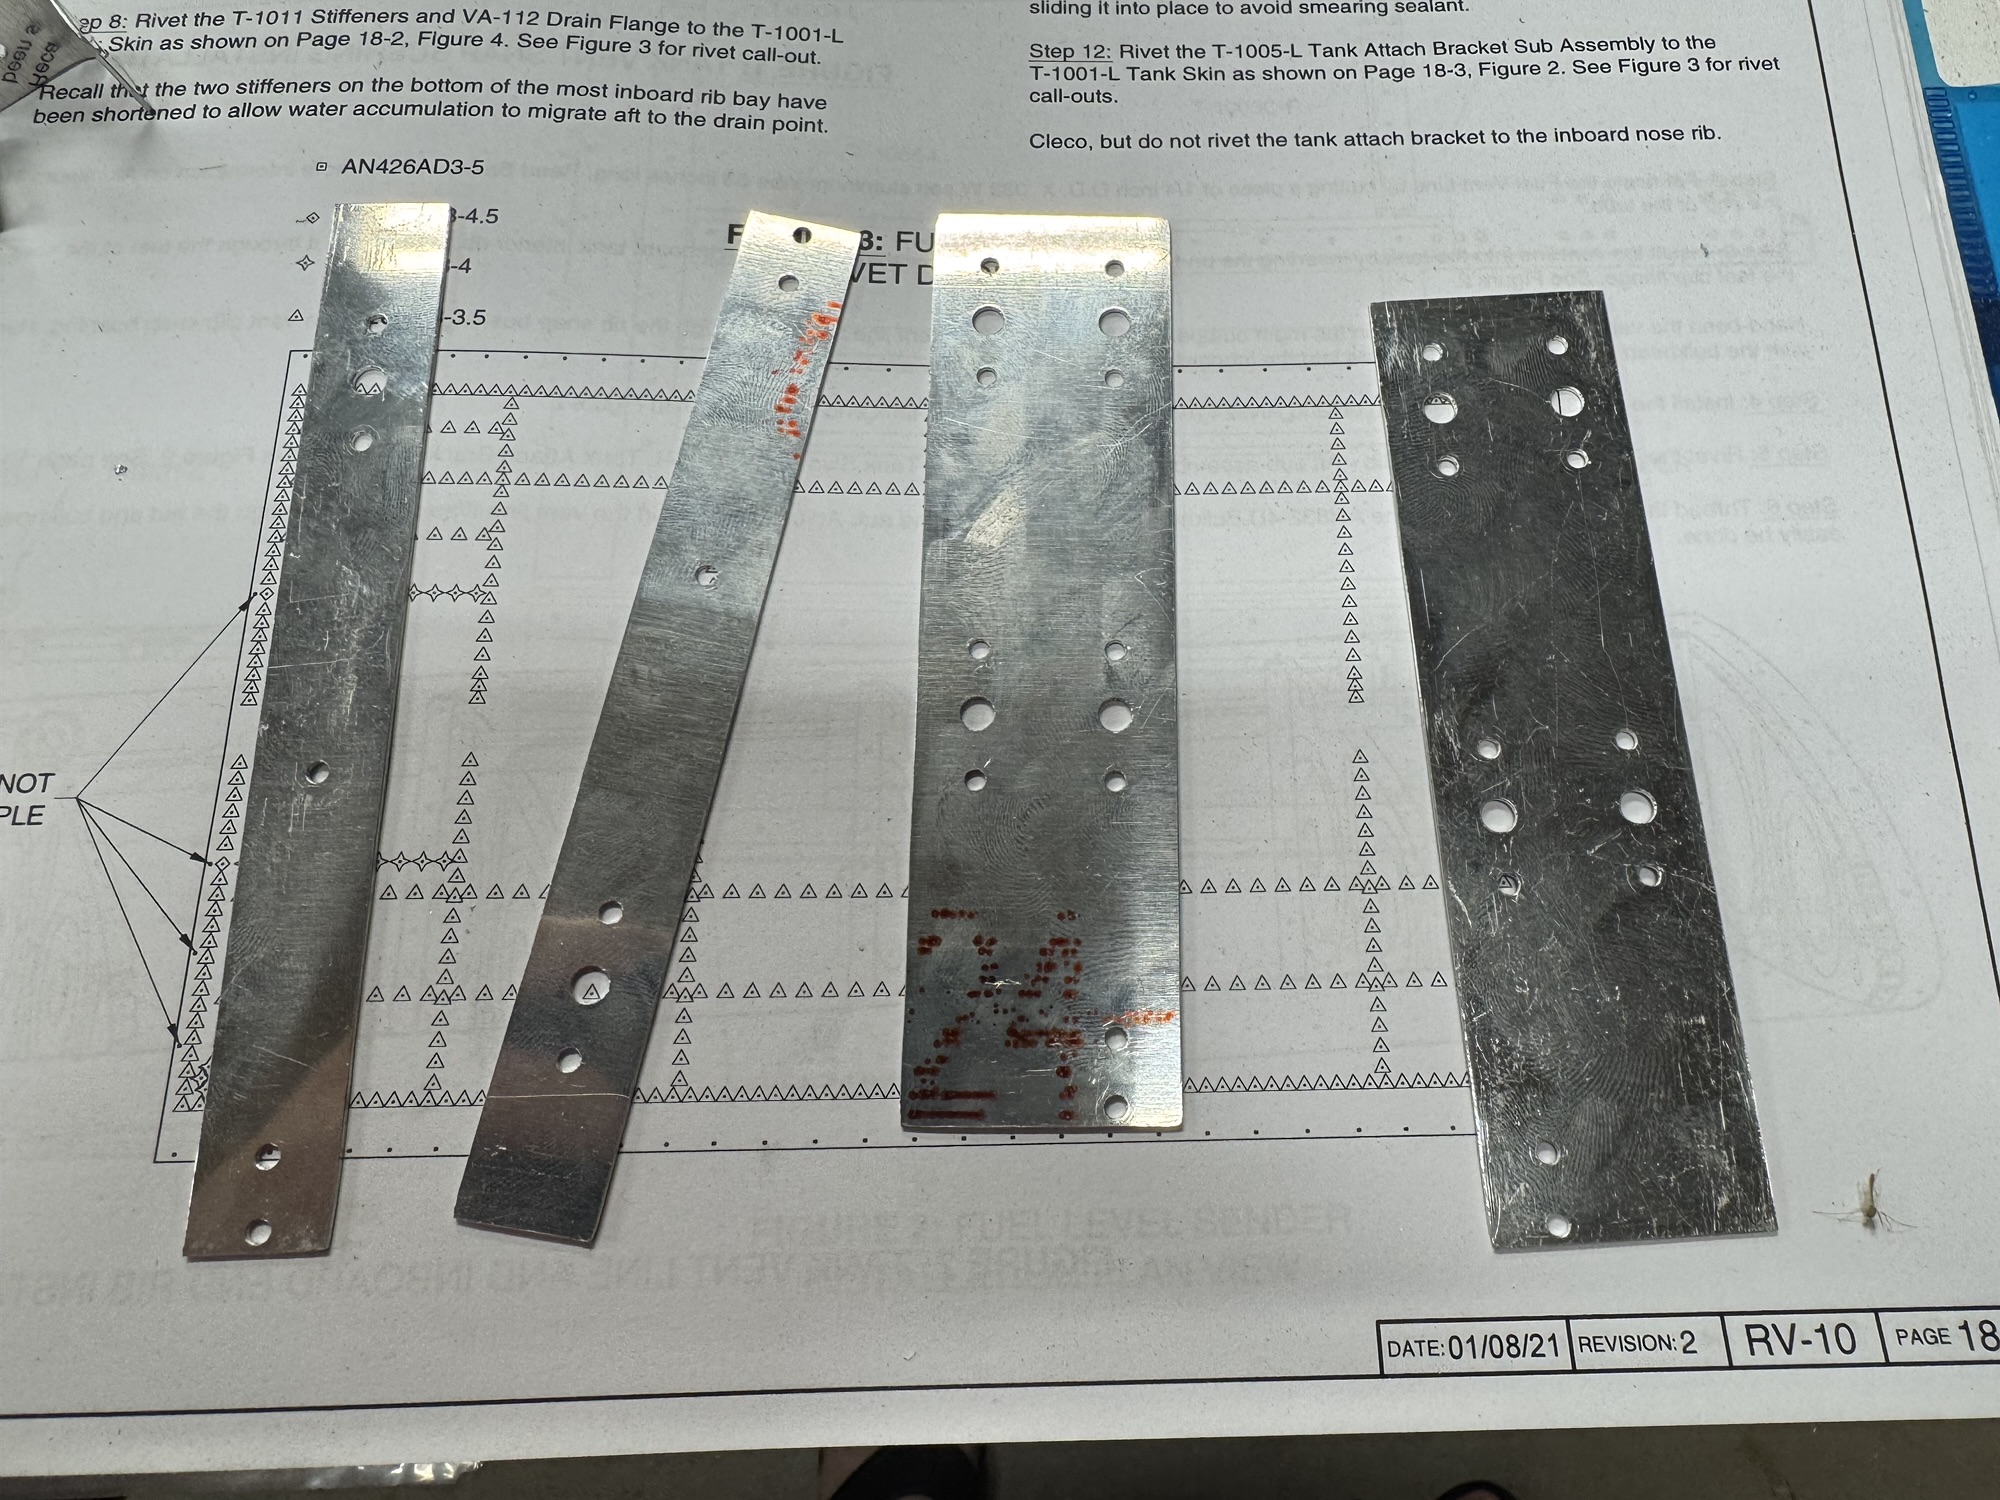
I do need to talk with Van’s tomorrow just to confirm if I countersink both the skin and the tank attach bracket or dimple the skin and countersink the tank attach bracket. I did the first set thinking I would countersink the bracket but thinking about the type of nut plates behind these and also that the instructions only mention dimpling the forward ones makes me think these will be countersunk on both the shim and the bracket. Either way we will see. I might have to order another set of shims as I finish the left tank since I already dimpled this set. Well, as I think about it I’m going to have to order it anyways since these are mirrored to each other and I’ve already dimpled this one way. Not a huge deal but I’ll figure something out. I will ask Van’s about that tomorrow too and see if I can dimple it the other way without having to reorder.

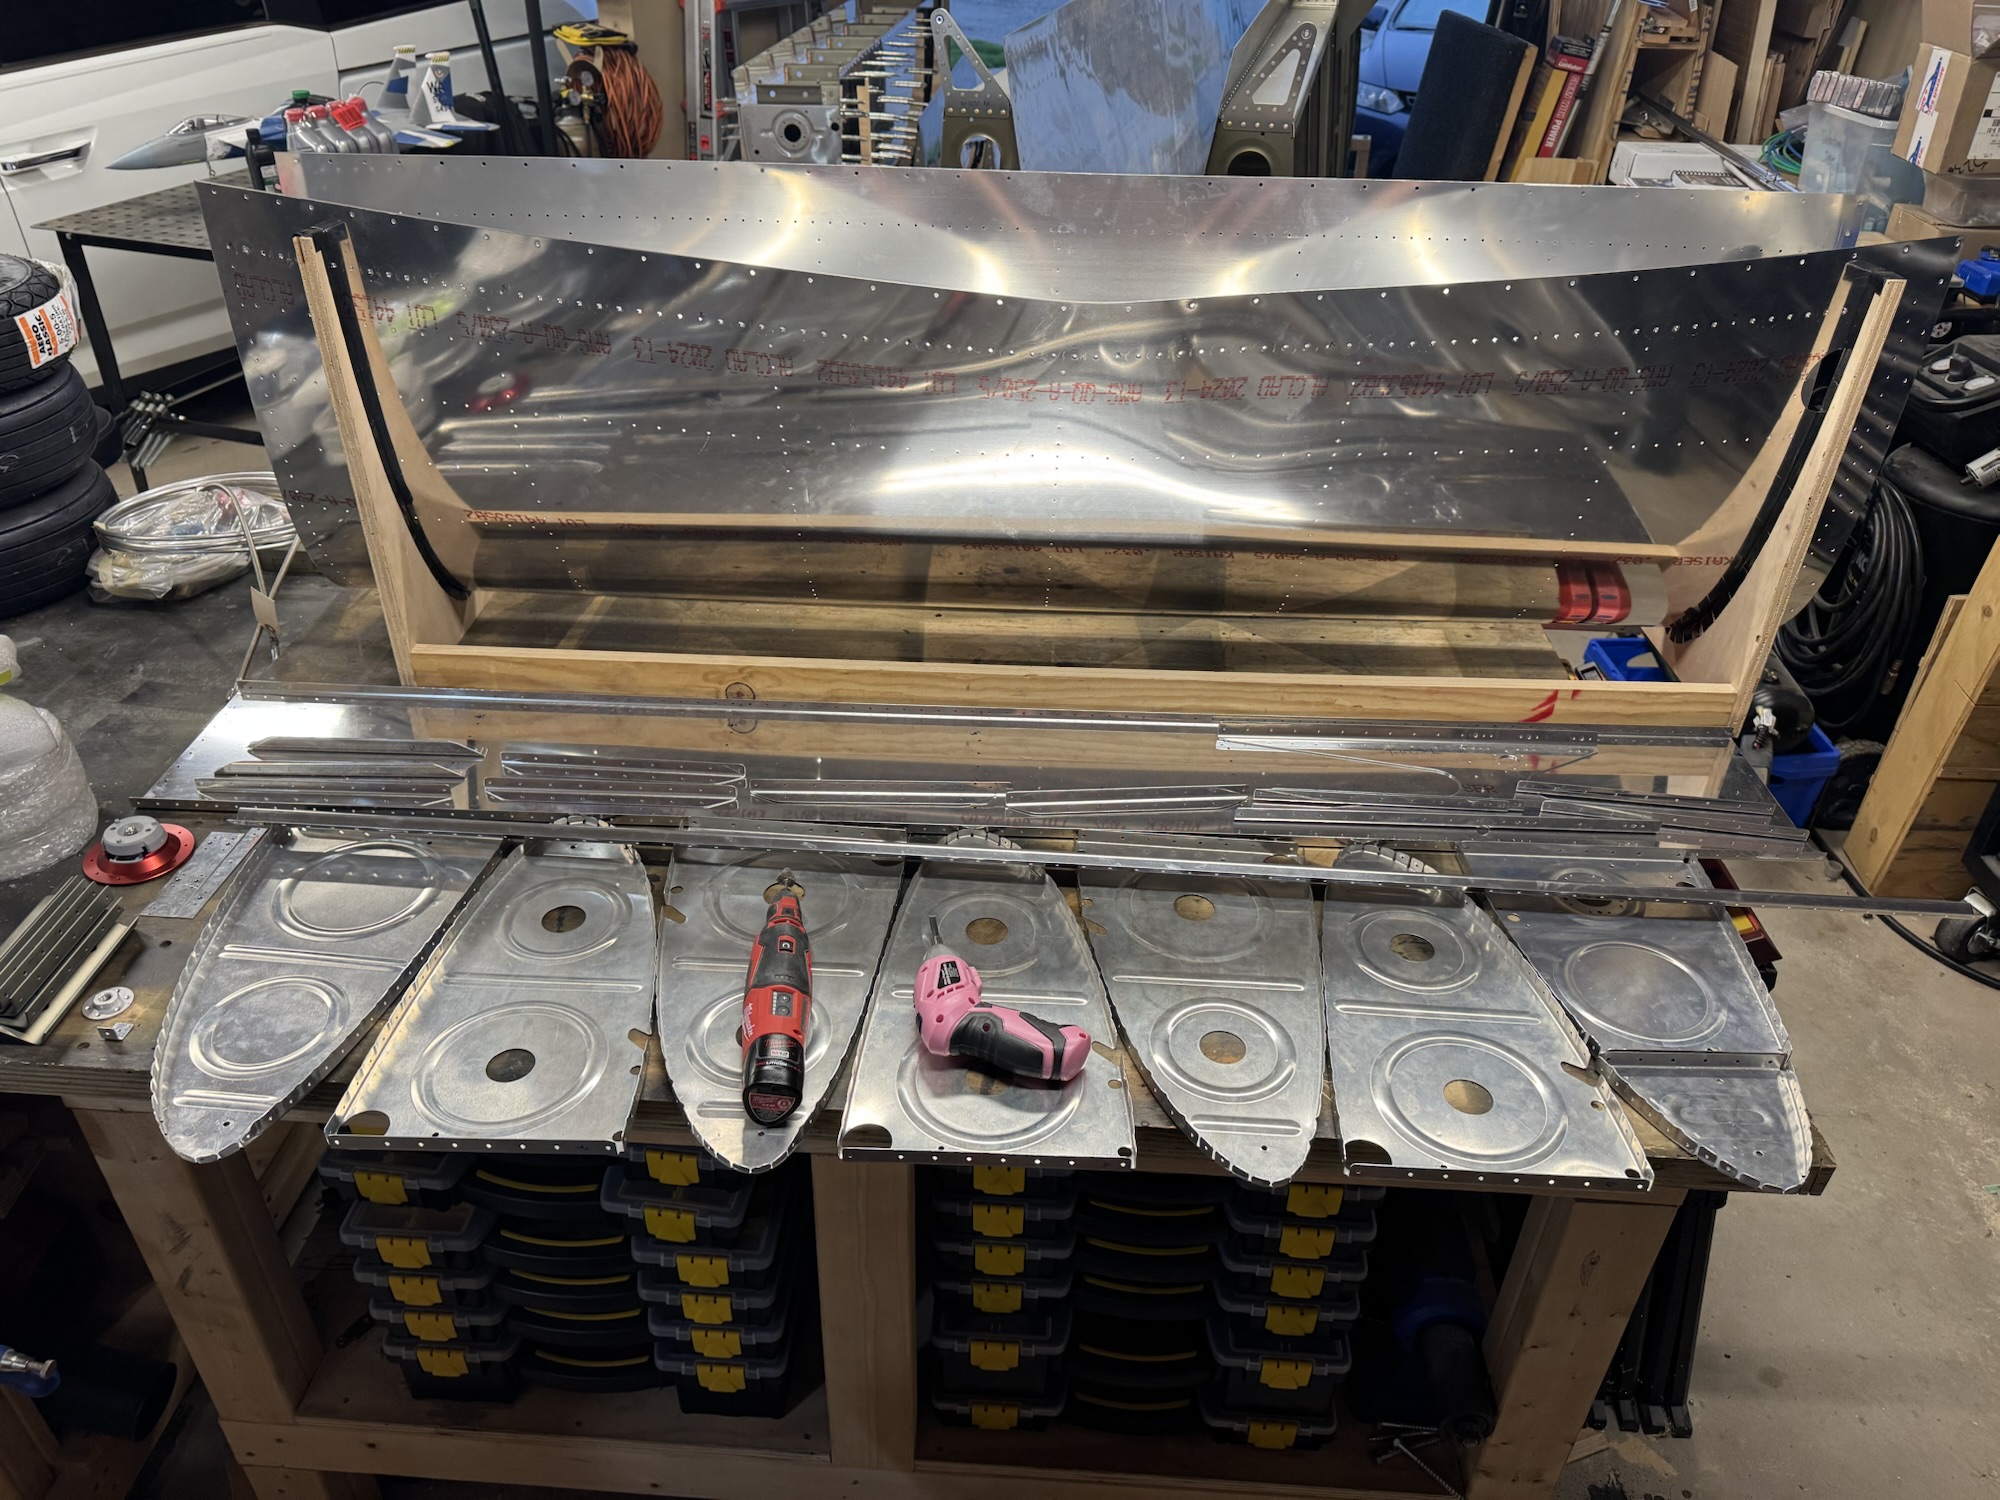
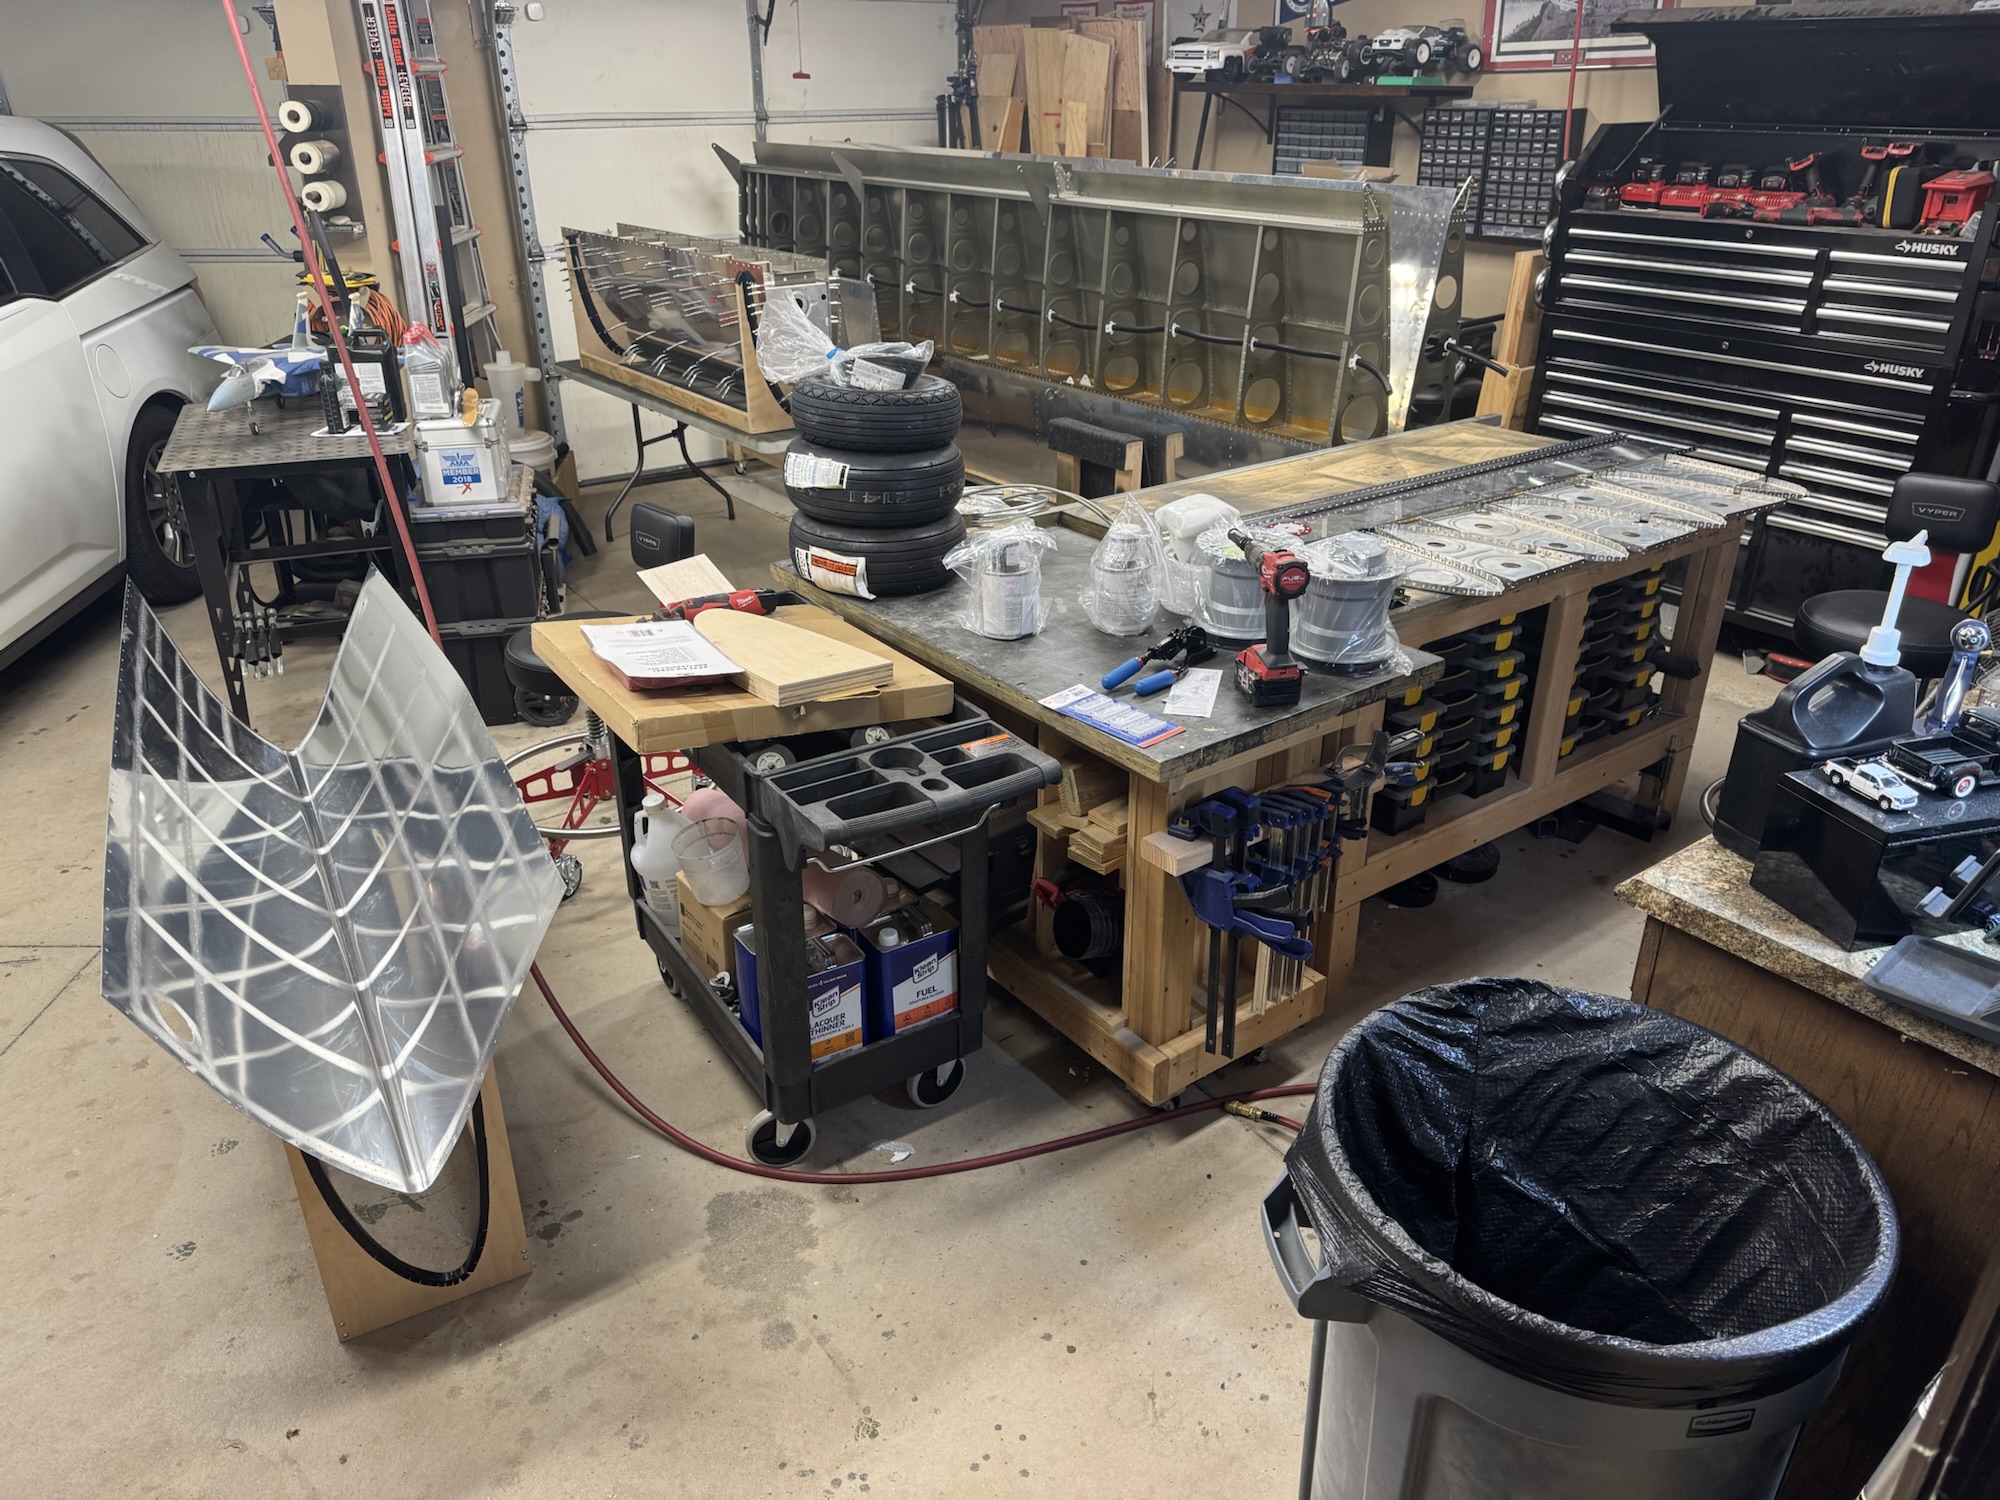
I didn’t get a ton of time today but I did get the left tank marked and then disassembled. I deburred the holes from the rib flanges to the skins and I also deburred the J channel since I drilled new holes in it. I need to go through the rest of the smaller components and make sure they are deburred and then deburr the skin. Then comes all the dimpling and countersinking.

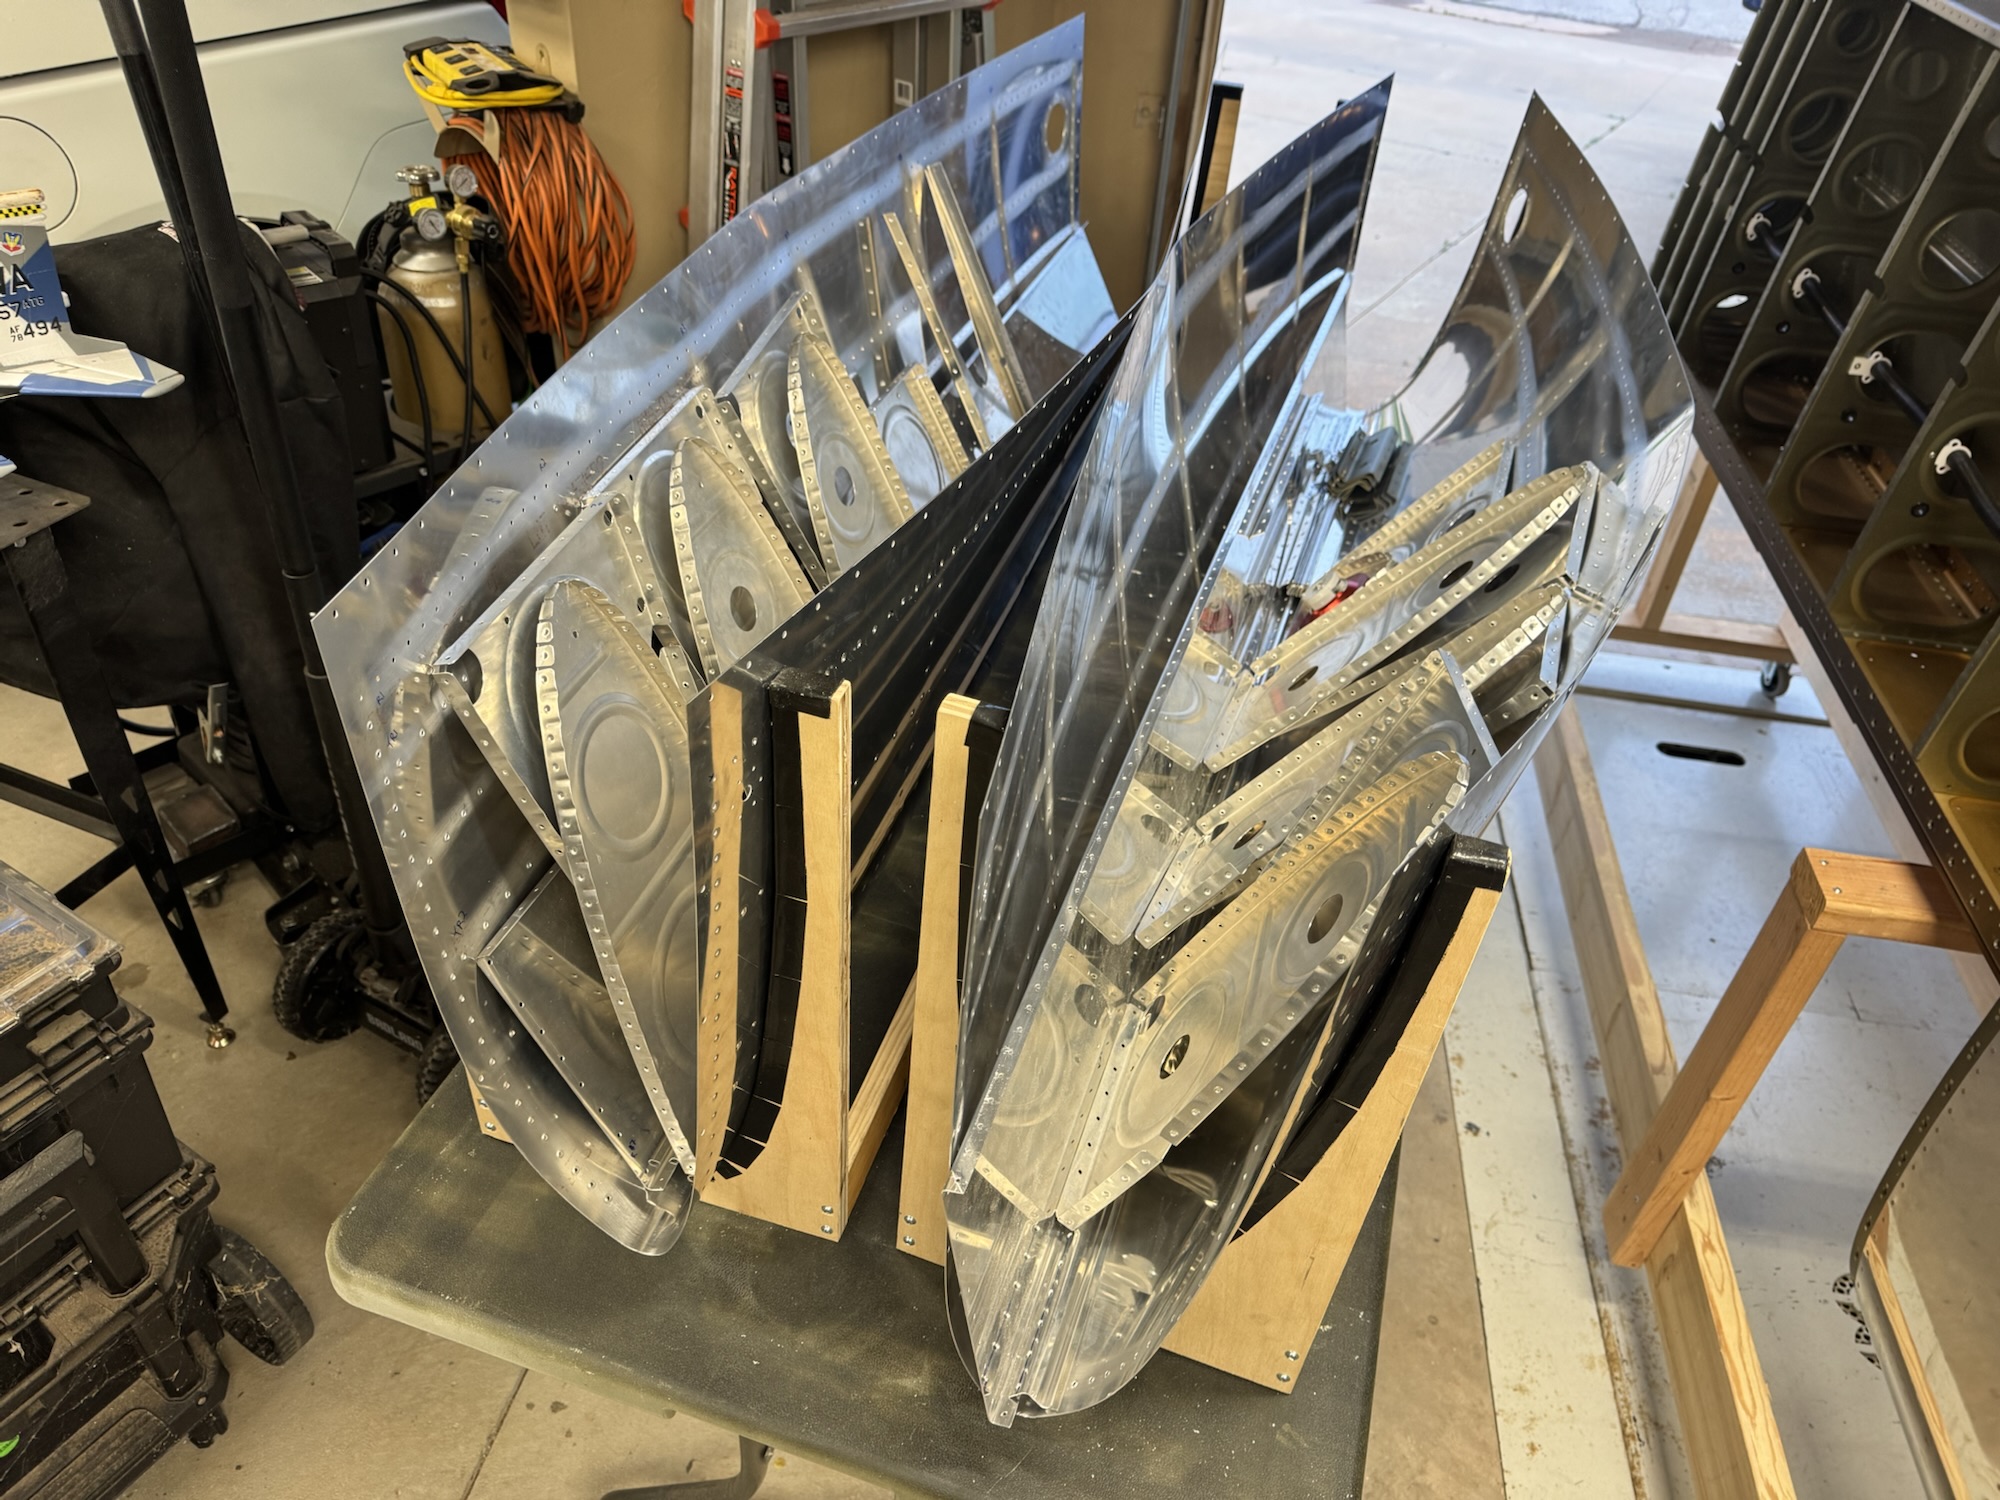
While I was in Florida, the J stiffener arrived. I got it cut, deburred, marked, and drilled today. I think I’m going to stop here on the gas tanks until I can get the tank seal as I want to keep the tank parts as condensed as possible since I’m also working on the ailerons at the same time. Just too many parts going around and I want to keep them in an organized manner. Unfortunately I didn’t take a picture when I finished the J channel so I’m just putting a picture I took today of where they are sitting now.

I probably won’t get much time to work on the plane for the next week and a half because of work travel and other items. But we’ll see. I did finally find the wing shims. I didn’t dig deep enough into my small parts box. It was at the bottom of that. I got those cut and deburred entirely. I did watch Van’s Aircraft’s video about how to do the tank sealing. I also watched PlaneLady’s video on the same process. Trying to get my mind into that whole process. I liked Van’s video better but PlaneLady’s video had some small tid-bits that were specific to the RV-10 that were good. I plan to at least disassemble the tanks and get the T-1005-L/R countersunk and also start the dimpling on the right tank. Actually, I need to scuff up and clean the skins and parts first before I dimple as Van’s went over so that I can get the scuffing thoroughly through to all the parts of the skin that need it. Oh, and I also bought a few parts today too. I bought the Dynon pitot mount which is specific to the RV-10 wing. It will fit the Garmin GAP 26 and will give me some good reinforcement right out of the box. I also ordered some size 6 rivets to fill the holes in the ribs that Van’s asks you to fill. Even Van’s themselves did that, instead of putting spare aluminum sheeting behind it. I think that will be a better solution and more solid.


