Category: Fuselage

  • Baggage Conduit Run & Antennas Ordered

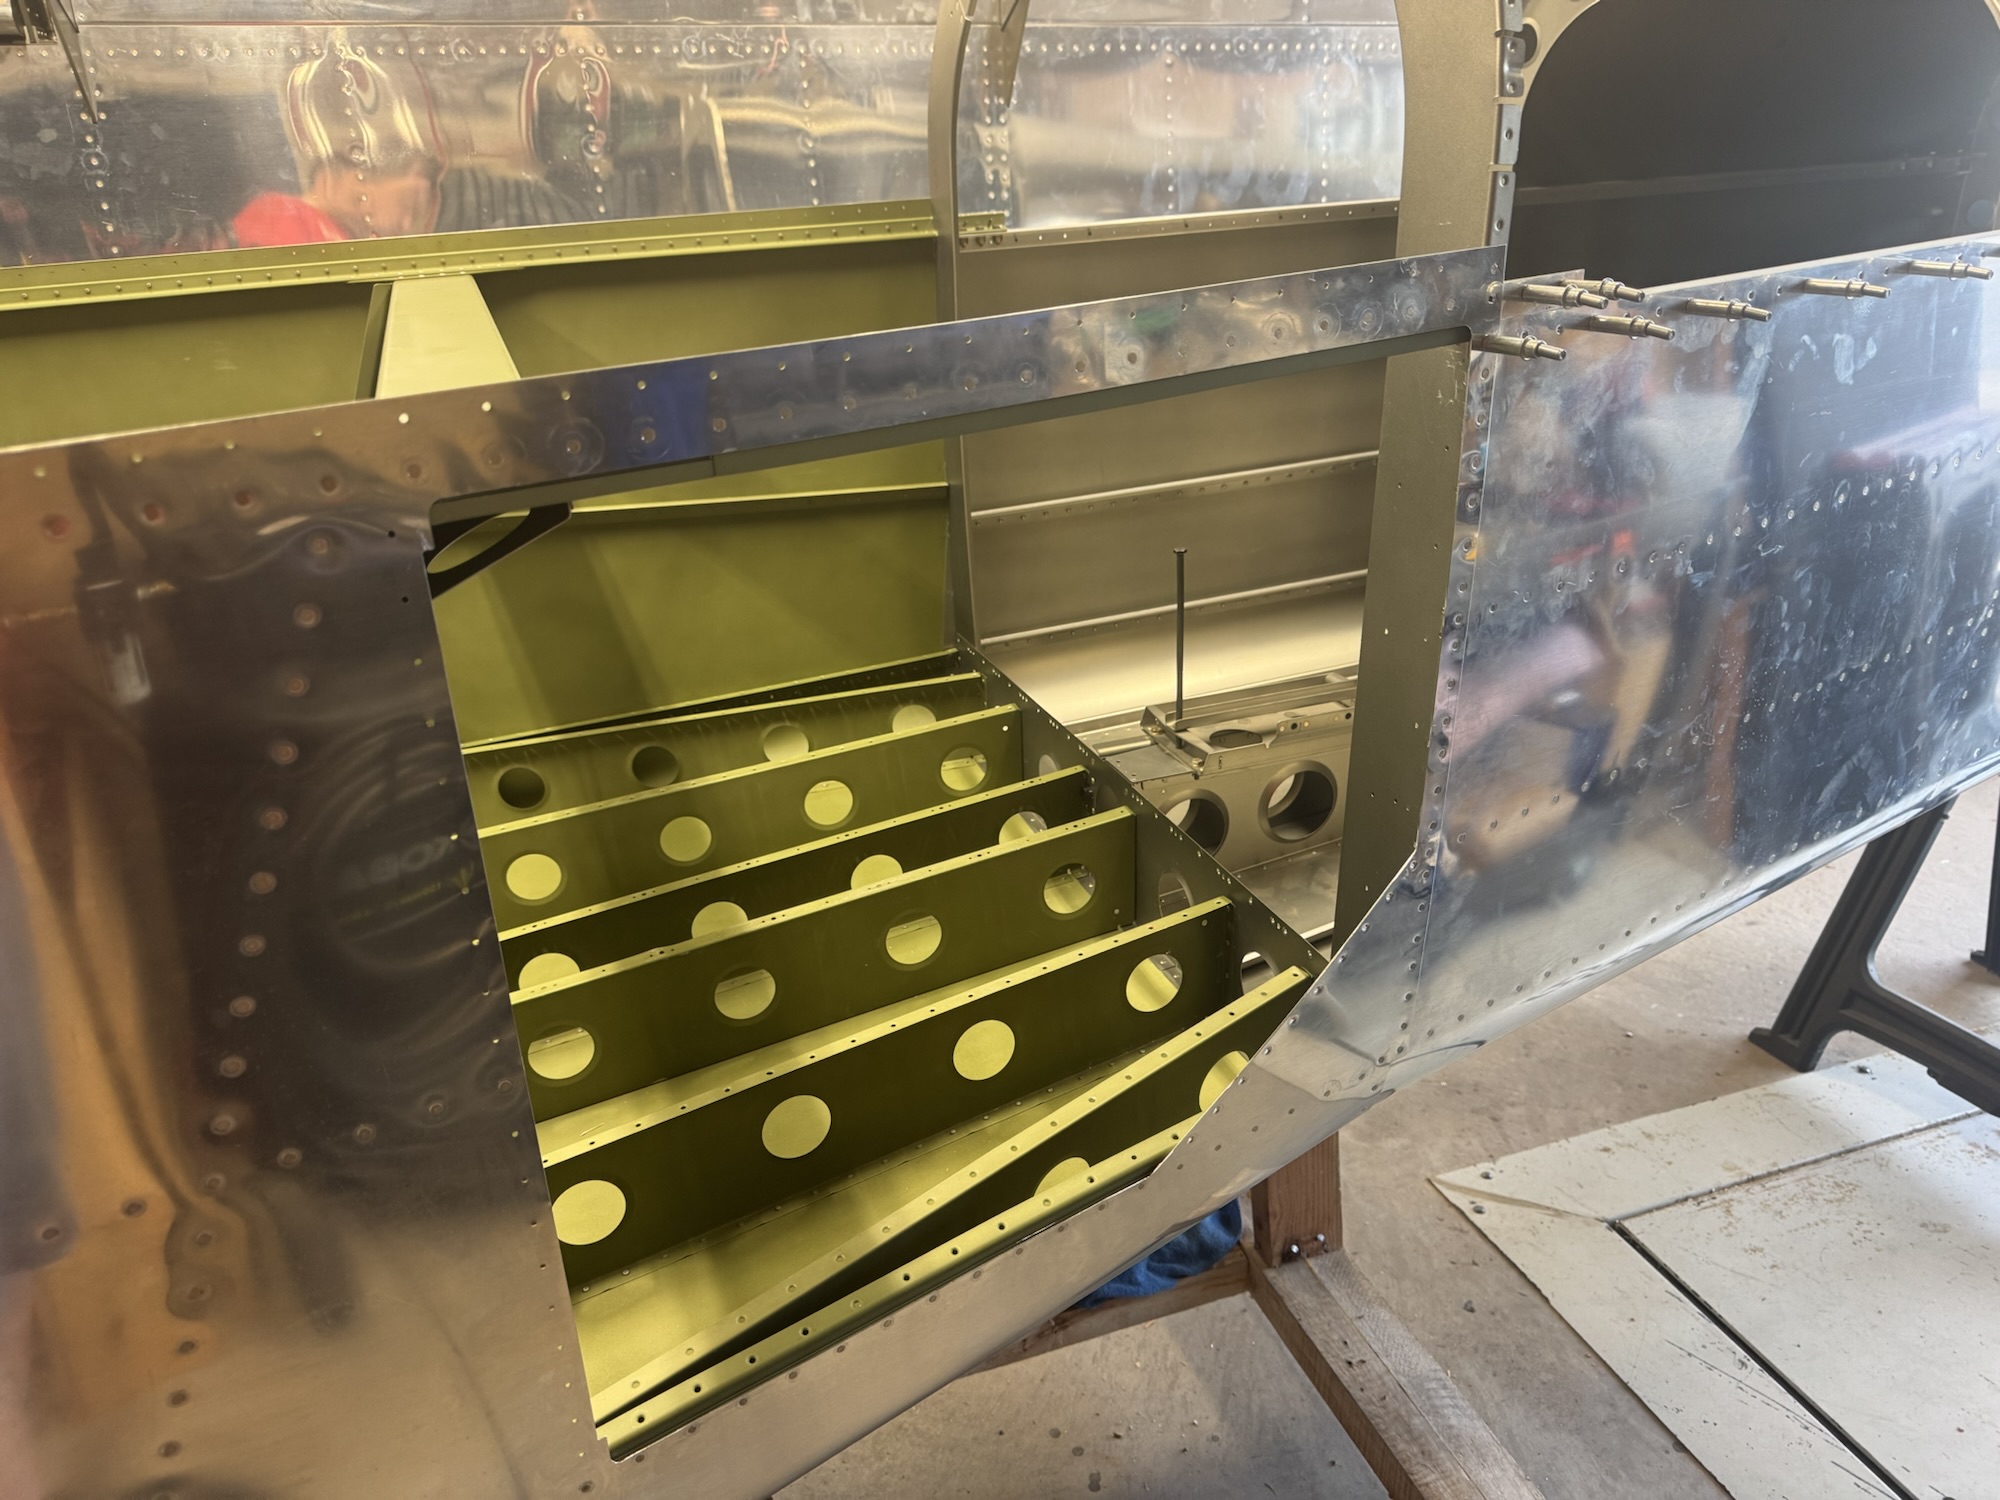
    I didn’t spend too much time today on the build. I feel like I’ve been making so much progress recently I really need to sit down and do proper planning so I don’t seal something up that I need access to. I did at least want to get the conduit run so I did that today. I also got some stuff I knew I needed ordered so that should be here tomorrow or Wednesday. Then I can install the antennas so I know where I need to run the coax and how big of an access panel I need to install as well. I then just really need to sit down and think through everything I will need to run back to the tail and make sure I have plenty of room. I also ordered my large 2AWG wire that will feed power up to the front bus as well as to the starter. I need to order the positive post that will go through the firewall so I can terminate the power wire to that as well as leave the rest terminated there and hanging to where it will connect to the main bus.

  • Rear Floorboards Installed

    I decided I could at least get the rear floorboards installed while I’m finishing my planning for the conduit runs under the rear seats/baggage area. That was a bigger pain than I expected LOL They had solid rivets for the flanges on the sides and rear. There wasn’t an easy place to sit to do the work so I was contorting myself around to get it all done. But they are fully installed now!

  • Rudder Cable Linkages Complete

    Wrapping up this section for now and I will come back to it at a later date. I fabricated all four of the rudder cable linkages and got them installed. I will need to remove them later when I have a bunch of parts to prime so I can prime them. I also still need to tighten down the brake lines that the brass compression fitting won’t fit over right now. I’ll get a heat gun on it soon to try it again. But everything else in this section has been completed!

    I also decided to take a look at how the avionics would look on the panel. I honestly think I’m going to have to have to go with the Aerosport 310 panel to fit everything. I need to find someone that has one installed that I can sit in their plane and see how it affects my ability to use the control stick. I would imagine if it was a big deal not many people would buy it.

  • Brake Lines Finished and Rudder Wire Guides Installed

    I installed the steel braided lines which wasn’t too difficult since it is basically just screwing on both ends. The flexible lines were a bit more of a pain. The brass ferrules that needed to be installed in the ends of the lines were pretty difficult. I tried boiling the lines to soften them which didn’t help as much alone. I ended up finding a bucking bar that gave me good leverage to start the insertion and then boiling the end was somewhat helpful but I found a heat gun with some careful management made it much easier. The only thing I’m lacking is screwing the lines in. The brass compression fitting and nut won’t make contact due to the brass ferrule so I will probably have to heat that up as well to help with screwing the nuts down.

    I then spent the rest of my time putting the rudder cable guides in which wasn’t terribly difficult.

  • Rudder Pedals Installed and Rudder Cables Ran

    Ok, I ended up having more time than I expected. By the time we got to the game we were only 20ish minutes away from kickoff and parking was now way too far away so I dropped the family off and went home. I ran the rudder cables while I was there which was much more difficult than I expected as the bushing they are running through require you to squish them to fit the spade of the rudder cable through it. Which this meant that all of the bushing I had installed previously had to be removed again, push the cable through it forcefully in the correct orientation and then reinstall it by running the cable through first and reseating it. And a few of these were deep in the tailcone which made it VERY difficult to get into without laying in it. But I didn’t want to put all 240lbs of me in the cone so I had to do the very difficult way LOL Either way, I got them run. Come to find out I have the same issue with the nutplates here as I did with the brake line on the firewall. It is a K1000-3 which is a 10-32 thread/size but the bolts they want me to put in there are 8-32…. I’m just going to order a good amount of them from Aircraft Spruce and be done with it. I don’t want to hit up my tech counselor every time I need one or two bolts. So I’ll bolt down the rear adel clamps which hold the rudder cabling sheath in place at the tail of the aircraft when I get those in. Oh, and I installed the brake reservoir on the firewall which didn’t take but 5ish minutes.

    When I got home from picking the family up from the game I got the rudder pedal system installed. This took some drilling, cutting in half, and mounting of these plastic like blocks. I know it is a durable plastic but I don’t know what kind it is. Either way it made it where the pedals were pretty slick and moved well. All in all it was a good day’s work with three posts today.

  • Rudder Pedals Assembled

    I didn’t get a ton of time today as I have a baptism that I get to attend and then my son is playing in the OU band tonight for their high school recruitment night so I got as much as I could done. I got the pedals assembled, installed, and the brake master cylinders bolted on. I also got the fittings installed on them and now I just need to install the rudder pedals into the plane. I need to see if they sent me a brake reservoir with my brake kit. I’m not finding it but it also could be in storage. I’ll swing by there after the baptism and see if I forgot it when I went last time.

  • Rudder Pedals Cut, Deburred, and Primed

    While I’m still waiting to decide on what fuel system I want to use, I went ahead and started section 37 which is the installation of the rudder pedals, brake cylinders, and rudder cabling. So the title pretty much wraps up the total time I’m counting in this post for this section. Though I did have a visit from my EAA tech counselor today who graciously delivered me a 10-32 screw for the front firewall brake lines LOL I hope to have a hardware repository like him someday. I also got the additional hardware storage in today so I finished putting that away.

  • Front Floorboards Installed

    I realized as I was going back through the sections and double checking their work that they didn’t do two things. One was install the front floor boards permanently and two was to secure the rear vents. I got both of those done today though it took quite a bit of time just because of how many rivets there were and the angles that they were at. Good to have it done and secure now!

  • Brake Lines Complete (Almost)

    I decided to move forward with some of the sections that I knew needed to be done and would not interfere with the other sections I was jumping past. So I decided to do the brake lines. A pretty easy section in terms of how much time that was needed to complete it. The only discrepancy I found was that on the rubber mounts that isolate the brake lines from the airframe stated I was to use 8 of the clamps and then 8 AN515-8R8 screws. But I only have 7 holes to screw into because the firewall mount was to be shared between the two clamps up there. Also, come to realize, the nutplate on the firewall is meant for an 10/32 thread not an 8/32 which is what the manual stated. So I’m going to have to see what the equivalent is for an AN515-8 and I need it to be longer too as the 8 size was too short. I need it to be a 10 size or 12. Either way, I bet you someone in the forums has had the same issue so I’ll take a look at what they did. Here are pictures of the work from tonight.

    I also printed more of the avionics that I’ll be using. I have quite a few to go still.

  • Empennage Attached

    Empennage Attached

    I finished the empennage today with some help from Brendon and Kate. Trying to work on the ground while also having to be in the fuselage was not going to work with just one person. But all of the rivets have been set. I am surprised that they didn’t install these edges that attach to the skin that the baggage floor rests on. They didn’t need to be off for the empennage to be set and it even has them install it in earlier sections. Either way I went back and installed those along with the shims that go with the baggage door opening side. I guess they wanted more strength there since that is where luggage will be entering. Either way it looks good and is ready for the next step! I need to see what parts are needed as I left some parts in storage so I might need to bring some of those back soon.