Category: Fuselage

  • Dimpling/Countersinking Complete – First Rivets

    Dimpling/Countersinking Complete – First Rivets

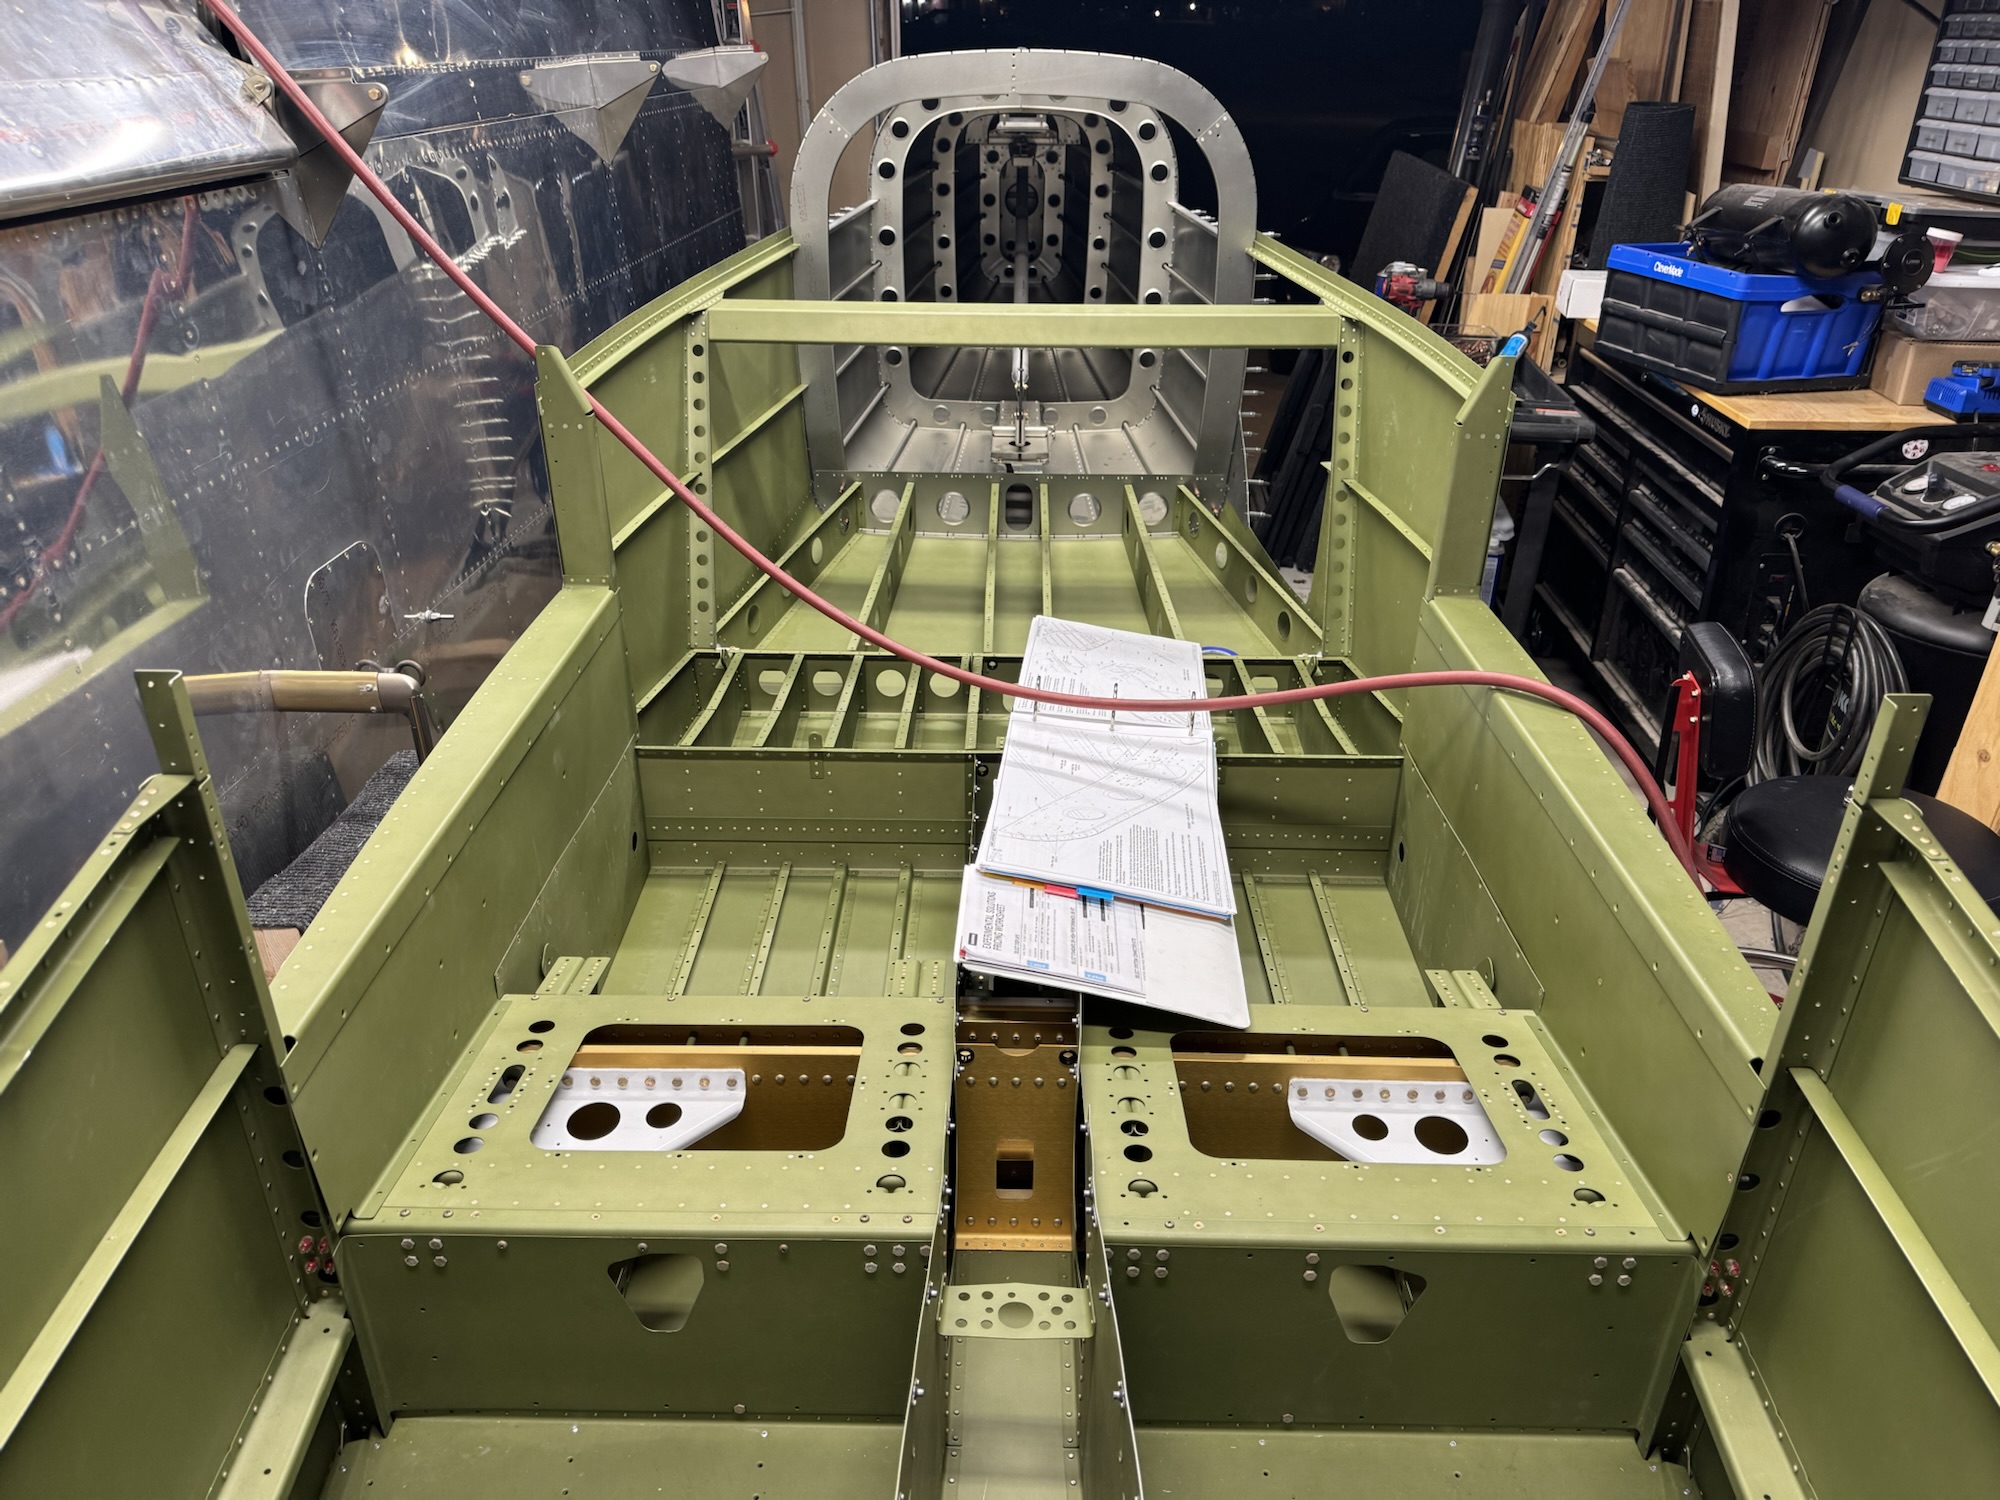
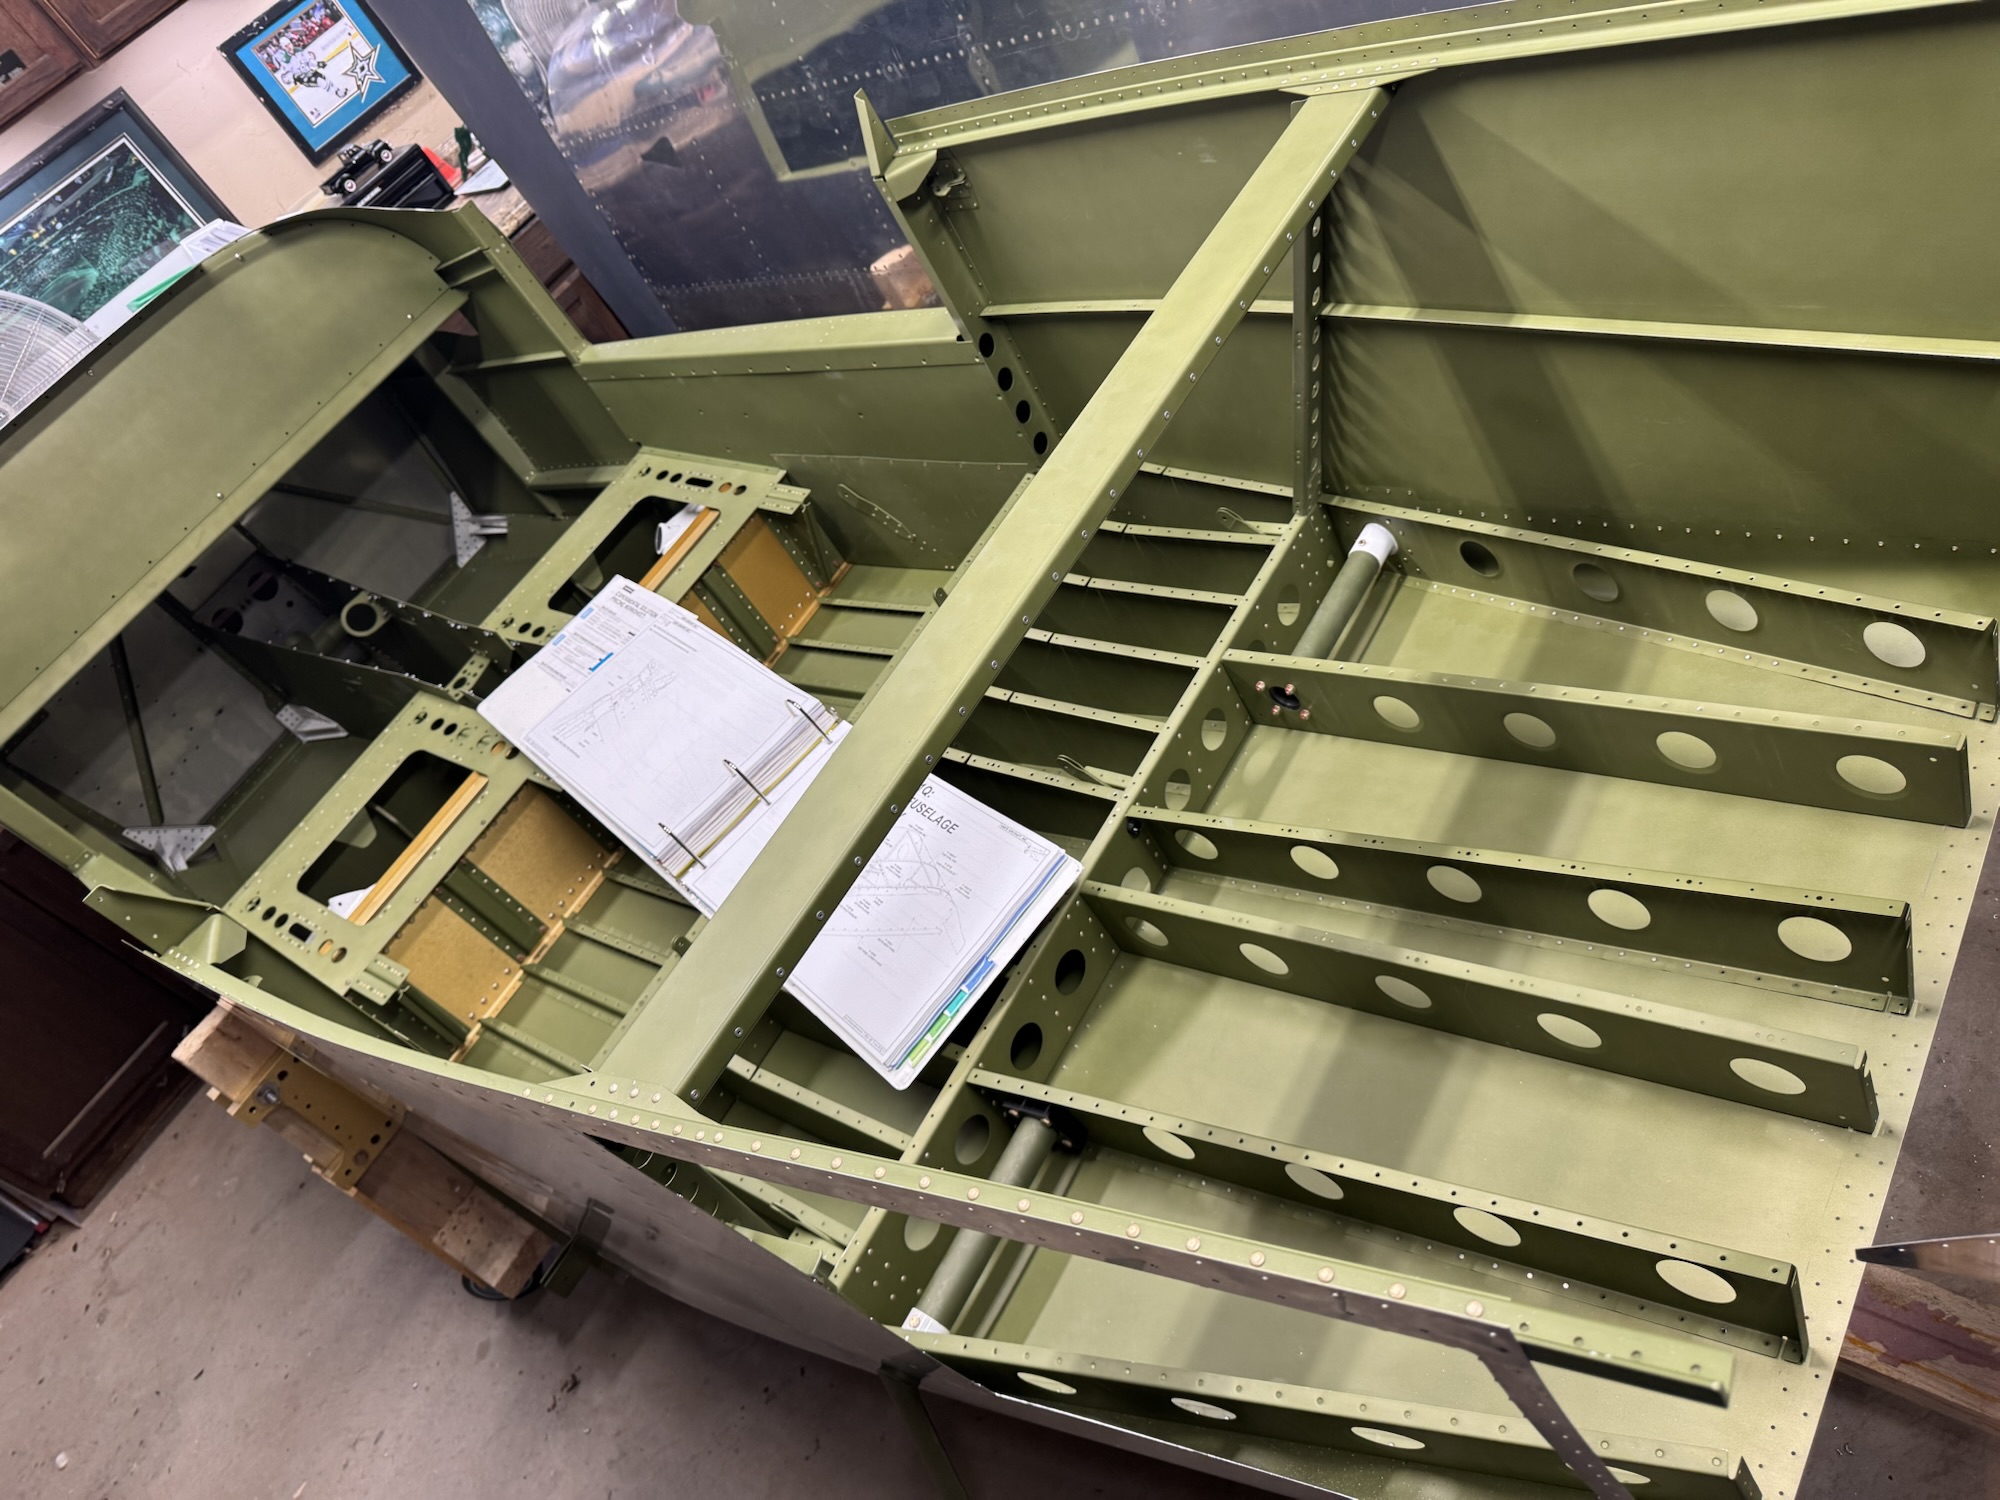
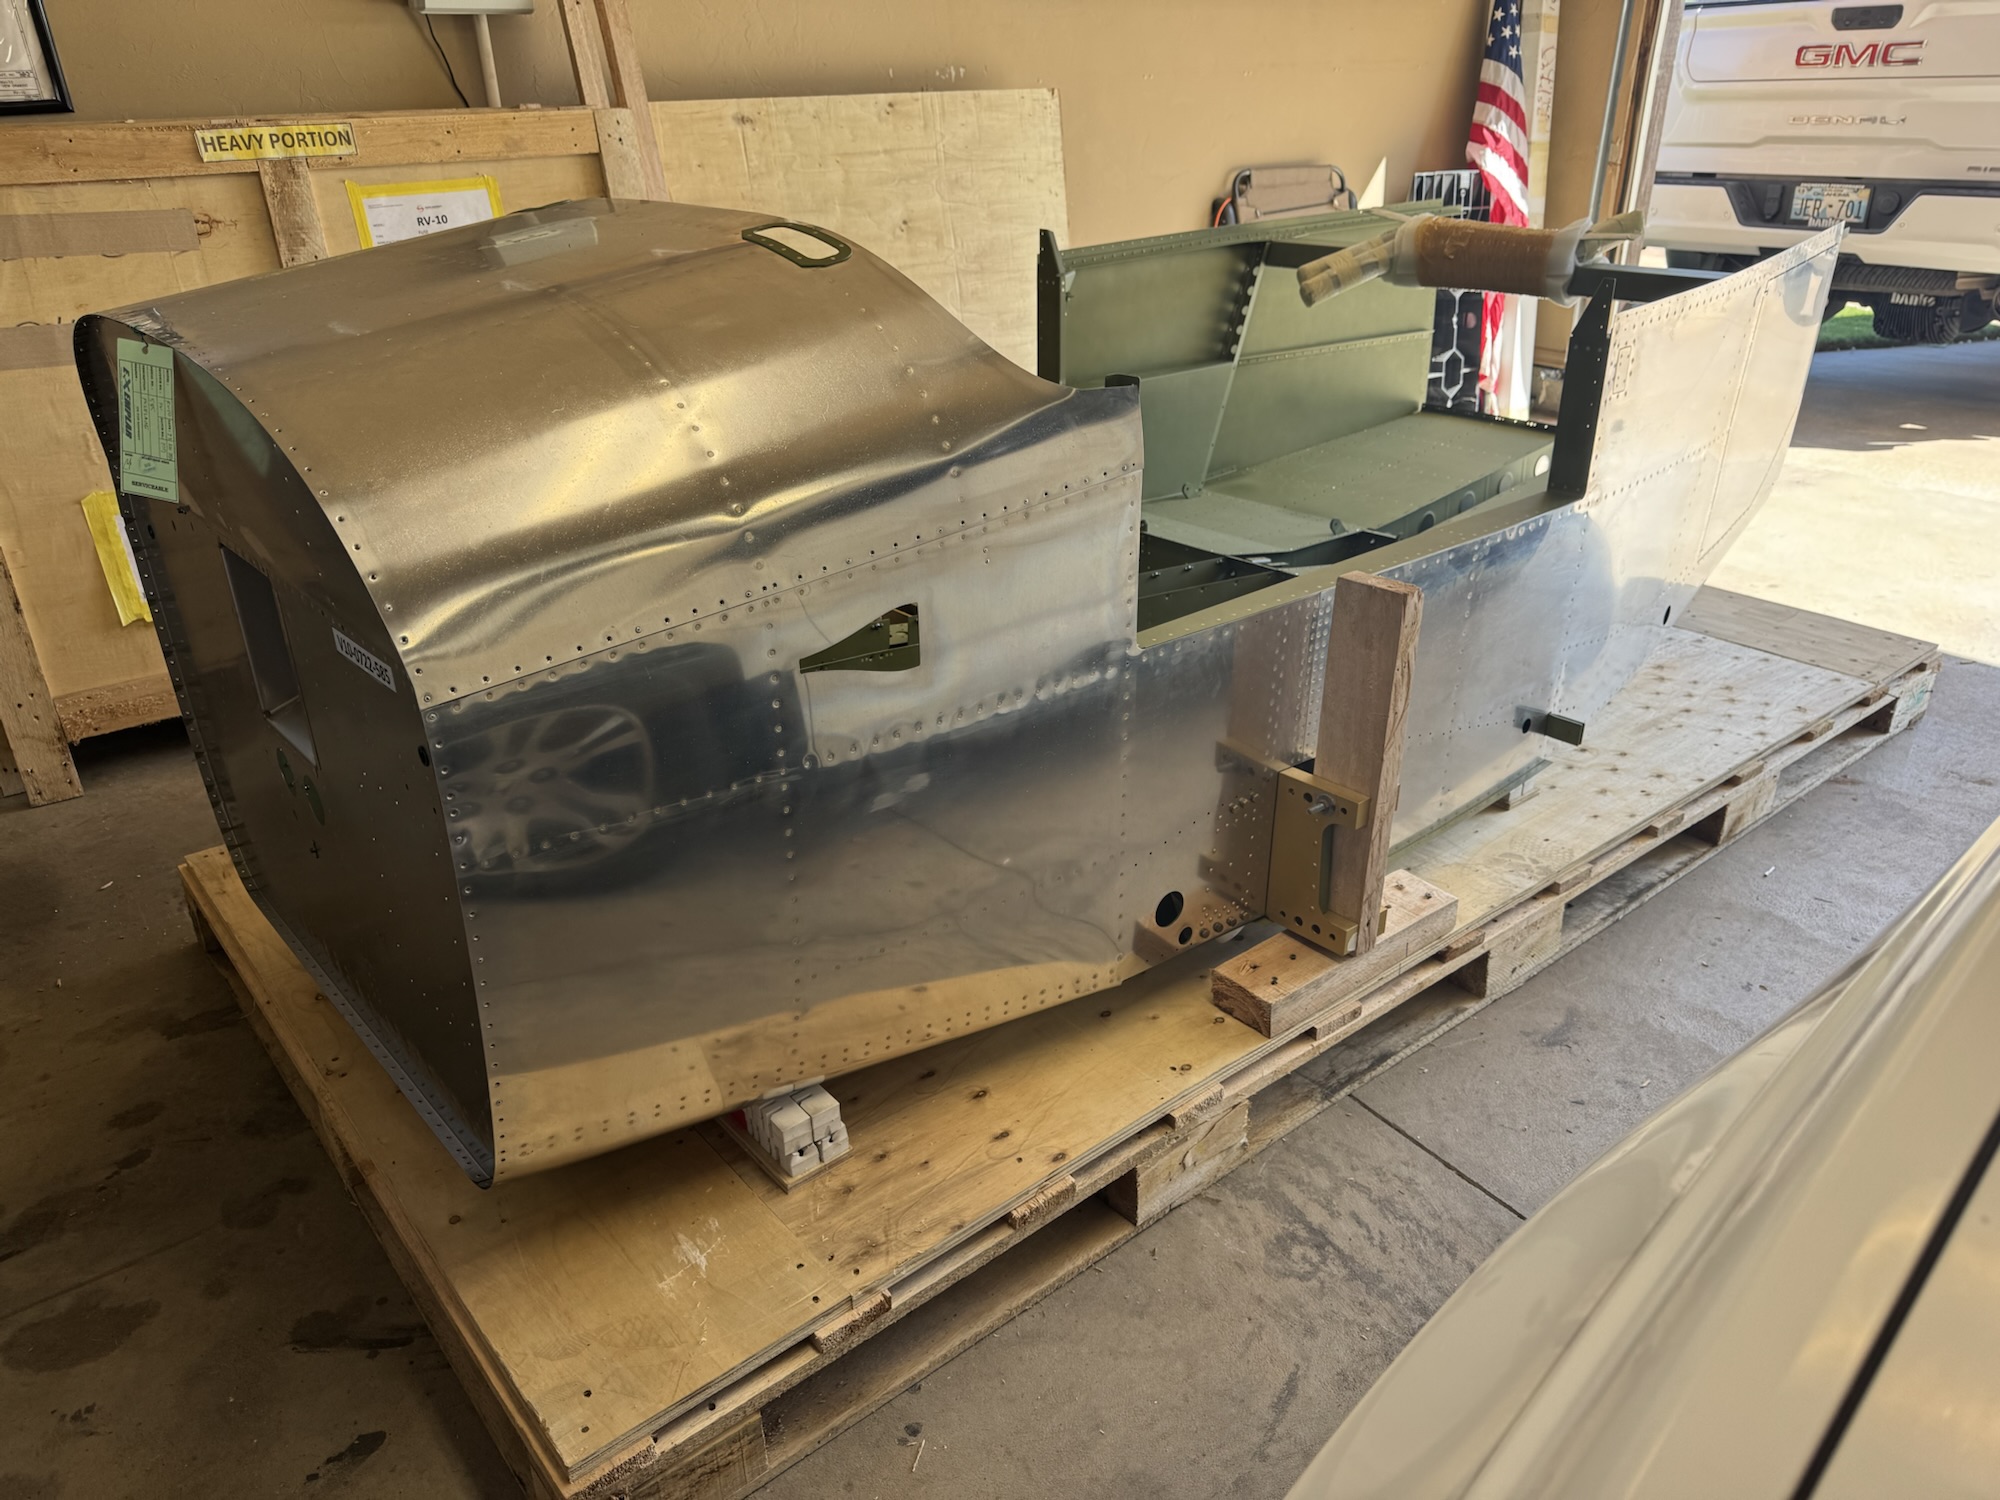
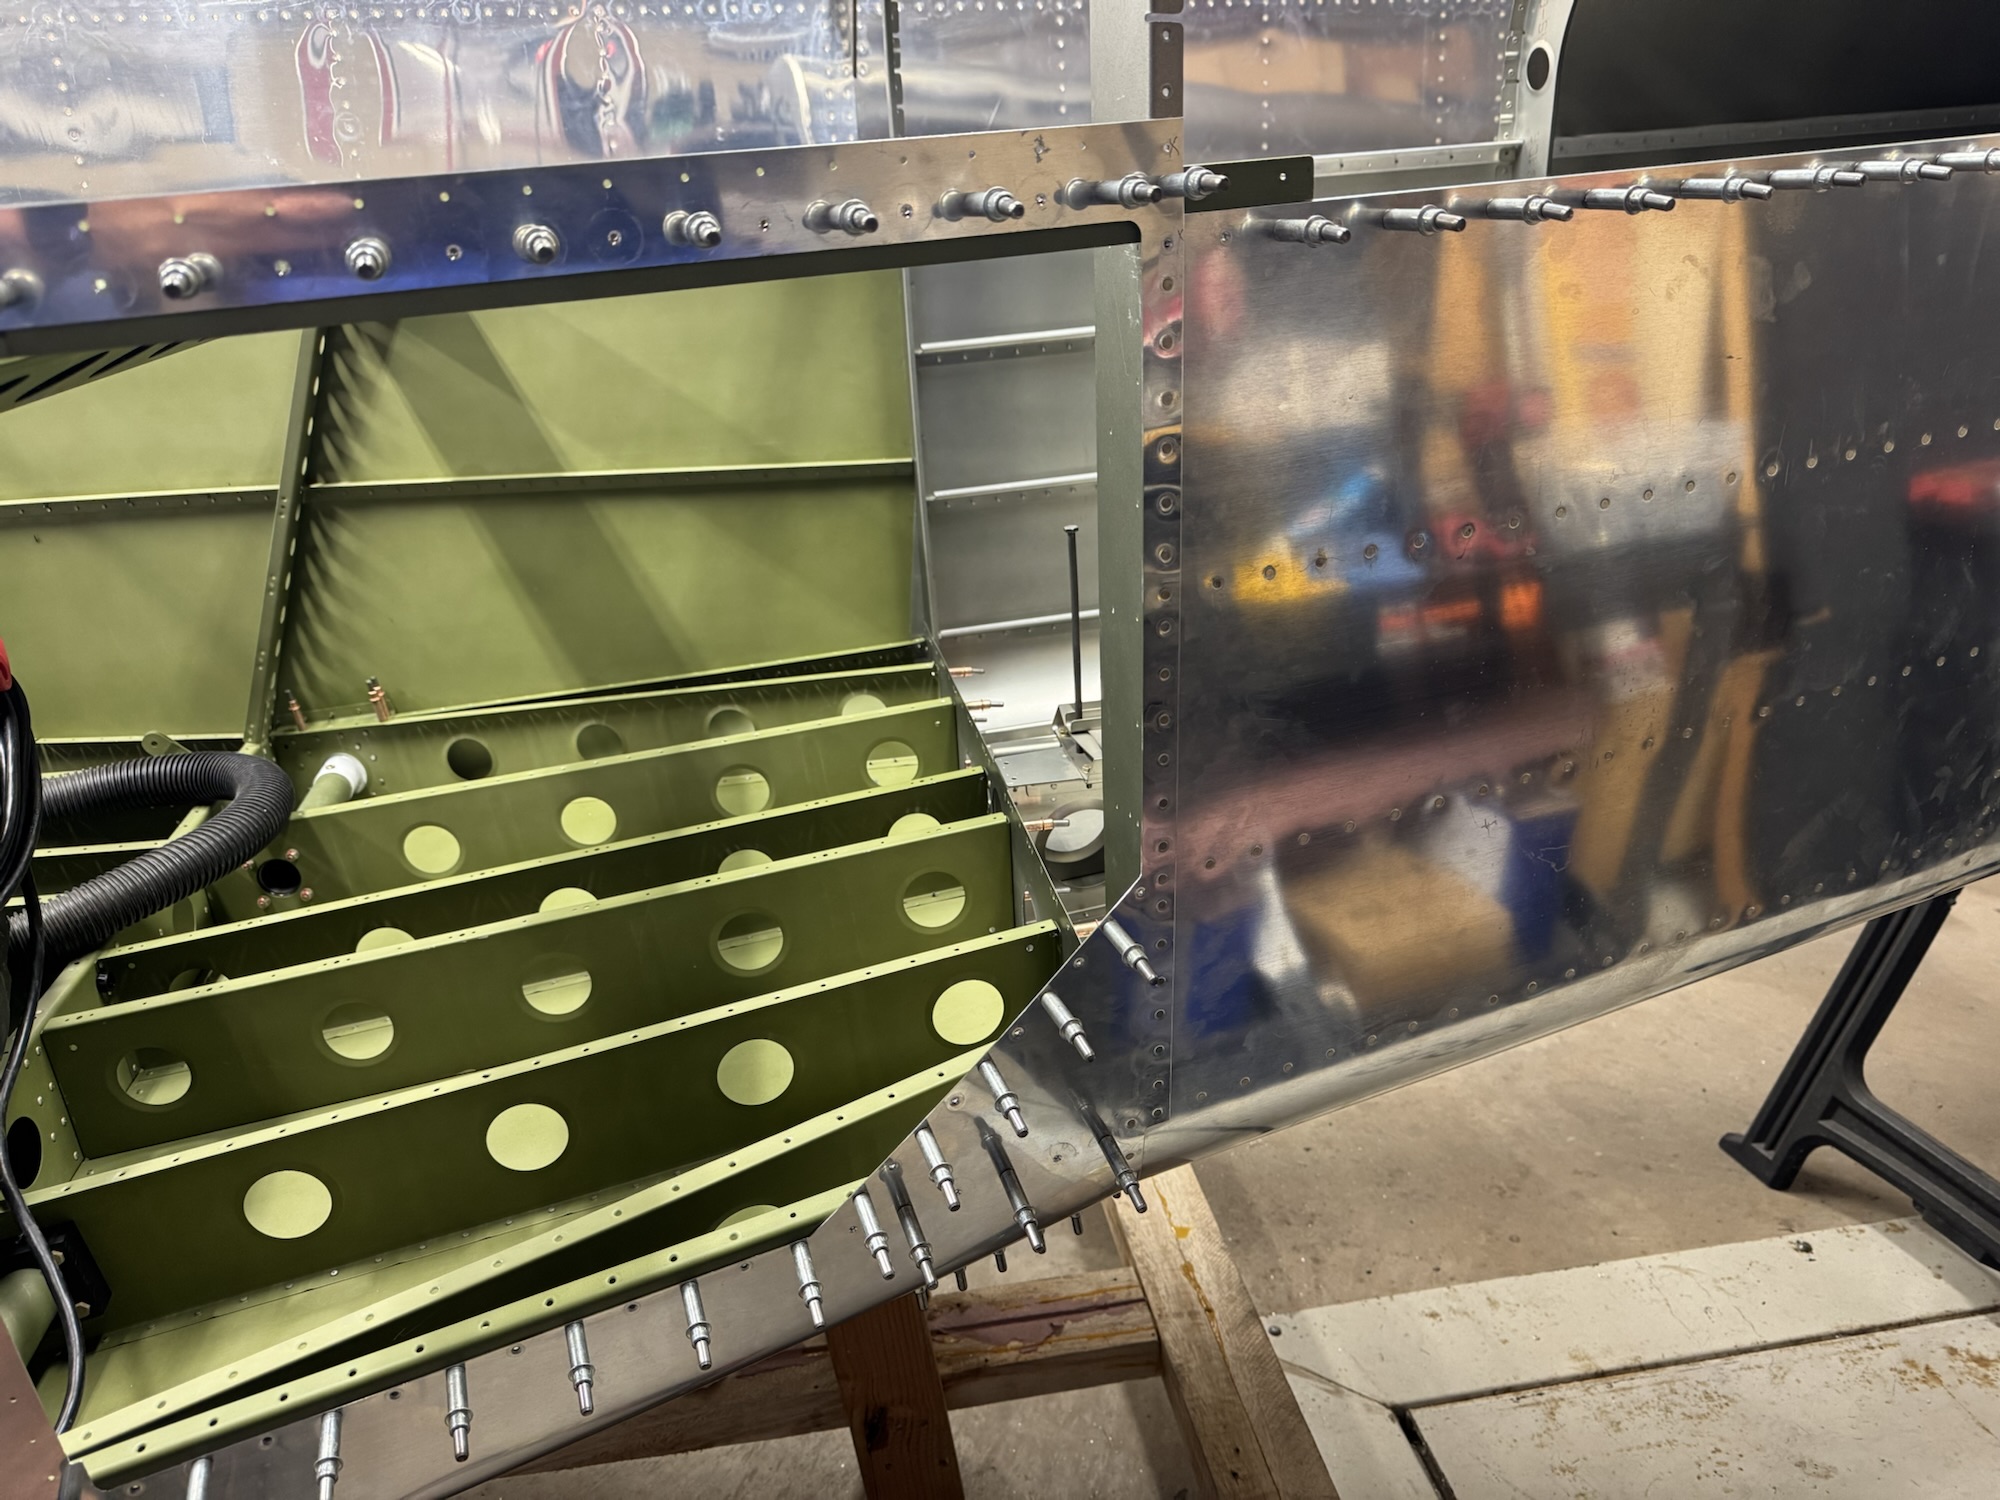
    Lots of work that is hard to show in this picture, but I got everything match drilled, deburred, and dimpled. I then got the tailcone back on. I ended up having an easier time doing it myself by putting the tailcone on a single saw horse but almost perfectly balanced but a little heavier towards the fuselage. That allowed me to work each side in much easier. I got everything reassembled like the picture from yesterday and I got one side of the riveting done along the F-1006 bulkhead. Tomorrow I hope to finish all of the riveting but we’ll see. I need to work on my boys’ car as it has had a transmission leak for quite a while and I’m done with the fluid stain on the driveway and I want to fix the leak first before I use the cleaner. I suspect the drive shaft seals from when I swapped the engines out and I might have messed them up when inserting the drive shafts.

  • Bulkheads and Longerons Match-drilled

    Bulkheads and Longerons Match-drilled

    I didn’t get a ton of time today to work, but I did get all of the mating surfaces inside the plane match drilled. I got the shims fabricated for the trailing end of the top longeron to skin so there’s identical thickness of skin and no odd pillowing of the skin when I rivet it. I got the top skin mounted so that I can match drill the external skins tomorrow. Once that is done I’ll have to pull this apart to deburr and dimple and then reassemble it for the last time to rivet it together.

  • Initial Joining of Empennage and Fuselage

    Initial Joining of Empennage and Fuselage

    I got all of the bulkheads drilled and dimpled. The rest of the night was mating up the empennage. The left longeron was a bit long with what they had from the factory on the fuselage. The longeron that was on the empennage was just the right length with the edge distances that were required for the rivets. So it took alot of time filing the longeron on the fuselage down but I finally got it at the right depth. It is definitely alot of work to get everything to fit together but it fits. I will start match drilling the holes tomorrow after I verify that everything lines up and after I get back from helping someone pickup a food order from the Bishop’s storehouse.

    Oh I almost forgot. I also removed the upper forward fuselage that they had temporarily pop riveted into place. That didn’t take too long though.

  • Quickbuild Inspection & Initial Work

    Quickbuild Inspection & Initial Work

    Tonight was the first real night of fuselage work. I had to remove the pop rivets they installed to hold down the components that they did not perform the final install on. I then inspected their work which was really good! They did an excellent job with all of their rivets, fabrication, and primer work. I got the rear steps installed and I removed the baggage door and started deburring it all. I also got some time today to start my wiring diagrams. The block diagram appears complete so I started reviewing the documentation so that I could get the connector pin outs documented for what I will be using.

  • Cradle Done and Wiring Block Diagram Started

    Cradle Done and Wiring Block Diagram Started

    I spent quite a bit of time in Visio working on the block diagram. I know the components I want/need in the plane so now I just need to document how they will connect to each other as well as the redundant paths in case one of the methods goes awry. When Brendon got home from school I got him and Andrew to help me out in moving the fuselage to the cradle. It worked pretty well and it is surprisingly stable which makes sense with the main portion going through the spar of the plane. It is VERY tight in the garage right now so I will definitely need to take the wings to storage as soon as possible. I just need to find a safe way to do it. I will probably have to move them one at a time as I don’t think they will both fit in the trailer at the same time without overlapping and creating an opportunity for scratching. Either way, here’s pictures from the work today. Note: The block diagram is not 100% finished yet. I still have a bunch of documentation to validate what is needed, etc.

  • Additional Cradle Work

    Additional Cradle Work

    After looking at the cradle and thinking about the stability I want, I decided to put some additional length and width to the rear. This will allow me to adjust the cradle after I get the empennage attached so that it will support it a little bit better. But hopefully I won’t have to use this for too long as I got the rotisserie from the club which should be what I use for the majority of the build while it is not on its wheels. Either way, I used as much of the timber from the crate as I could which appears that some of it was made out of balsa…. It should be sturdy enough with how big of a block it is but it does give me some pause. I need one more wheel which I will pick up tomorrow and then I can move the spar mount brackets they had from the crate onto the cradle for my forward mount and then I have some additional 2×4’s which I can use to mount along the middle spar of the cradle to support the rear.

  • Fuselage and Empennage Retrieved and Cradle Build

    Fuselage and Empennage Retrieved and Cradle Build

    I got the fuselage and empennage today from storage. Took quite a bit of moving stuff around but we got it figured out. I got the fuselage removed from the crate and I started working on building a cradle. I think I might need to make it a bit longer though as the wood I used from the crate wasn’t long enough. Luckily I have plenty more where that came from to make it longer. I also ordered my magnetometer and one of the autopilot servos so that I can 100% finish the wings. I still need to determine how I want to terminate everything at the inboard wing rib but I’ll do more research tomorrow