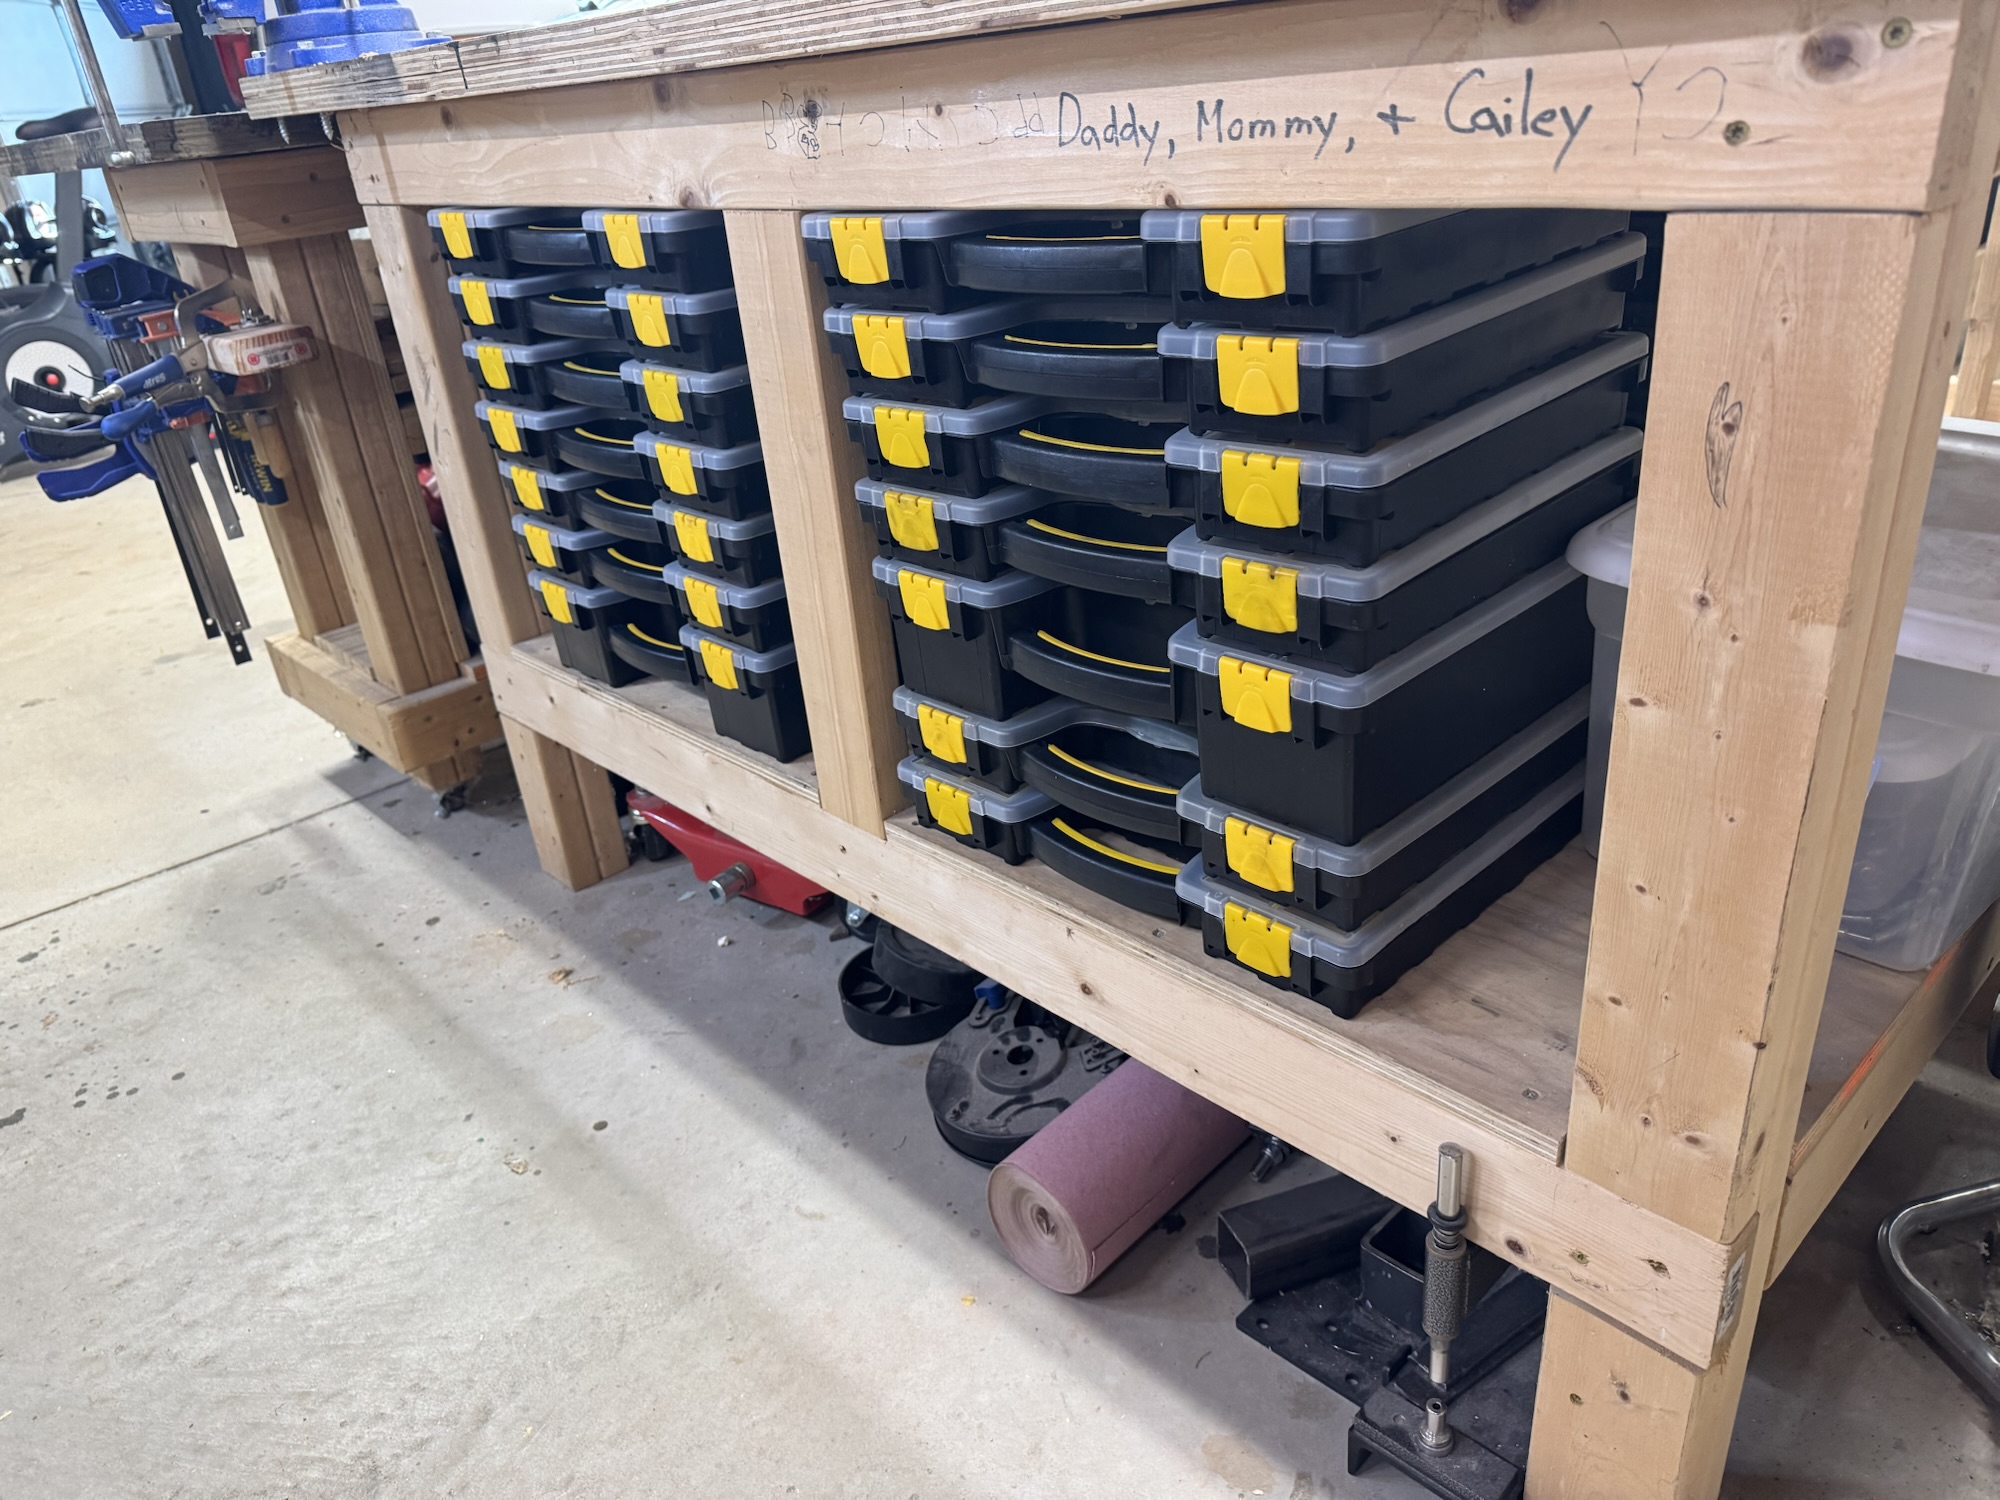
I’ve been extremely busy with church related activities as well as trying to improve my own processes while building. I am constantly dealing with my poor organization of my hardware (minus really my aviation hardware which gave me an opportunity to try things out). So I finalized organizing all of my hardware so I have more space to store tools and other items out of the way while I am building, like my bench vice, grinder, bench sander, etc. I also organized my clamps which was simple with just a 2×4 with some pocket screw holes added to my existing cart, which this also cleared out more space for tools. I also put in a shelf on the wall for my larger items like my drill press and bandsaw so I don’t have to store it out in the shed and it will be close by for me.
Hardware storage
More hardware storage
Shelf for large items
Clamp storage
I also got a call done with Van’s builder support. They were extremely helpful and deep in their explanation on the design of the airplane and other things. Long story short, the hold I drilled accidentally is fine to be left there. I will just need to swap the hardware for the nut plate from the MS21051-L08 to the K-1008. He said I can use a spare piece of aluminum as a backer for the nut plate to go against on that side since there probably won’t be enough material in that place. I’ll have to take a look at that closer when I get a chance. The other item had to do with the holes for those nutplates being close to the edge. He stated that this is acceptable since it is just holding the nutplate in place and that they had changed the design of the part. So I am good to build on and not replace any parts! Hopefully here soon I will get a chance to get more time allocated to this when I finalize my capstone for my WGU MBA in Information Technology here soon!
I spent just a small amount of time making sure that the holes for the skins and the ribs were already final sized. I picked a few random holes and they all were exactly the size they need to be. I spent alot of my time over the past few days reorganizing, getting some tools that will help alleviate some issues and doing some research.
First, my plans binder is getting too full. I ordered a larger one and got it split out with tabs now and with some plastic sleeves for putting pages in from service bulletins, purchased item manuals and installation instructions, etc. I’m just waiting on the bigger binder now to come in and I’ll transfer all of that work into the new binder.
Second, I ordered a few additional rivet sets that I found were going to be helpful in elevating my build quality. First was the Boeing rivet set. It is a truly flush rivet set with a polyurethane rim. My previous flush rivet set that I’d used the most had a thick rubber cup around the outside of it that solved my first flush rivet sets issue of moving around on me, but it added a new one where I couldn’t see in to make sure I was directly on the rivet and not setting a rivet slightly high in the hole. This one has the transparent polyurethane rim that will let me see through to make sure I’m on. Also, it truly looks like it is flatter than the previous two sets I had. They were just so curved that it was difficult to stay directly flat on the rivet without constant monitoring. I guess I just need to bring my boys out more often to help me rivet LOL.
Third, I ordered some 7.5″ and 10″ AN470 rivet sets. The offset rivet set is just not functional and I feel like I’m losing power to set the rivets. It took me about 20 seconds of riveting to set the rivets this last time, but without changing any air settings I could set a rivet in 2 seconds with the straight set. So hopefully this will decrease the wear on my body while trying to set rivets in those harder to reach places. I also read from a forum that if you use some tape on the offset rivet set then that is also helpful. Fingers crossed this works.
And fourth, and the most expensive of all was that I bought a 3D printer. I bought a Bambu X1C which will be coming in February. I’ve seen from Allan Glen’s build logs that he has printed many parts, jigs, and tools that help him be accurate with his build and make things function properly and look cleaner. I’ve already used some of his prints but I was having a friend print them. I didn’t want to bother him too much so I decided to get my own. This way I can print tools or jigs and if they are slightly off and need reprinting I don’t have to bug anyone and I can have it redone in a short amount of time. I picked the X1C because it was reviewed to be easy to use with little tweaking and it could also print in polycarbonate, fiberglass reinforced, as well as carbon reinforced materials. Fingers crossed this will not be a waste of money, but my friends at work and at church have all said that they’ve been printing so many things to fix things in their life or to make a solution that doesn’t exist. I also have my son, Andrew, who has been taking a CAD class in high school for the past year and a half so he should be able to show me the ropes in the CAD software.
I also found through Allan’s page that there is an avionics wiring class from the Aircraft Electronics Association called “Avionics Installation for Experimental Aircraft” that they host in Kansas City that is basically a three day course on how to plan, design, and implement your avionics solution. I really want to take that course and since it is fairly close to home, we might just take a small family vacation up there this summer so I can take the class and the kids can go around and have fun.
And finally, one thing I don’t want to forget is Allan mentioned using this 3M Scotch-Weld DP2216 Epoxy Adhesive for things around the airplane where you don’t want to use the ProSeal. I’ll have to see where I might use it instead but I at least want to document it in a post so I can reference it again in the future.
I had been limping along with a small and inexpensive Bessey 4″ vise that I got from Home Depot a while back. It was rusting pretty bad and I couldn’t seem to get it to grip anything anymore like it should. I didn’t feel like using a cheater bar because the I honestly don’t think the vise would take it.
I started my research to find a practical vise that wasn’t going to cost me an arm and a leg. I’ve started going to Lowe’s more often to get descent tools that aren’t going to break the bank. I still make the occasional trip to Home Depot, but it’s further away from home, thus making Lowe’s more convenient. But, I found some nice Irwin vises there. They had the normal small 4″ style vise, which I wasn’t interested in. There were two models that I was looking at.
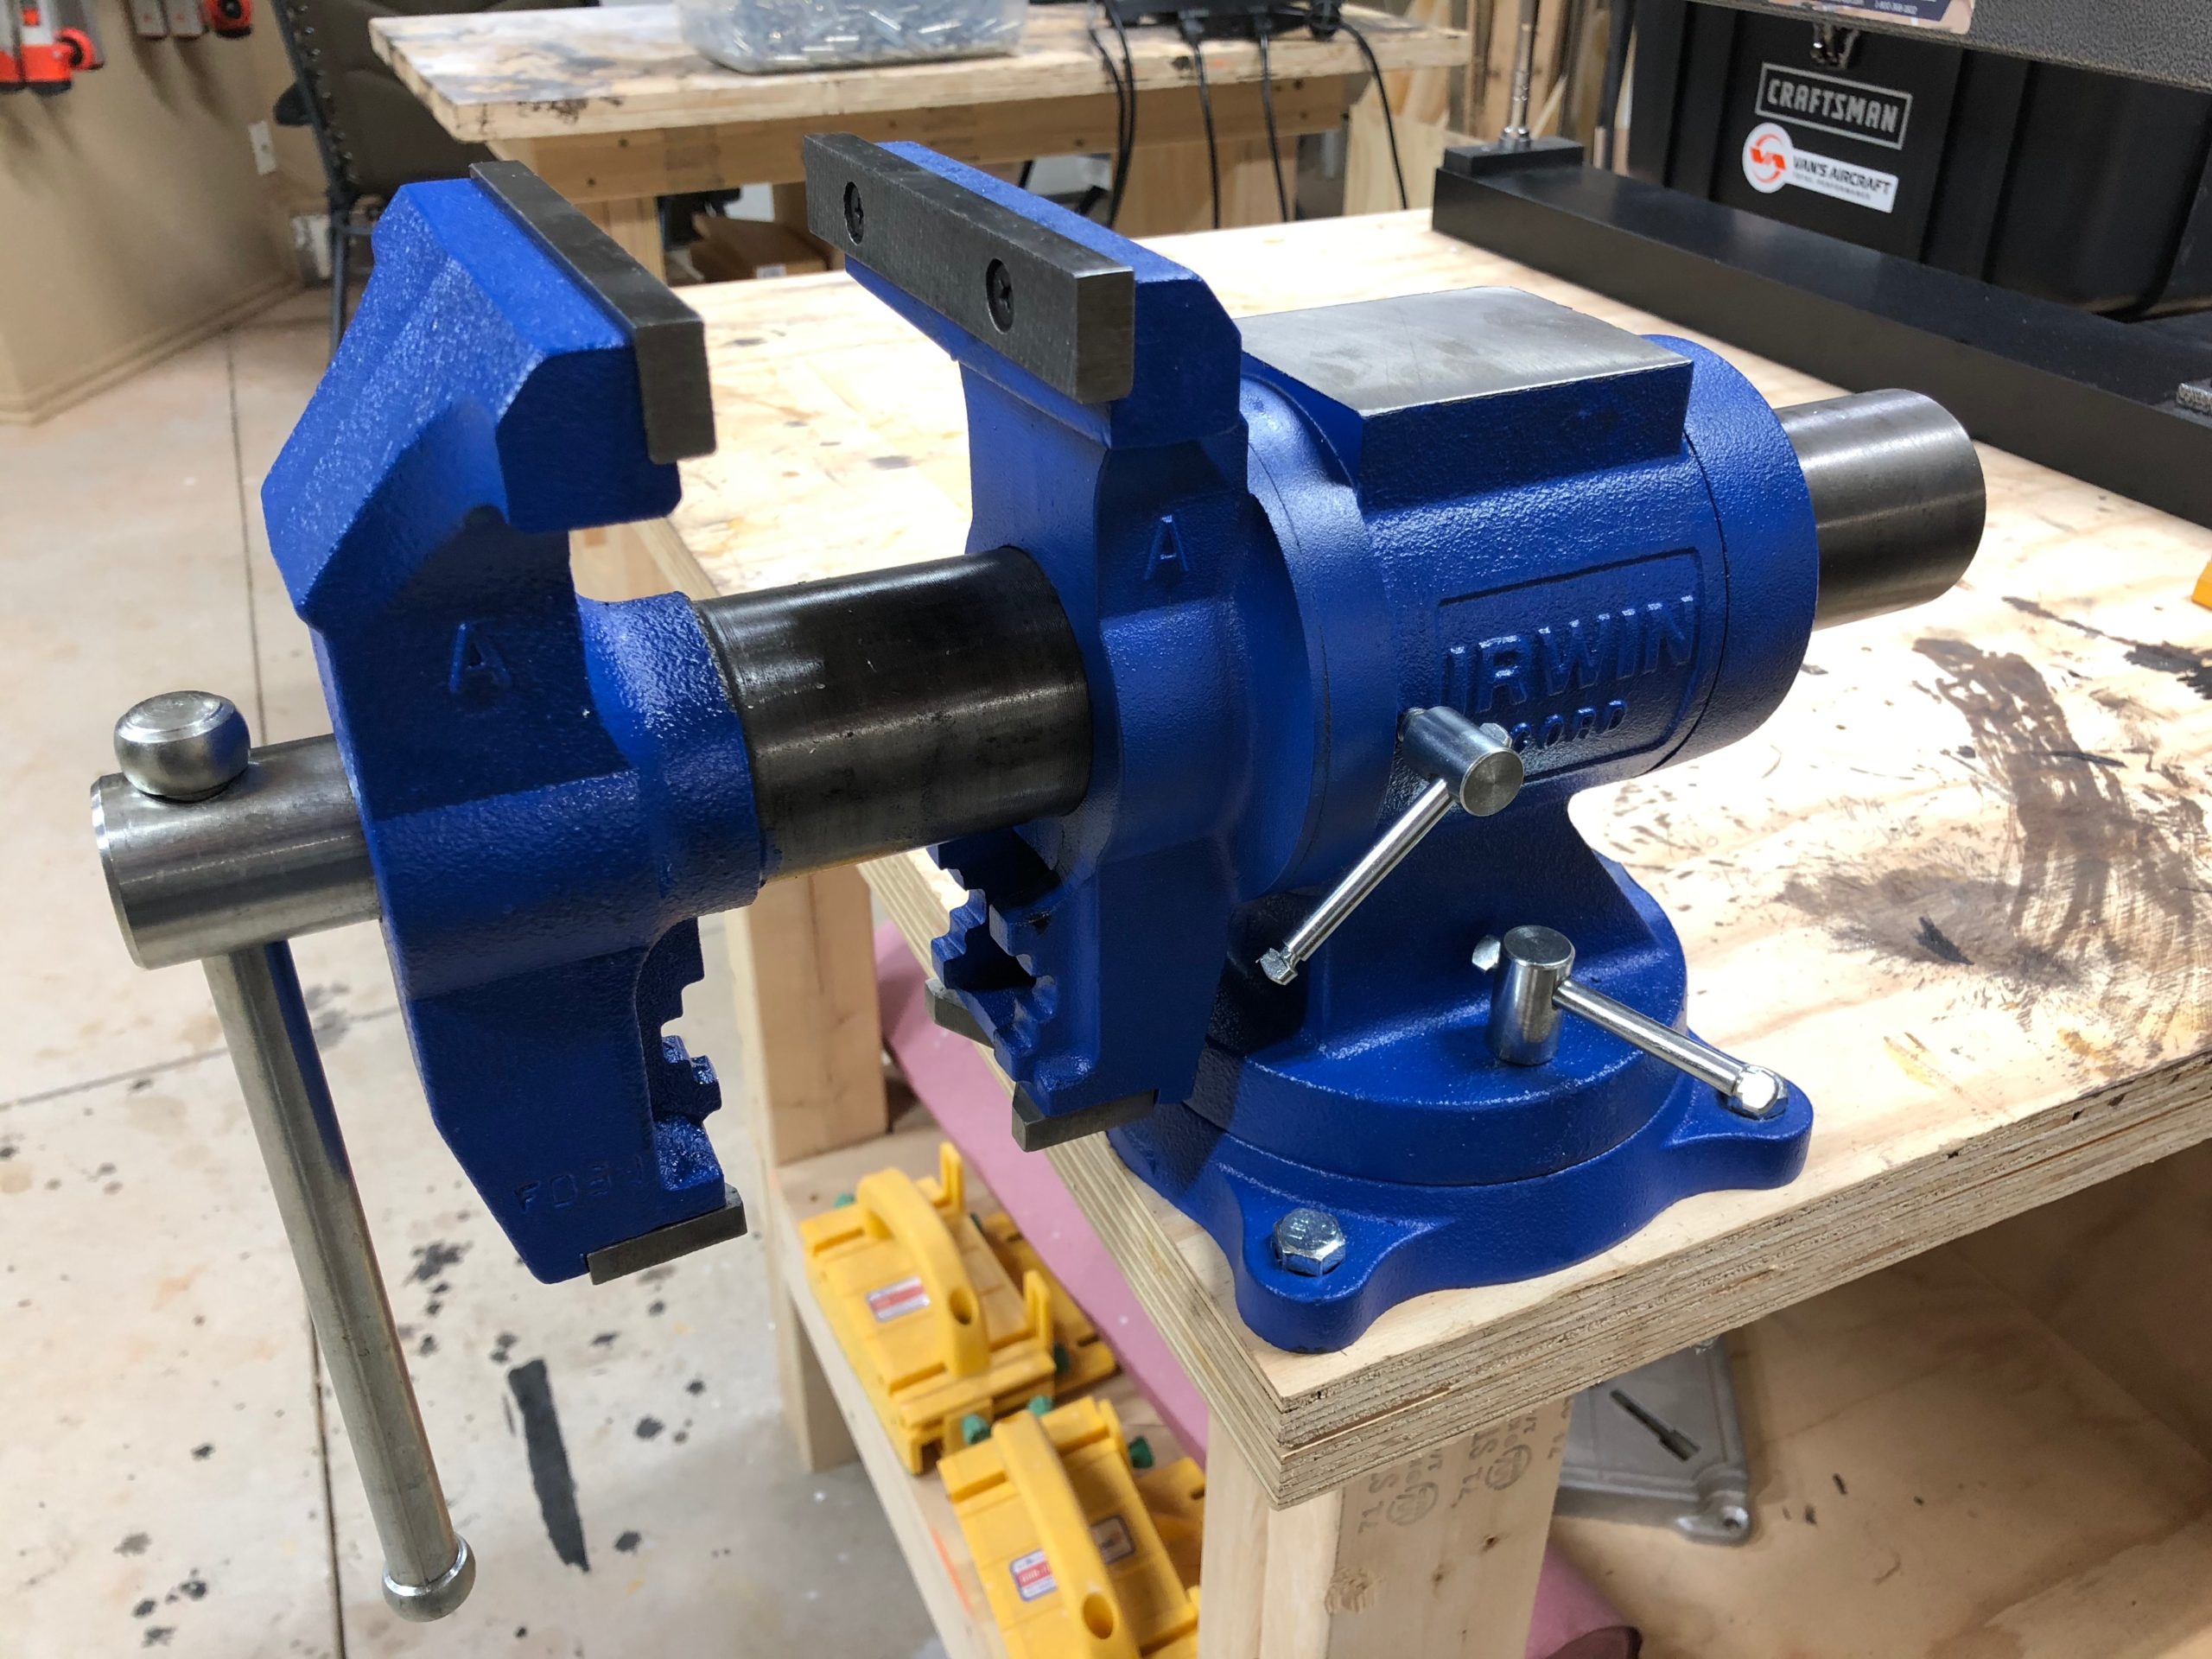
The first was the Irwin 5″ Multi-purpose vise. This was intriguing because it had a rotating jaw section of the rise. It rotates 360 degrees, while the base only rotates 120 degrees. I wasn’t as concerned about the base rotating very far, but I didn’t want a fixed base either. It also had a very nice anvil section which was much larger than the laughable almost one inch square I had on my previous anvil.
The second option was the Irwin 6″ Mechanics vise. This is just like your normal vise. The vise jaws were fixed on the vertical plane, but the base could rotate up to 120 degrees as well. I liked having another inch of surface area for clamping down on material.
I eventually chose the Irwin 5″ Multi-purpose vise. Below are pictures of the vise installed. I had already used it for some of the project work today, but felt I should cover this as part of the costs I’ve spent for this build.
Vise in the horizontal positionVise in the vertical position (It can go to the other side as well)View from above
I also found some great soft grip vise pads with magnets on Amazon. They were the Trisense 6″ Vise Jaw pads. These are very well built and have a very soft rubber to cushion the part in the vise. The only problem I have is that the magnets are not as strong as they lead you to believe. Granted, this is meant for a 6″ vise, but all four of the magnets are engaged on the vise, so it should hold securely no matter what. But it quite often ends up falling off and I have to reattach it.
Trisense vise padsMagnetic side of the pads. These are not at strong as they should bePads installed
All in all, this is working very well so far and does not mar the parts that I’ve put in there. I had to repair a wooden draw pull and this was the easiest thing to hold the drawer pull together while the glue dried. It did not leave any marks on the wood and held the piece solidly together. I would recommend both of these for a good vise and hopefully I’ll be able to provide more complete feedback as the project goes on.
My second shipment of lights has finally arrived. I’m not sure why they are shipping all three lights in different boxes, but oh well. It was easy to add this second set of lights and oh man it has gotten nice and bright in the garage! I will definitely not have issues with seeing what I’m doing out here while building. LOL
Second set of lights up and running
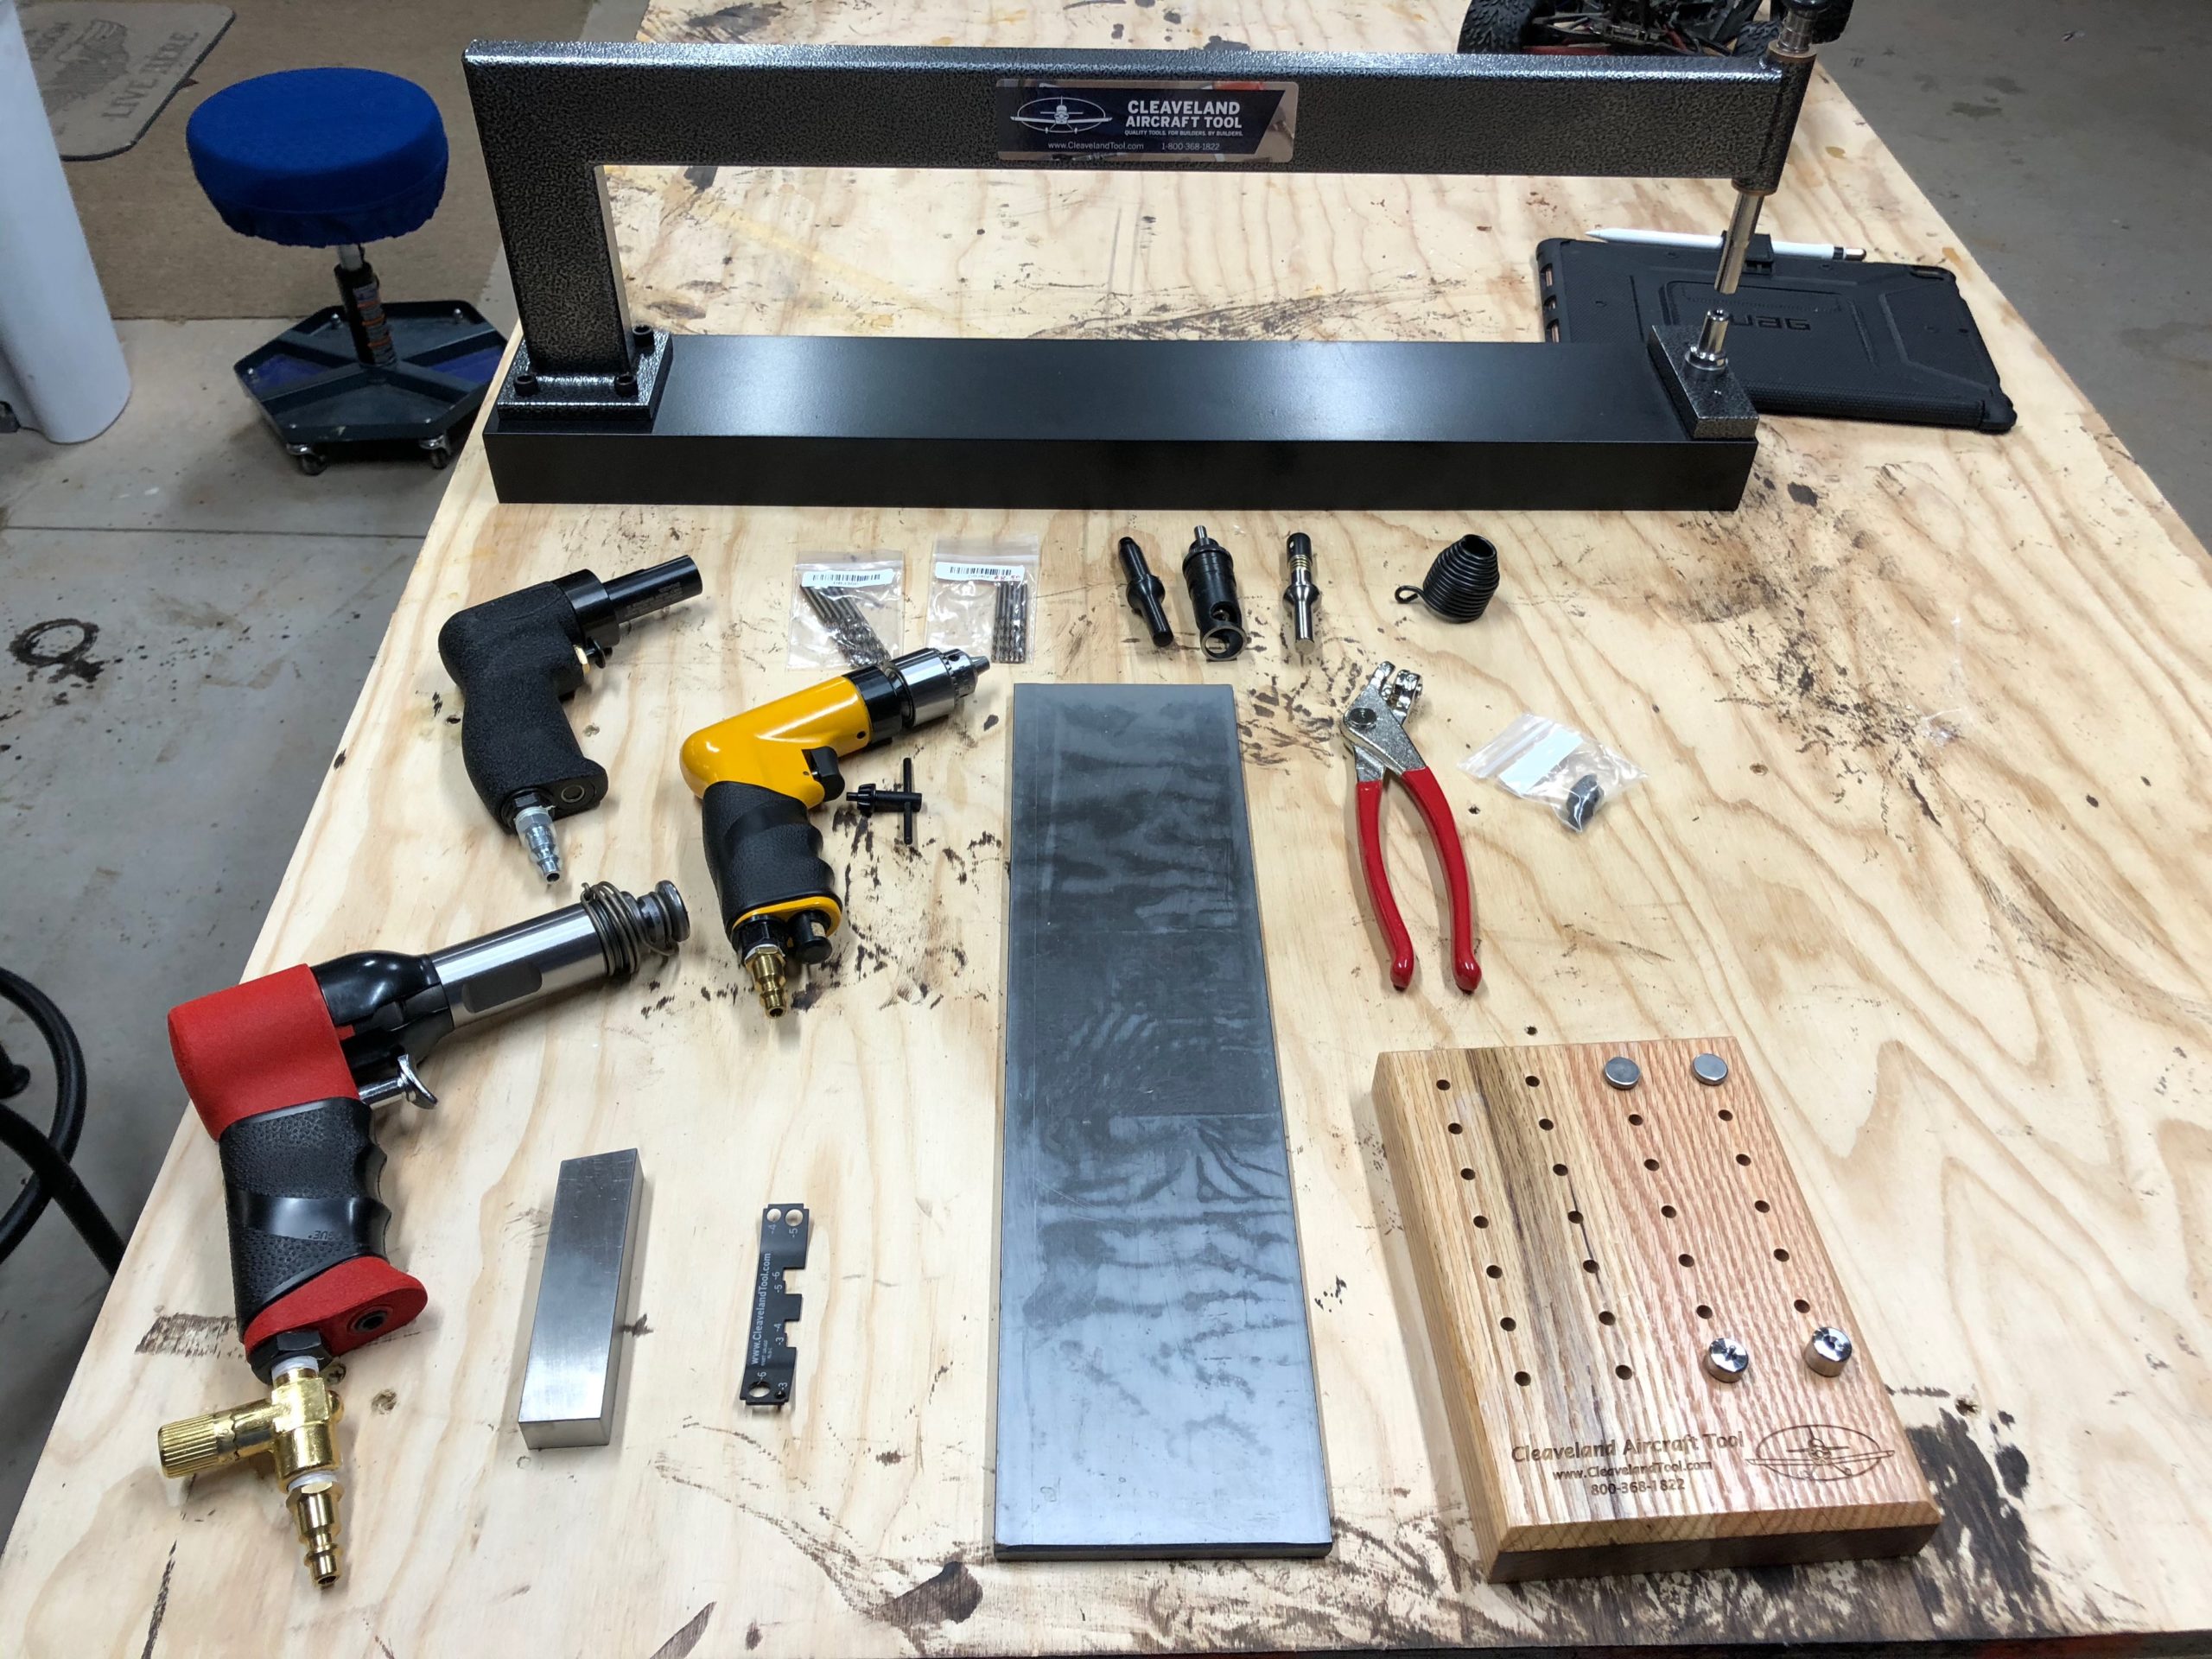
I also got my first two orders or tools from Cleaveland Tools in. I should have just ordered them all at once, but I had originally thought “I’ll just order some of the tools necessary to do riveting and the learning kit to see if I would like putting this thing together.” Upon receiving the training kit and just reading and imagining putting this thing together, it got me super excited and I just knew I would want to do this! I love putting things together and especially when it has to deal with aviation, I’m all in! I have always loved working with model planes and putting those together, fixing them, tweaking them, etc. Granted this is alot bigger, more expensive, and definitely requires precision and attention to detail, but I think I’m up for the challenge!
All of the tools in my first shipmentJust the tip of the iceberg for my Clecos. LOL
The final shipment of lights and tools are supposed to arrive tomorrow or possibly Friday. I’m excited and I’m almost done reading the book over a few times for the training kit. Once I feel comfortable and have all of the tools setup, I’ll start working on the kit. It doesn’t go into much detail, but I think there is enough there to get the job done with some additional research from other websites and books.