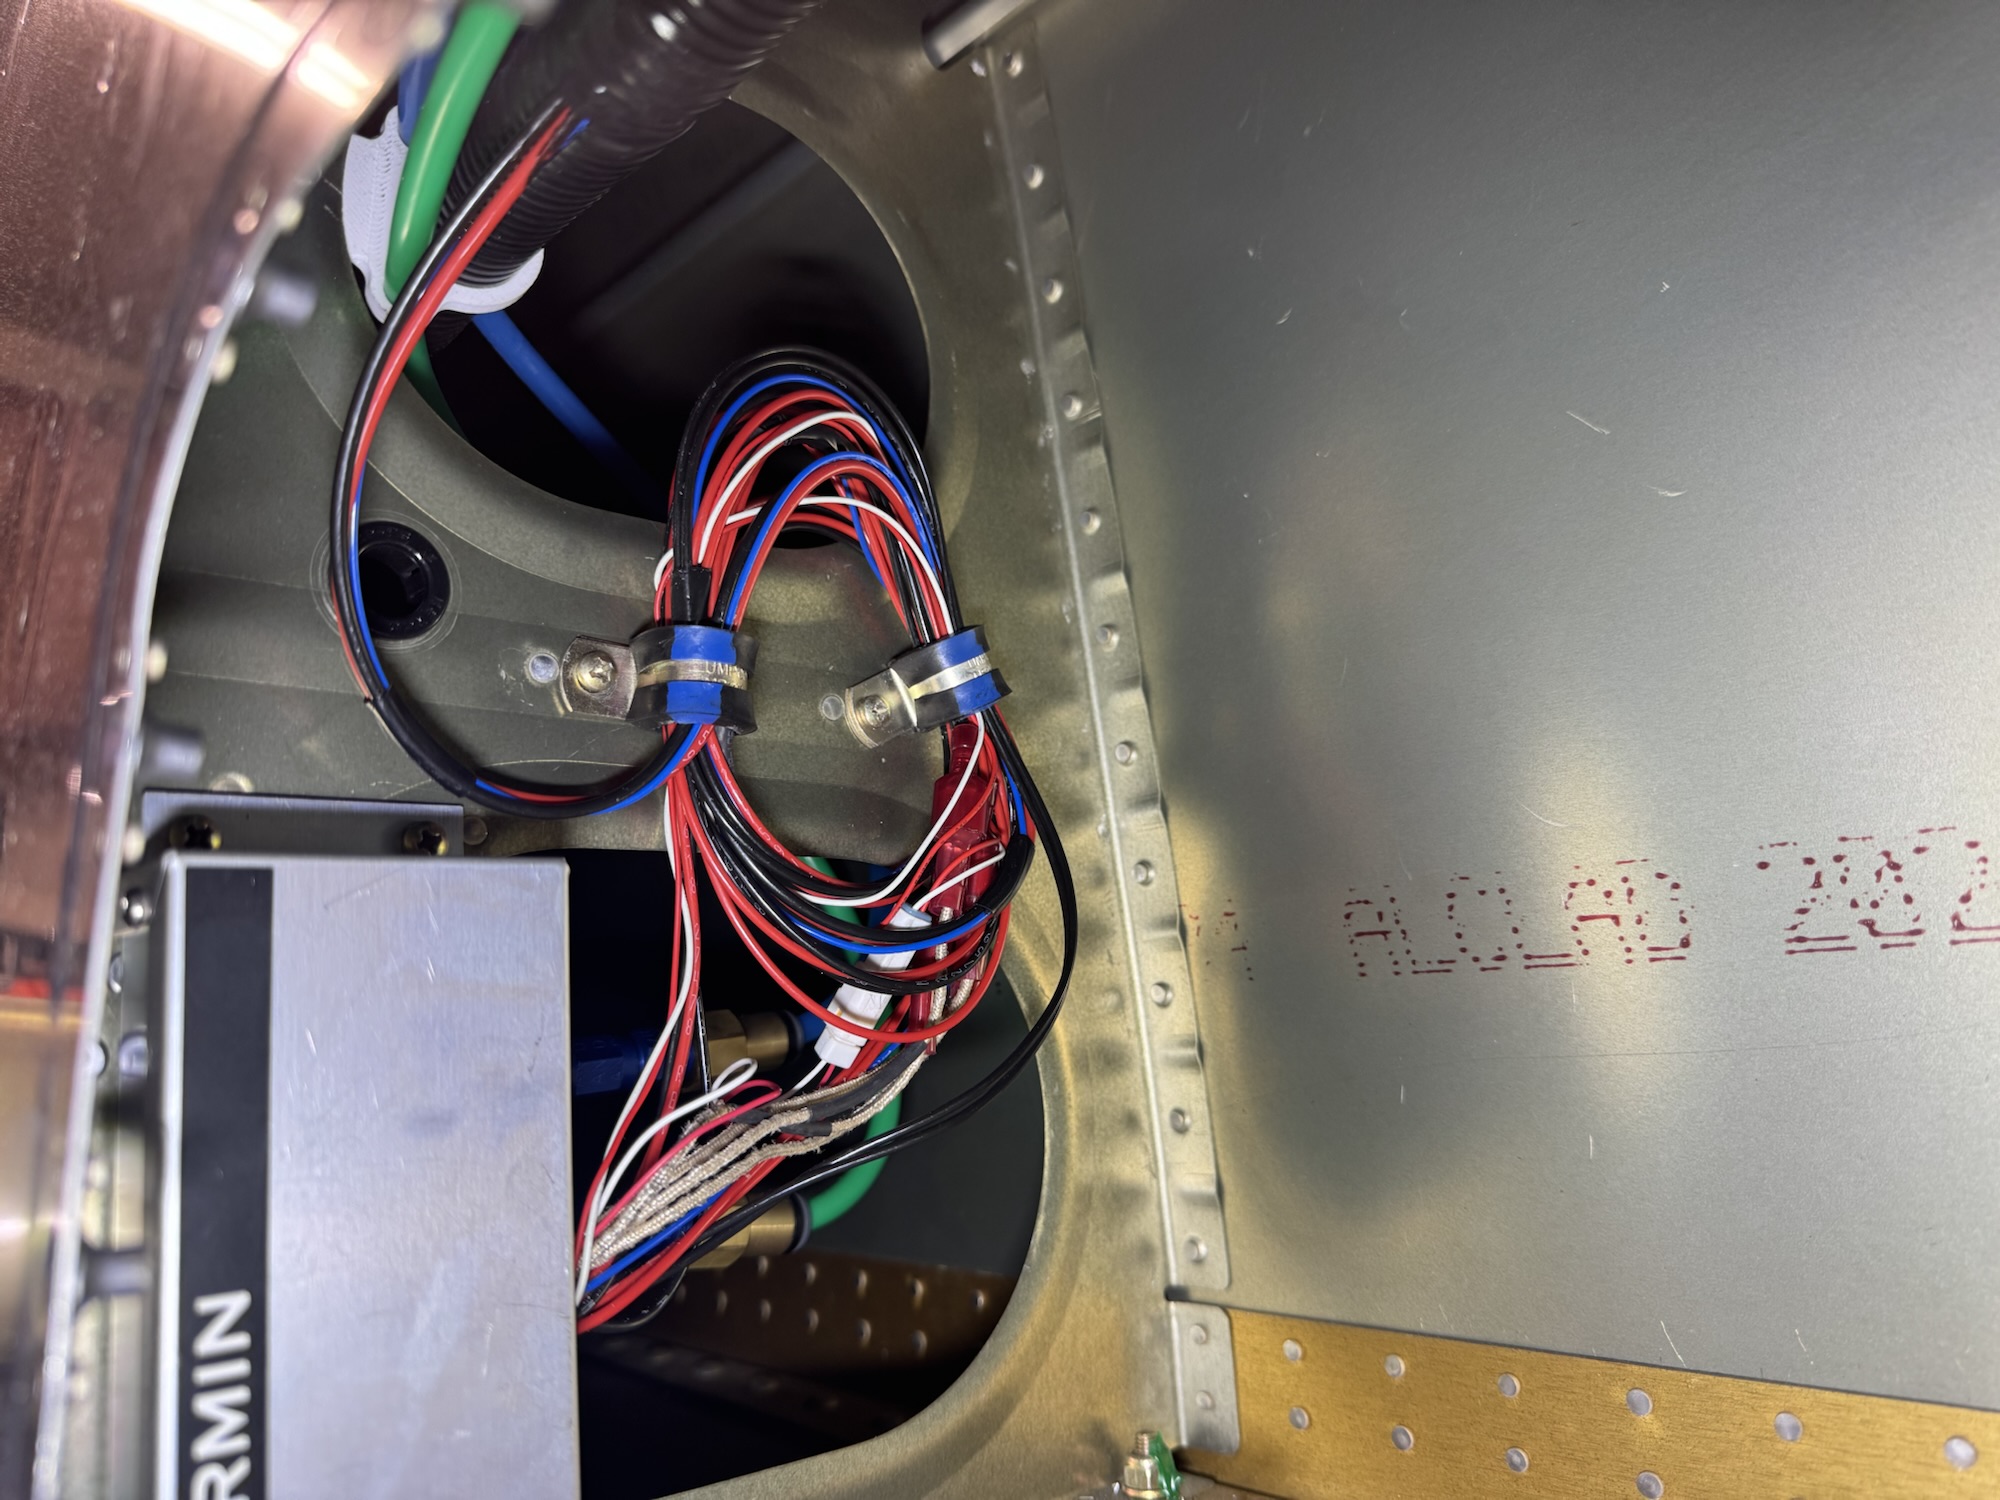
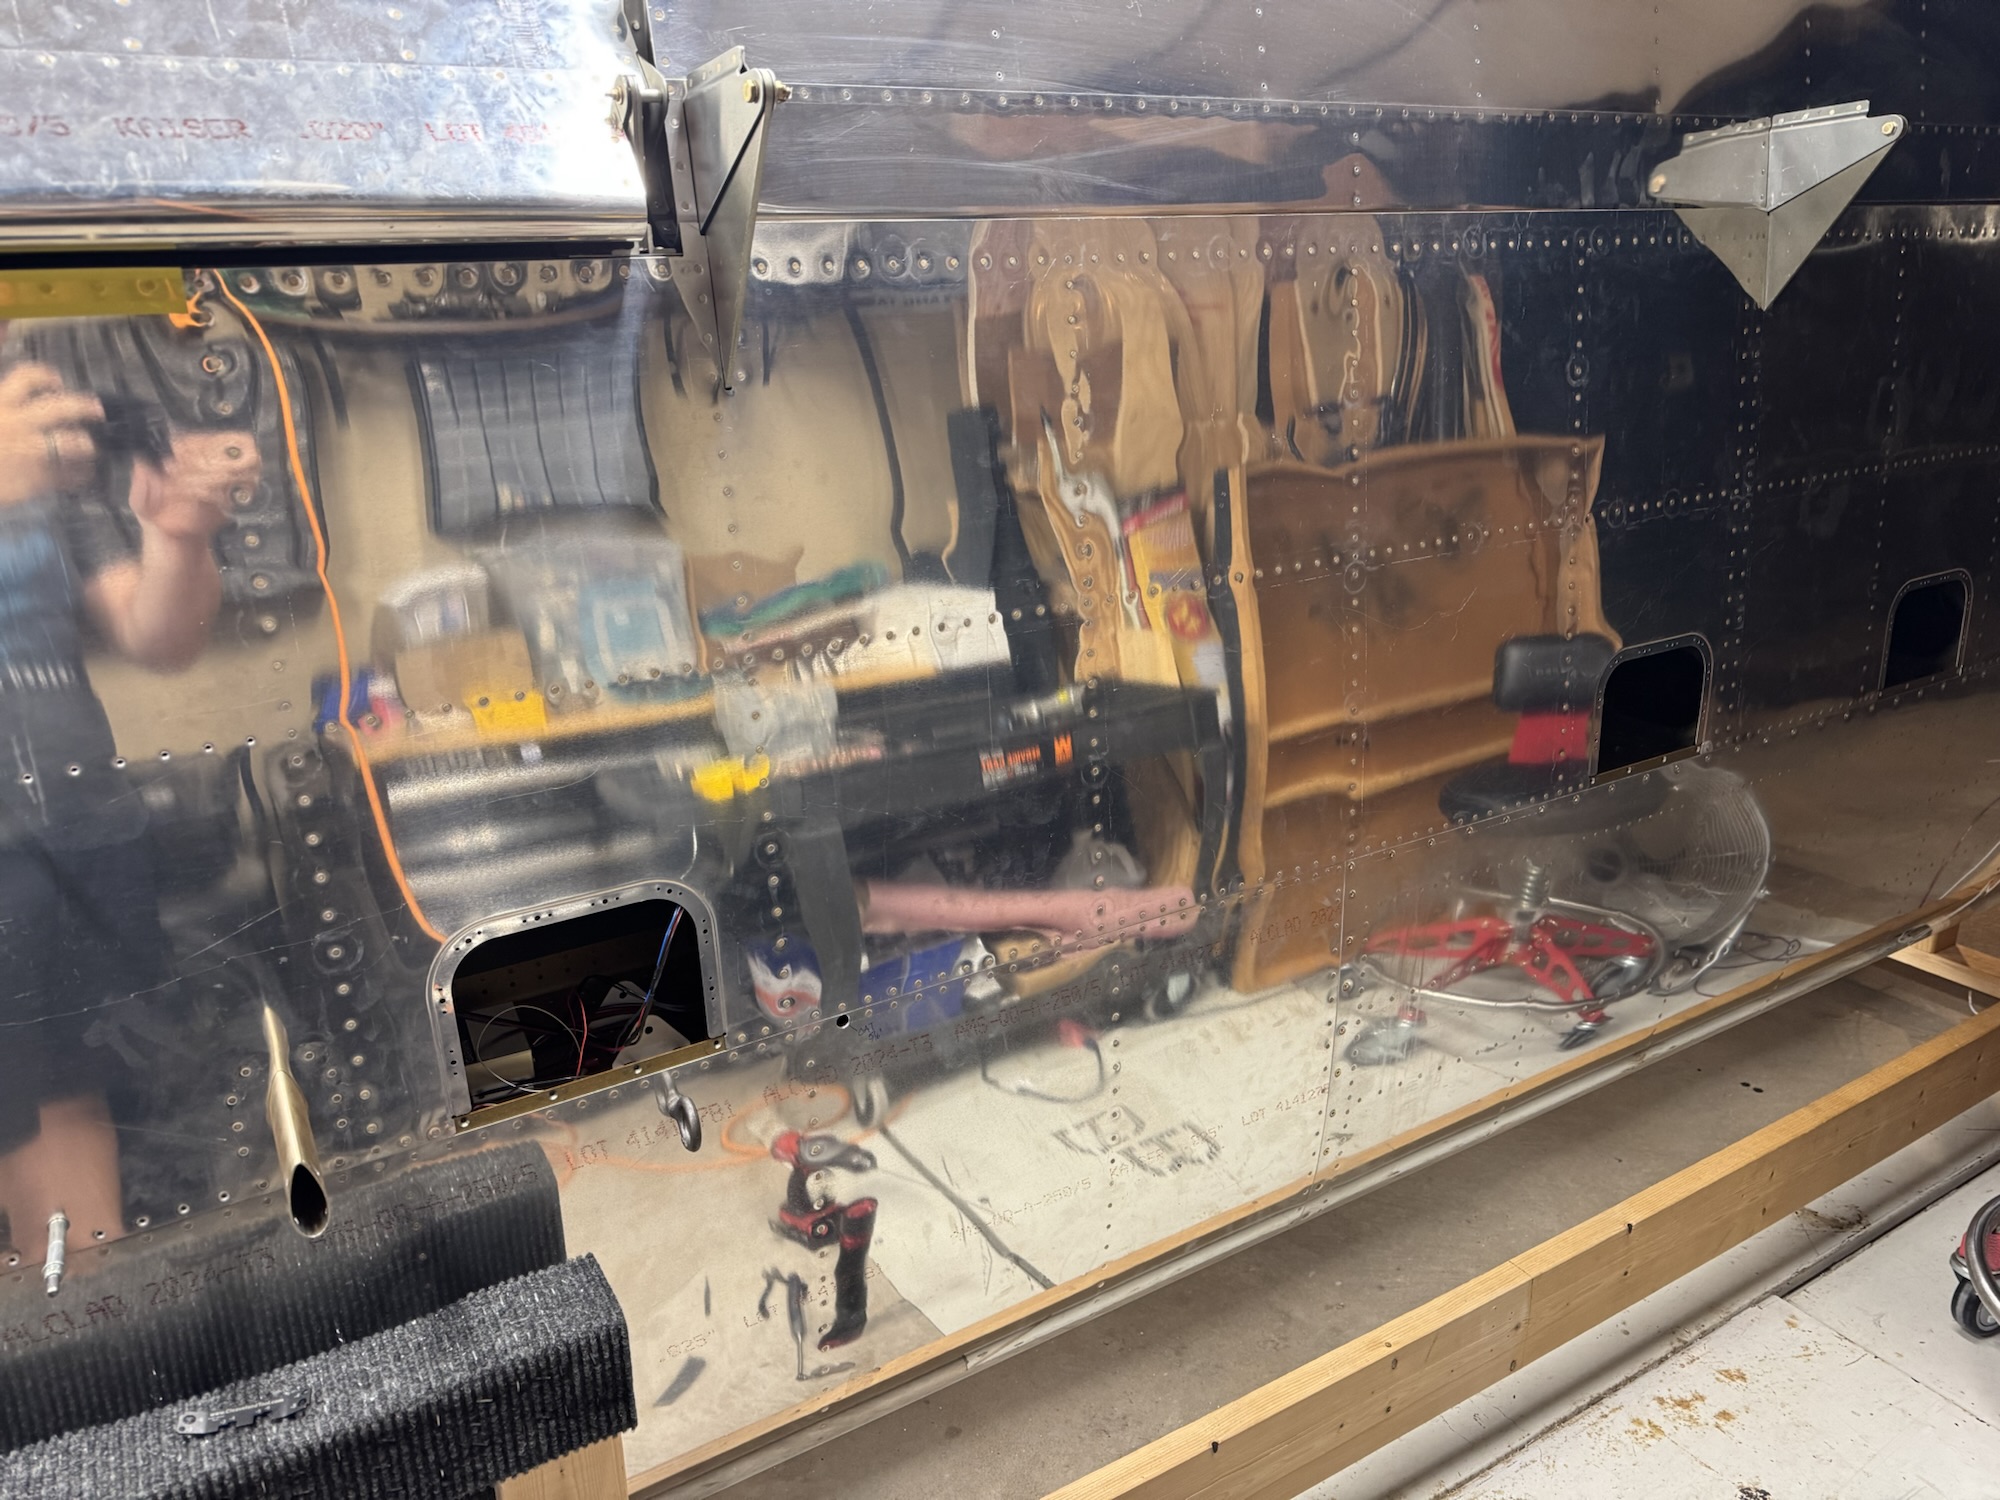
I spent the rest of the time after finishing the rear baggage panel starting the wiring for the wing tip. I believe I am going to need some terminal rings but I need to see what size, etc. The grounds I believe need to be attached to the exterior of the light as there are two bolts there I believe I can remove and put the rings underneath. I will have three in total and there are two bolts. I need to double check that though but the wires have been terminated at least. I need to label them all and then stick them in the harness. I will then need to window splice in the rear nav lights into the correct wires and put some shrink wrap on that. I put some sheathing on the wires going to the rear lights so that it could be protected from any chaffing. I need to glue in some tip tie mounts so I can affix the wire so they aren’t flying around but I still have enough of a service loop to pull it out some if I need it.
Category: Wings
-
Pitot Wireloom and Wingtip Lighting Cleanup
Before I left for the wiring class today I got the package from Aircraft Spruce in with all of the adel clamps. I installed nutplates and then got the wireloom mounted. I also got the tape off the wingtip lights and cleaned up the excess sealant. I might need to come back down the road to clean up the sealant better but I’ll do that when the wings are installed and I can better see the lights.

-
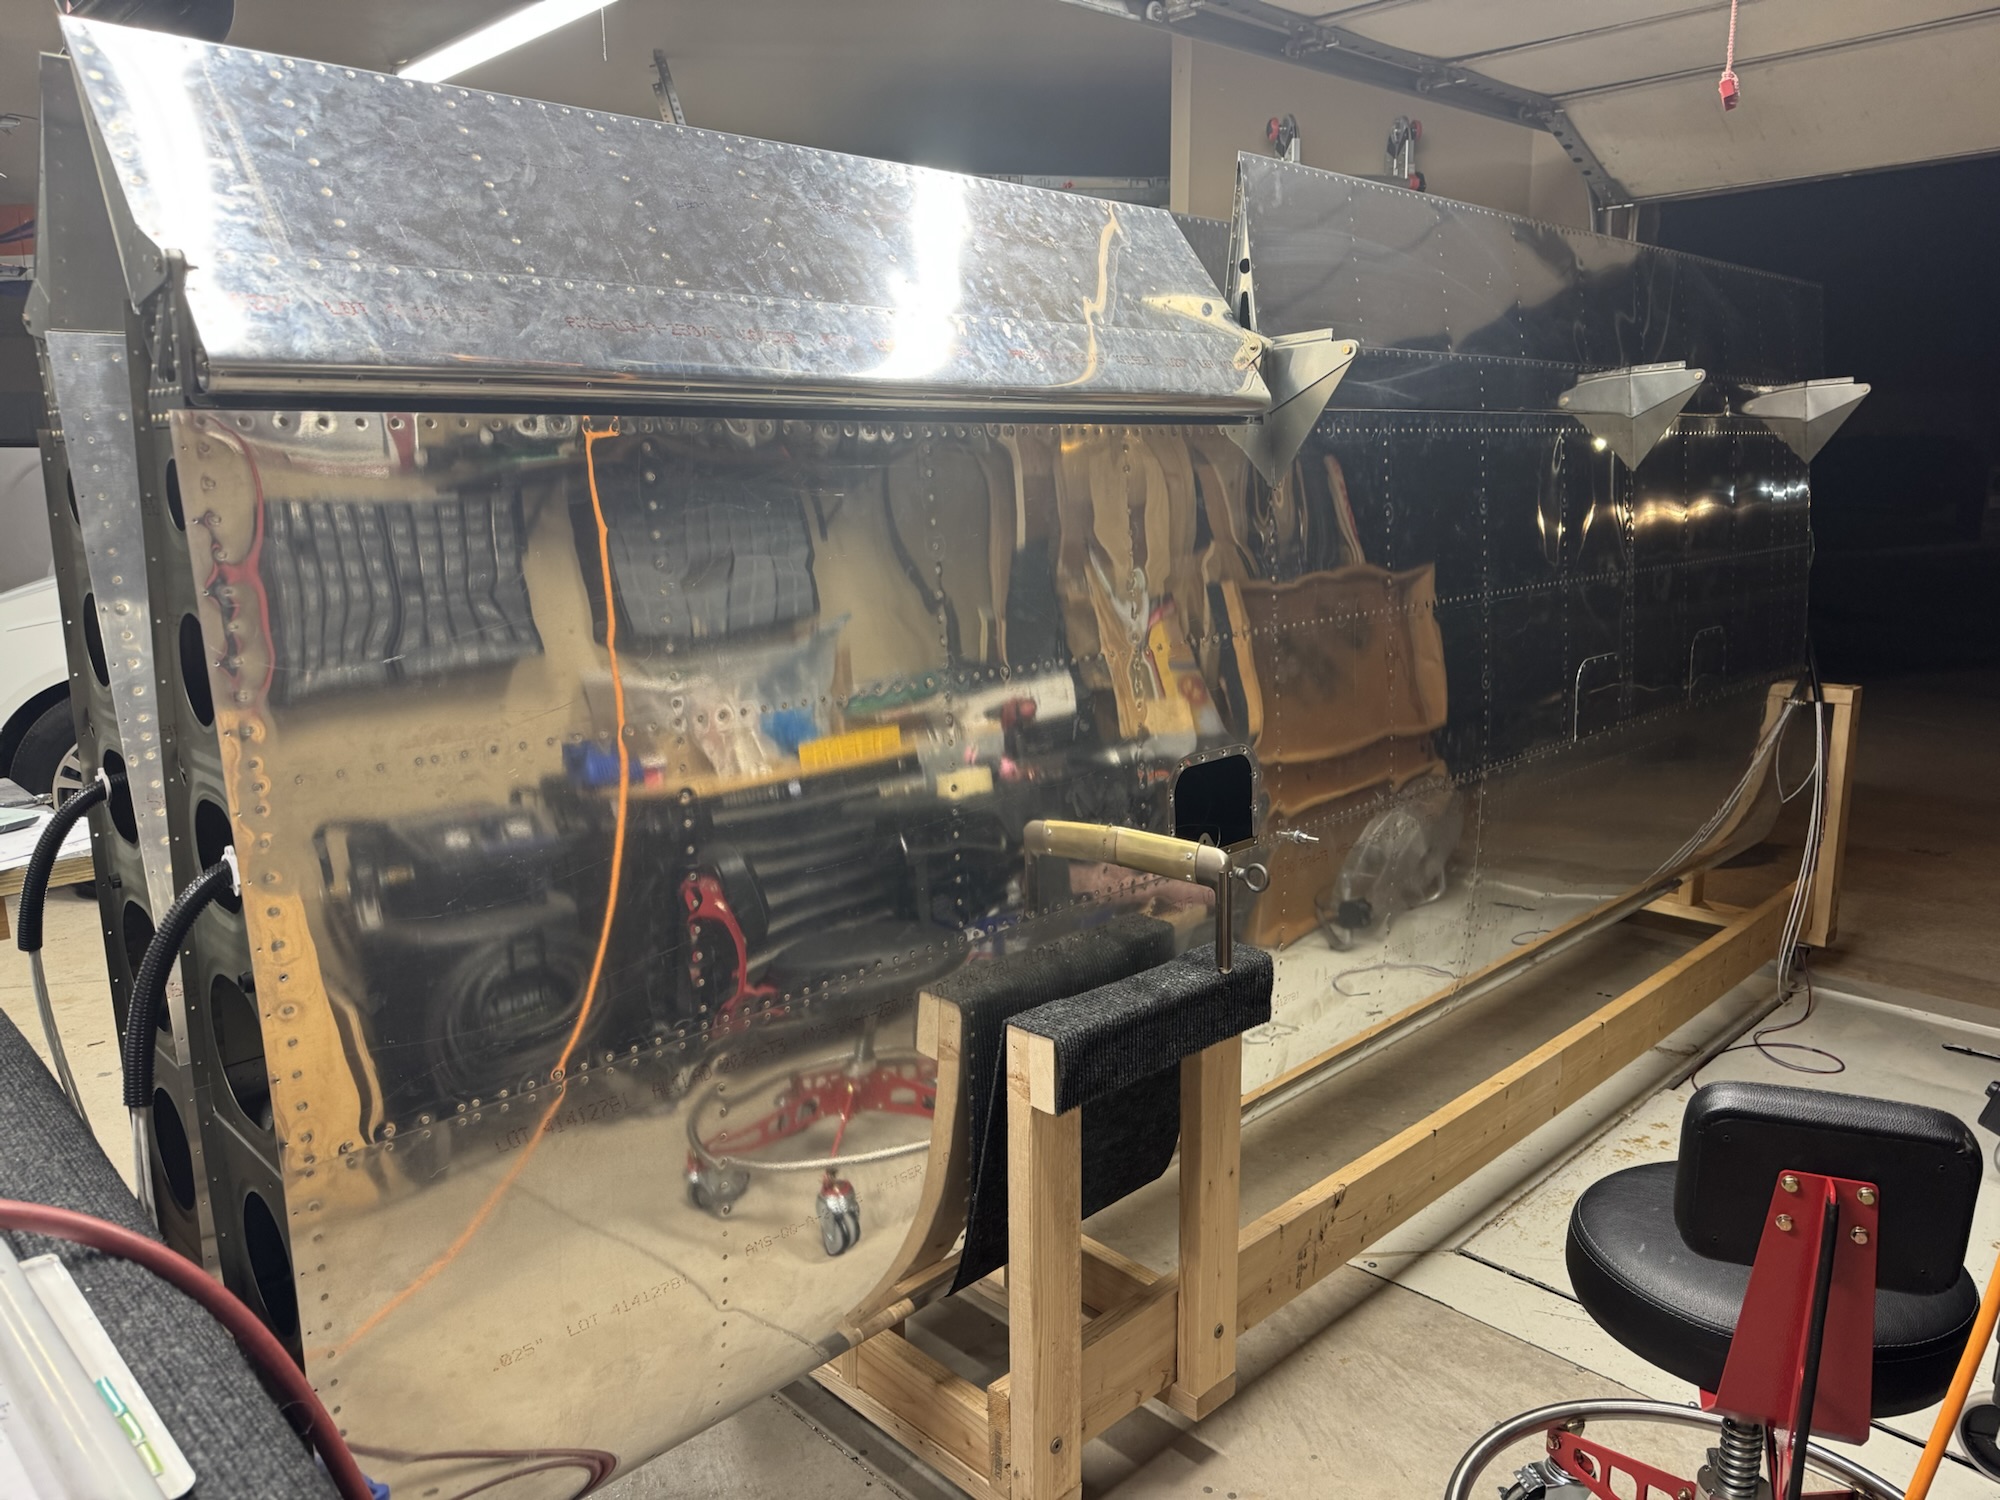
Wing Tips Finished and Wings Finished!
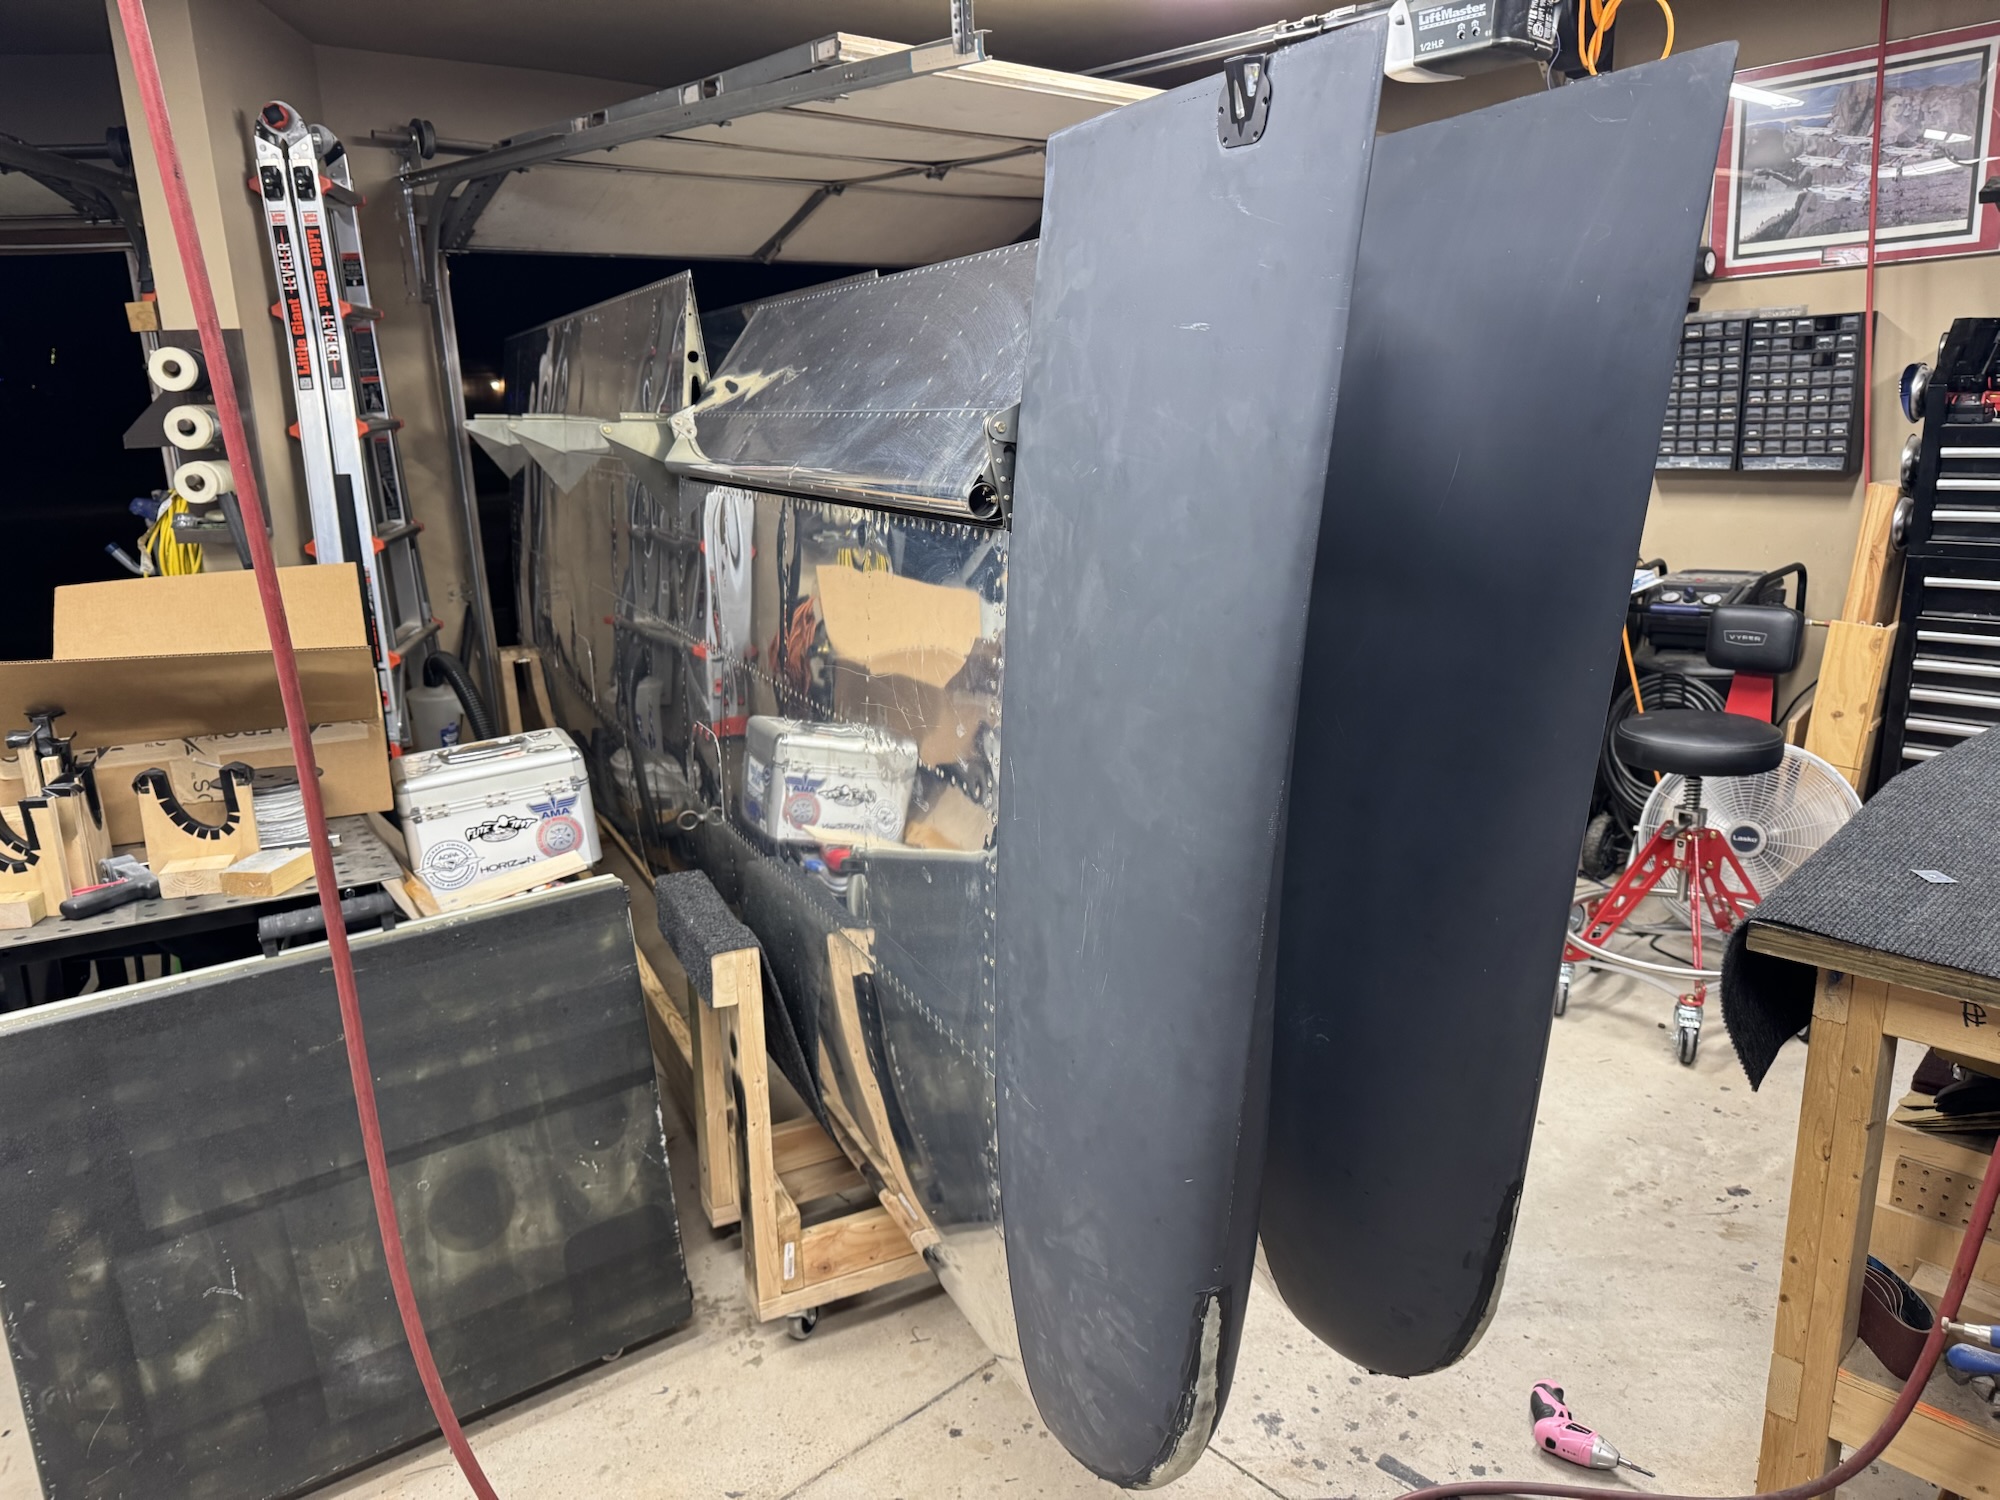
Man it was a long day but I really wanted to wrap up on the wings today before I packed up for the wiring class tomorrow. I talked with my EAA tech counselor and he had a nut plate jig that I could borrow. Man that thing was awesome! Made the work so much faster! I got all of the nut plates installed, installed the lights and mounted the wing tips. Of course I’m leaving out steps of dimpling, countersinking, etc. which was a huge amount of the work.
Now, when I say the wings are done, there is still some fine tweaking to do on them when I get them mounted and plus I still have to mount nut plates and mount the adel clips for the wiring for the pitot controller and I left the light support out on the right wing tip light so I’m going to have to take the wing tip off again and put that in before I can call that done. Plus I do still need to finish the wiring harnesses for the wing tips but I want to go through this class and do some research before I do that. All in good time
-

Aeroled VXi Wingtips Started
I had spare time after dealing with weekend chores so I decided to spend some time getting the lenses prepped for bonding with the wing tips. Spent most of my time taping and then I scoured the external edges for the bonding process which I will start on Monday.

-
Aileron Actuation Complete!
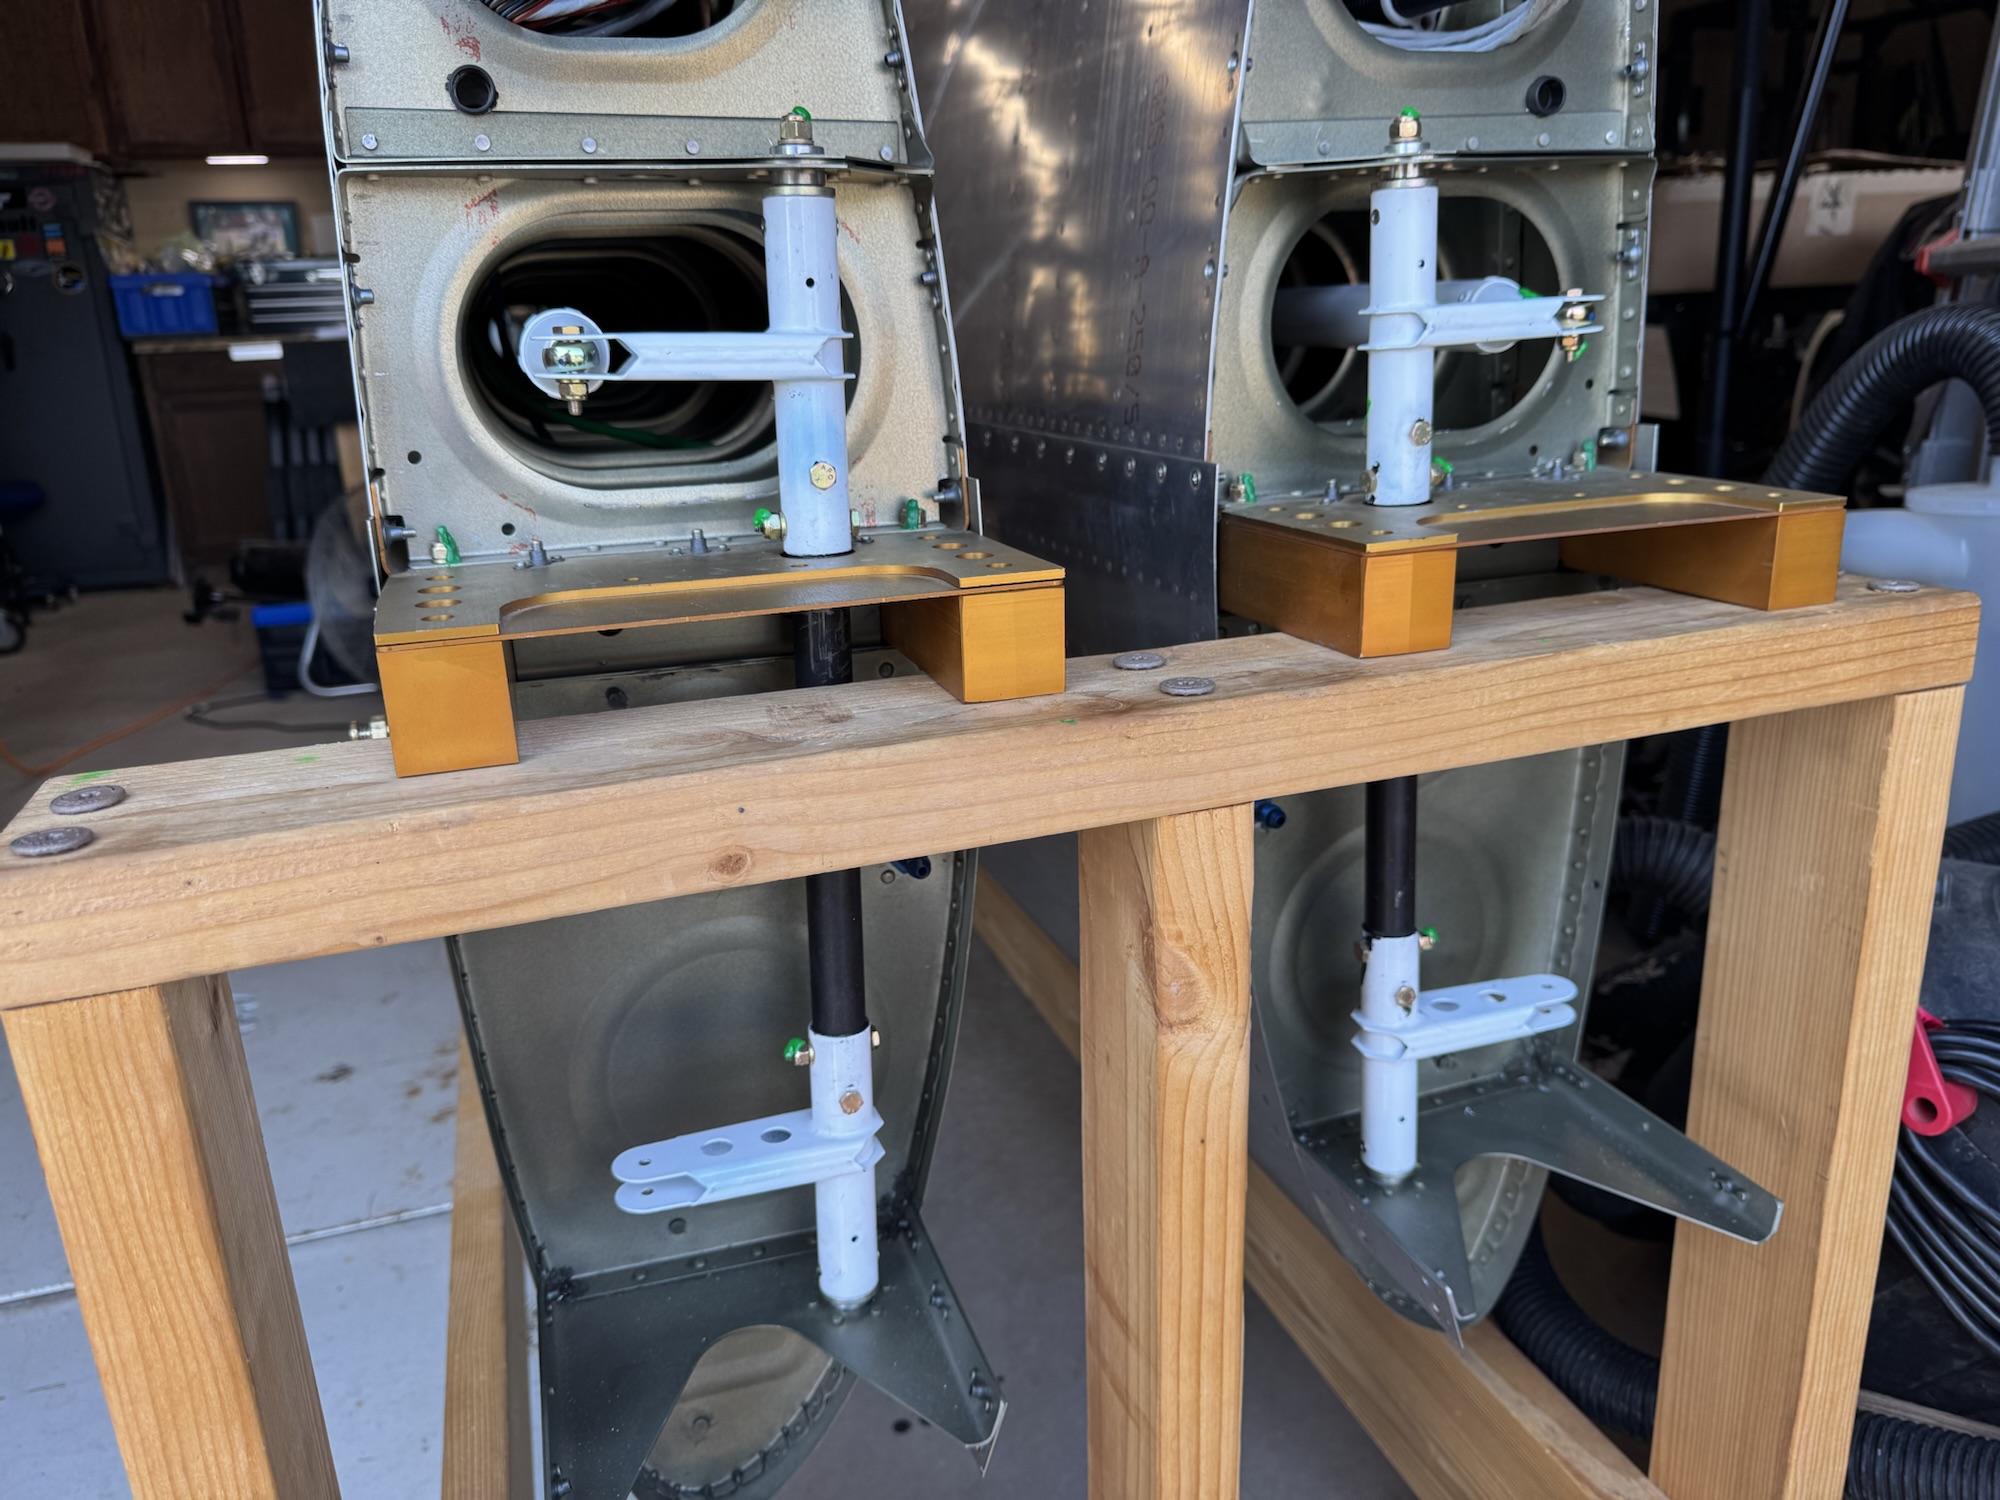
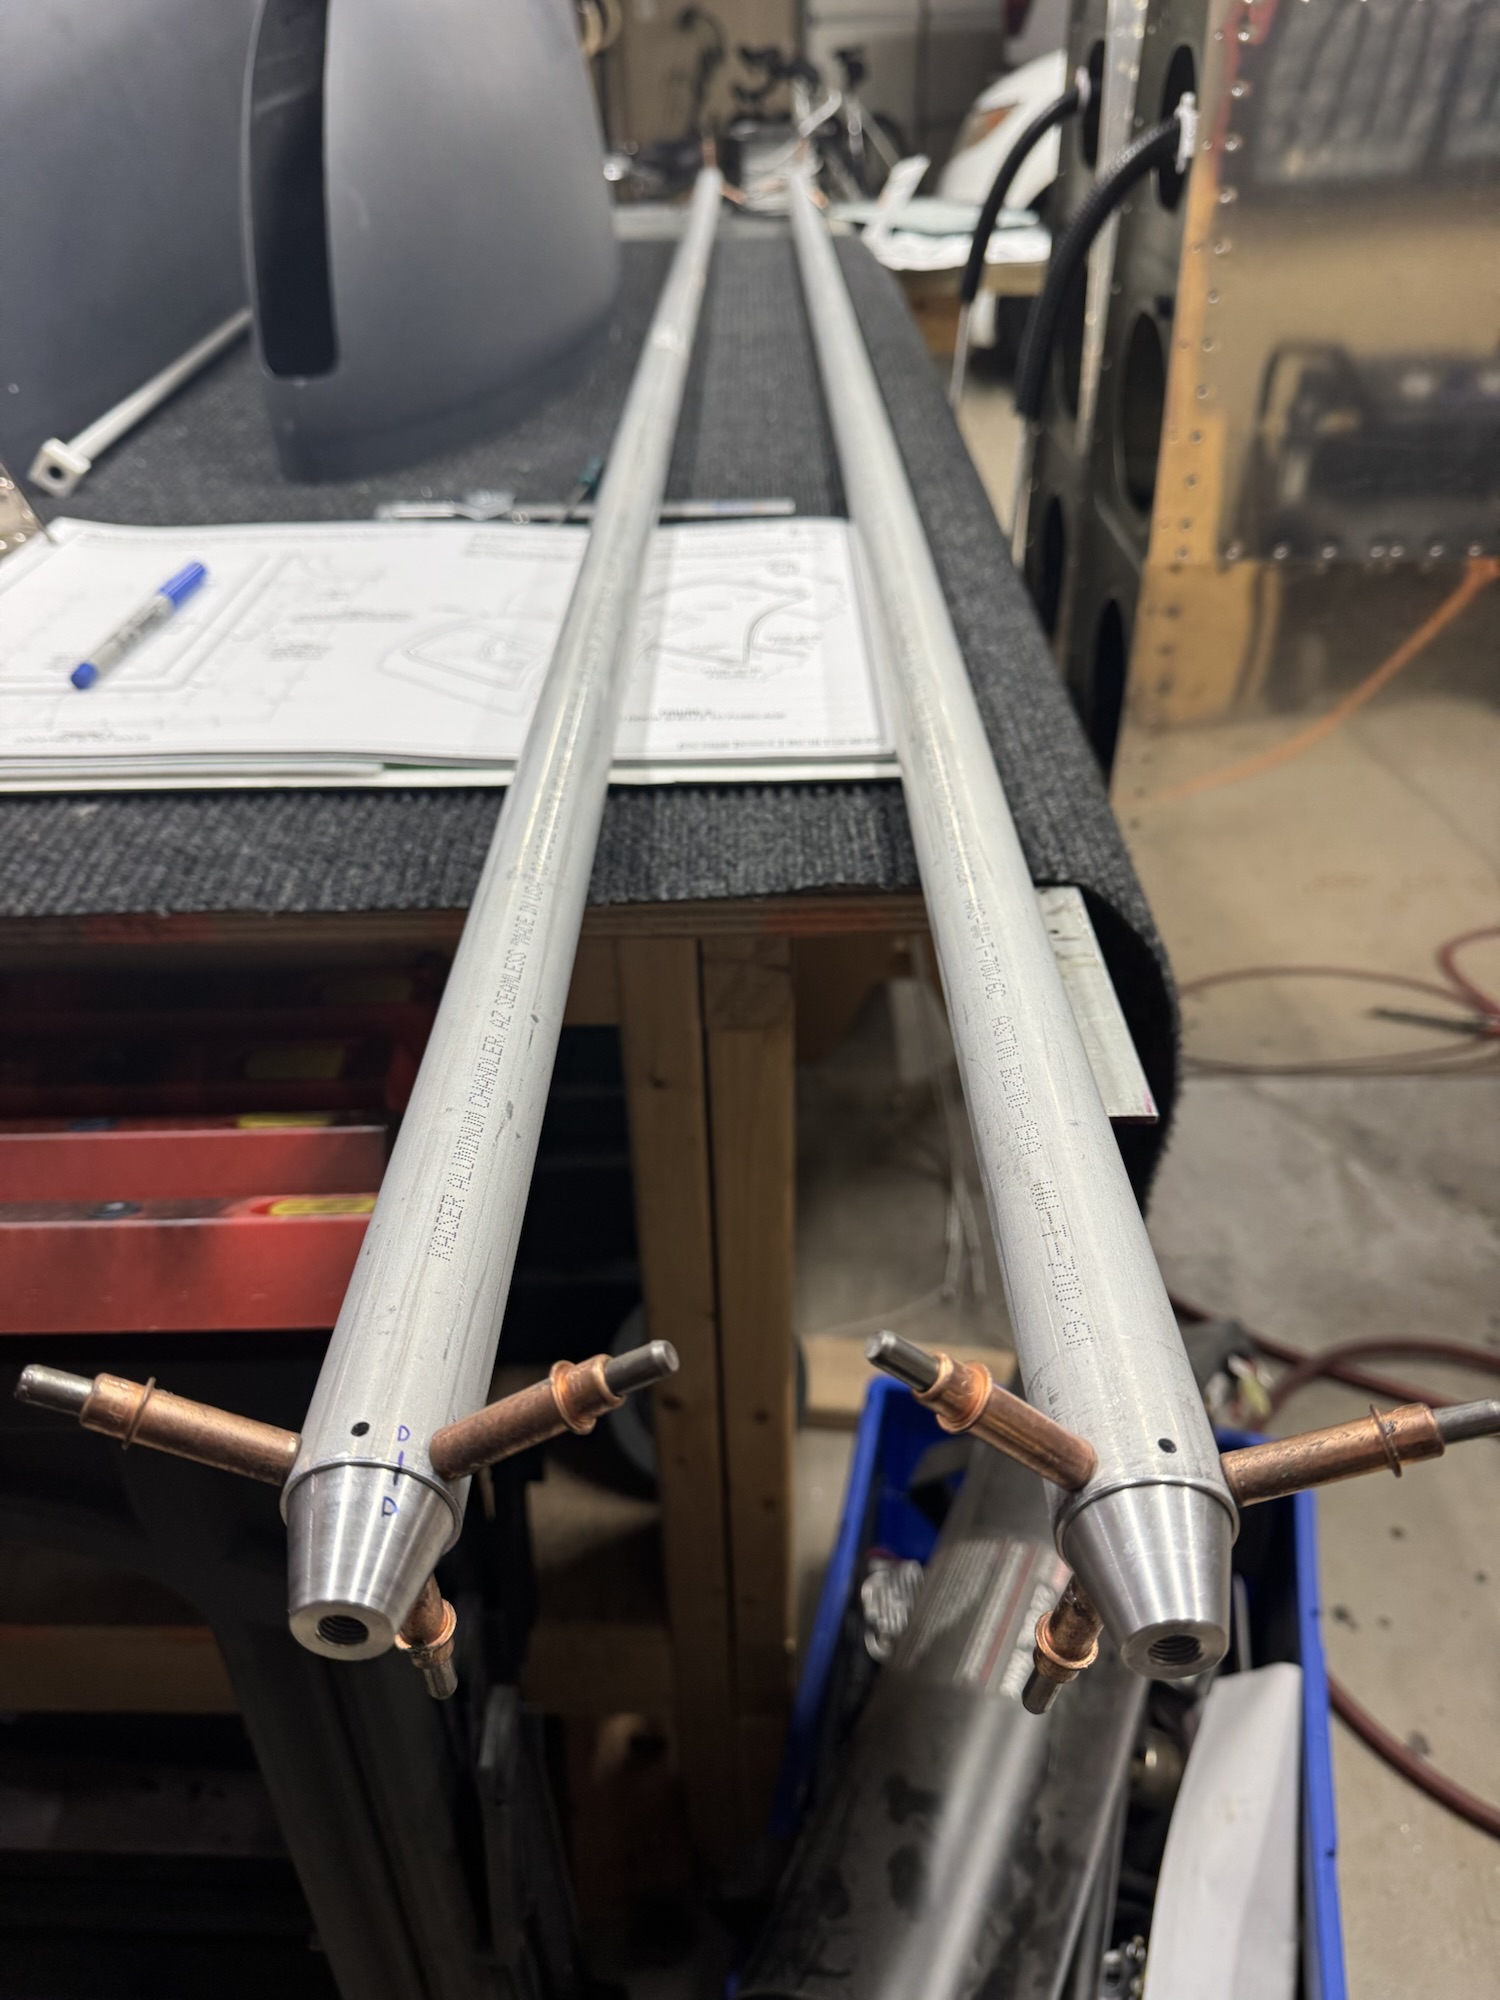
As I was thinking through my mistake last night with one of the aileron torque tubes, I realized that the first hole that I drilled was the undersized #30. I still had to drill a #12 to get it to the size for an AN3 bolt to fit through it. That just gave me enough room to still get it to the right angle and drill the holes I needed. I used clamps to hold everything still and I drilled the hole slowly so that it wouldn’t offset. It drilled just right and my angle only ended up 1/32 off of what it was supposed to be. I’m getting more accurate but still not bang on. I need to figure out what tools or techniques I need to use to make this more accurate. It seems to be when I start drilling it moves things off just a slight amount. I guess I need to find a way of getting a super accurate punch to start my hole off so the bit doesn’t wander. Either way, with it only being 1/32 off in angle I feel that is within tolerance. I installed both of them and got the tubes adjusted so that the system was in the proper location across the board. It allows the ailerons to move to their full extent in both directions which is excellent! I wrapped up that portion and I’ll take tomorrow off so I can rest. I want to get the wing tips glued up before I head off to the AEA Experimental Wiring class in Kansas City this coming Tuesday night. I’ll be in the class from Wednesday to Friday and I hope to get back home by 10PM on Friday.

At my EAA chapter meeting today I was loaned a rotisserie for the fuselage. My first step once I get started on the fuselage is to mate the empennage with the fuselage. Once that is done I can get it on the rotisserie so I can work on the plane more easily.
-
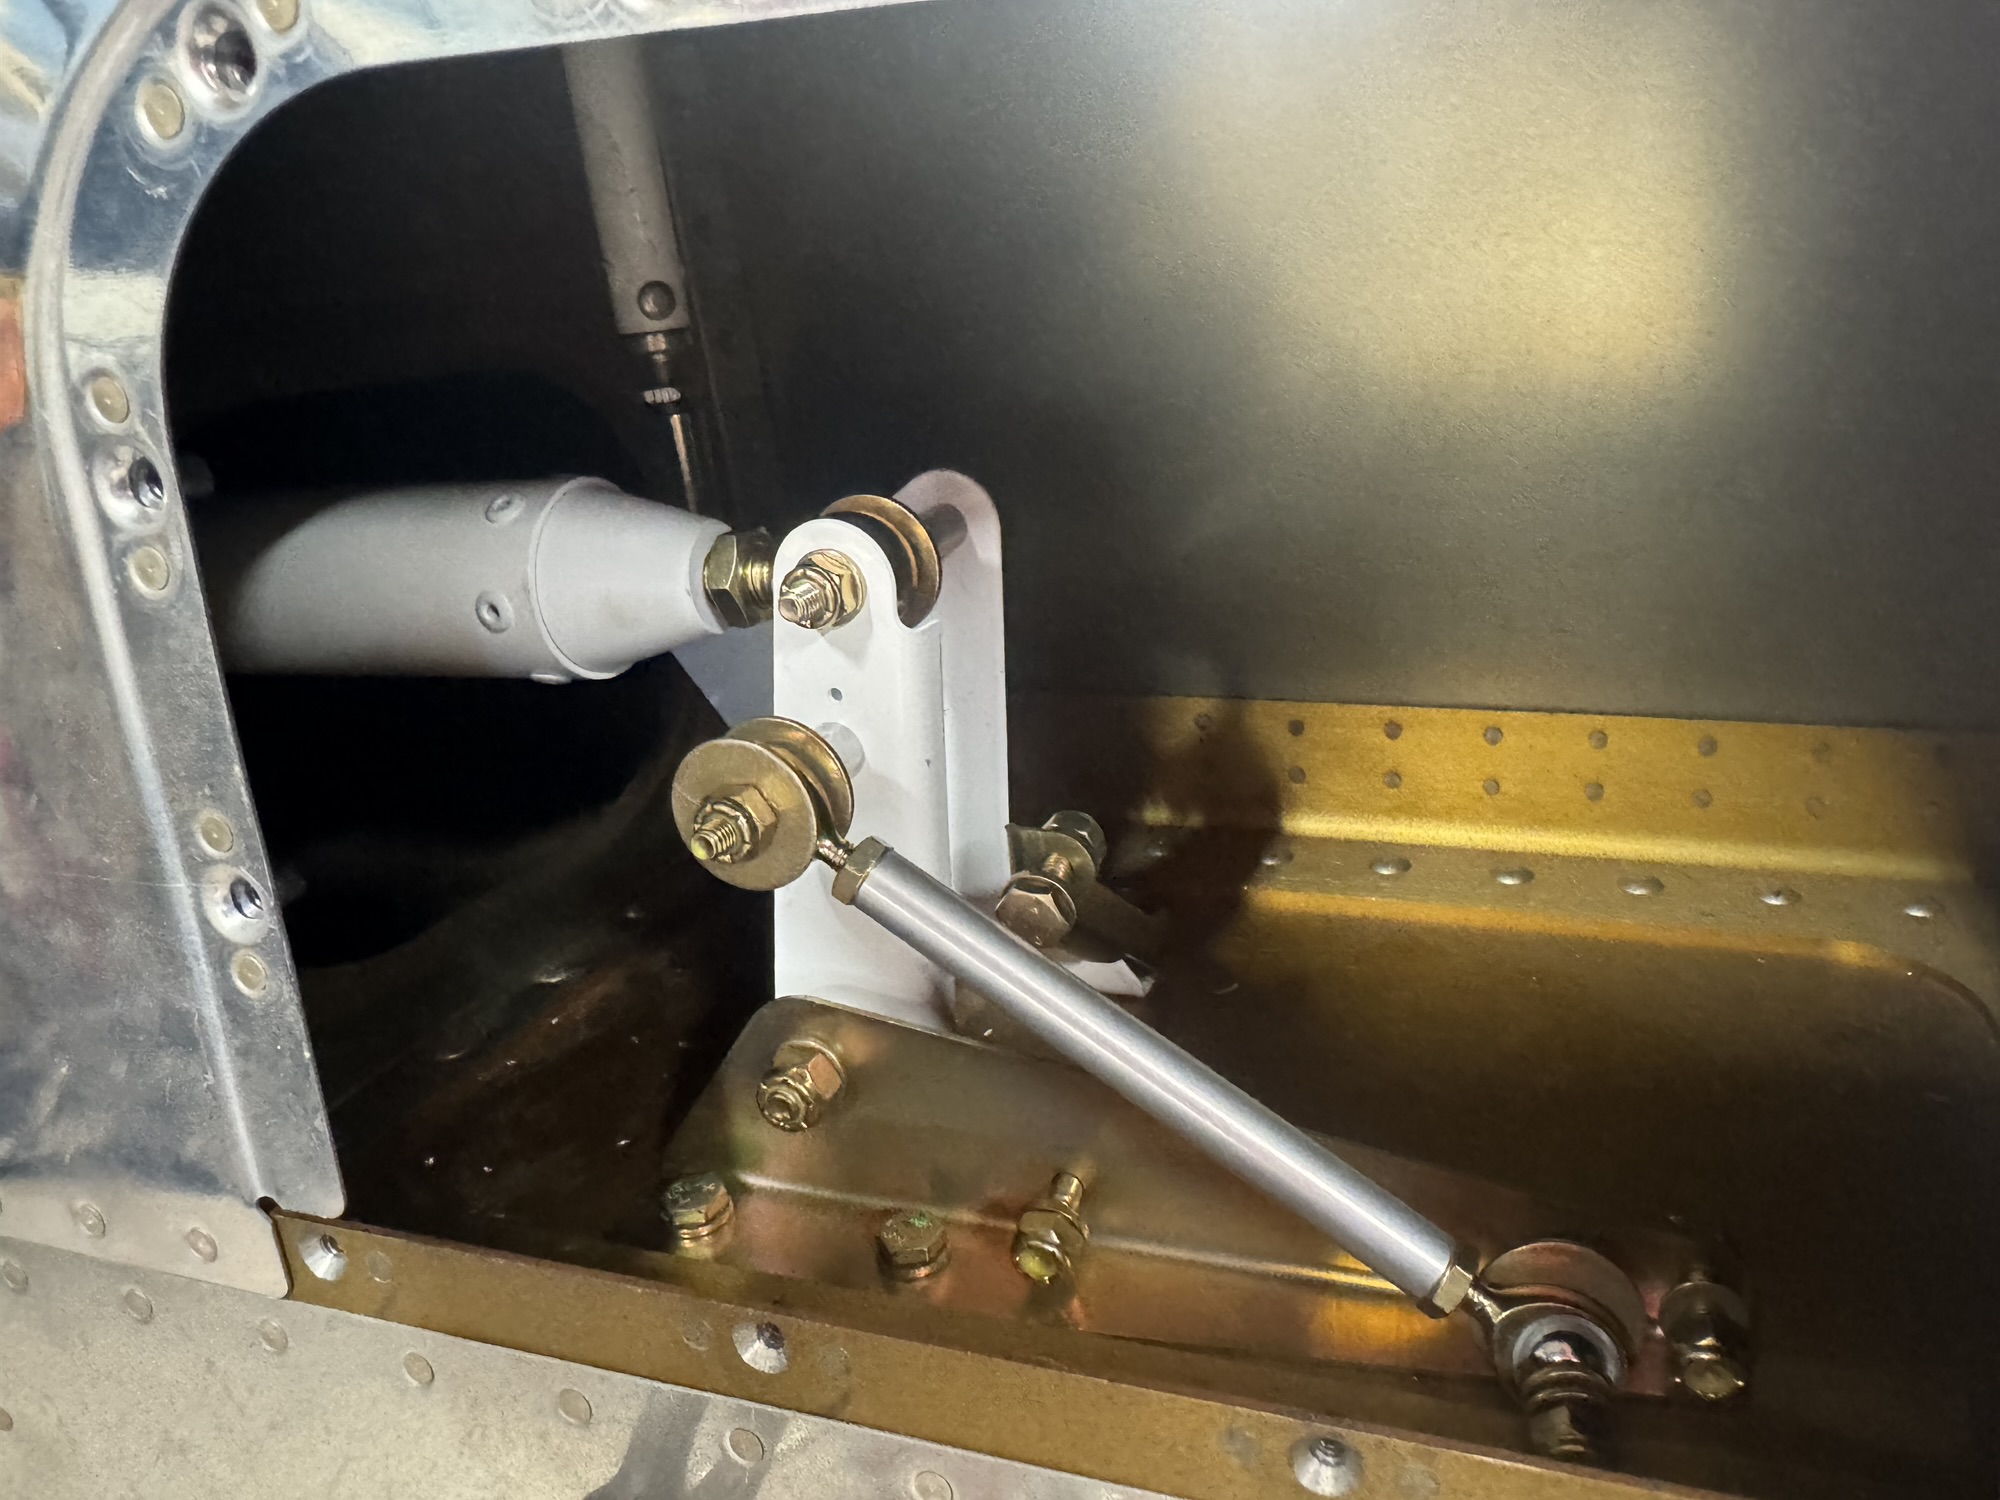
Garmin Servo Mount and Aileron Actuation
I got the Garmin servo mount installed in the right wing today as the first order of business. I got all of the tubes cut, drilled, primed, assembled, and installed as well. I got the inboard actuation tubes done for one of the sides but unfortunately I was not paying attention to the orientation of the bolts and it created too high of an angle between the two arms on one of them. I’ll have to get a new tube and redo that step. Not a major setback and I can get on my way with that. Oh and I also figured out how I want to secure the wires for the heated pitot. I zip tied them together to hold the loop and I’m going to get some adel clamps tomorrow that I can install in place of the zip tips and they will hold the wires close to the rib like the picture below.
-
Bottom Skins Finished!
The new pitot mount and the rivets came in today a little after noon. I got the new pitot mount drilled and prepped and I riveted just the pitot mount in. It went excellent! I then got the support bracket drilled and I was able to double the amount of rivets in the bracket which made it much studier. I went by my EAA tech counselor’s house to get two longer rivets which I did not have. They fit and as you can see below it looks MUCH better!


I then got to finishing the rest of the wing skin and I also got the pitot itself mounted and plugged up. I just need to figure out how to manage the cabling with some adel clamps and then it will be 100% done!


-
Pitot Mount Redo and Aileron Actuation First Steps
I was pretty uncomfortable with what I saw from the work behind the pitot mount last night…

That there is a pretty mangled mount… So I decided to order a new one today which surprisingly is arriving tomorrow. This whole pitot system has been a nightmare but luckily I’ve got it worked out how I want to get this done so round two will be much better and more secure and properly riveted as well. Here is what the mount looked like when I removed it today…. Glad I changed my mind to remove it and redo….

That is horrendous… Some of the rivets are set properly but those top four were absolutely horrible. Some were folded over, one was mauled to pieces because the brace was too close to the hole and the other was way overset because it was too short of a rivet. Luckily I have it measured out and I know what I need to change this go around. The bracket needs to move up to cover those top two holes which will now go through the bracket for added support. I am going to drill another hole to mount the bracket to the rib as well so that way I have four rivets instead of two holding it to the main structure of the wing. I hope to get pictures of it tomorrow after installing it properly.
With that nightmare and embarrassment behind me, I went ahead and used my time to get the actuation section started. Pretty straight forward. Cutting these main tubes to length and installing the threaded ends into them. Takes time but pretty easy more or less.

-
First Section Left Bottom Skin Complete
I got the first half of the left outboard bottom skin done tonight as well as the pitot tube mount. That was a pain in the rear and I left some marks on the mount when the bucking bar kept slipping off one of the rivets. Such a pain in the rear lol I hope to get at least a little bit of work done tomorrow night but we are going out on visits for the elder’s quorum so that might only be like 15 minutes or so. We’ll see.


