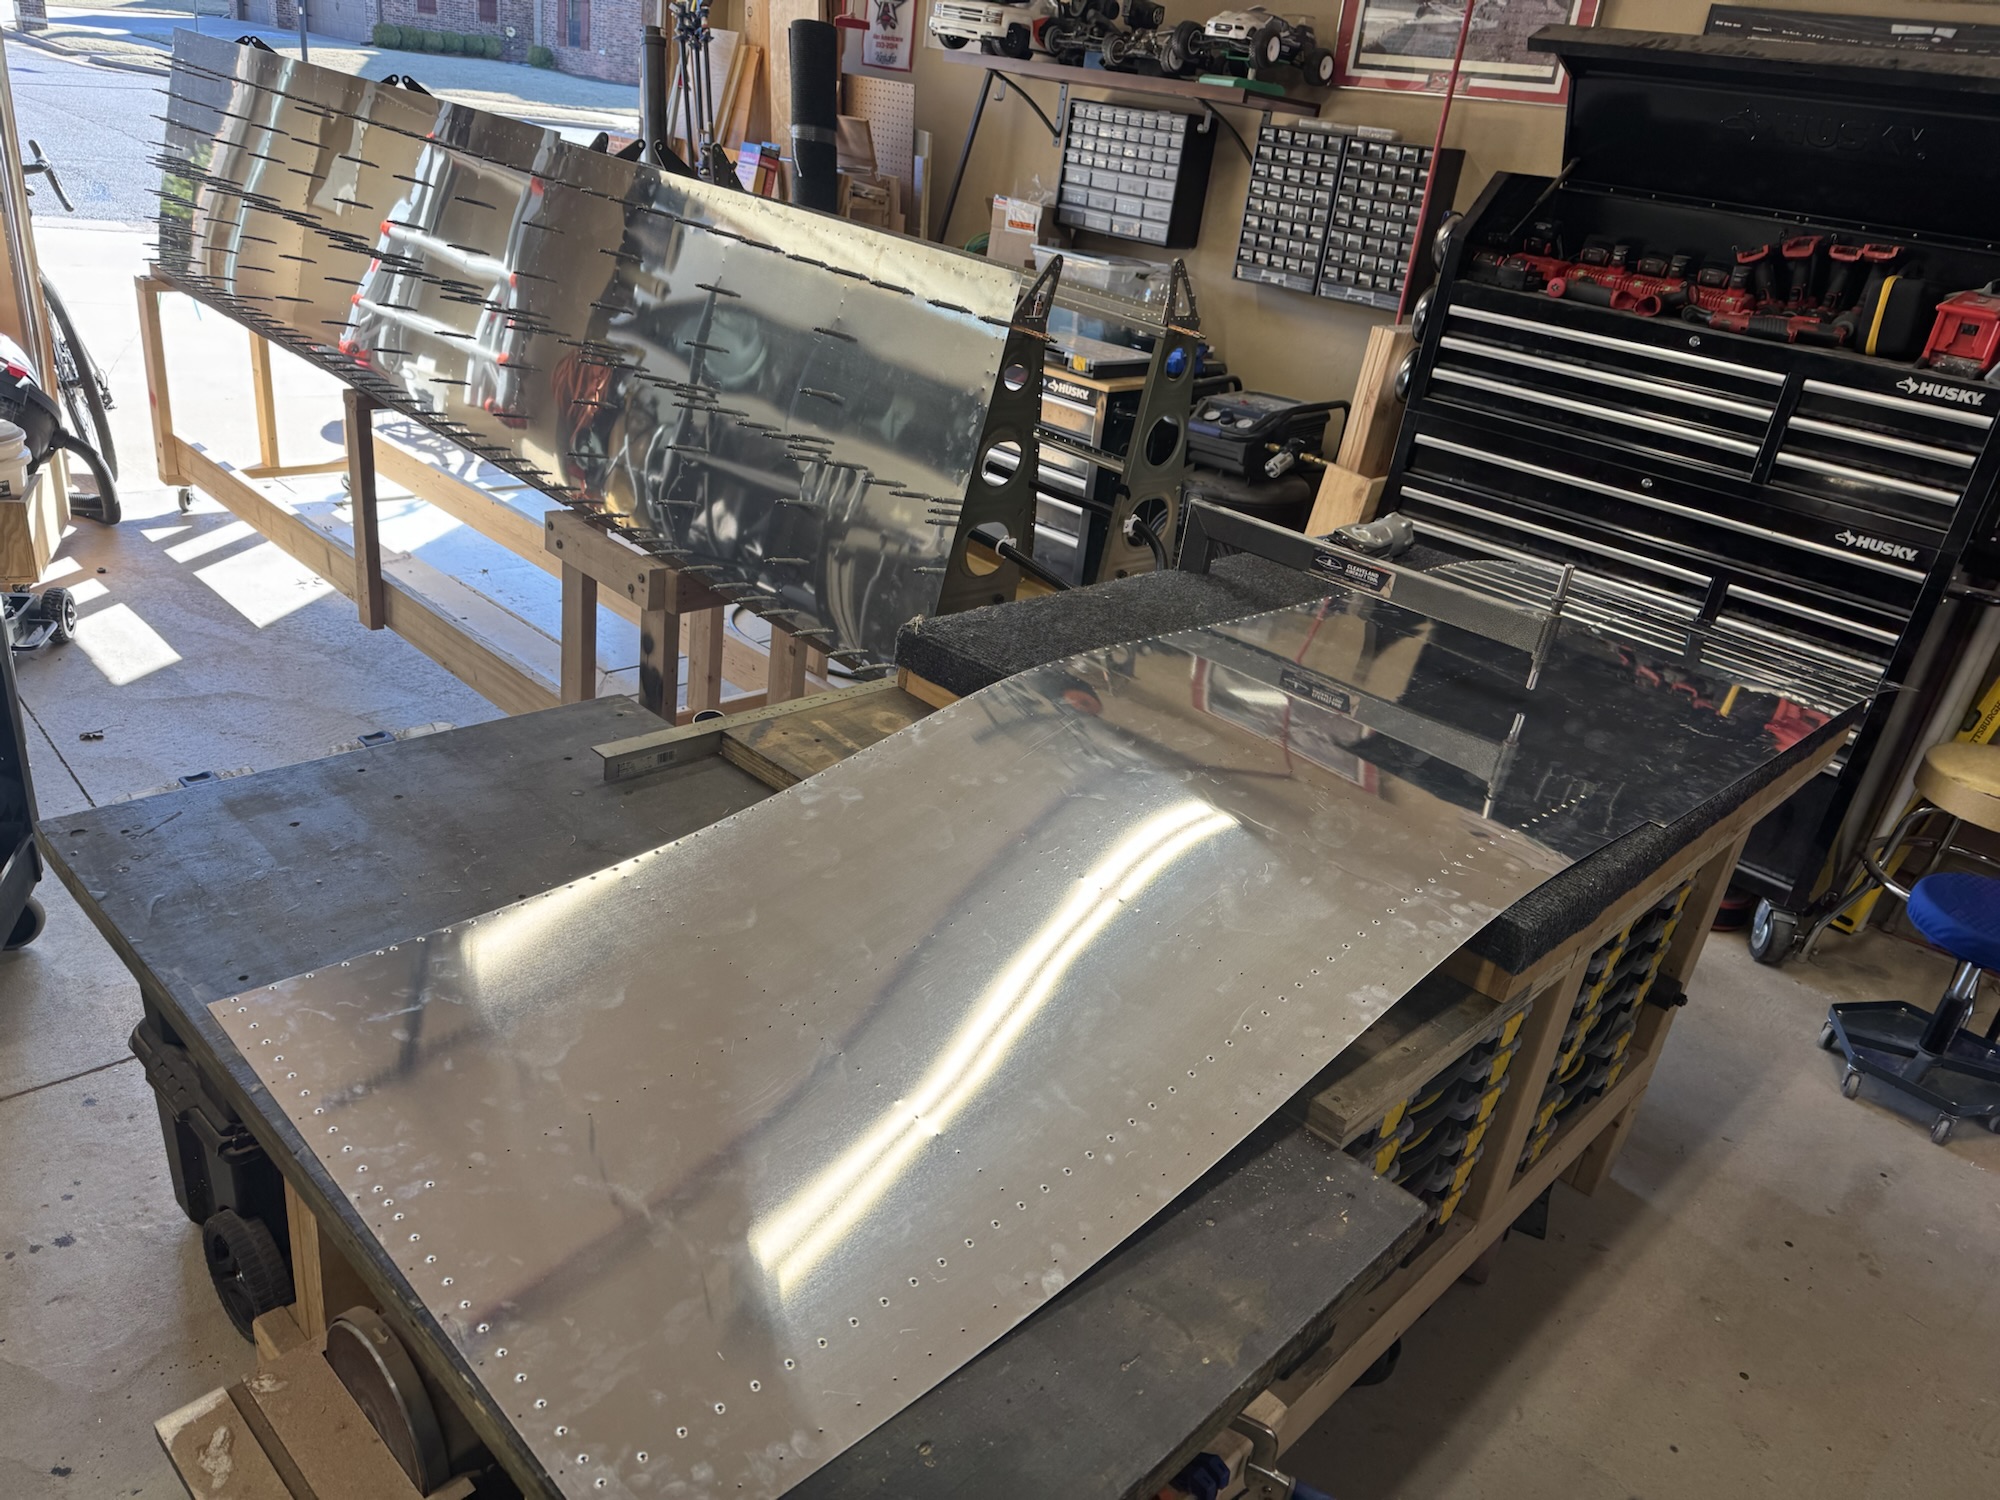
I decided to go ahead and prep the left wing as much as I could for riveting. I got most of it ready. I then decided to do some of the riveting on the right wing that I could solo.


I decided to go ahead and prep the left wing as much as I could for riveting. I got most of it ready. I then decided to do some of the riveting on the right wing that I could solo.
Brendon was busy with more band stuff tonight so I prepped the rest of the rivets in the skin so we could just keep going on riveting. I also got all of the rivets set that I could on the top row.


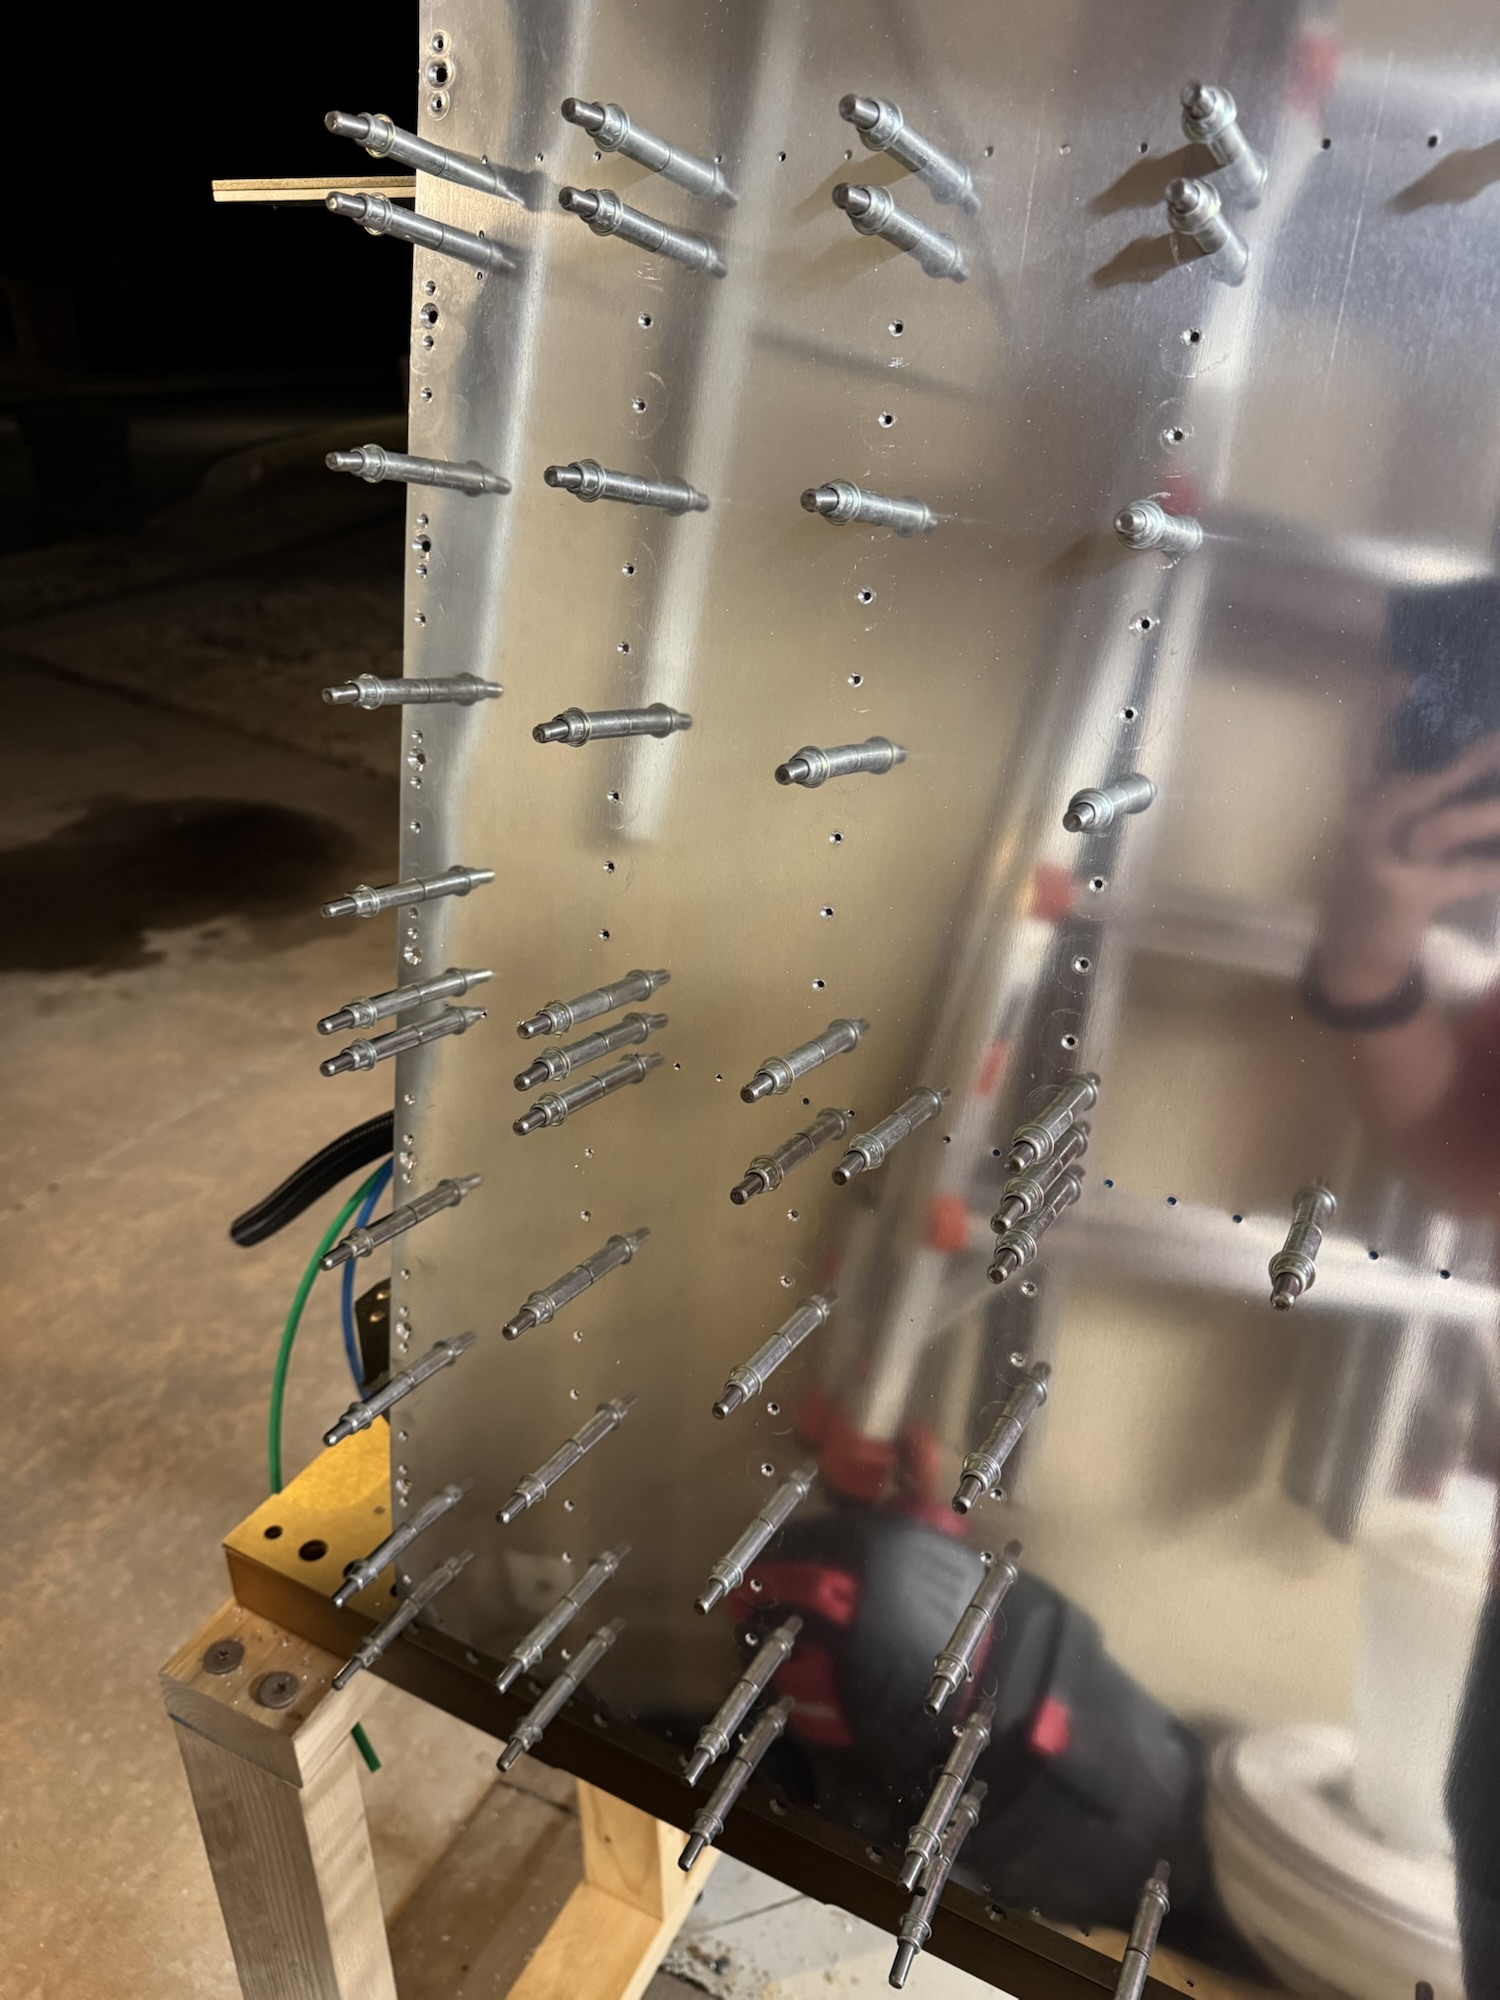
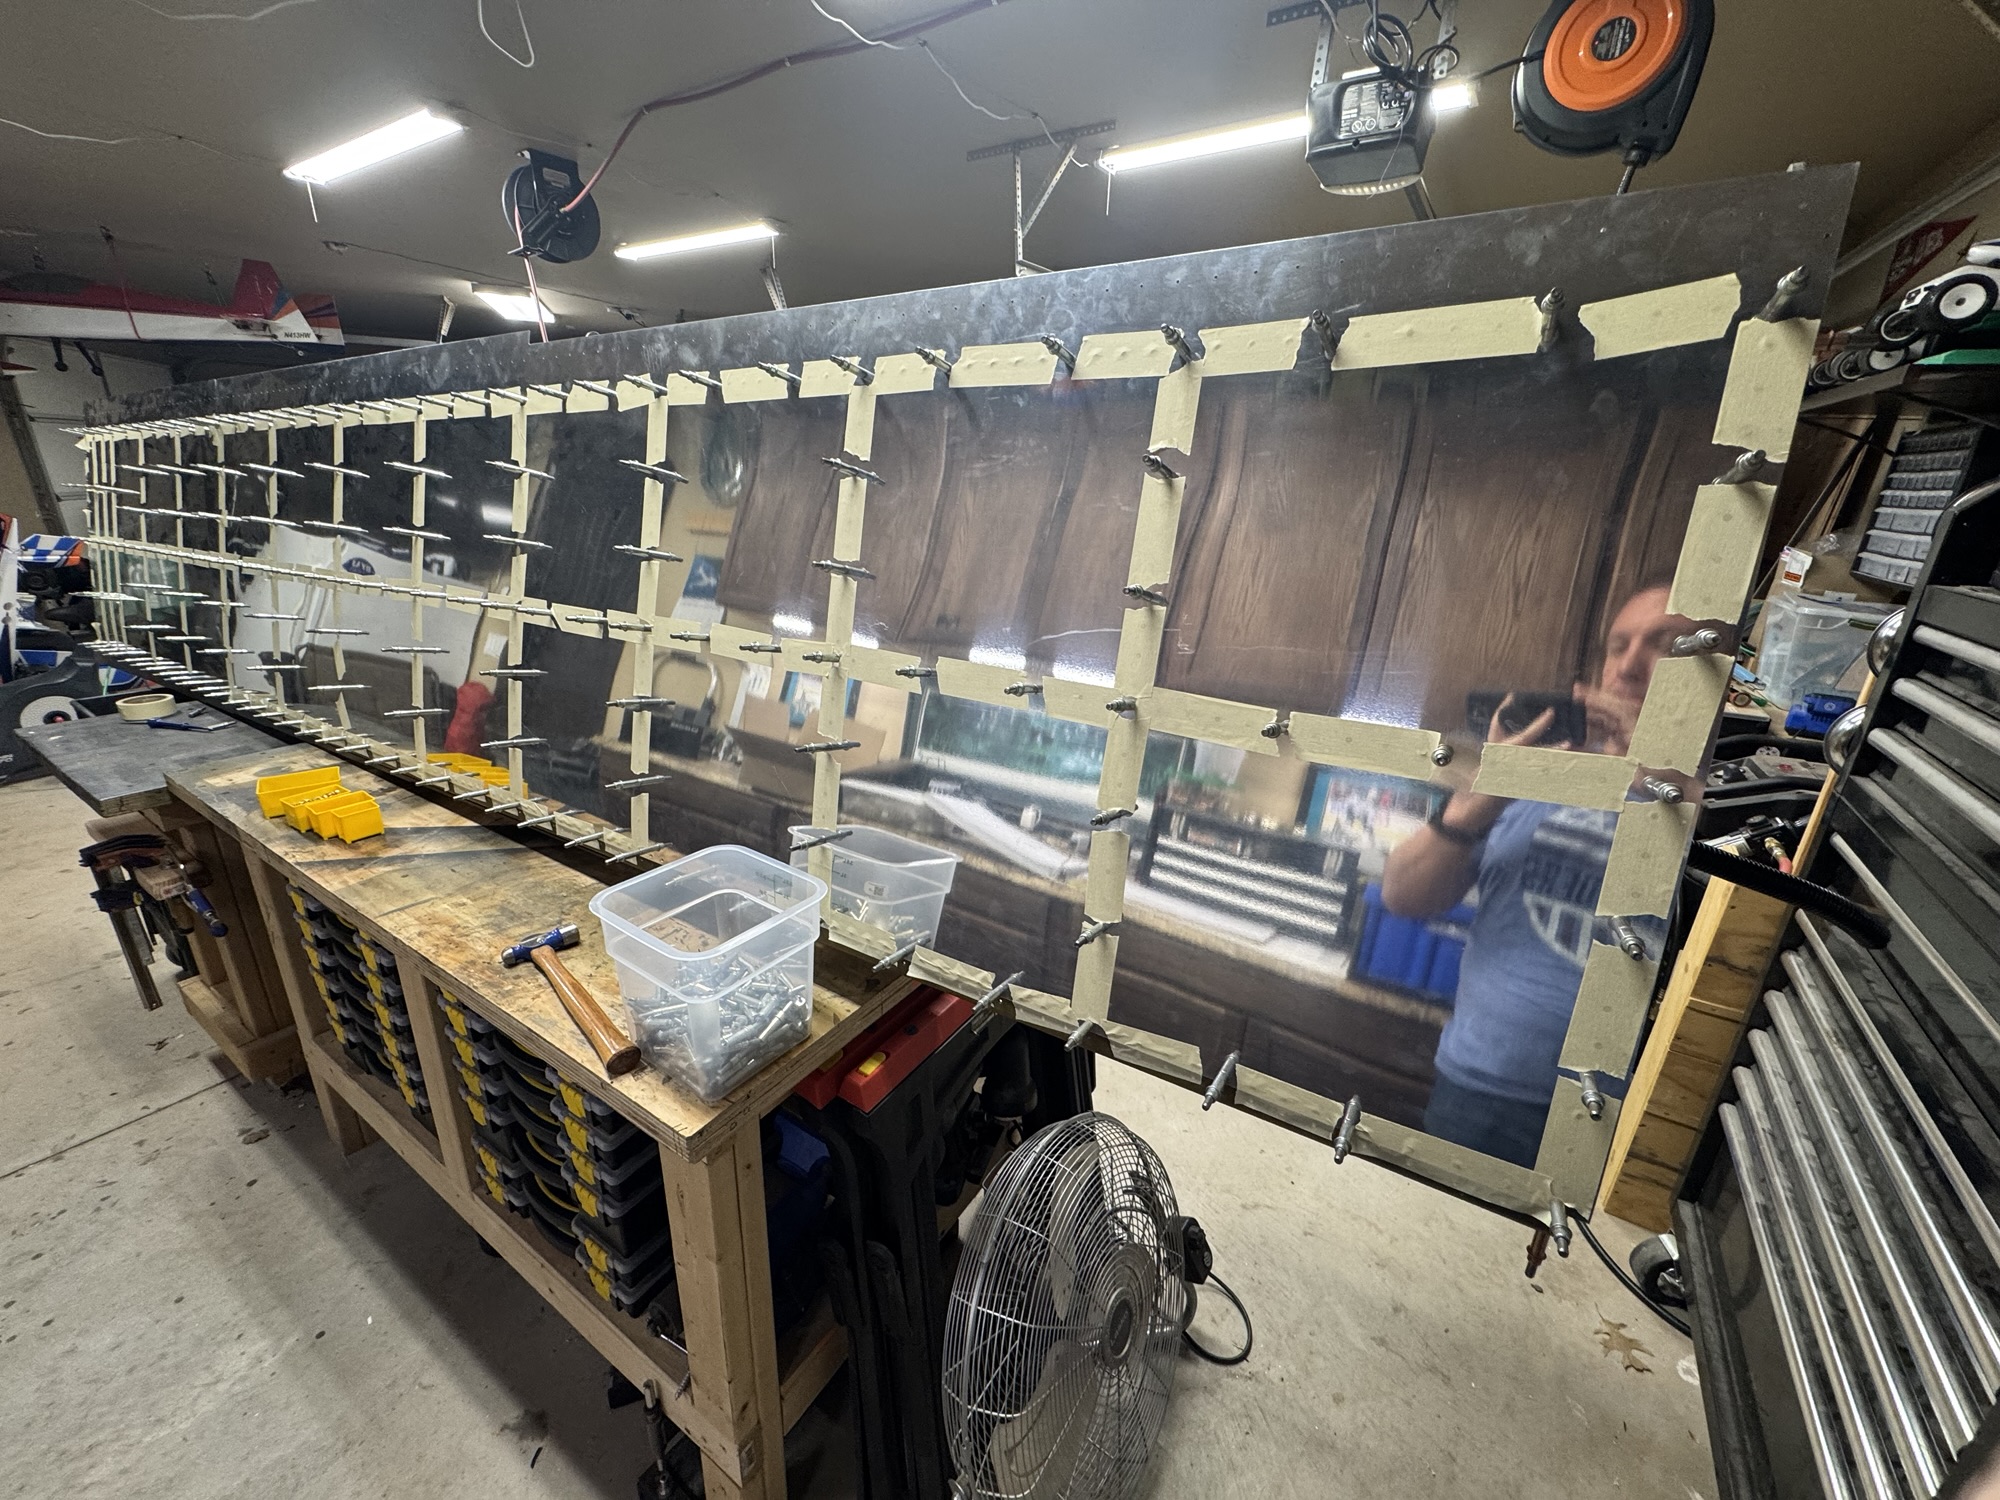
I got the wings 100% level across the board so they were not twisted. I then tried to do what the instructions said to do with back riveting but it was just not working very well. I have an offset back rivet set but it just does not transfer the energy like a straight set does. So I went back to the way I knew would work which was putting rivets in each hole and then taping them over. I then rivetted them like normal. I didn’t get too much time to do that today as my son was spending alot of the day today trying to get some driving time under his belt. He is taking his driver’s test here in a week and he needs to have a total of 50 hours. We’re almost there, which took away from him being able to help me with the wing today.


I finished the inventory for the finish and QB fuse kit yesterday. I got it all squared away and stored and I took some of the hardware to bring it home and sort it with the rest of the hardware I have.

I got a few hours today to get the parts deburred (I forgot a few holes that I could see pretty clearly were not clean) and then I primed all of the parts. After priming I put the skins back on the wings for their final fitting and I’ll start riveting them tomorrow. I think I finally got the gun settings down right for the spray gun. I added a pressure regulator to the gun itself now and set it to 32 psi when I had the trigger pulled. I also set the flow to the highest flow it could go with. It laid down pretty quickly this time and it was also very smooth.

I got some time tonight before church to dimple the last of the left wing skins. Now I just need to prime the parts and I’ll be ready to get started on riveting them this weekend.


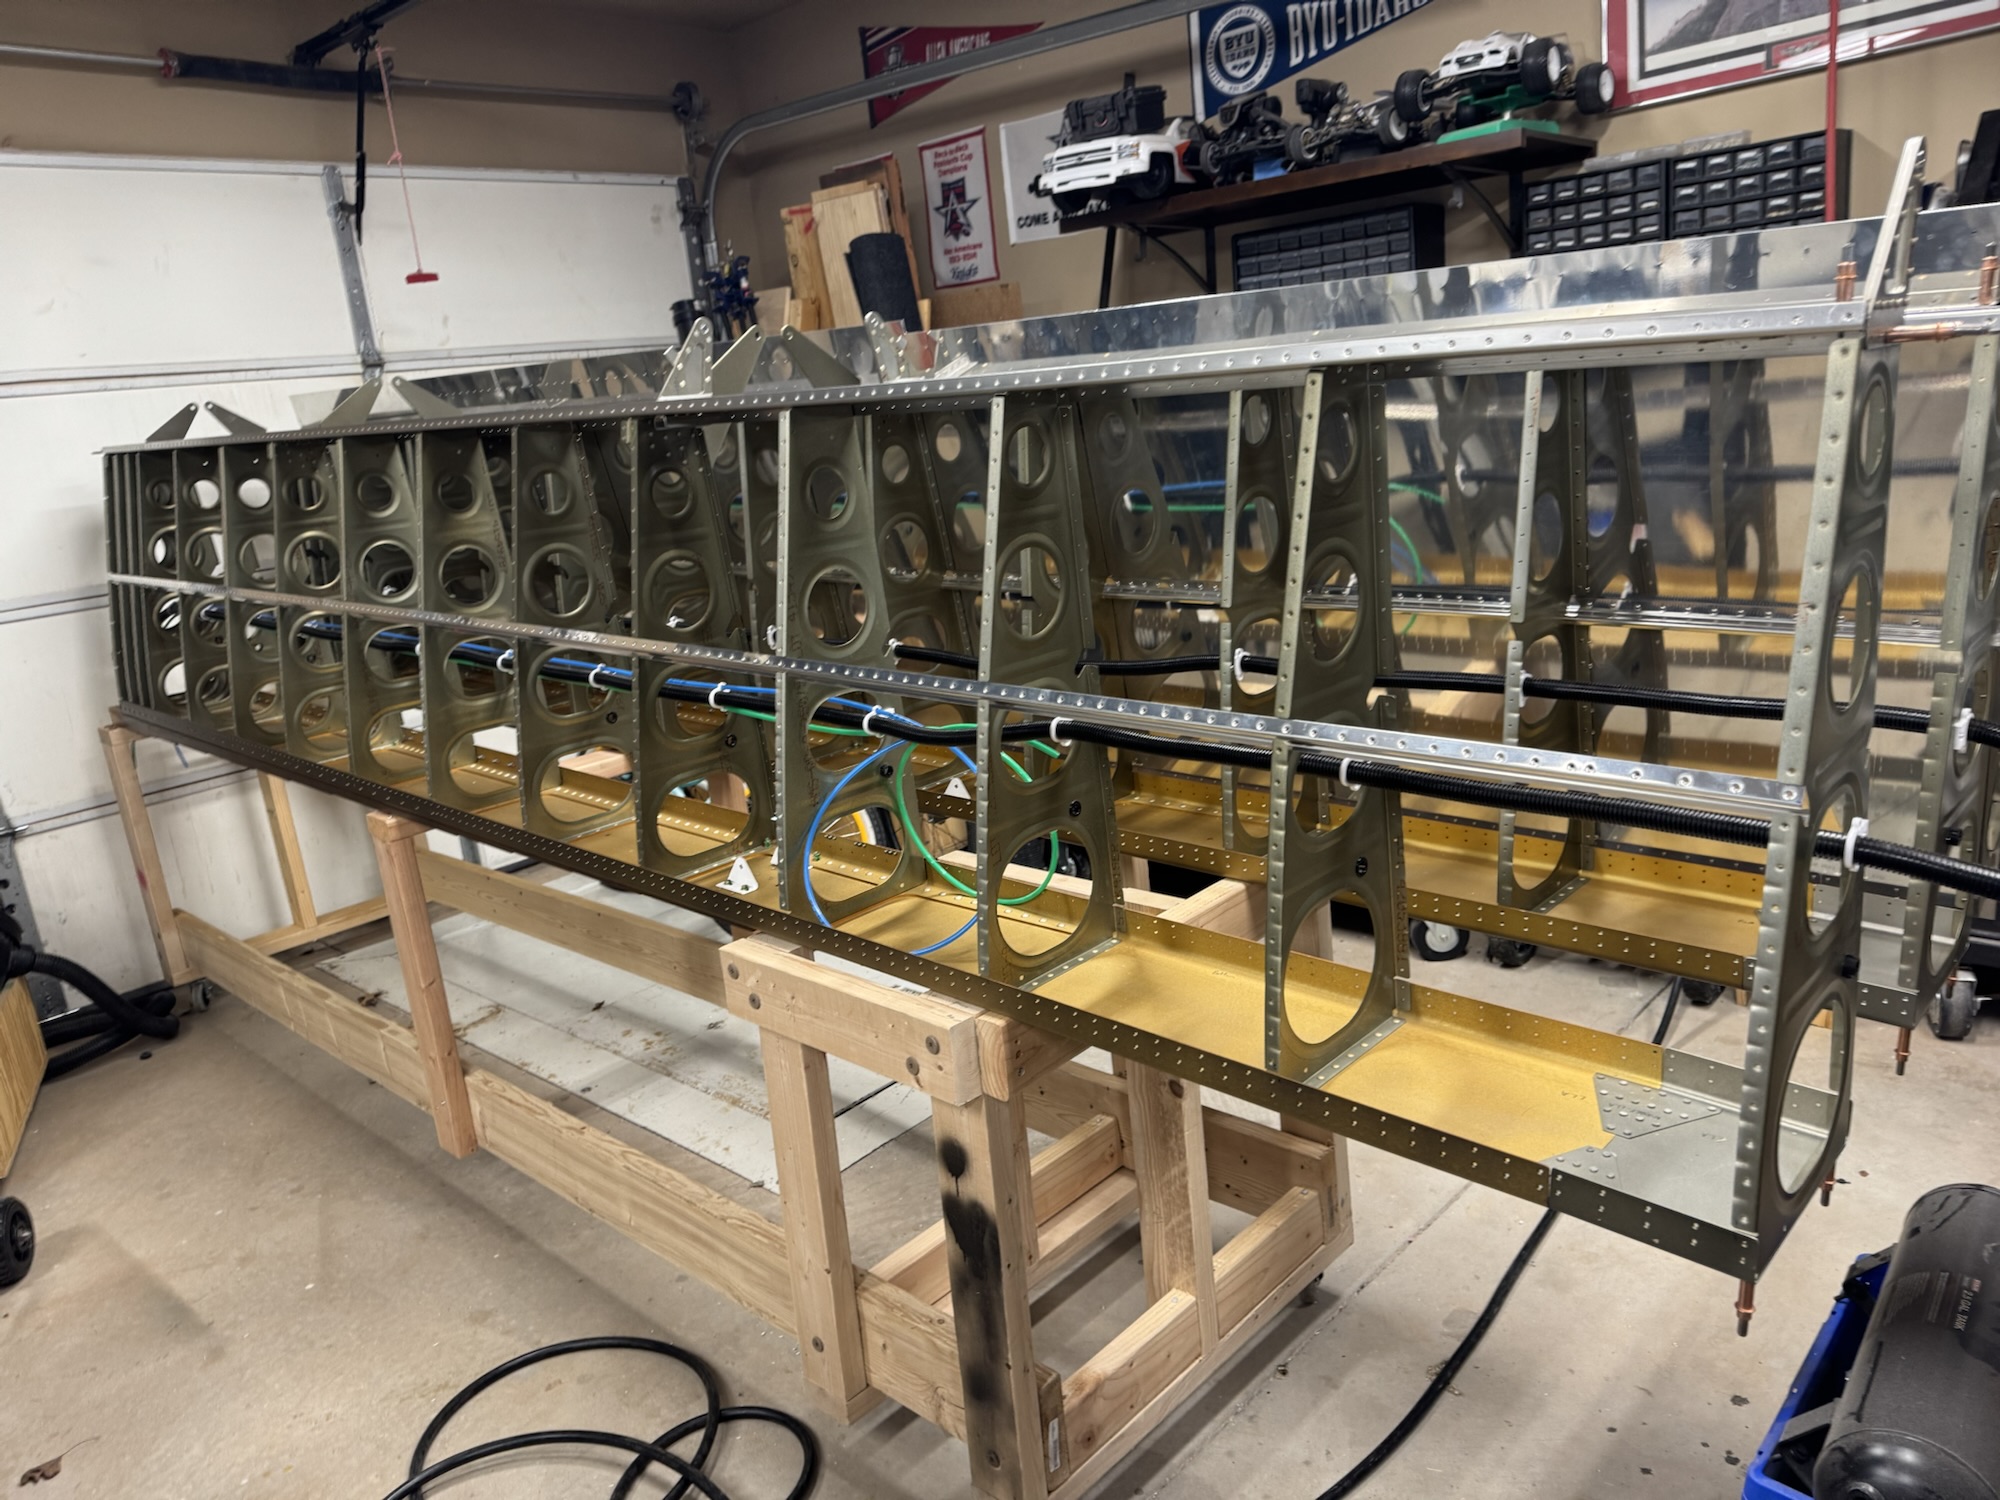
I spent a good amount of time finishing the right wing skin which is ready to go now for priming and riveting. The left wing ribs and spars are also completed. Not much else to report at this time.

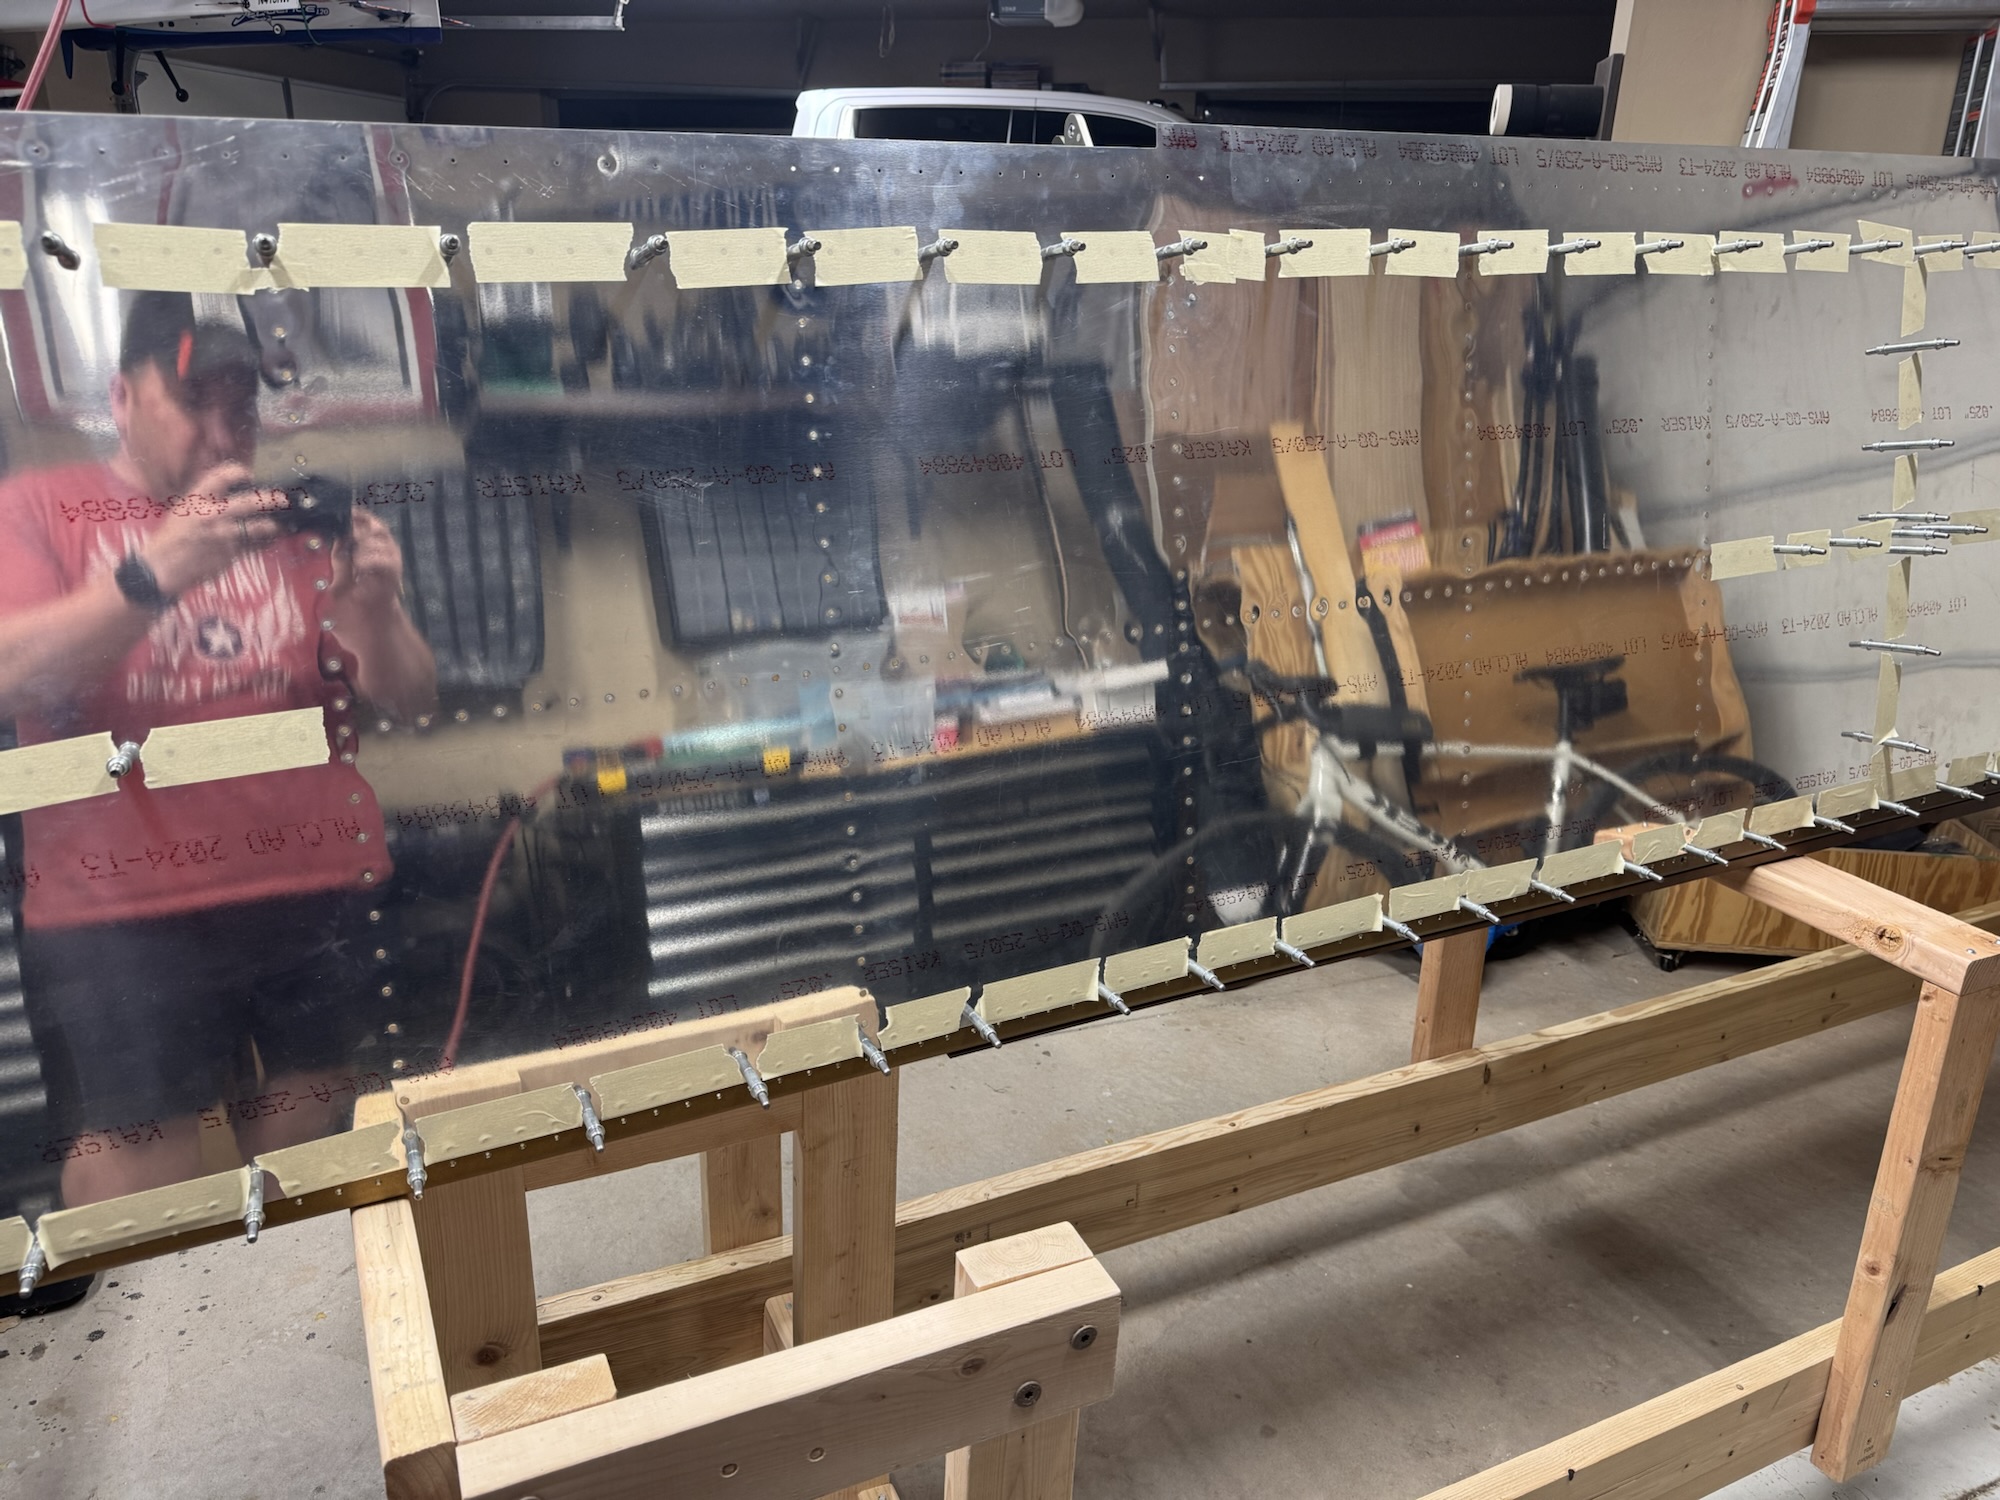
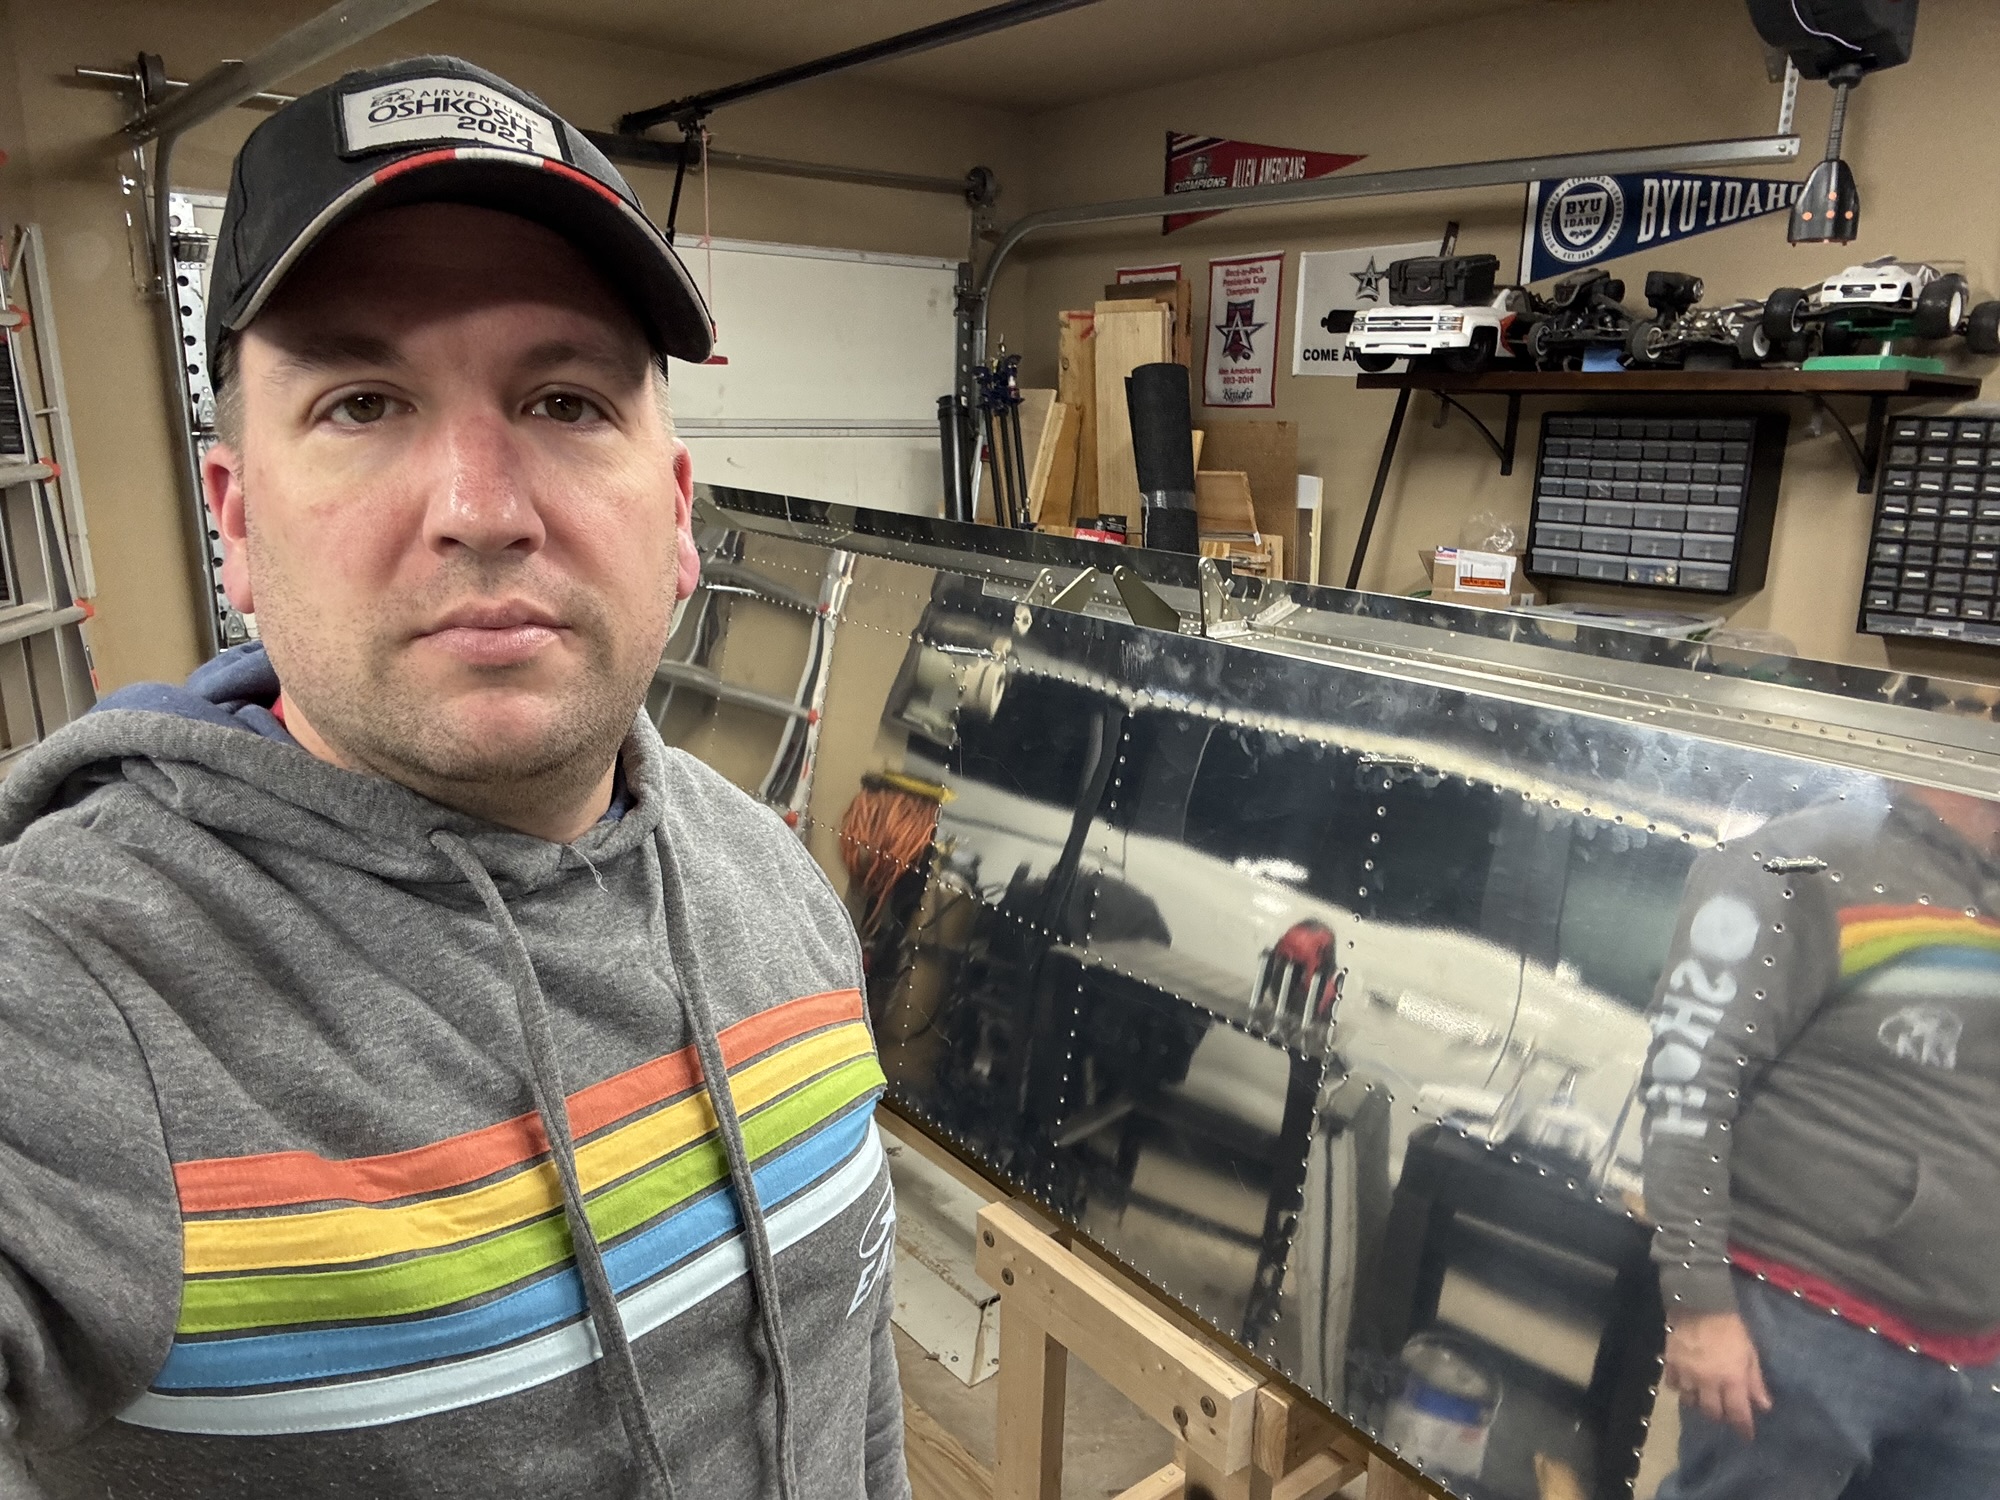
This will probably go over multiple days per wing but I got all of the dimples completed for the largest skin on the top of the right wing today. Alot of monotonous dimpling while listening to podcasts. I noticed I’ve not been including enough pictures with me in it per requirements so I’m going to try to include more of myself in it.
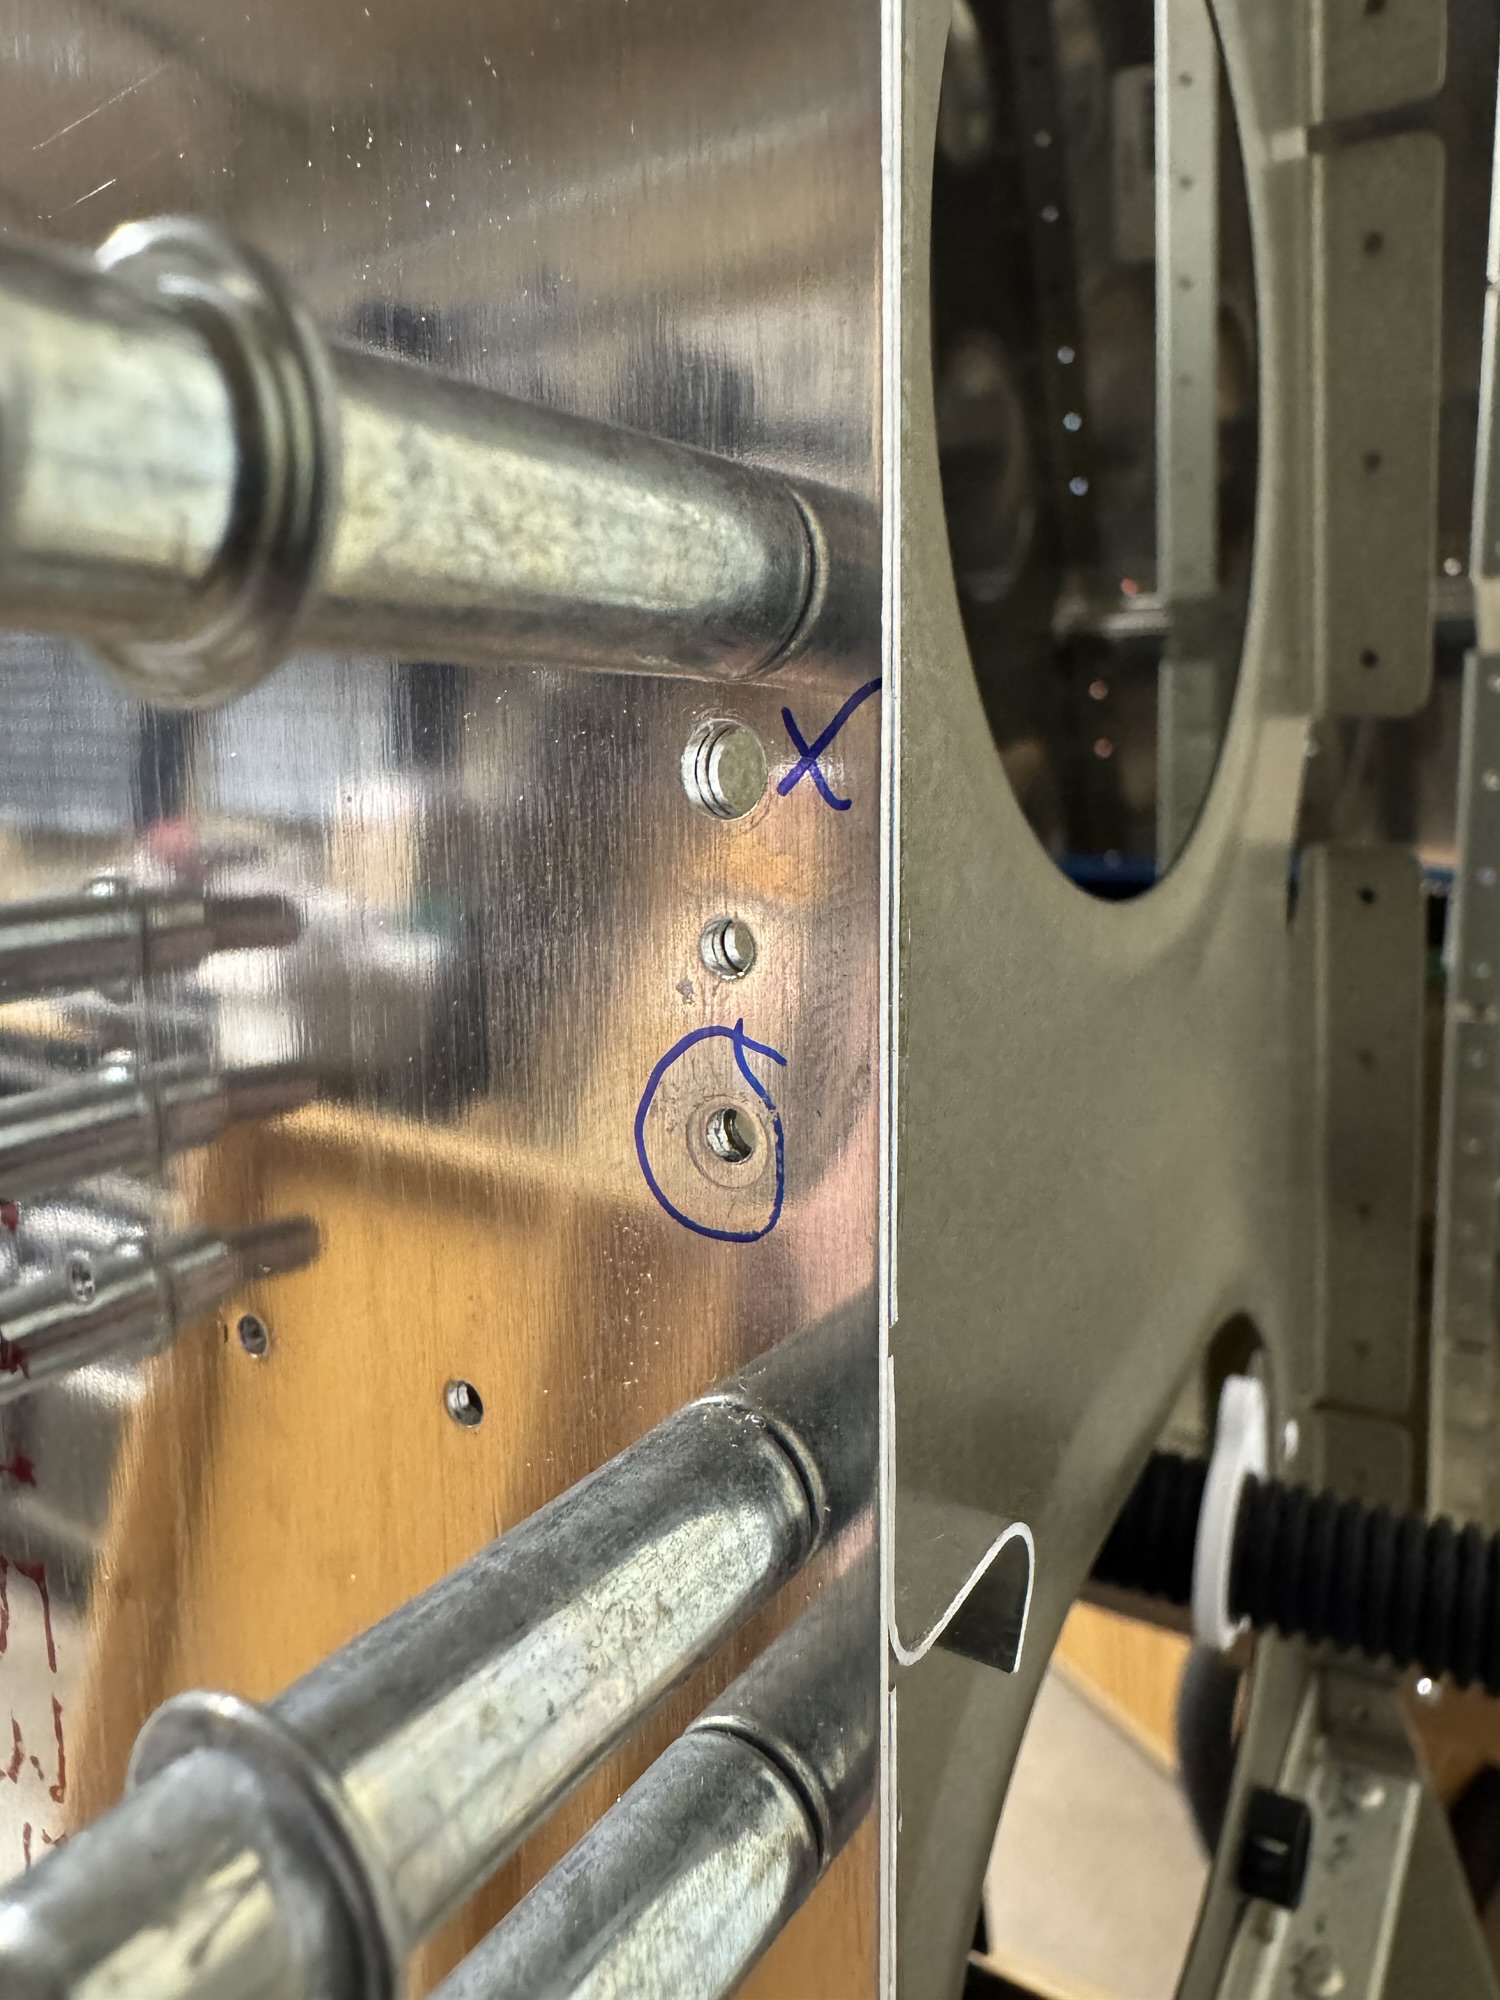
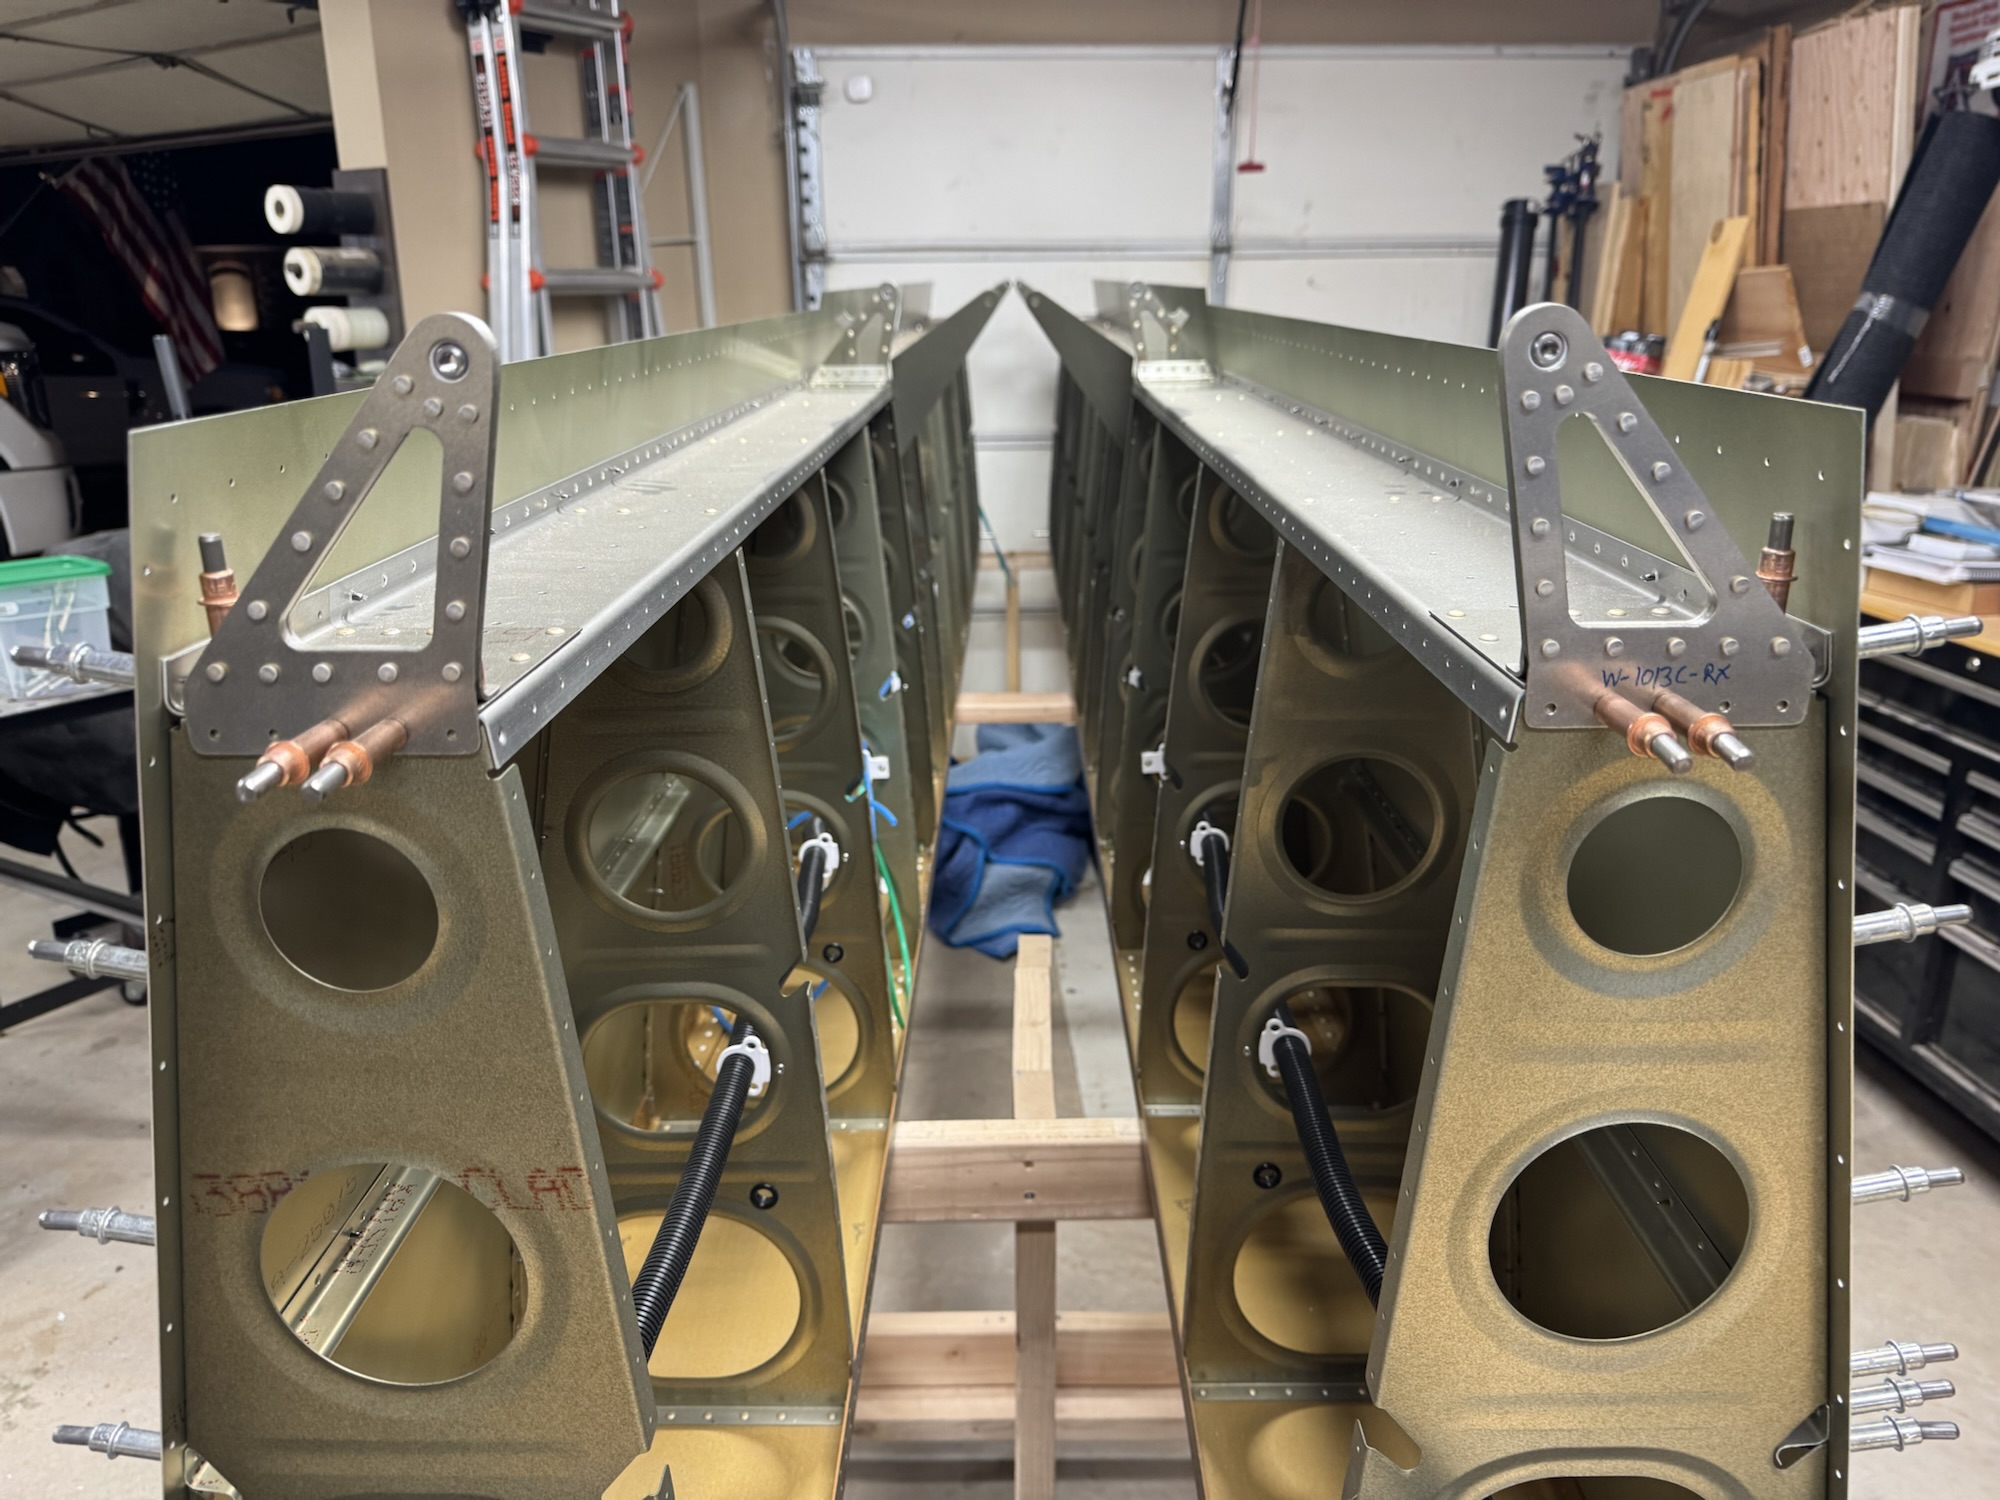
There are two questions that I now need to bring to Van’s on Monday when I get a chance. First off, as you’ll see from the image below, I drilled the wrong hole for the bolt that will hold the fairings on to the airplane between the wings themselves and the fuselage. I thought these were just standard nut plates (which 7 of the 8 are) and I simply drilled all the ones I saw in that pattern…. Unfortunately this one near the J stiffener is a different type of nutplate (one that has two rivets then the nut rather than a rivet-nut-rivet combo) This is a pretty expensive mistake as I will need to replace the inboard rib, the reinforcement skin below it, and then the inboard top wing skin. This will set me back about $200 each wing roughly and that’s without shipping. I’m going to talk with Van’s first to see if there’s anything I can do. Since the nut plate will still have one rivet to hold it in place, and it isn’t structural, there might be a way to save this mistake. I have learned from this mistake that I need to basically check off every single hole and not make assumptions from the majority that they are all the same. They had clear identifiers for how many holes were between each bolt hole so I could have counted that way. Luckily I checked afterwards otherwise I would have happily built on and riveted the skin on and everything.

The second question goes back to when I got my laser-cut part replacements. I noticed that the replacement inboard rib had many more flanges than the original did. But I saw that it was still labeled as a W-1010L/R so I went ahead with it. Unfortunately while i was drilling the holes for the nutplate attachments I saw that two instances had way too little material between it and the edge. I’m going to have to verify with Van’s if this was the correct replacement part and if it is then is it acceptable to have this little amount of material between the rivet and the edge of the part. From what I’ve read it isn’t acceptable in any circumstance and could lead to cracking. Maybe this part was mislabeled and sent to me? It is the proper thickness material though (0.032″) and it works except for that one issue. I should have kept the laser cut ones I originally got just to compare it even more against now that I’m seeing this but… I try to keep my work space as clean as possible and if I leave extra parts that I don’t need around anymore it would quickly get overrun. We’ll see what they say on Monday and whatever is best is the way I will go. If it is the expense route, so be it. I just want to build this plane properly.


I spent just a small amount of time making sure that the holes for the skins and the ribs were already final sized. I picked a few random holes and they all were exactly the size they need to be. I spent alot of my time over the past few days reorganizing, getting some tools that will help alleviate some issues and doing some research.
First, my plans binder is getting too full. I ordered a larger one and got it split out with tabs now and with some plastic sleeves for putting pages in from service bulletins, purchased item manuals and installation instructions, etc. I’m just waiting on the bigger binder now to come in and I’ll transfer all of that work into the new binder.
Second, I ordered a few additional rivet sets that I found were going to be helpful in elevating my build quality. First was the Boeing rivet set. It is a truly flush rivet set with a polyurethane rim. My previous flush rivet set that I’d used the most had a thick rubber cup around the outside of it that solved my first flush rivet sets issue of moving around on me, but it added a new one where I couldn’t see in to make sure I was directly on the rivet and not setting a rivet slightly high in the hole. This one has the transparent polyurethane rim that will let me see through to make sure I’m on. Also, it truly looks like it is flatter than the previous two sets I had. They were just so curved that it was difficult to stay directly flat on the rivet without constant monitoring. I guess I just need to bring my boys out more often to help me rivet LOL.
Third, I ordered some 7.5″ and 10″ AN470 rivet sets. The offset rivet set is just not functional and I feel like I’m losing power to set the rivets. It took me about 20 seconds of riveting to set the rivets this last time, but without changing any air settings I could set a rivet in 2 seconds with the straight set. So hopefully this will decrease the wear on my body while trying to set rivets in those harder to reach places. I also read from a forum that if you use some tape on the offset rivet set then that is also helpful. Fingers crossed this works.
And fourth, and the most expensive of all was that I bought a 3D printer. I bought a Bambu X1C which will be coming in February. I’ve seen from Allan Glen’s build logs that he has printed many parts, jigs, and tools that help him be accurate with his build and make things function properly and look cleaner. I’ve already used some of his prints but I was having a friend print them. I didn’t want to bother him too much so I decided to get my own. This way I can print tools or jigs and if they are slightly off and need reprinting I don’t have to bug anyone and I can have it redone in a short amount of time. I picked the X1C because it was reviewed to be easy to use with little tweaking and it could also print in polycarbonate, fiberglass reinforced, as well as carbon reinforced materials. Fingers crossed this will not be a waste of money, but my friends at work and at church have all said that they’ve been printing so many things to fix things in their life or to make a solution that doesn’t exist. I also have my son, Andrew, who has been taking a CAD class in high school for the past year and a half so he should be able to show me the ropes in the CAD software.

I also found through Allan’s page that there is an avionics wiring class from the Aircraft Electronics Association called “Avionics Installation for Experimental Aircraft” that they host in Kansas City that is basically a three day course on how to plan, design, and implement your avionics solution. I really want to take that course and since it is fairly close to home, we might just take a small family vacation up there this summer so I can take the class and the kids can go around and have fun.
And finally, one thing I don’t want to forget is Allan mentioned using this 3M Scotch-Weld DP2216 Epoxy Adhesive for things around the airplane where you don’t want to use the ProSeal. I’ll have to see where I might use it instead but I at least want to document it in a post so I can reference it again in the future.