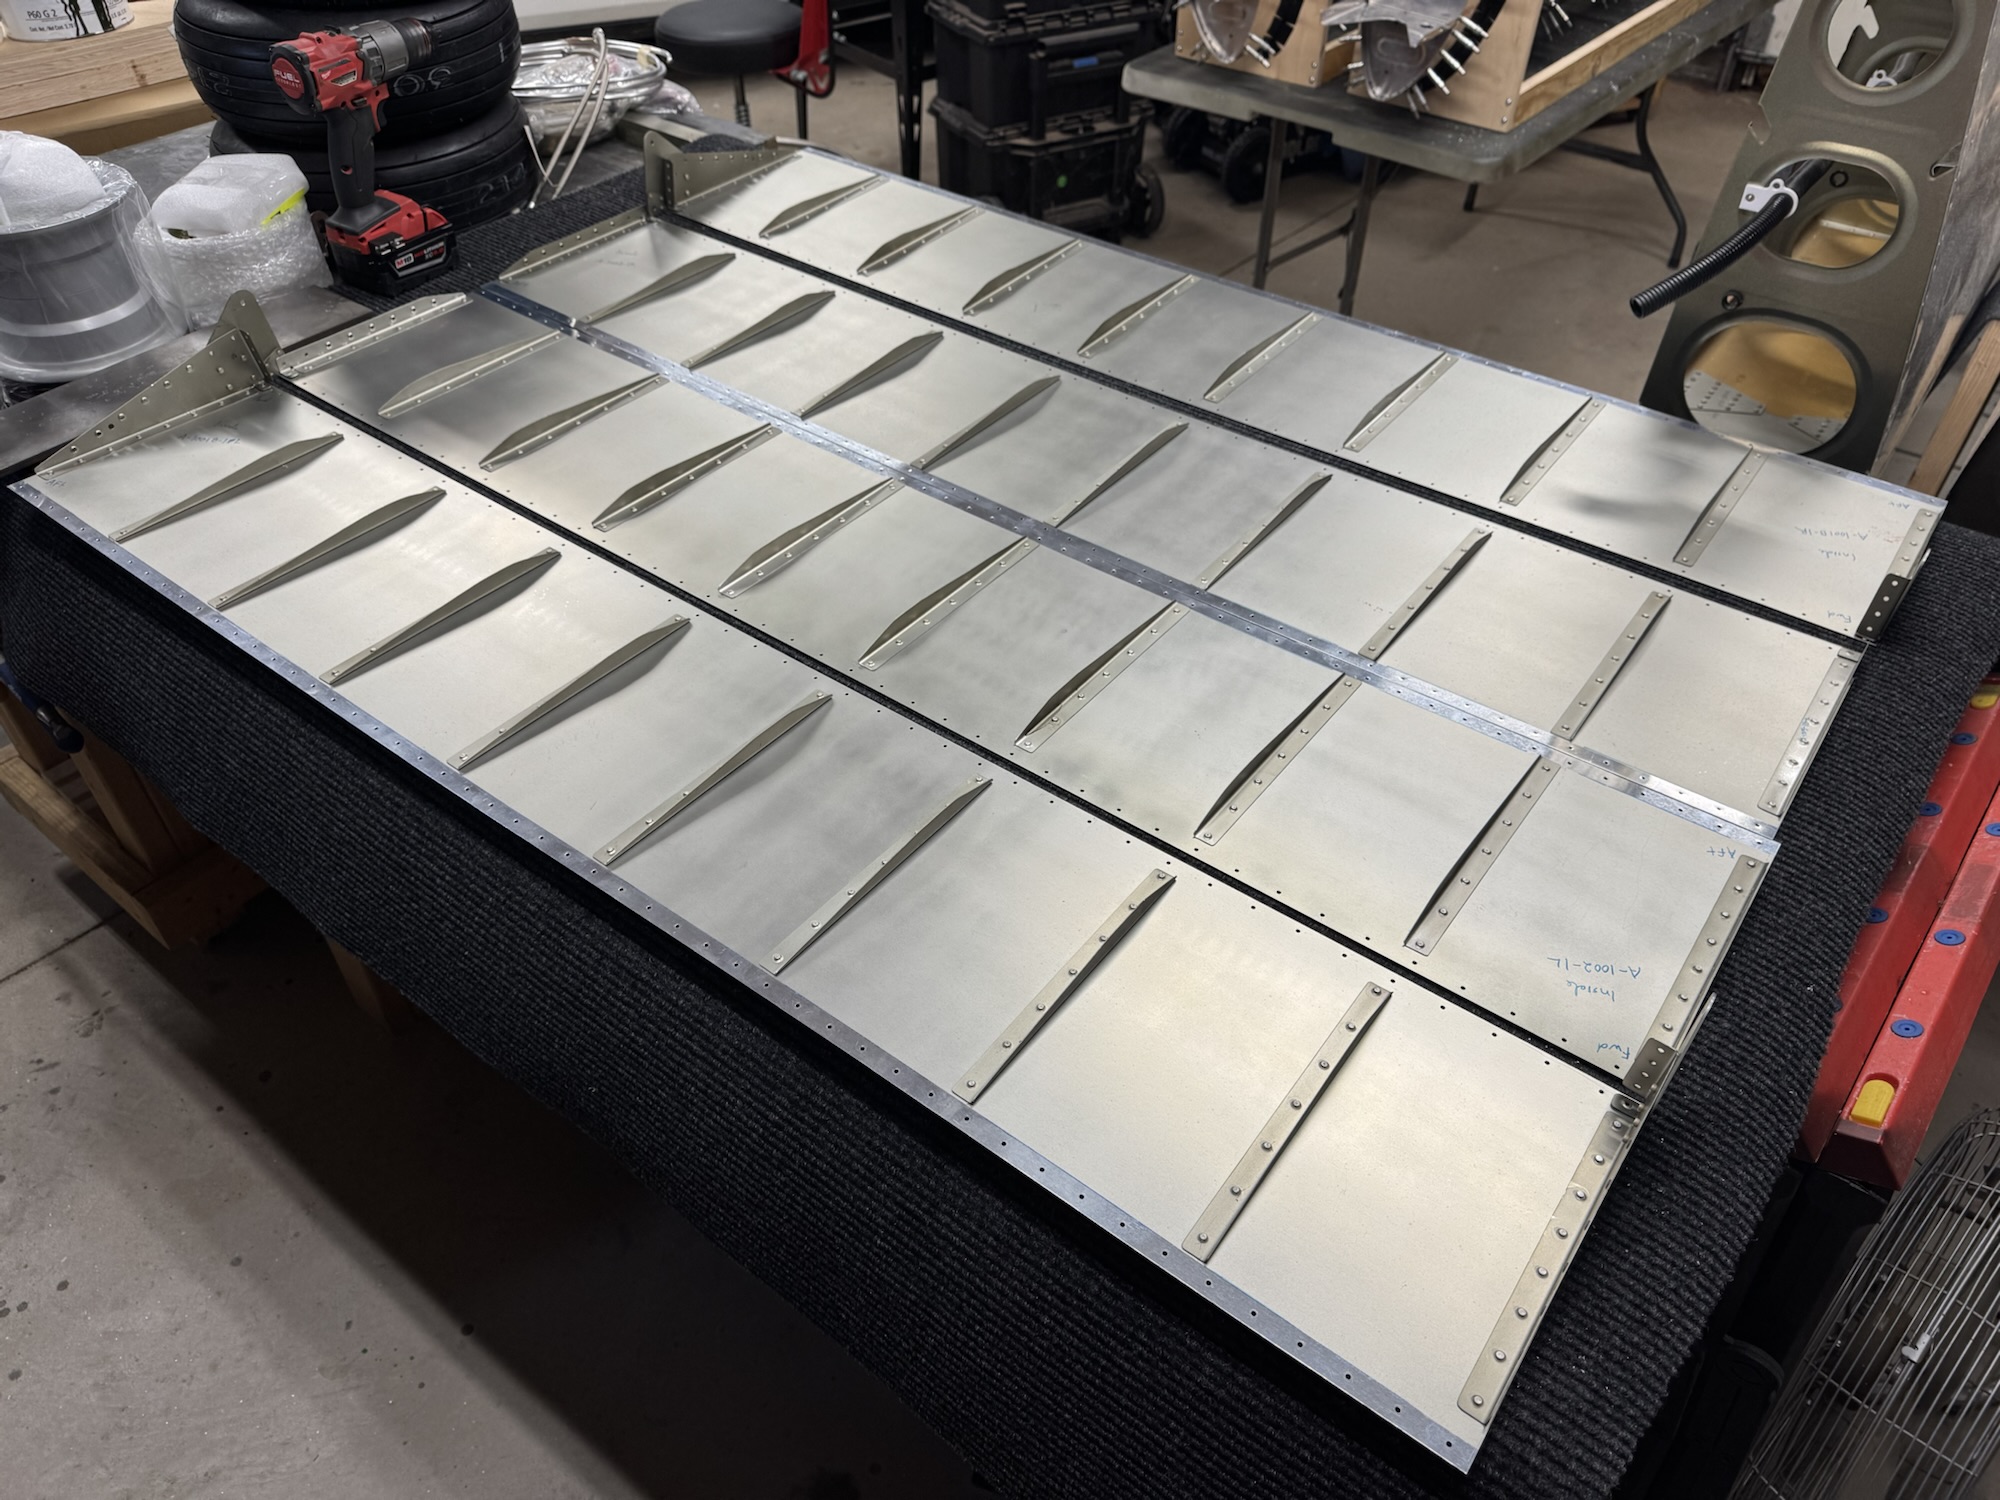
I had alot of free time after work today and I completed the riveting for the ailerons. I’m glad to have them done and they came out absolutely straight! The sealant for the tanks is arriving tomorrow so I plan on getting back on to those next.
Category: Wings
-
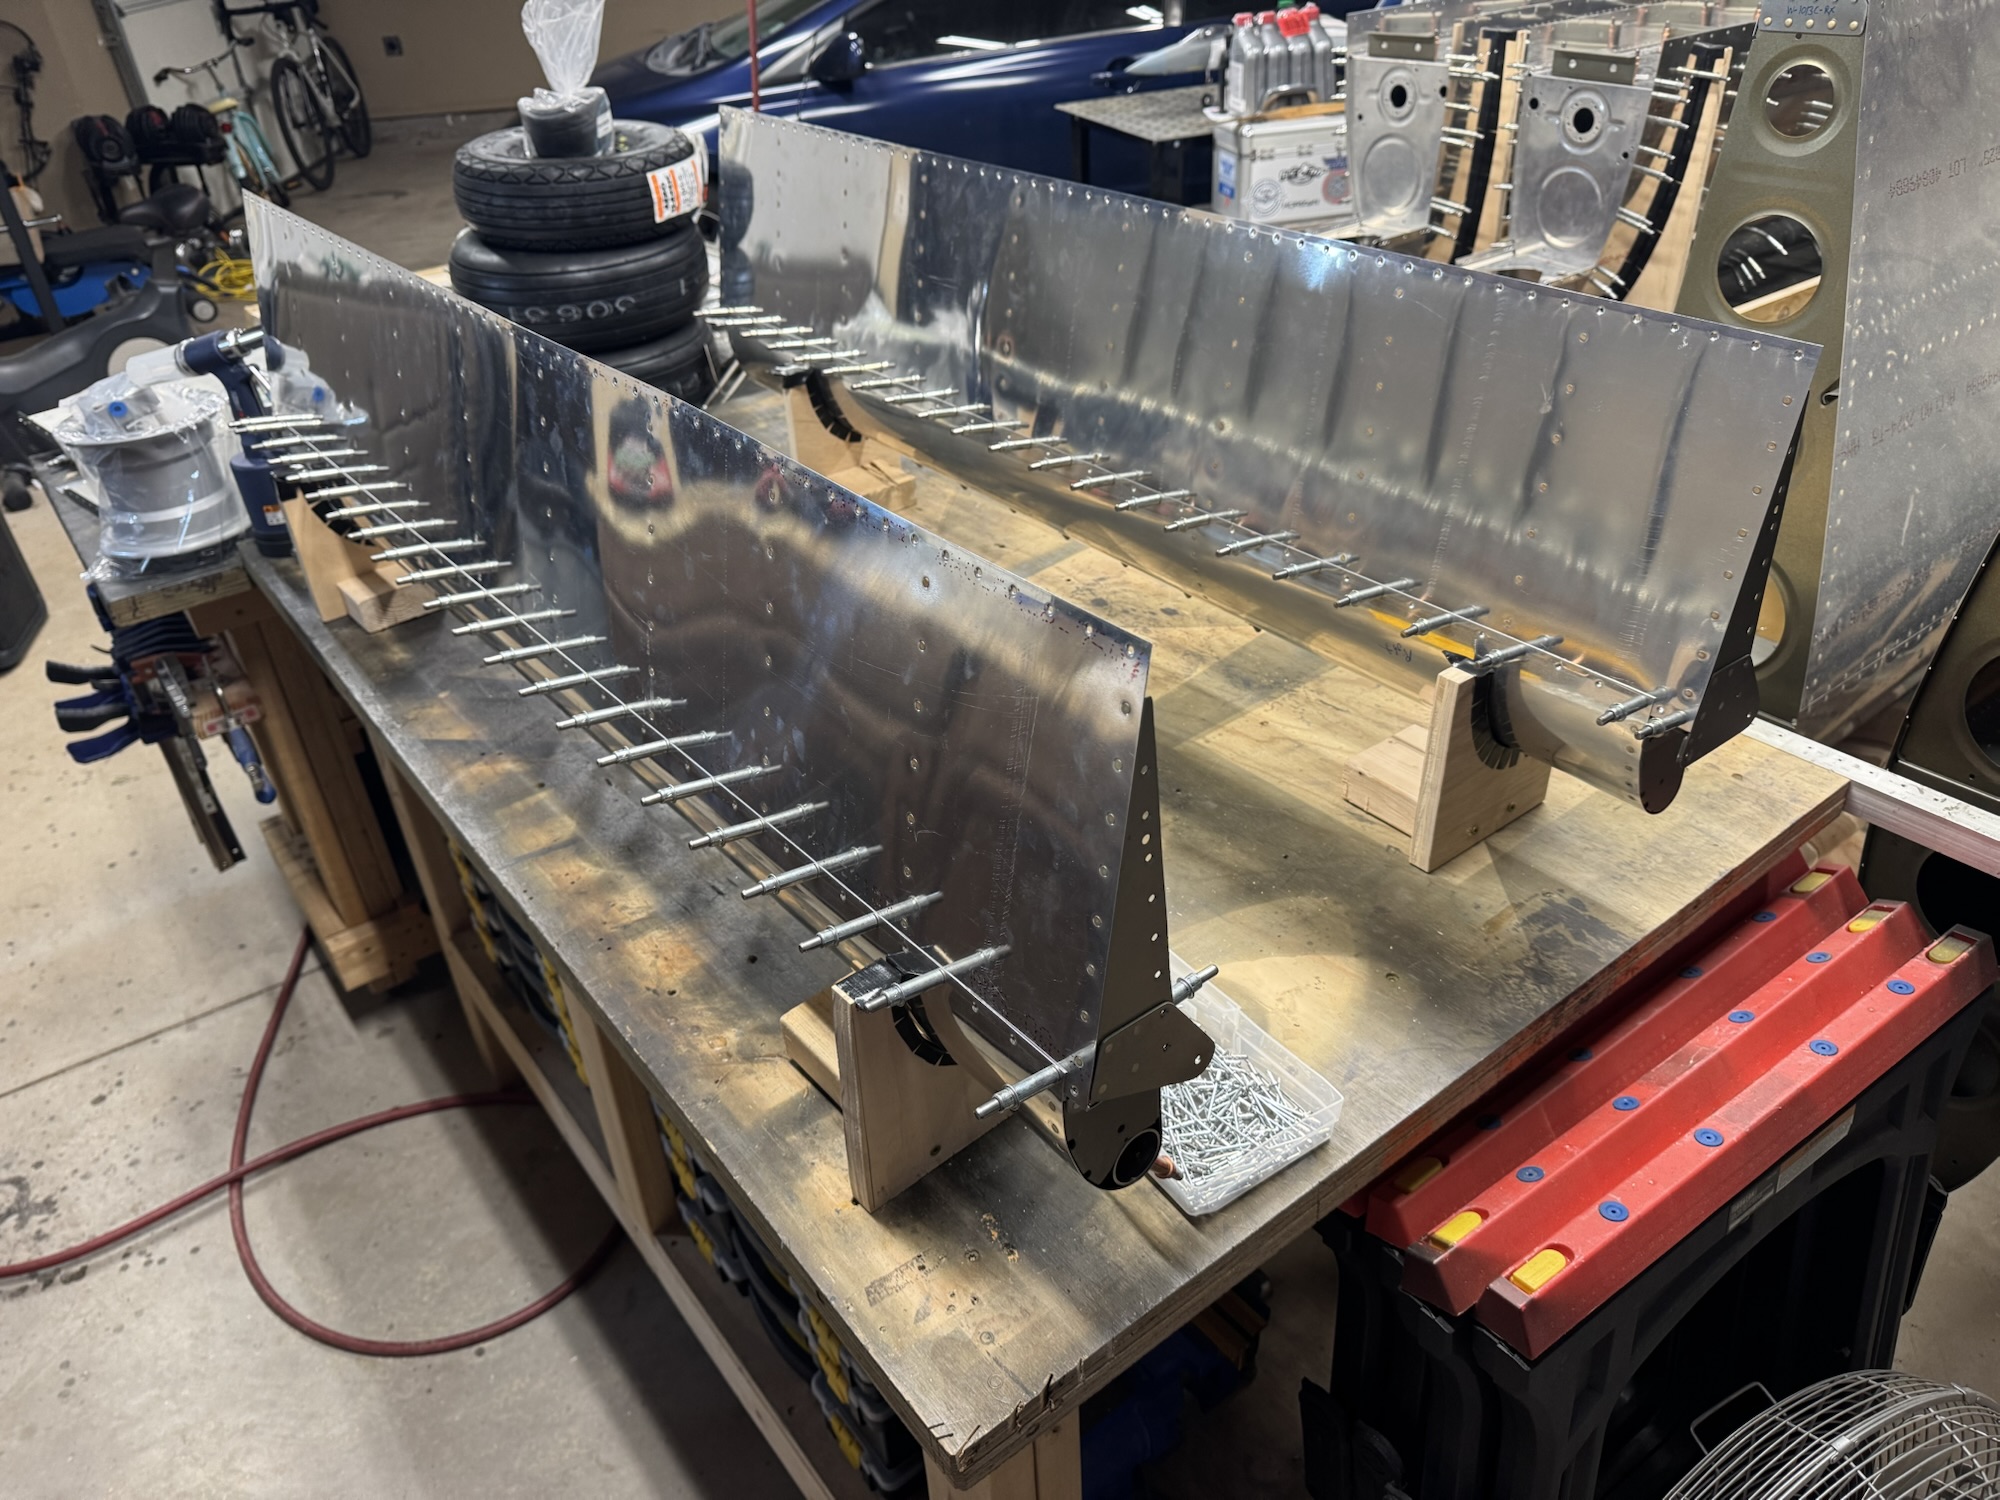
Top Aileron Skins Riveted
Got some time to destress today and just drive a few rivers. Got both of the top skins completely riveted and the bottom skins are ready to start.

-
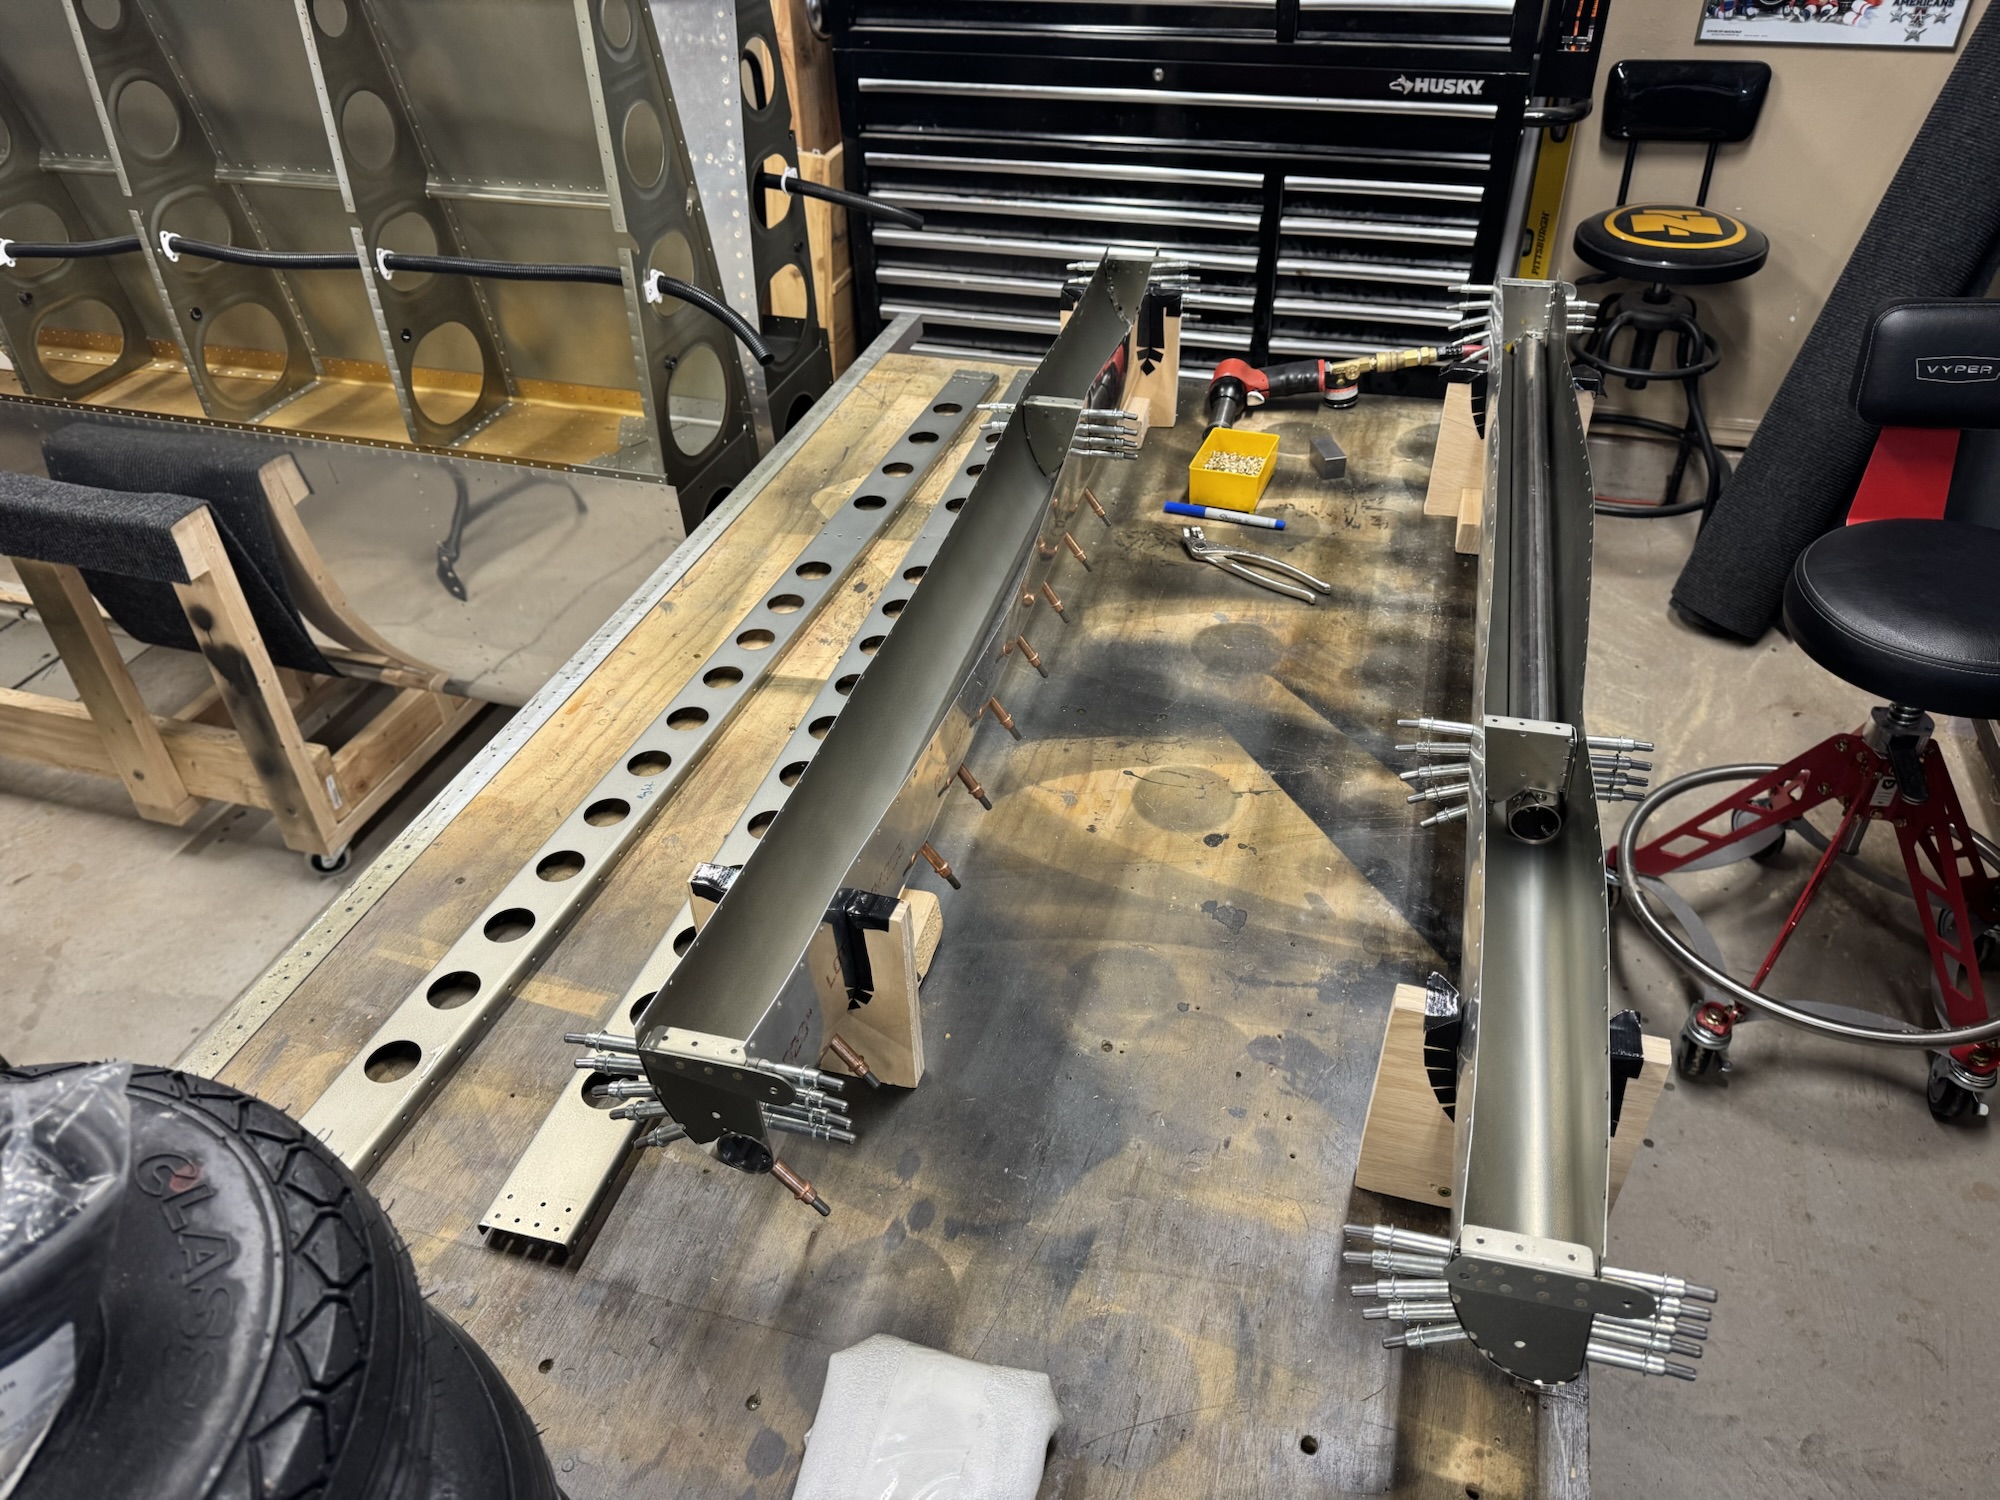
Aileron Nose Ribs Riveted and Spar Partially
I got the nose ribs riveted in place for both ailerons. I also got the spars installed and the spar webs riveted to the nose ribs. I staged the next step of riveting by getting the top skins on and in place. I won’t be able to do any work for the next few days as we will be out at the lake with family enjoying the swimming and jetskis!


-
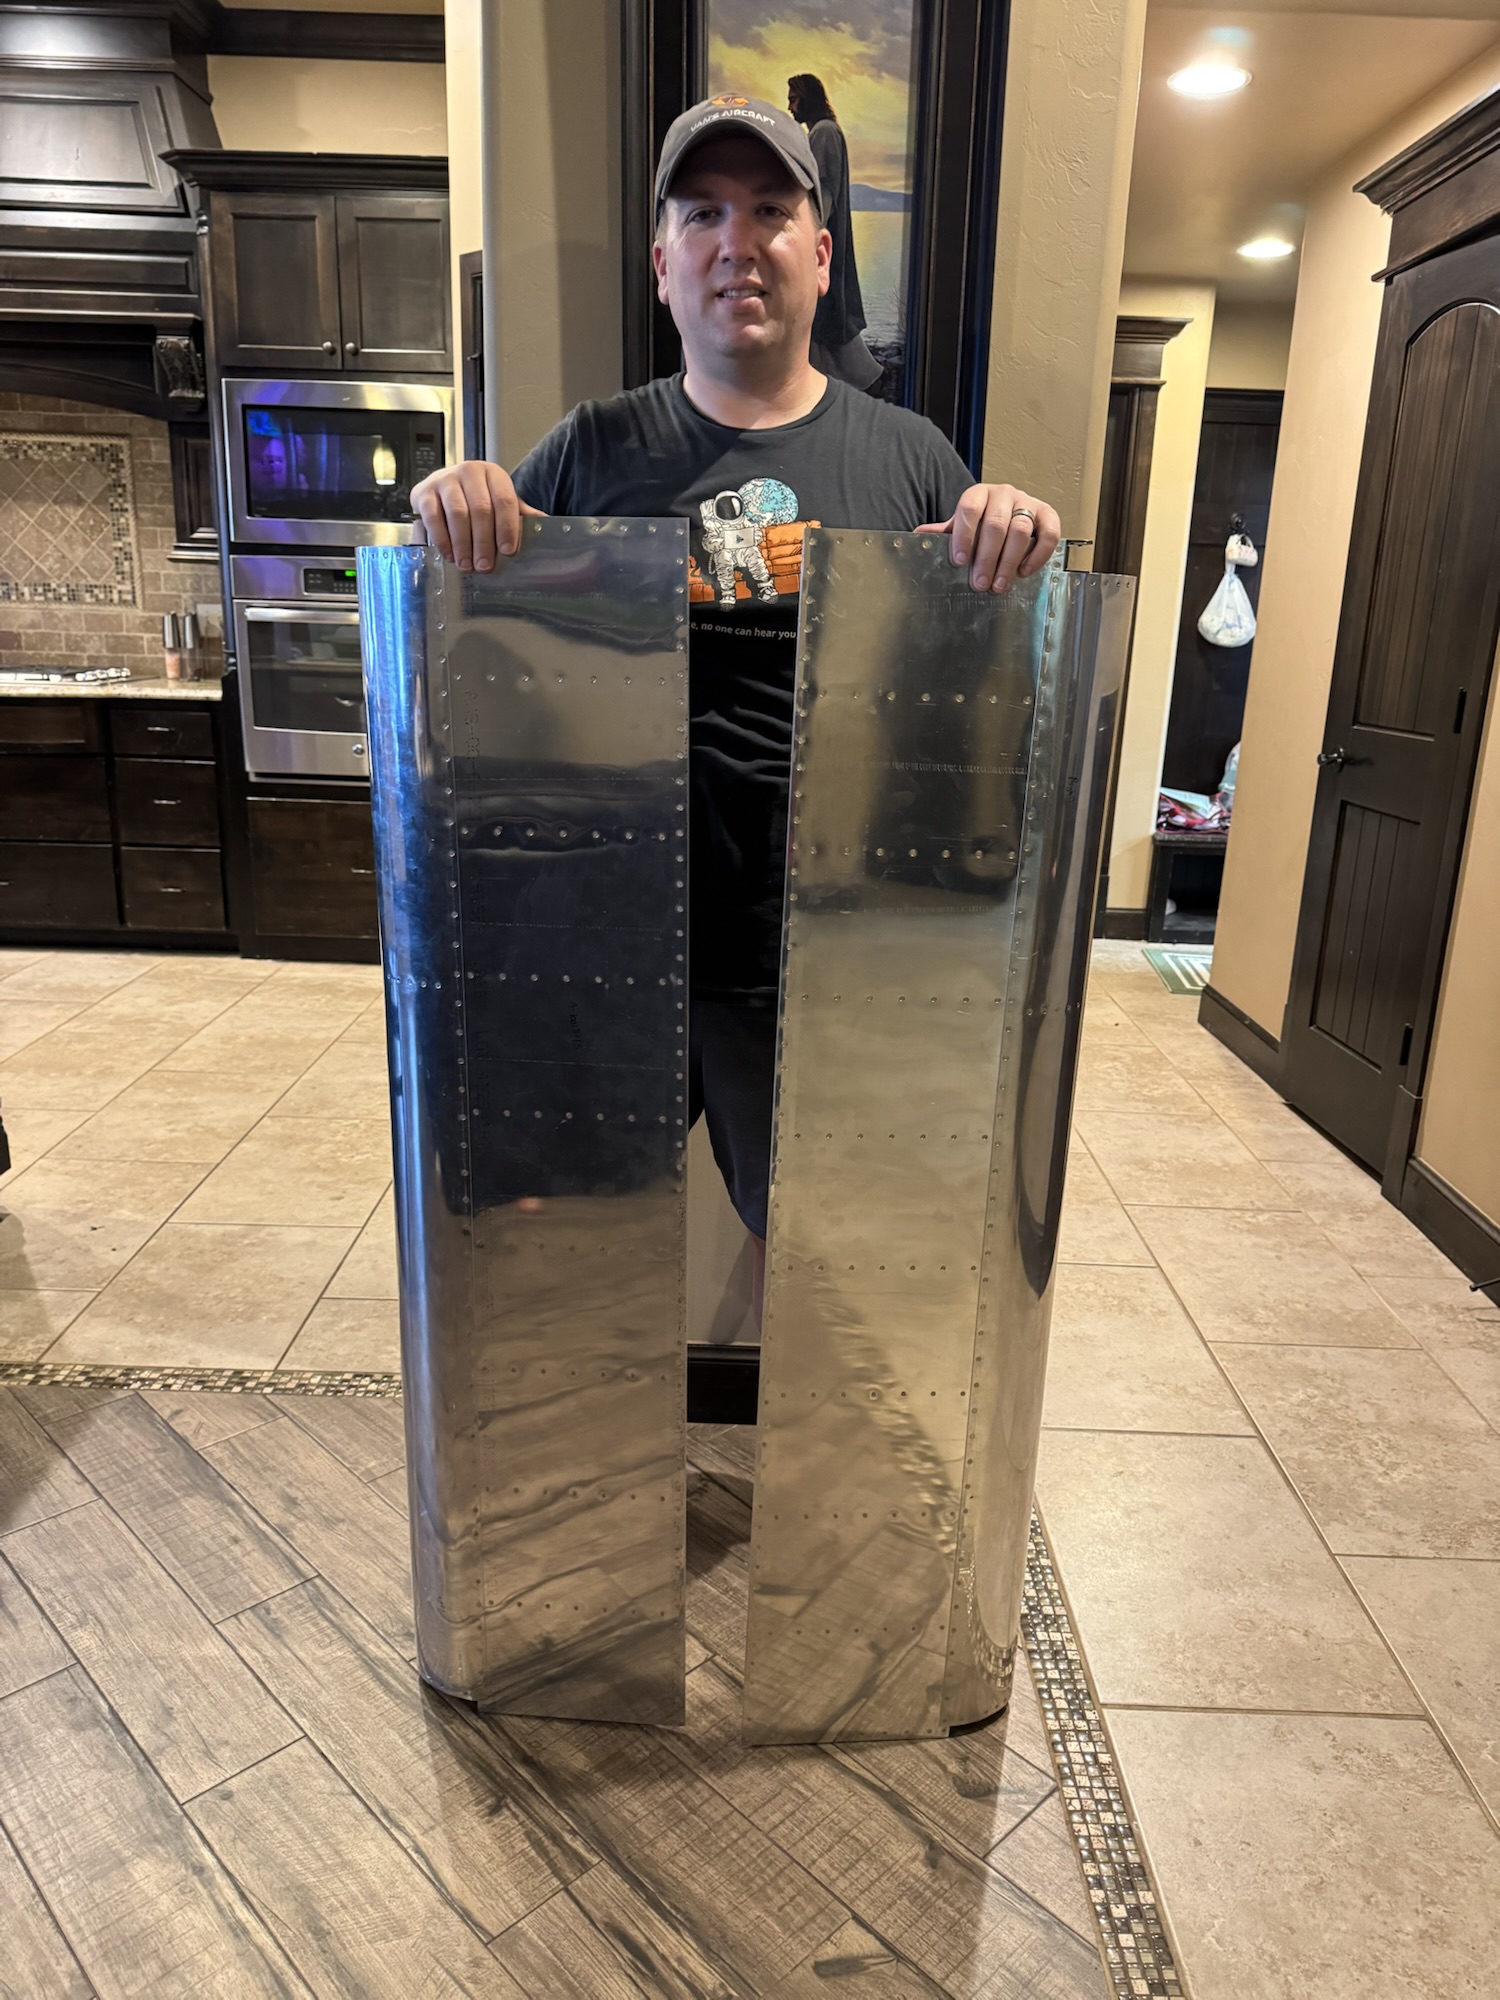
Ailerons Ready for Assembly
I put the ailerons together fully today for the first time. I got the trailing edge prepped and finished dimpling the rest of the parts as well as priming the inside of the nose skin and the spar. I also assembled the cradles for the ailerons while I rivet this together. I felt a bit tired after so many hours of work so I decided to call it quits so I can be fresh when I start riveting these things together.


-
Aileron Skins Primed and Riveted & 3D Printed Parts
I spent some time last night printing the templates that Allan Glen used for his pitot tube installation. Luckily my 3D printer was spot on on the first go and it only took me 40 minutes to print both of these parts. I’ll drill the pitot tube soon but I wanted to focus on the ailerons as much as possible after this.

I got all of the skins prepped (taped off and cleaned) and then I primed them. I guess I’ve not been cleaning the gun very well because it was very slow to dispense paint. I found the filter inside the cup was loaded with old paint which I guess did not get cleaned out in my usual method of putting lacquer thinner and spraying that through the gun. I’ll do a better job going forward but at least it got the job done still.

I then spent the rest of the evening riveting on the stiffeners and ribs. I made one mistake an accidentally put the A portion of the ribs in the B ribs spot. I drilled that out (which luckily I hadn’t put the B ribs in on the other skin yet) and reset the ribs in the right spot.

-
Elevator Skin Work & Brakes Have Arrived!
This is my second post of the day since I worked on two sections today. I disassembled the ailerons so that I could start the dimpling process. I deburred the holes I drilled in the counter balances which took a bit more effort since it was stainless steel. I got all of the skins deburred. I am 99% sure I got the skins in the right orientation but I tell you sometimes when I feel sure in the moment, down the road I discover I did it incorrectly. I really sat and thought this one through so I feel I’ve got it correct.

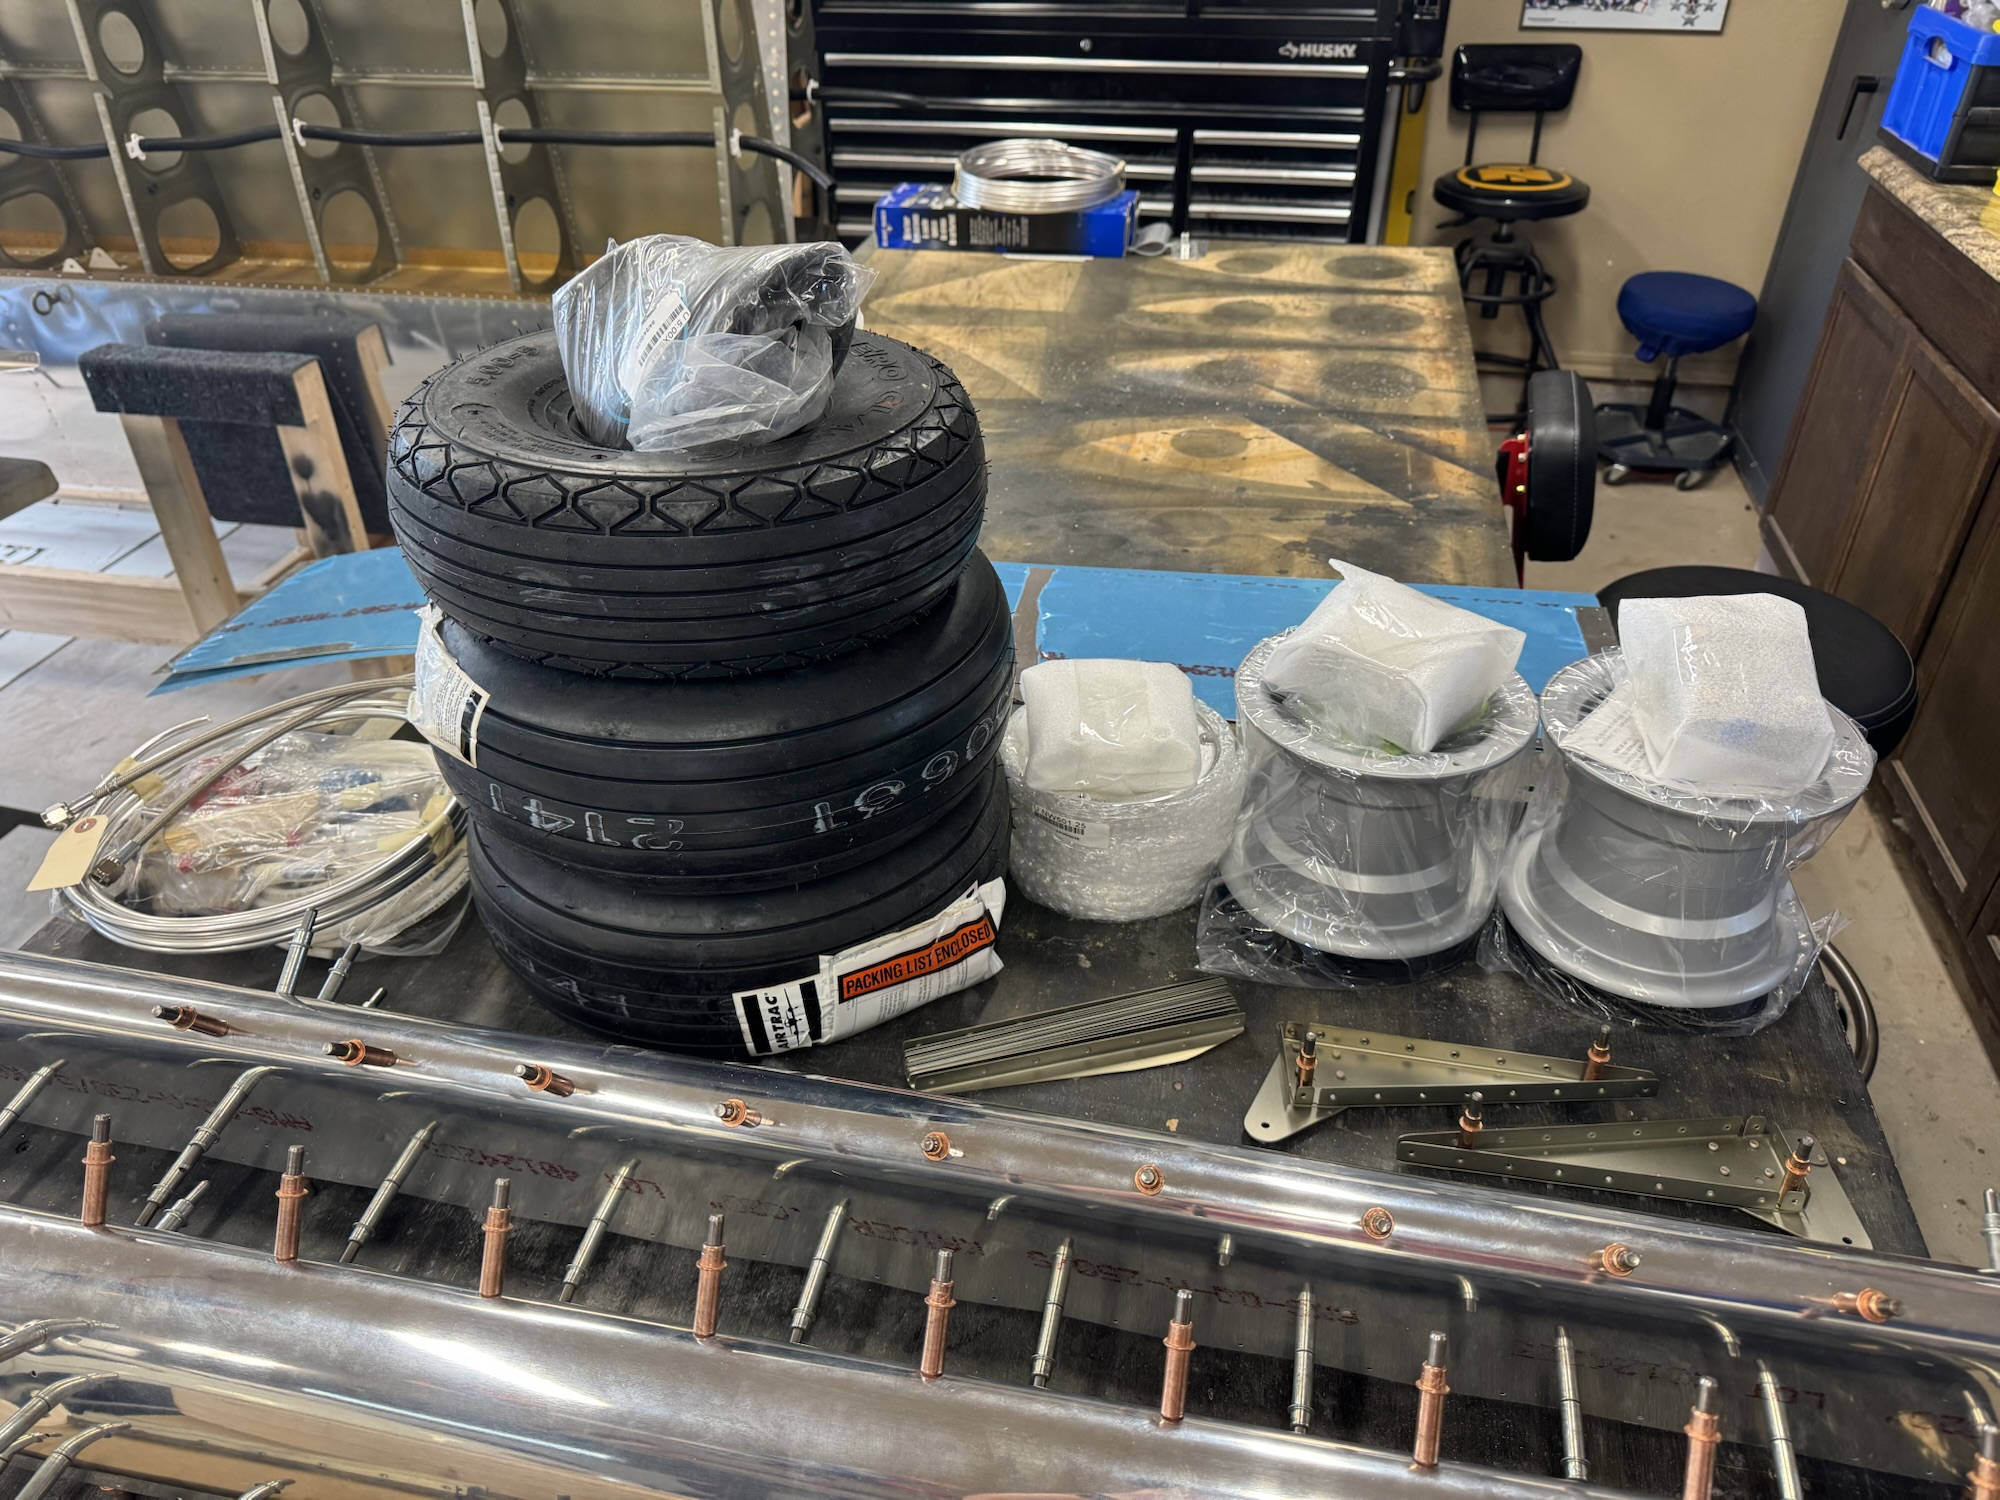
Oh, and my Grove brake kit arrived! I’ve got all of my wheels and brakes for when I get the airplane on its own legs.

-
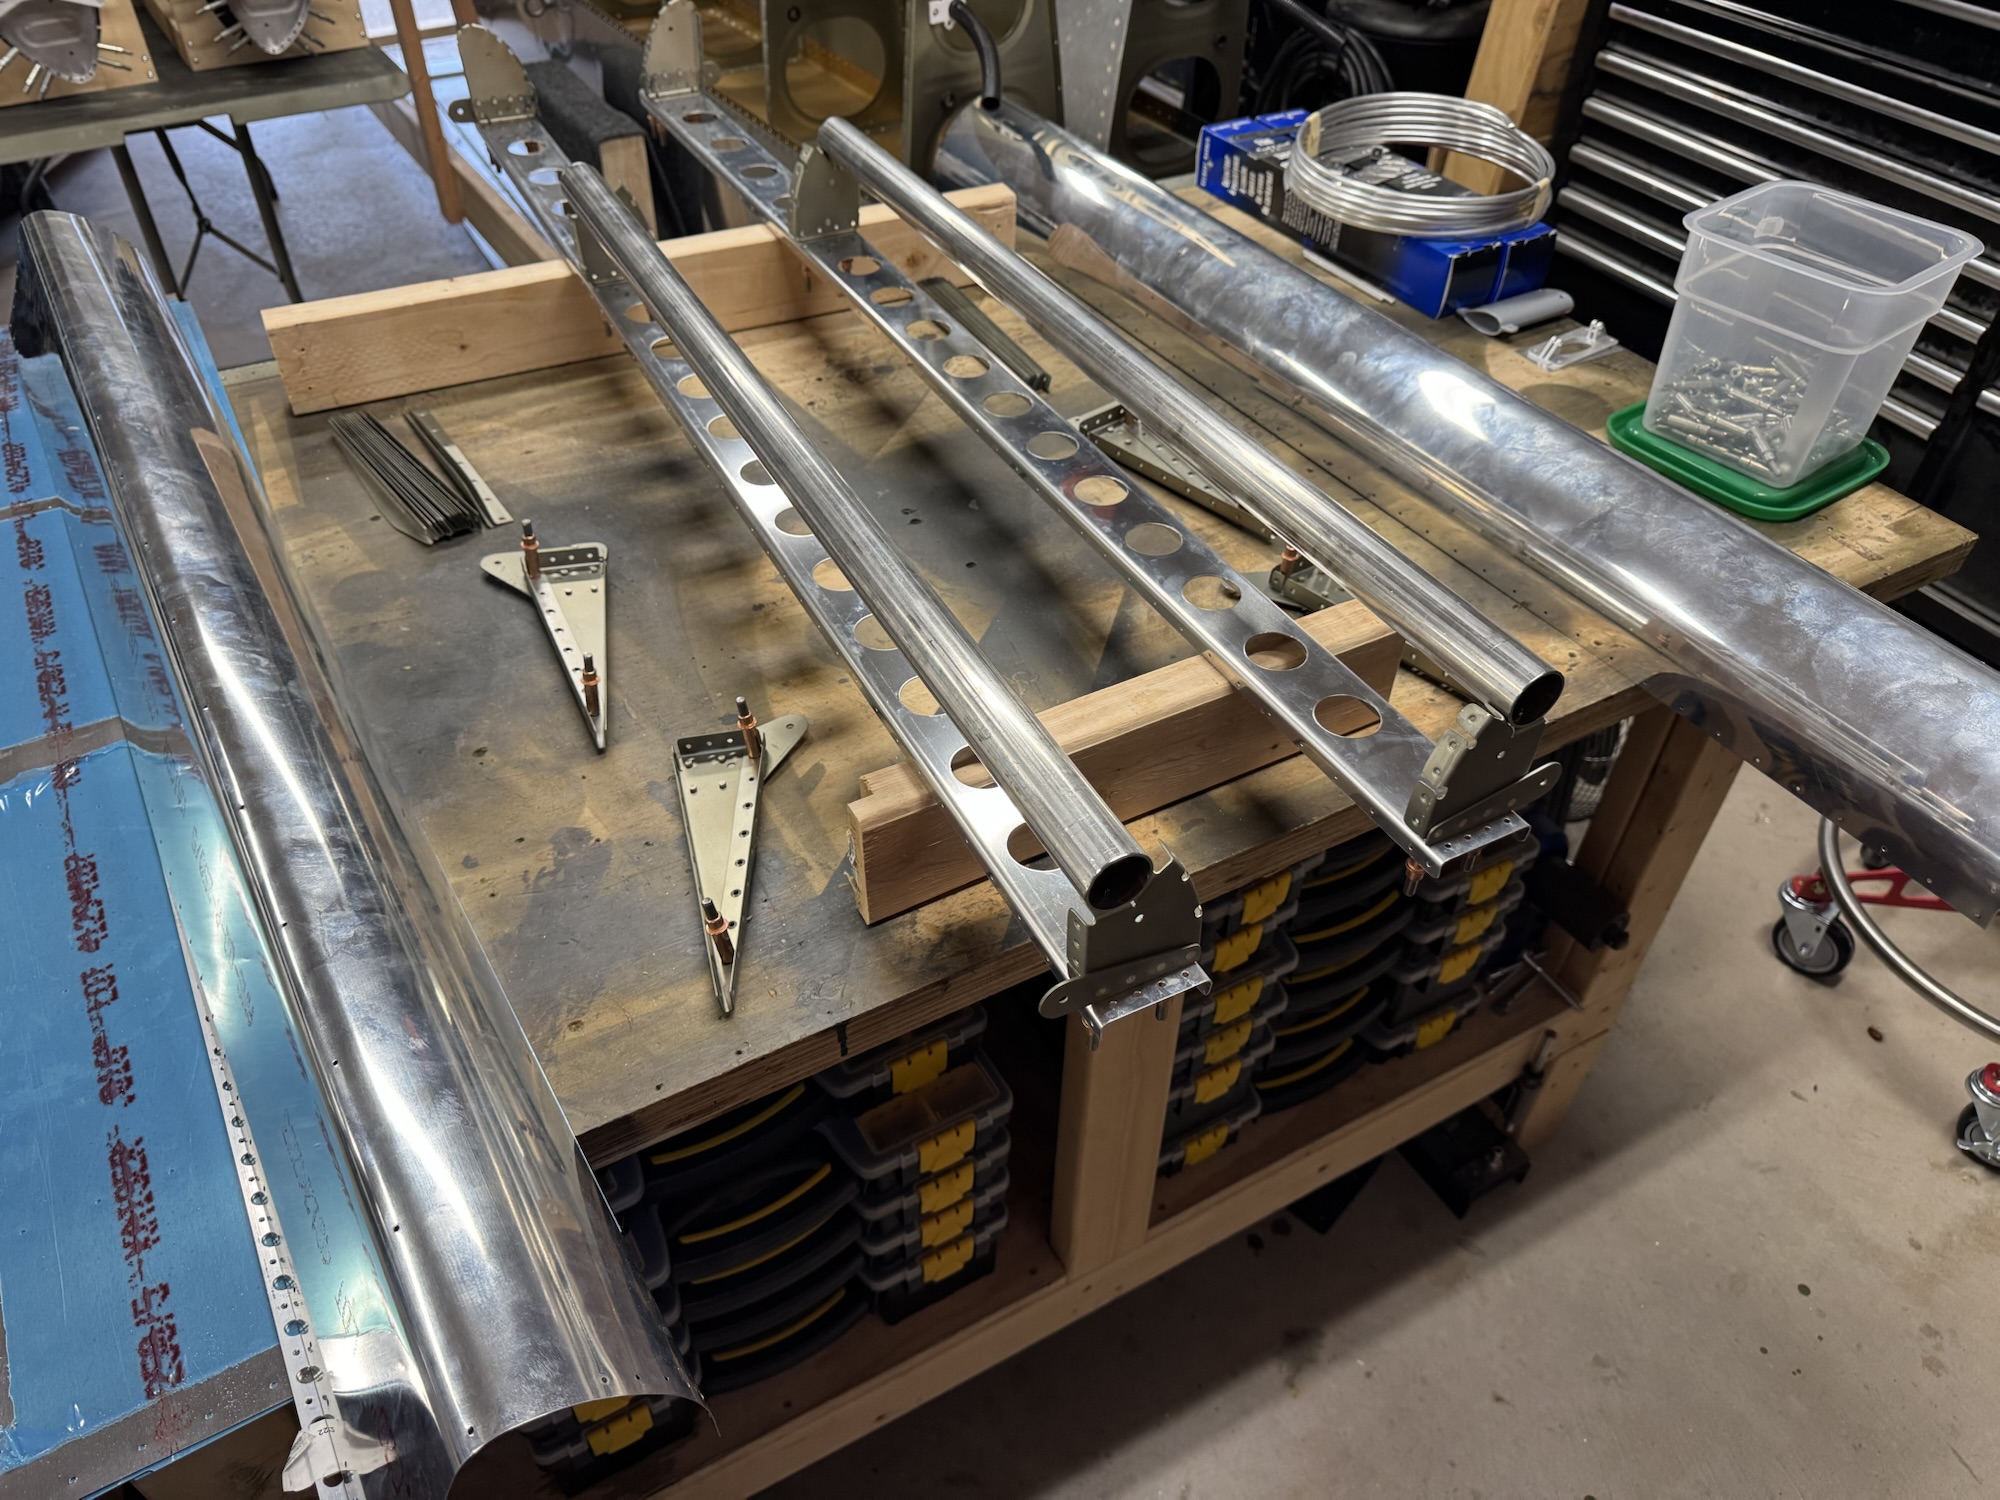
Right Tank J Stiffener
While I was in Florida, the J stiffener arrived. I got it cut, deburred, marked, and drilled today. I think I’m going to stop here on the gas tanks until I can get the tank seal as I want to keep the tank parts as condensed as possible since I’m also working on the ailerons at the same time. Just too many parts going around and I want to keep them in an organized manner. Unfortunately I didn’t take a picture when I finished the J channel so I’m just putting a picture I took today of where they are sitting now.

-
Counterbalance Drilling
I had some time before my flight this morning so I decided to be productive and get those holes drilled. I put the skin back on and drilled all of the holes. Next is to take the skin and ribs off and start prepping them for final assembly.

-
Forgotten Dimpling and Counterbalance Drilling
I am about to be out for a week and I wanted to get somethings prepped before I forgot them. I forgot to do some dimpling on the ribs so I did that and I got the counter balances drilled and mounted. Off to Florida for some cybersecurity training!


-
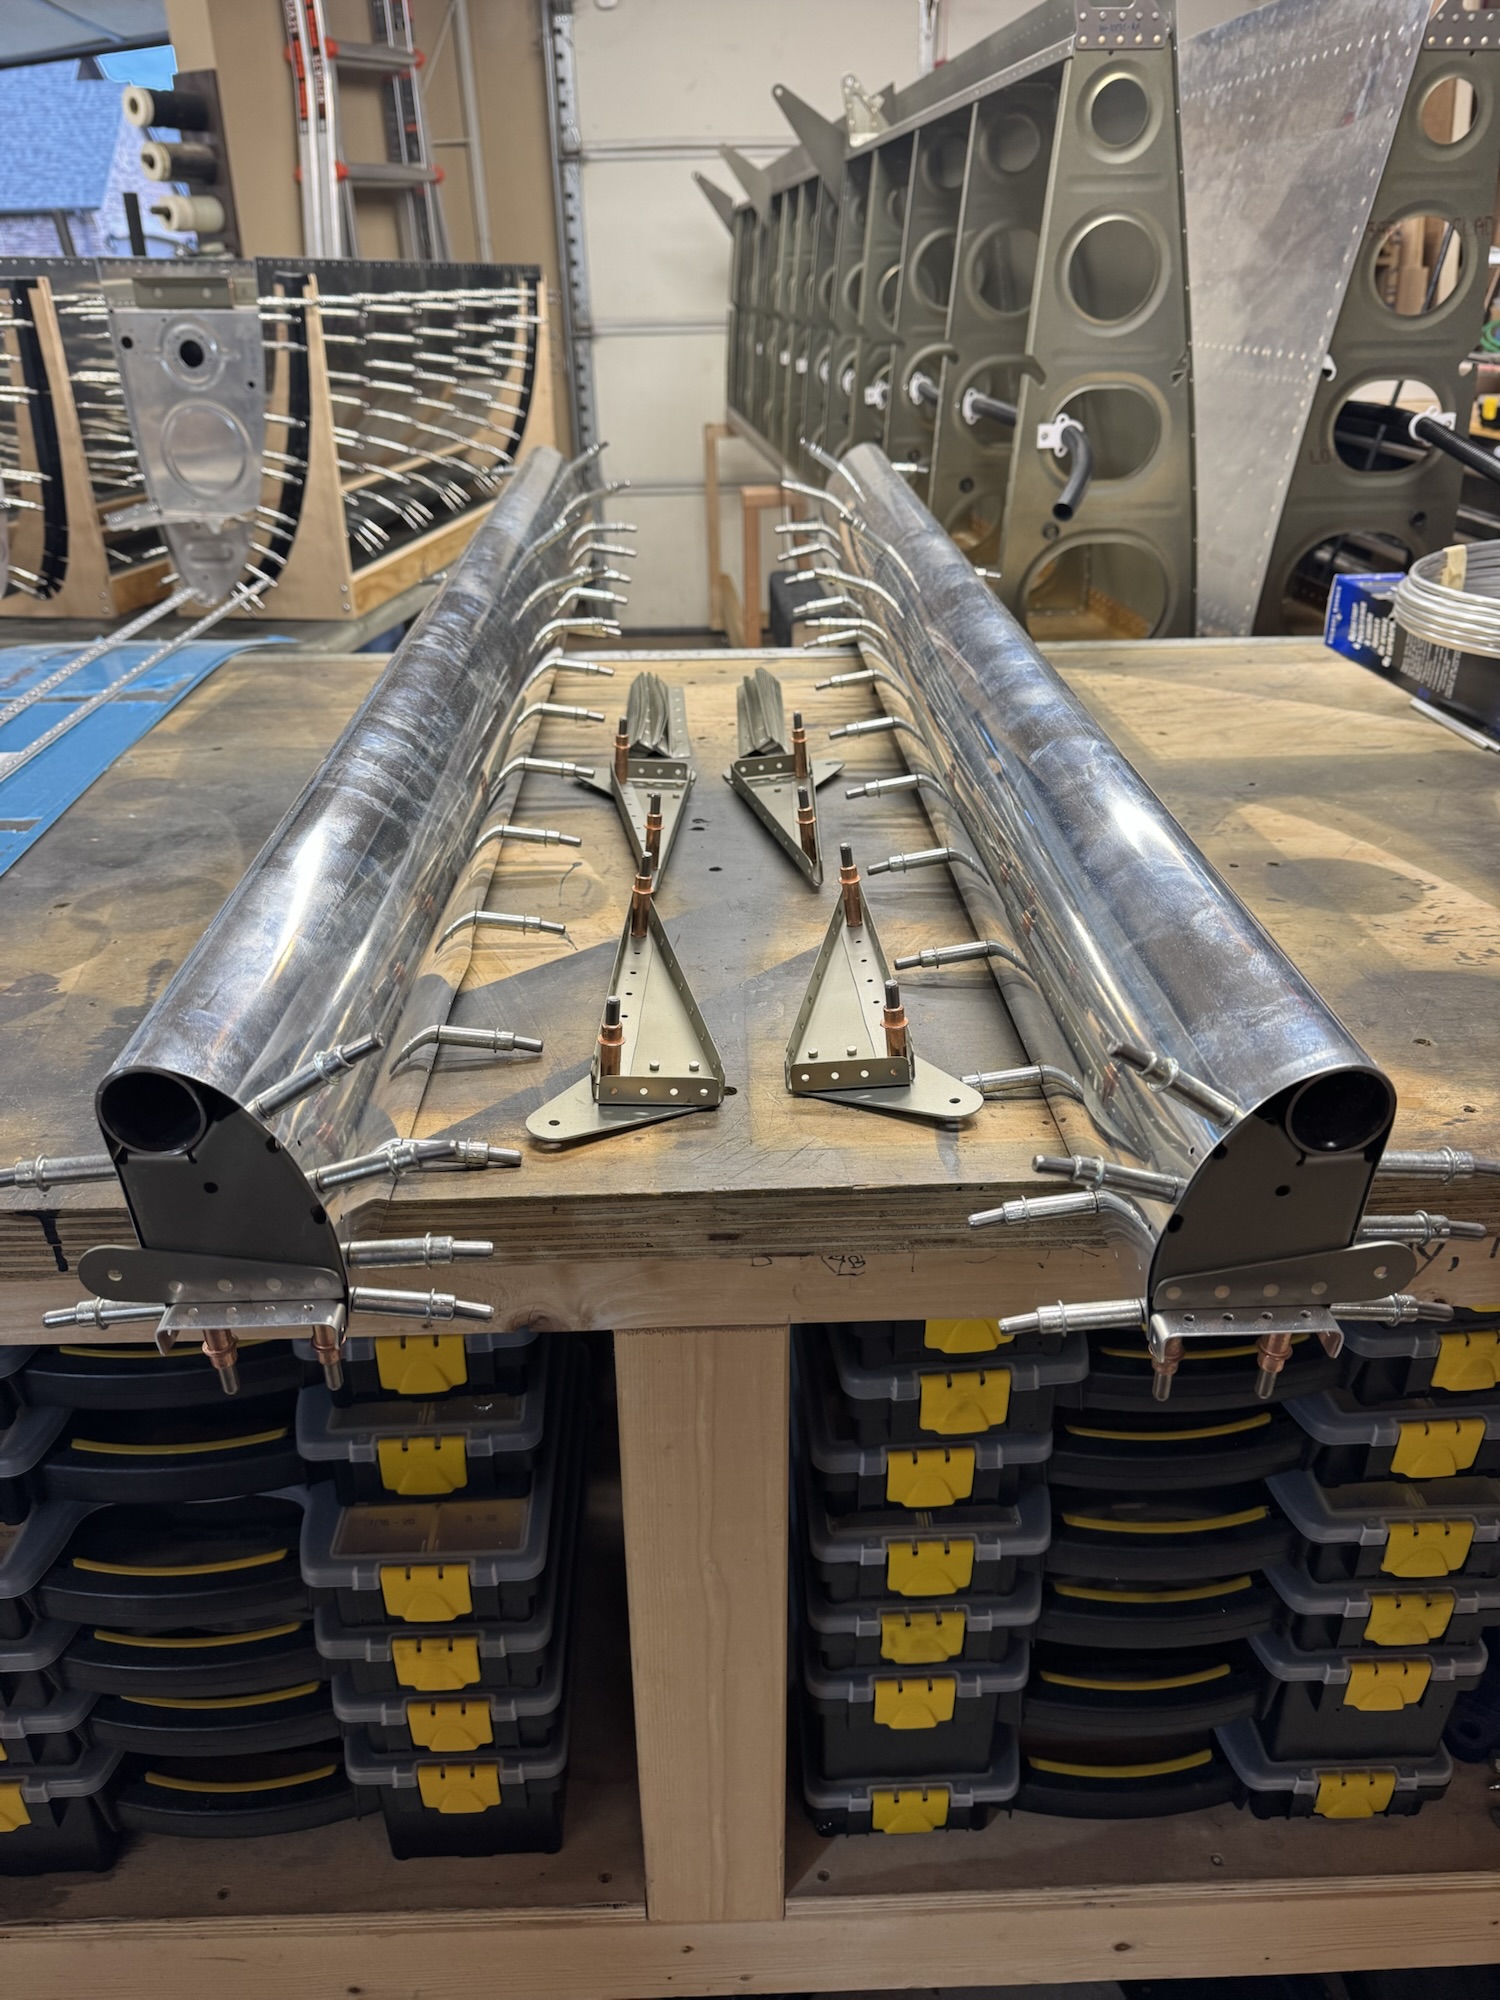
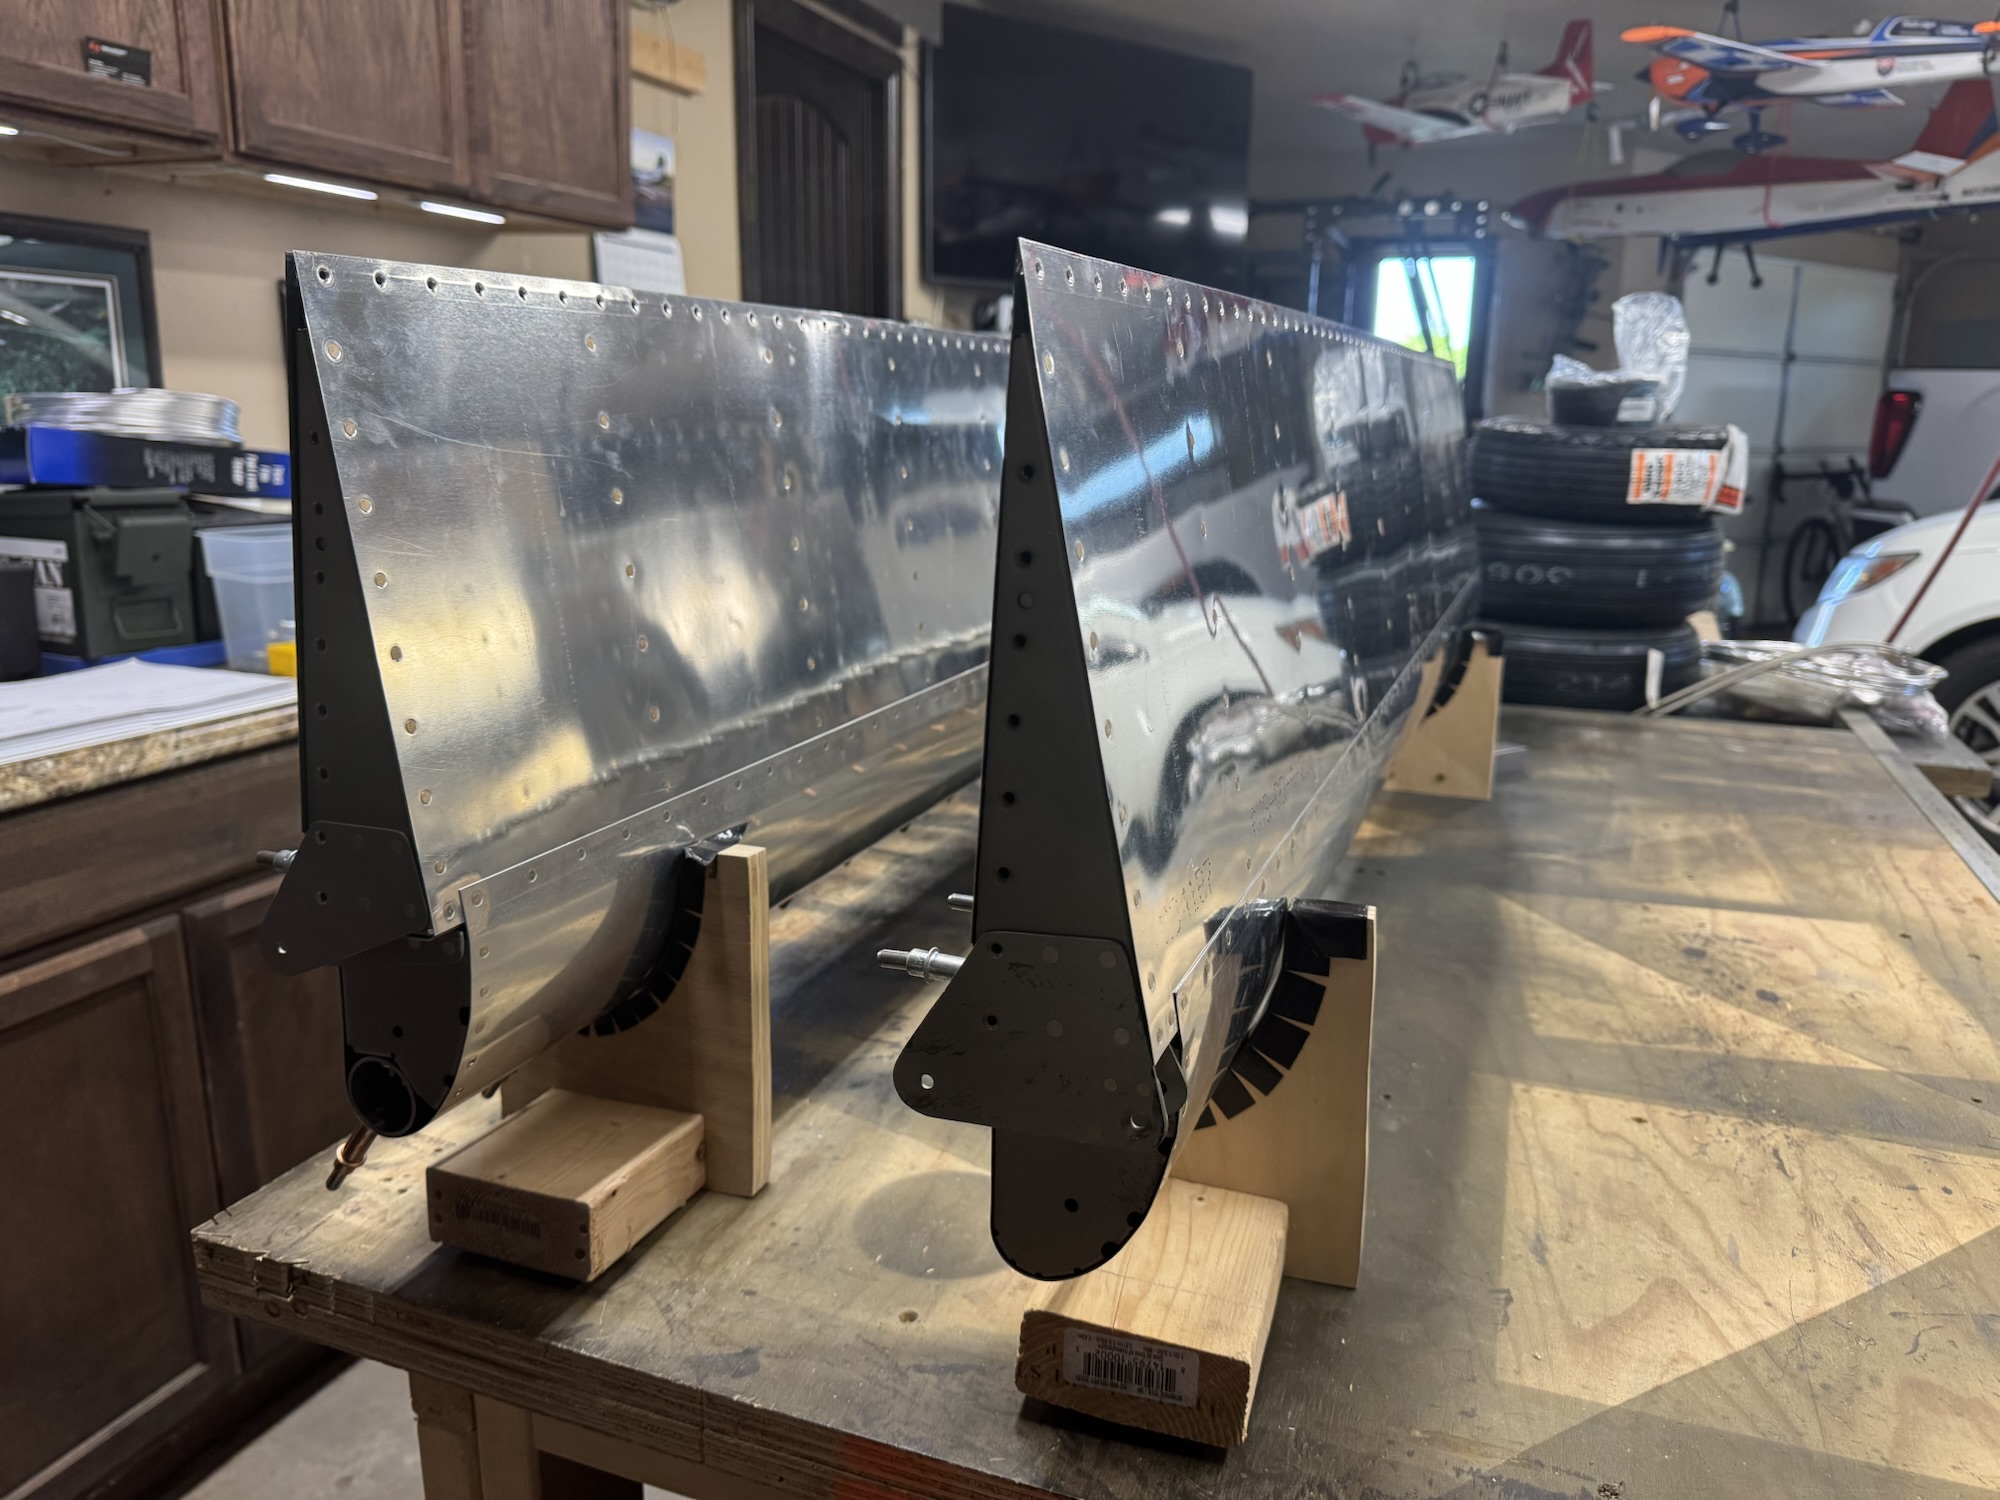
Aileron Leading Edge Assembled
I got the aileron leading edges put together and drilled the counterbalance in its place. This included finalizing all of the deburring on the spar, straightening all of the flanges on the ribs that I hadn’t finished, drilling where needed, deburring those holes, and then priming and riveting the rib assemblies together. I will need to remove the skin and finish the drilling the counterbalances so they are secured to the leading edge. It was a long day but good to get this work done.


