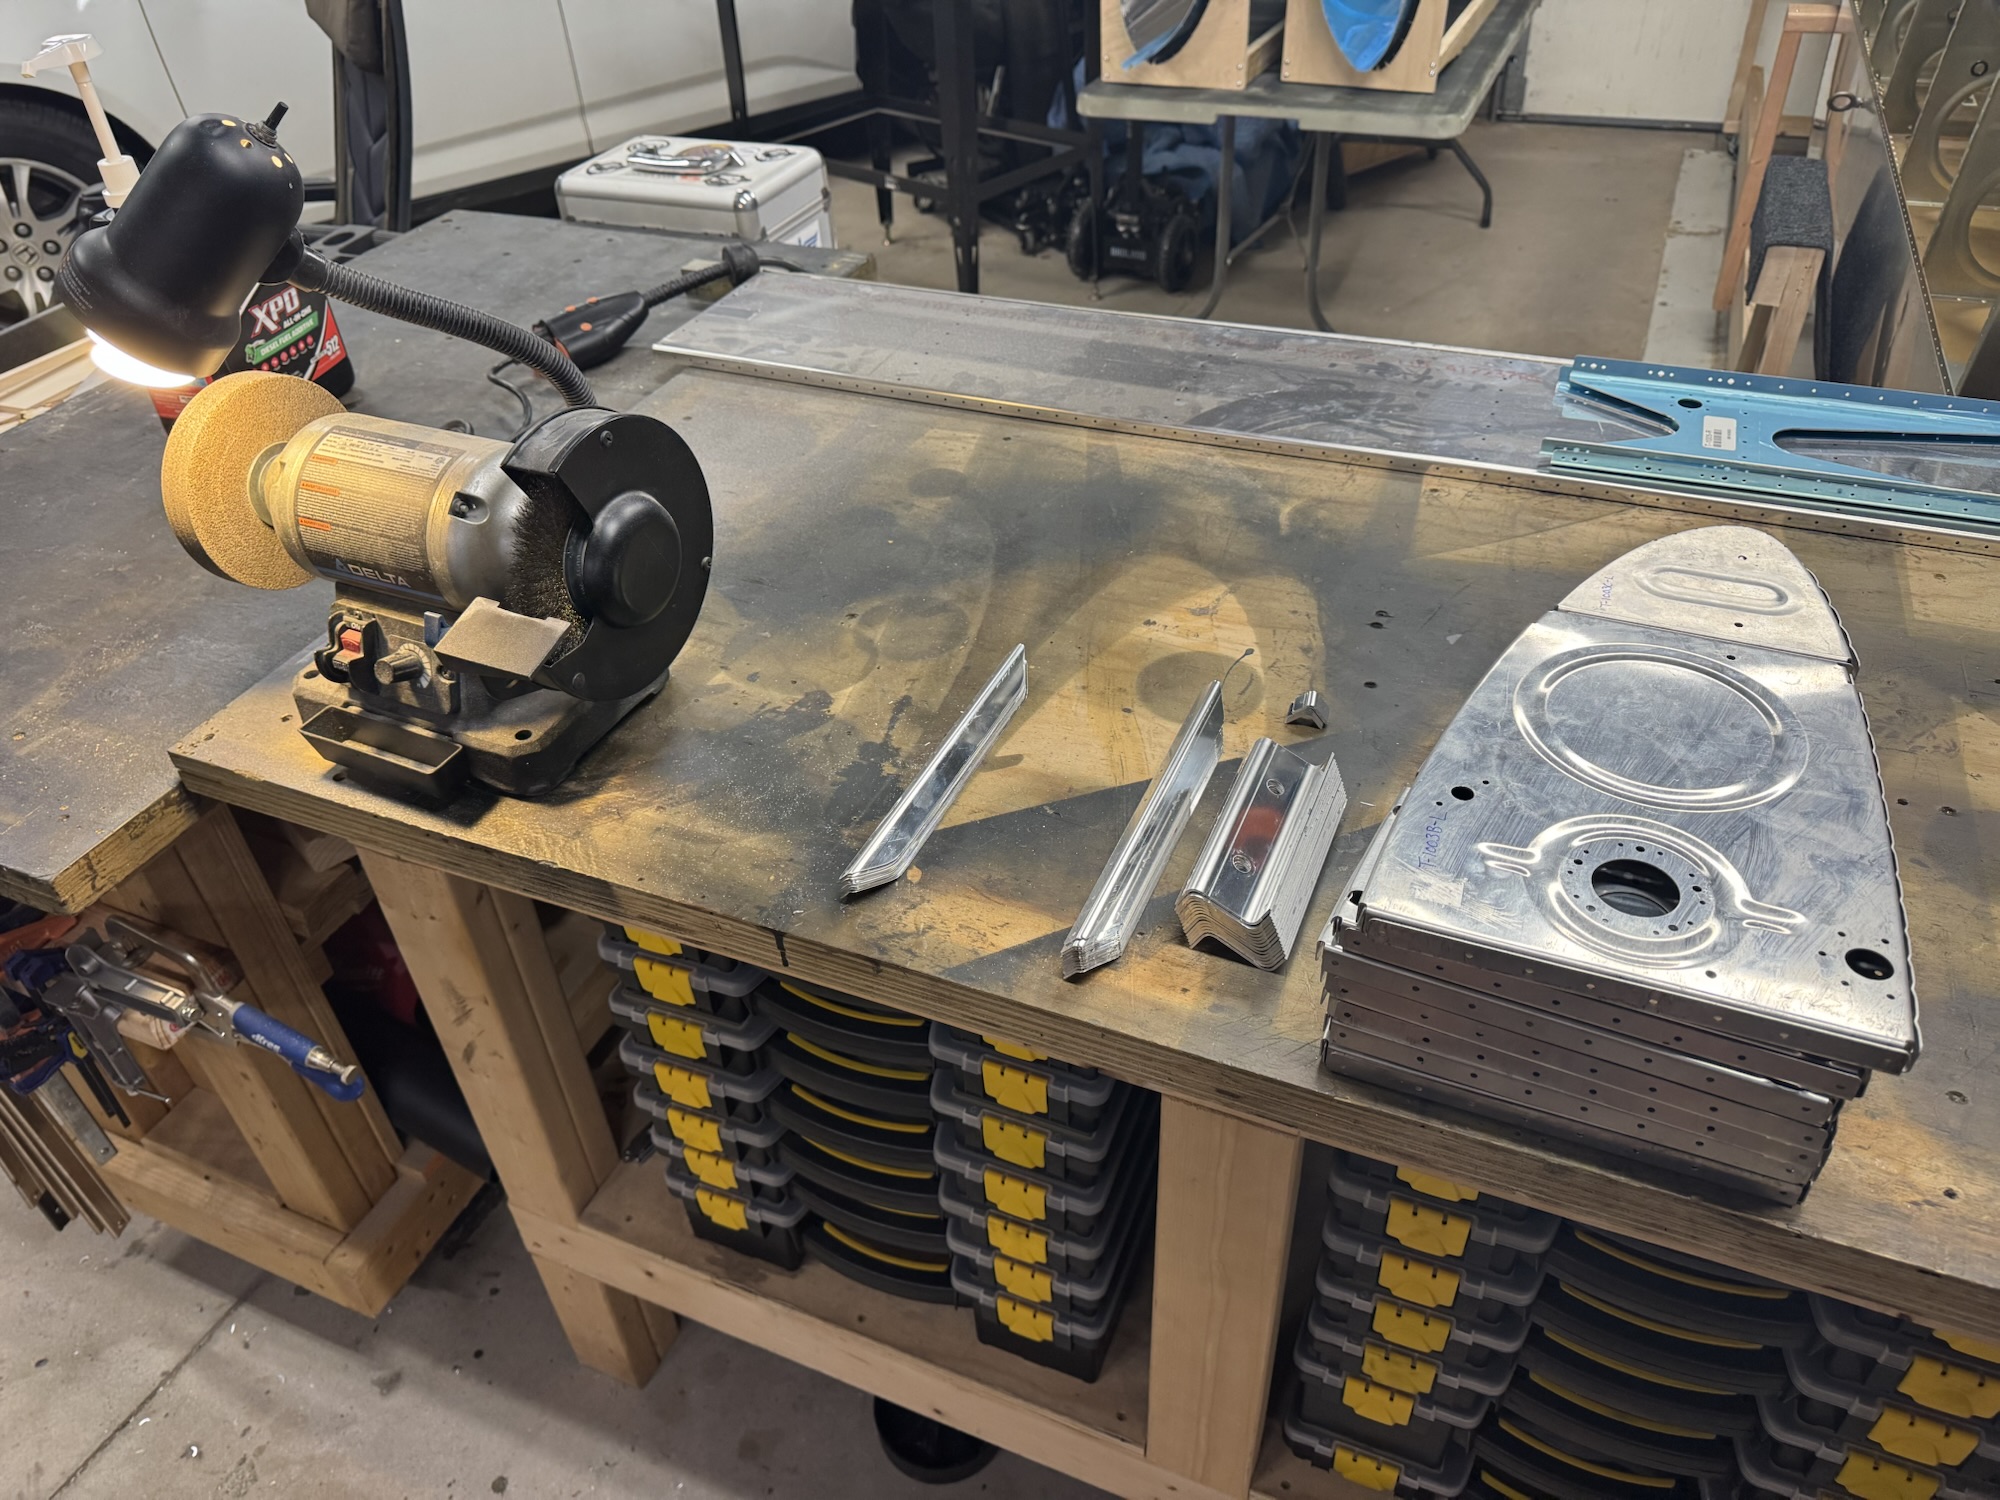
I got all of the stiffeners marked and final size cut today. Yesterday I had only separated them into the individual stiffeners with the rough cut. I deburred all of the parts today as well. That was the majority of the time. I also spent some time getting the pitot tube test fit into the pitot mast that I ordered from Aircraft Spruce. It is a bit snug so I am having to grind down both the mast and the pitot a tiny bit to make it fit. Luckily it is ground down properly now and I just need to drill the holes in the mast to match the pitot tube. I’m 3d printing a template from Allan Glen’s page and I’ll see if that matches up tomorrow.
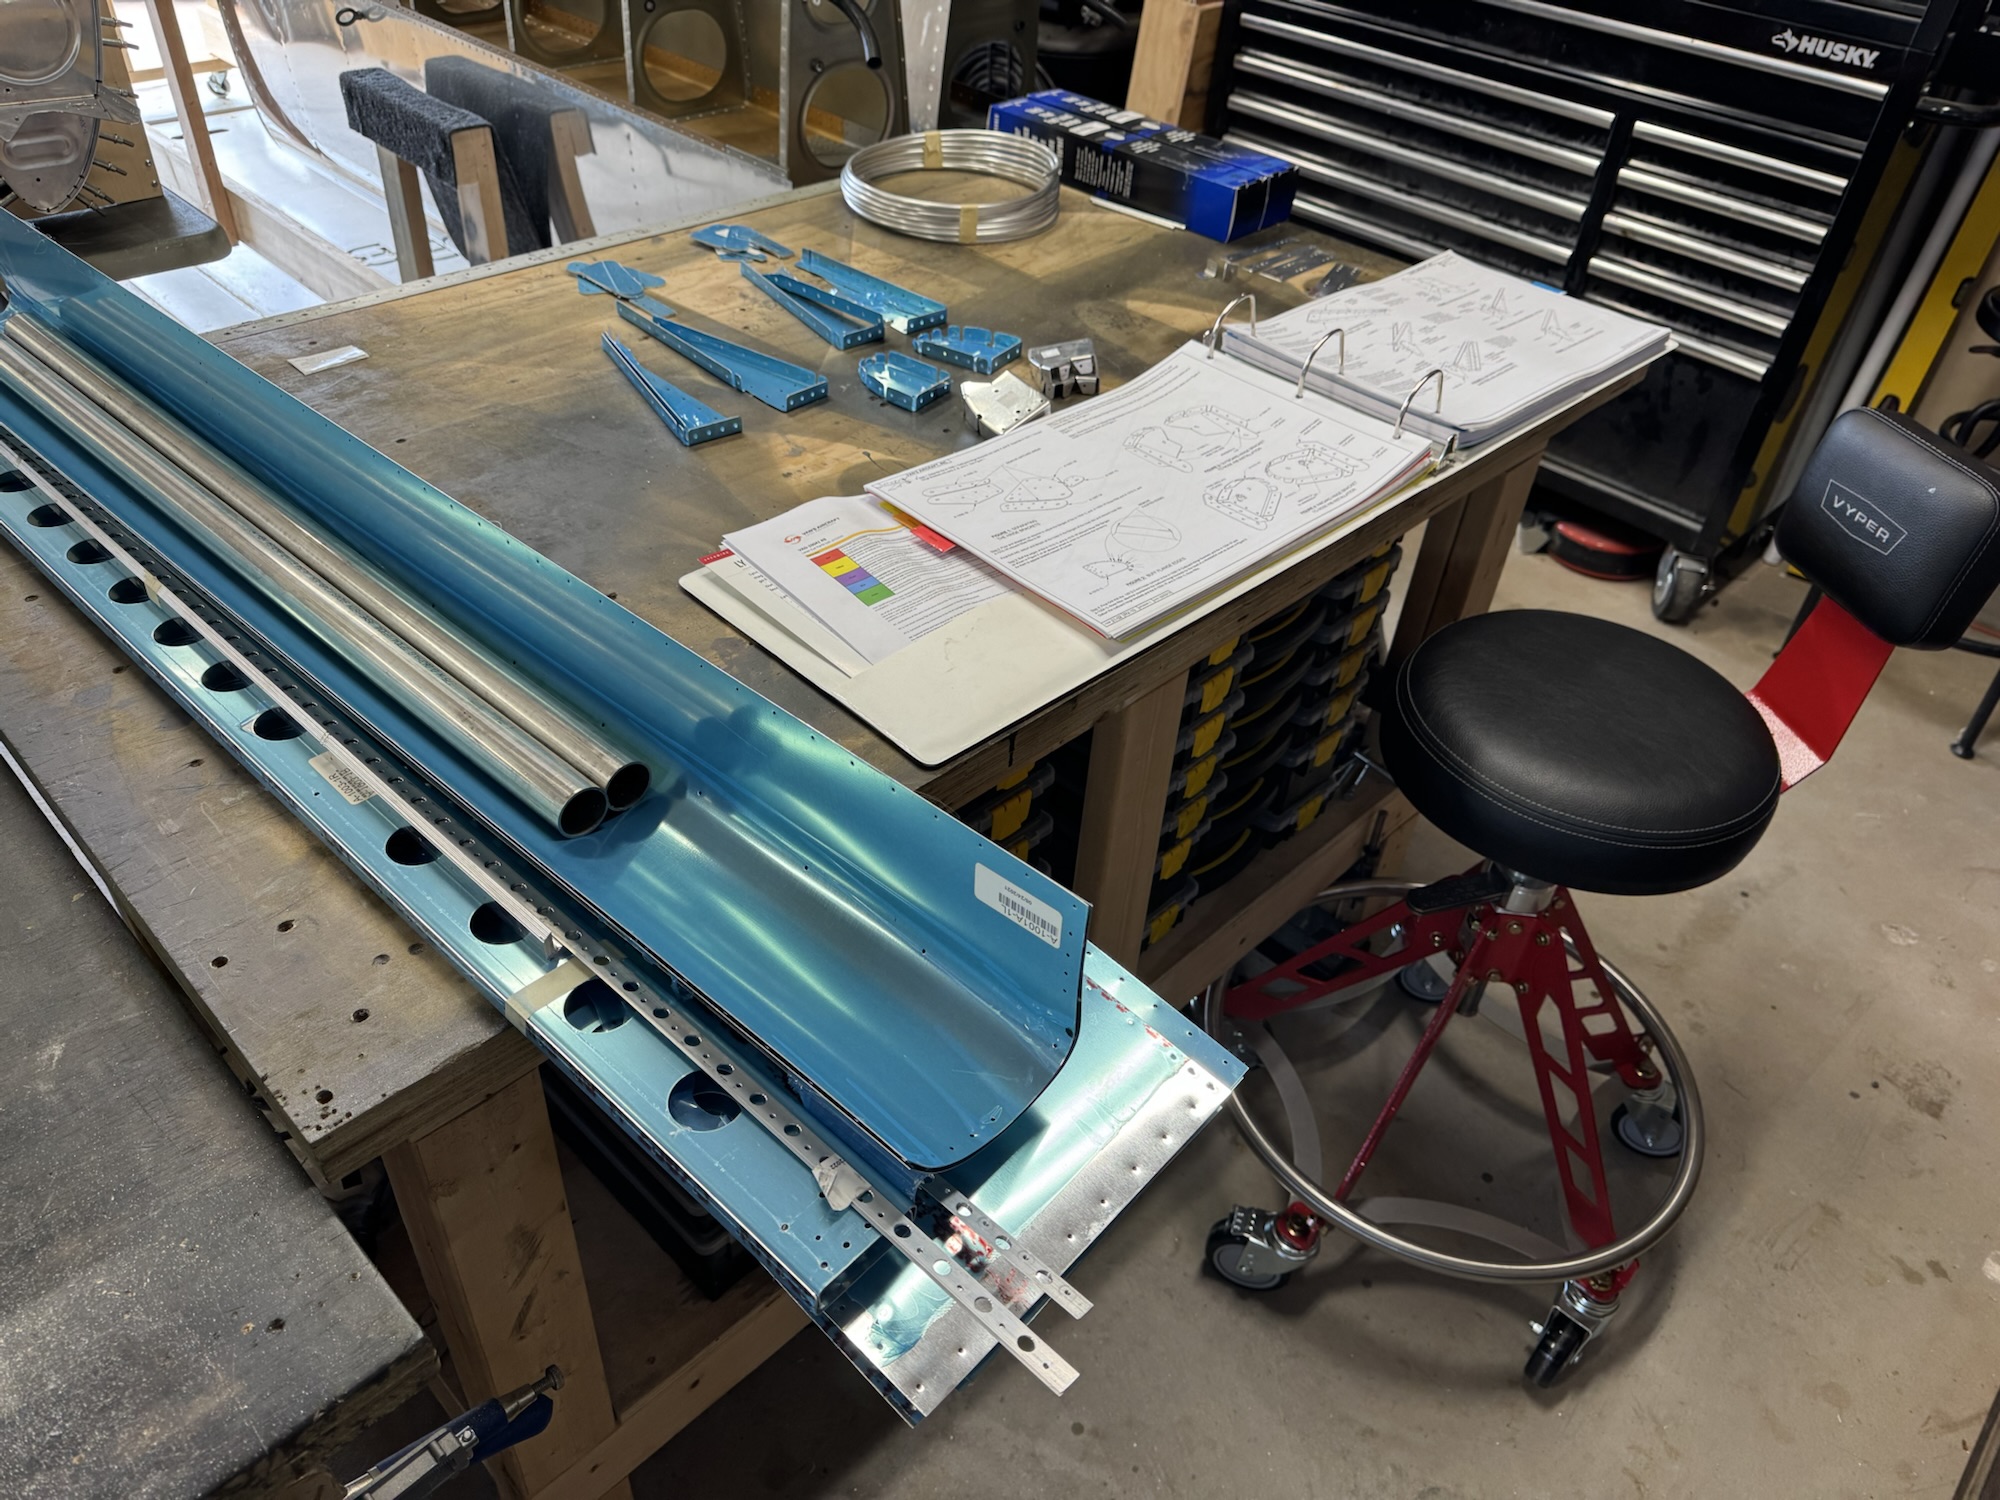
I spent most of my time yesterday and today either working or doing graduation activities for my oldest. I watched the Van’s fuel tank video again. And that thing is not short. It is 2 hours and 40 minutes long. But it is loaded with good information. I almost wish I had seen this when I started building as it would have helped me alot at the beginning. Either way, I also got new shop stools so my rear won’t hurt so much sitting on those hard, old stools LOL. I at least got all of the parts collected for the ailerons and got the parts cut and separated. I didn’t have it pictured here but I got the pile of skin stiffeners cut too.
I probably won’t get much time to work on the plane for the next week and a half because of work travel and other items. But we’ll see. I did finally find the wing shims. I didn’t dig deep enough into my small parts box. It was at the bottom of that. I got those cut and deburred entirely. I did watch Van’s Aircraft’s video about how to do the tank sealing. I also watched PlaneLady’s video on the same process. Trying to get my mind into that whole process. I liked Van’s video better but PlaneLady’s video had some small tid-bits that were specific to the RV-10 that were good. I plan to at least disassemble the tanks and get the T-1005-L/R countersunk and also start the dimpling on the right tank. Actually, I need to scuff up and clean the skins and parts first before I dimple as Van’s went over so that I can get the scuffing thoroughly through to all the parts of the skin that need it. Oh, and I also bought a few parts today too. I bought the Dynon pitot mount which is specific to the RV-10 wing. It will fit the Garmin GAP 26 and will give me some good reinforcement right out of the box. I also ordered some size 6 rivets to fill the holes in the ribs that Van’s asks you to fill. Even Van’s themselves did that, instead of putting spare aluminum sheeting behind it. I think that will be a better solution and more solid.
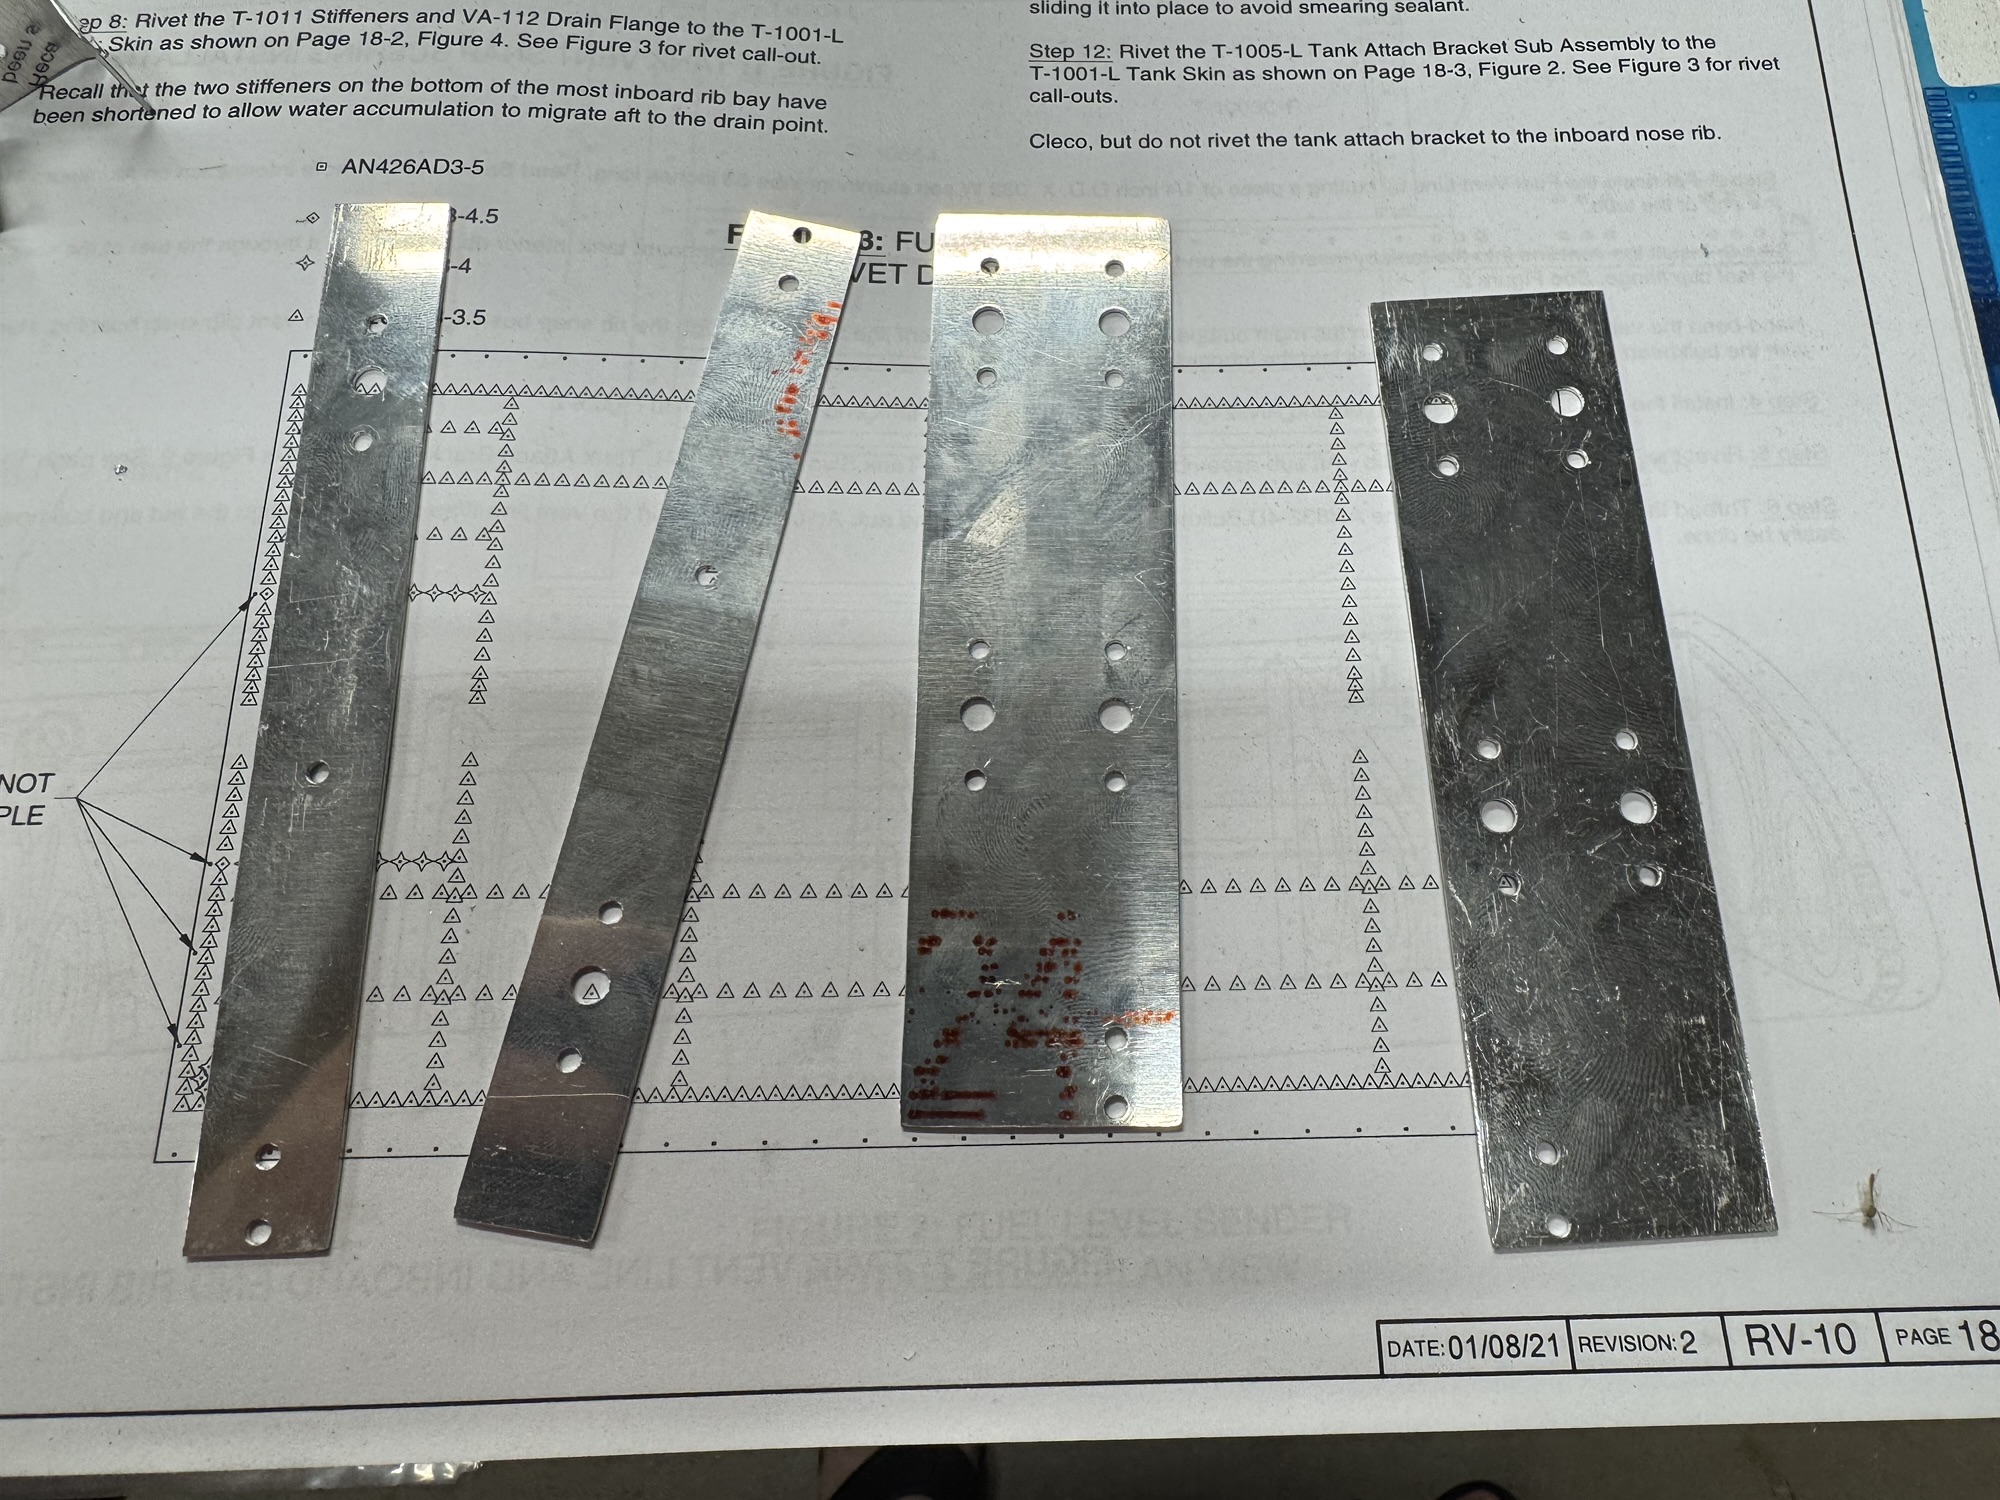
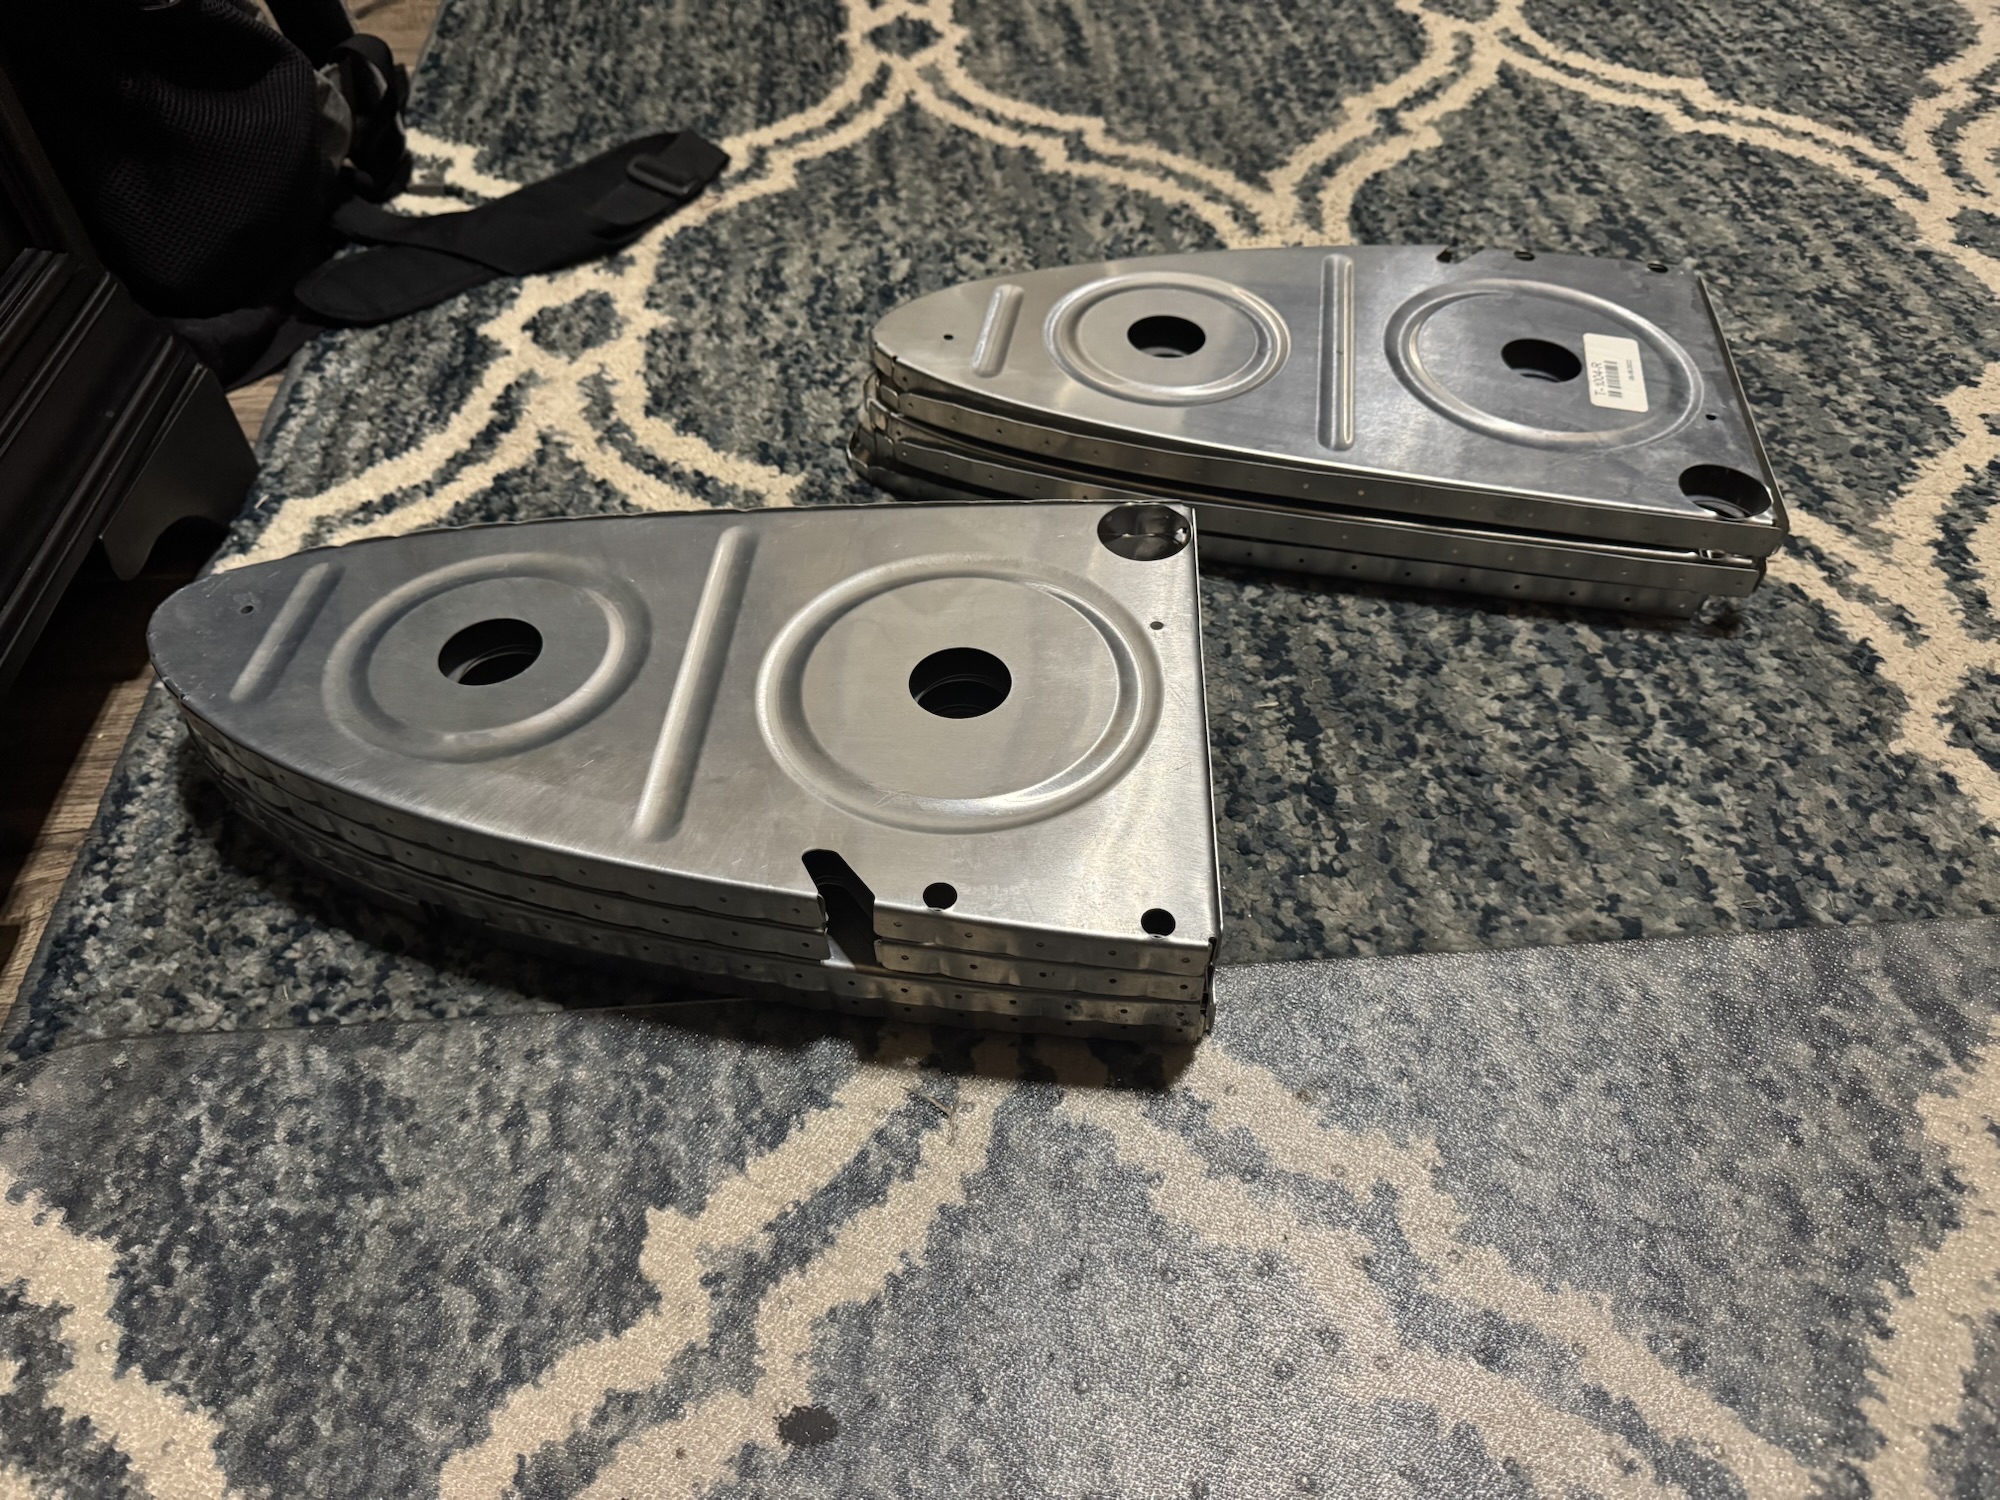
I got the left tank 100% complete for disassembly and dimpling. I got the right tank to the same spot also but since I am missing the J channel I’ll have to leave it where it is at until I can get that done. Luckily they shipped it today so fingers crossed it arrives before the weekend. But I got all of the zee brackets finished, primed and nutplates riveted. I also got the countersinking done on the rear rows of rivets. I feel I’m going to have to countersink the T-1005-L&R brackets because they are super thick, but it doesn’t say so. I’m betting they are expecting us to know when it is needed by now so I plan on reviewing what other’s did to that area. I don’t know if I should countersink the skin and leave the brackets alone or counter sink the brackets and dimple the skins.
I got all of the parts deburred today and I assembled the tanks. I realized last week that I only had one J-channel where I needed two for this next step. I ordered the replacement but I’m not sure how long that is going to take to arrive from Van’s. I got at least one tank J-channel cut and drilled.
Just more edge and hole deburring. This was a good way to destress from the past few days. The ribs in this photo still need the edge rivet holes deburred and then I need to deburr the parts on the back edge of the table still. But the parts next to the tools are complete
Long title but I try to put what I did in the title. I got all of the tank ribs deburred today. It only took another hour to finish that. I then separated all of the zee brackets and tank skin stiffeners and started deburring some of them.
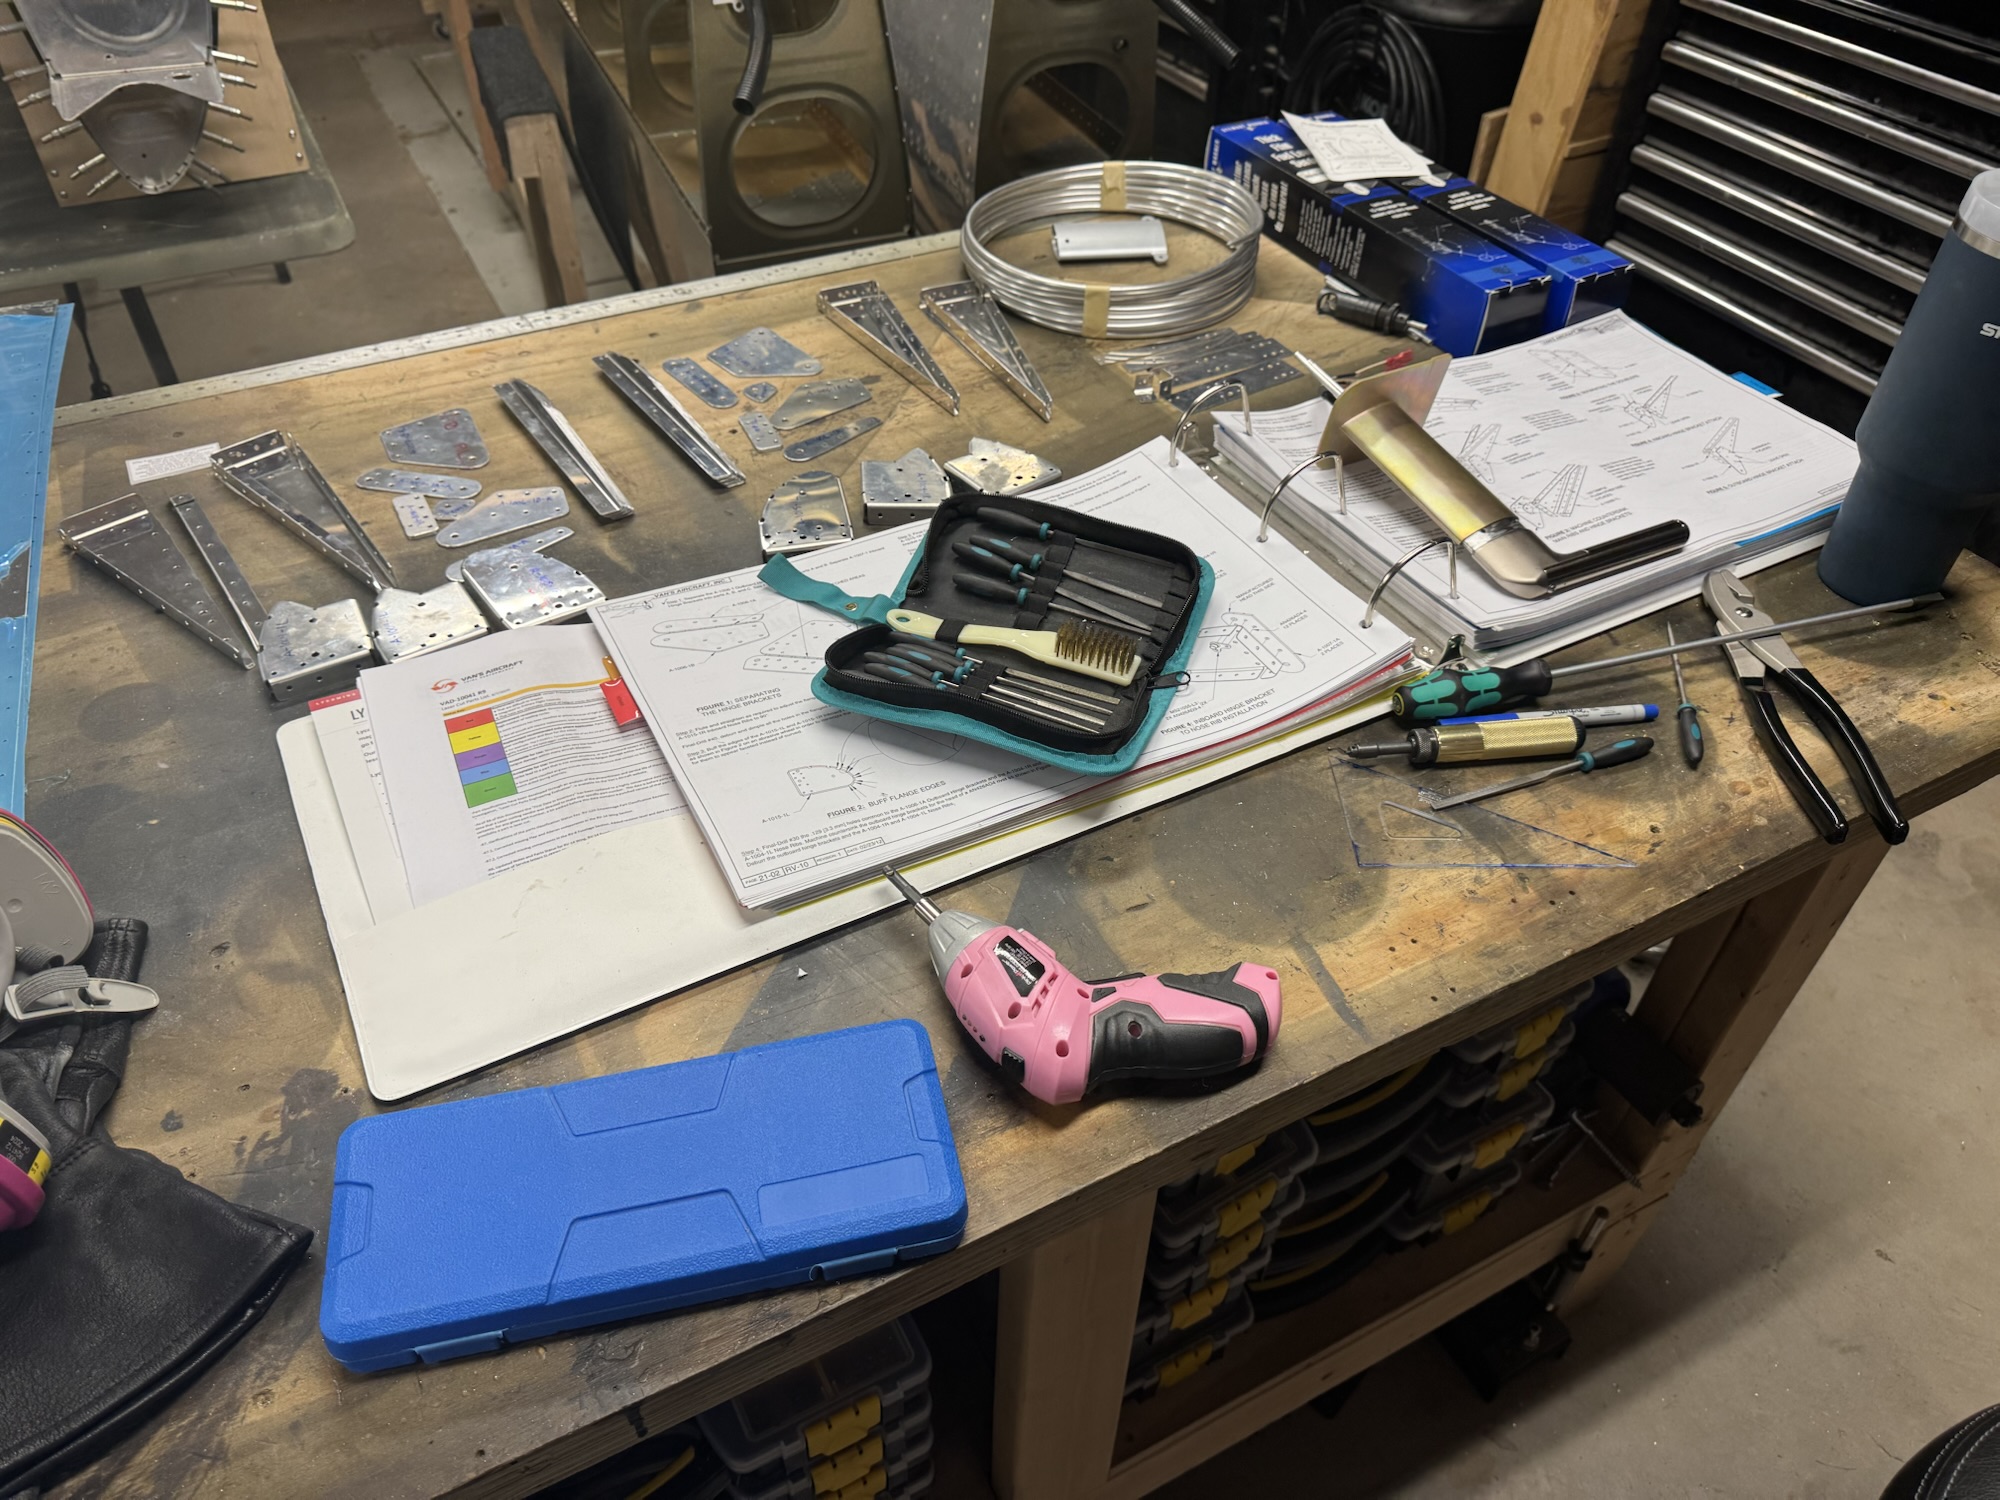
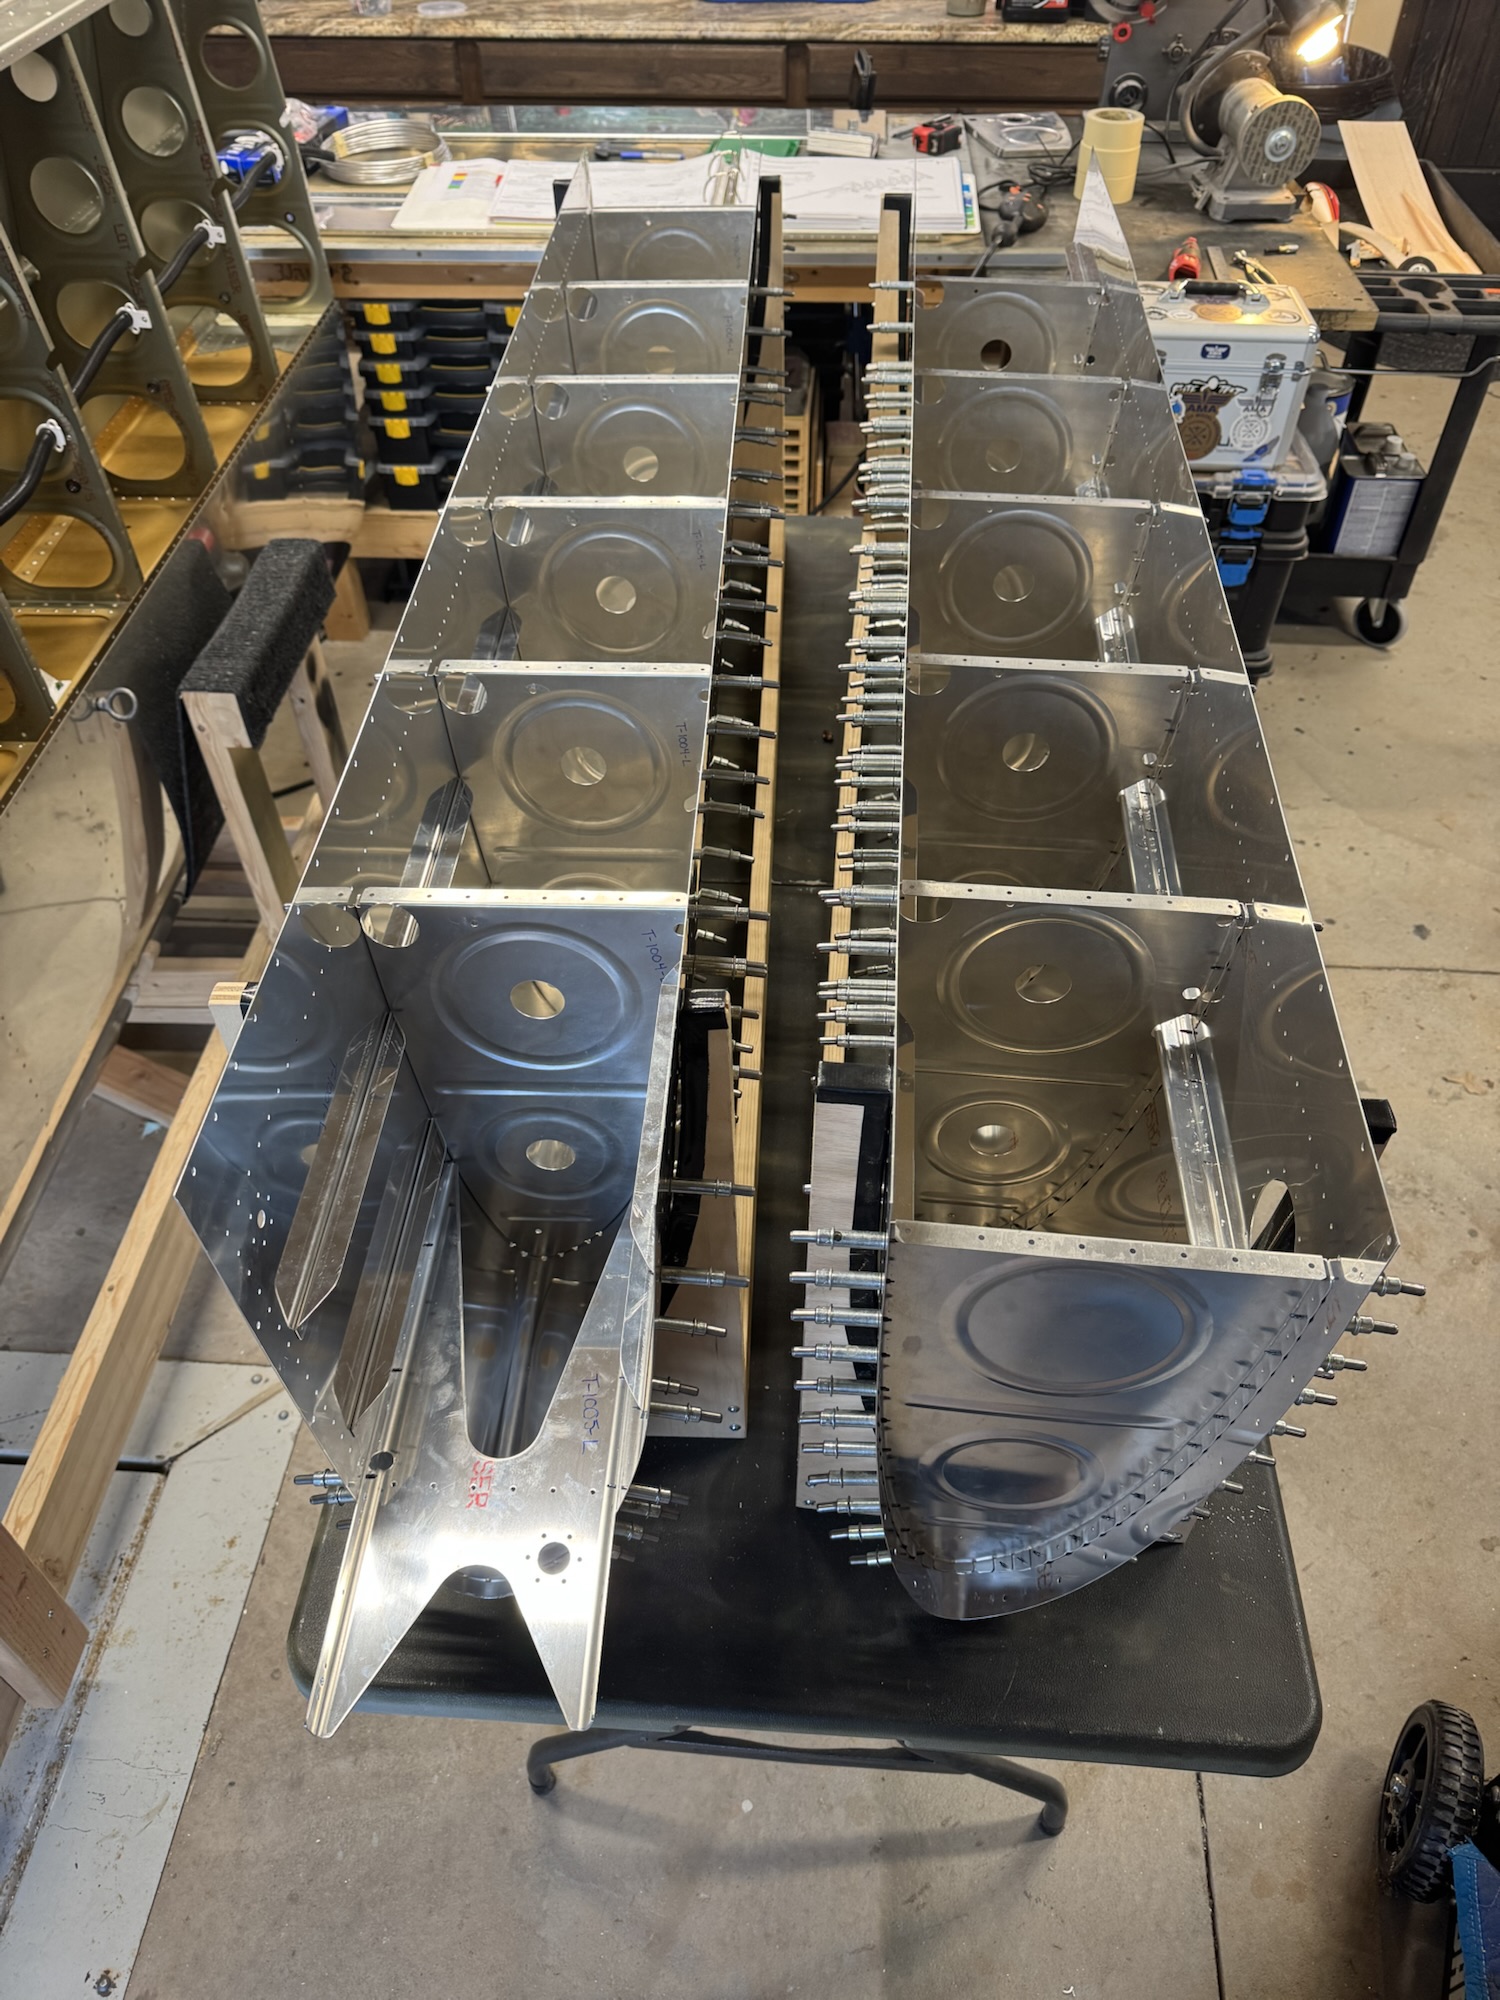
Here are all of the wings parts gathered for the next section of assembly.
I had on and off again time to work on the ribs. That’s why I think this took me longer than usual as I kept getting interrupted. Either way I got 10 of the ribs done and only have another 6 to do tomorrow if I get time with all the Mother’s Day prep we are doing for church on Sunday.
The boys were both busy today so I decided to see if my wife could help. She did an excellent job and bucked the rivets like a champ! I’ve got all of the gas tank parts down from the attic so I can start on that tomorrow.
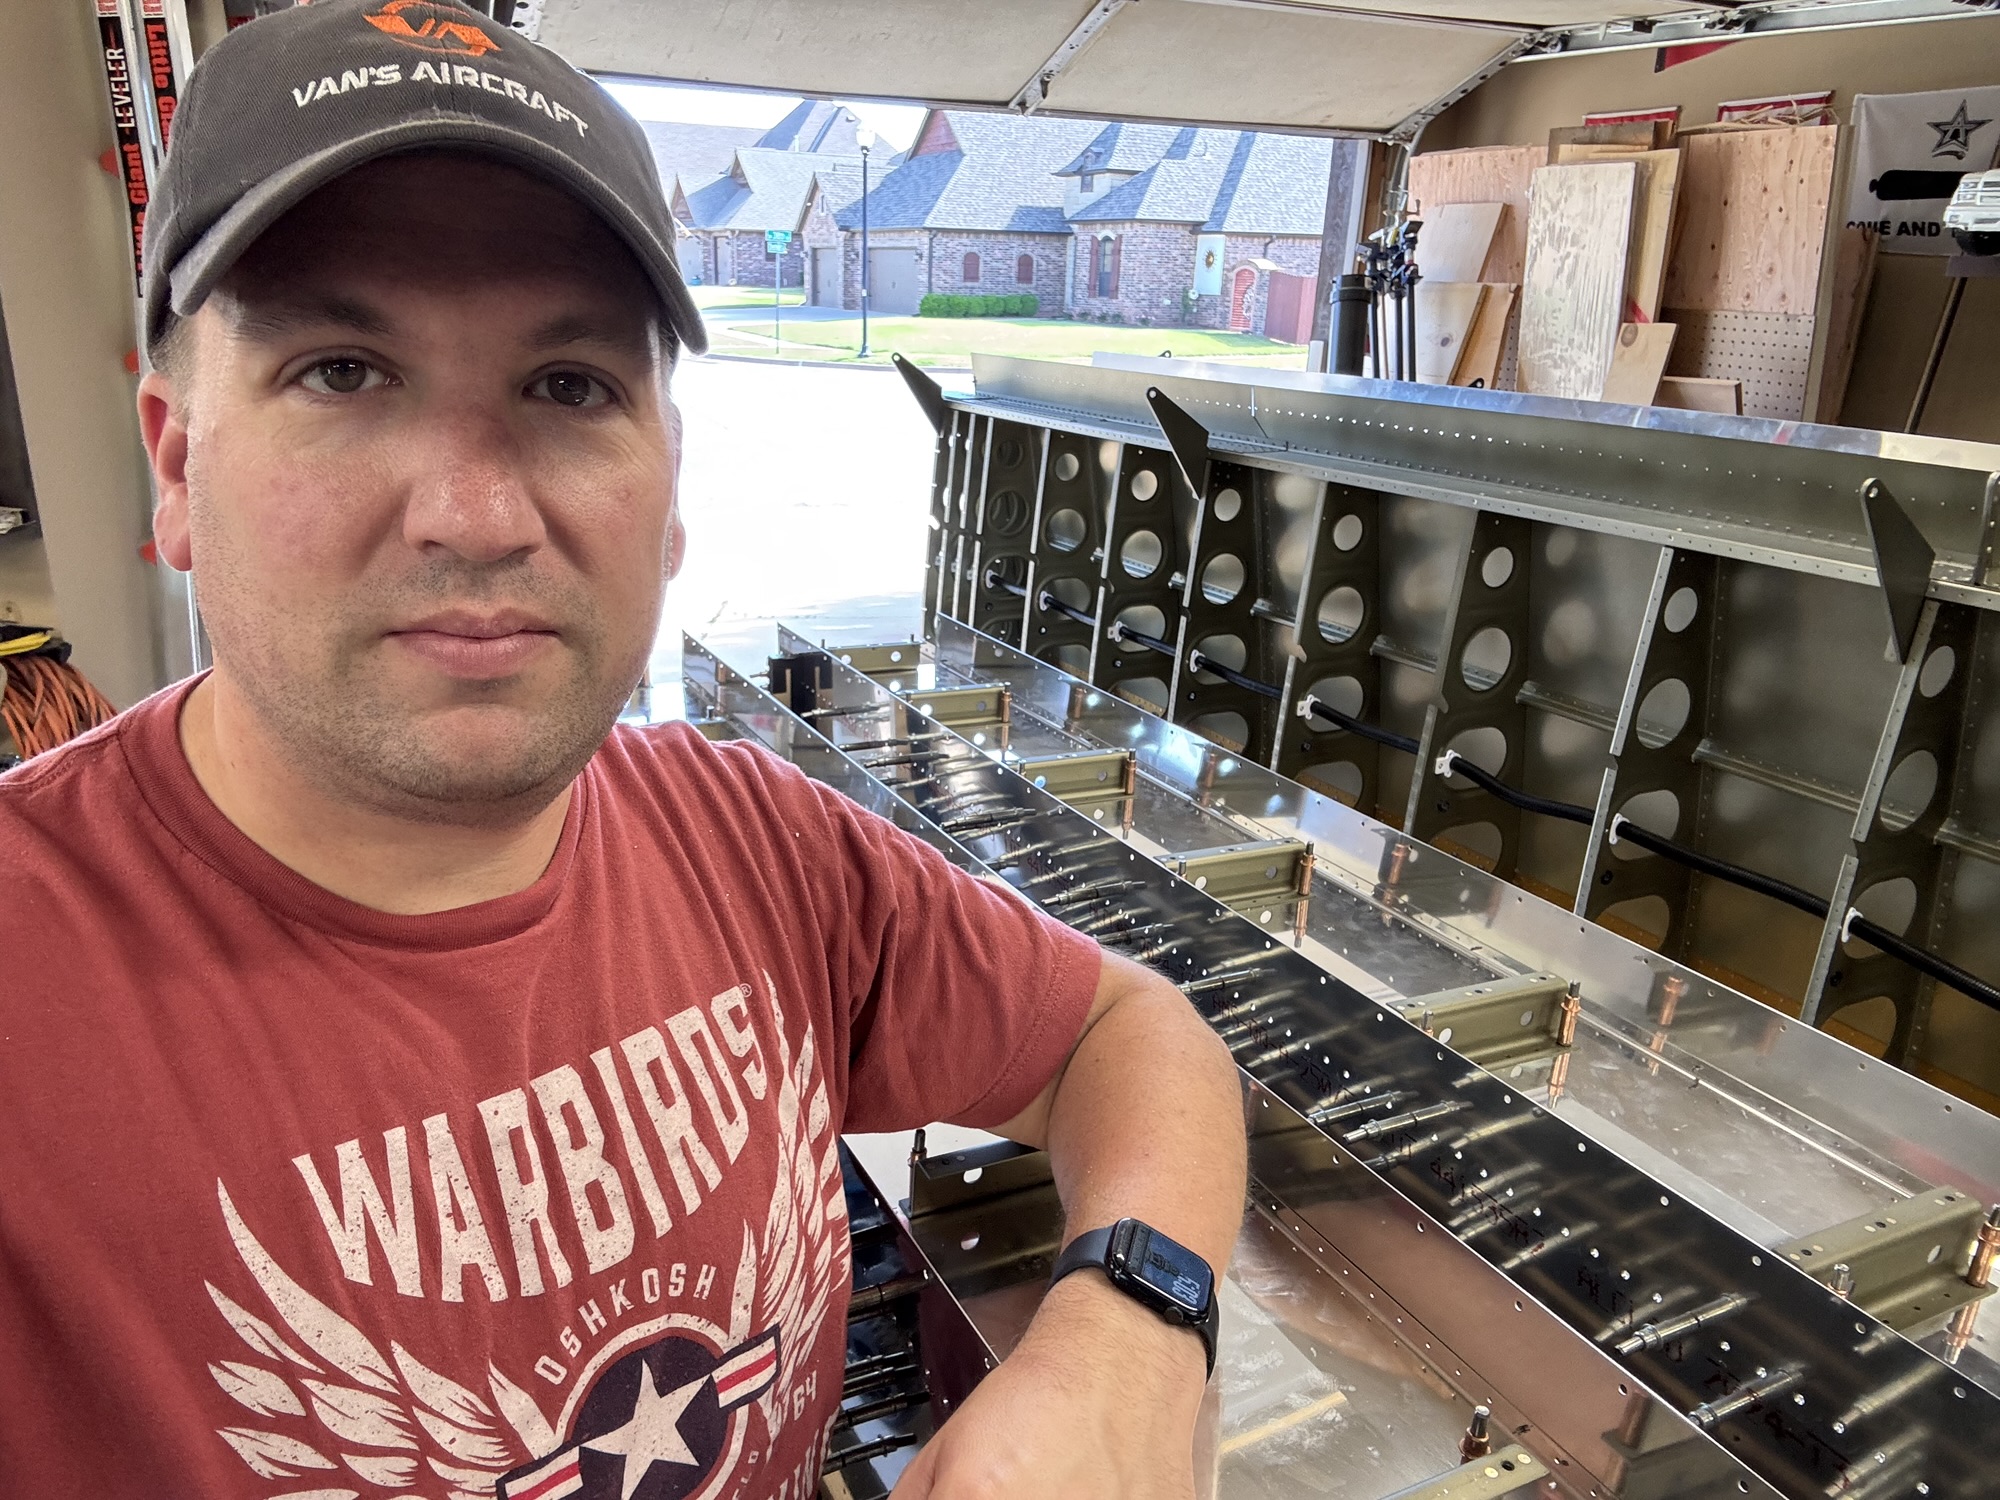
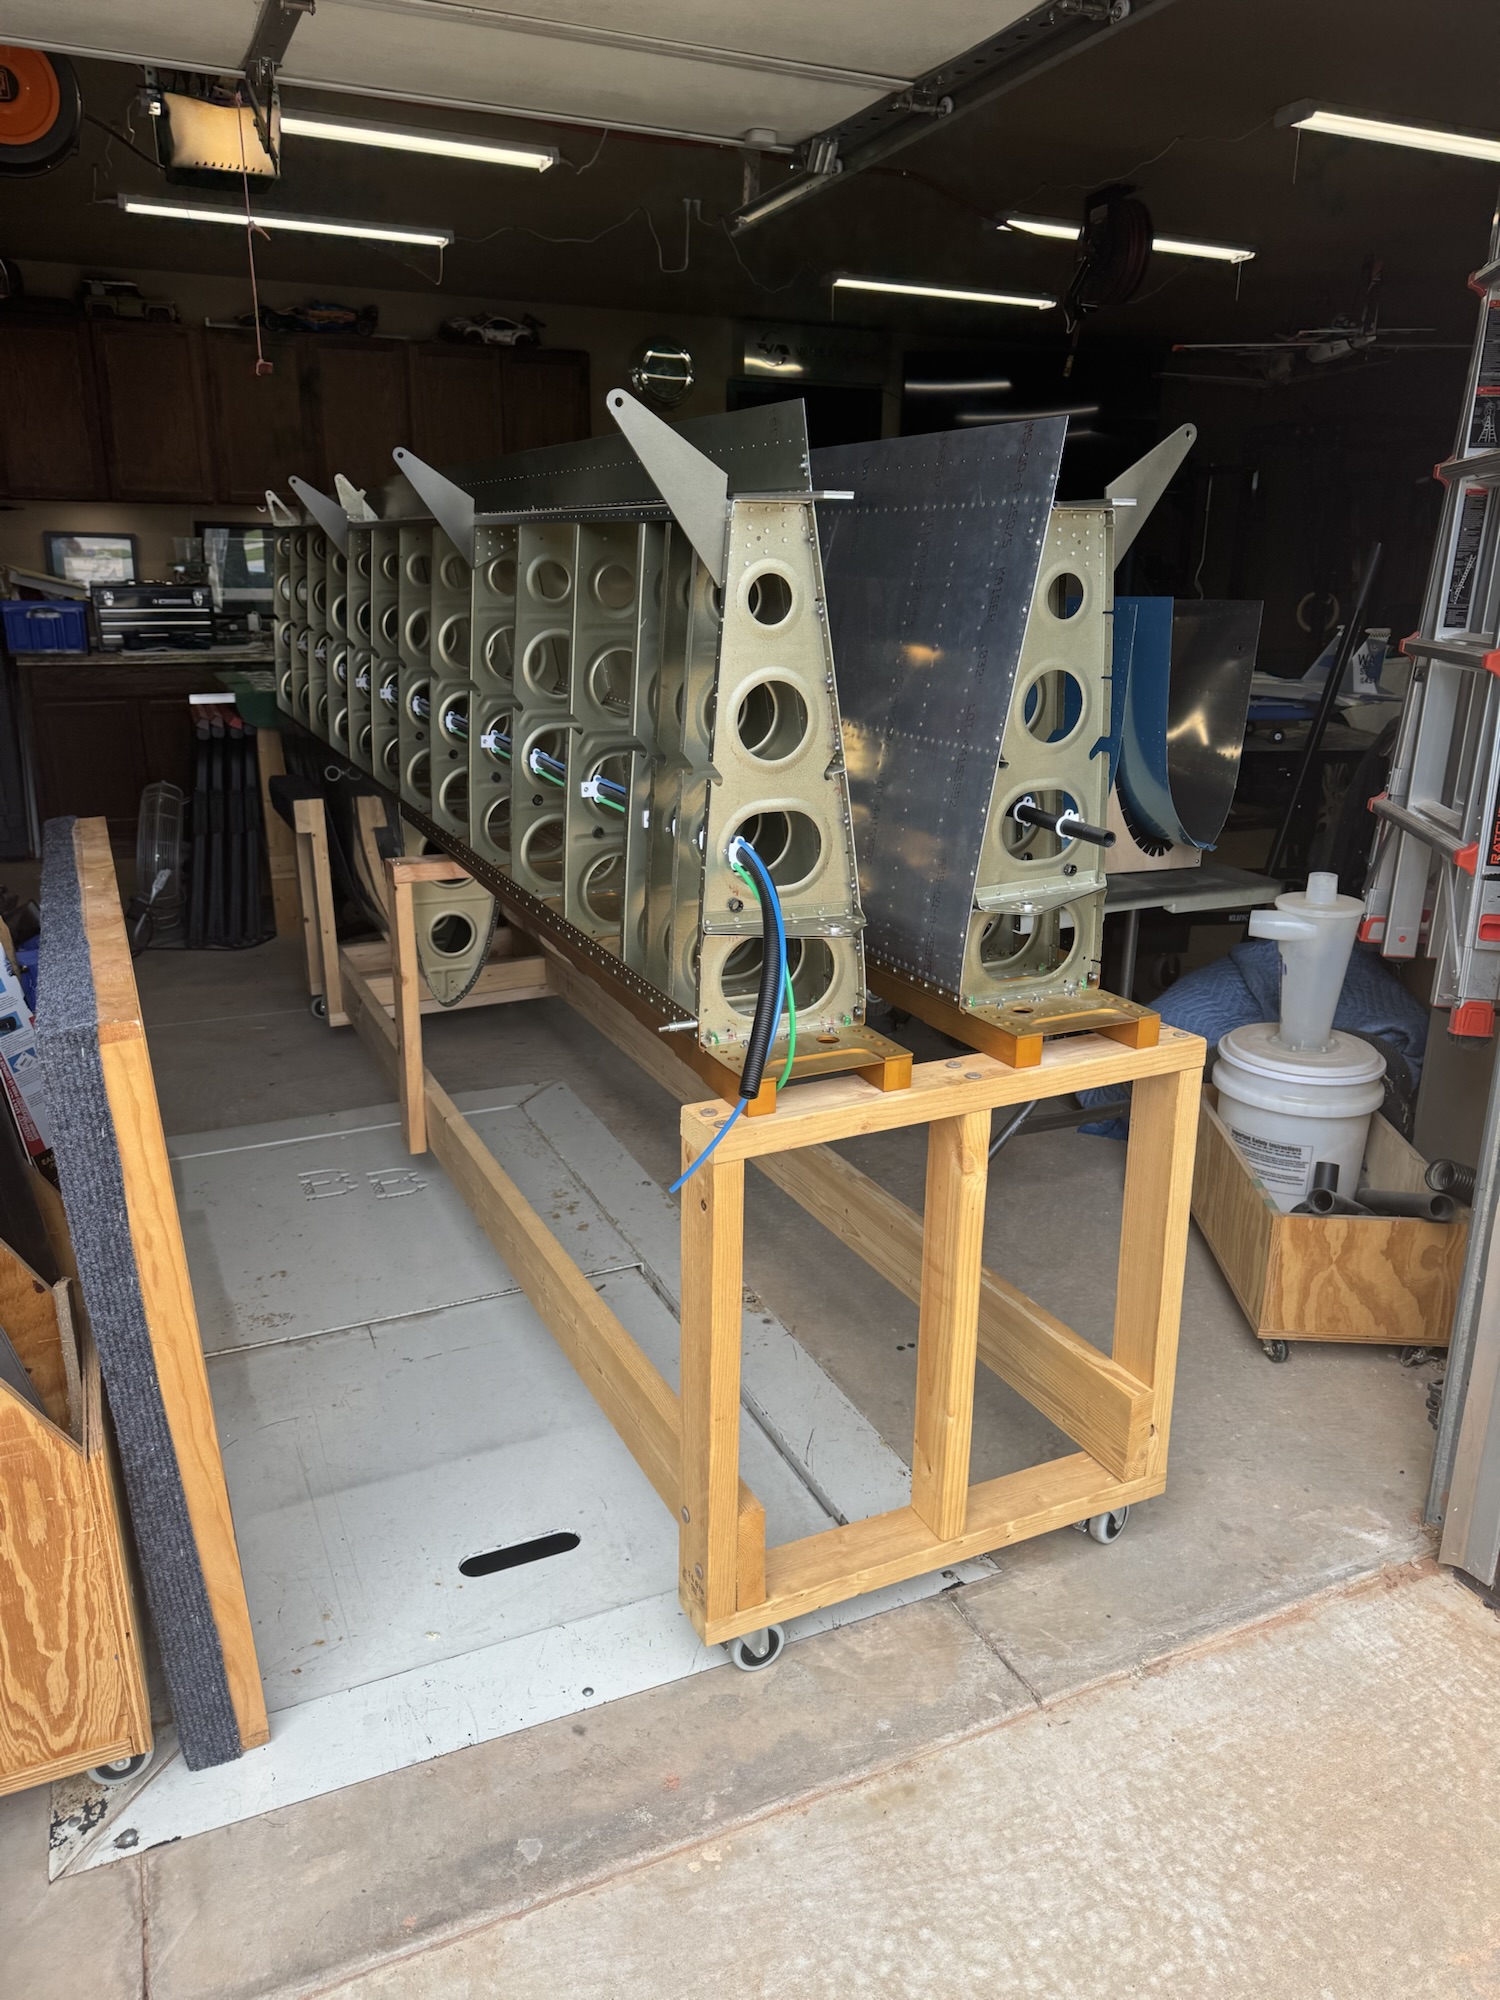
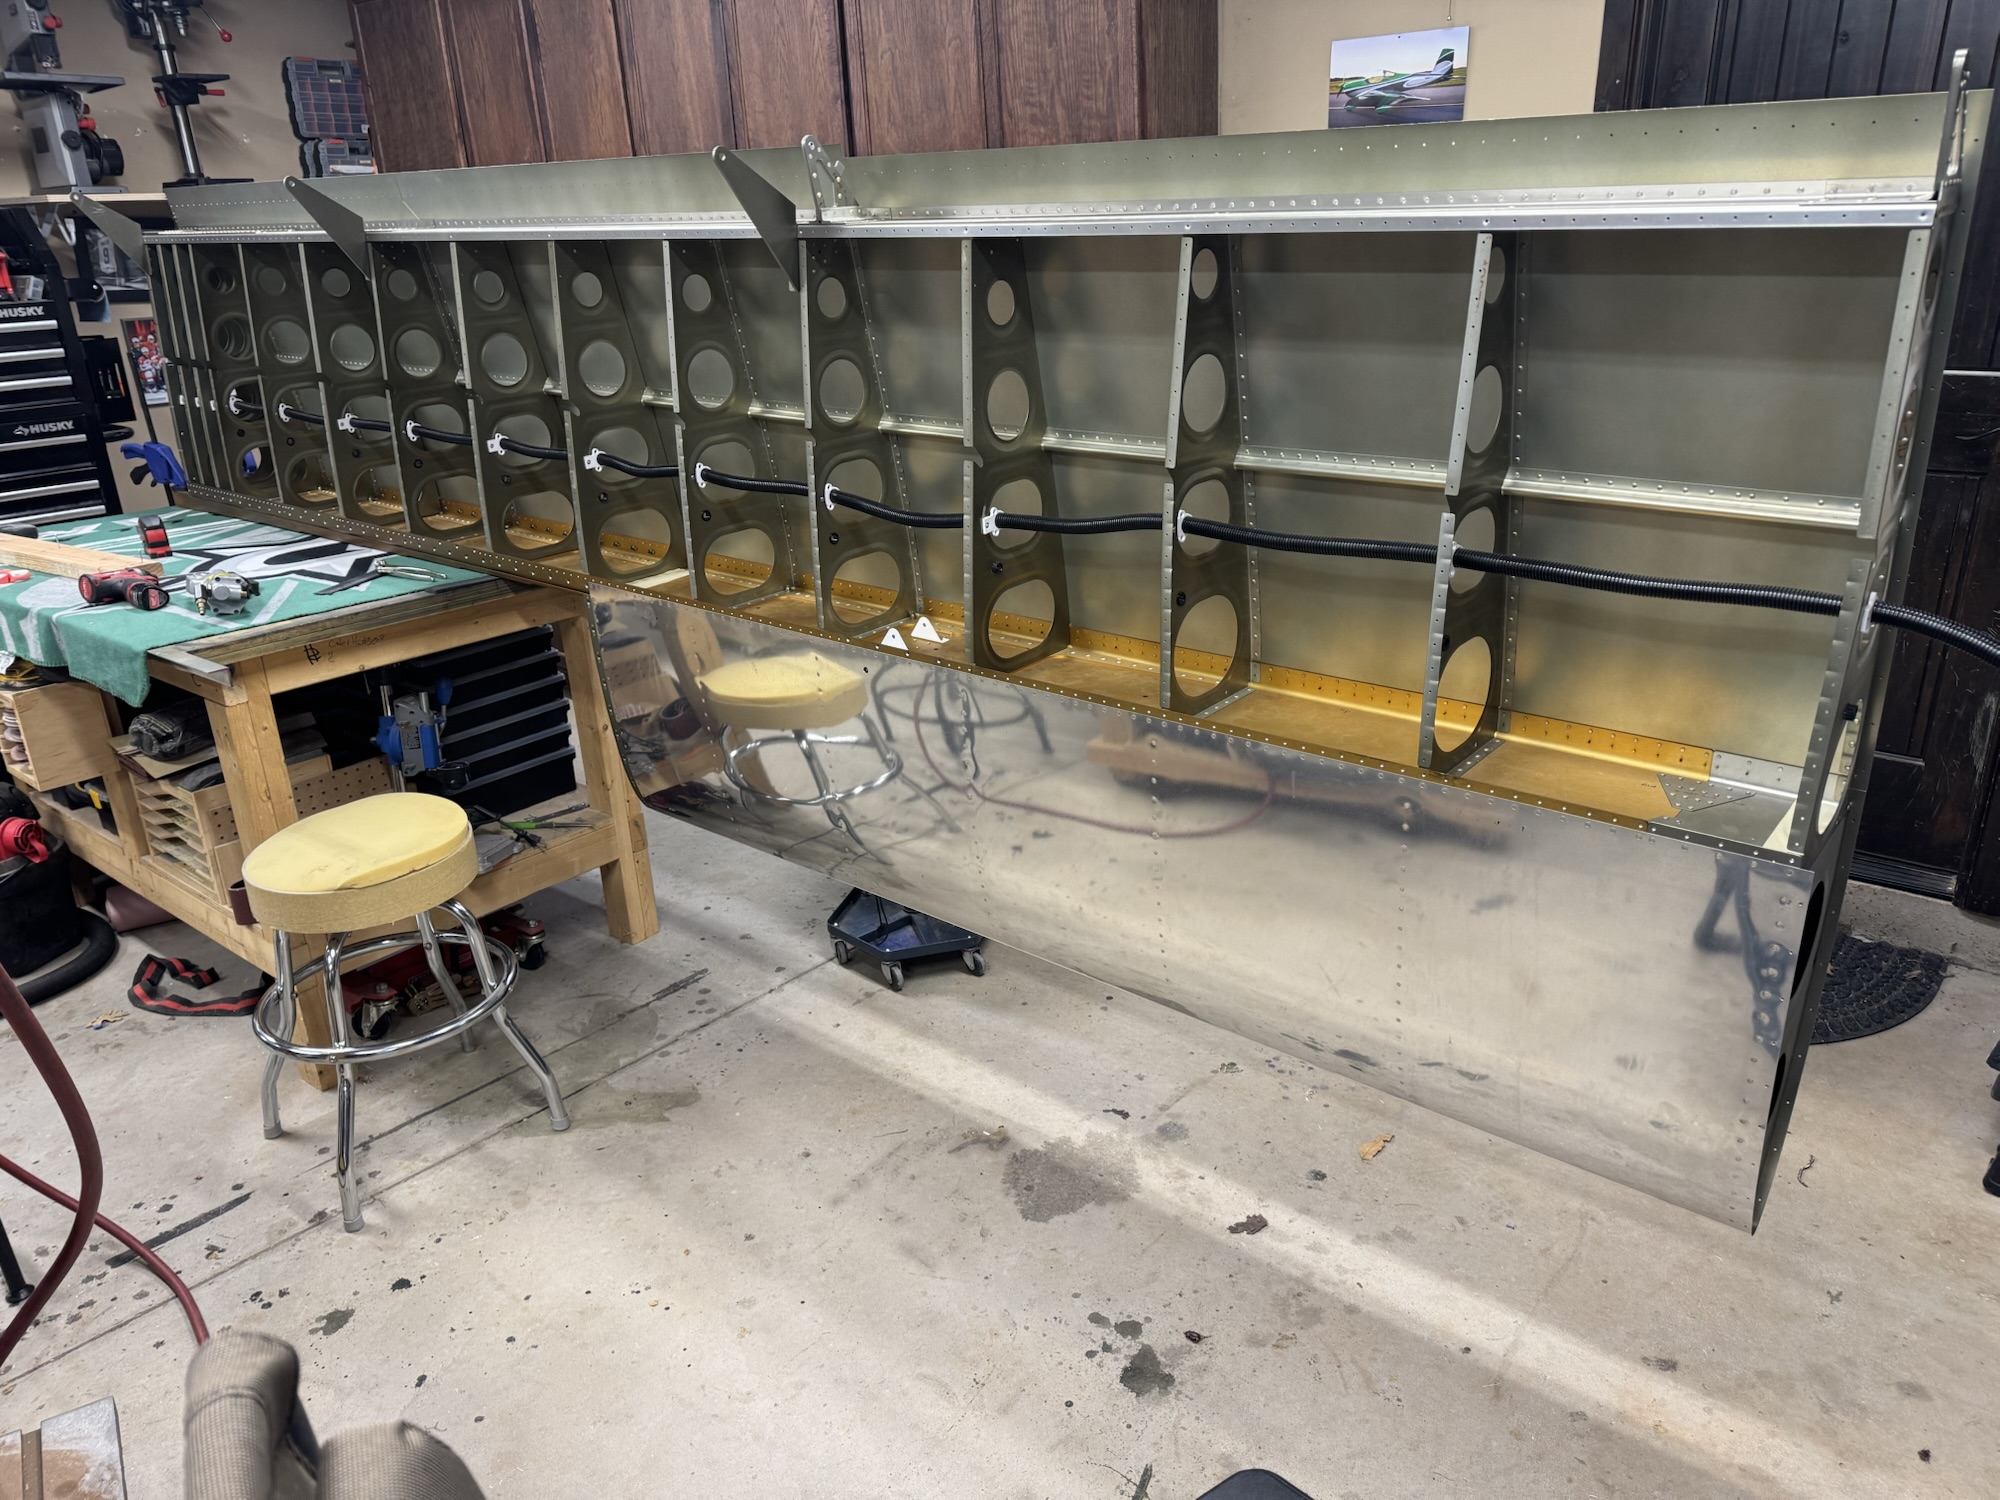
I got the wing moved over and I modified the wing stand so that it has the carpet sling to hold the leading edge.
I then got the leading edge almost completely riveted but I didn’t have anyone to buck the other portion. Hopefully I’ll get one of the boys to help tomorrow.