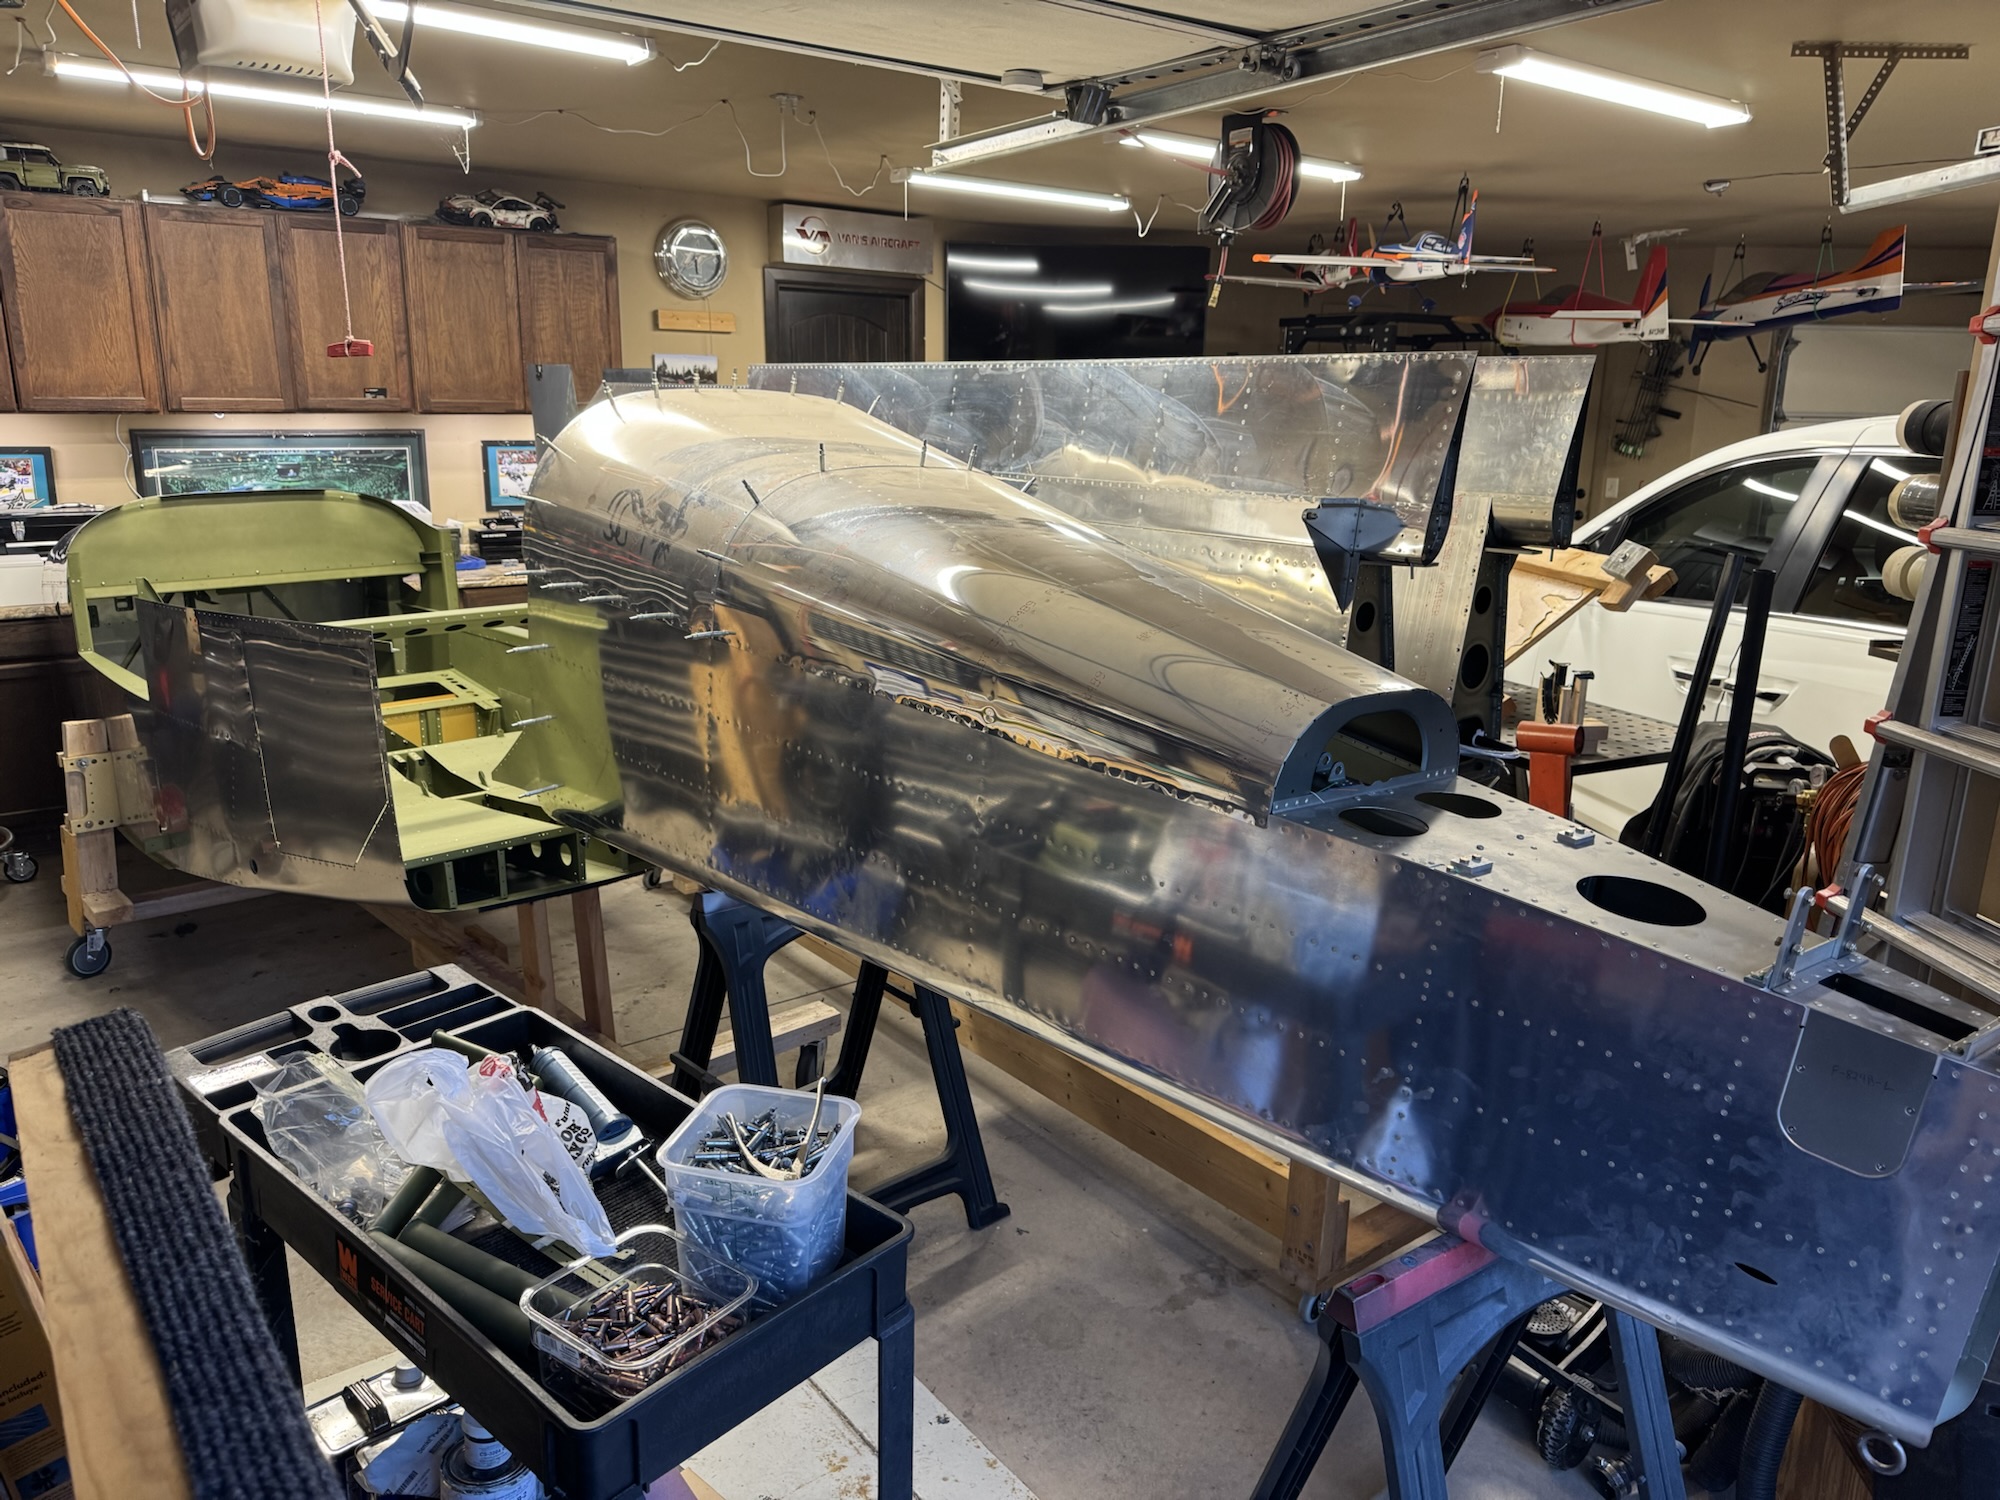
I spent quite a bit of time in Visio working on the block diagram. I know the components I want/need in the plane so now I just need to document how they will connect to each other as well as the redundant paths in case one of the methods goes awry. When Brendon got home from school I got him and Andrew to help me out in moving the fuselage to the cradle. It worked pretty well and it is surprisingly stable which makes sense with the main portion going through the spar of the plane. It is VERY tight in the garage right now so I will definitely need to take the wings to storage as soon as possible. I just need to find a safe way to do it. I will probably have to move them one at a time as I don’t think they will both fit in the trailer at the same time without overlapping and creating an opportunity for scratching. Either way, here’s pictures from the work today. Note: The block diagram is not 100% finished yet. I still have a bunch of documentation to validate what is needed, etc.
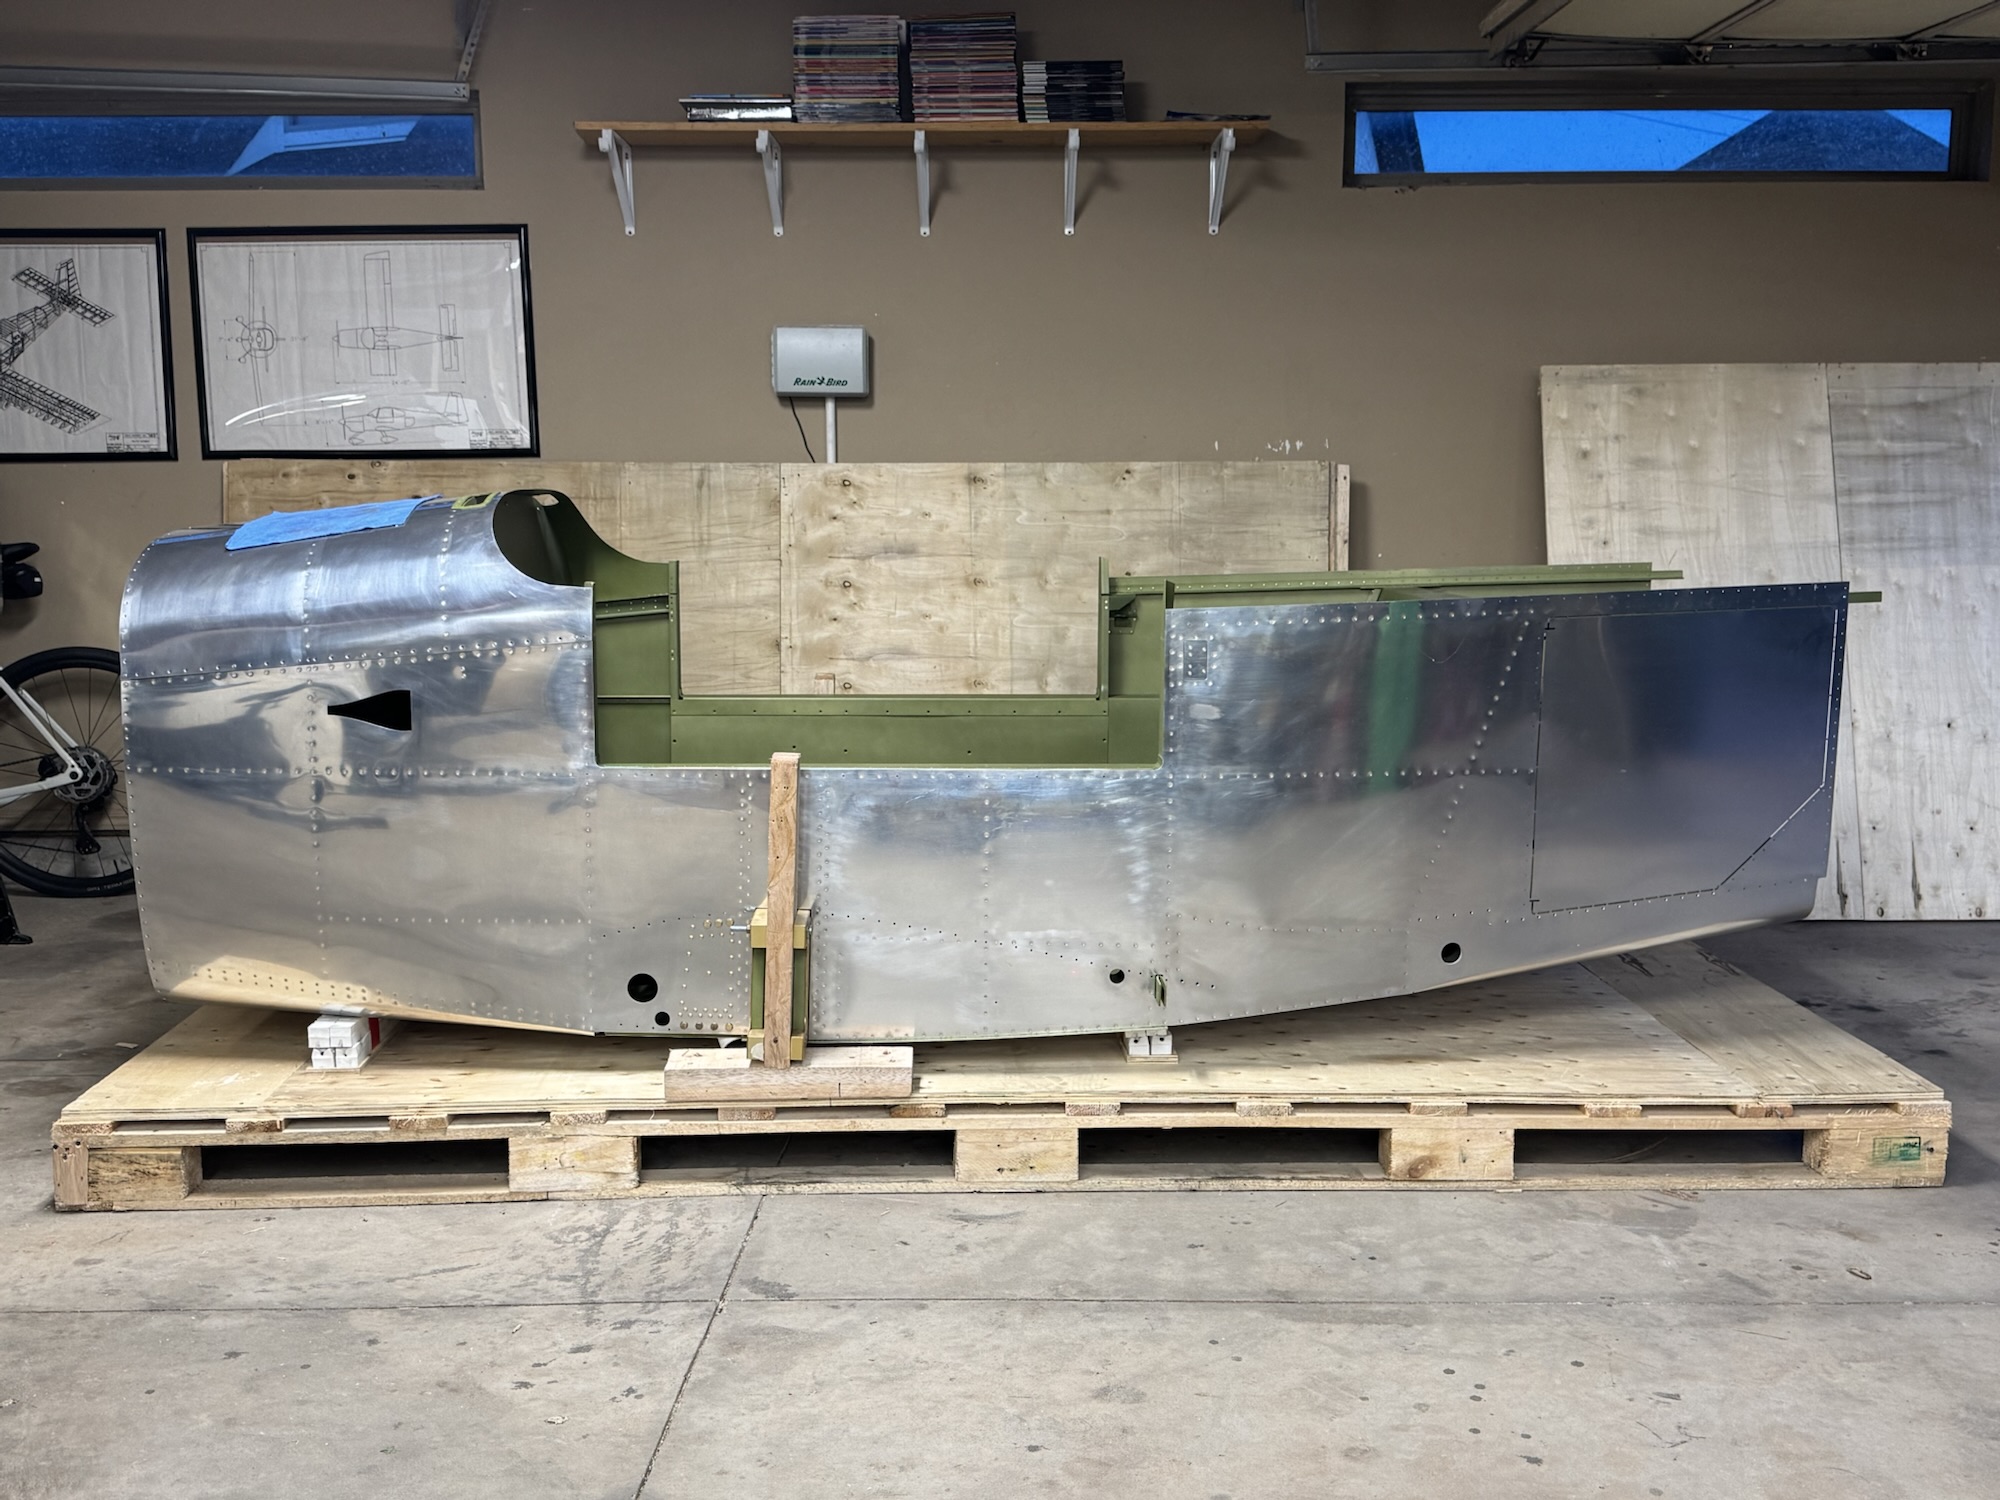
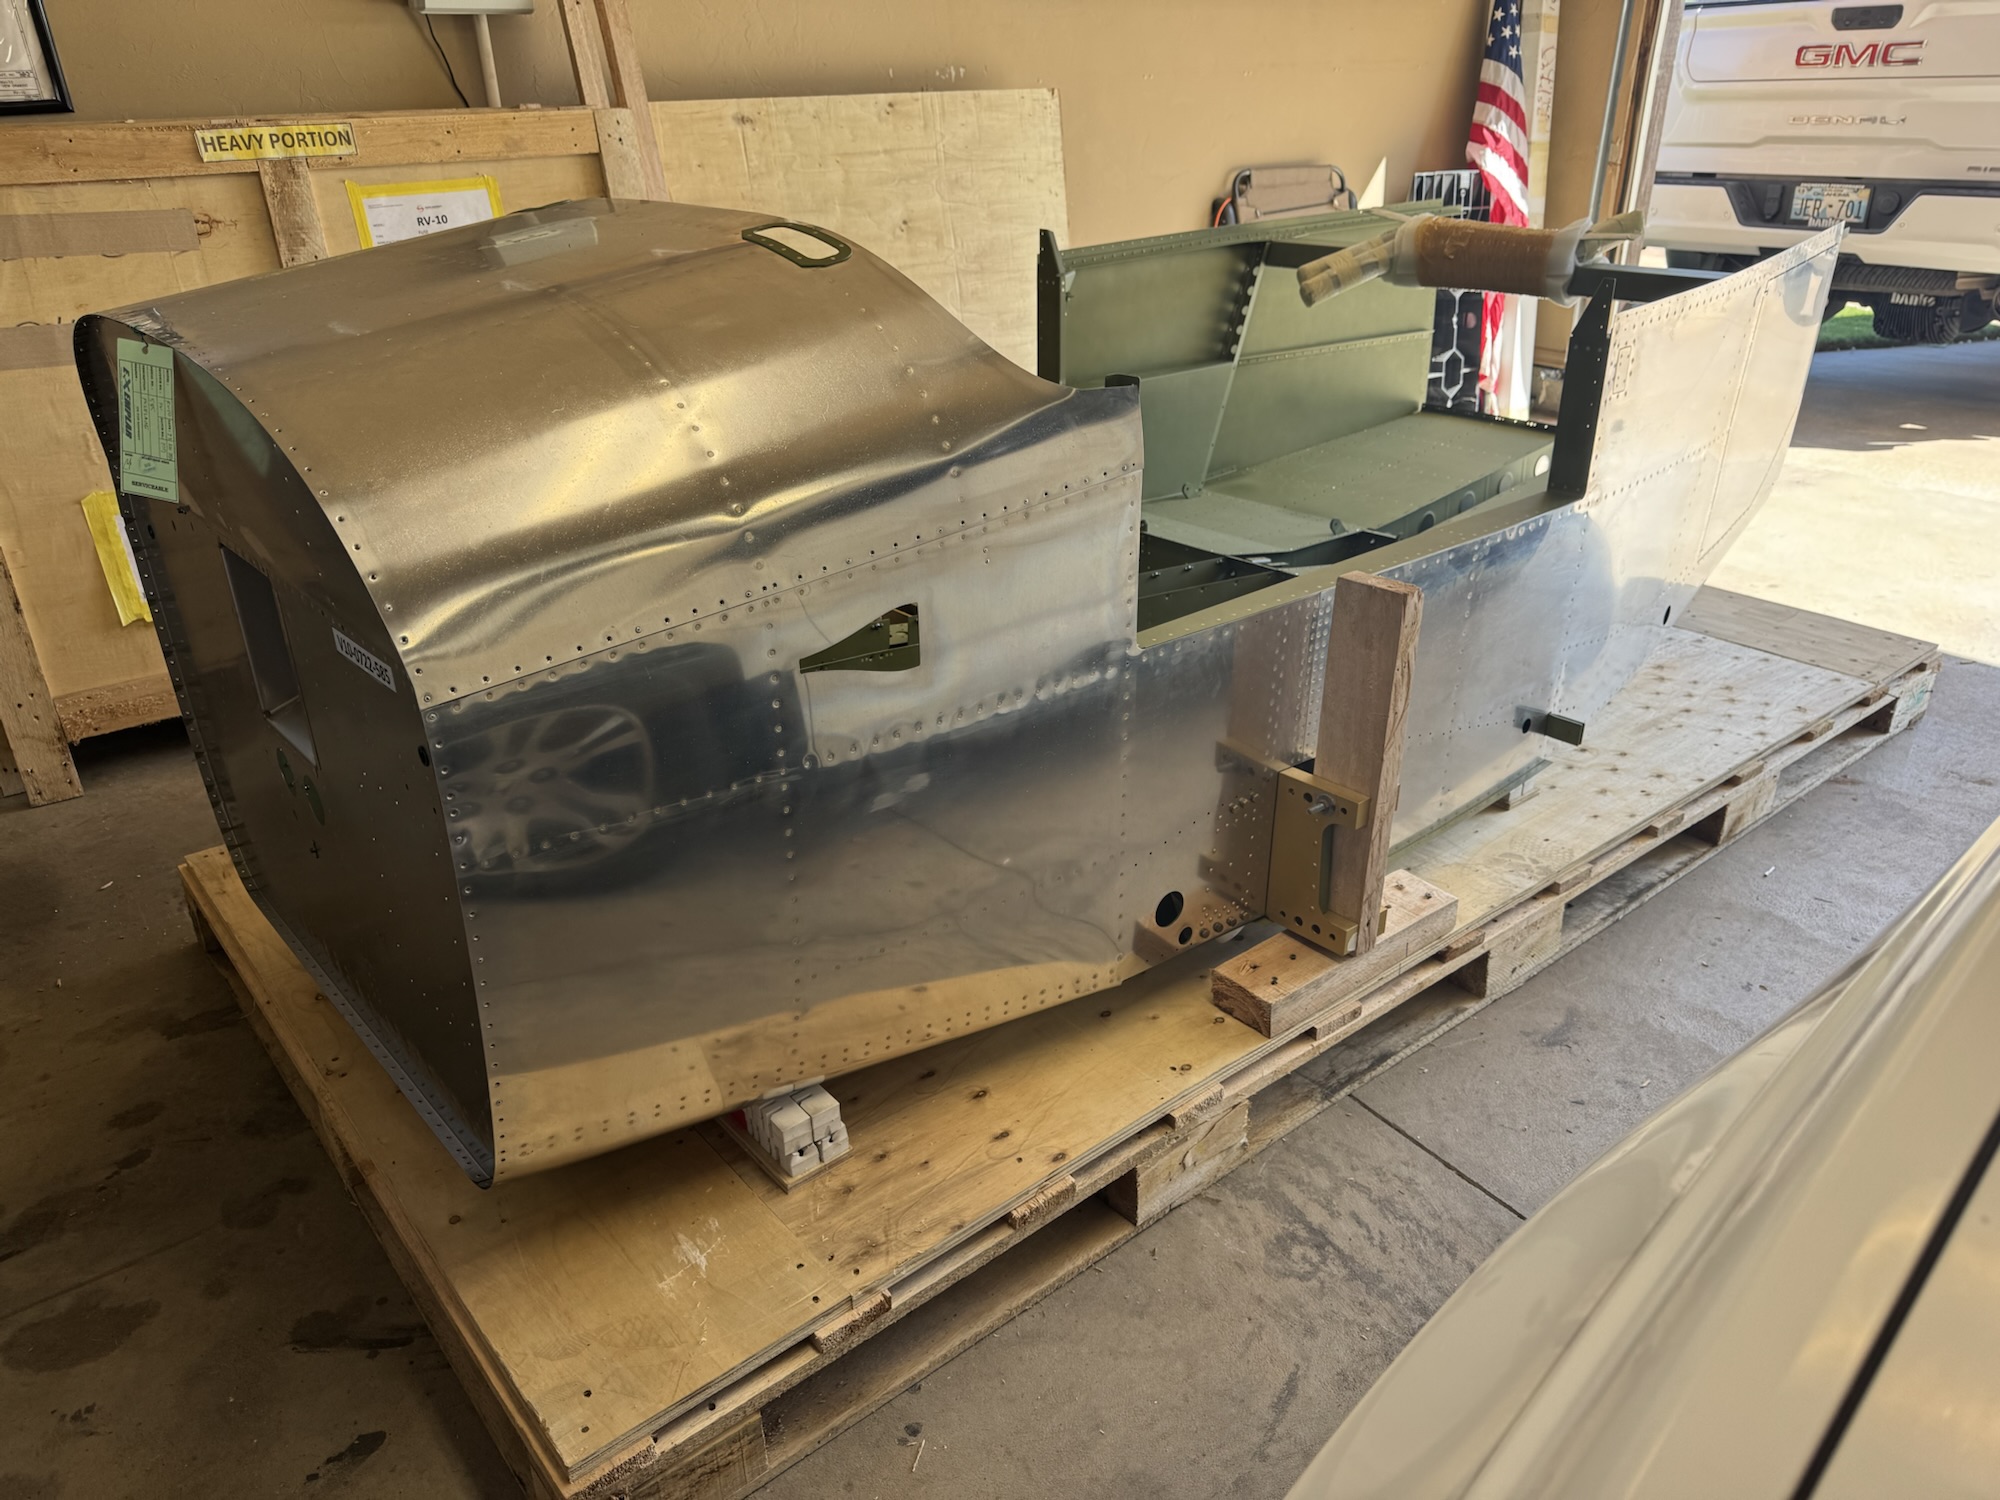
After looking at the cradle and thinking about the stability I want, I decided to put some additional length and width to the rear. This will allow me to adjust the cradle after I get the empennage attached so that it will support it a little bit better. But hopefully I won’t have to use this for too long as I got the rotisserie from the club which should be what I use for the majority of the build while it is not on its wheels. Either way, I used as much of the timber from the crate as I could which appears that some of it was made out of balsa…. It should be sturdy enough with how big of a block it is but it does give me some pause. I need one more wheel which I will pick up tomorrow and then I can move the spar mount brackets they had from the crate onto the cradle for my forward mount and then I have some additional 2×4’s which I can use to mount along the middle spar of the cradle to support the rear.
I got the fuselage and empennage today from storage. Took quite a bit of moving stuff around but we got it figured out. I got the fuselage removed from the crate and I started working on building a cradle. I think I might need to make it a bit longer though as the wood I used from the crate wasn’t long enough. Luckily I have plenty more where that came from to make it longer. I also ordered my magnetometer and one of the autopilot servos so that I can 100% finish the wings. I still need to determine how I want to terminate everything at the inboard wing rib but I’ll do more research tomorrow
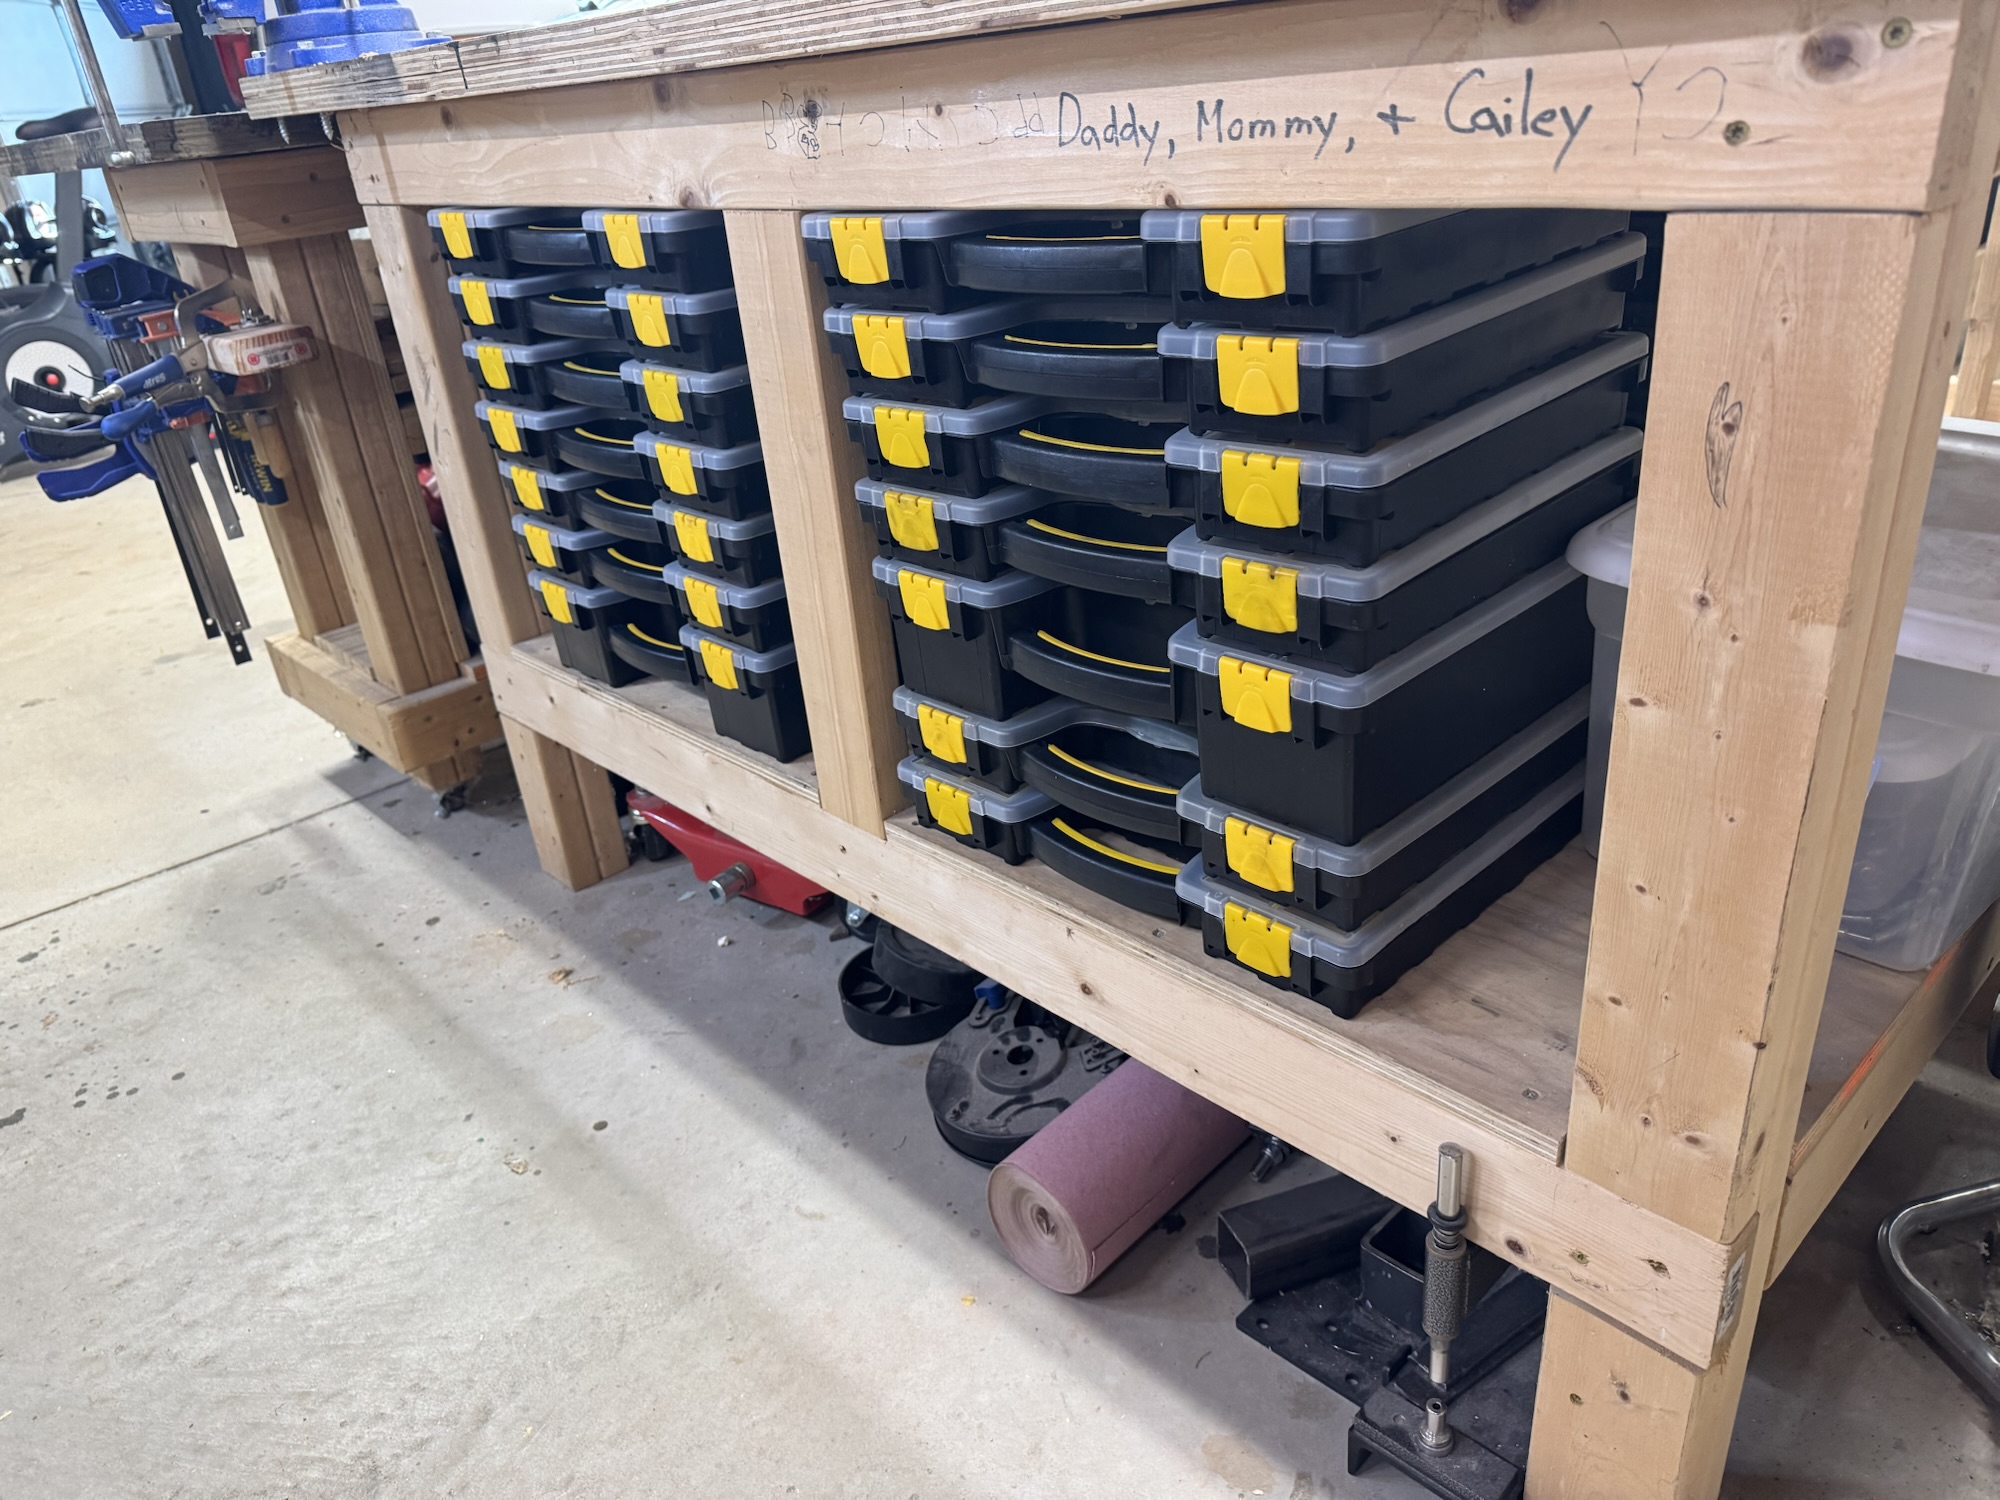
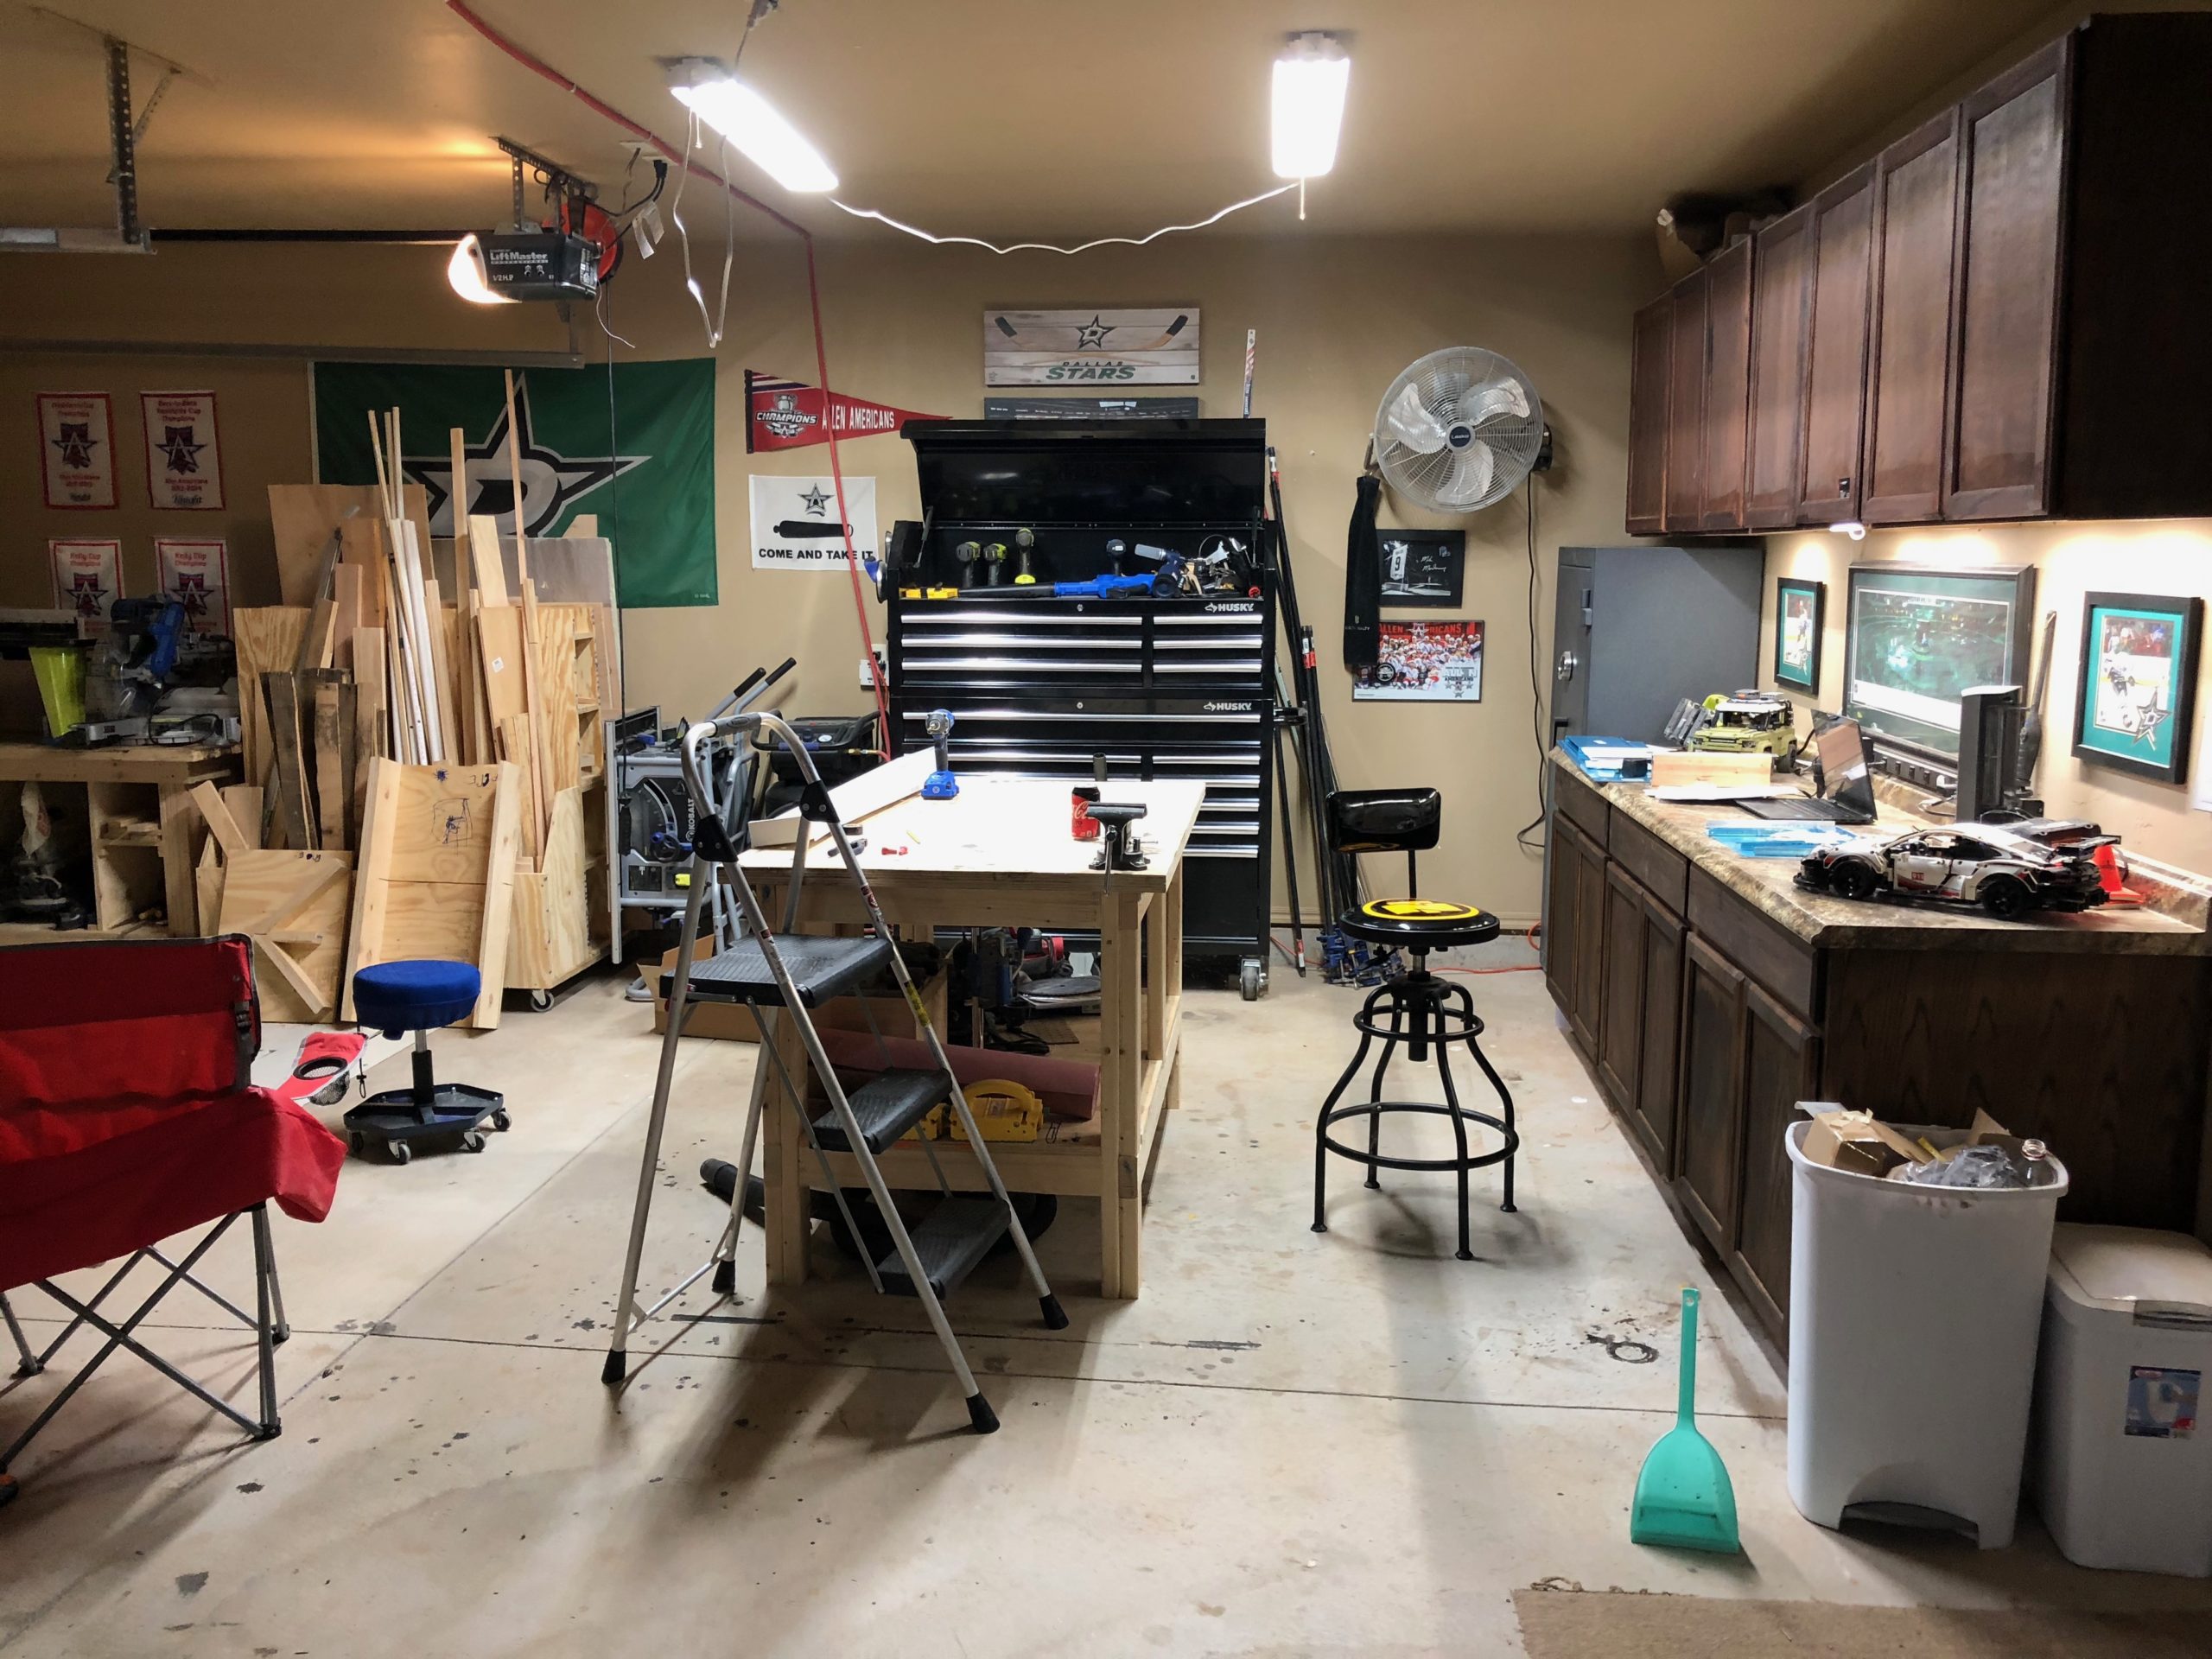
I’ve been extremely busy with church related activities as well as trying to improve my own processes while building. I am constantly dealing with my poor organization of my hardware (minus really my aviation hardware which gave me an opportunity to try things out). So I finalized organizing all of my hardware so I have more space to store tools and other items out of the way while I am building, like my bench vice, grinder, bench sander, etc. I also organized my clamps which was simple with just a 2×4 with some pocket screw holes added to my existing cart, which this also cleared out more space for tools. I also put in a shelf on the wall for my larger items like my drill press and bandsaw so I don’t have to store it out in the shed and it will be close by for me.
Hardware storage
More hardware storage
Shelf for large items
Clamp storage
I also got a call done with Van’s builder support. They were extremely helpful and deep in their explanation on the design of the airplane and other things. Long story short, the hold I drilled accidentally is fine to be left there. I will just need to swap the hardware for the nut plate from the MS21051-L08 to the K-1008. He said I can use a spare piece of aluminum as a backer for the nut plate to go against on that side since there probably won’t be enough material in that place. I’ll have to take a look at that closer when I get a chance. The other item had to do with the holes for those nutplates being close to the edge. He stated that this is acceptable since it is just holding the nutplate in place and that they had changed the design of the part. So I am good to build on and not replace any parts! Hopefully here soon I will get a chance to get more time allocated to this when I finalize my capstone for my WGU MBA in Information Technology here soon!
I needed to finish organizing the wing kit hardware and I finally got a new hardware bin from Amazon that showed up. My wife also got a new label printer which works very well. So I started splitting up the hardware into their separate bins and putting labels on them. I need to go back and label the ones that I split up and put in bins. Unfortunately that is going to be the harder part because I no longer remember which went where. But I’ll get it done.
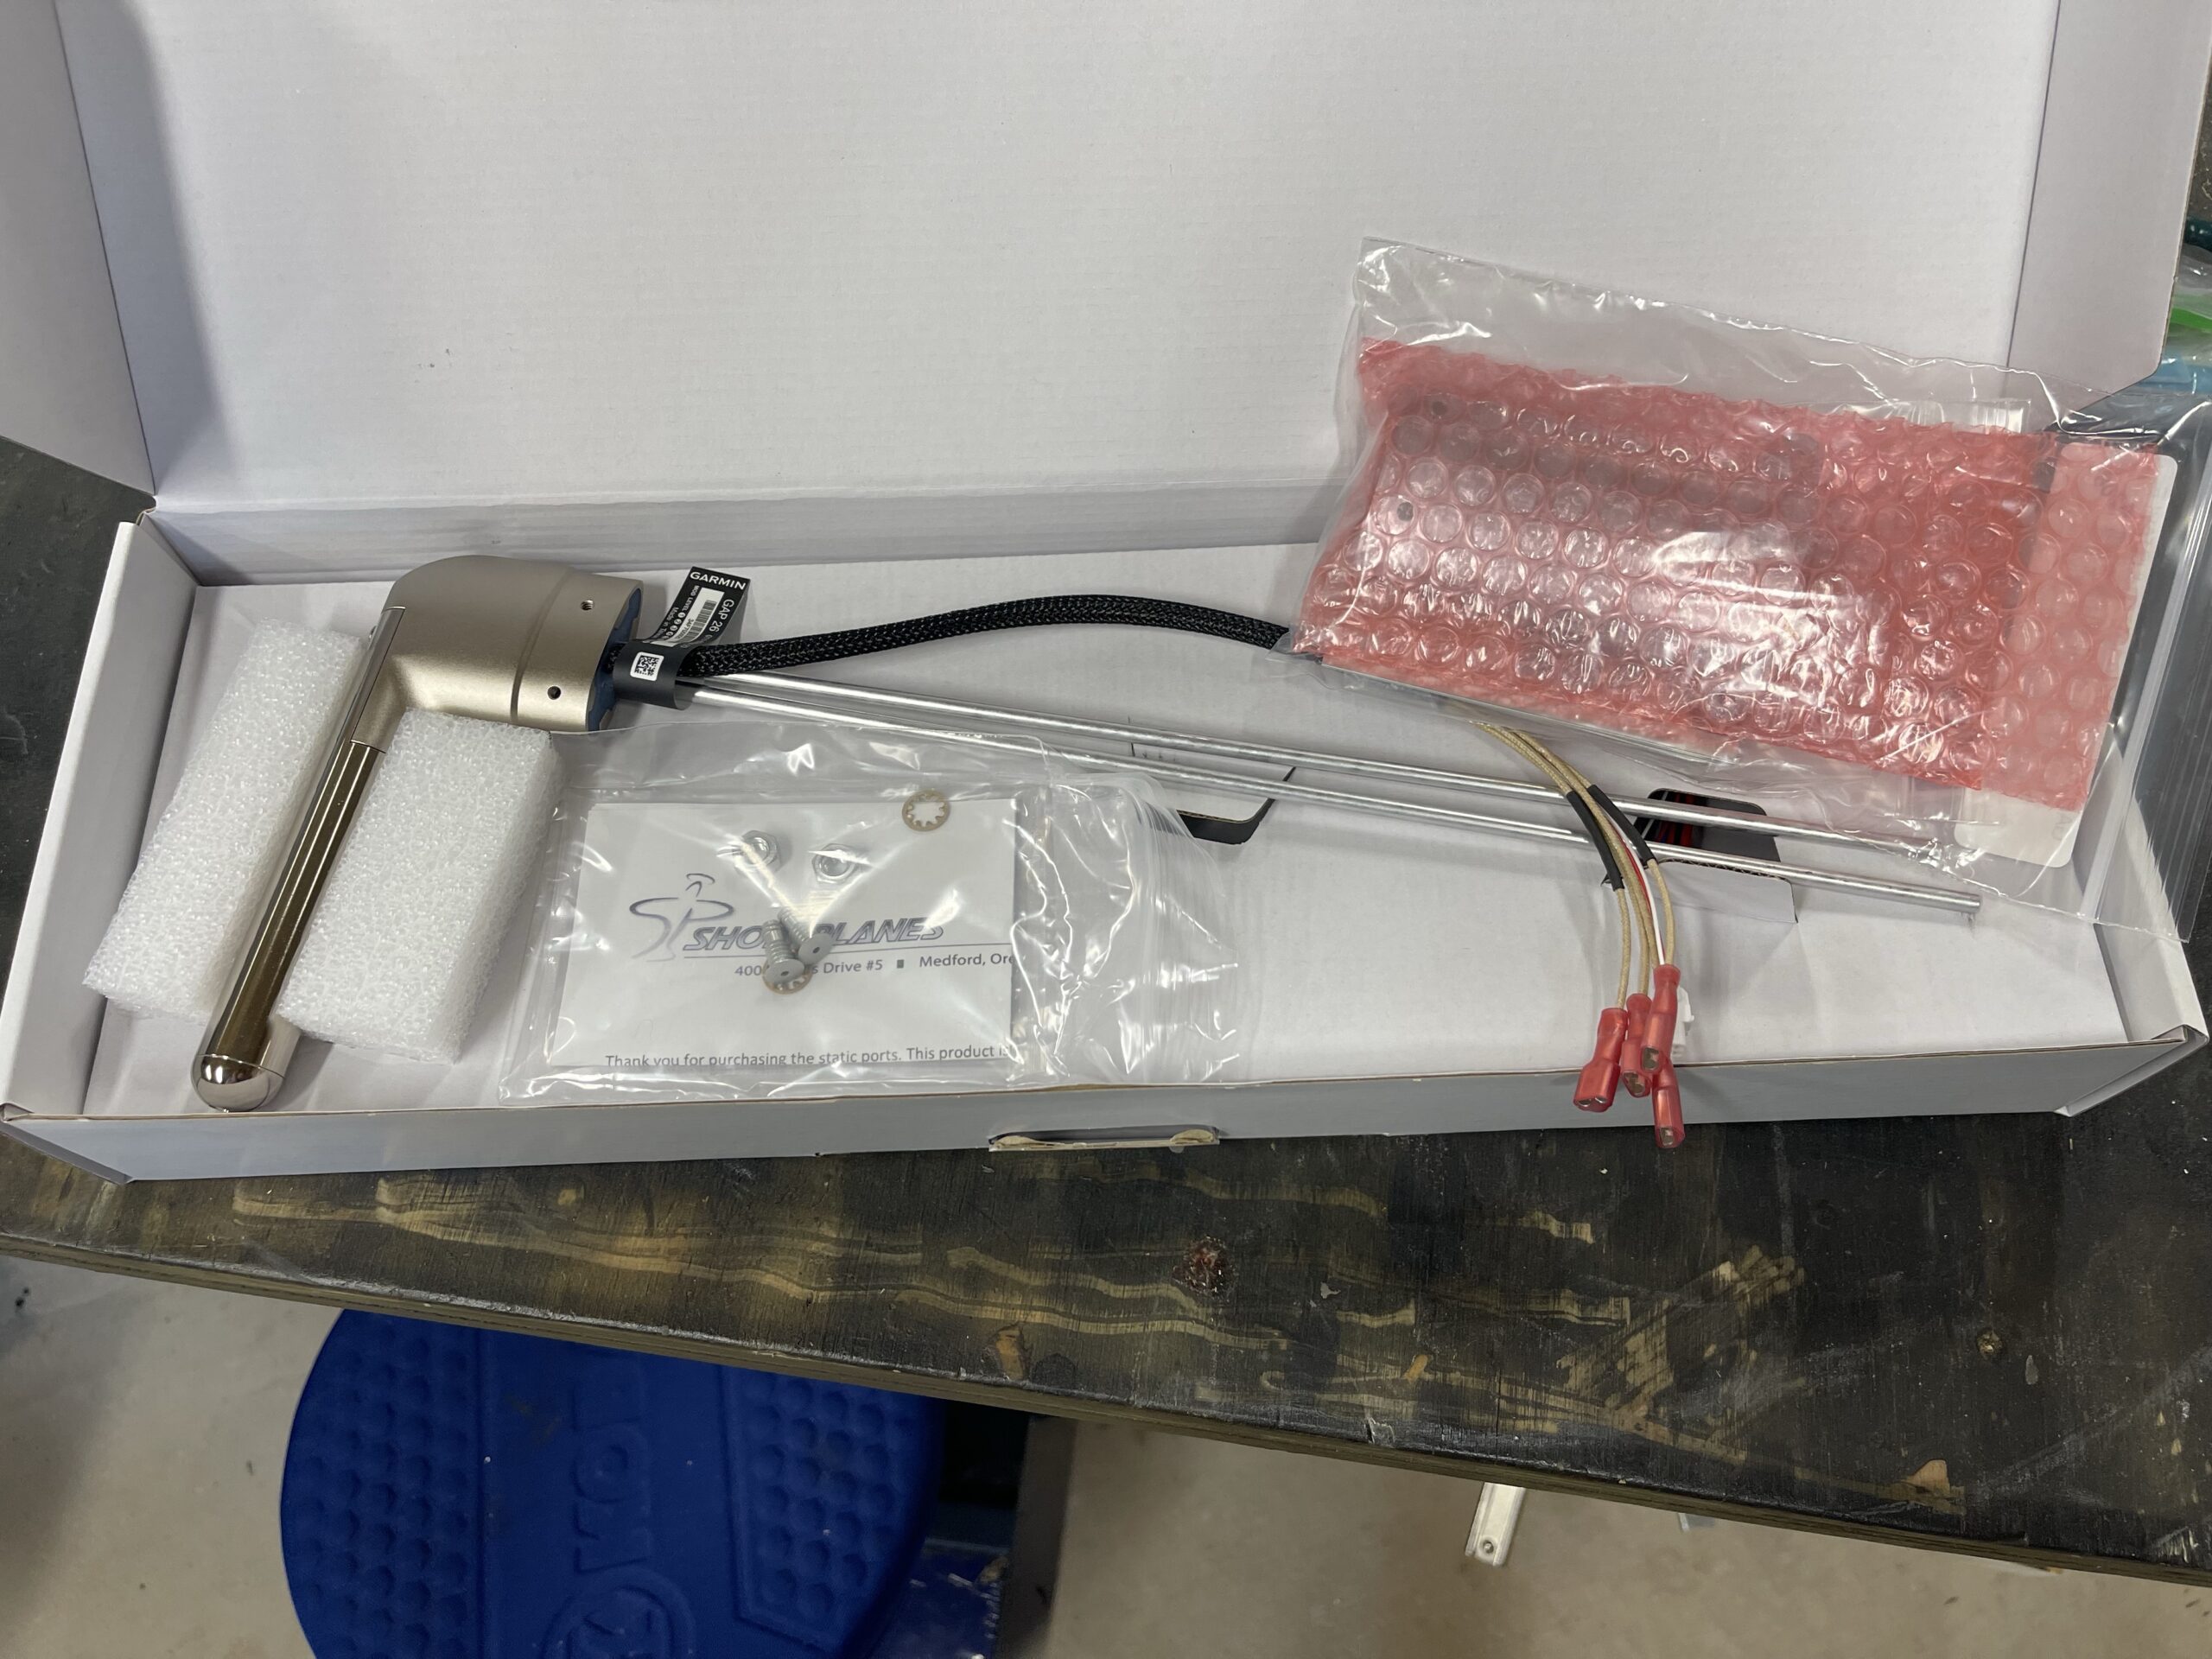
My first real avionics piece arrived yesterday. I ordered the Garmin GAP-26 Regulated version. I wanted to be able to regulate how much heat needed to be applied and also get warnings for when I need to turn it on or it’s not working. I also got my static ports in which I need to install on the fuselage.
I wanted to first start off with a video of the final product of what the shop lights look like. They turned out great for the amount of money that was spent. I would really have preferred to have had light boxes installed in the ceiling, but that’s money I just don’t feel like I want to spend right now, and these will do just fine for the time being. I am not a fan of the cables showing but whatever. Sorry for the vertical video as I was too excited to have it completed now. LOL
Garage lights in action
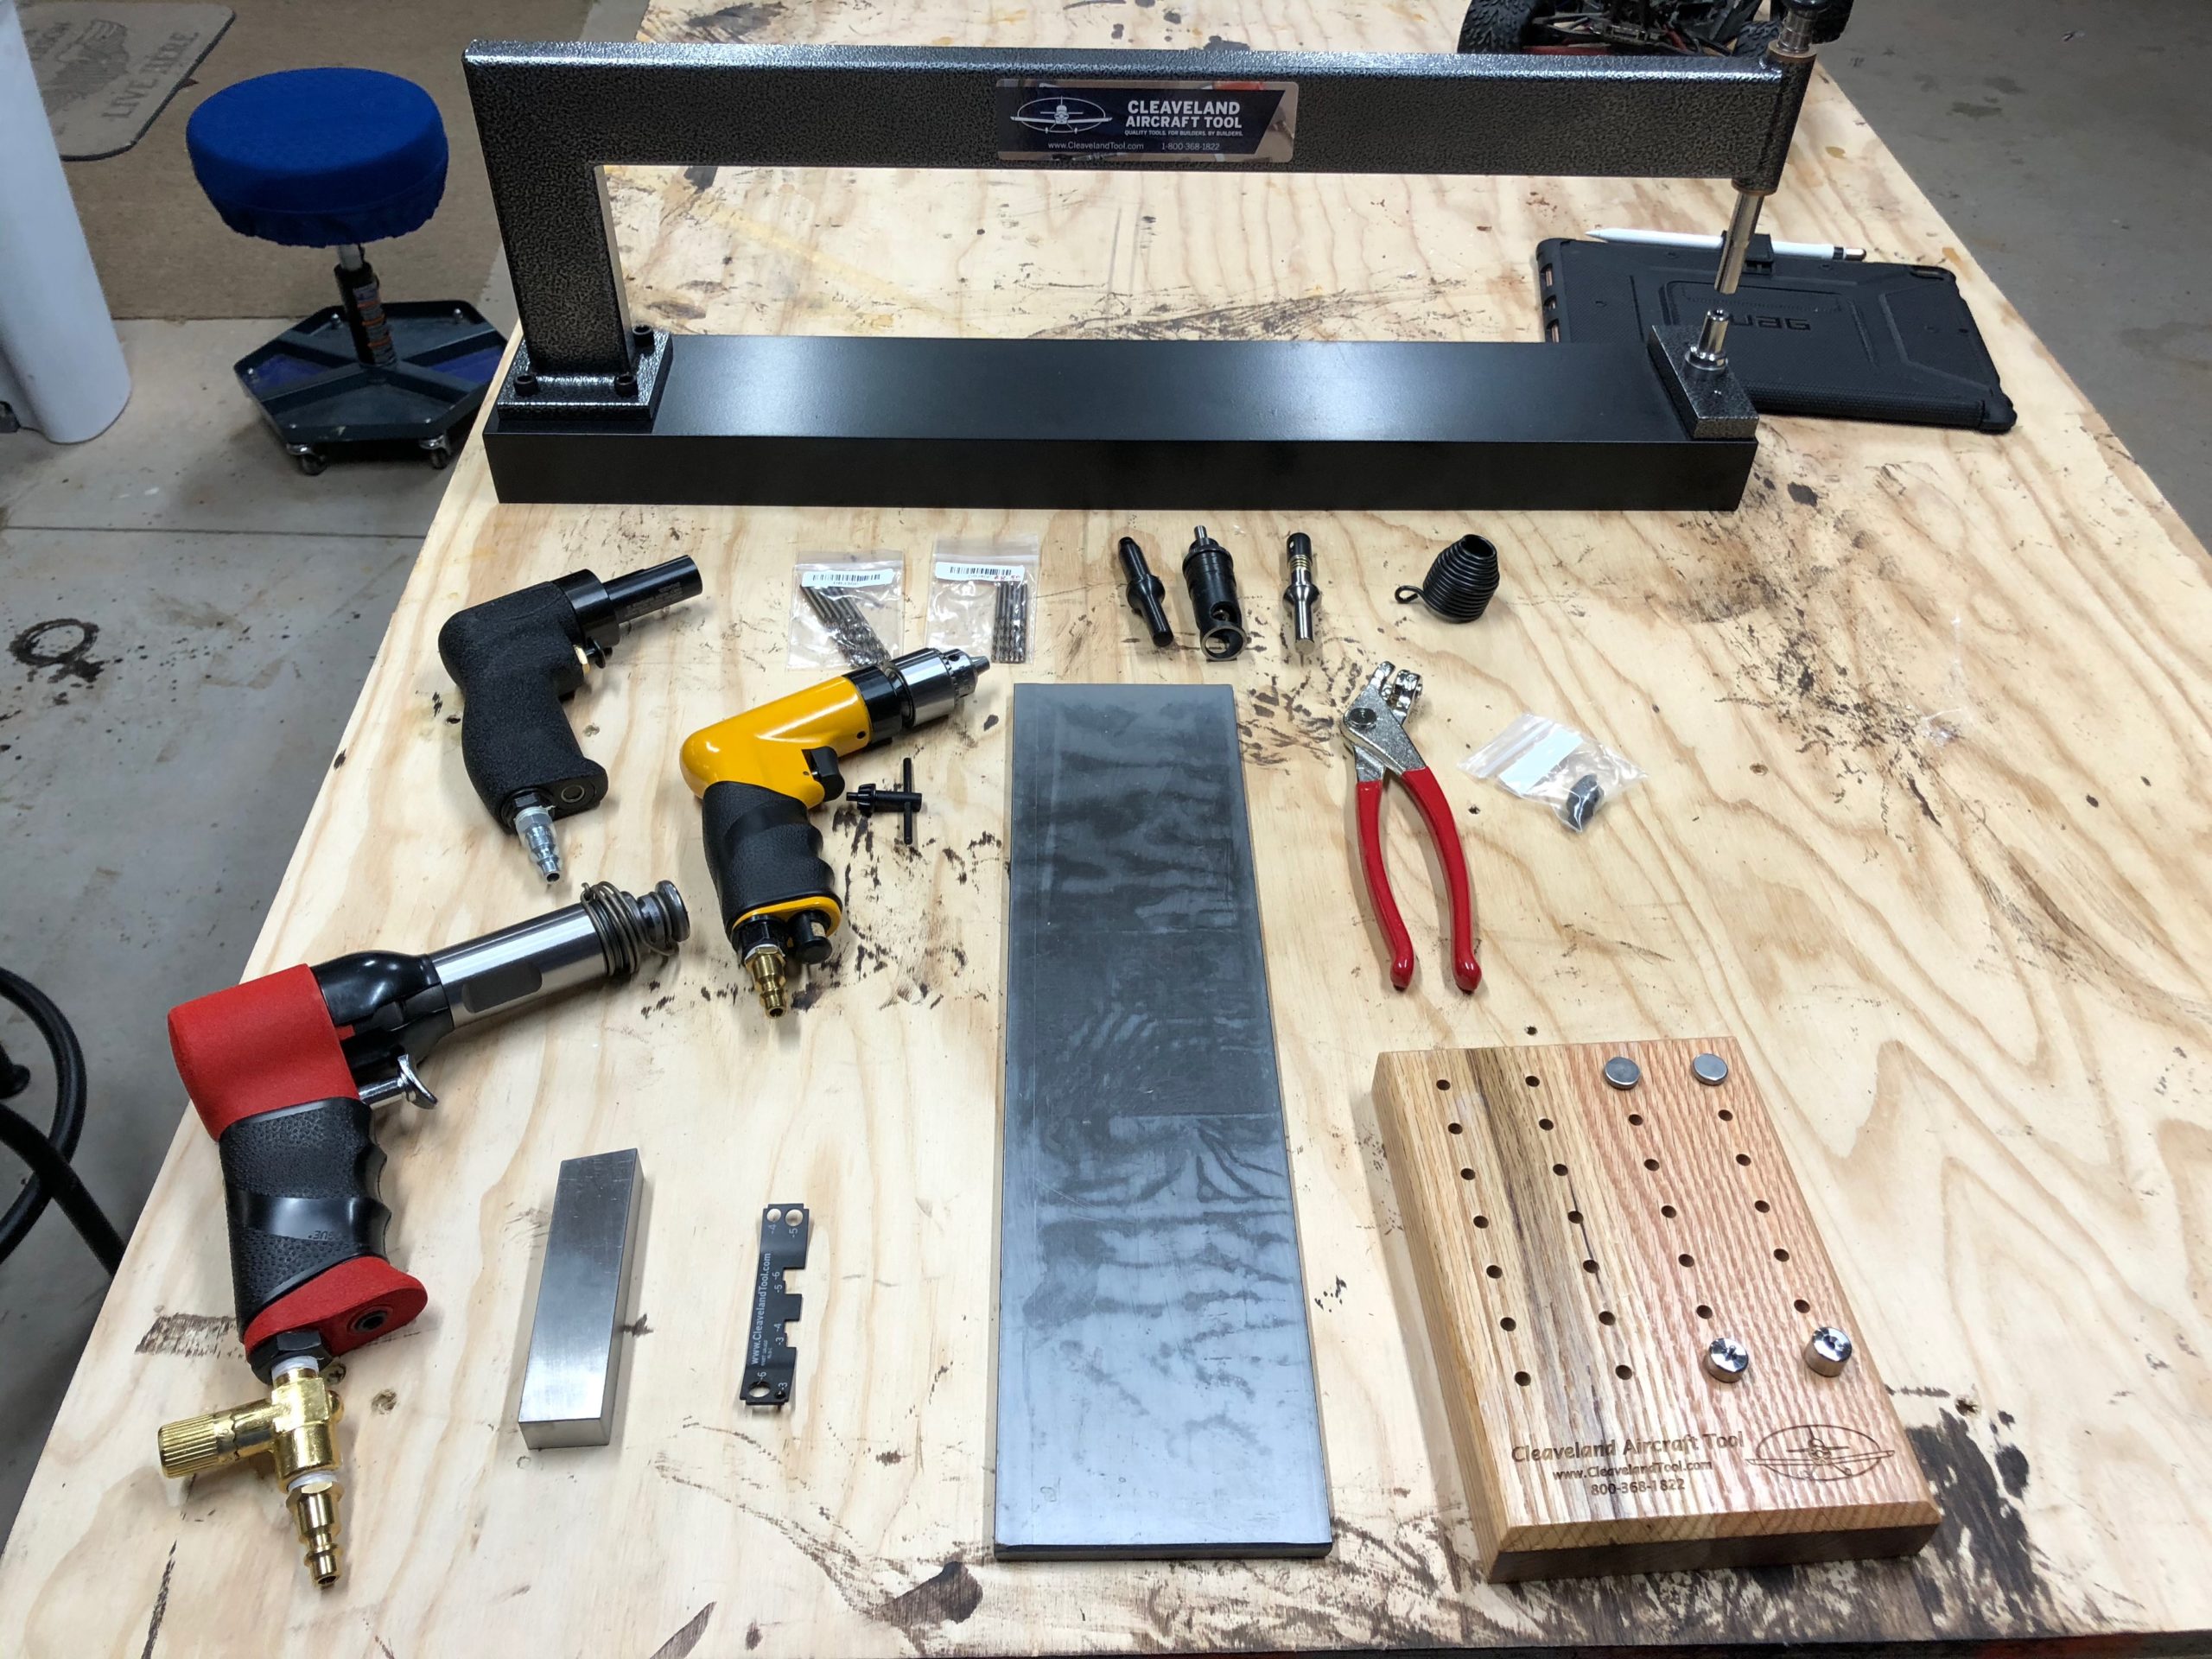
Now with the lighting sorted out and plenty of space in the garage, I was just waiting for the rest of the tools I had ordered to arrive. I got the final shipment from Cleaveland and they did an excellent job of packing the items. The tools come in a Craftsman plastic toolbox and each of them are individually wrapped to protect them in shipment. They’ve provided paper packing material in some places to fill in the voids where necessary. The toolbox was then placed in a box with foam blocks surrounding it to isolate it from the bumps from shipment. Everything was accounted for and they even mentioned that they had a few of my tools on backorder and they would ship them when they arrived. None of those tools were needed for the practice kit so I’m fine with that for now.
All of the tools assembled in one place
With everything out of the way and the air tools properly connected with the right NPT connectors, I started working on the practice kit. I didn’t bother with working on de-burring the skin on the first project of the practice kit as I wanted to focus on a few things at a time and of course I was excited to use my tools for the first time! The first project only had three steps mentioned which was not a ton to go by for a noob.
I sat down and really dug in deep to the rest of the material they provided me which was basically all of section 5 and what appeared to be all of section 3 as well. Section 5 covers building basics such as sanding the edges, de-burring both edges and holes, riveting basics, nomenclature, painting, electronics, the whole lot. I will say, this project does not appear that it will give you exact step by step instructions and they expect you to know how to select the right size rivet, drill the right size hole, how to dimple, the lot. But the instructions they do provide, you need to read them word for word and make sure you understand what they are conveying to you before you proceed. Reading schematic/engineering charts is also an art that will take a little bit of practice but is not too difficult.
After reading up on those sections (which I will probably have to read them three to four more times before I fully understand it all) I felt confident going back to the project and starting it anew. None of the holes for the first line of rivets was drilled on either piece. I took the measurements they provided and marked them on the top skin with a blue fine Sharpie. I used some spring clips to hold the two pieces together and used my drill press to drill the holes. I learned very quickly on the first hole that you need to have a clamp supporting the piece to the drill as well. This is not like wood and will bite you once it penetrates the metal and try to start spinning your work piece on you. After clamping the piece down, I would drill another hole. Release the clamp, move the piece, clamp it down, and drill another hole. Rinse and repeat for each hole along the entire edge. I eventually started using clecos to help hold the two pieces exactly in alignment. Now, this was the only de-burring I did for this first project. I took the de-burring tool and used it very lightly on the back of the holes I had drilled just so that I could rub my finger across it without feeling it snag.
I will tell you that using the C frame dimpler is actually not that bad. It is quite loud with each hammer swing, but I feel like I quickly got used to the sound the dimpler would make when the hole was fully dimpled. I would have to swing the hammer twice to get it to fully seat which is fine by me.
Now, it was time for my first rivets… I had set the gun to what I thought was an appropriate level with only 90 psi of air pressure at the tool. I then reduced it even further with the inline air restricter. I selected what I thought was the right rivet and started going at it with the 16″ steel plate as my bucking bar. My rivets were flatter than a pancake, which I knew couldn’t be right, but I kept going trying to work out the problem as I went along. Long story short, each of those rivets was bad and I had to redo the entire line of rivets, but I don’t count this as a failure. This is an opportunity to learn how things feel, and more importantly I get to learn how to remove rivets on a practice piece rather than the real thing.
Really.. flat.. rivets..
With my second go around, I finally read AND understood the instructions on how to select the proper rivet and I also got very acquainted with the Cleaveland Tools rivet gauge. This is a very handy tool to get started and sight your eye in to what a proper shop head on a rivet looks like. With that I was able to get these rivets worked out… Not too bad, but definitely not perfect either. Still need the practice, which luckily I will get on the second project of the practice kit, which I plan to start tomorrow.
Second set of rivets with the right size rivet to begin with
All in all, I am glad that I’m learning this the hard way now. I’m one of those kind of learners that has to just start and get his hands dirty, learn from my mistakes, and chug along. Here’s to tomorrow’s practice day!
My second shipment of lights has finally arrived. I’m not sure why they are shipping all three lights in different boxes, but oh well. It was easy to add this second set of lights and oh man it has gotten nice and bright in the garage! I will definitely not have issues with seeing what I’m doing out here while building. LOL
Second set of lights up and running
I also got my first two orders or tools from Cleaveland Tools in. I should have just ordered them all at once, but I had originally thought “I’ll just order some of the tools necessary to do riveting and the learning kit to see if I would like putting this thing together.” Upon receiving the training kit and just reading and imagining putting this thing together, it got me super excited and I just knew I would want to do this! I love putting things together and especially when it has to deal with aviation, I’m all in! I have always loved working with model planes and putting those together, fixing them, tweaking them, etc. Granted this is alot bigger, more expensive, and definitely requires precision and attention to detail, but I think I’m up for the challenge!
All of the tools in my first shipmentJust the tip of the iceberg for my Clecos. LOL
The final shipment of lights and tools are supposed to arrive tomorrow or possibly Friday. I’m excited and I’m almost done reading the book over a few times for the training kit. Once I feel comfortable and have all of the tools setup, I’ll start working on the kit. It doesn’t go into much detail, but I think there is enough there to get the job done with some additional research from other websites and books.
I got the first of three pairs of these lights in the mail today. I bought these from Lowe’s online. The model # is SH450505Q200 and the Lowe’s part number is 2500105. I like these for a couple of reasons.
They are easily daisy chained using a standard outlet plug located on the end of each light
They are LED and still very bright (5000 lumen each)
Did I mention they were decently priced? lol
I thought they were only mountable with the included chains, but it turns out that you can mount these using screws. It’s not super secure, as you can’t tighten the screws once it is installed and it’s more of a slotted hole design to get them on the screws, but it’s secure enough since I shouldn’t be touching them at all (or at least I hope I don’t hit them, LOL)
Included hardware
I went ahead and plugged these lights in to the outlet on my countertop to see what they would look like. I have to say that these are really nice and the photo doesn’t do it justice since it was reducing the exposure of the shot.
5000 Lumen Each!Up close shot of the LEDs
Now, I had to change the setup in the garage just a little because I had a florescent fixture mounted on the ceiling currently. I removed that fixture and changed it to a duplex outlet. Surprisingly, they don’t seem to make much hardware to do this, and even the plate that I found at the local Ace hardware store was too big. I had to drill my own holes to make it fit the 2 3/4″ spacing of the screws. I probably could have search around for the right hardware online, but to be honest, this was just fine for my garage needs.
Ceiling fixture box changed to a duplex outlet
From there I used some wall anchors to place the screws at the right spacing and location for the lights and hung them up. I will say these lights are more directional than I thought they would be. The previous florescent light was open 180 degrees, while this seems to have more of a focus of around 140 degrees or so. It was very bright below the lights, but it does restrict how far the light radiates. I figured it would be like this, so that’s why I ordered three pairs of these lights to spread throughout the garage. All in all, I’m very happy with my 1/3 result so far and can’t wait for the other two pair to show up!
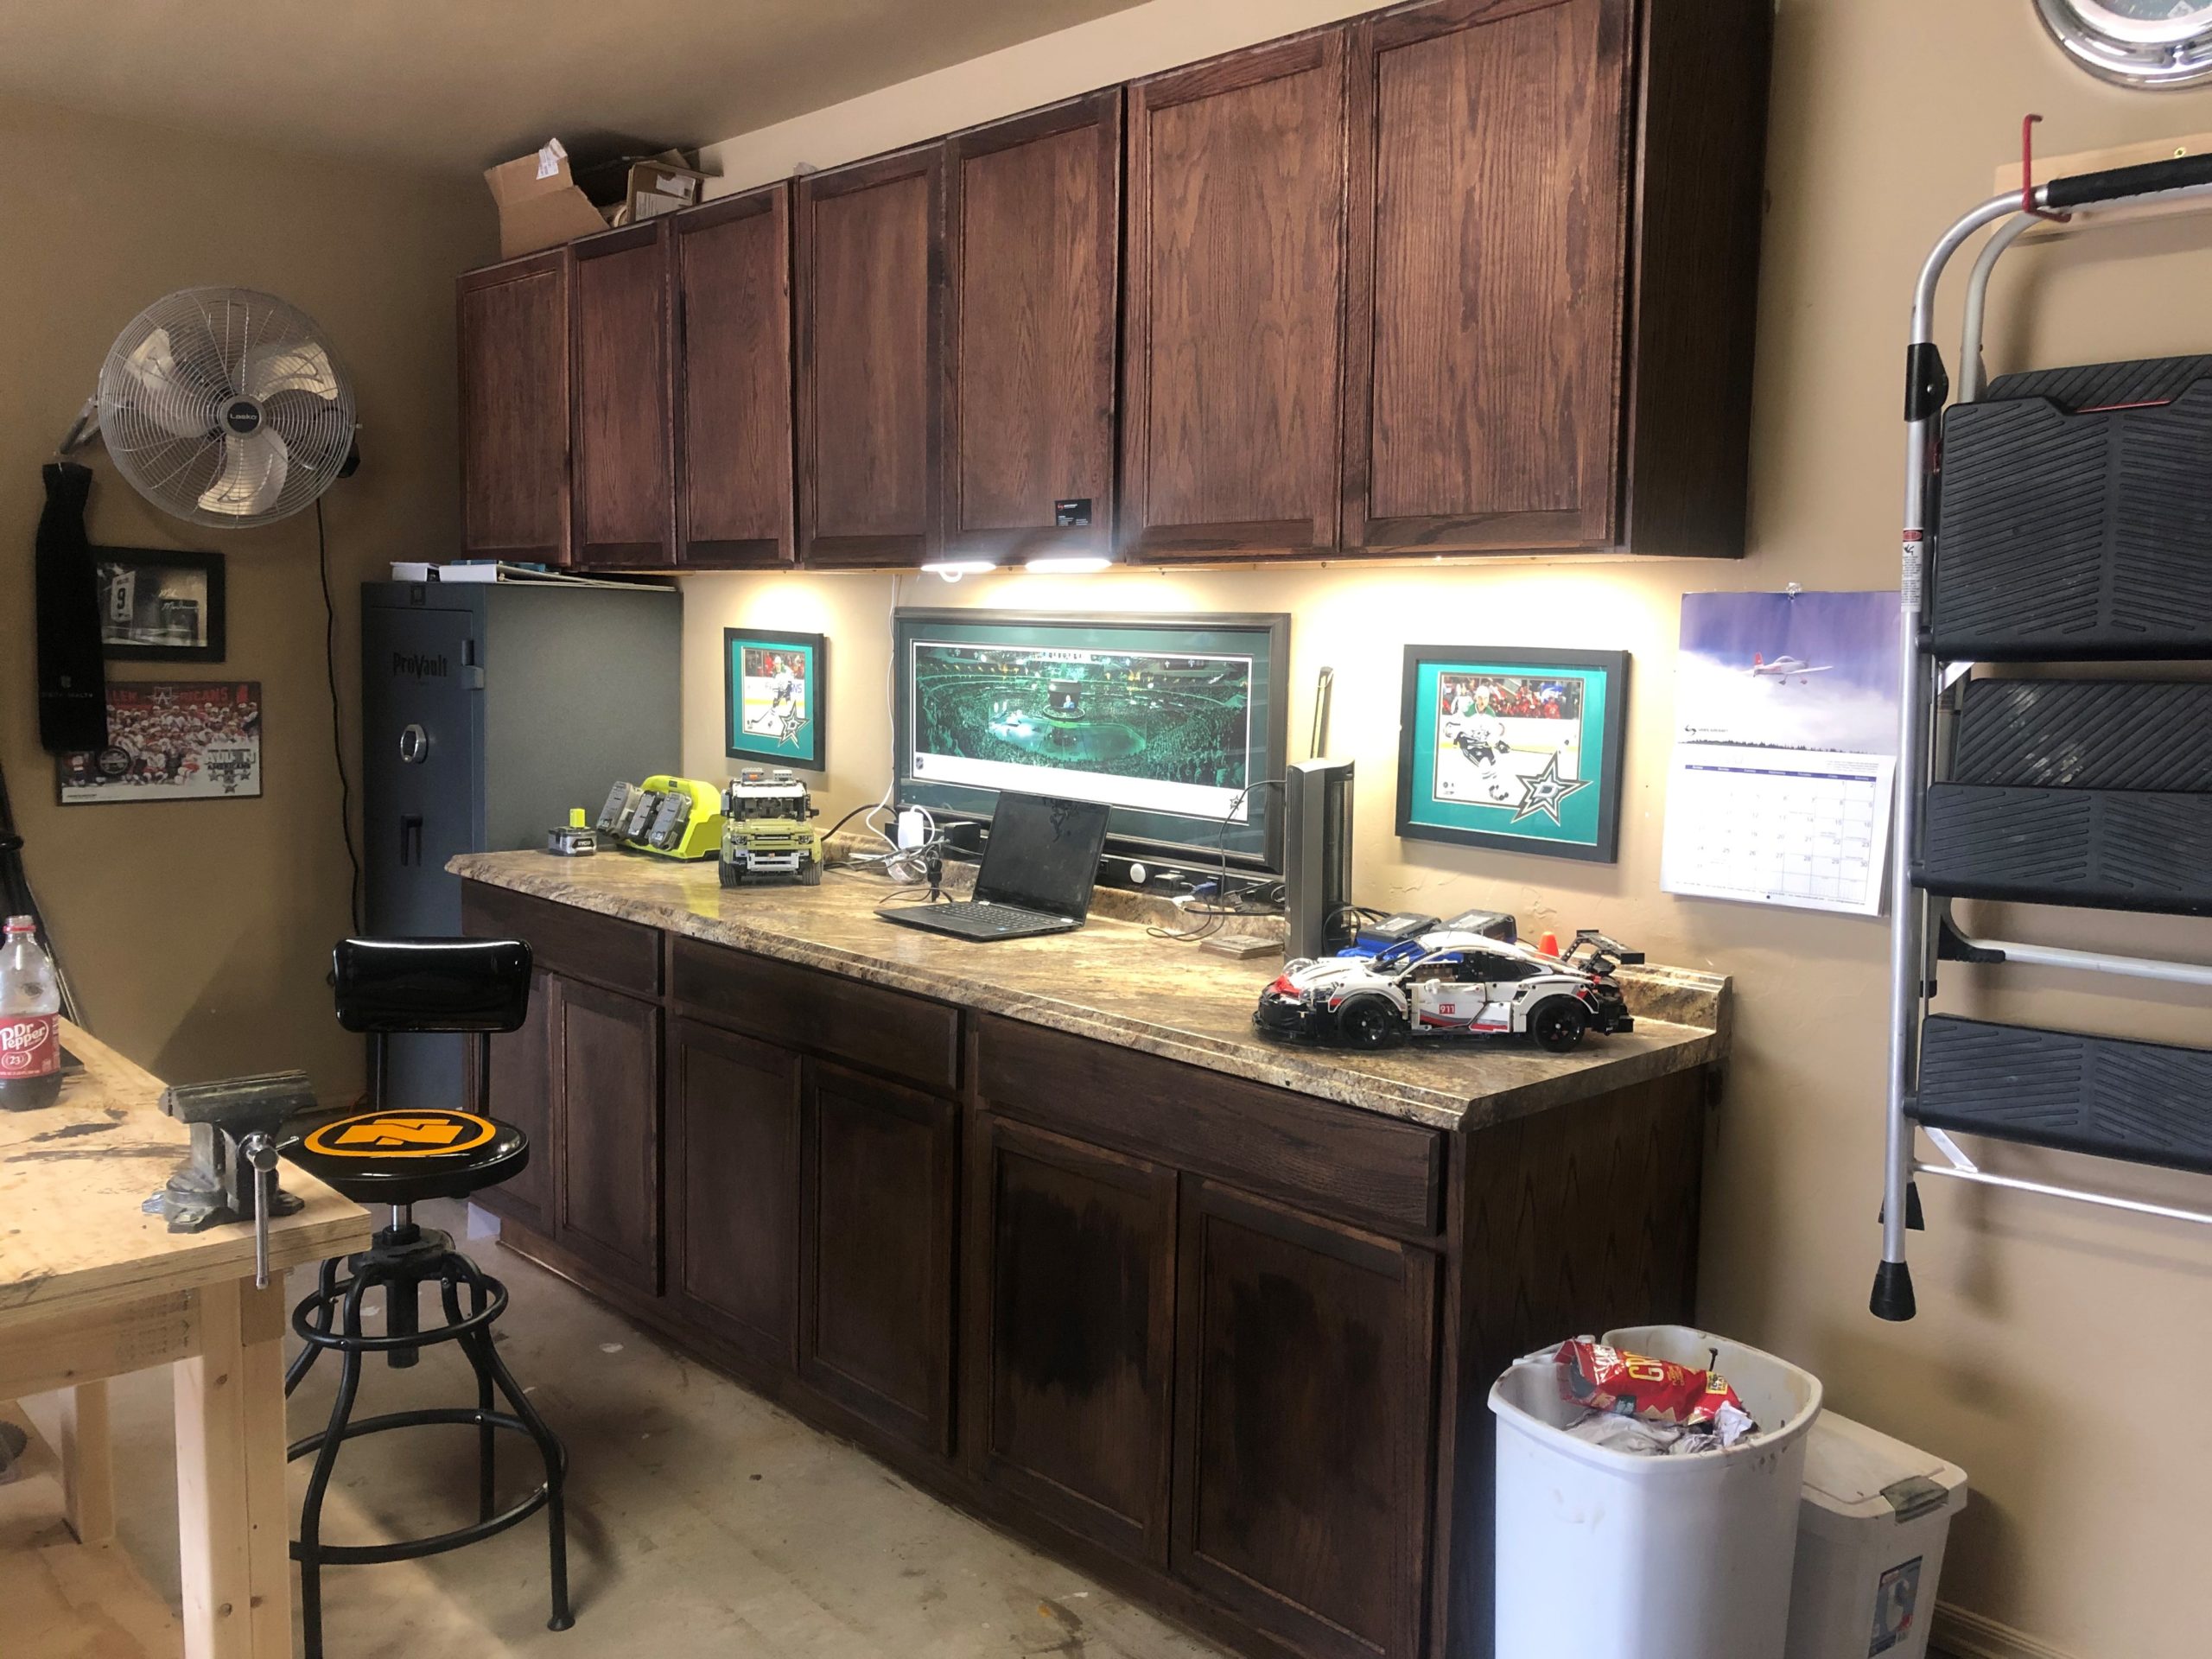
In part of my workspace preparation, I wanted to make sure I had plenty of lighting. I bought these easy install under-cabinet lights from Black+Decker. If you are interested in them, they are the LEDUC9-5CK, and the item number at Lowe’s is 896779. These are meant to be plugged into an outlet, so you need to have one readily available. Luckily, I had just installed a long strip of outlets that I got from Harbor Freight not too long ago.
They are very bright, and with all five together it gives me plenty of light on the counter top. There are varied segments of wire that they provide you in the kit, as well as some connectors that allow you to butt them up one against the other. There are only two of those though, so you can only have three of the segments together as one light. There are three lengths of cables. One was roughly two inches, another that was 6 inches, and the ones I never used were roughly a foot.
After-install picture
The kit comes with these 3M adhesive clips for both the lights and for cable management. They were easy to place and are moldable to wrap around the cables so they don’t fall out. The only tools I needed, was a 1/2″ drill bit and my cordless drill to drill holes through the cabinet sides for the cables to go through. You don’t have to do this, but I wanted to keep the cables as hidden as possible.
These are adjustable lights, so if you want to change the brightness you just hold down the button on any one of the lights and it will cycle through the brightness for you. Once you find the brightness you want, you just let go of the button. The central power hub also has a motion sensor for turning the lights on and off. I would place this close to your exit path, as I didn’t do this and now I have to walk a little further to get the lights turned off. Not a big deal at all, but just something I didn’t think about and now I wish I could change it. I could, but I don’t want to remove the 3M adhesive from that hub and replace it.