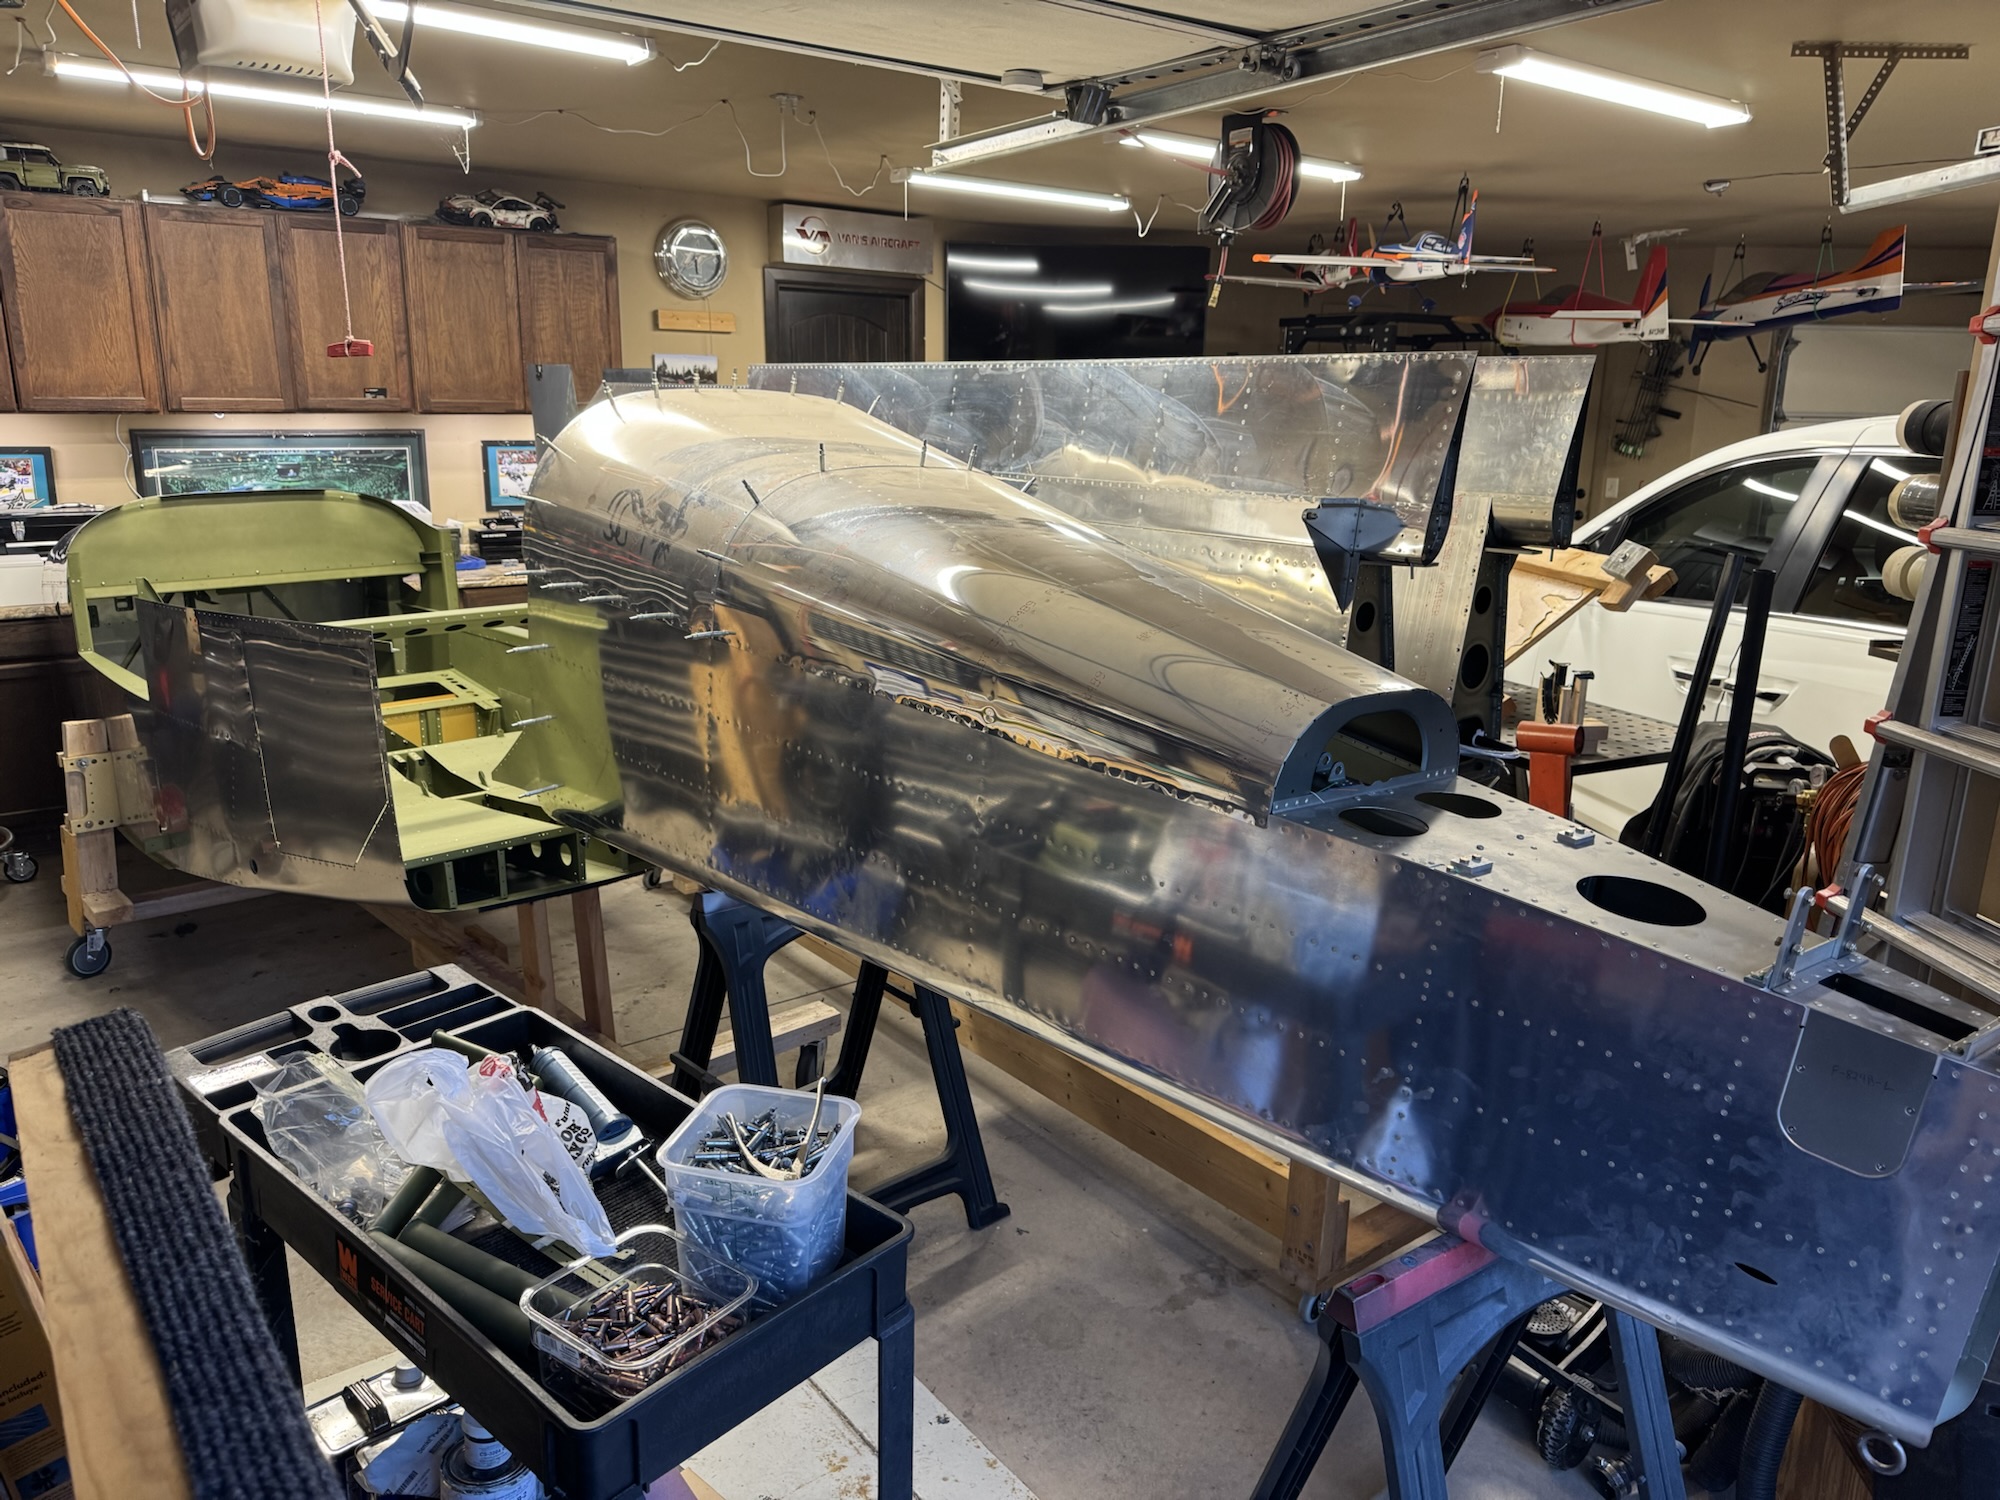
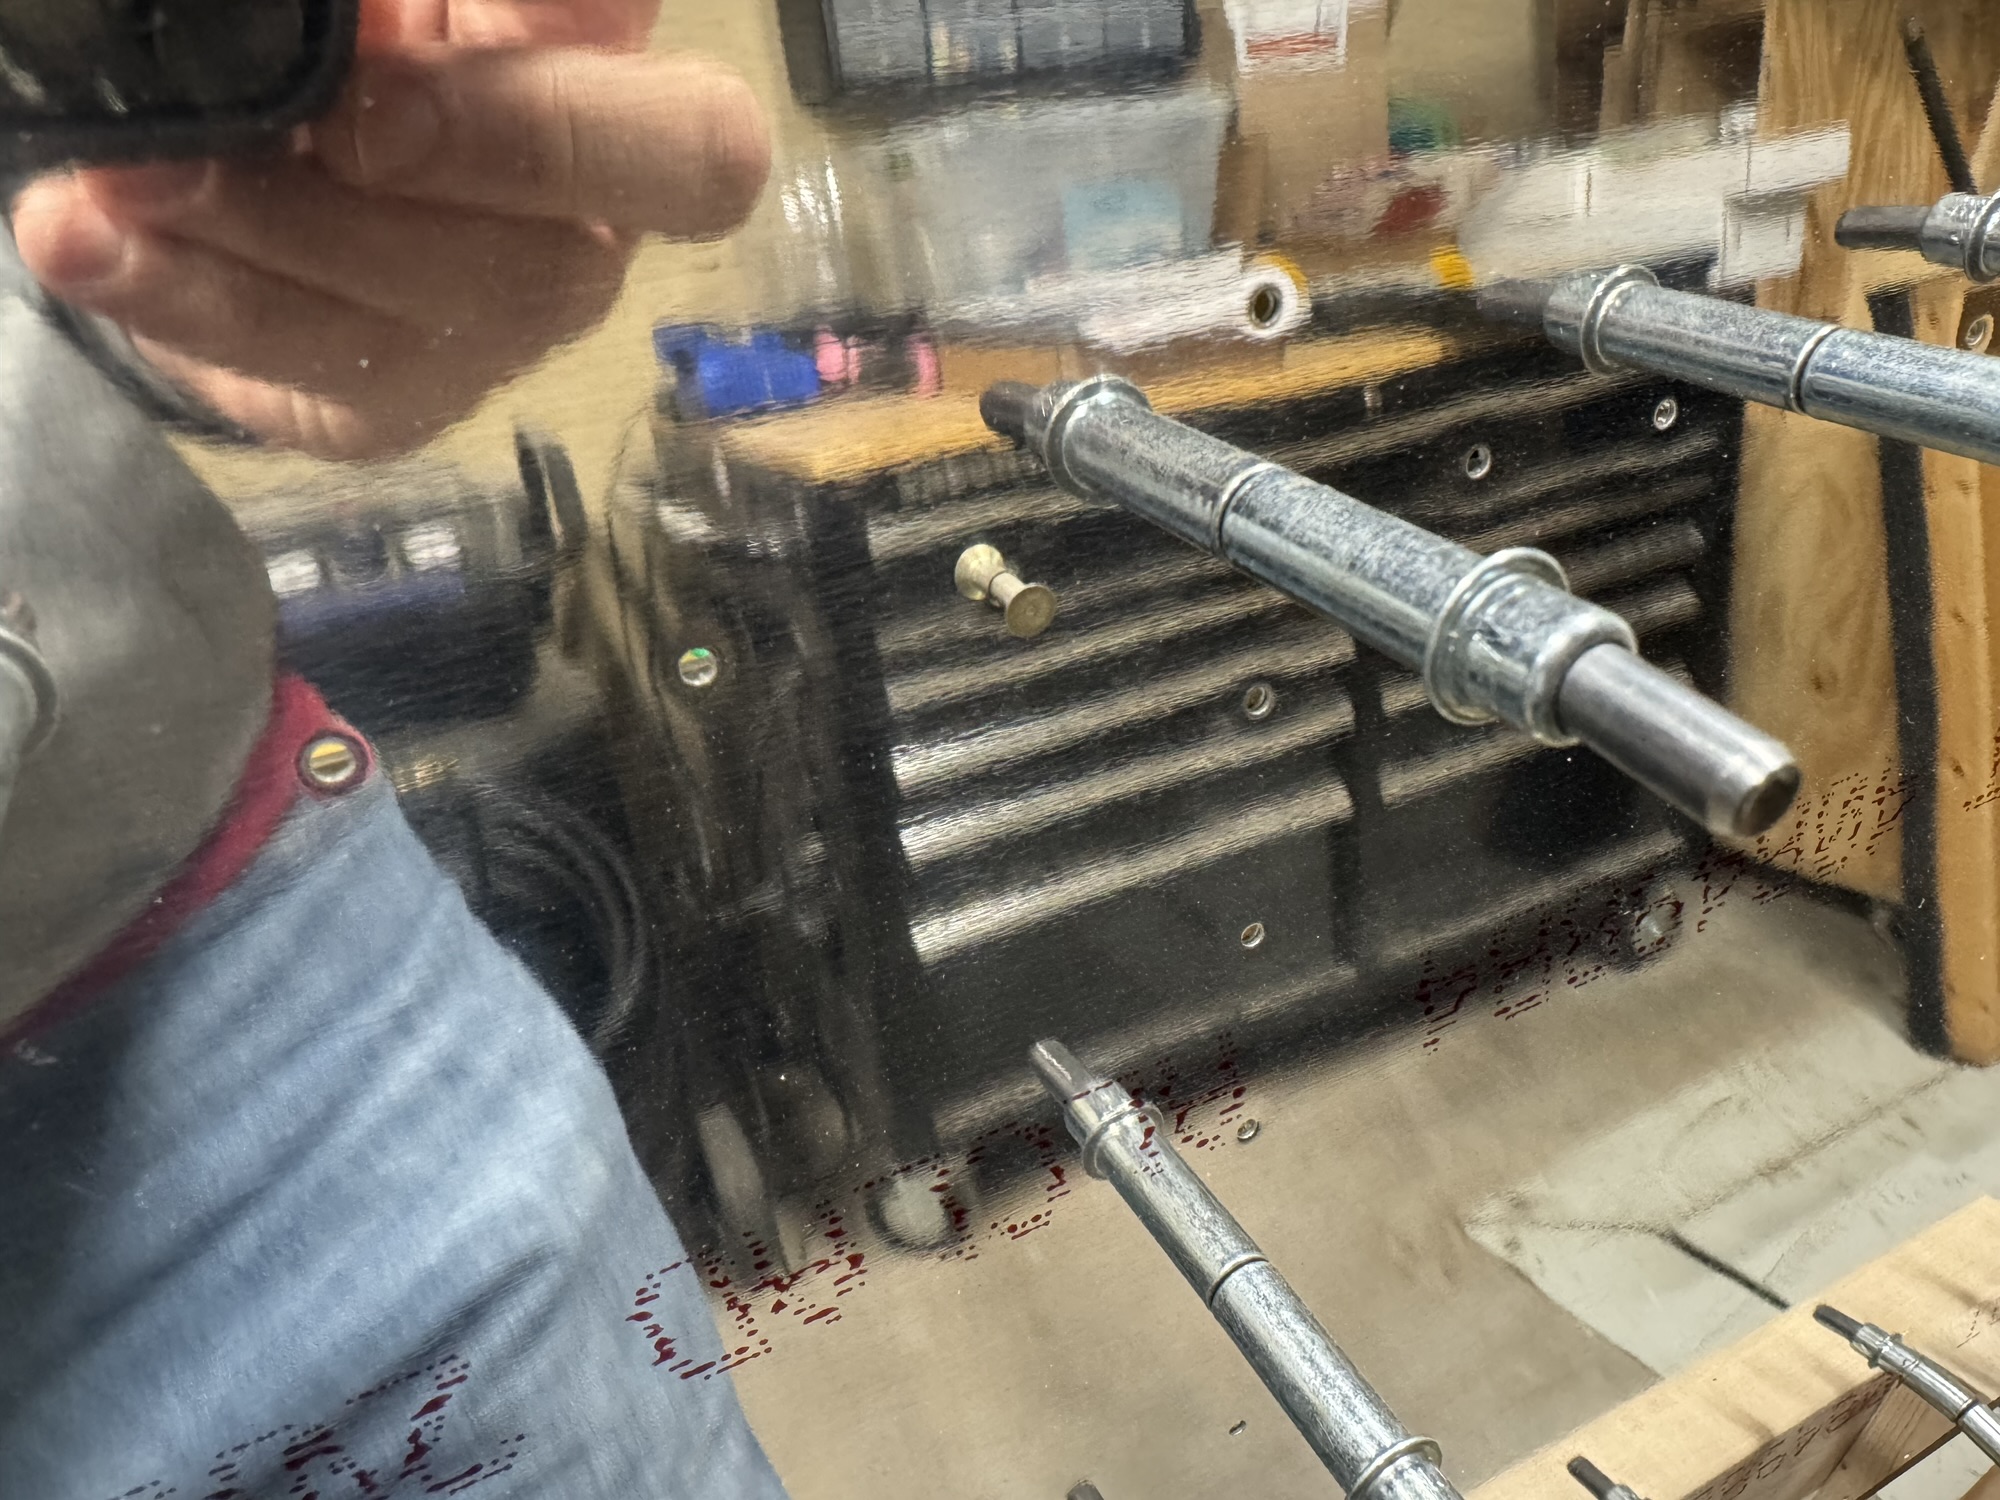
I spent quite a bit of time in Visio working on the block diagram. I know the components I want/need in the plane so now I just need to document how they will connect to each other as well as the redundant paths in case one of the methods goes awry. When Brendon got home from school I got him and Andrew to help me out in moving the fuselage to the cradle. It worked pretty well and it is surprisingly stable which makes sense with the main portion going through the spar of the plane. It is VERY tight in the garage right now so I will definitely need to take the wings to storage as soon as possible. I just need to find a safe way to do it. I will probably have to move them one at a time as I don’t think they will both fit in the trailer at the same time without overlapping and creating an opportunity for scratching. Either way, here’s pictures from the work today. Note: The block diagram is not 100% finished yet. I still have a bunch of documentation to validate what is needed, etc.
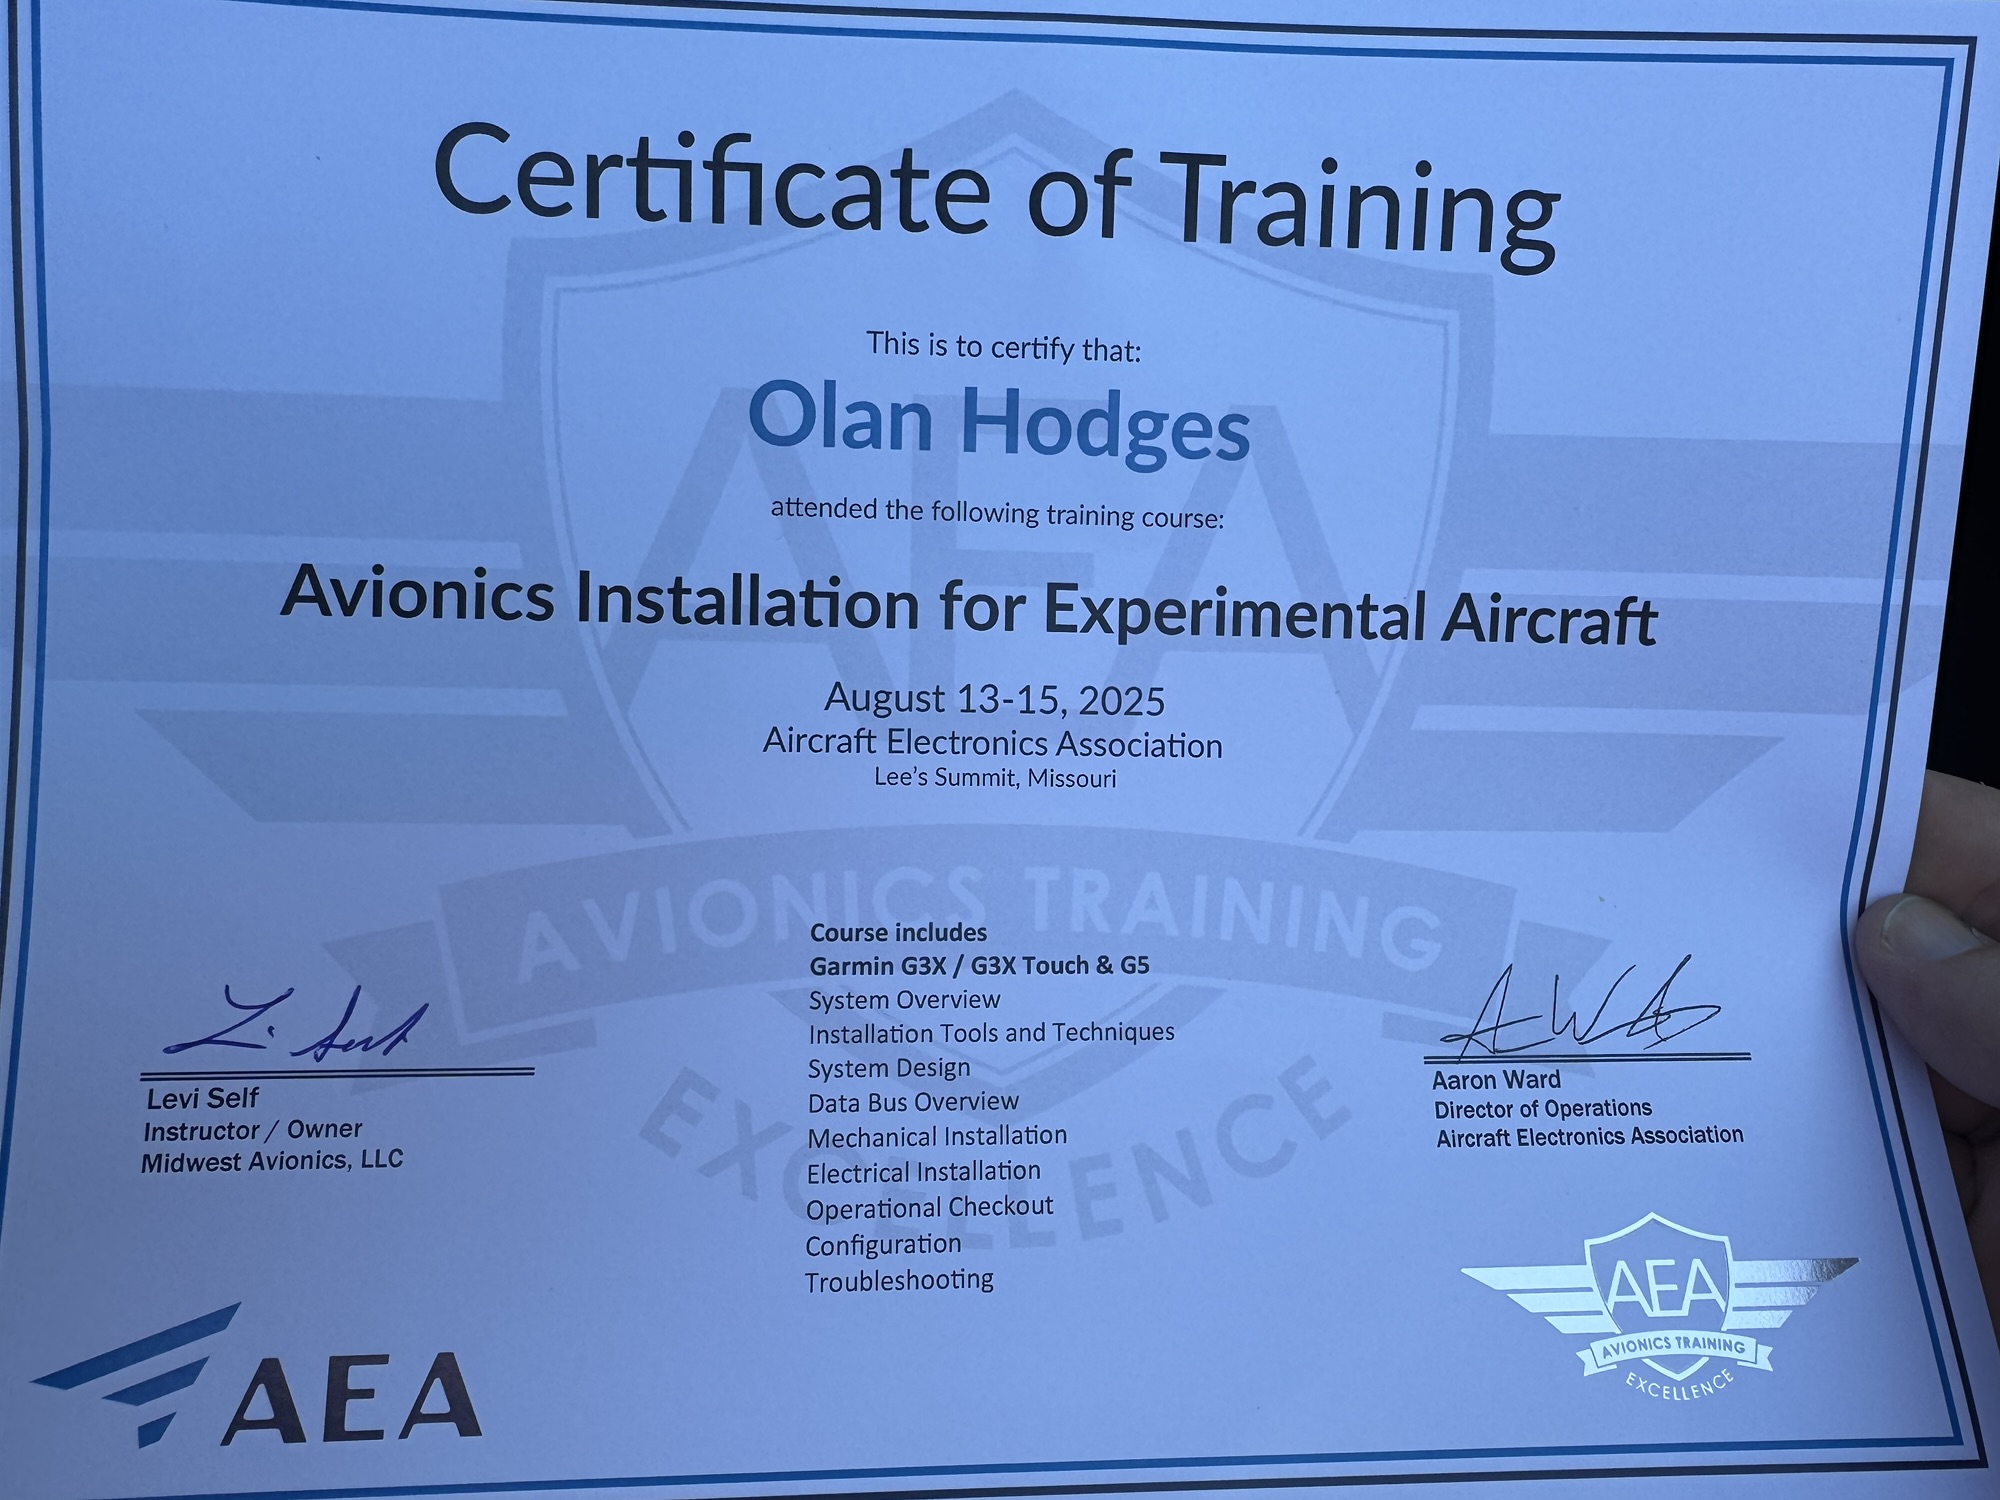
I graduated! LOL My harness worked first try which was a sigh of relief. This course definitely gave me a TON of confidence on completing the avionics installation on my plane. I now know which components I need for my installation, how to get them wired up, and what wiring needs I will have. I need to start by getting into Visio and building my block diagram, wiring diagram, and then (when I get more information on cable lengths I will need) my harness layout diagram. I got home tonight and I had a few tools and parts waiting on me. I got my nutplate jigs and I got the screws for the rear lights for my AeroLED VXi wingtips so I got those secured in place. I need to go ahead and get the harness completed for that now that I feel confident in doing that. I also need to get wiring harnesses in my wing roots so that I can connect up those components to the fuselage when I get the wings mounted. All in good time!
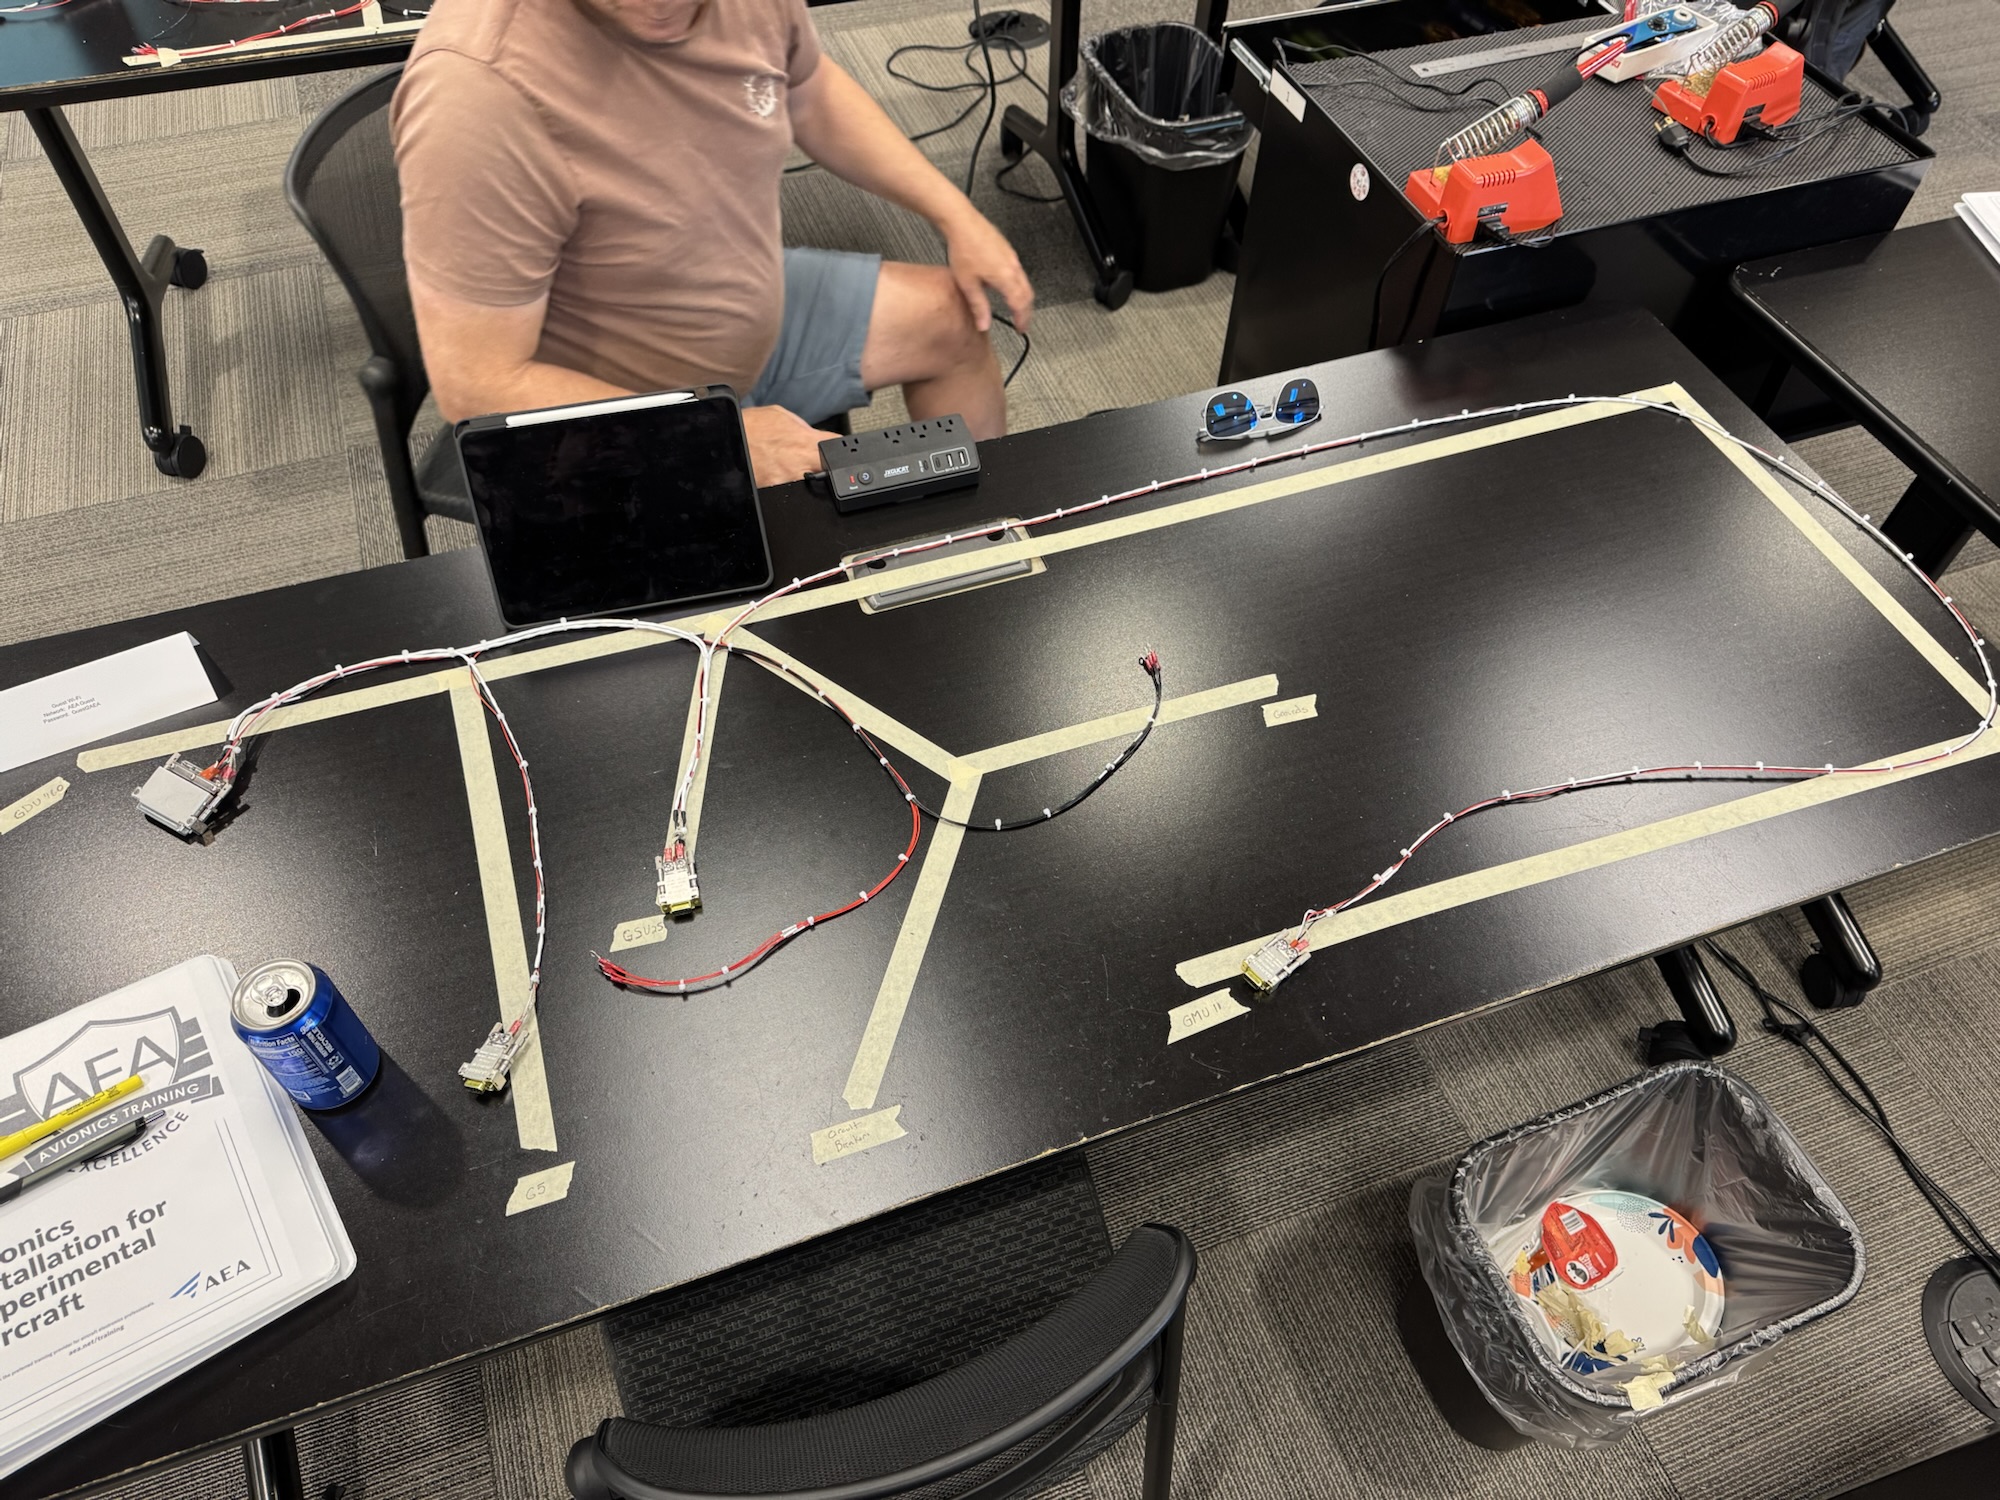
The second day was excellent. We learned practices for system design starting with our mission, equipment that will support the mission, how we should design and place it within the cockpit, etc. We also went over the different communication methods like RS232, ARINC, and CANBUS. CANBUS is primarily what the G3X system will use so it was good to learn some of the basics of that. We then learned how to wire the CANBUS together with window splicing. I finished the harness today but I wasn’t super happy with my connection to the GDU and the GMU. I didn’t terminate them all to the same length and it caused pillowing in the harness. Luckily I got it some what ironed out on the connection to the G5 and the GSU so those looked much better. All in all I was happy with the class. Tomorrow should be fairly short and then I can drive back. I am guessing the Garmin rep will show up tomorrow as he was supposed to show up today and didn’t.
The first day of class went fairly well. Levi Self from Midwest Avionics was the instructor for the class and he did an excellent job of answering our questions and the content was well organized. We covered the regulations for an avionics installation (what you want to include, how it should be done, etc) and they briefly covered the major brands of avionics. We then hit the topic I was the most interested in which was the tools we would need, and how to use each of them. Some of the pictures below include the toolbox contents, and some of the examples of the terminations I did. I ordered a few tools and some parts to label my cables that I’ve already run in the wing. The only one I didn’t buy yet was the DMC AFM8. I have the generic tool already for this but since this tool is just over $1000 with all of the dies you need I think I’m going to research this first before I buy it. Luckily I have quite a bit of time before I need it anyways.
We ended the day by laying out the wires we would need for starting our harness we are building for the test stand. I’m excited for tomorrow where we start going into systems design, planning, documentation, etc. I need to start working on that as I research through the Garmin G3X manual on the pinouts, interconnections, etc. so I can then determine locations of devices, length of wire runs, etc. Just so much planning that I need to work through. Luckily they use Visio too so I’ve already got a leg up there on documenting my system design since I know Visio.
I haven’t gotten out to the garage yet today, but I will when I get home from work. That said I did go look at the left tank and the balloon was still inflated by it was 1/2″ shorter. That could be from cooling of the air so I’ll see when I get home after it has been hot in the garage all day if it goes back to being 10 1/2″ but this is VERY promising on the tank I thought was good. I did not yet pressurize the other tank as I want to give it a full 24 hours to cure before I put pressure it in and see if that leak is sealed up.
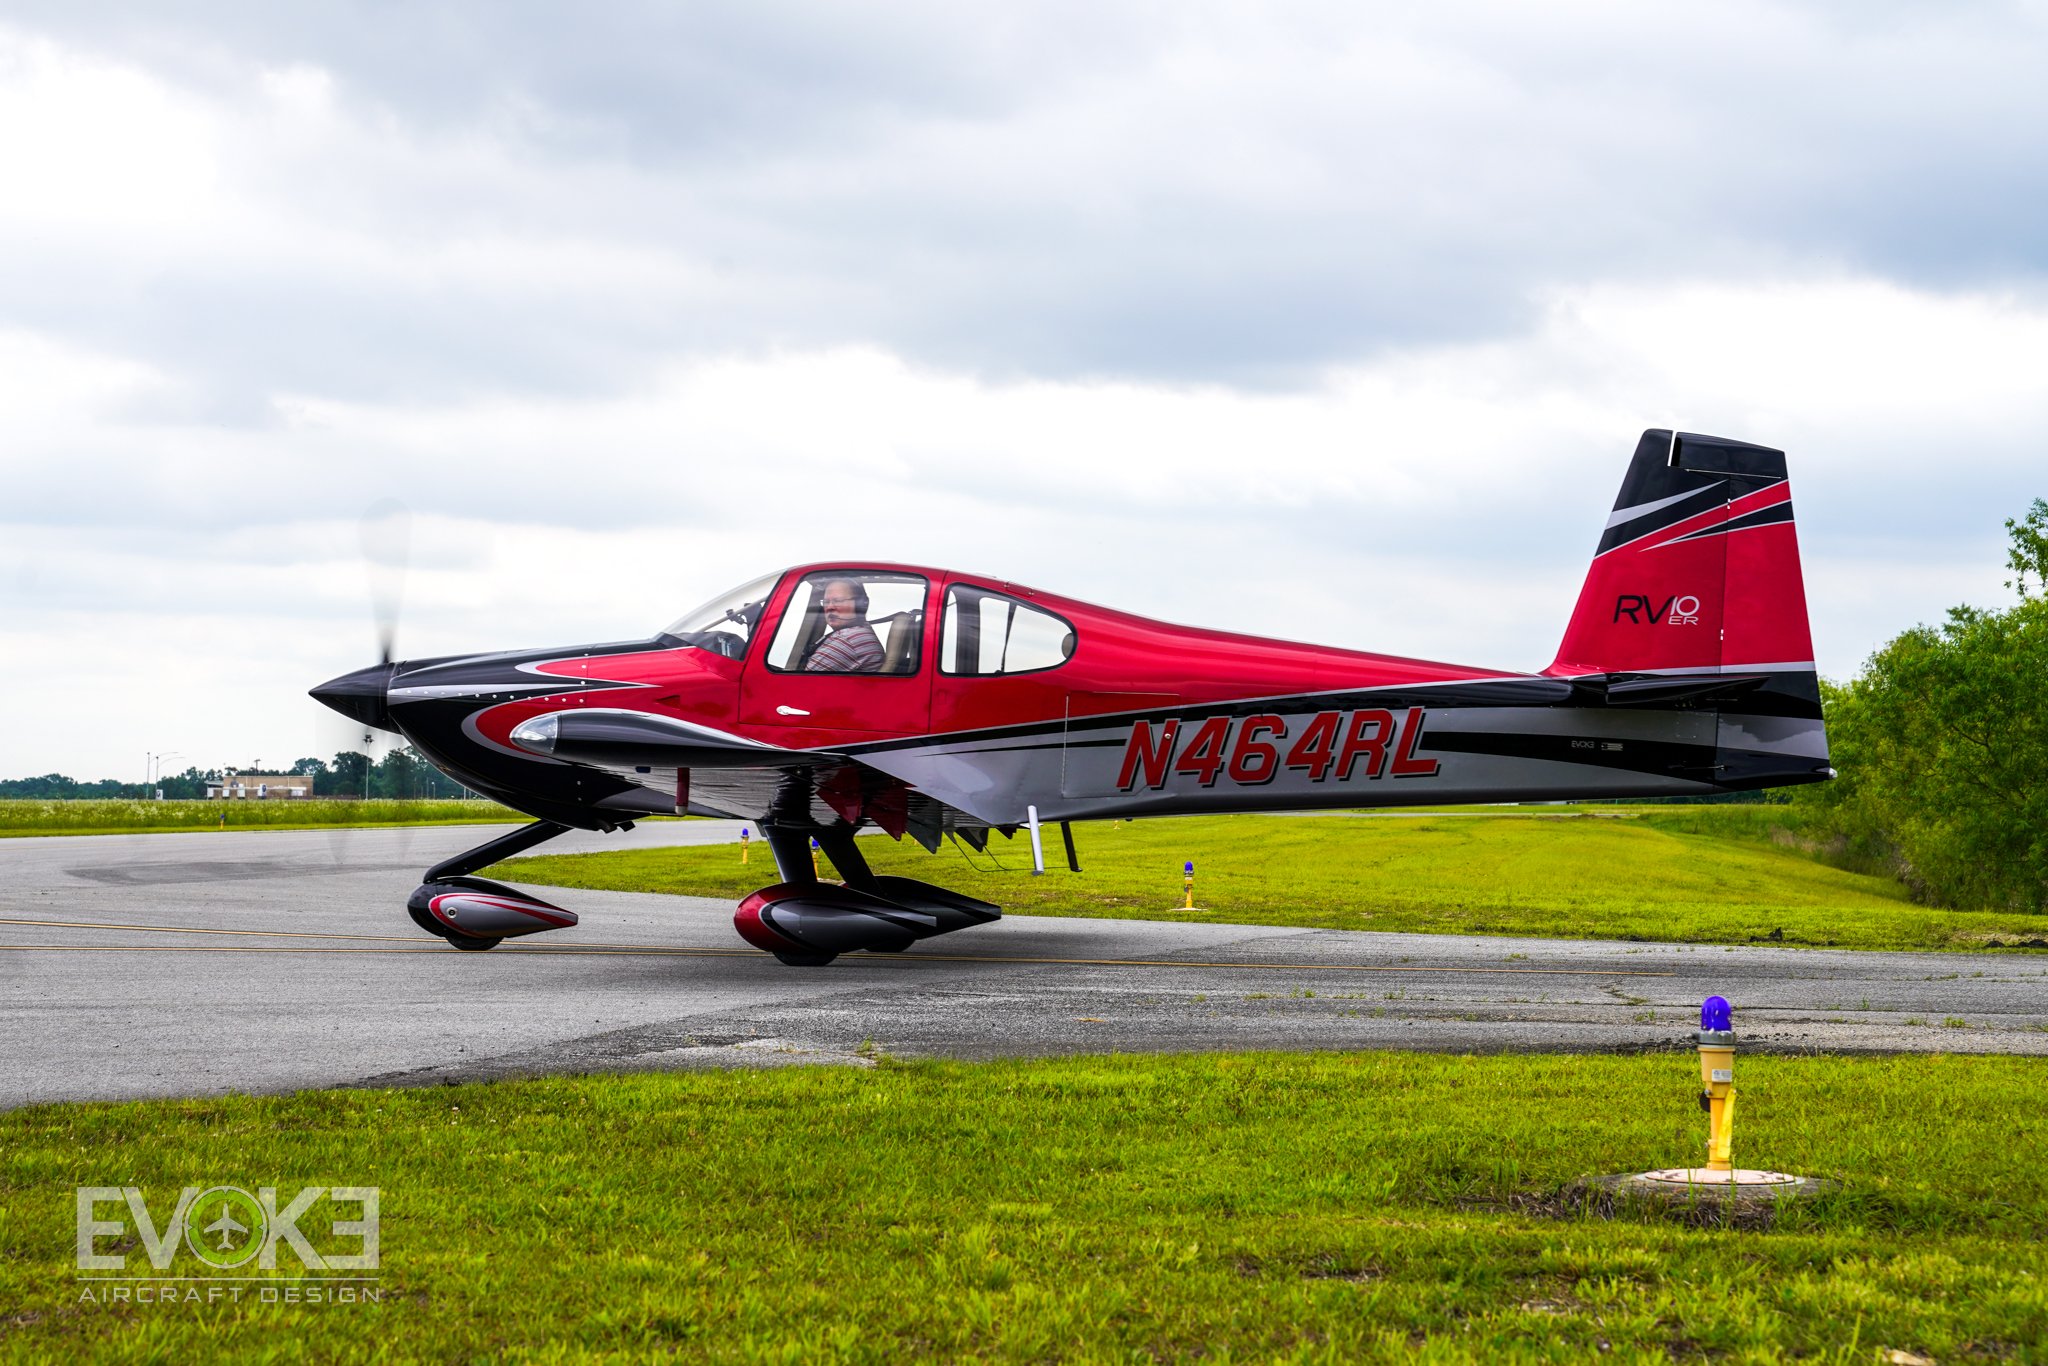
That aside, I wanted to put this paint job up from Van’s Aircraft’s RV-10 so I could remember it when talking with Evoke. This design is enough of the “old school” and the new school edges that I want something similar but color wise I’m not yet 100% sure. I want something patriotic in color scheme as I love the red, white, and blue scheme. Either way, these were great ideas to get my design started.
There was also this one that I saw on Evoke’s website that has some of the flowy old school styling to it, but I also like it.
Also, this is what I am going to do for AC while we are on the ground. I don’t want to add the permanent weight of an AC unit and I think this will be just fine for while we are on the ground. It is from Aircraft Climate and it is a bit on the expensive side at $1500 so I might have to figure out a way to do this myself. You still have to add the remote to it as well which is another $100.
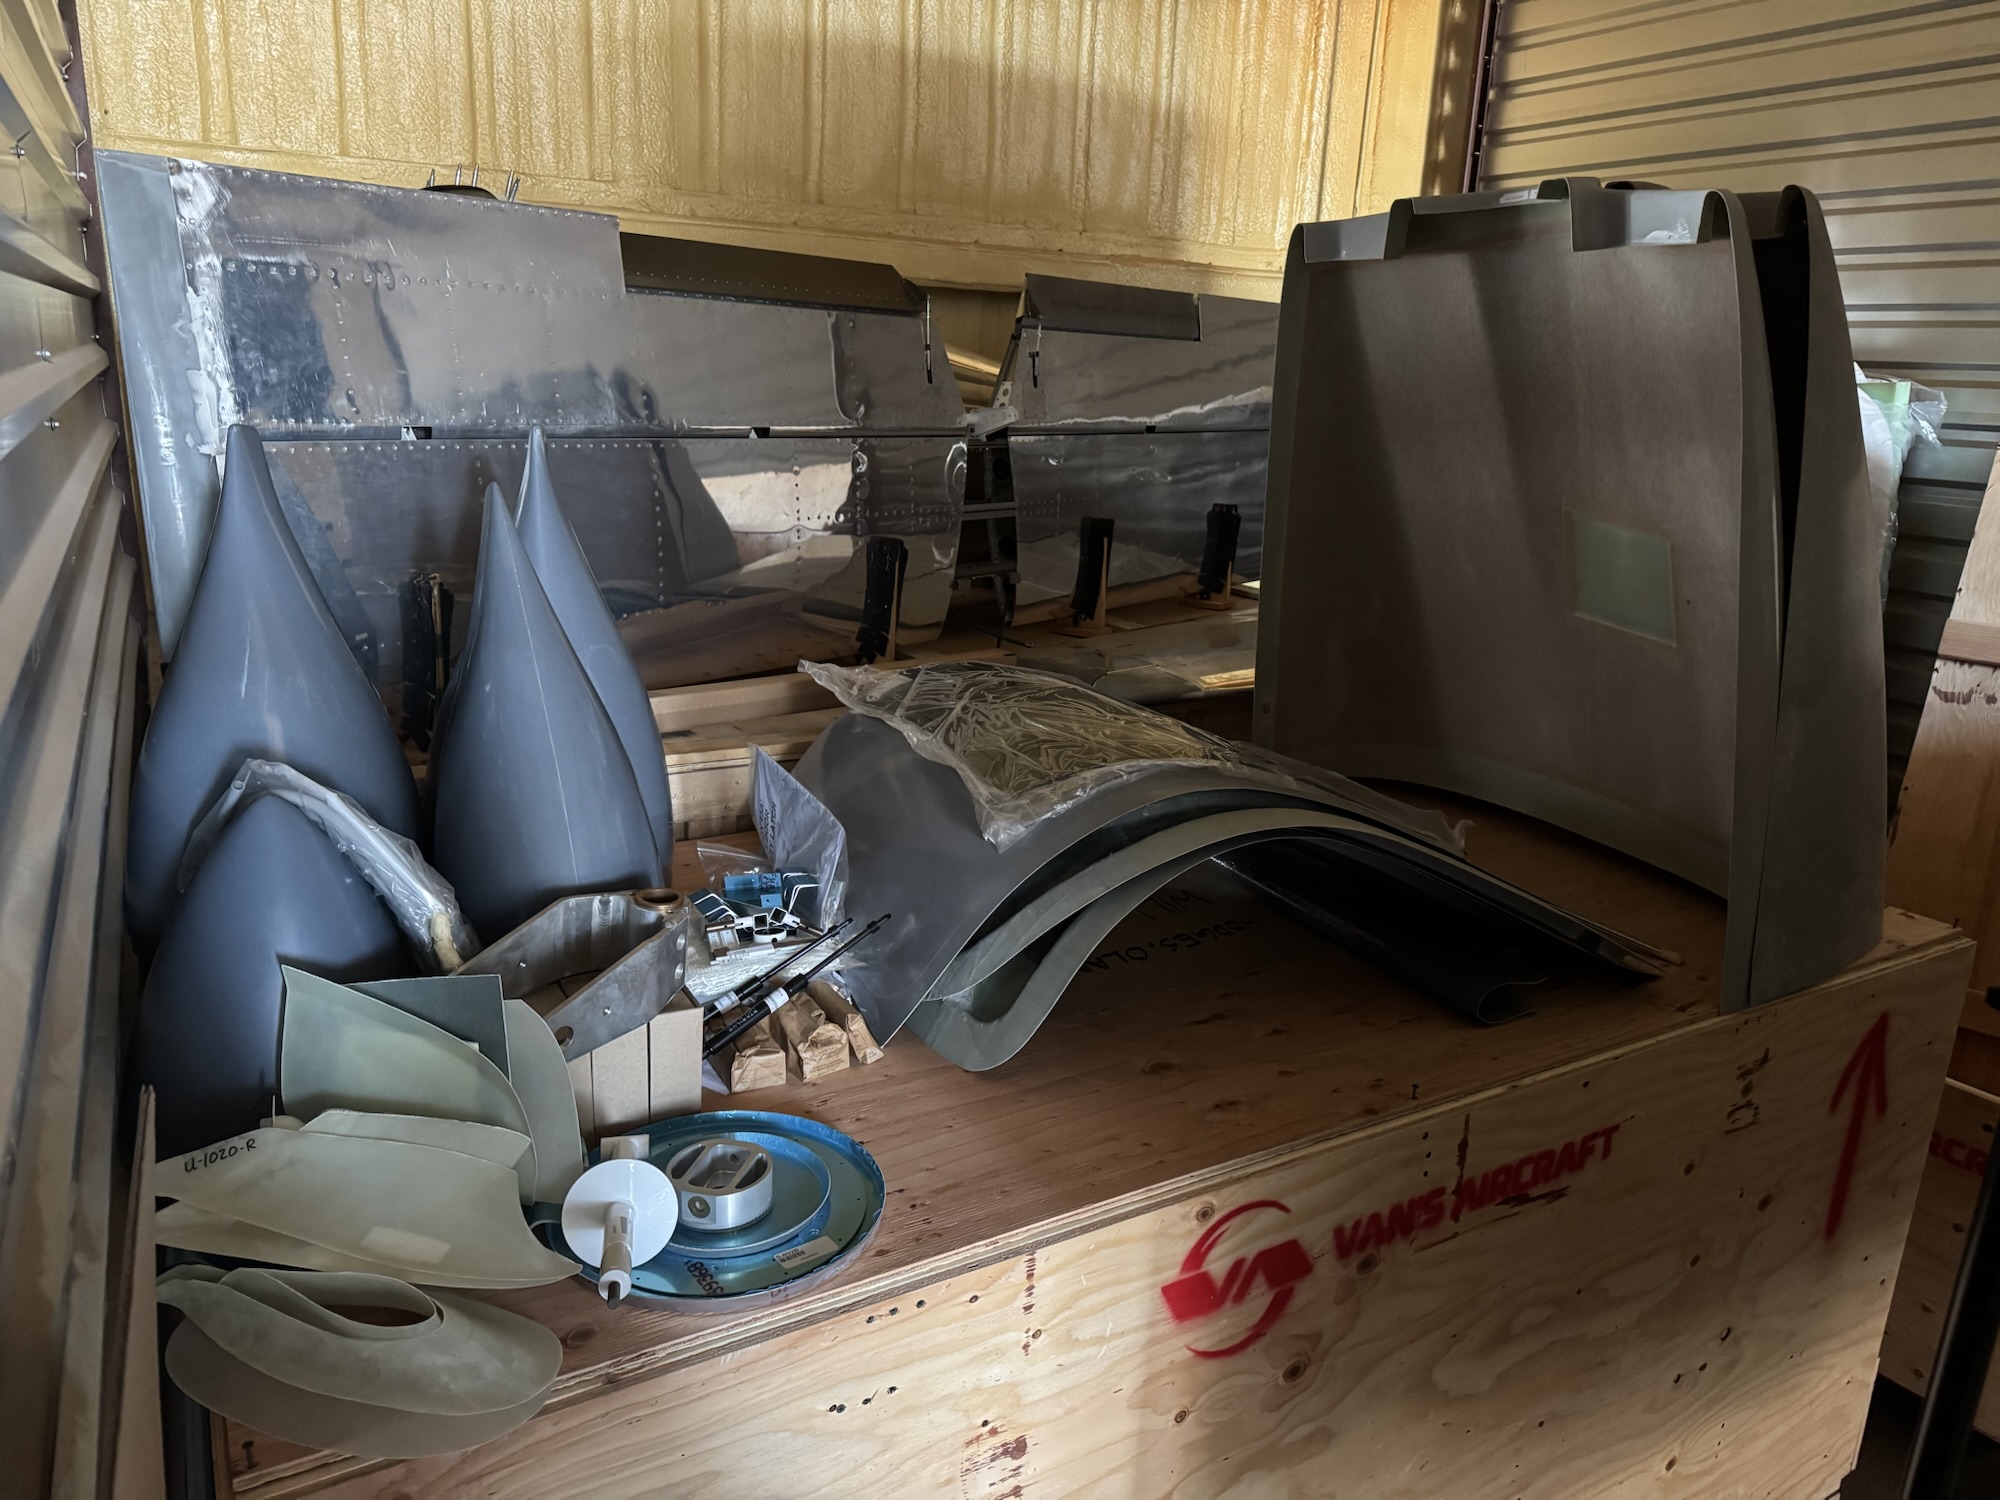
I took a few hours after work last night and went to the storage unit to inventory the kit. I did short cut the process some for some of the hardware bags by just looking to see that I had relatively the count the had on the list and then checked it off. For hardware, I can replace that myself if I find I’m short. But I made sure the actual parts of the plane were there that I needed and luckily all was accounted for! The only thing I had missing which they stated was on backorder was the seat frame kits. No clue when those will be in but luckily I’m not in a huge rush for those just yet. I hope to get the QB fuse stuff inventoried after I clear out the trash and crate from the finishing kit from the storage unit to make room.
I spent just a small amount of time making sure that the holes for the skins and the ribs were already final sized. I picked a few random holes and they all were exactly the size they need to be. I spent alot of my time over the past few days reorganizing, getting some tools that will help alleviate some issues and doing some research.
First, my plans binder is getting too full. I ordered a larger one and got it split out with tabs now and with some plastic sleeves for putting pages in from service bulletins, purchased item manuals and installation instructions, etc. I’m just waiting on the bigger binder now to come in and I’ll transfer all of that work into the new binder.
Second, I ordered a few additional rivet sets that I found were going to be helpful in elevating my build quality. First was the Boeing rivet set. It is a truly flush rivet set with a polyurethane rim. My previous flush rivet set that I’d used the most had a thick rubber cup around the outside of it that solved my first flush rivet sets issue of moving around on me, but it added a new one where I couldn’t see in to make sure I was directly on the rivet and not setting a rivet slightly high in the hole. This one has the transparent polyurethane rim that will let me see through to make sure I’m on. Also, it truly looks like it is flatter than the previous two sets I had. They were just so curved that it was difficult to stay directly flat on the rivet without constant monitoring. I guess I just need to bring my boys out more often to help me rivet LOL.
Third, I ordered some 7.5″ and 10″ AN470 rivet sets. The offset rivet set is just not functional and I feel like I’m losing power to set the rivets. It took me about 20 seconds of riveting to set the rivets this last time, but without changing any air settings I could set a rivet in 2 seconds with the straight set. So hopefully this will decrease the wear on my body while trying to set rivets in those harder to reach places. I also read from a forum that if you use some tape on the offset rivet set then that is also helpful. Fingers crossed this works.
And fourth, and the most expensive of all was that I bought a 3D printer. I bought a Bambu X1C which will be coming in February. I’ve seen from Allan Glen’s build logs that he has printed many parts, jigs, and tools that help him be accurate with his build and make things function properly and look cleaner. I’ve already used some of his prints but I was having a friend print them. I didn’t want to bother him too much so I decided to get my own. This way I can print tools or jigs and if they are slightly off and need reprinting I don’t have to bug anyone and I can have it redone in a short amount of time. I picked the X1C because it was reviewed to be easy to use with little tweaking and it could also print in polycarbonate, fiberglass reinforced, as well as carbon reinforced materials. Fingers crossed this will not be a waste of money, but my friends at work and at church have all said that they’ve been printing so many things to fix things in their life or to make a solution that doesn’t exist. I also have my son, Andrew, who has been taking a CAD class in high school for the past year and a half so he should be able to show me the ropes in the CAD software.
I also found through Allan’s page that there is an avionics wiring class from the Aircraft Electronics Association called “Avionics Installation for Experimental Aircraft” that they host in Kansas City that is basically a three day course on how to plan, design, and implement your avionics solution. I really want to take that course and since it is fairly close to home, we might just take a small family vacation up there this summer so I can take the class and the kids can go around and have fun.
And finally, one thing I don’t want to forget is Allan mentioned using this 3M Scotch-Weld DP2216 Epoxy Adhesive for things around the airplane where you don’t want to use the ProSeal. I’ll have to see where I might use it instead but I at least want to document it in a post so I can reference it again in the future.
I was looking at some of the Evoke scheme designs that they have publicly available after seeing their design work on the Van’s Aircraft RV-10 that was on display at Oshkosh this year. I really like this design though it is a bit darker than I would want. Maybe some white instead of the grey? Or something, I’m not sure what. I need to get with Evoke or Scheme Designer’s and get my design completed already.
It has been too long since I’ve been able to work on the airplane. Kids’ activities (and the volunteer work to go with it), church service, my school work (I’m now working on my MBA through WGU), and trying to spend more time with the kids has taken alot of it from me. I hope to try to swing more time with my kids while building the plane as they showed interest in continuing to build with me while we were at AirVenture this past week.
AirVenture was a blast as always! We plan to return in 2026 and make our avionics purchases then. We are going to purchase the quick-build fuselage next year along with the finishing kit and firewall-forward kit. So hopefully we can pick it all up at the same time around the same time as AirVenture 2026. We plan to drive to Oregon to pick it up as it will be an opportunity to see their facilities and plus it will be saving quite a bit of money in freight costs and it’ll be a good time for my wife and I to spend time together in the car.
My wife and I visited the new display plane that Van’s had for the RV-10 model. It was very well done and I even got a chance to sit in it. It reminded me of what we are shooting for and is giving me more desire to want to finish the plane!
While as AirVenture I did two fiberglass classes. One was the short snippet of the fiberglass for RV’s class put on by the EAA. It had some great tips for how to cut the fiberglass, how to work epoxy into it, shape it around difficult shapes, etc. I then took the fiberglass 101 class, which had a hands on practical at the end. It was great to get some very basic experience and it gave me the courage to finally start tackling my own fiberglass work at home. I had also taken their fiberglass 101 class online back in January and I ordered the practice kit, but that did not arrive until early July because it was on backorder so I just decided to wait until I could take the class at AirVenture to have someone there with me. I want to do the practice kit at home now to solidify more of what I learned.
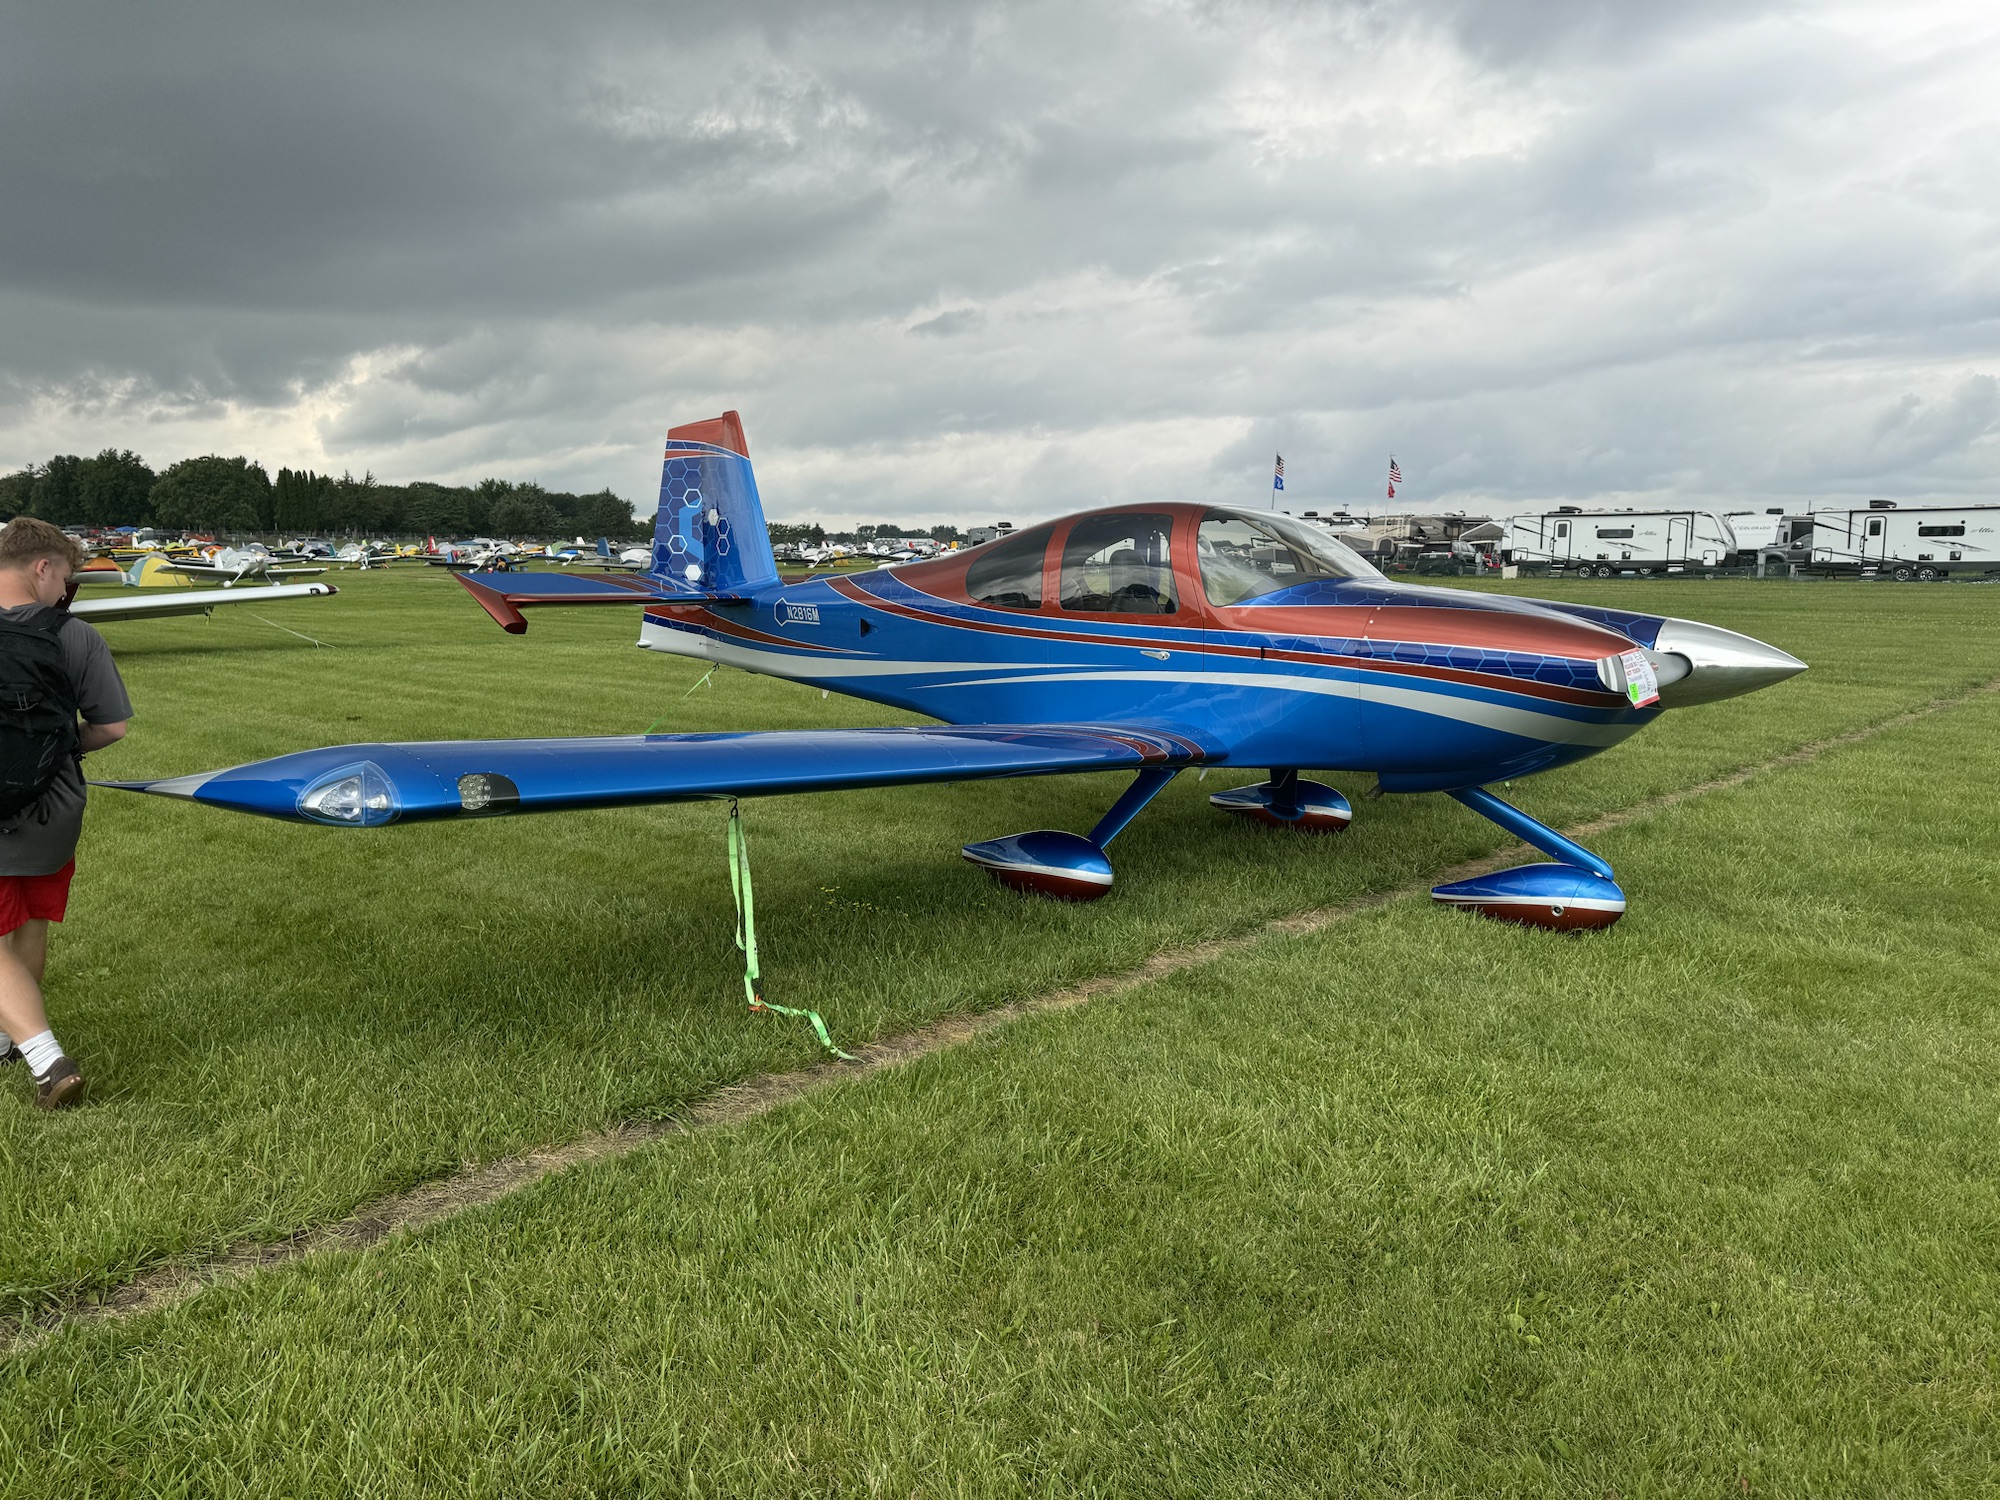
The one RV-10 that stood out amongst all of them (of which there were many super great builds) was this one – N2816M. I’m not a fan of the paint job personally, but the level of detail on this plane and how well things were done was superb! I didn’t take a picture of this but he put a wedge on the left side of the rudder to tune the yaw in the plane. It was very nicely done and almost invisible to see. Better than having to put a trim servo in or some other mechanism. He also had fiberglassed all of the open control surfaces so it looks very smooth and didn’t have the open weight reduction holes.
I started working on shaping the foam block to back the rear portion of the horizontal stabilizer tip fairing. It took a long time just to get where I am now but I’m still not satisfied with it. It is close but it is still protruding too much on the edge. I hope to get that shaped appropriately tonight when I have some time after church.
I saw an interesting way to layout the overhead panel. First I saw that this builder had put almost all of his fuses/circuit breakers up there. I kind of like this as it cleans up the panel where you are most of the time and makes it easier for me to reach them as most planes I’ve flown have had them down below the passenger side, or along the right side of the passenger side. I’ve even had some that were on the floor panels which made it a pain to read which one was which. I also noticed that his reading lights had different color modes! I thought that was awesome so that I could turn on the red, blue or green depending on which one I wanted or just use regular white light. Very cool setup!