Category: Research

  • Airventure 2022

    Airventure 2022

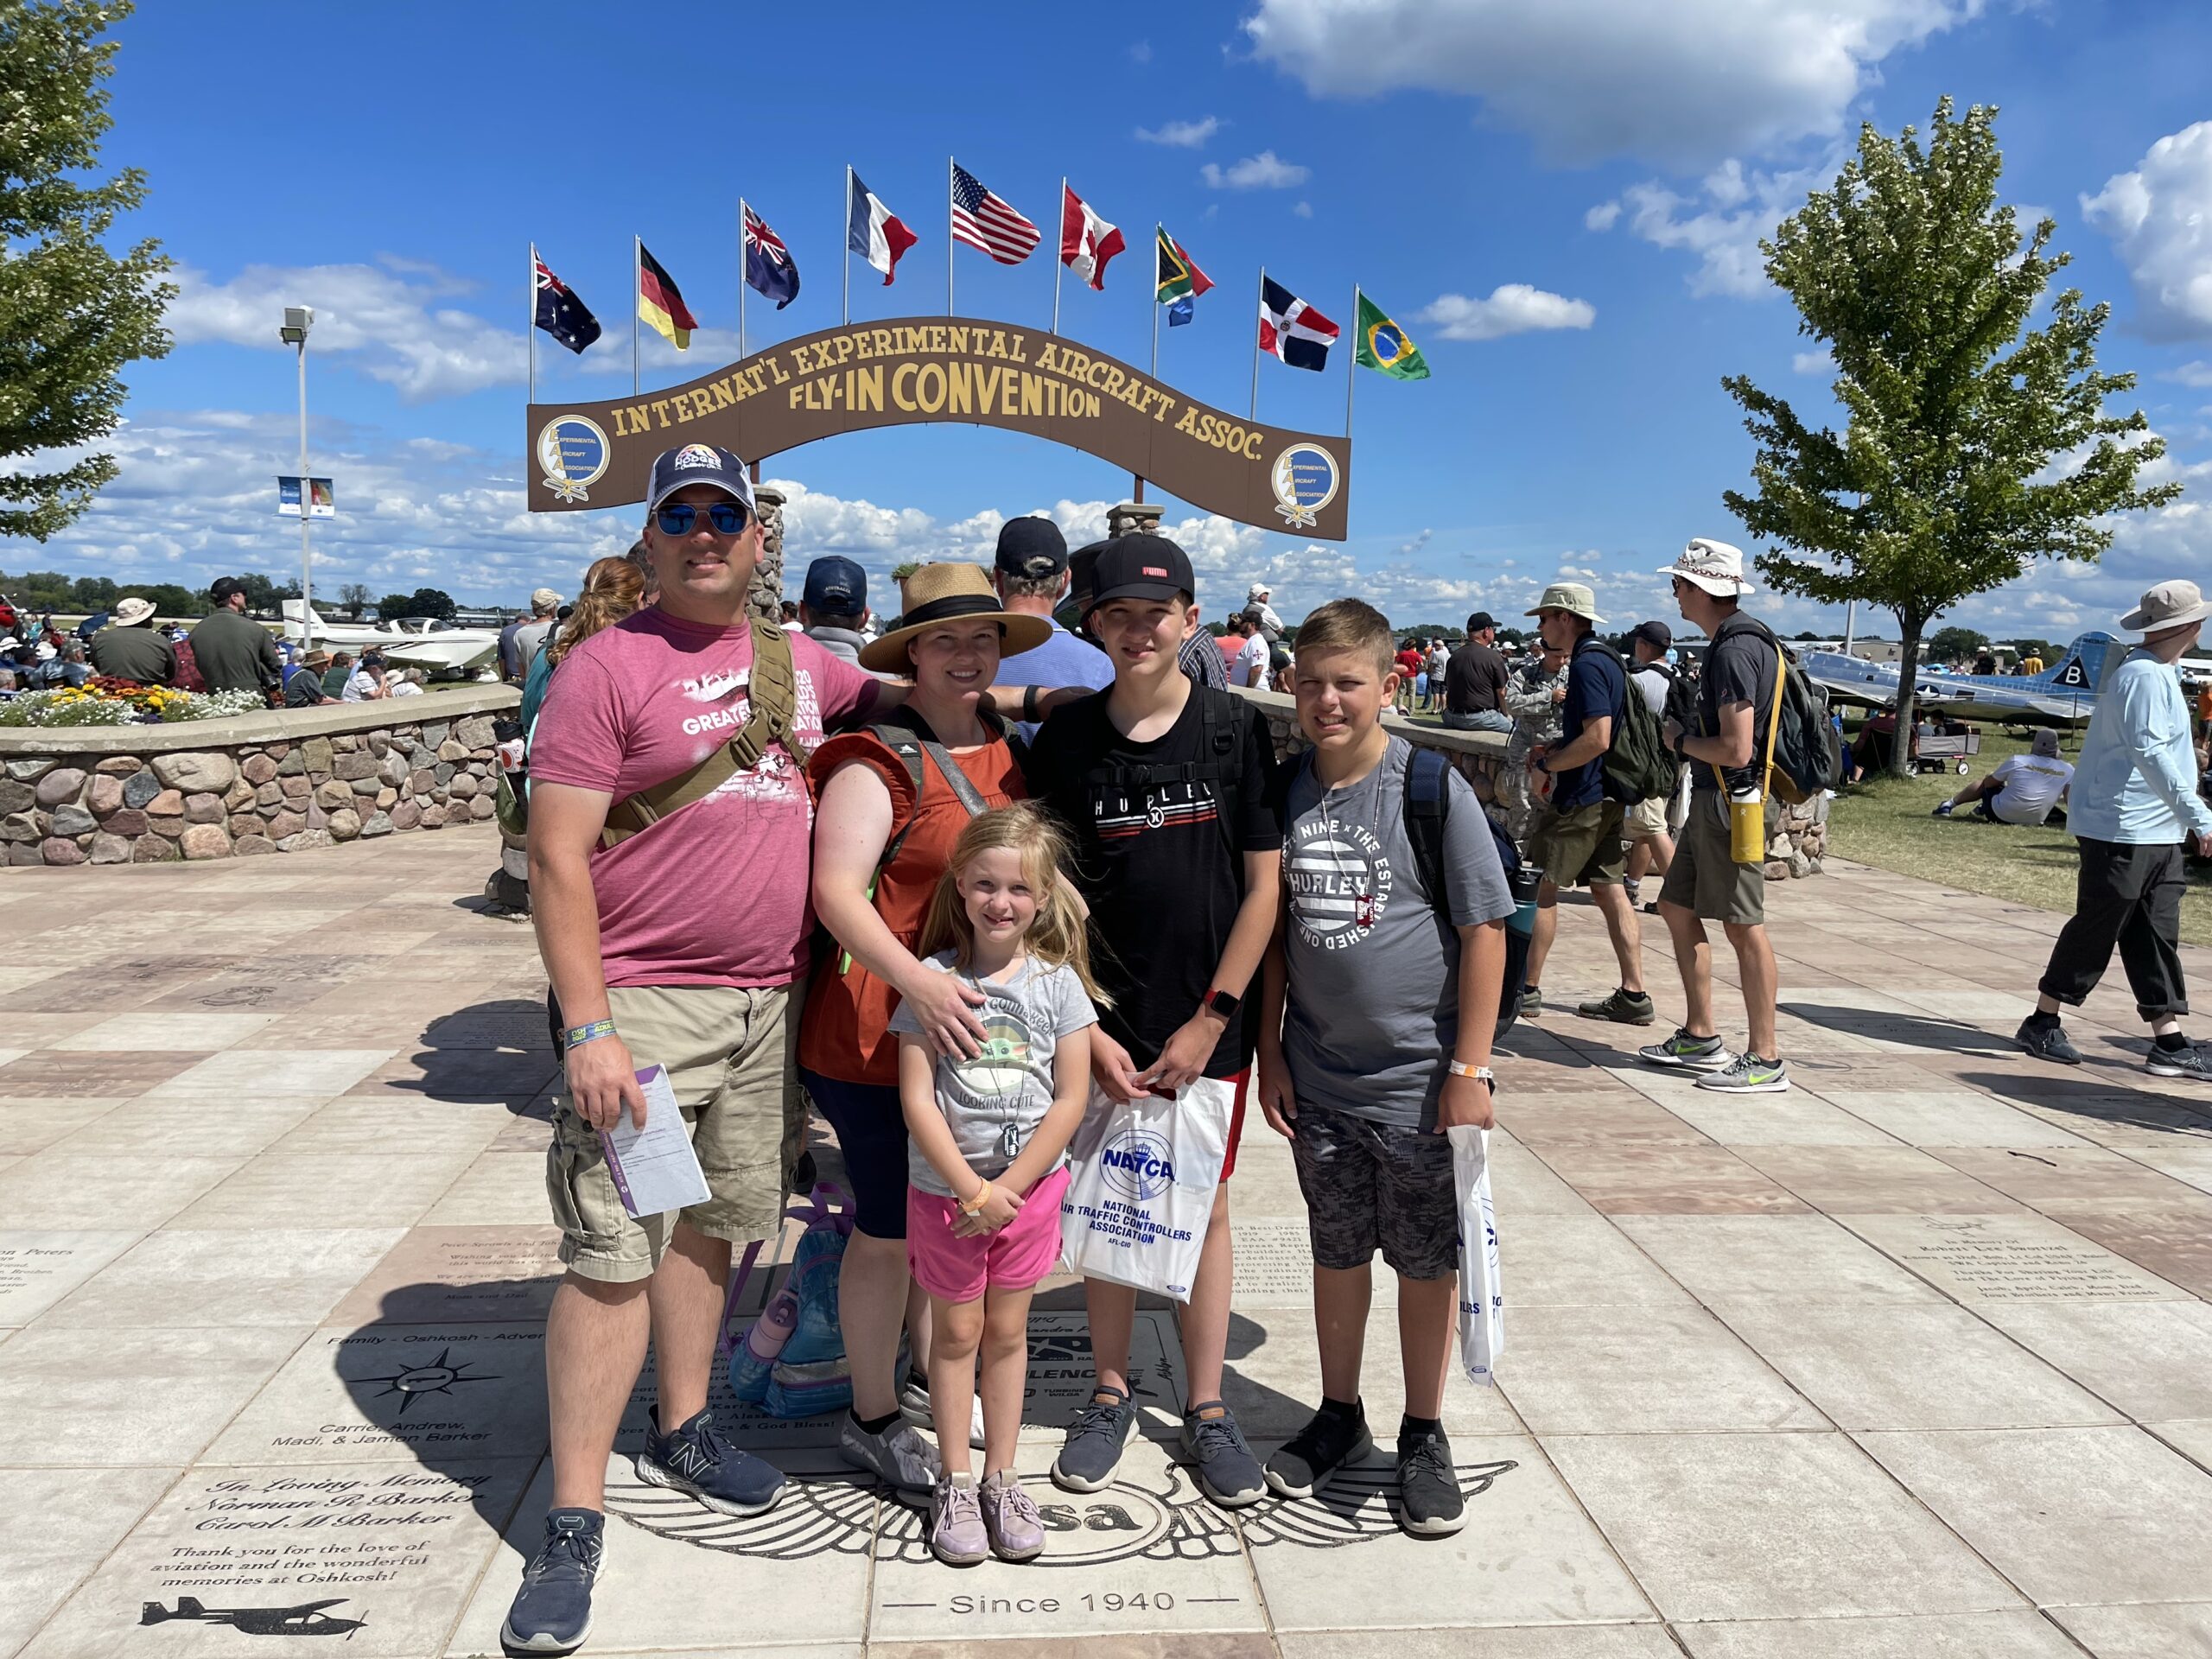
    My family and I went to Oshkosh this year and stayed the entire week (Mon-Fri). I am overwhelmed with how much there was to look at, watch, and to learn about while I was there. I wanted to list some of the key takeaways from Airventure and lessons I learned for future reference in this build.

    Engine Selection

    I got a good chance to look at the Lycoming engines and the different options they have. I thought an IO-540 was an IO-540 but they have a ton of different submodels. The D model is what Van’s recommends and sells, but I’ve seen in forums where some users are using the K model. I also found a plane that was using an X model but I am not finding reference to that on Lycoming’s information. I’m going to have to search around on the Van’s Air Force forum or other places to see what that engine is. I couldn’t find the owner as it was just parked out there and I even waited some to see if he/she might return but no luck.

    They had the IO-580 on display which had the exact same dimensions as the IO-540 except for it’s height. It was 2 inches taller. But the power you got from it was very impressive. It was achieving 315hp in almost the same footprint. I decided to not go with it as it is not what Van’s recommends, and after reviewing some of the Van’s forums there were some issues with running the recommended props on anything higher than 300hp. I am looking to get as close to the 290hp I can get though which I am looking to see about that K model IO-540 and if it is worth upgrading to, or should I just stick with the IO-540-D since it is cheaper.

    I also read through their marketing for the Lycoming EIS. It is definitely super nice, but it looks like they designed it to replace existing magneto based installations and not brand new installs. So this might not be something I get but it was cool to see and learn about.

    Avionics

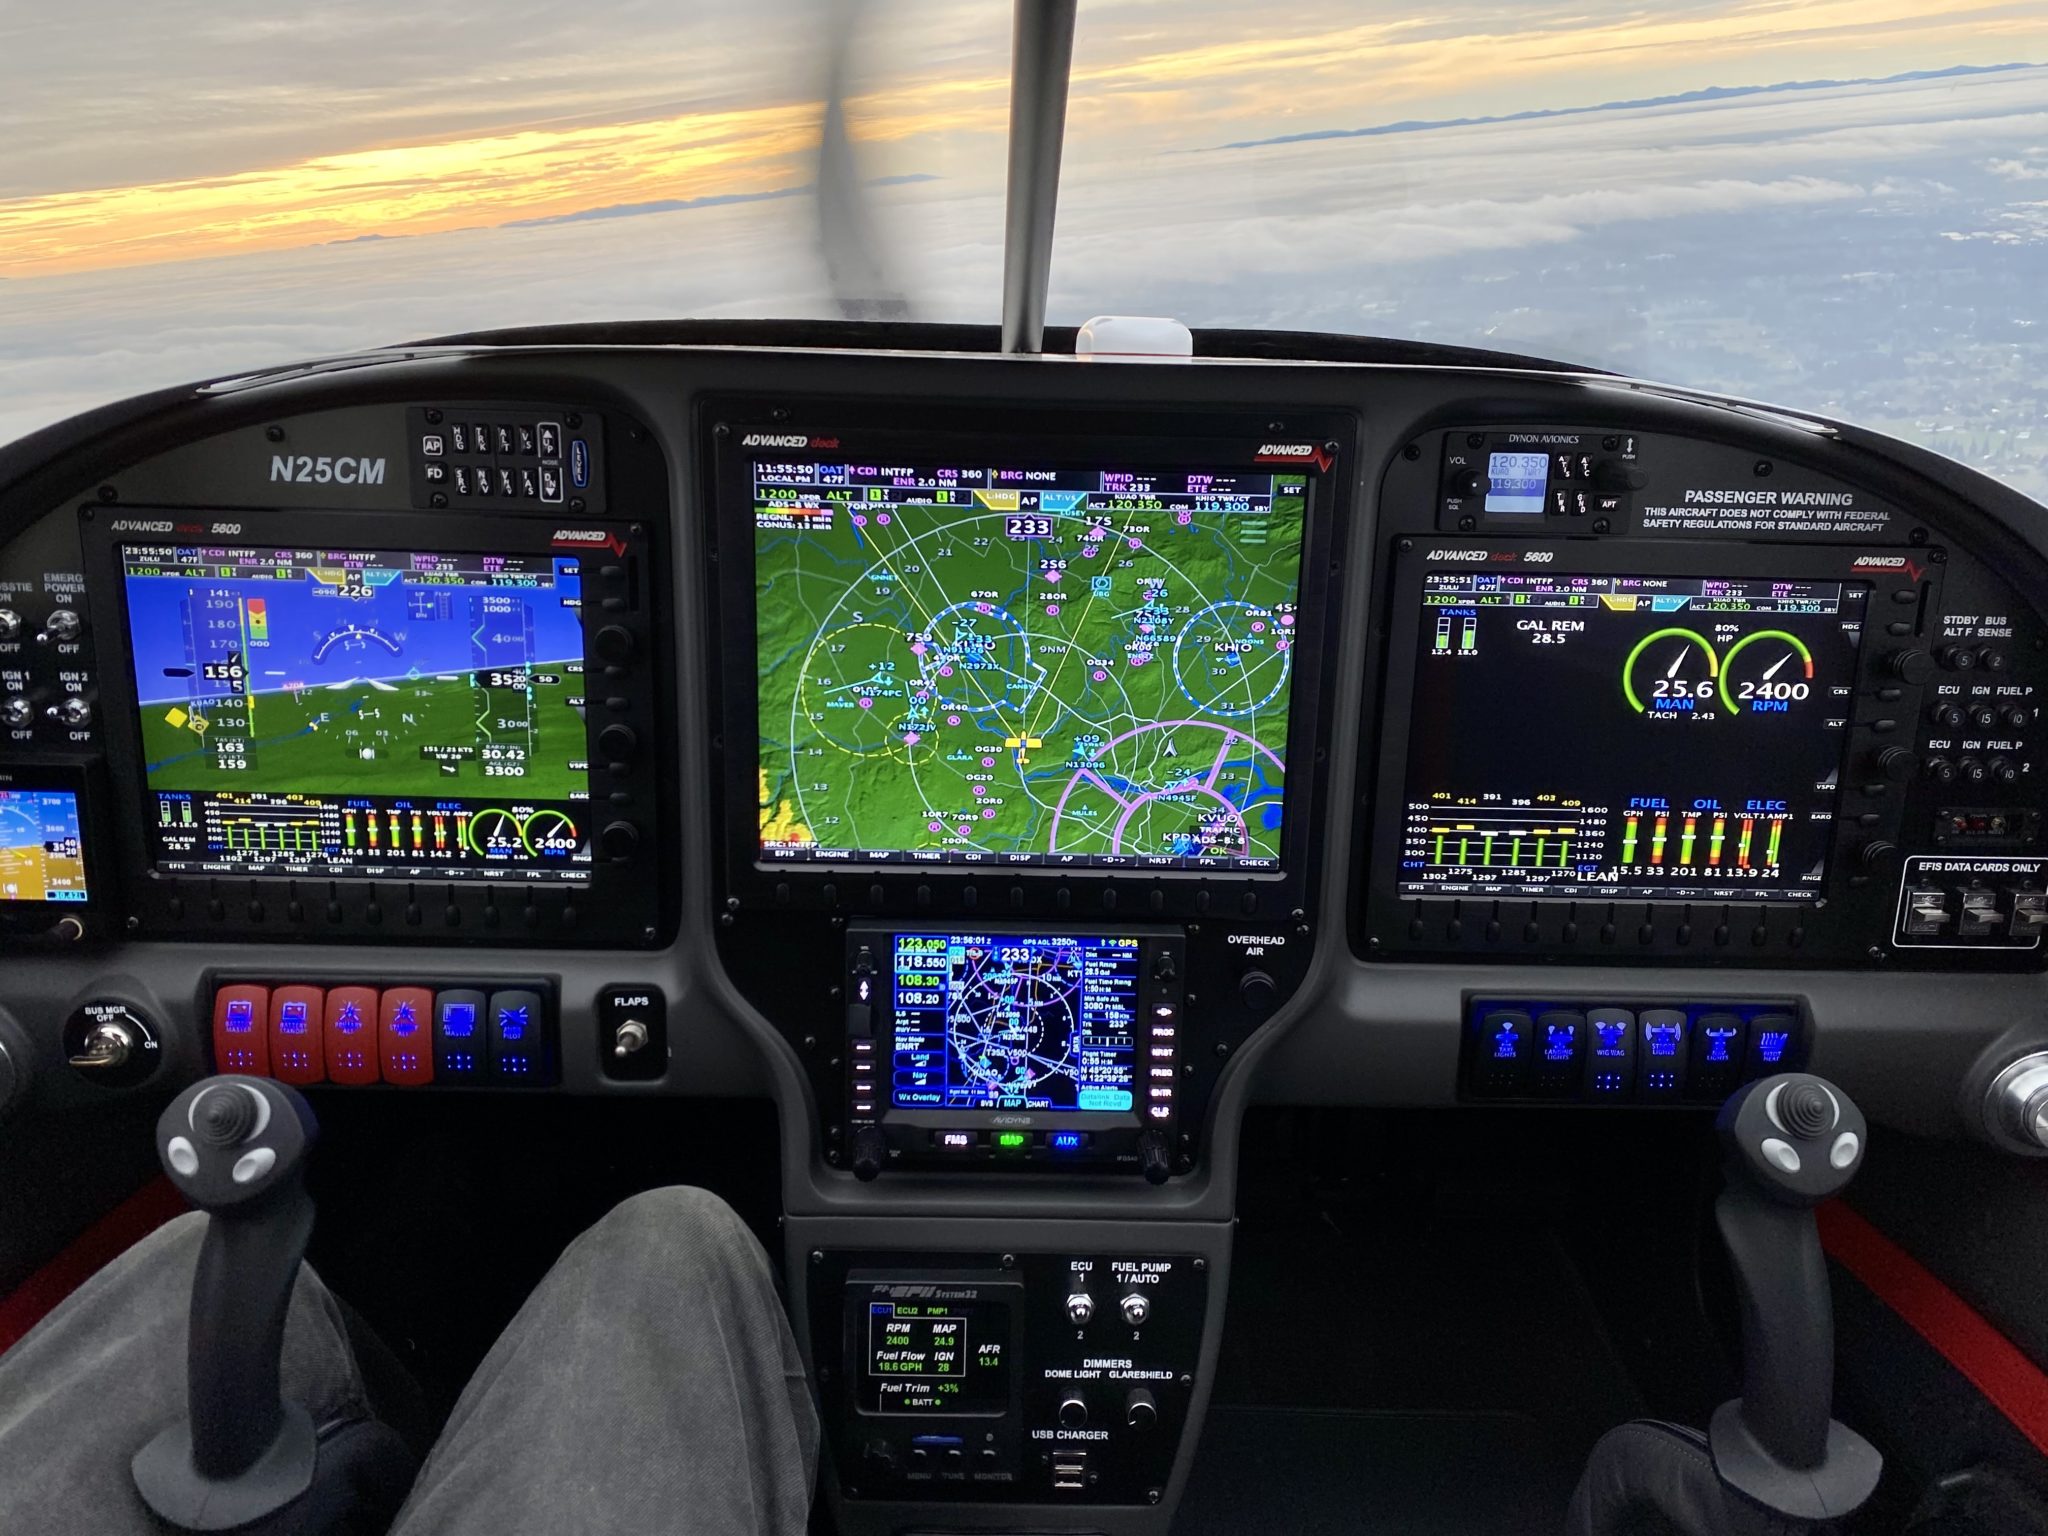
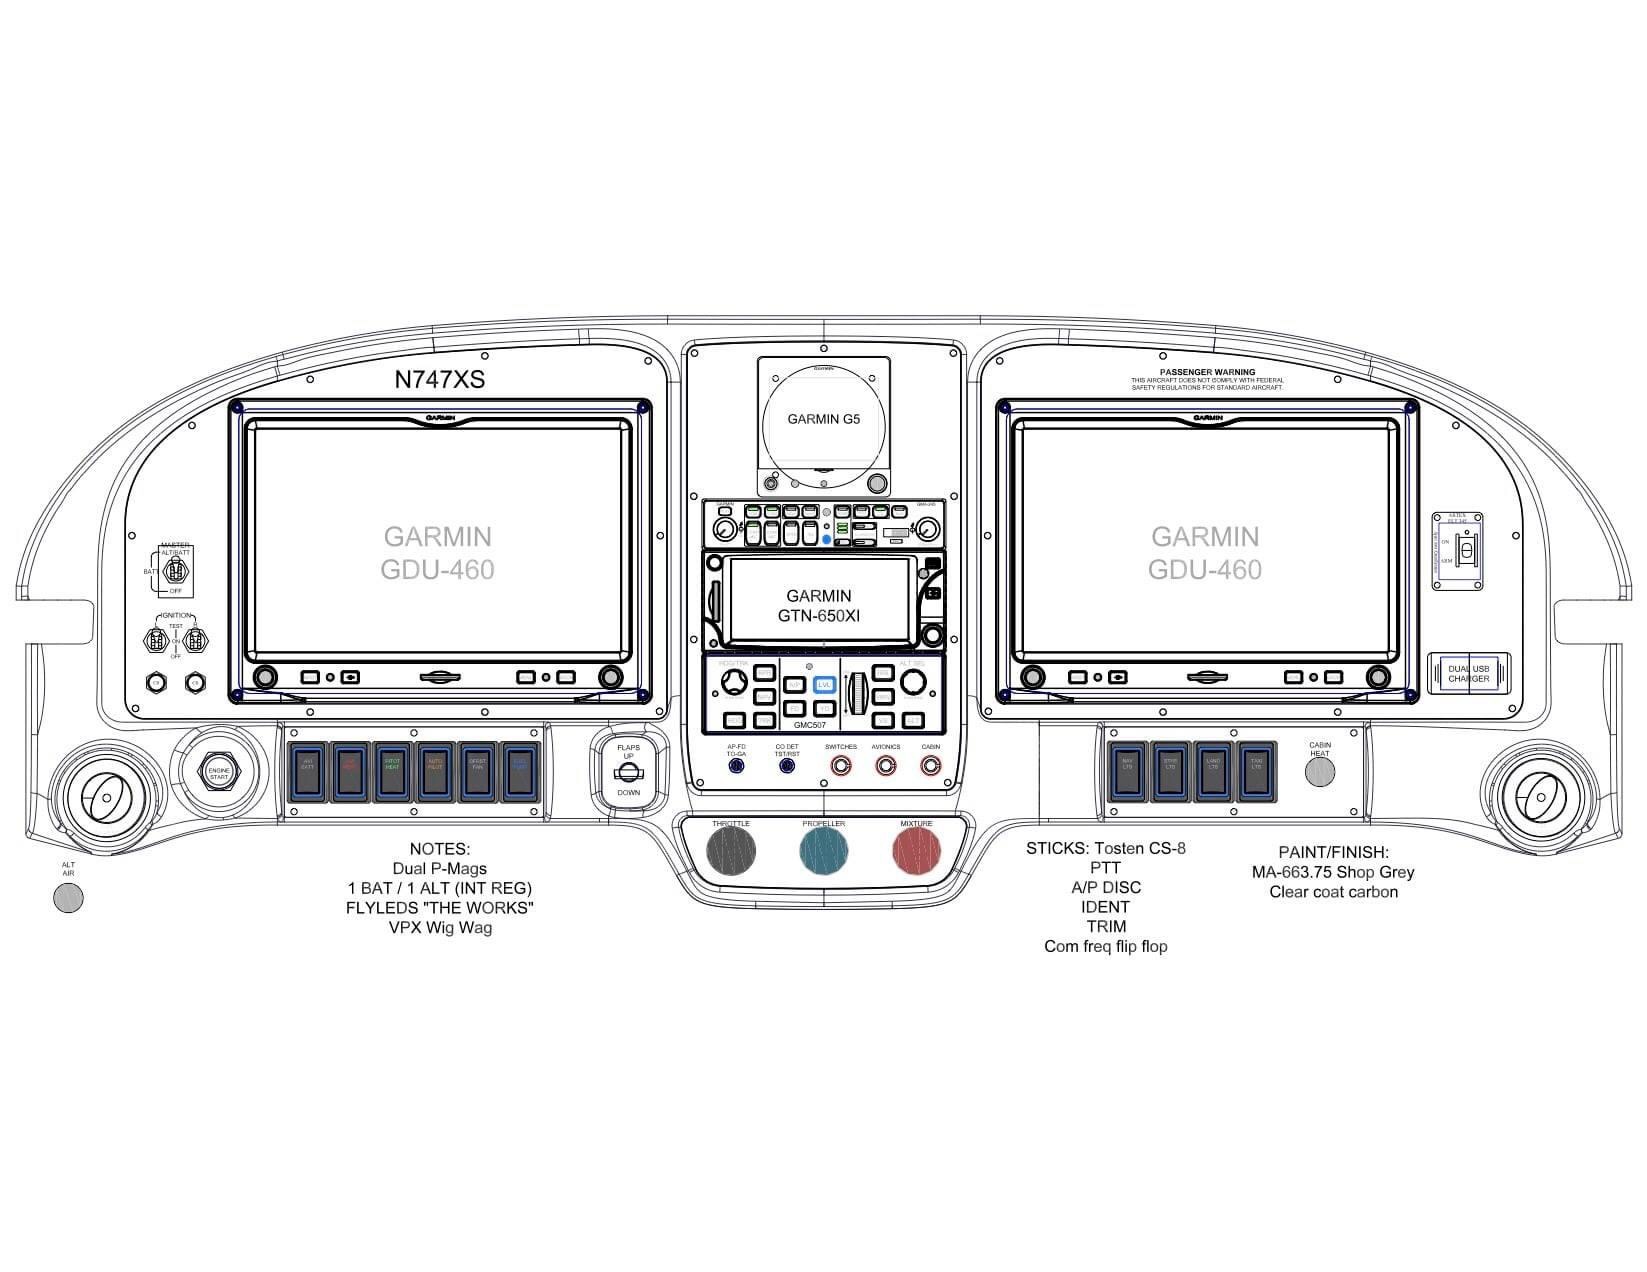
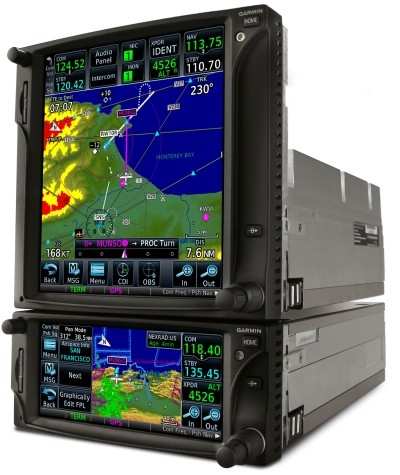
    I visited with vendors from Garmin, Avidyne, Advanced Avionics, and Dynon. Garmin was the most complete. They sell everything you would need to make this function so it’s almost like an easy button to get your avionics suite setup. I am almost much more familiar with their products as I’ve flown with them since I started flying either with the G1000 the 430s or the 650s. I was also very impressed with their Garmin Pilot EFB! I had never used it before but it was very well done and might be something I switch to if I end up going Garmin in the plane.

    The next I was impressed with was Avidyne. The look and feel and usability just seemed more fluid and I already understood how to use the majority of the system because their IFD550/545, IFD540/510, and IFD440/410 looked almost like a Garmin 430 and the larger 530. But that was also my hangup. I’ve gotten more used to the GTN650/750 which has more screen real estate and fewer buttons. It just felt a bit dated with those buttons on the outside. But I could also see the advantage of keeping those buttons with getting quick and tactile access to commonly used functions. They also had the IFD100 iPad application to go with it that made remote control of the radios much easier even in turbulence if you could just use it on the iPad. I didn’t like their PFDs as much, but they were okay. Avidyne did not have a complete package as well. You would have to work in a hodgepodge of different components to make it work. This might not be as bad as I’m thinking it would be, as my current experience of working with multiple vendors to make a single solution to function properly constantly has each one of them pointing fingers at the other. I’m imagining this would be the same situation if you had an issue between these disparate systems.

    The final one that I was interested in was Dynon. I really loved their PFDs. These were super nice and I loved the angled button edge which would allow me to perch my fingers on during turbulence. They also had a really nice refresh rate and made their display smooth. They didn’t have a navigation solution and would have to be supplemented with an Avidyne or a Garmin, but it seems like they have everything else. Their autopilot looked like it would fit the bill for me, the remote radio panels were really nice to segment the radio coms to a separate panel, and I liked how they already had package examples setup for different levels of equipment. Of course I liked the Airliner package as it had some great screen real estate, but I don’t think I would need that third PFD. But the Cross-country Cruiser was also a nice package, but I would just want to add the navigation source like an Avidyne or Garmin. I would want to get people’s experiences around each of these different platforms before I made a final decision. Garmin was a bit more expensive, but they are also giving you a full platform to implement and they are also using newer and faster communication styles such as Ethernet with Serial backup.

    Below are some Avionics installs that I liked and their placement. They all had good cockpit flow to them and some of the commercial ones I’m imagining they have put alot of research and development behind to make sure the flow was good.

    Propeller

    I had a really good and lengthy discussion with the Hartzell team in regards to the propeller and how I should select it. He stated that getting a two blade prop would give me good top end speed but sacrifice takeoff performance, while the three bladed prop would be the opposite. I honestly have never looked into those details so it was really good to get some details on why I would select one prop over another. They didn’t have any printed material for me to look at but they showed me that they have details on their website regarding specific props for the RV-10. They also suggested that I talk with Van’s as well as go through the forums and see what other’s have done and how they feel about its performance.

    Lighting

    I was absolutely sold on the AeroLED’s solution that they worked on with Van’s Aircraft on their new carbon fiber wingtips. The AeroSun VXi wingtips are going to be an almost all in one solution for my lighting with its NAV, ACS, POS, and Landing/Taxi lights all in the wingtip units. The only additions I would want is the Suntail light for the back of the rudder as well as the Sunbeacon II for the beacon light. But I’m still mulling that over as they stated these wingtips will meet the requirements for lighting across the board. The fewer cables I have to run and lights I have to support the better.

    Avionics Installation Partners

    I spoke with Aerotronics as well as SteinAir. I was very impressed with SteinAir in regards to the existing portfolio of RV-10s they have done and the amount of interior design parts that they have designed and support, outside of just the avionics panels. But I don’t want to rule Aerotronics out as they did have a good presentation as well in regards to their experience and capabilities. They were familiar with all of the products I wanted to install as well if I went with Garmin, Avidyne, or Dynon.

    Paint

    I got some awesome ideas from just looking at the different RV-10s that were out there as well as just any airplane I passed by. But in regards to working with any third-party to help design a scheme I talked with Scheme Designers and Flight Lines. Both had really good portfolios so I’m kinda split on this. Plane Schemer was not there or I missed them, but I’ve been working with them before and they also have an awesome portfolio. If I had to pick today it would be either Plane Schemer or Scheme Designers just for the portfolio experience and designs I saw. Flight Lines was good but their portfolio seemed to be more simple in their designs.

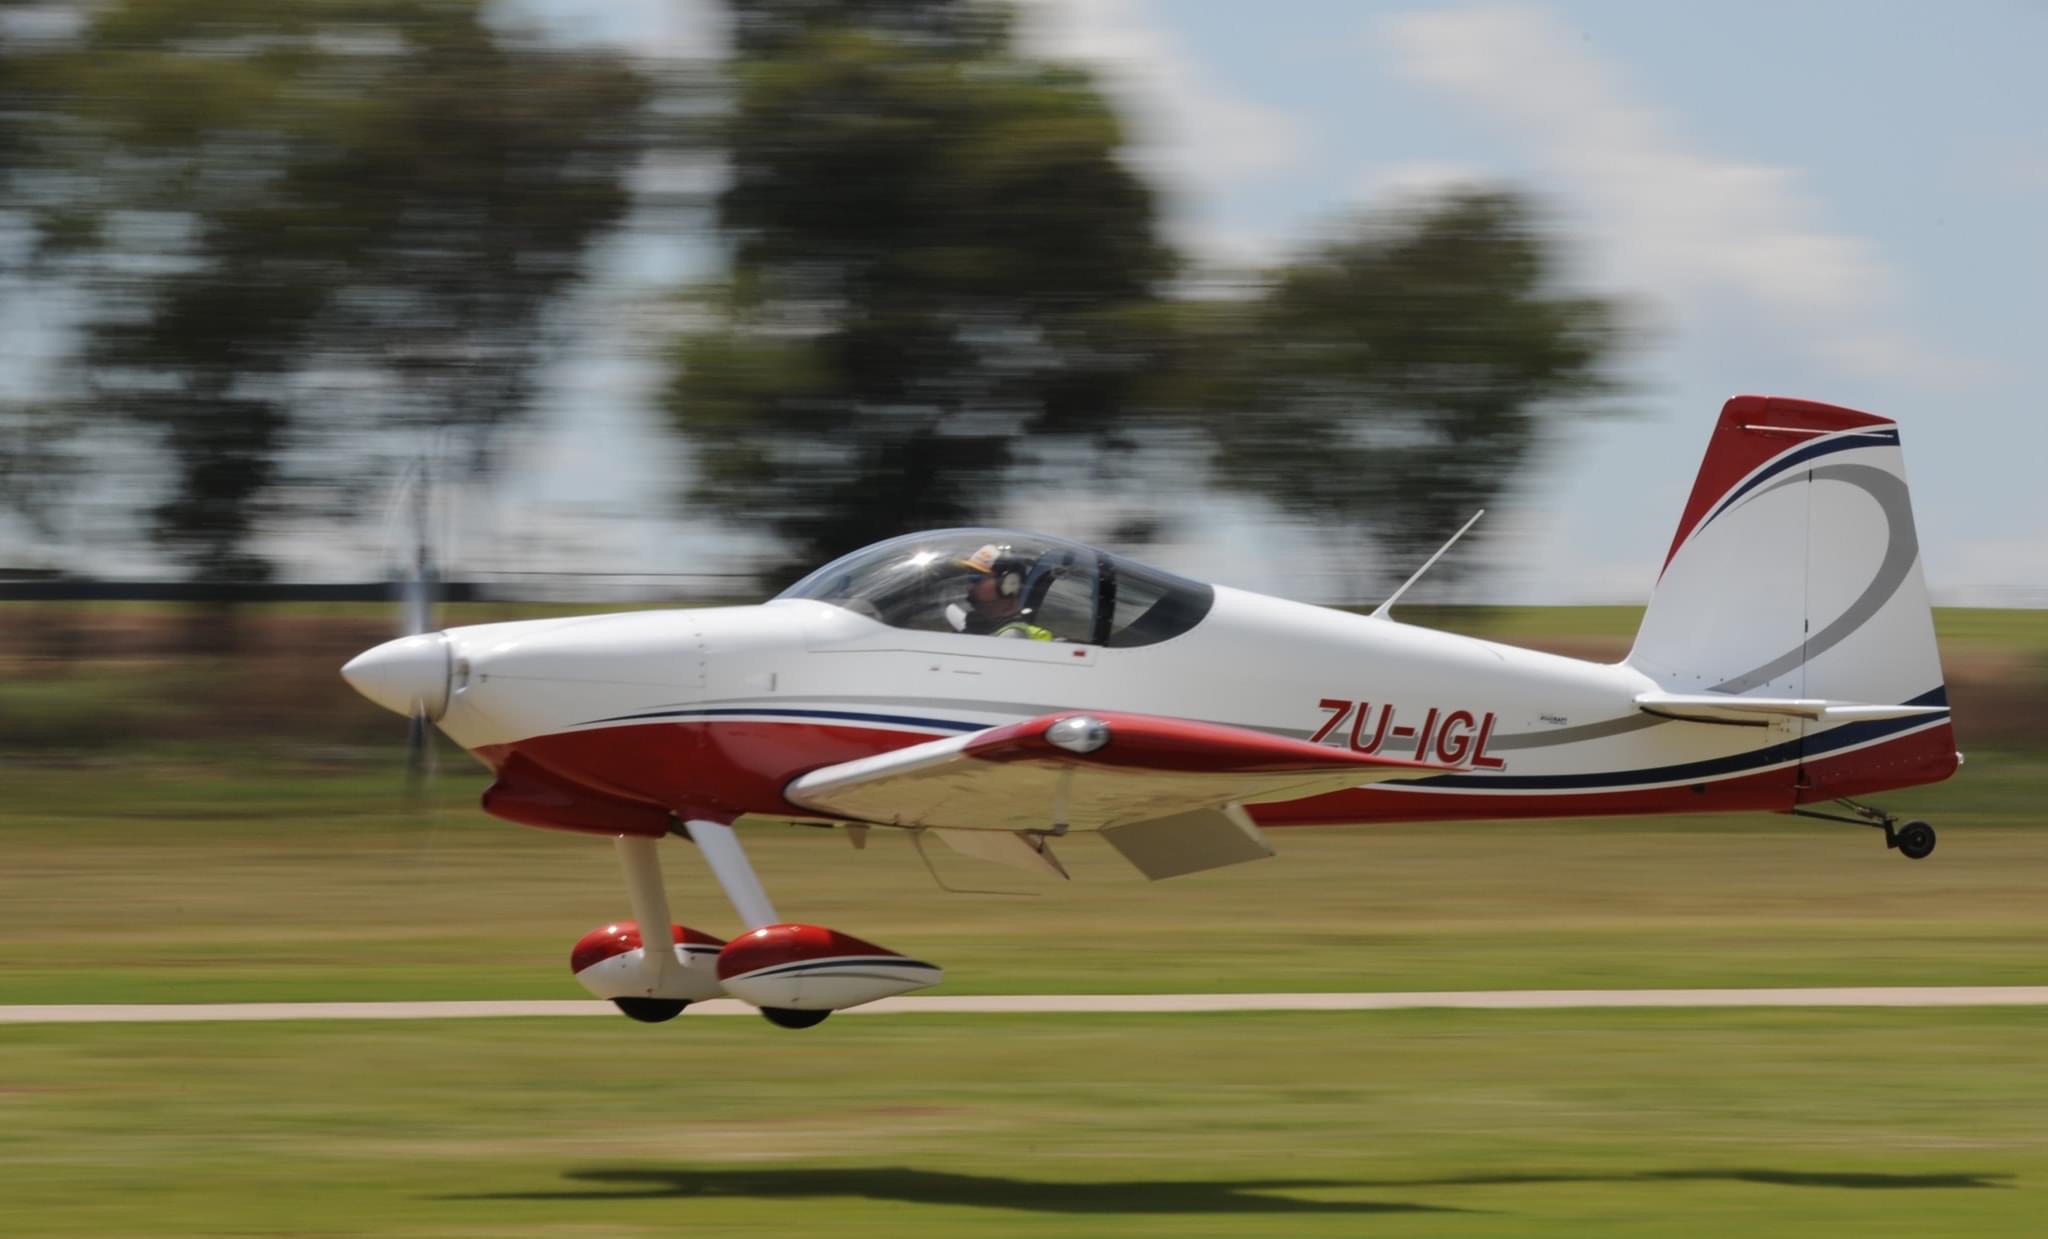
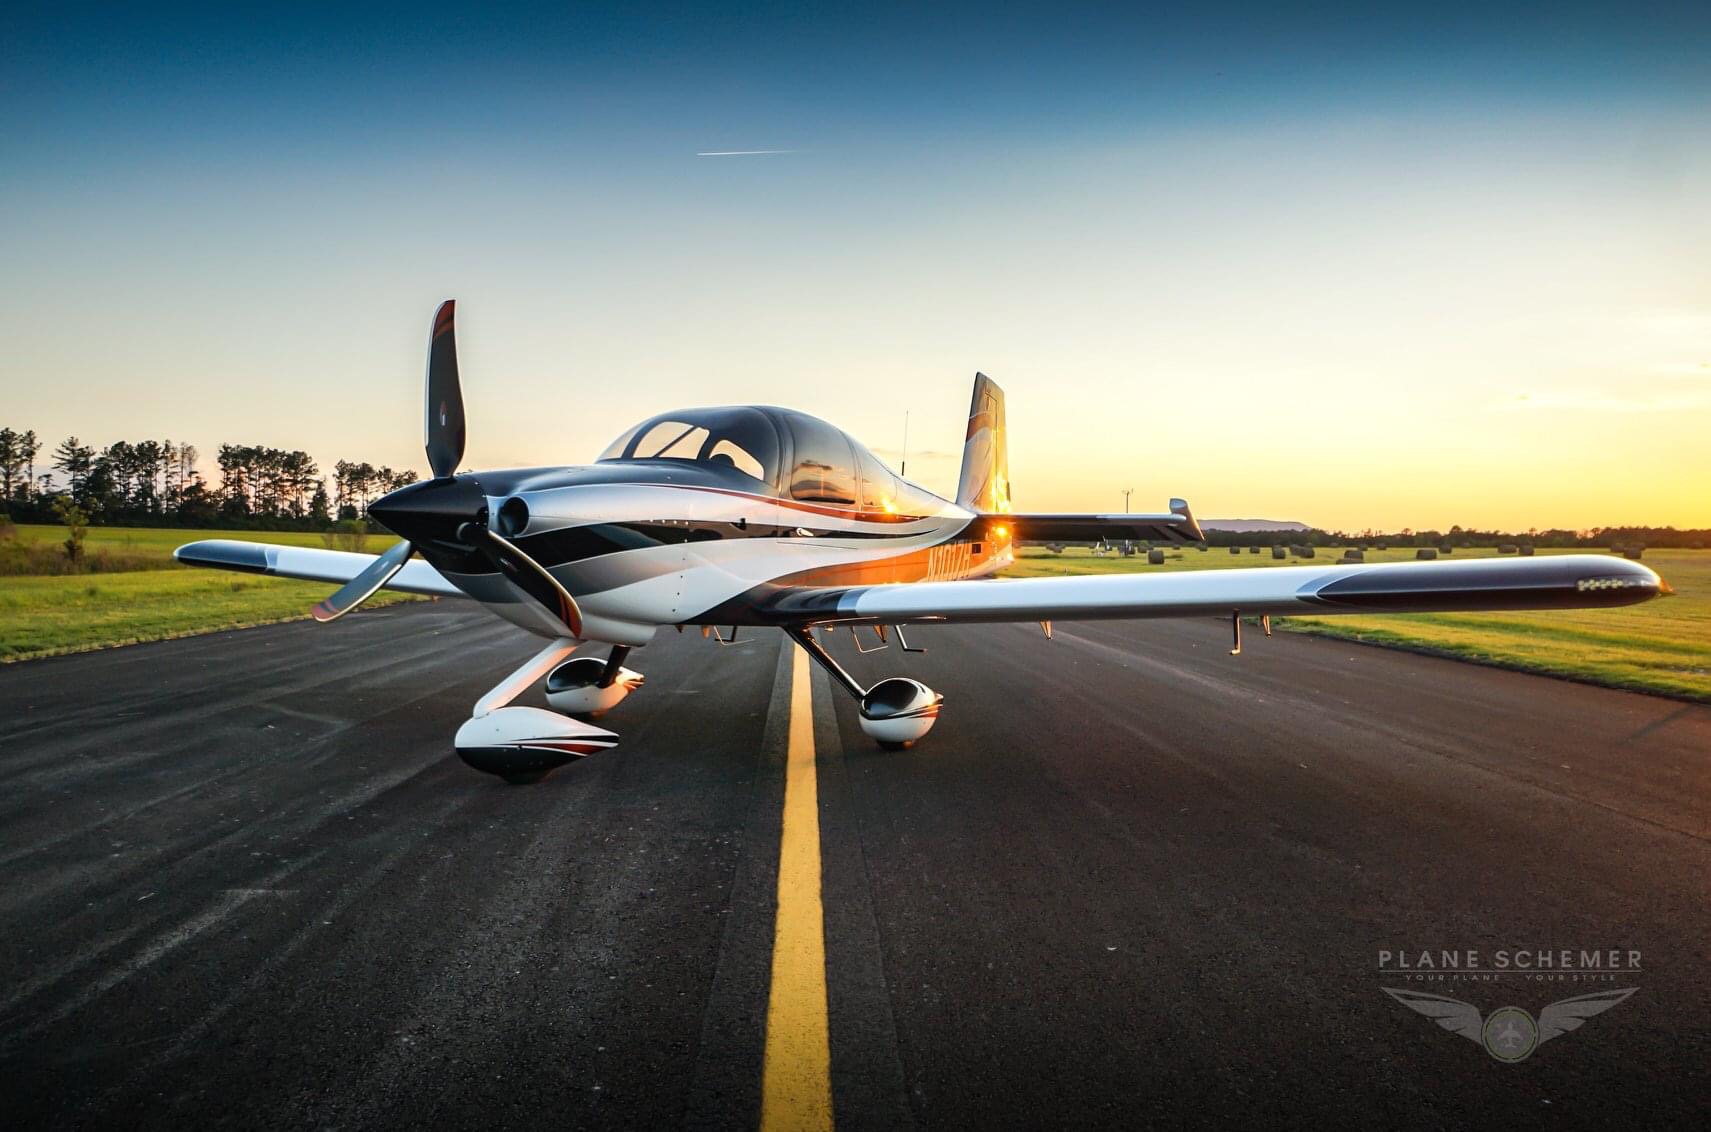
    Awesome RV-10s I Saw

    Here are some of the amazing RV-10s I saw and I’ll talk about what I liked the most about each of them.

    This plane had some super nice features that I wanted to replicate. First off, I love the cowling. I was talking with a gentleman that was with me looking at it that has an RV-10 already and he said that the Vans cowling can allow it to get a bit hot sometimes since it’s cooling isn’t as efficient as this one. Apparently this cowling has a duct that goes directly to the cylinder heads instead of having an open area that you have to put in those rubber barriers to keep air where you want it. I also liked his three blade prop. It was super nice carbon fiber and I bet it is pretty light weight. I’ll have to look into that. I liked his gas cap covers for some reason lol. It just looked super nice and clean. And finally the cowl was put on with screws. The gentleman I was with said that the piano wire hinges that they have are susceptible to breaking. I’ll have to look into that as I didn’t quite like seeing so many silver screws out there as it took the attention away from the red color.

    This was a really nice design, though I think i would like a brighter contrast. It’s not showing up well in these pictures but that white was more grayish. I would want a very solid white there to pop against that blue. That blue was a very pretty color as it was very metallic. It was a really nice paint scheme though.

    This plane scheme was really nice if you wanted to go dark. The flowing lines worked really well, even though you couldn’t see all of it with the cabin cover on. It was really pretty though. That red if I’m remembering right had an orangish tint to it.

    This was the coolest from just a design perspective. I would not want my plane painted this way but it was a piece of art! It had a section of the plane devoted to each of the armed forces. It was a really cool idea and I think it was done well!

    Finally, each of these had really good components to them so I’m just going to group these together. Enjoy looking at all of the different RV-10s we saw!

  • Detailed Avionics, Paint, and Interior Research

    Detailed Avionics, Paint, and Interior Research

    I was trying to get everything more fleshed out in terms of how things will look in the interior, exterior, avionics, etc. Specifically with the avionics as I want to make sure that if I need to install any servos, antennas, sensors, etc. that I am getting them installed at the most opportune time.

    I started off with the interior as that seemed to be the easiest to start making decisions on. The Aerosports company has some really good looking panels and center consoles that I want to make sure to include in the build so I decided they might be the best place to get the entire interior from. You can see more what I selected, but I specifically liked the quad center console as well as the overhead console.

    The layout I am looking to use with the G3X Panels, throttle quadrant, fuel selector, etc.
    The rendering of the overhead console

    I think started looking at the paint job. I sent a few emails and Planeschemer came back with a very quick response! I’m imagining that it is a canned response, but it was nice to get access to more of their example work that would give my wife and I an opportunity to see what we wanted to select. We are definitely looking more towards blue as the main color, which I think this scheme I’ve already found but with a dark blue instead of the dark red would be excellent.

    I like that it has plenty of white and grey/silver with the black accents, but then having some dark blue like a midnight blue pearl.

    Then on the avionics I found a really excellent website that a builder documented the exact layout of his avionics. It gives me an excellent starting point to figure out what components I need to start planning for and I’m including his research here just in case his site goes down.

    Strikhedonia’s Garmin G3X Avionics Schematic Drawing Post

    Strikhedonia’s Console Layout

    This layout was very well designed. The one change I would like to make is to push the middle screen further up and try to fit in a GTN 750Xi. I would also have a second radio that is able to receive NAV signals so that I can do true IFR with two NAV radios. The GTN 750Xi would have one COMM/NAV radio and I plan on getting a GNC255 as my secondary COMM/NAV radio. If that changes then great, but the remote COMM unit that the G3X has seemed to only be a COMM radio. I would push down the autopilot and put that second radio just below the GTN 750Xi and put the audio panel just above the autopilot.

    I added all of these new items to my cost exploration spreadsheet so you can see what the up to date info is.

  • More Awesome Paint Schemes

    More Awesome Paint Schemes

    I am almost back 100% I am finally feeling normal again and my oxygen levels are almost back to what they were pre-COVID/pneumonia. While I was perusing Facebook, I saw someone post some additional photos of some paint schemes that I liked. These aren’t RV-10s, but they are awesome looking! More things to mull over while I’m building.

    Awesome bright paint scheme. Looks a little like Dusty Crophopper
    I love the maroon, black, and silver. Very clean and simple paint scheme.
  • Panel Placement Idea

    Panel Placement Idea

    I am part of a Van’s builder group on Facebook and one of the members posted their panel layout which I thought was very simple and well placed. I wanted to note it here so that I could remember to review this when the time comes down the road.

    Simplified layout
  • Plane Schemer New Ideas

    Plane Schemer New Ideas

    While looking through social media, I found another awesome paint scheme from Plane Schemer. This plane also has the exact cowling I am looking for with my build. This had a few extra points that I wanted to document that I want to do in my plane maybe with different logos or my own twist to it. This are Plane Schemer’s photos and I’m not taking these to be the exact paint scheme I want, but it is my inspiration for what I want in my plane.

    I love the three bladed prop and the cowl
    Excellent personalization idea for the traction section of the wing-walk
  • Van’s Aircraft Lightbox Build

    Van’s Aircraft Lightbox Build

    This was a really fun, easy, educational project. It gives you something that is usable after the fact and was simple enough that it doesn’t require alot of thought or even alot of tools. Here are the tools I used to complete the project:

    • Pneumatic squeezer
    • 3/32″ squeezer dies
    • #30 drill bit
    • #40 drill bit
    • Scotchbrite pads
    • Scotchbrite wheel
    • De-burring drill bit
    • Air drill
    • Electric impact drill
    • Rivet gun
    • 3/32″ rivet gun attachment
    • Back rivet attachment
    • Back rivet steel bucking bar (more like a sheet but I forget it’s name)

    It doesn’t give you a ton of instructions because there’s just not much to say. The only advice I would give you if you plan on using any style of rivet besides a blind rivet is this…. DO NOT PUT THE NUTPLATES ON UNTIL YOU’VE DONE THOSE OTHER RIVETS. LOL I had to change my rivet choice because the nut plates were now in my way of actually riveting the flush rivets in place. I could have used a very skinny bucking bar, but that hurts my hand so much and I couldn’t find a way to get a flat surface to rivet against on that area. That was the only problem I had with the instructions.

    This project is very beautiful when it’s done. They have super bright LEDs that work very well. The only problem I had with the LEDs is that they would not stick to the surface. I cleaned it with alcohol and the next morning I came in and the lights on the top had popped off. I’m still trying to figure out what adhesive to replace it with so that it will be permanently installed. I have some strips of double-side tape at home that I might give it a try. I’ve never used them before and I believe they are from some brand that makes CA glue, so hopefully that means it will stick very well. Here are the pictures of the finished project.

  • Practice Project #2 Complete

    Practice Project #2 Complete

    I couldn’t wait any longer to keep learning about riveting, assembling, etc. I had the project all cleco’d together when I left it last. I decided I would check out the pneumatic squeezer and how it functioned this time since I’d already spent a good amount of time dimpling with the C-frame. I can now see why so many builders like this tool. Once it was set, I really had very little to do except line the hole up with the male portion of the dimple and press the trigger. It made quick work of all of the dimples on the edge and across the spar section. I got so excited that I just went to riveting after the fact. I didn’t read the instructions exactly as they were meant to be read LOL. That lead me to another issue. The picture below is the front and back of where I finally realized my mistake. Anyone able to spot it?

    Top side of C-2 panel
    Under side of C-2 panel

    As I was thinking about how to get the second skin on at this point was when I realized…. How am I going to do that with the top skin riveted? I went back to the instructions and finally understood what they wanted me to grasp. I was to rivet only the bottom section of the skin to the main spar and not rivet it just yet to the ribs. So out came the drill to remove all of the rivets I had done up and down the ribs to the C-2 skin. I did really good at removing the rivets all except for one. It was just slightly bigger now, which I opted to just skip drilling it bigger this time and just remember that I would have to drill it bigger, de-burr it, and re-dimple it in the actual build.

    Once I completed riveting the entire project together, this is how it turned out!

    Completed project

    I didn’t have too many things I wasn’t okay with in this project. I learned alot about de-burring. I was de-burring way too much at the beginning until I watched an EAA video that stated you should only have to make a few turns of the deburring tool in each hole. I might have to get a much slower drill to get the speed they were talking about. Luckily they said the drills that go that speed are very inexpensive so it might not be a bad buy in the long run.

    Another part that didn’t turn out how I wanted it was the trailing edge. With the trailing edge clecoed together, it looked great! It was all flush and even with the root of the surface. I couldn’t have been happier! But it appears I still have something to learn about doing the double-flush rivets on the trailing edge. After I did that, the trailing edge turned out this way. I’m still perplexed as to how that occurred. I had the project on top of the 16″ back-rivet plate. And I had it where both the front of the project and the trailing edge were supported by the plate. Now I couldn’t get the entire project on the plate, but I felt that if I had the project laying in that way (with the rounded front edge on one end of the plate, and the trailing edge on the other) it would be fine. But it didn’t quite work out. I’m going to have to do some research as to how best to perform a double-flush rivet.

    Slightly off
    WAY off

    I also didn’t bring my wife or kids out to help me on this. I found it extremely difficult though to track both the rivet gun and the bucking bar at the same time. It resulted in this nice little dent around the main spar.

    The rivet gun slipped off again, LOL

    All in all, I’m still very happy with the project. Like they stated in the instructions, if it comes out without any issues, you didn’t learn anything. I plan on ordering a second kit here soon as well as constructing the lightbox that I ordered too. This will give me (hopefully) plenty of time to practice riveting, bucking, seam rolling, de-burring, etc.

  • Practice Kit Project #2 – Round 1

    Practice Kit Project #2 – Round 1

    I started Friday after work in earnest with the stiffeners. I took the stiffeners and cut their shape out, sanded them down, de-burred the edges, and set them aside for morning. I honestly believe I’m going to need to go through another practice kit. There are so many things I’m learning not only about metal working, but about the tools. I’ve spent alot more time working with wood than I have with metal. My father taught wood and metal shop for college students back in the 60s and 70s but I never learned this from him. Much of my woodworking skills have been through learning through mistakes, YouTube videos, and even some online classes such as Wood Working for Mere Mortals with Steve Ramsey. I’ve not seen a riveting class yet but I’m hoping that when the restrictions from COVID-19 are lifted I will be able to visit my local EAA chapter and possibly they’ll start holding the SportAir workshops again.

    Enough back story, and on to the rest of the project. The riveting is getting better each time I do it. Again, I will not say I’m perfect, but it’s way better than my very first set of rivets. I can’t wait to have someone look at these and judge them in person, but the rivet gauge is telling me they are meeting spec. The hardest part of this part of the kit was doing the work in these tight areas. And this isn’t tight either. I’ve seen pictures of people having to work in extremely tight spaces where they have to make special tools just to buck them right. Some of these were underset and others were overset. Luckily I’m getting these things figured out on the practice project rather than the airplane kit itself.

    Tighter working spaces

    I did learn another absolutely necessary lesson… Always hold the piece down with a vise or some other clamping mechanism. The picture below shows what happens when I start bucking and the work piece is loose on the table…

    Slipped rivet gun

    I looked at that and had a really good solid laugh watching how it would jump quite a far distance with each impact. And if I count them right it hit four additional times on the piece after it left the middle rivet. Below is another example, before I had fully learned the lesson. Luckily it didn’t jump too far, but it marred the manufactured head on these 470 rivets.

    Marred 470 rivets

    All in all, I got to this part in the project before I decided to call it quits and re-read the chapters on riveting just to see if I’m going to learn more this go around.

    Today’s progress

    I have both of the skins drilled and de-burred, the stiffeners have been attached, the spare has been match-drilled and de-burred, the ribs have been drilled and de-burred, and the trailing edge has been drilled and deburred as well. All of this was cleco’ed together to see how it all looked and fit. I was very happy with the progress I had made, seeing the lessons I had learned from the bumps and scrapes on the project surfaces and having the tools all put away for the day. We’ll see how far I get the rest of this week as I also have the Van’s Aircraft light box to build after this.

    After a shower, but before tools have been put away
  • Workspace Setup & Tool Shopping

    Workspace Setup & Tool Shopping

    When it comes to tools, you could often call me a tool nerd. I spend a lot of my time perusing the local Harbor Freight, Lowe’s, and Home Depot looking at the different tools. I also spend time looking at more quality tool outlets online such as Festool and Woodpecker (yes I do more woodworking than machining right now.).

    I also have a really nice workspace already setup. Like I mentioned earlier, I do quite a bit of wood working and I’ve got a 4′ x 8′ table (two sheets of plywood glued together so it’s super sturdy) as well as a rolling 2’x4′ table that I use for my miter saw, and for assembly. And this is all in a 3-car garage that is slightly bigger than a standard 3-car garage. It has the two car slots at a slight angle to the single car slot, so I have two extra little triangles of space. It’s just shy of 1000 sq. ft. so I’m very happy about the space I have to build this in. My wife will be able to keep her parking spot while I get the space I need to build! (or at least I hope I get the space I need! Happy wife, happy life!)

    I started at the normal place for information, Van’s website. They have a full list of tools that they recommend for the build, which also includes some specialty tools for certain models, of which the RV-10 is a member of.

    Van’s Aircraft Tool Recommendation Site

    They also had a list of companies that you could work with to get these tools. The one shown the most, and one that I’ve seen the Plane Lady mention quite a bit in her videos, is Cleaveland Tools. They had a well maintained website and a set of curated videos going over the tools that you would need to choose between. They have the majority of the tools that you will need for this build in my opinion, all except for a pneumatic Cleco tool, which I feel I will need down the road. But I think I might just get a few extra of the Cleco pliers and have the kids help me out with installing these things. A family that builds together, stays together! LOL

    I put the items that they recommend for the RV-10 build in my shopping cart and made a few additions. One was the 2.5″ flange-nose pneumatic yoke for some of the tight areas that the Plane Lady mentioned in her videos. I also chose to use just the C-frame dimpler rather than the compression dimpler. I’ve watched a few reviews of these tools and it seems like people are torn between the two and no appreciable difference can be shown as to why I should spend so much on the compression dimpler. That’s why I decided to get the C-frame. Plus it will give my kids some time building their muscles swinging a hammer doing the dimpling with me 🙂

    In total, with shipping and taxes, those tools are going to cost me $3250 to get, which is almost as much as the empennage kit. But, I am always of the mindset that you get what you pay for. If you cheap out on a tool, it’s more than likely going to do a cheap job, which I prefer to not do if I can help it. I’m still going to hold off on the tool purchase for now until I can talk with the local EAA chapter about what they would recommend tool wise, but at least this would give me a good ball park of what to expect.

    Finally, I know I will need to upgrade the lighting in my garage. I upgraded it some when I first moved in, as they thought two 60-watt bulbs for a nearly 1000 sq. ft. garage would be sufficient…. I bought two florescent fixture kits that provide 5000 lumen each. But little did I know how little 5000 lumen is for such a large area. I struggle at night to work out in the garage on my wood working projects, at least if I’m not close to the fixtures. With that problem in mind, I’ve planned a few things. I plan to do the following to the garage:

    I hope to get these installed soon and I’ll post the process here. Here is the garage in it’s current incarnation.

  • GTN650 or 750?

    GTN650 or 750?

    I’m well versed in the world of the GTN650 as it has been the main platform for almost half of my small amount of hours. It makes up for roughly 75 hours of my flight time, where the other half has mostly been spent in the G1000 series cockpits. I have a little bit of training with the 430, but that really is only about 3 hours in total if I remember correctly. So having a decent screen has been most of my experience in flying.

    I had seen most of the guys use the two or three panel combo of the G3X or some other vendor in conjunction with a GTN650. I had contemplated for a while, why don’t I just use a GTN750 instead? I could get my approach plates on the moving map which would make flying IFR even that much easier, rather than having to look down at ForeFlight and see where I was in relation to the approach chart there.

    I decided to specifically look up that topic as I imagined that there were quite a few people who had made that comparison, considering they are very similar platforms. Garmin actually made a really good write up entitled Stay in Touch with GTN: Differences Between GTN 650 and GTN 750

    In this article they discuss the main issue I had with the GTN650, which was the ability for it to display both NAV and COMM radios frequencies, where the GTN650 only displays one set at a time and you have to toggle between them using the push functionality of the knobs on the bottom right. Many a time I’ve forgotten to check the NAV frequency and put it to the active when loading and activating an approach. I would prefer that to not be a problem, granted that should just be a habit change for me to push that nob to check it, but it’s just easier to look over and see it without having to take your hands off of the controls and push the knob especially if you are in real IFR conditions and possibly getting close to task saturation already.

    I do like the feature provided in the GTN750 platform of having the approach chart on the moving map. Granted, this isn’t super critical if you load the full approach as it will show you the entire path you should fly on the map. I still like to have the chart up to reference items, though if you are coming in on the approach from the top of the chart, it will display upside down, which probably won’t benefit me in the long run LOL

    I also like that the GTN750 integrates natively with the audio panel if you have their specific model installed. I prefer simplicity and if I can get one panel to run the entire plane with another panel in the middle for all of the navigation, weather, and approach information, that would be best.

    On top of these differences, which really aren’t that many, the cost is one thing that is helping me make this decision. The GTN750 is $5,500 more than the GTN650, where a G3X is only $3900 in total. And going back to my mantra of simplicity is better, I can control everything through the G3X, whereas the GTN750 would only be able to control the transponder and the audio panel. I want my secondary NAV/COMM, engine instruments, as well as my autopilot integrated as well.

    Now to just plan out how I’m going to put these three panels together. I really like Good Plane Living’s idea so that I can have the same control instruments on both the pilot and passenger side, with the engine and navigation/weather related information on the middle panel. The only thing I might skip is having the physical autopilot controls on the panel. Something similar to what you see below just without the autopilot.

    Or, possibly this scenario to give me more room below the middle panel. I like the idea of having that storage in the front middle console for things like sunglasses, wallet (which I hate having in my pocket so it usually comes out with I drive/fly) and then have the center console for things like maps, audio panel hookups, manuals, etc. I think I like this option better.