Blog

  • Aileron Skins Primed and Riveted & 3D Printed Parts

    Aileron Skins Primed and Riveted & 3D Printed Parts

    I spent some time last night printing the templates that Allan Glen used for his pitot tube installation. Luckily my 3D printer was spot on on the first go and it only took me 40 minutes to print both of these parts. I’ll drill the pitot tube soon but I wanted to focus on the ailerons as much as possible after this.

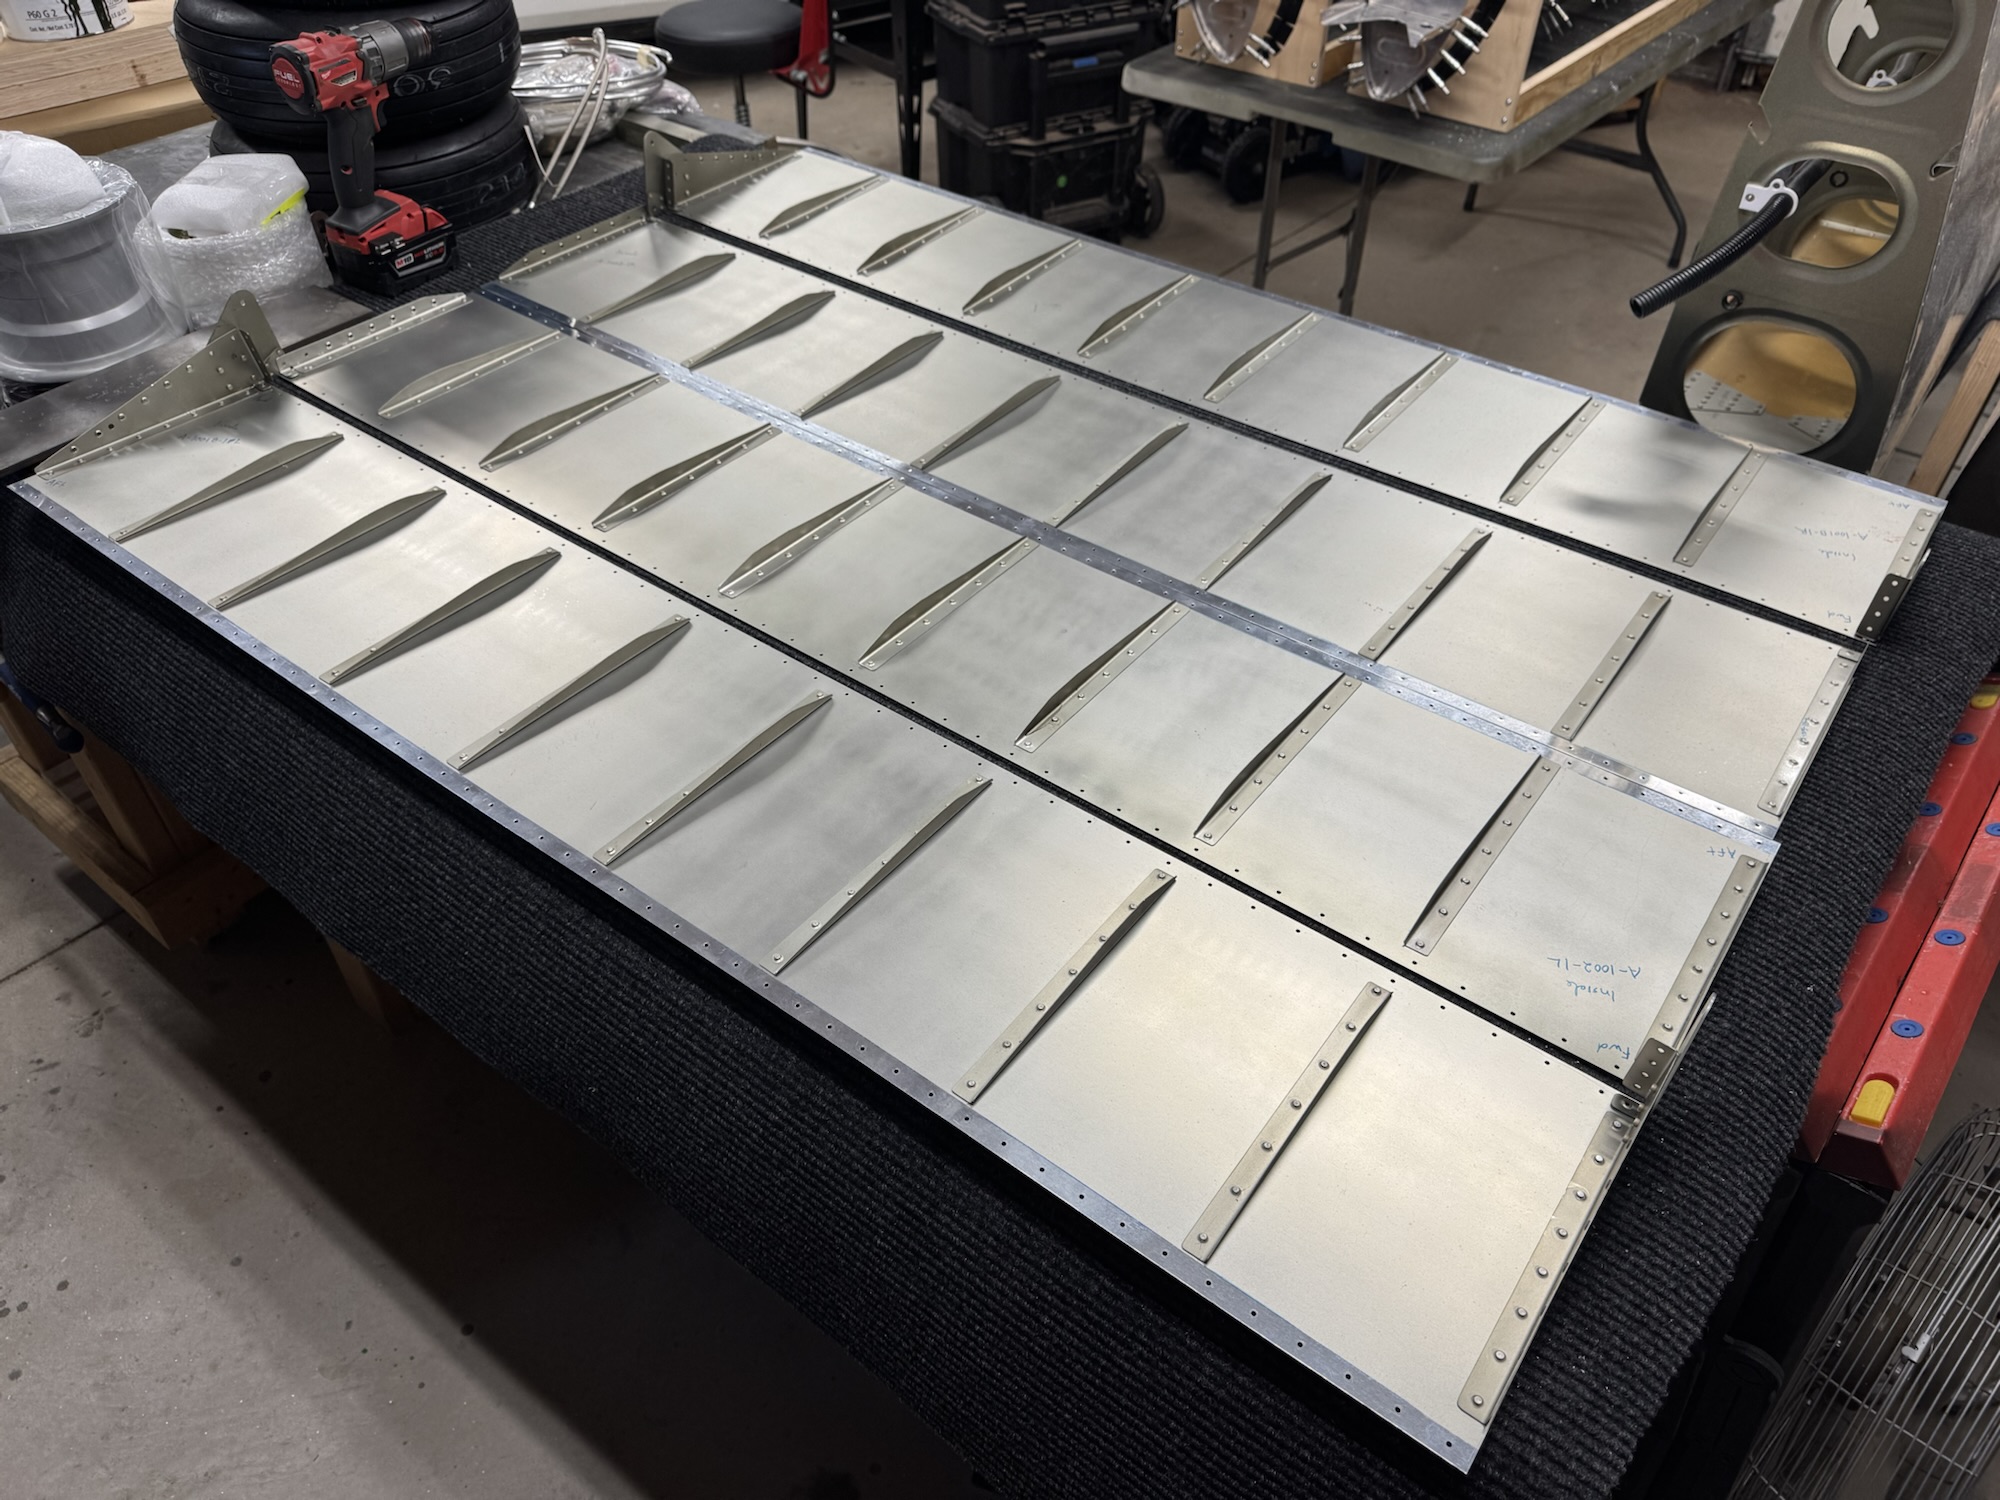
    I got all of the skins prepped (taped off and cleaned) and then I primed them. I guess I’ve not been cleaning the gun very well because it was very slow to dispense paint. I found the filter inside the cup was loaded with old paint which I guess did not get cleaned out in my usual method of putting lacquer thinner and spraying that through the gun. I’ll do a better job going forward but at least it got the job done still.

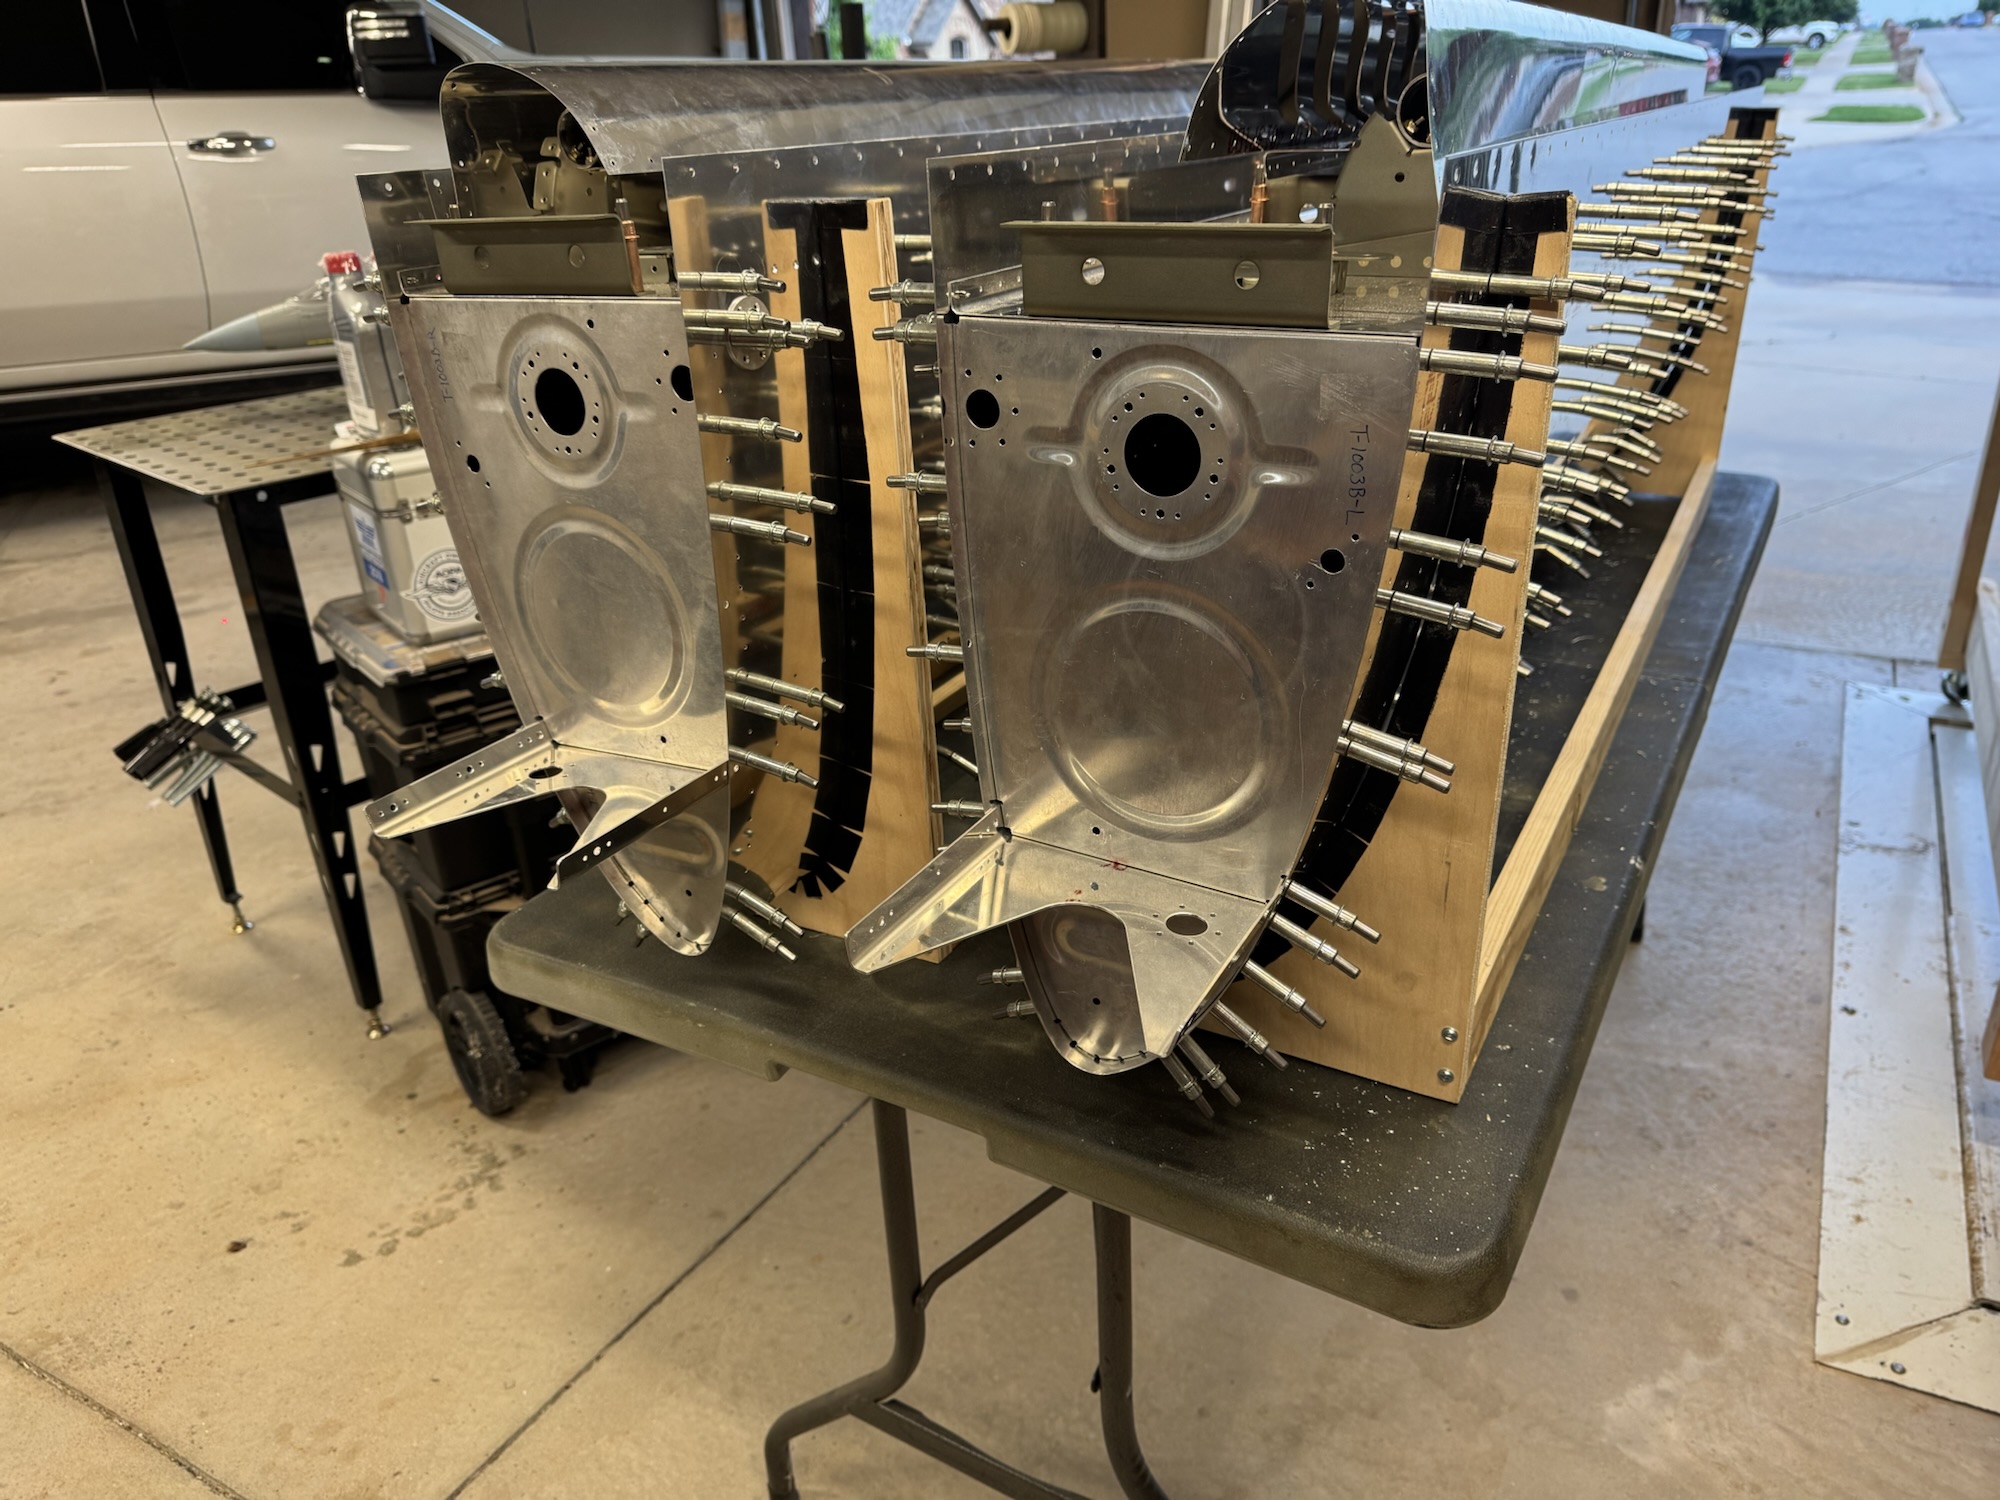
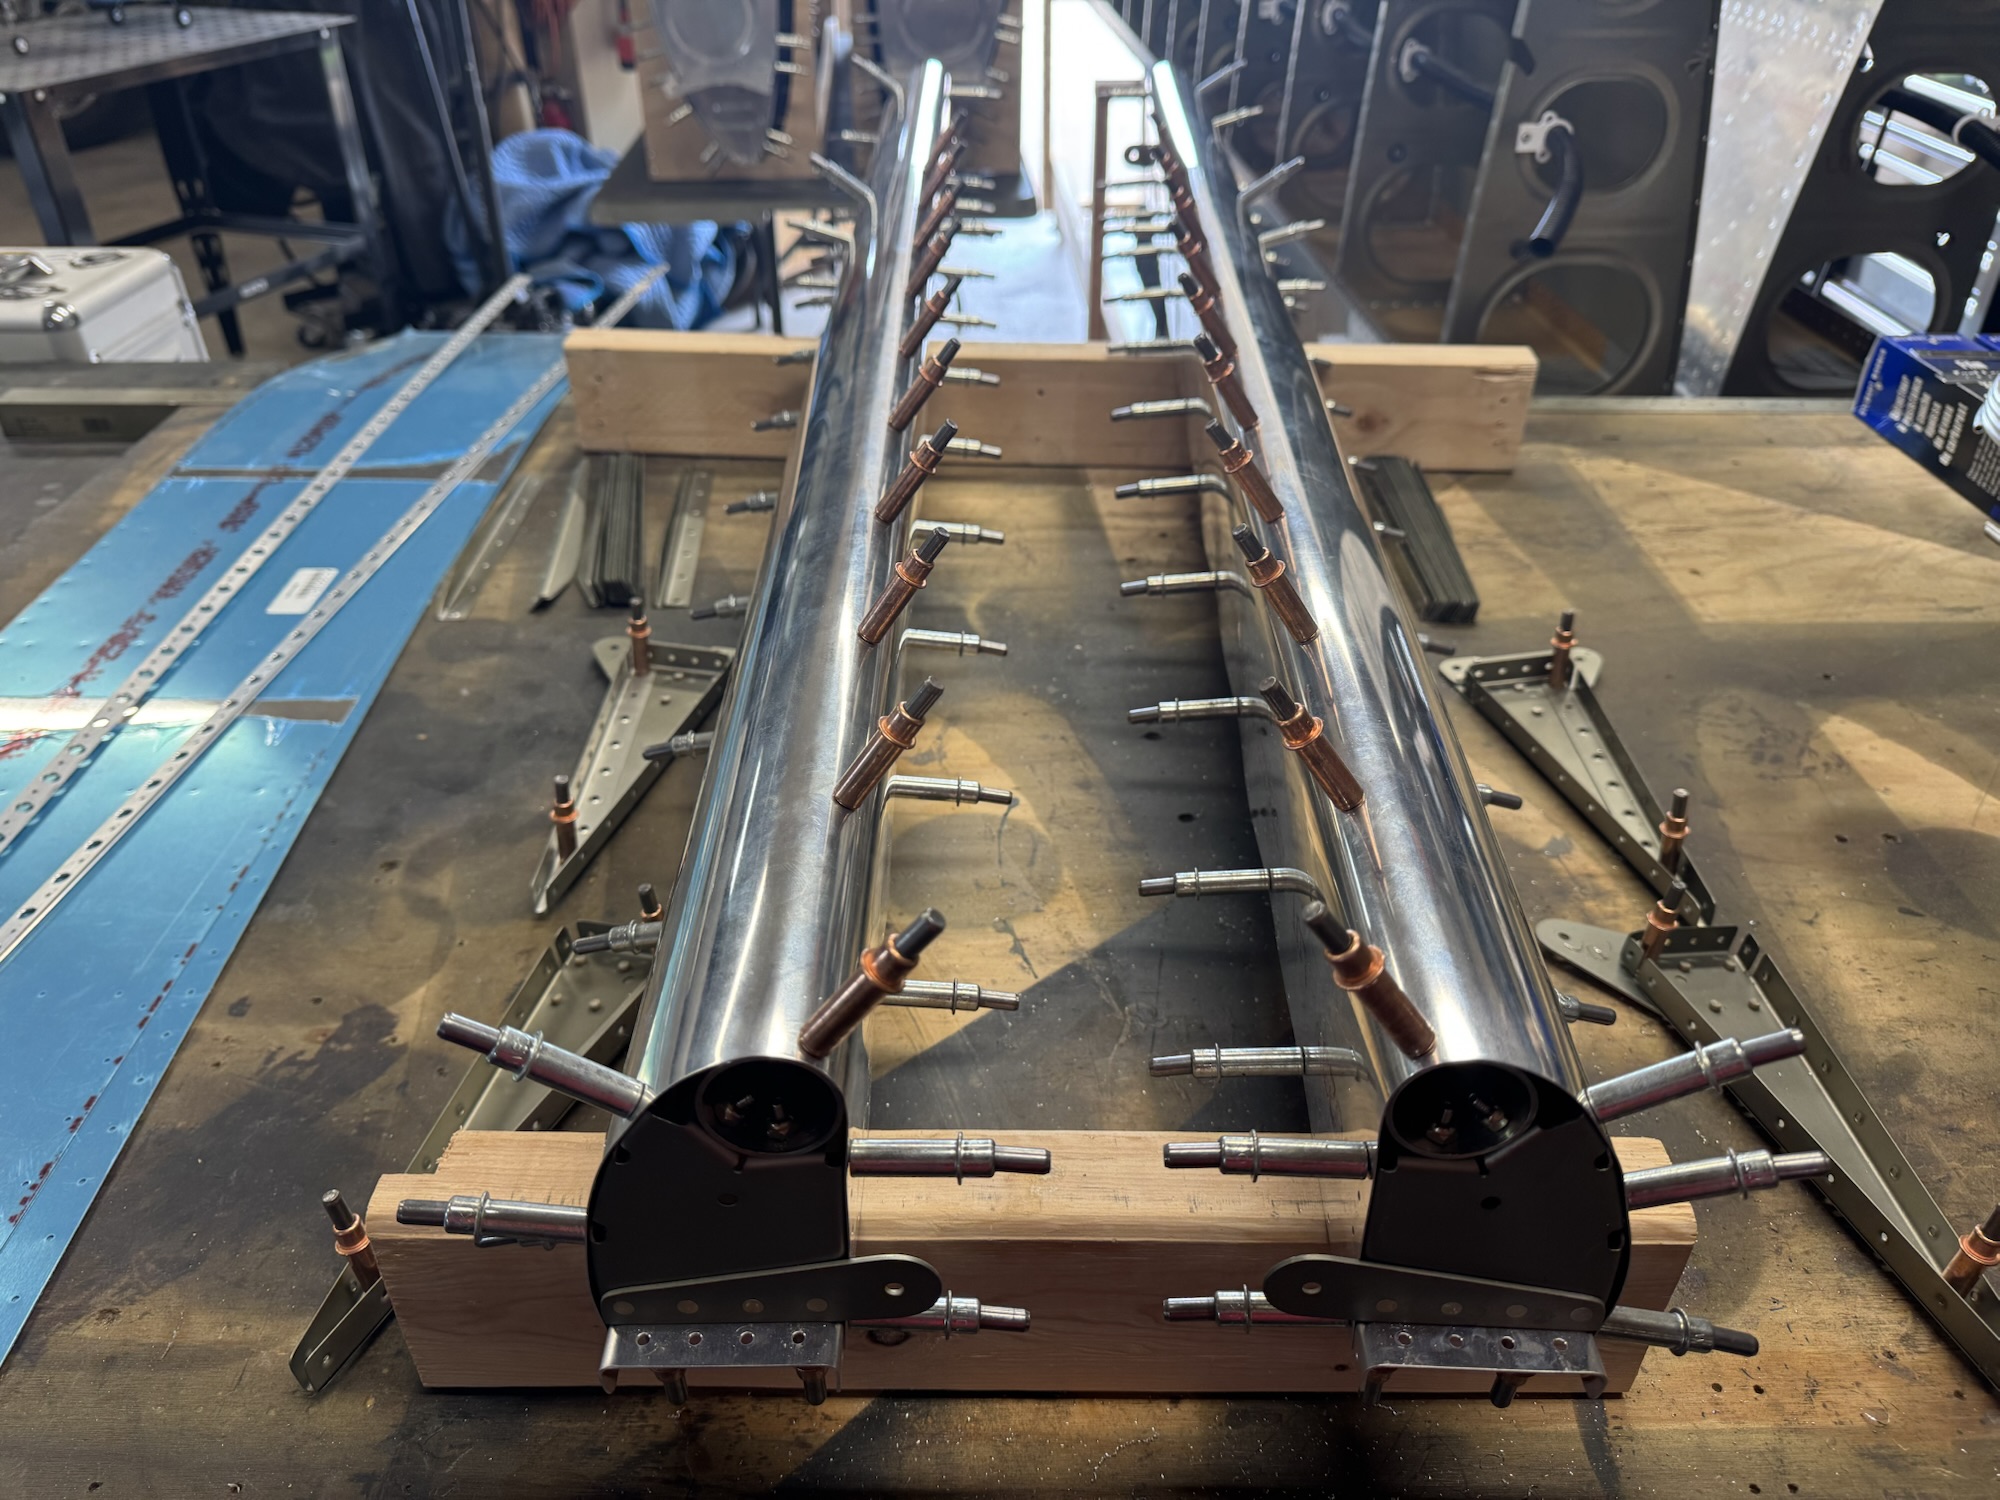
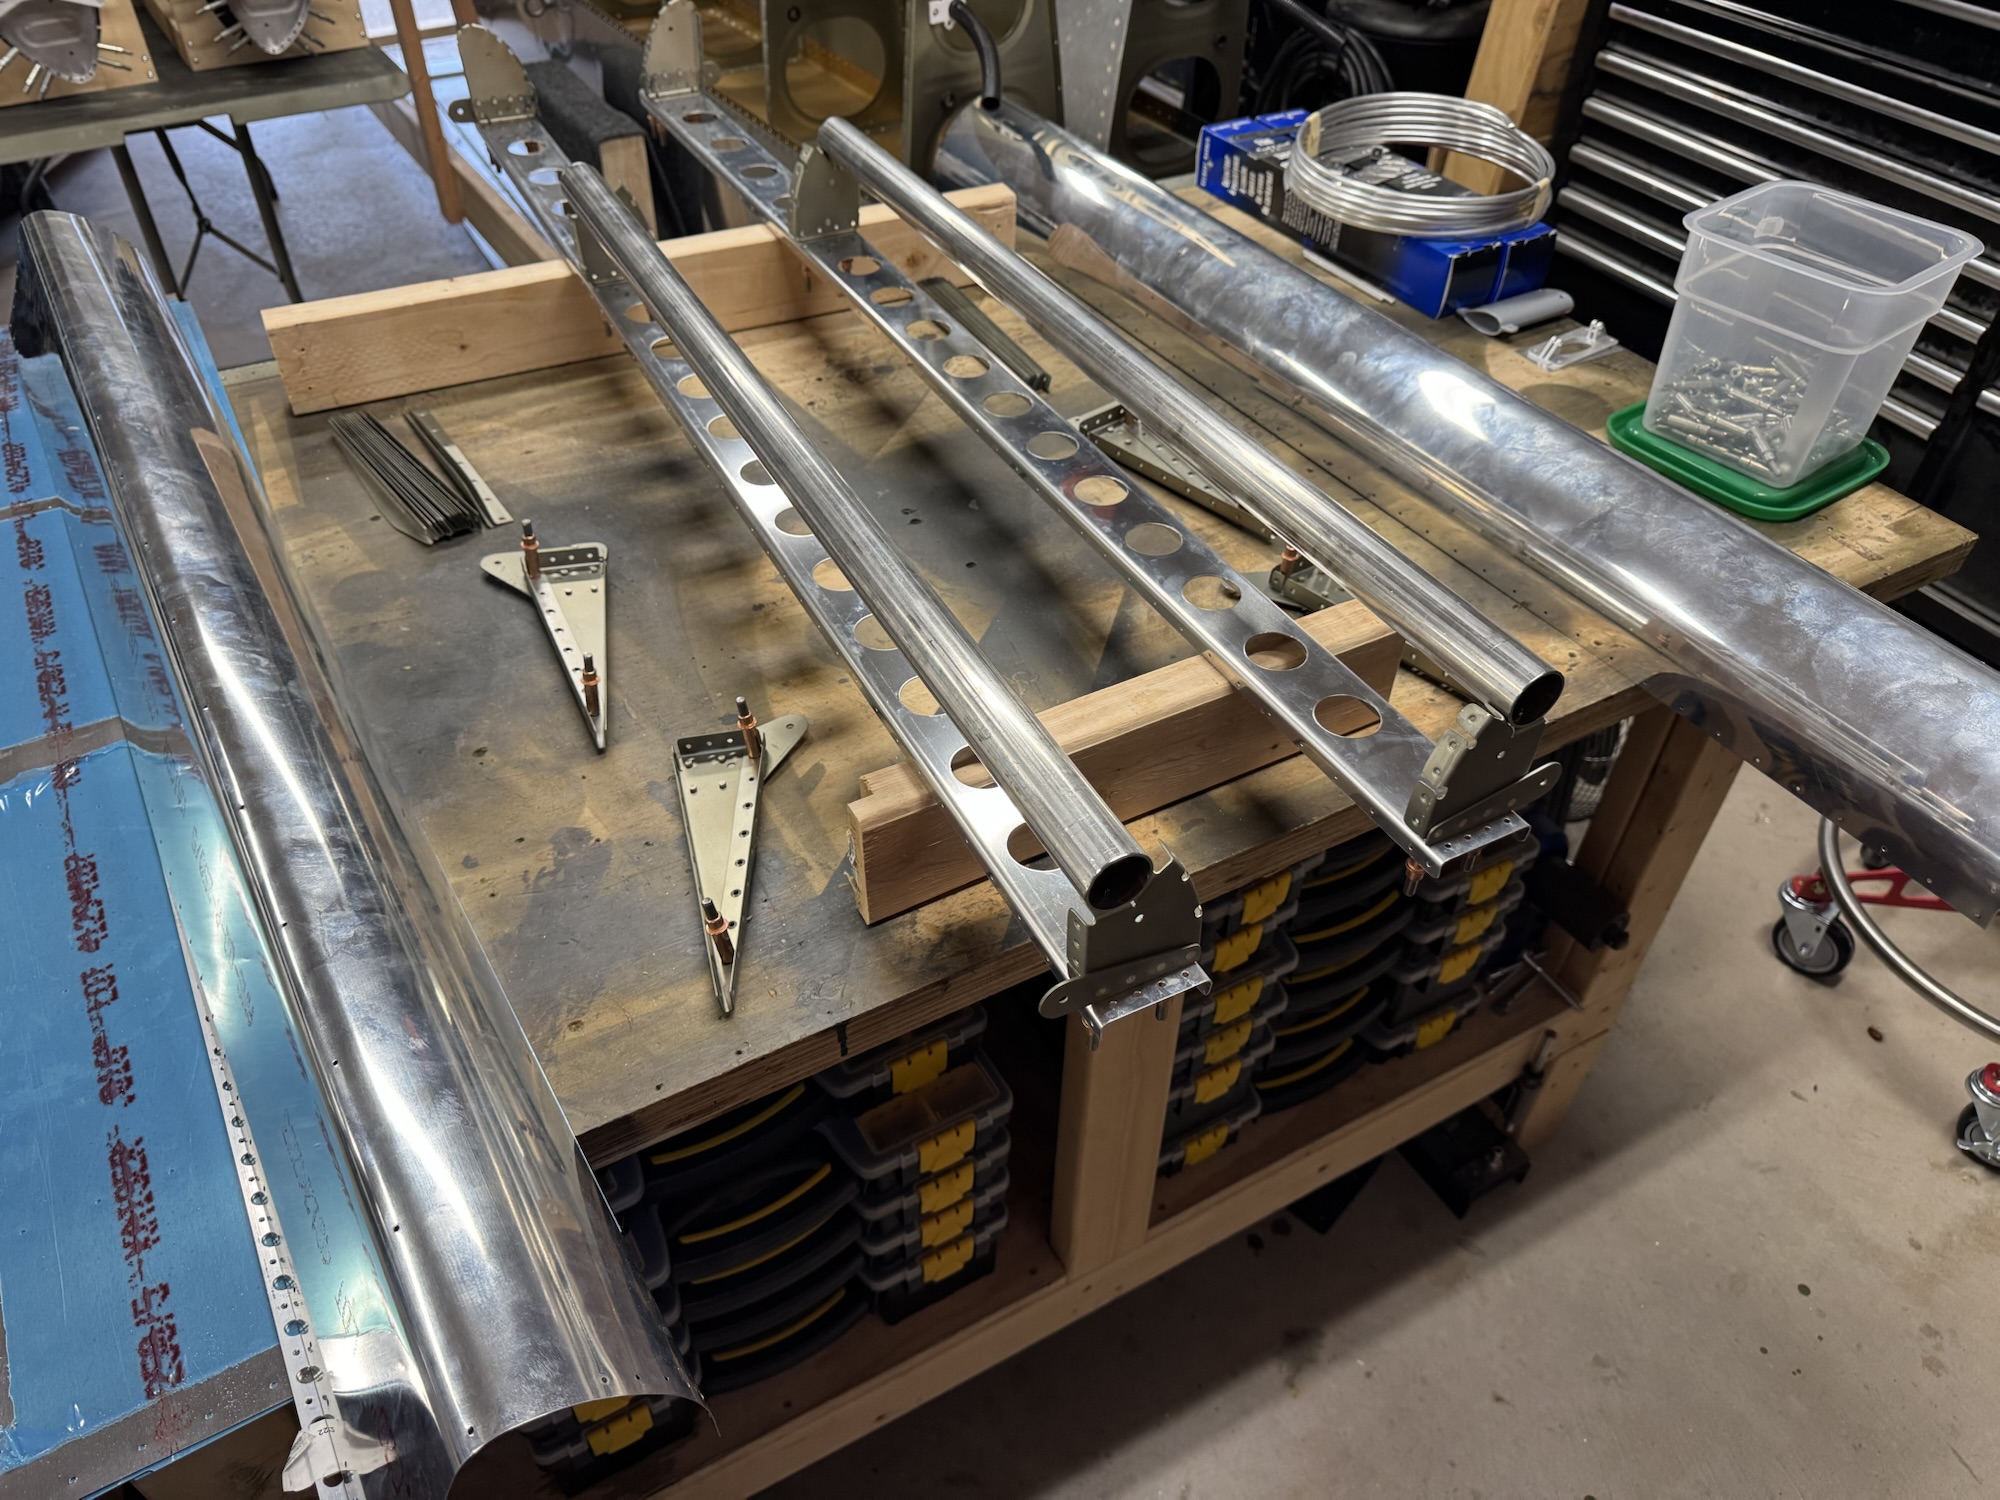
    I then spent the rest of the evening riveting on the stiffeners and ribs. I made one mistake an accidentally put the A portion of the ribs in the B ribs spot. I drilled that out (which luckily I hadn’t put the B ribs in on the other skin yet) and reset the ribs in the right spot.

  • Elevator Skin Work & Brakes Have Arrived!

    Elevator Skin Work & Brakes Have Arrived!

    This is my second post of the day since I worked on two sections today. I disassembled the ailerons so that I could start the dimpling process. I deburred the holes I drilled in the counter balances which took a bit more effort since it was stainless steel. I got all of the skins deburred. I am 99% sure I got the skins in the right orientation but I tell you sometimes when I feel sure in the moment, down the road I discover I did it incorrectly. I really sat and thought this one through so I feel I’ve got it correct.

    Oh, and my Grove brake kit arrived! I’ve got all of my wheels and brakes for when I get the airplane on its own legs.

  • Right Tank J Stiffener

    Right Tank J Stiffener

    While I was in Florida, the J stiffener arrived. I got it cut, deburred, marked, and drilled today. I think I’m going to stop here on the gas tanks until I can get the tank seal as I want to keep the tank parts as condensed as possible since I’m also working on the ailerons at the same time. Just too many parts going around and I want to keep them in an organized manner. Unfortunately I didn’t take a picture when I finished the J channel so I’m just putting a picture I took today of where they are sitting now.

  • Counterbalance Drilling

    Counterbalance Drilling

    I had some time before my flight this morning so I decided to be productive and get those holes drilled. I put the skin back on and drilled all of the holes. Next is to take the skin and ribs off and start prepping them for final assembly.

  • Forgotten Dimpling and Counterbalance Drilling

    Forgotten Dimpling and Counterbalance Drilling

    I am about to be out for a week and I wanted to get somethings prepped before I forgot them. I forgot to do some dimpling on the ribs so I did that and I got the counter balances drilled and mounted. Off to Florida for some cybersecurity training!

  • Aileron Leading Edge Assembled

    Aileron Leading Edge Assembled

    I got the aileron leading edges put together and drilled the counterbalance in its place. This included finalizing all of the deburring on the spar, straightening all of the flanges on the ribs that I hadn’t finished, drilling where needed, deburring those holes, and then priming and riveting the rib assemblies together. I will need to remove the skin and finish the drilling the counterbalances so they are secured to the leading edge. It was a long day but good to get this work done.

  • More Aileron Component Deburring & Pitot Tube Fitting

    More Aileron Component Deburring & Pitot Tube Fitting

    I got all of the stiffeners marked and final size cut today. Yesterday I had only separated them into the individual stiffeners with the rough cut. I deburred all of the parts today as well. That was the majority of the time. I also spent some time getting the pitot tube test fit into the pitot mast that I ordered from Aircraft Spruce. It is a bit snug so I am having to grind down both the mast and the pitot a tiny bit to make it fit. Luckily it is ground down properly now and I just need to drill the holes in the mast to match the pitot tube. I’m 3d printing a template from Allan Glen’s page and I’ll see if that matches up tomorrow.

  • Ailerons Started

    Ailerons Started

    I spent most of my time yesterday and today either working or doing graduation activities for my oldest. I watched the Van’s fuel tank video again. And that thing is not short. It is 2 hours and 40 minutes long. But it is loaded with good information. I almost wish I had seen this when I started building as it would have helped me alot at the beginning. Either way, I also got new shop stools so my rear won’t hurt so much sitting on those hard, old stools LOL. I at least got all of the parts collected for the ailerons and got the parts cut and separated. I didn’t have it pictured here but I got the pile of skin stiffeners cut too.

  • Wing Shims Cut/Deburred and Pitot Tube Planning

    Wing Shims Cut/Deburred and Pitot Tube Planning

    I probably won’t get much time to work on the plane for the next week and a half because of work travel and other items. But we’ll see. I did finally find the wing shims. I didn’t dig deep enough into my small parts box. It was at the bottom of that. I got those cut and deburred entirely. I did watch Van’s Aircraft’s video about how to do the tank sealing. I also watched PlaneLady’s video on the same process. Trying to get my mind into that whole process. I liked Van’s video better but PlaneLady’s video had some small tid-bits that were specific to the RV-10 that were good. I plan to at least disassemble the tanks and get the T-1005-L/R countersunk and also start the dimpling on the right tank. Actually, I need to scuff up and clean the skins and parts first before I dimple as Van’s went over so that I can get the scuffing thoroughly through to all the parts of the skin that need it. Oh, and I also bought a few parts today too. I bought the Dynon pitot mount which is specific to the RV-10 wing. It will fit the Garmin GAP 26 and will give me some good reinforcement right out of the box. I also ordered some size 6 rivets to fill the holes in the ribs that Van’s asks you to fill. Even Van’s themselves did that, instead of putting spare aluminum sheeting behind it. I think that will be a better solution and more solid.

  • Tanks Prepared for Disassembly

    Tanks Prepared for Disassembly

    I got the left tank 100% complete for disassembly and dimpling. I got the right tank to the same spot also but since I am missing the J channel I’ll have to leave it where it is at until I can get that done. Luckily they shipped it today so fingers crossed it arrives before the weekend. But I got all of the zee brackets finished, primed and nutplates riveted. I also got the countersinking done on the rear rows of rivets. I feel I’m going to have to countersink the T-1005-L&R brackets because they are super thick, but it doesn’t say so. I’m betting they are expecting us to know when it is needed by now so I plan on reviewing what other’s did to that area. I don’t know if I should countersink the skin and leave the brackets alone or counter sink the brackets and dimple the skins.