Blog

  • Tanks Mostly Assembled and One J-Channel Drilled

    Tanks Mostly Assembled and One J-Channel Drilled

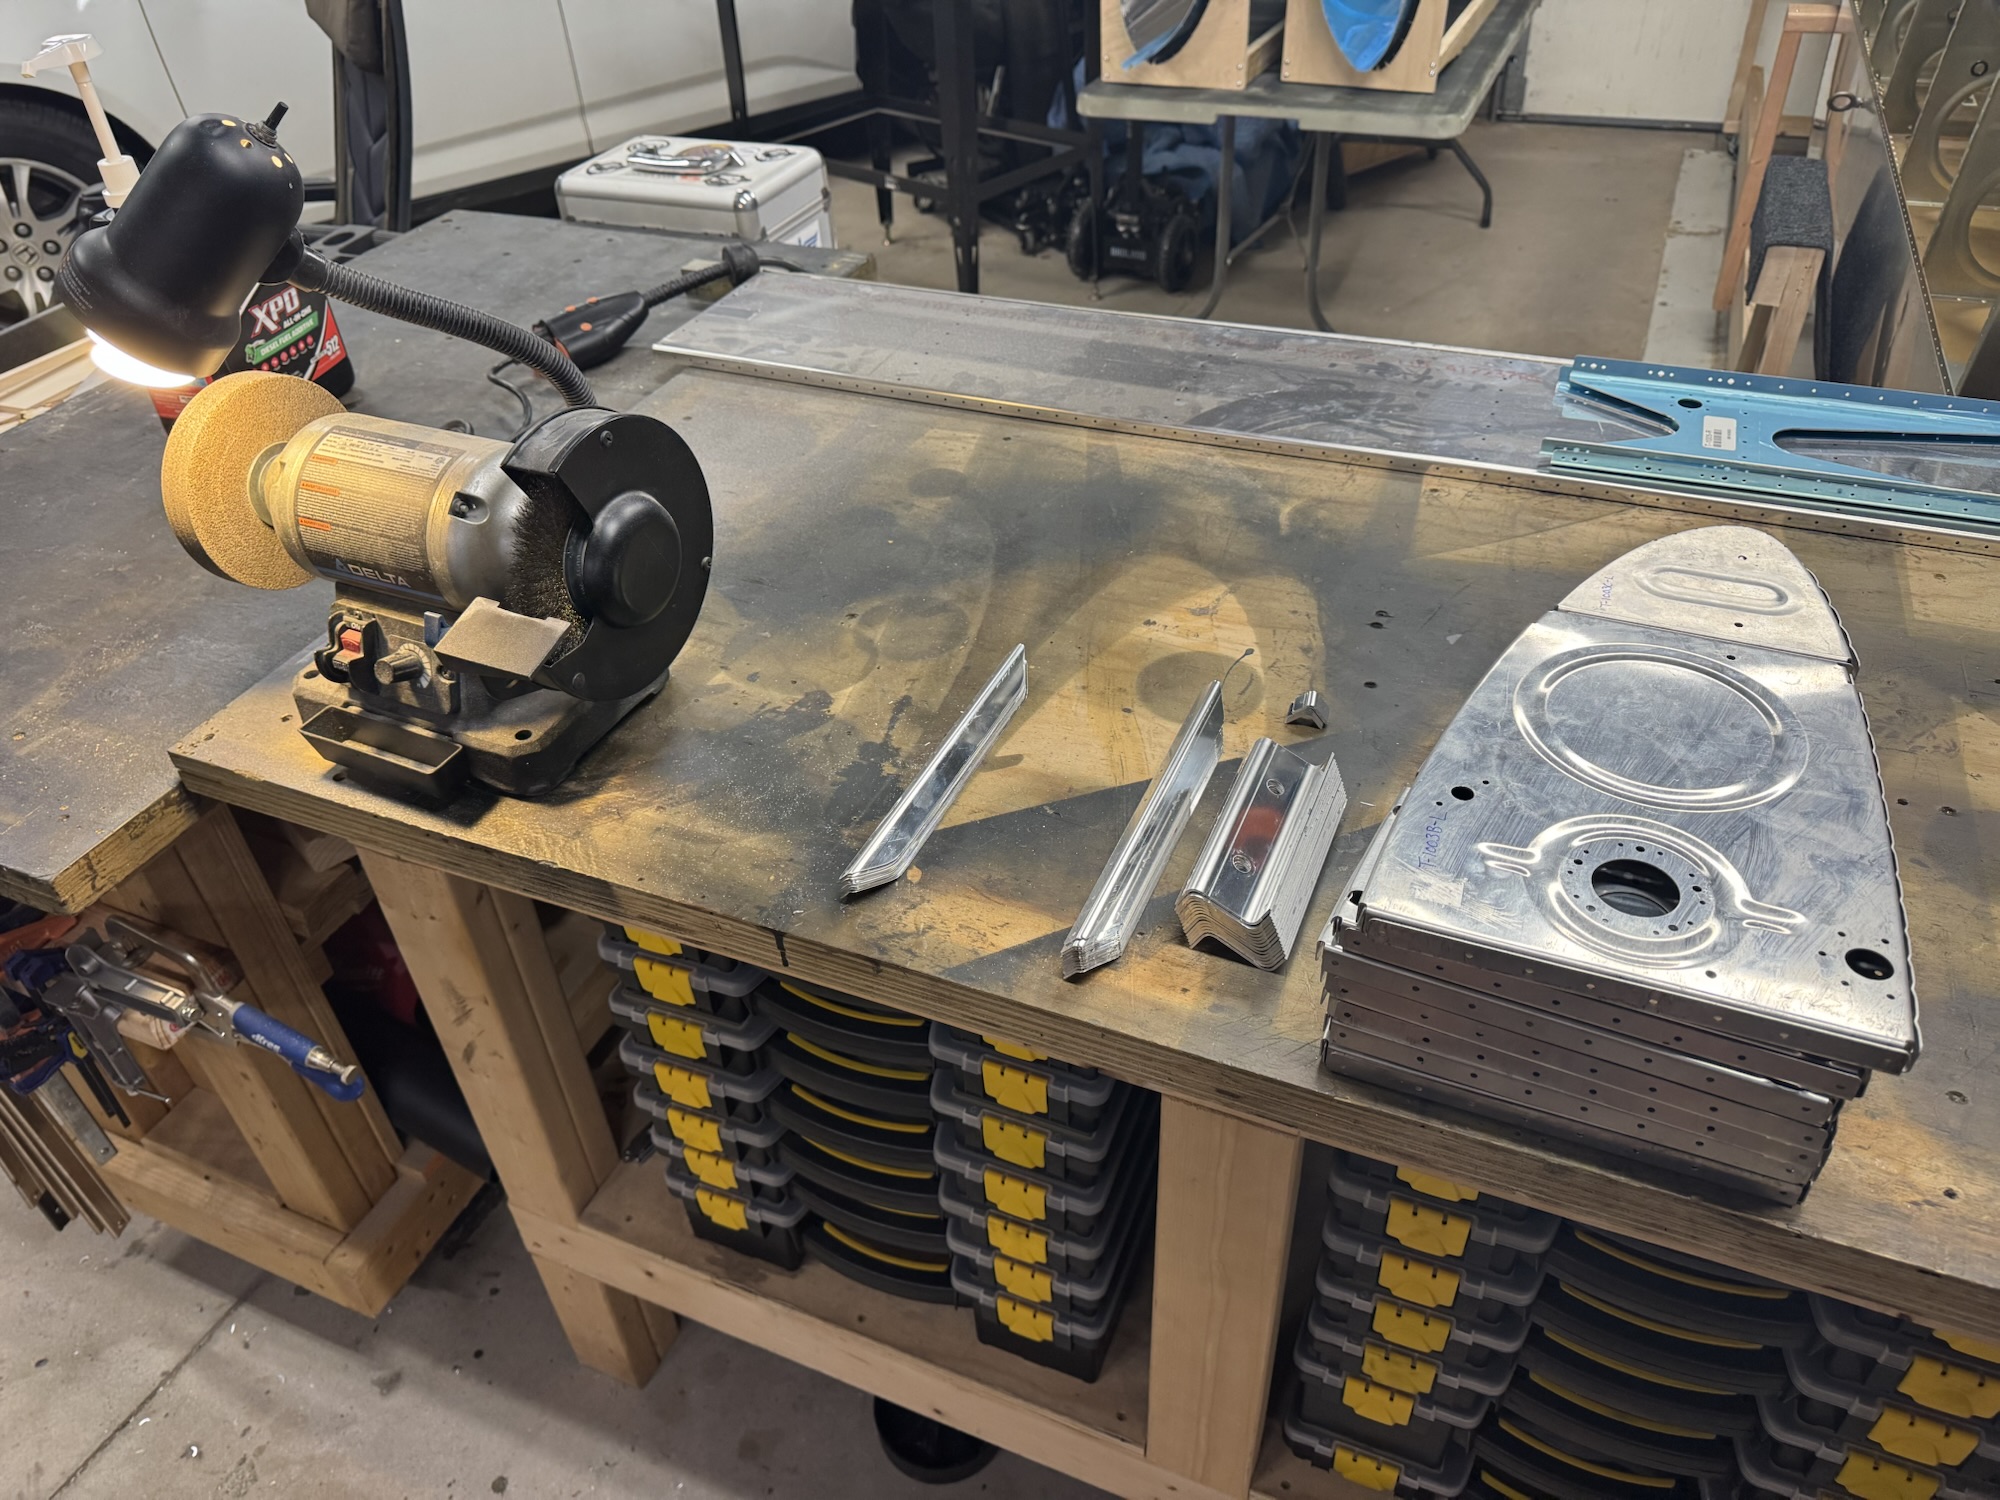
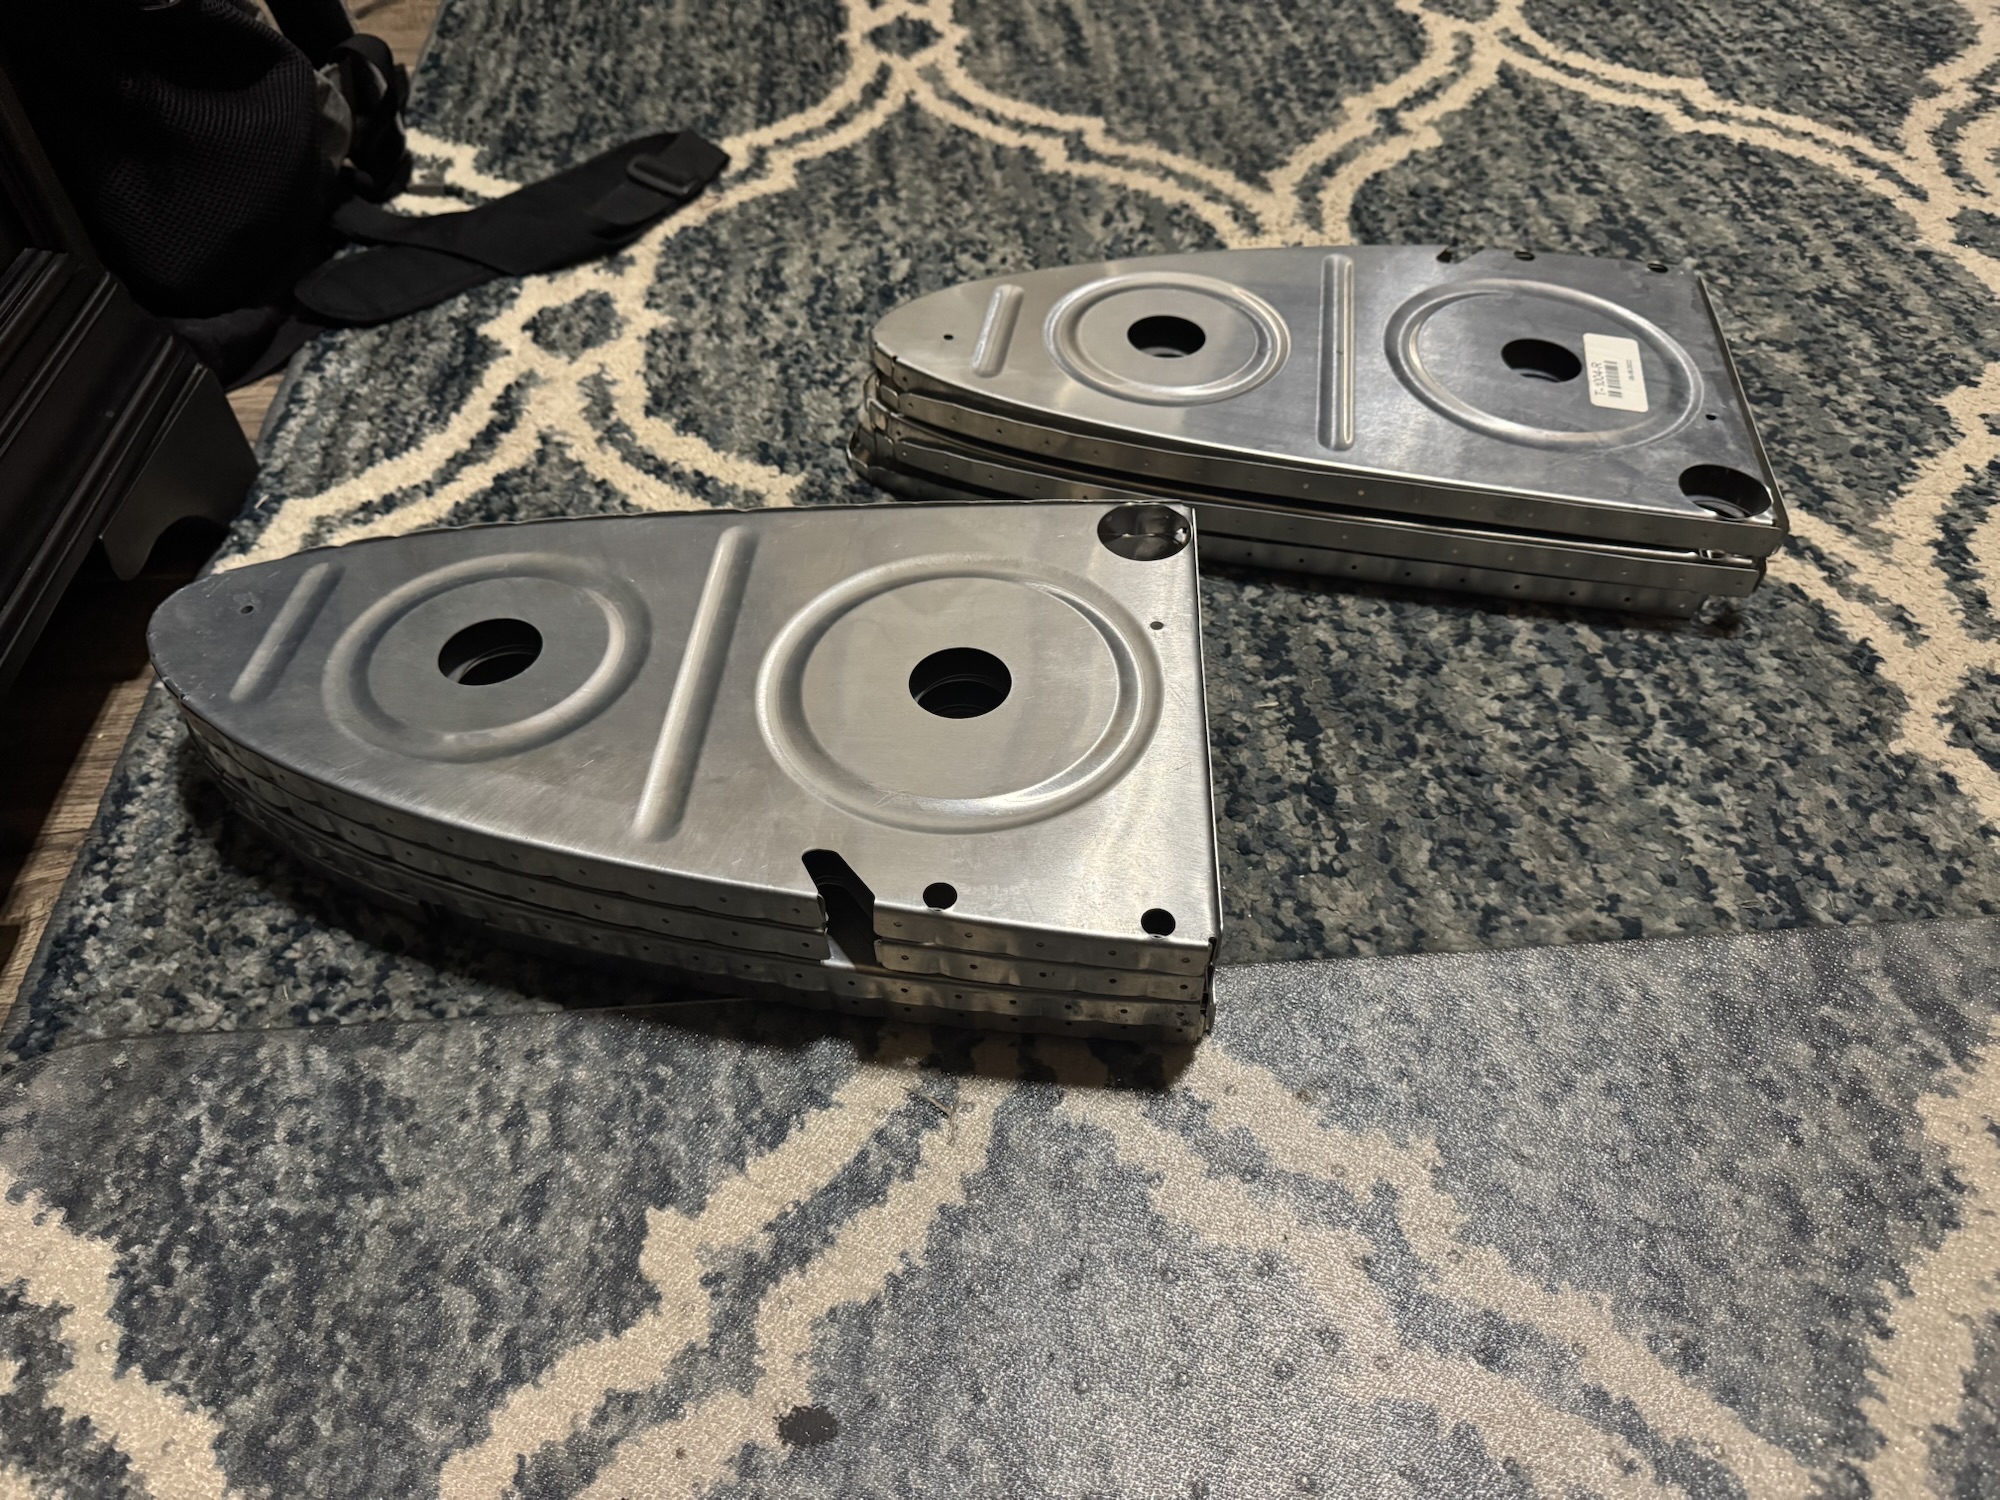
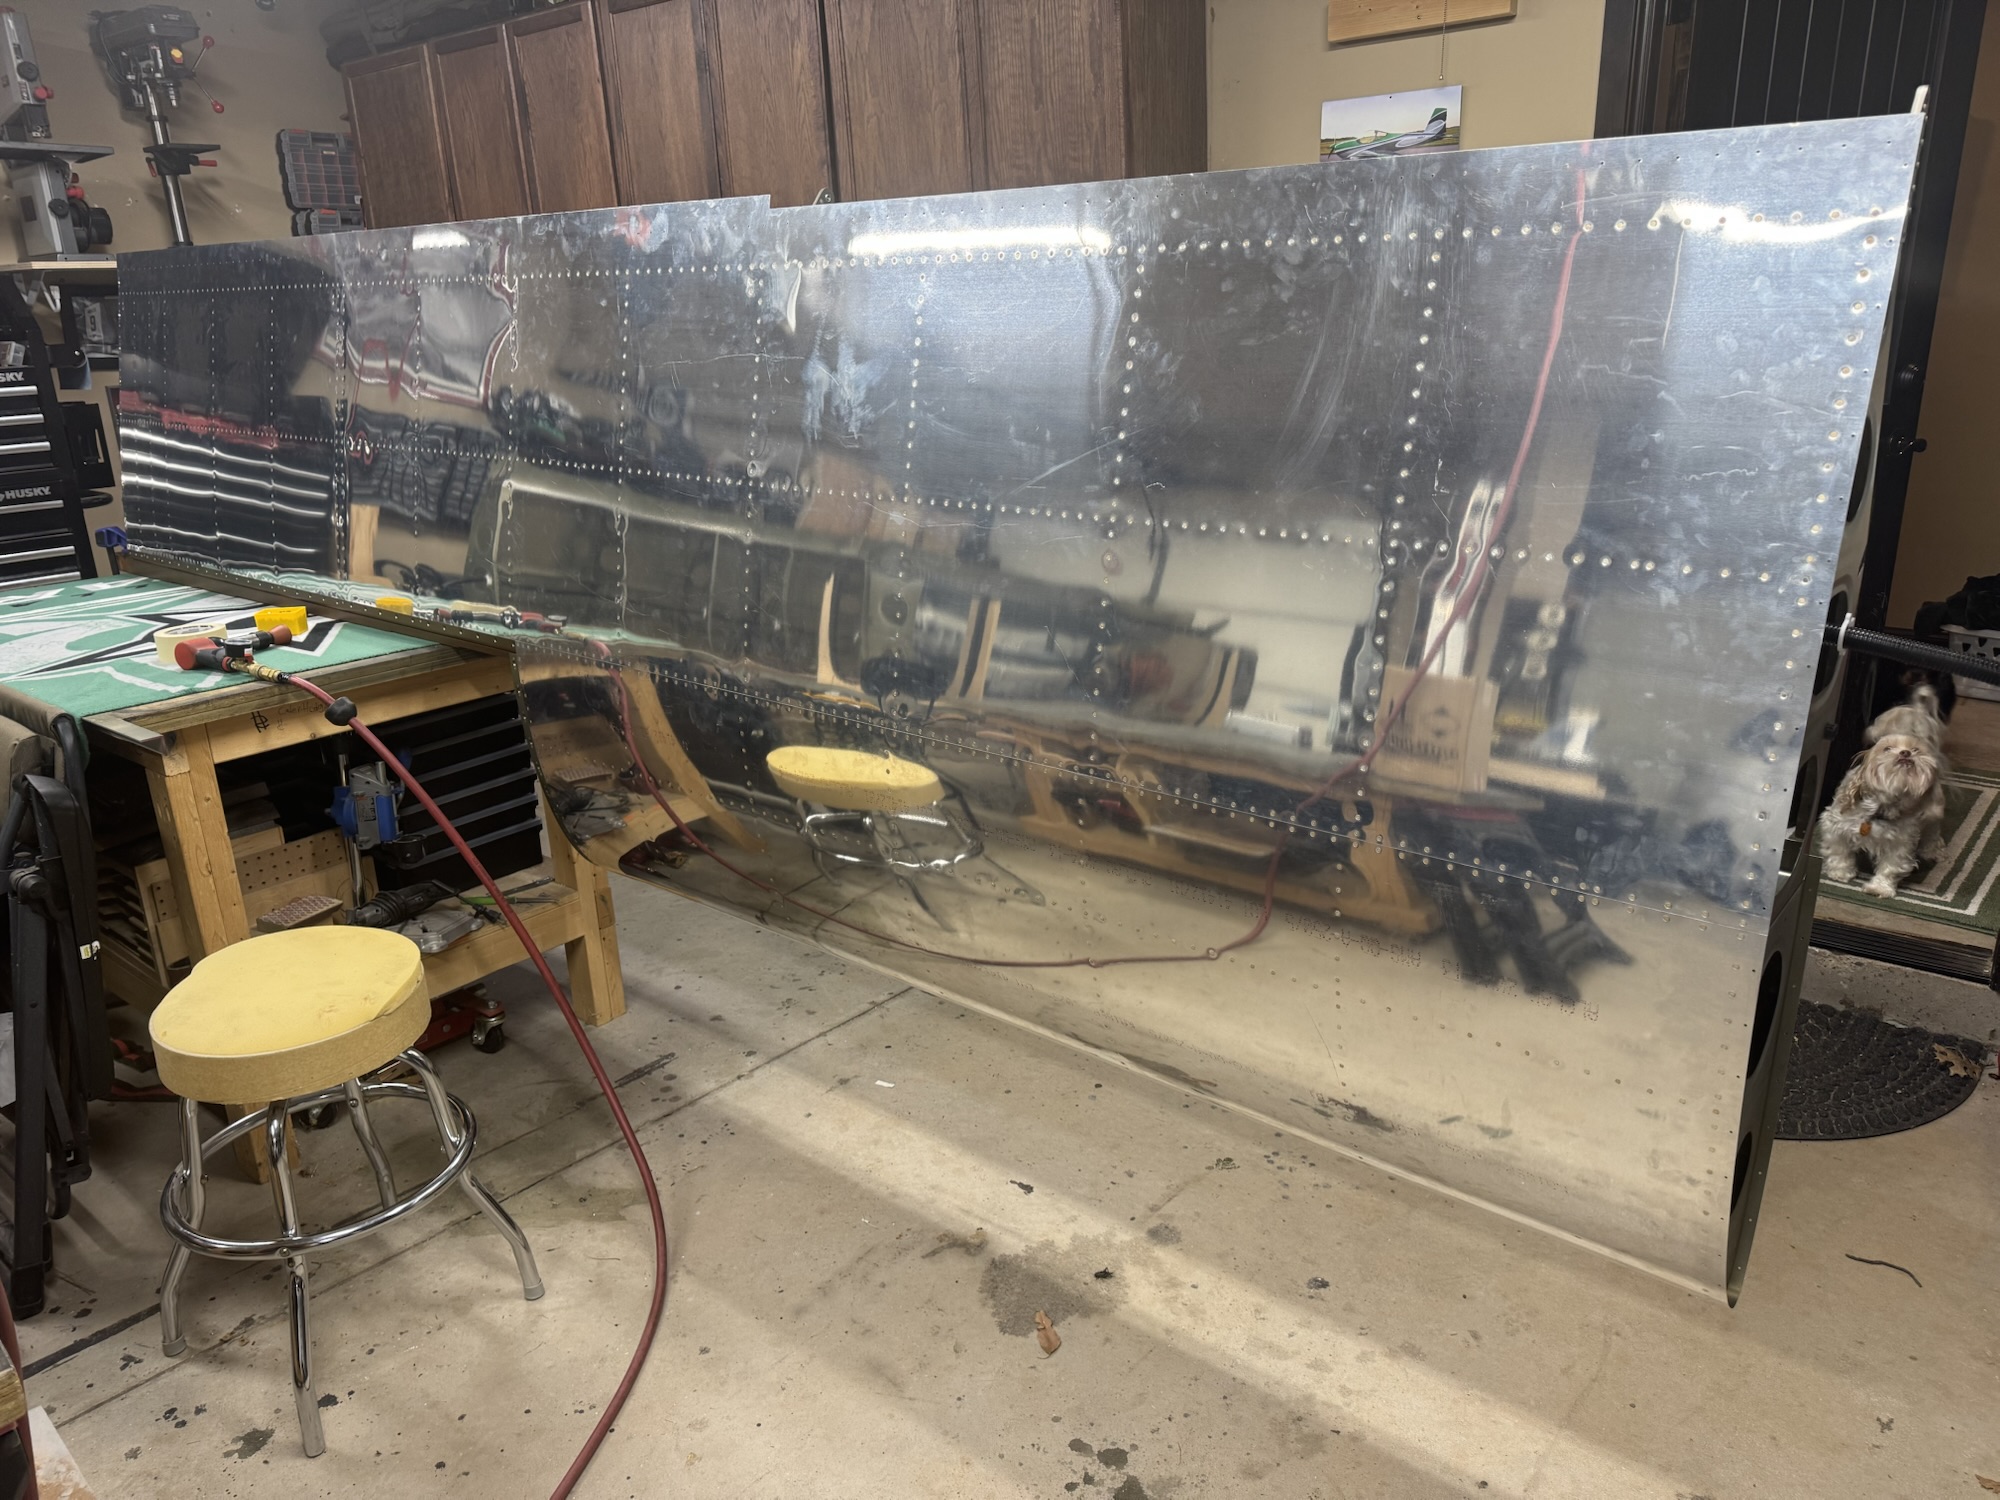
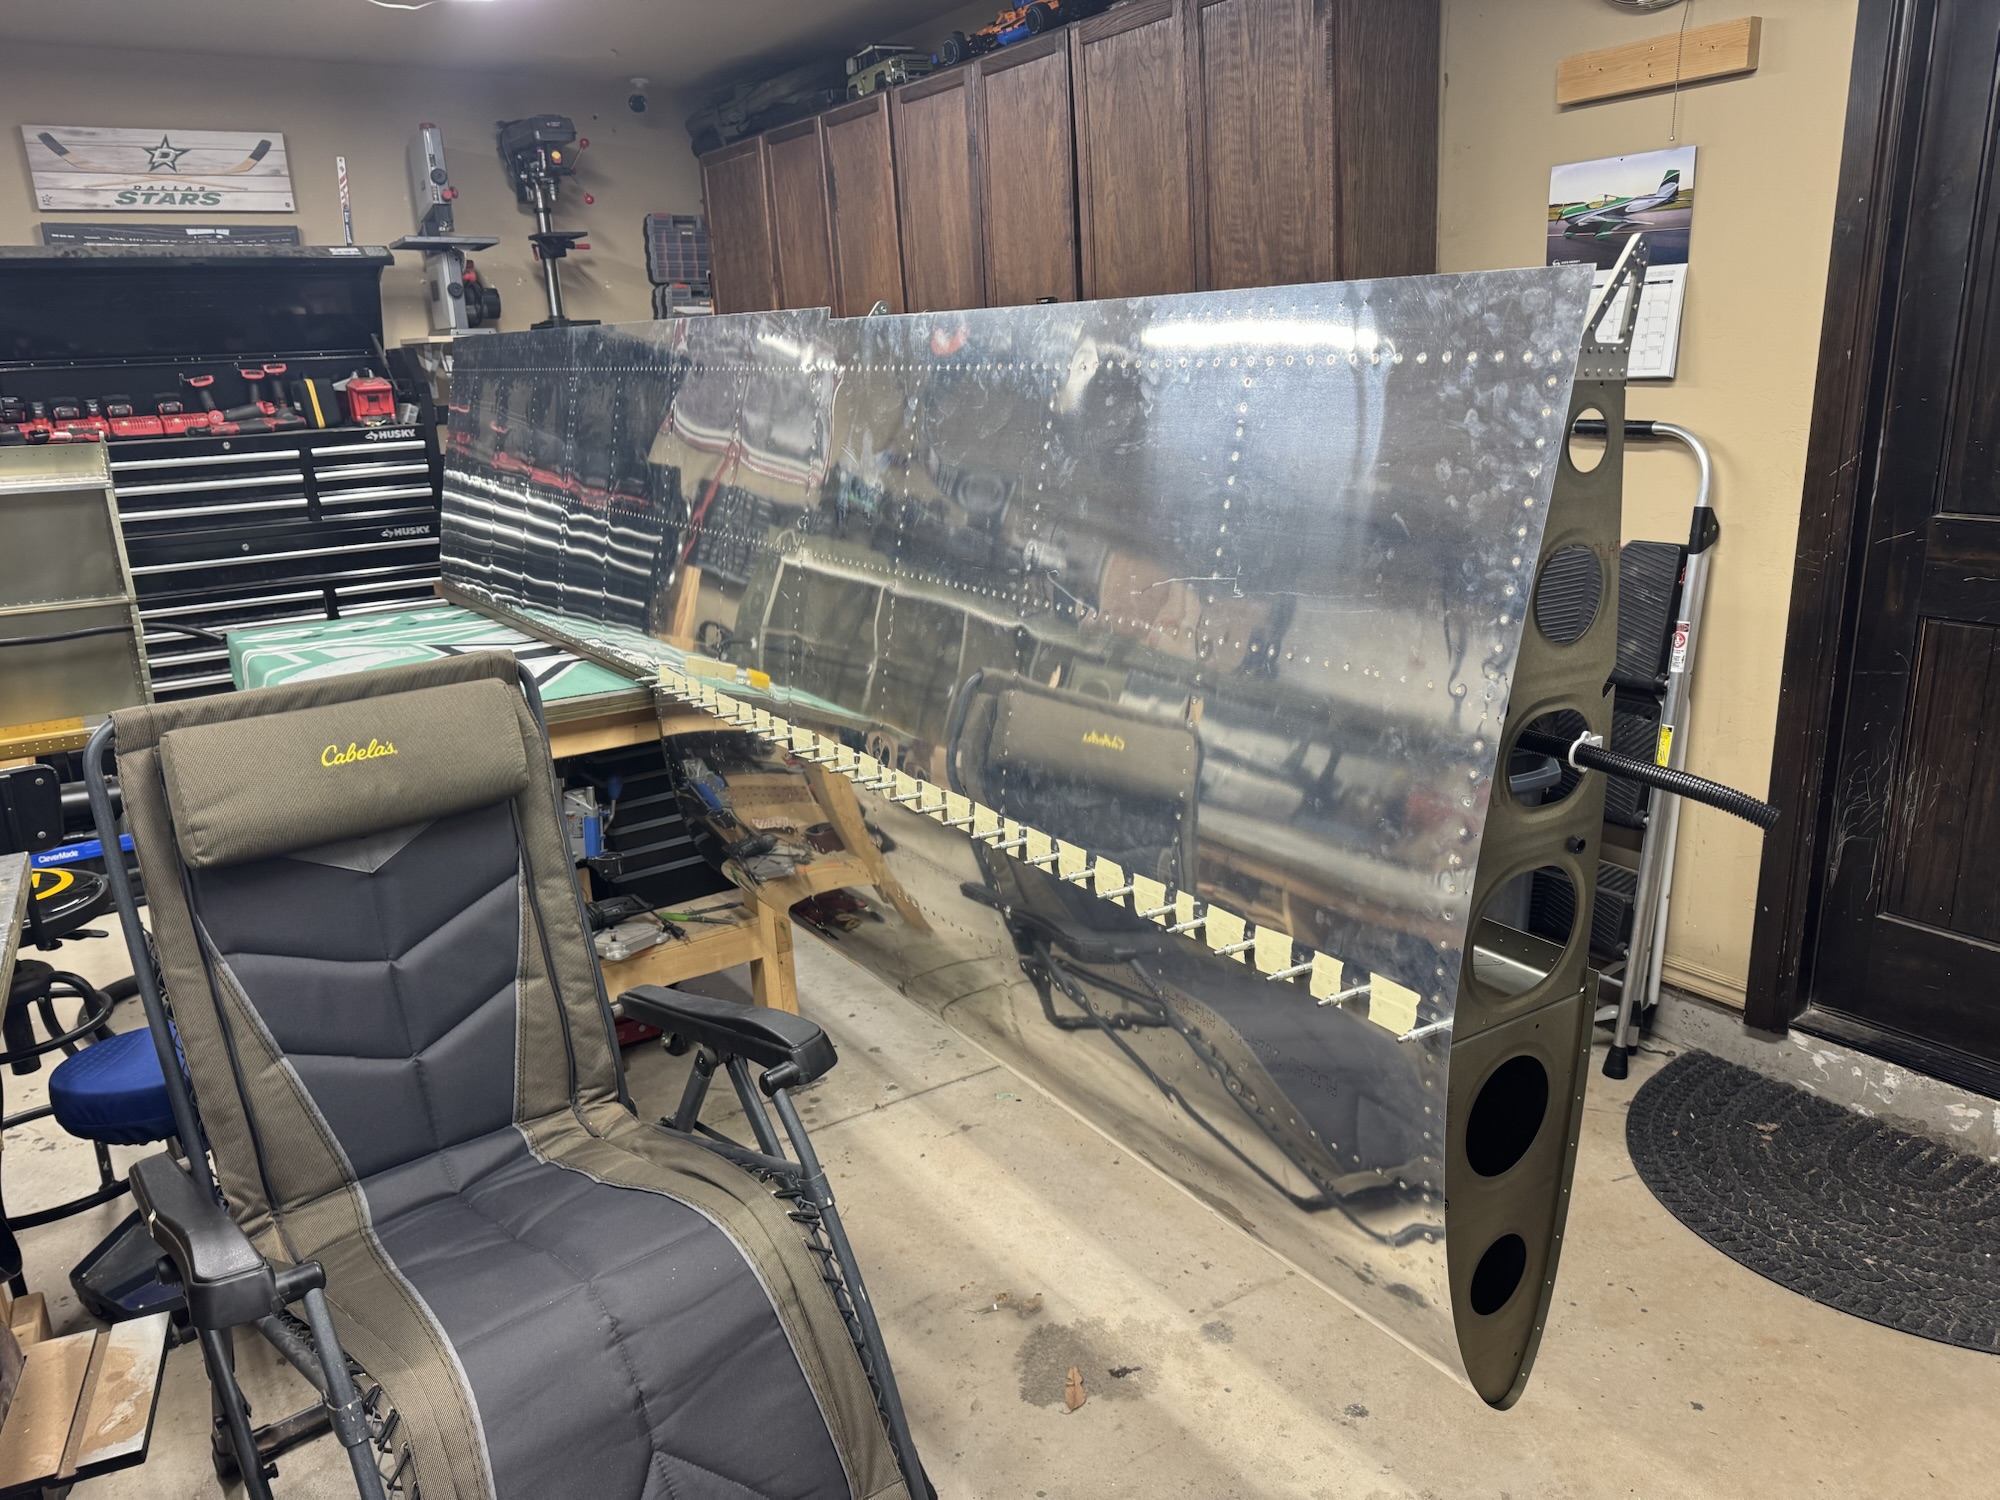
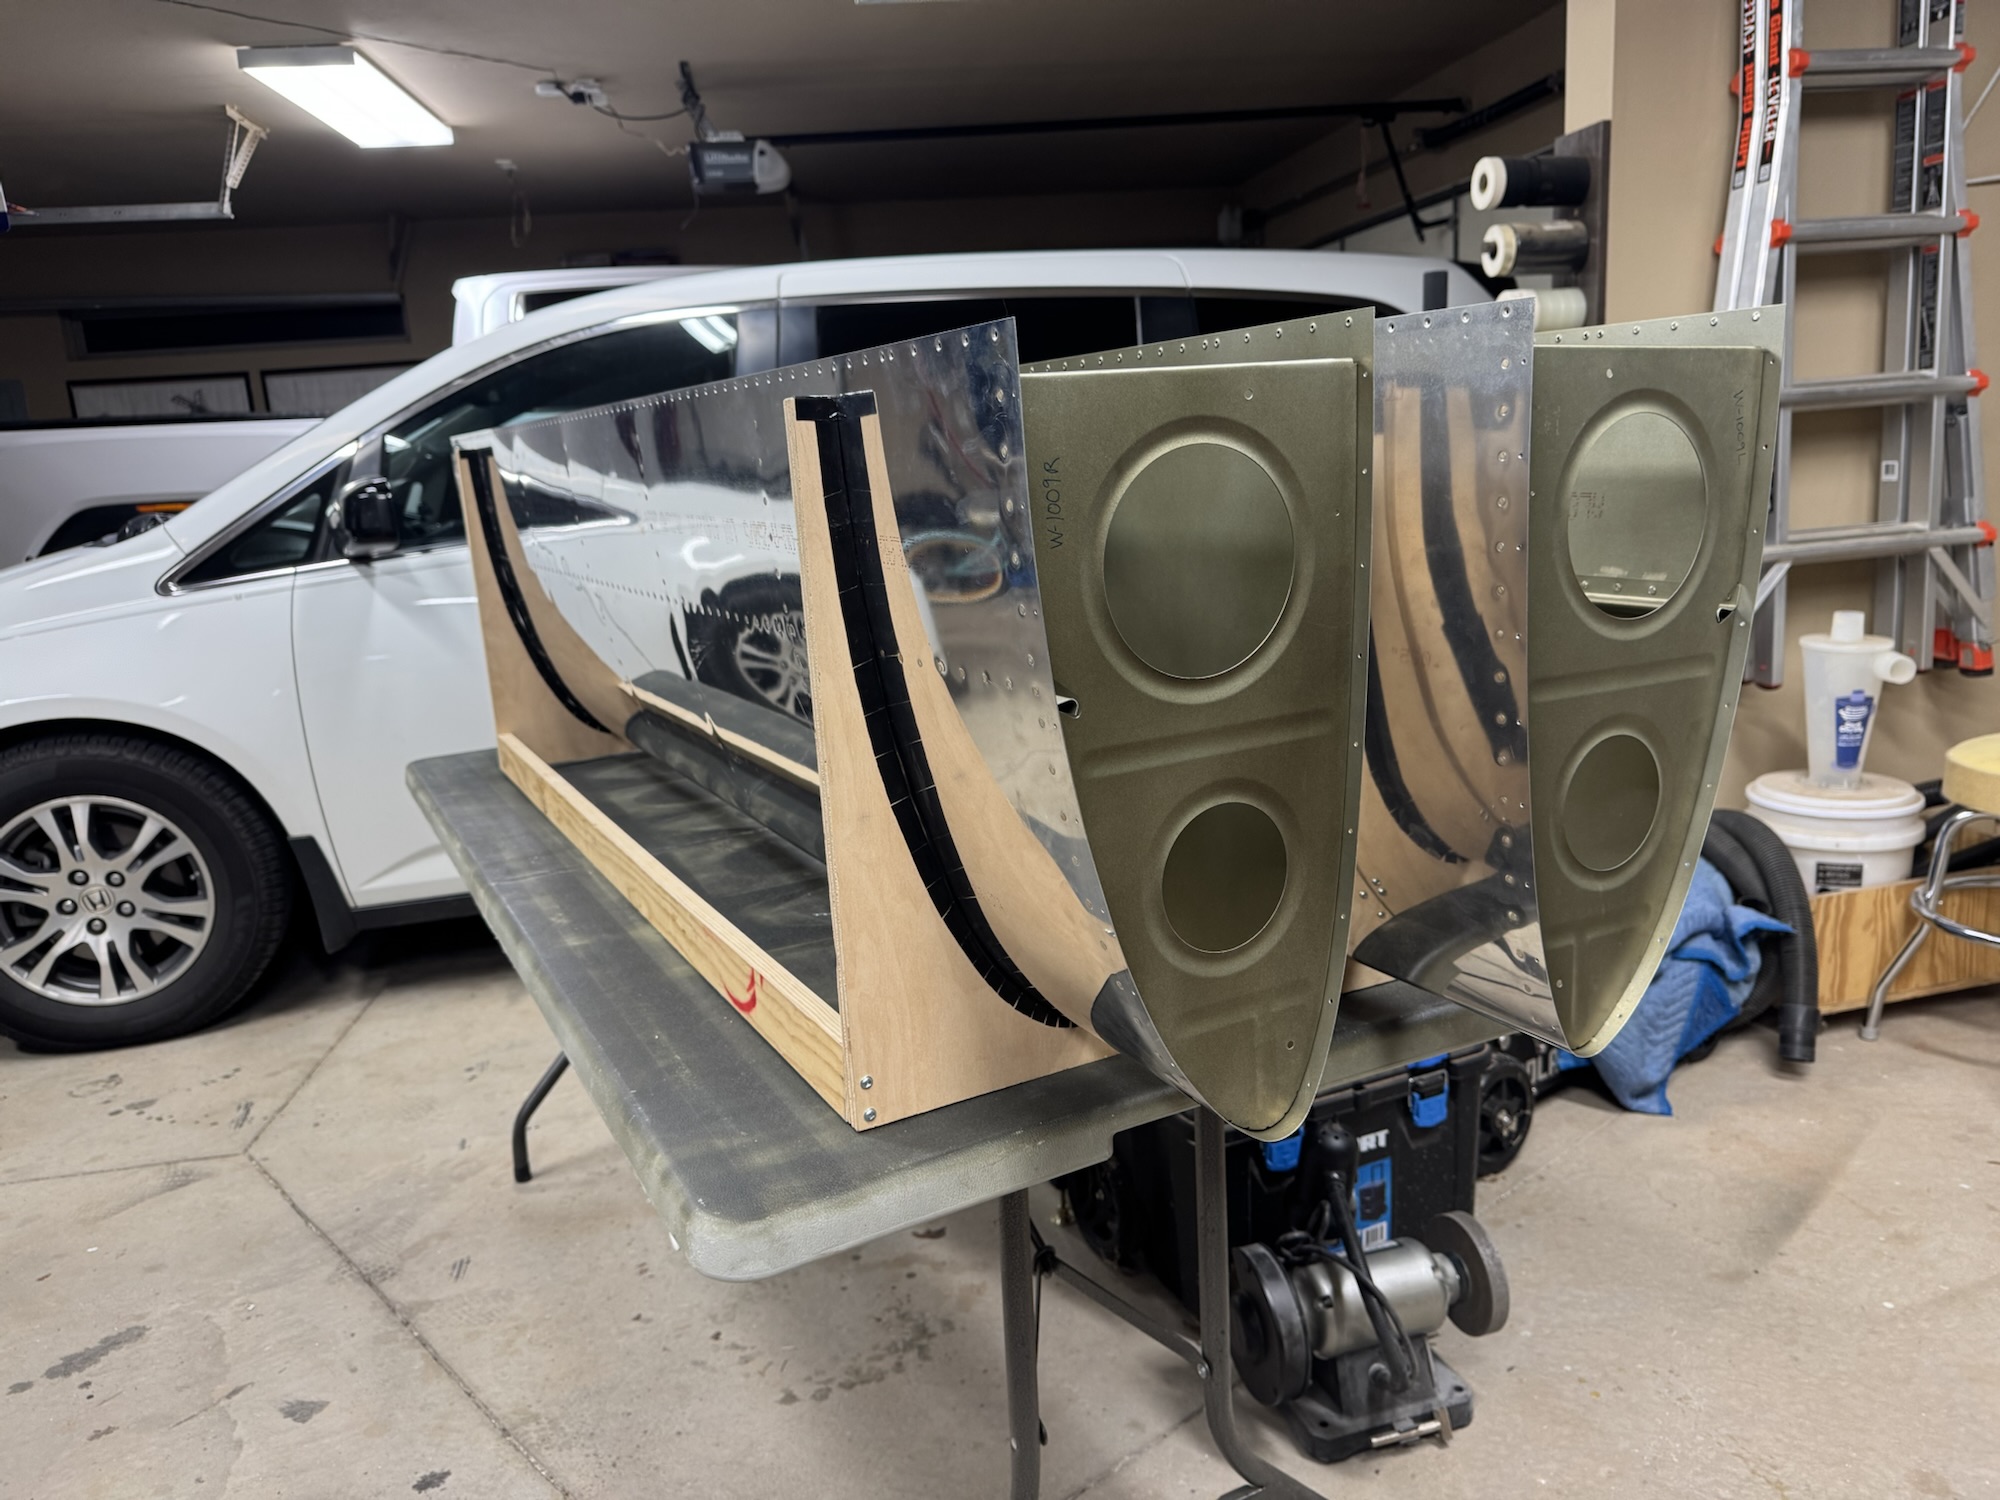
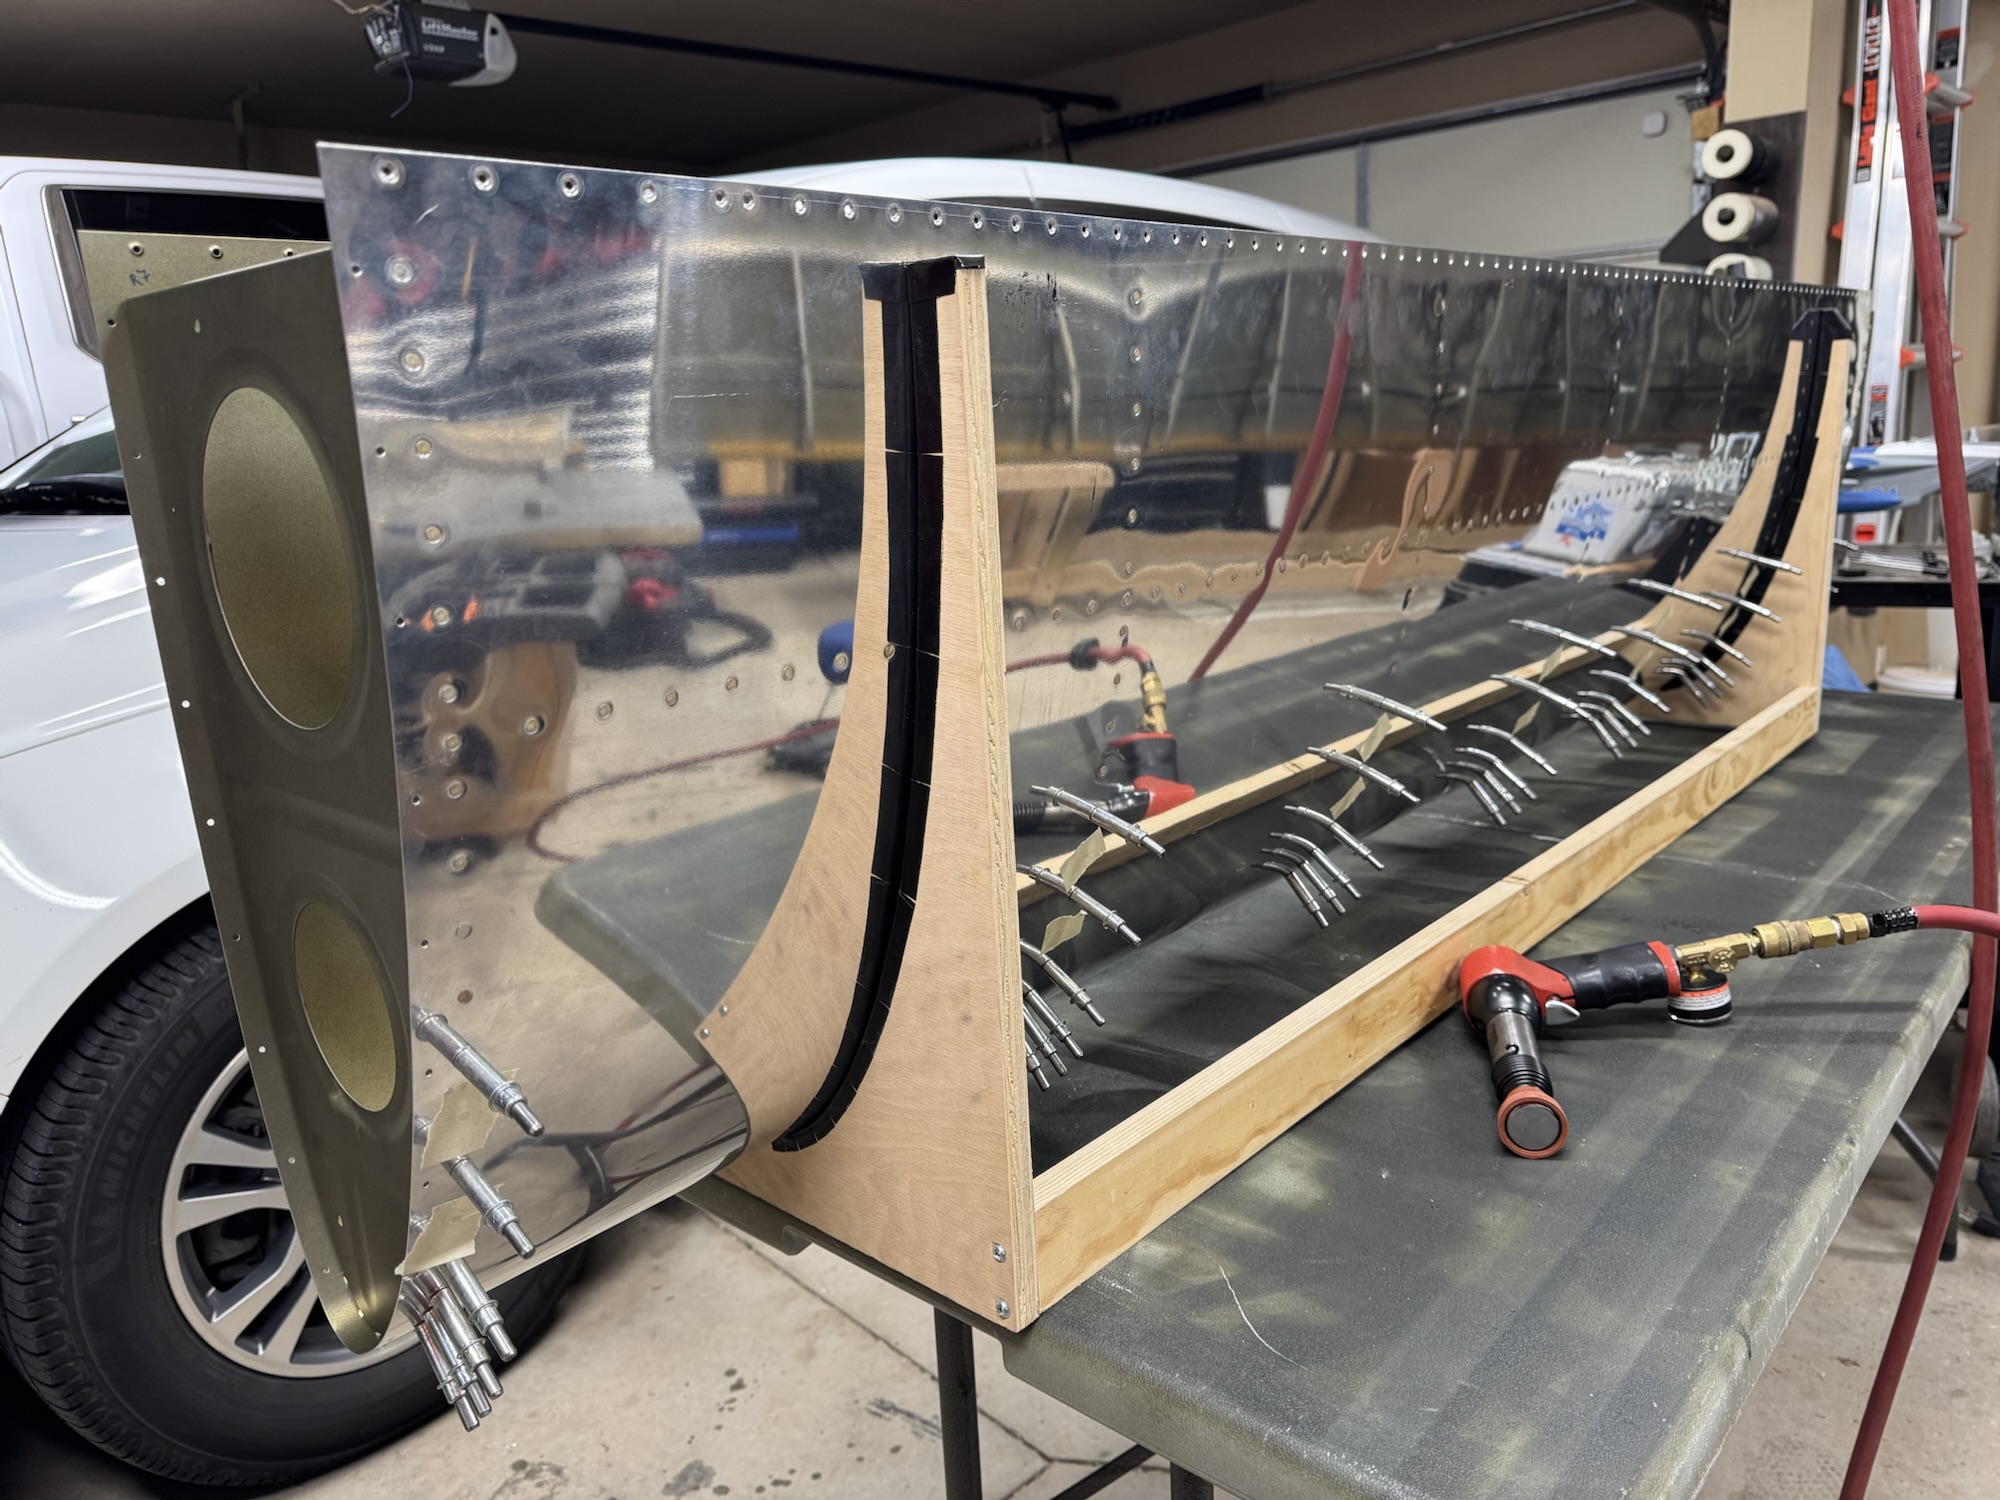
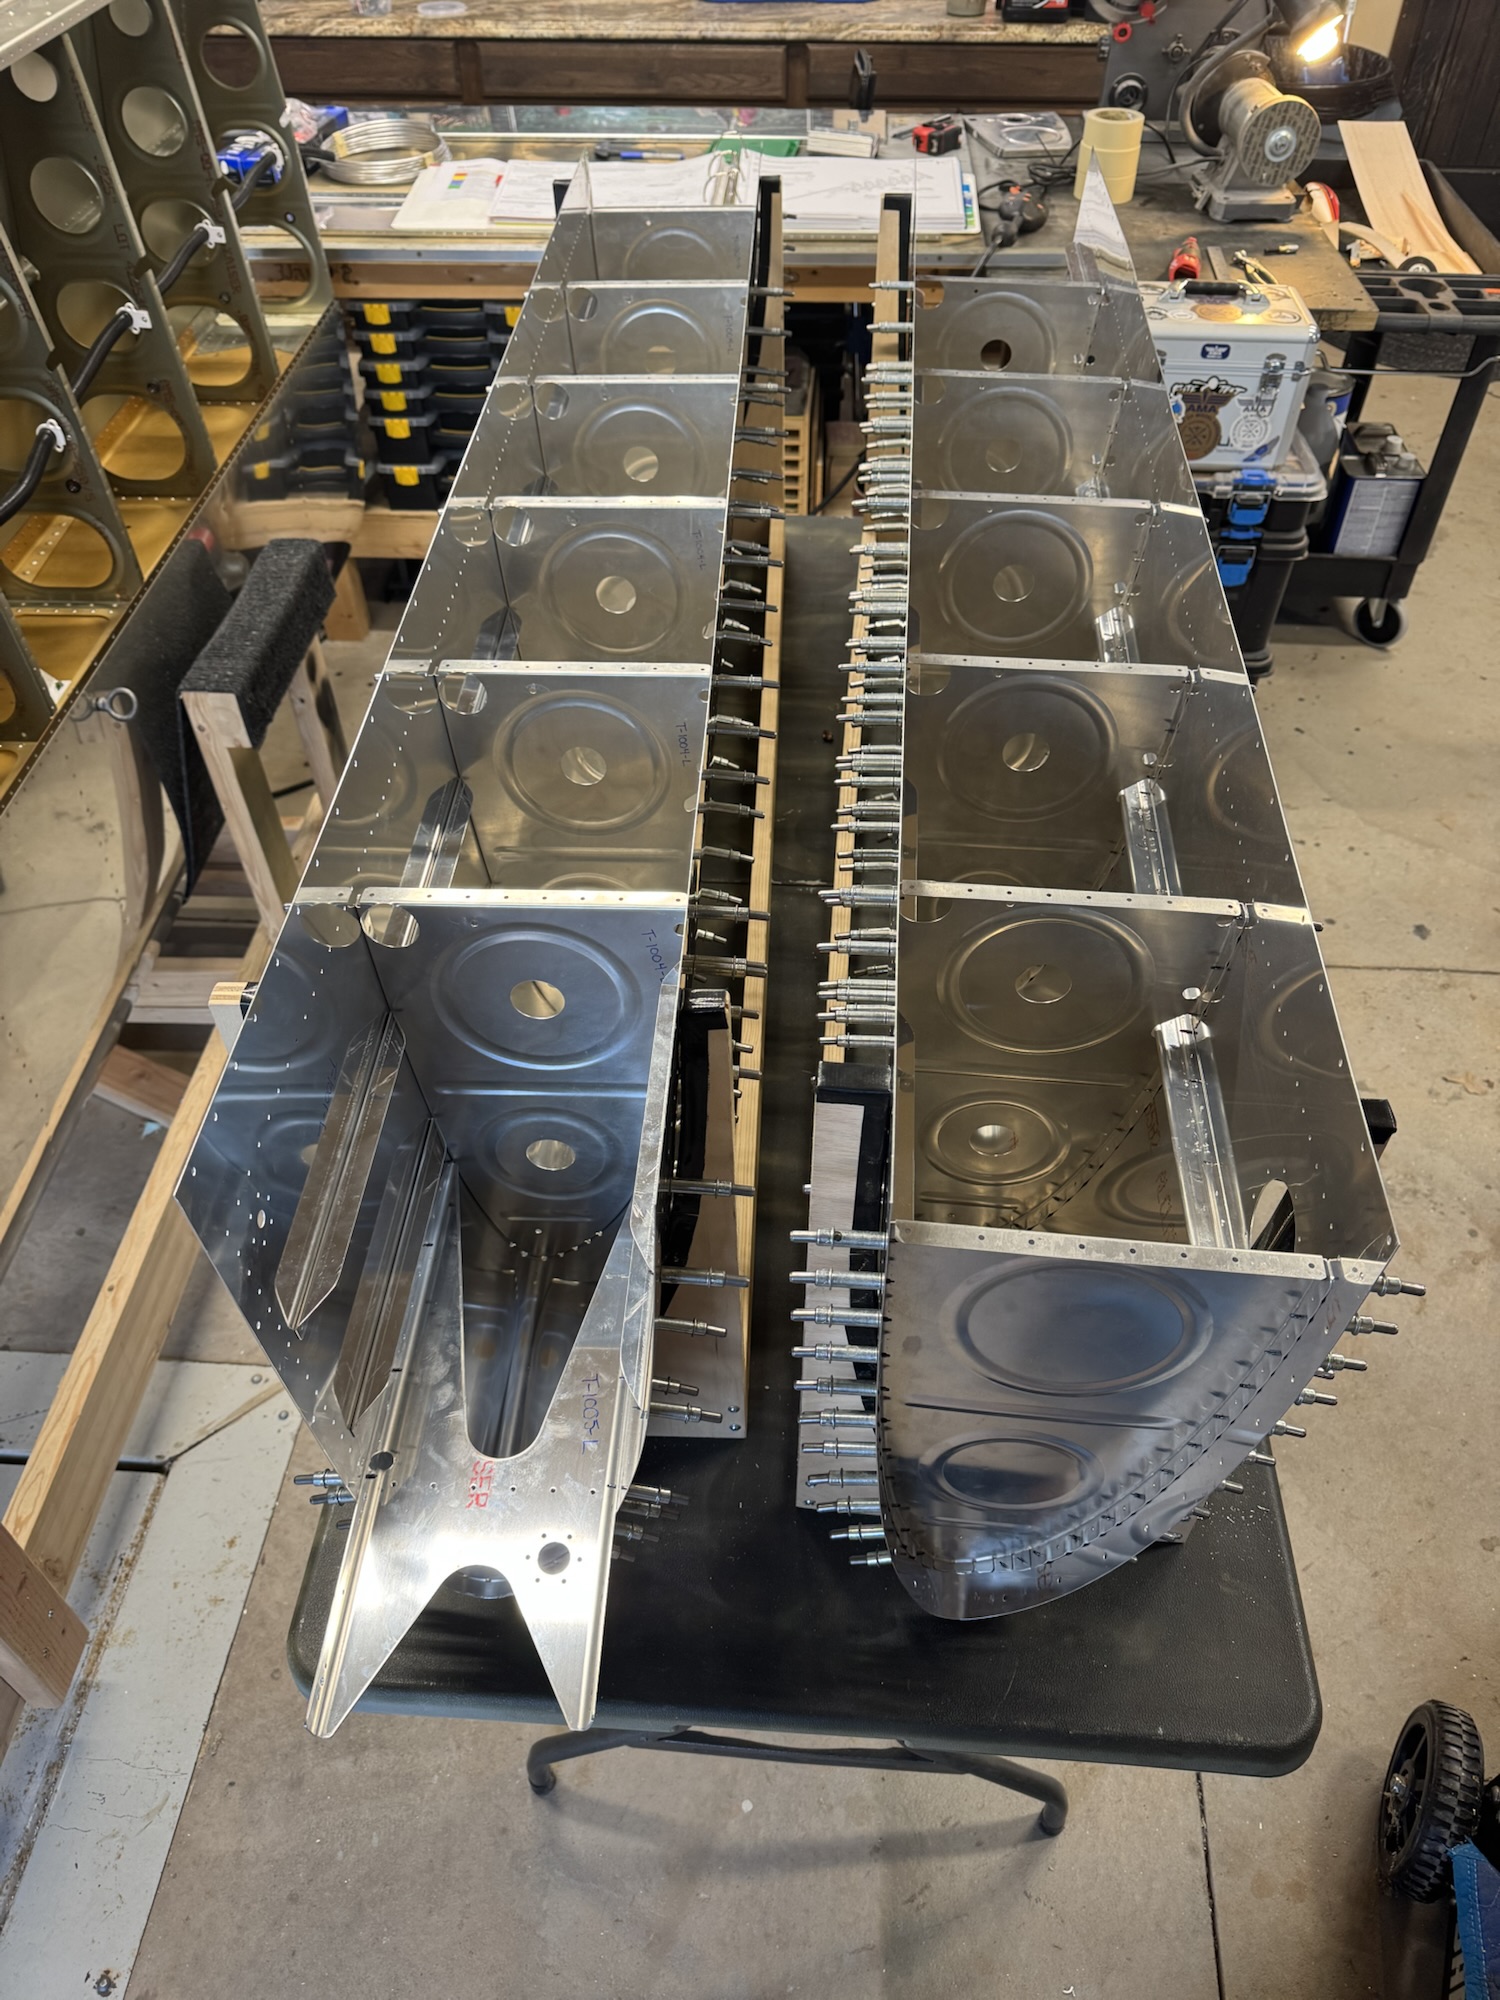
    I got all of the parts deburred today and I assembled the tanks. I realized last week that I only had one J-channel where I needed two for this next step. I ordered the replacement but I’m not sure how long that is going to take to arrive from Van’s. I got at least one tank J-channel cut and drilled.

  • More Tank Part Deburring

    More Tank Part Deburring

    Just more edge and hole deburring. This was a good way to destress from the past few days. The ribs in this photo still need the edge rivet holes deburred and then I need to deburr the parts on the back edge of the table still. But the parts next to the tools are complete

  • Tank Ribs Straightened and Zee Brackets and Stiffeners Separated and Deburring Started

    Tank Ribs Straightened and Zee Brackets and Stiffeners Separated and Deburring Started

    Long title but I try to put what I did in the title. I got all of the tank ribs deburred today. It only took another hour to finish that. I then separated all of the zee brackets and tank skin stiffeners and started deburring some of them.

  • Straightening Tank Ribs Day 1

    Straightening Tank Ribs Day 1

    Here are all of the wings parts gathered for the next section of assembly.

    I had on and off again time to work on the ribs. That’s why I think this took me longer than usual as I kept getting interrupted. Either way I got 10 of the ribs done and only have another 6 to do tomorrow if I get time with all the Mother’s Day prep we are doing for church on Sunday.

  • Section 17 – Outboard Leading Edges Complete

    Section 17 – Outboard Leading Edges Complete

    The boys were both busy today so I decided to see if my wife could help. She did an excellent job and bucked the rivets like a champ! I’ve got all of the gas tank parts down from the attic so I can start on that tomorrow.

  • Right Leading Edge Partially Riveted

    Right Leading Edge Partially Riveted

    I got the wing moved over and I modified the wing stand so that it has the carpet sling to hold the leading edge.

    I then got the leading edge almost completely riveted but I didn’t have anyone to buck the other portion. Hopefully I’ll get one of the boys to help tomorrow.

  • Left Wing Leading Edge Complete

    Left Wing Leading Edge Complete

    I didn’t get a lot of time tonight but I did get Andrew and finish setting the remaining rivets on the left leading edge. I plan to get a good portion of the right wing done tomorrow.

  • Left Leading Edge Almost Installed

    Left Leading Edge Almost Installed

    I got most of the work done. Brendon seemed a bit out of it so I didn’t want to push him too much tonight to help me. Just have the top row of rivets to set and this leading edge will be fully installed.

  • Leading Edges Riveted

    Leading Edges Riveted

    The leading edge assemblies are now done. Now I just need to attach them to the wing assemblies.

  • Right Leading Edge Riveting Continued

    Right Leading Edge Riveting Continued

    More riveting. Not much to call out except I’ve been working my way forward per the instructions in the manual.