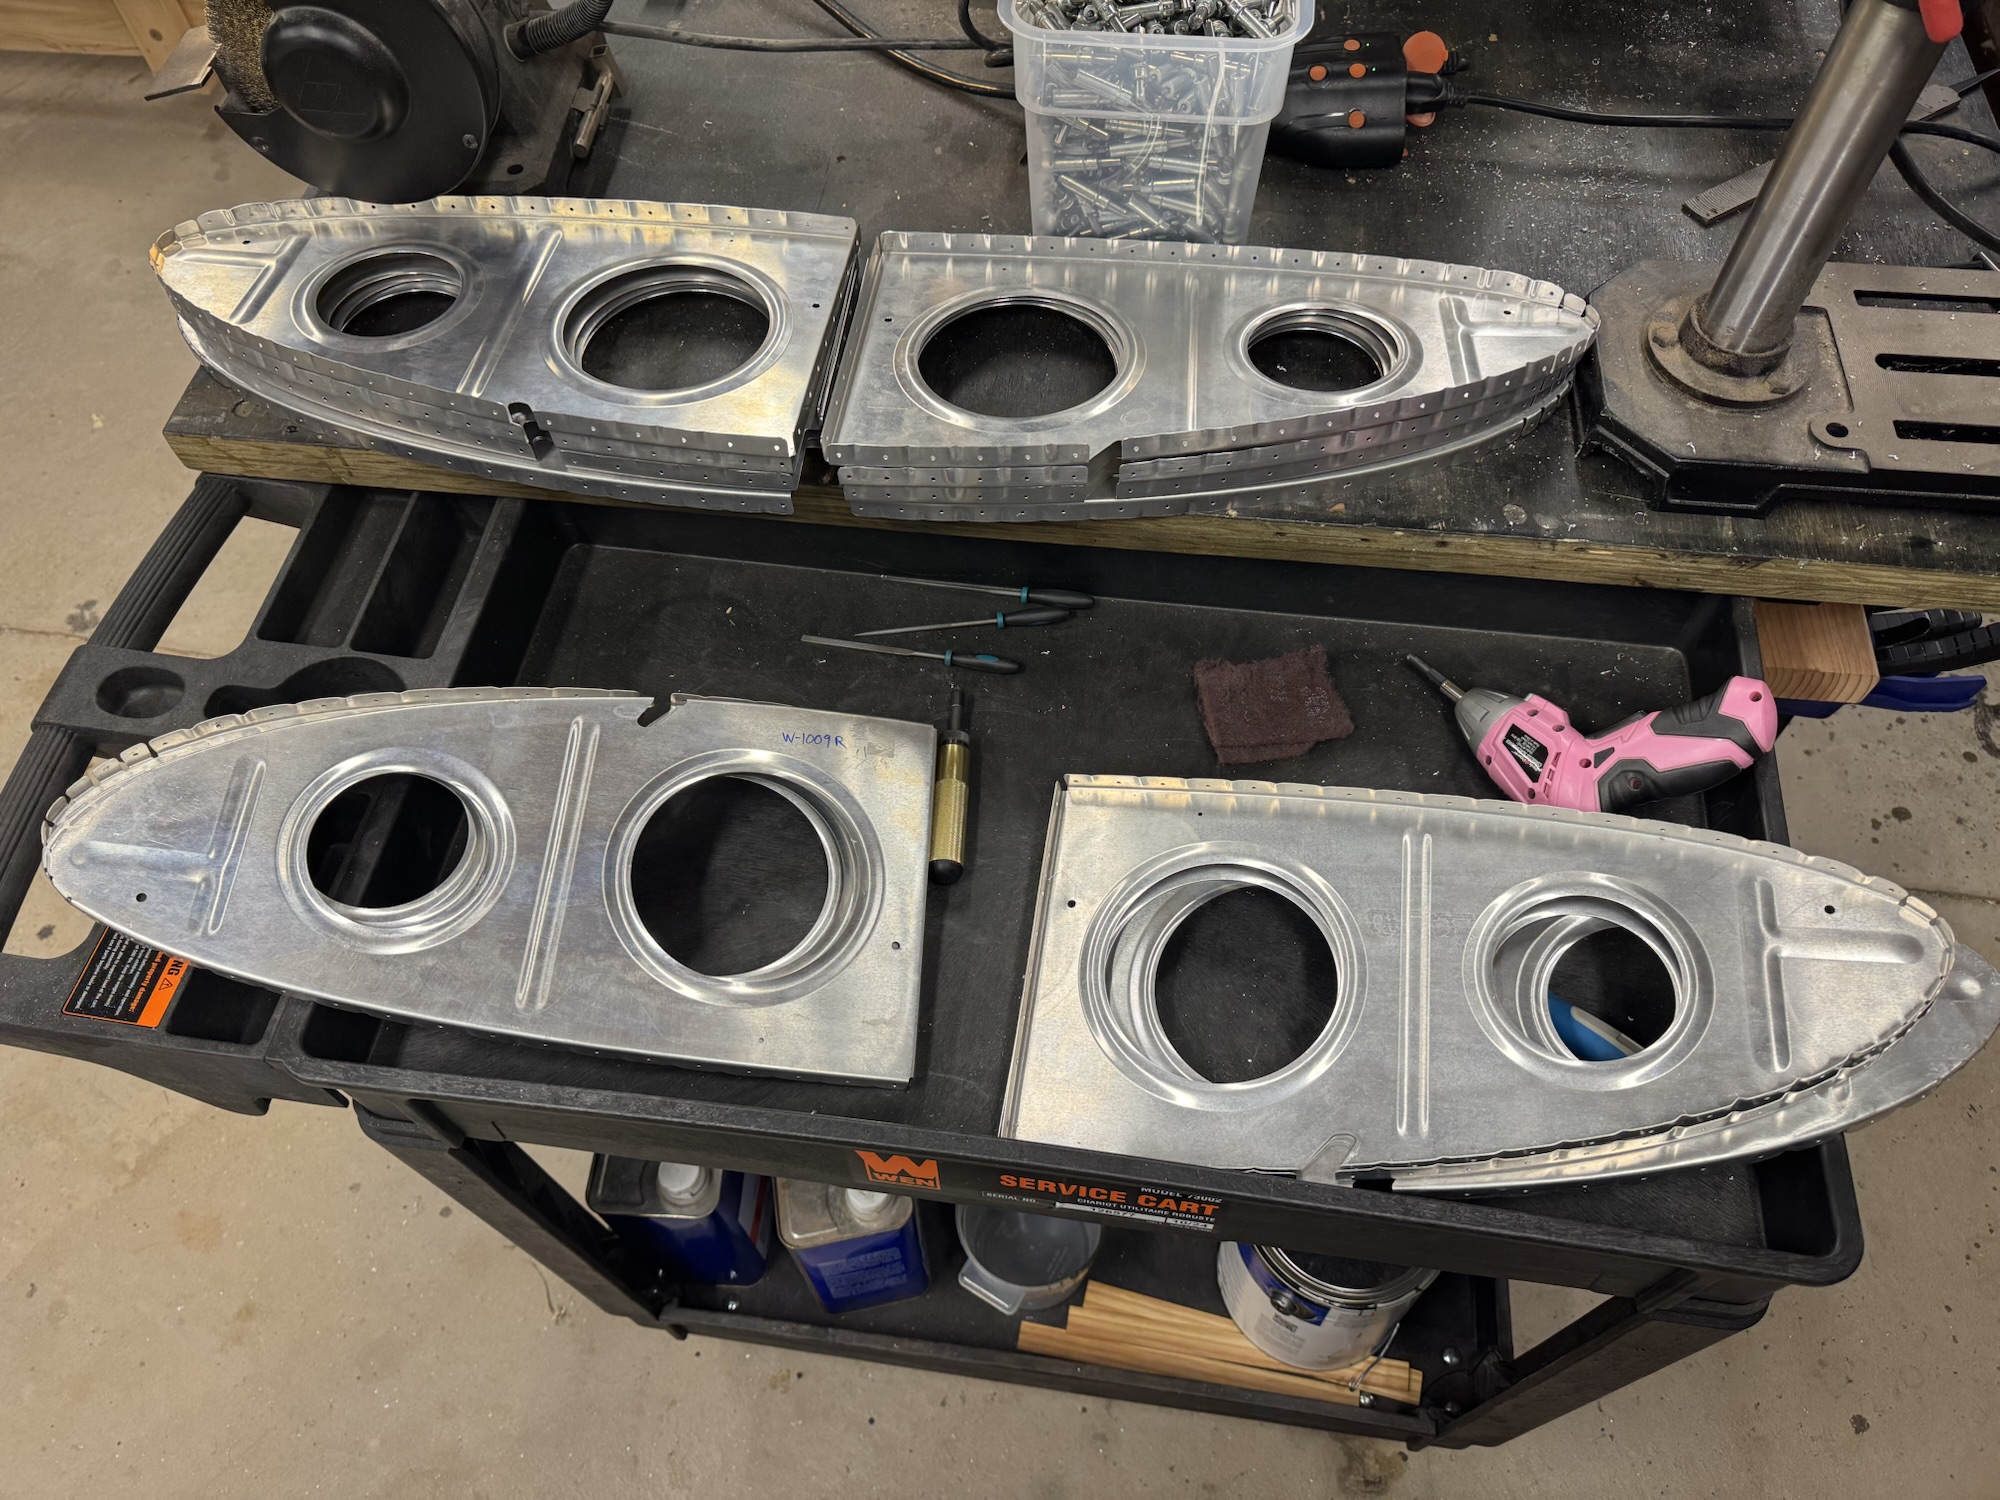
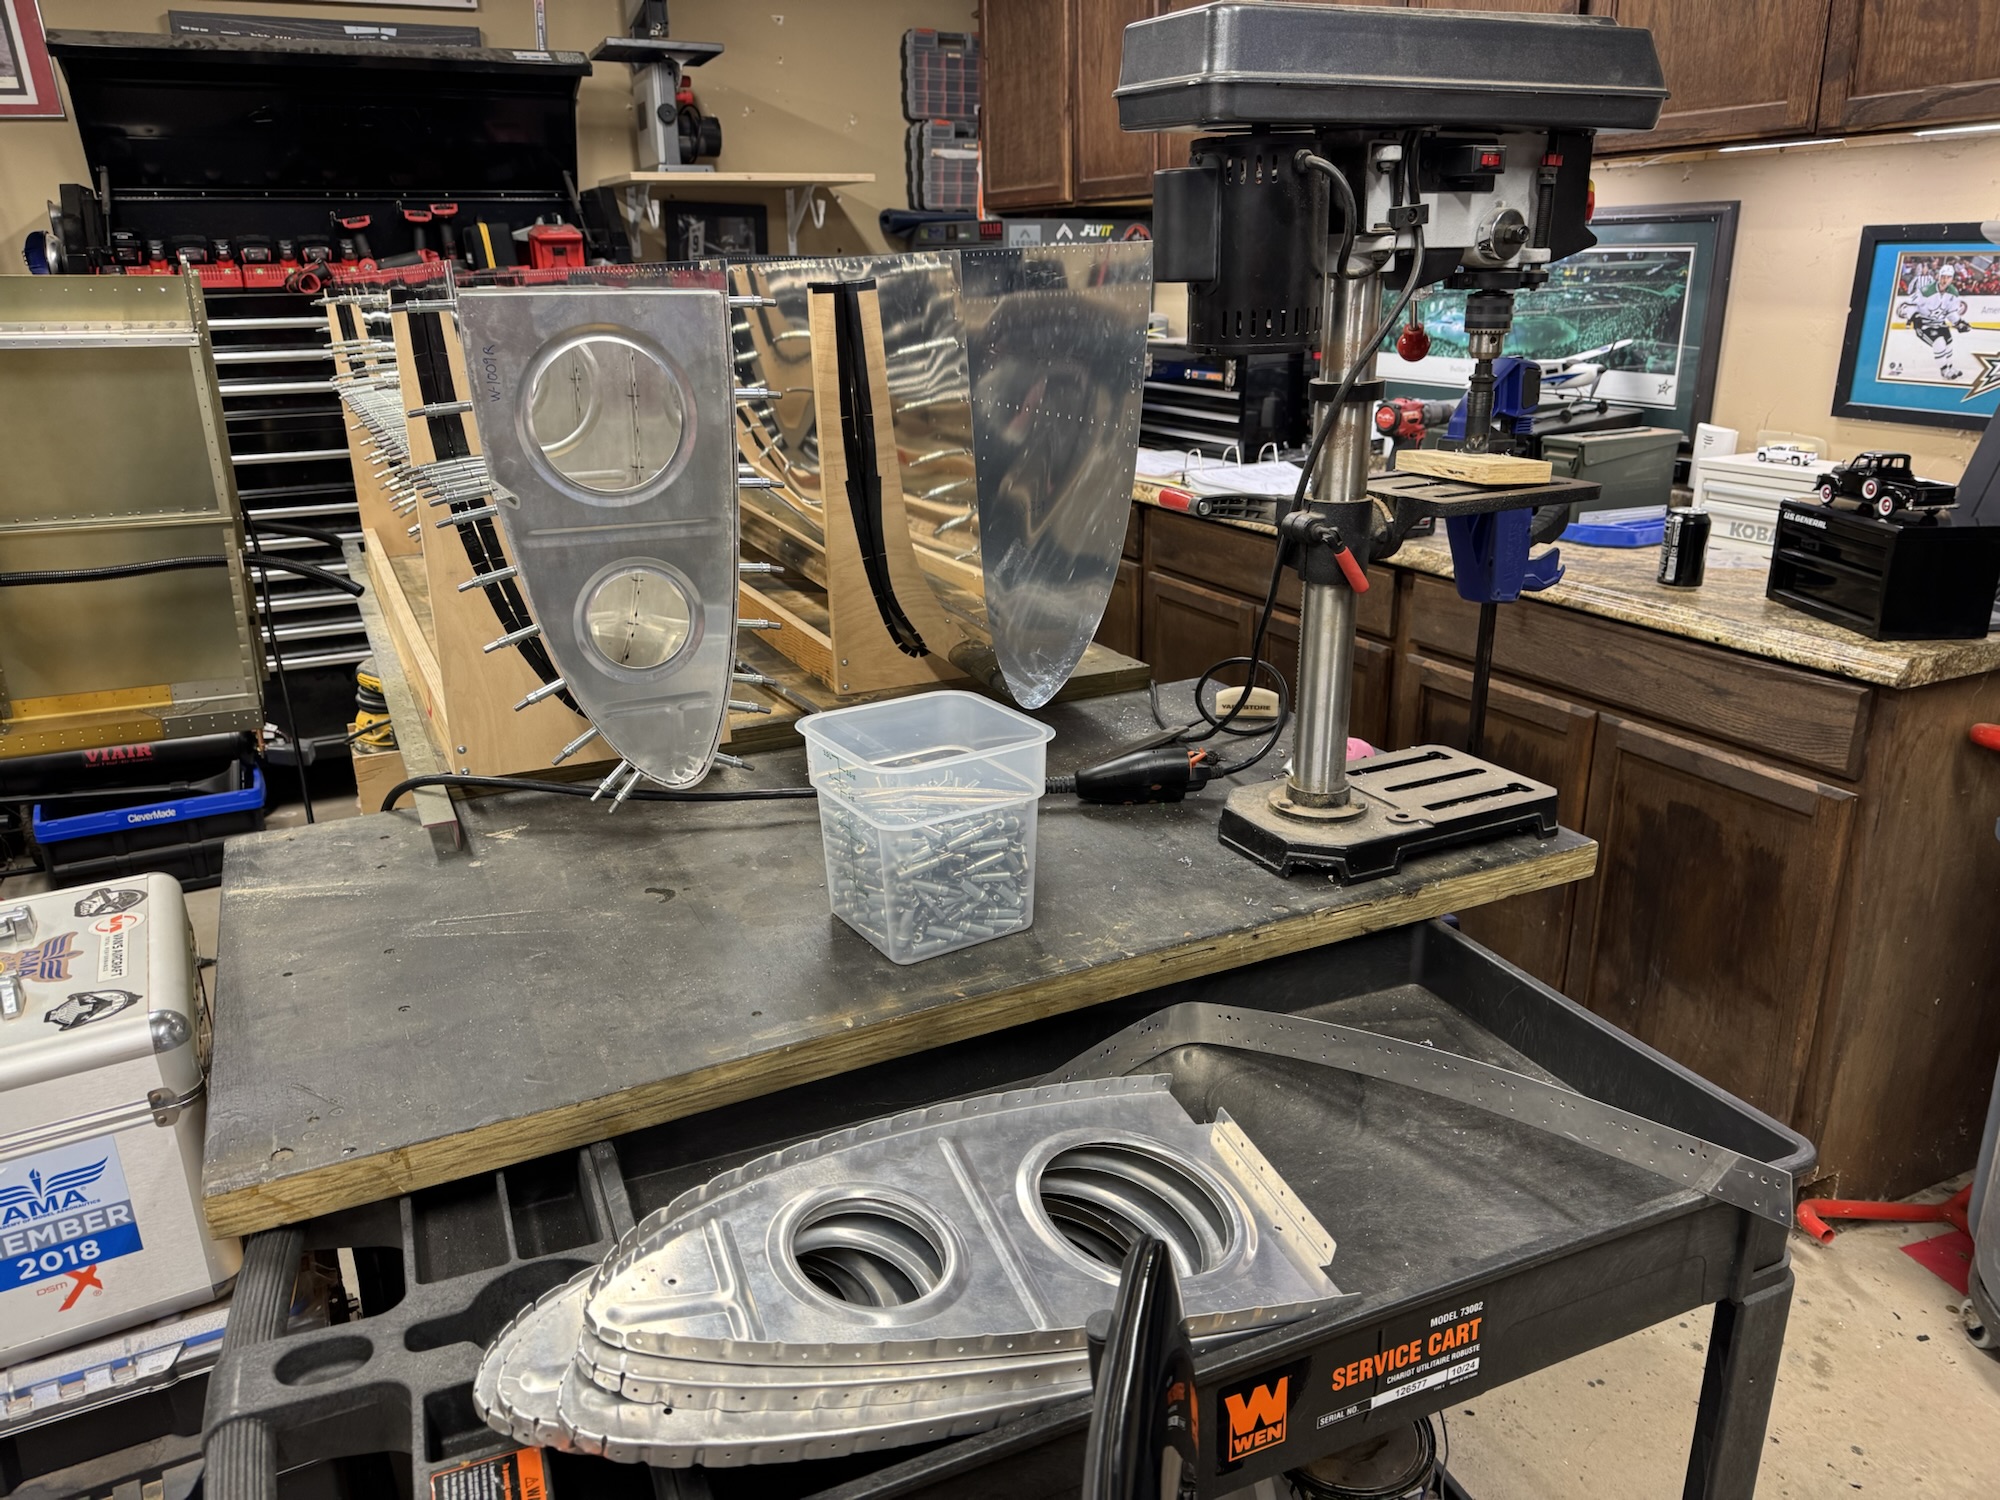
I got all of the dimpling and priming done today. I also got the first two rivets on each rib set as well. I staged some so I could move quicker tomorrow but we’ll see how much time I get tomorrow as I have quite a few church meetings on Saturday to go to.
Blog
-
Leading Edge Deburring Complete – Dimpling Begins
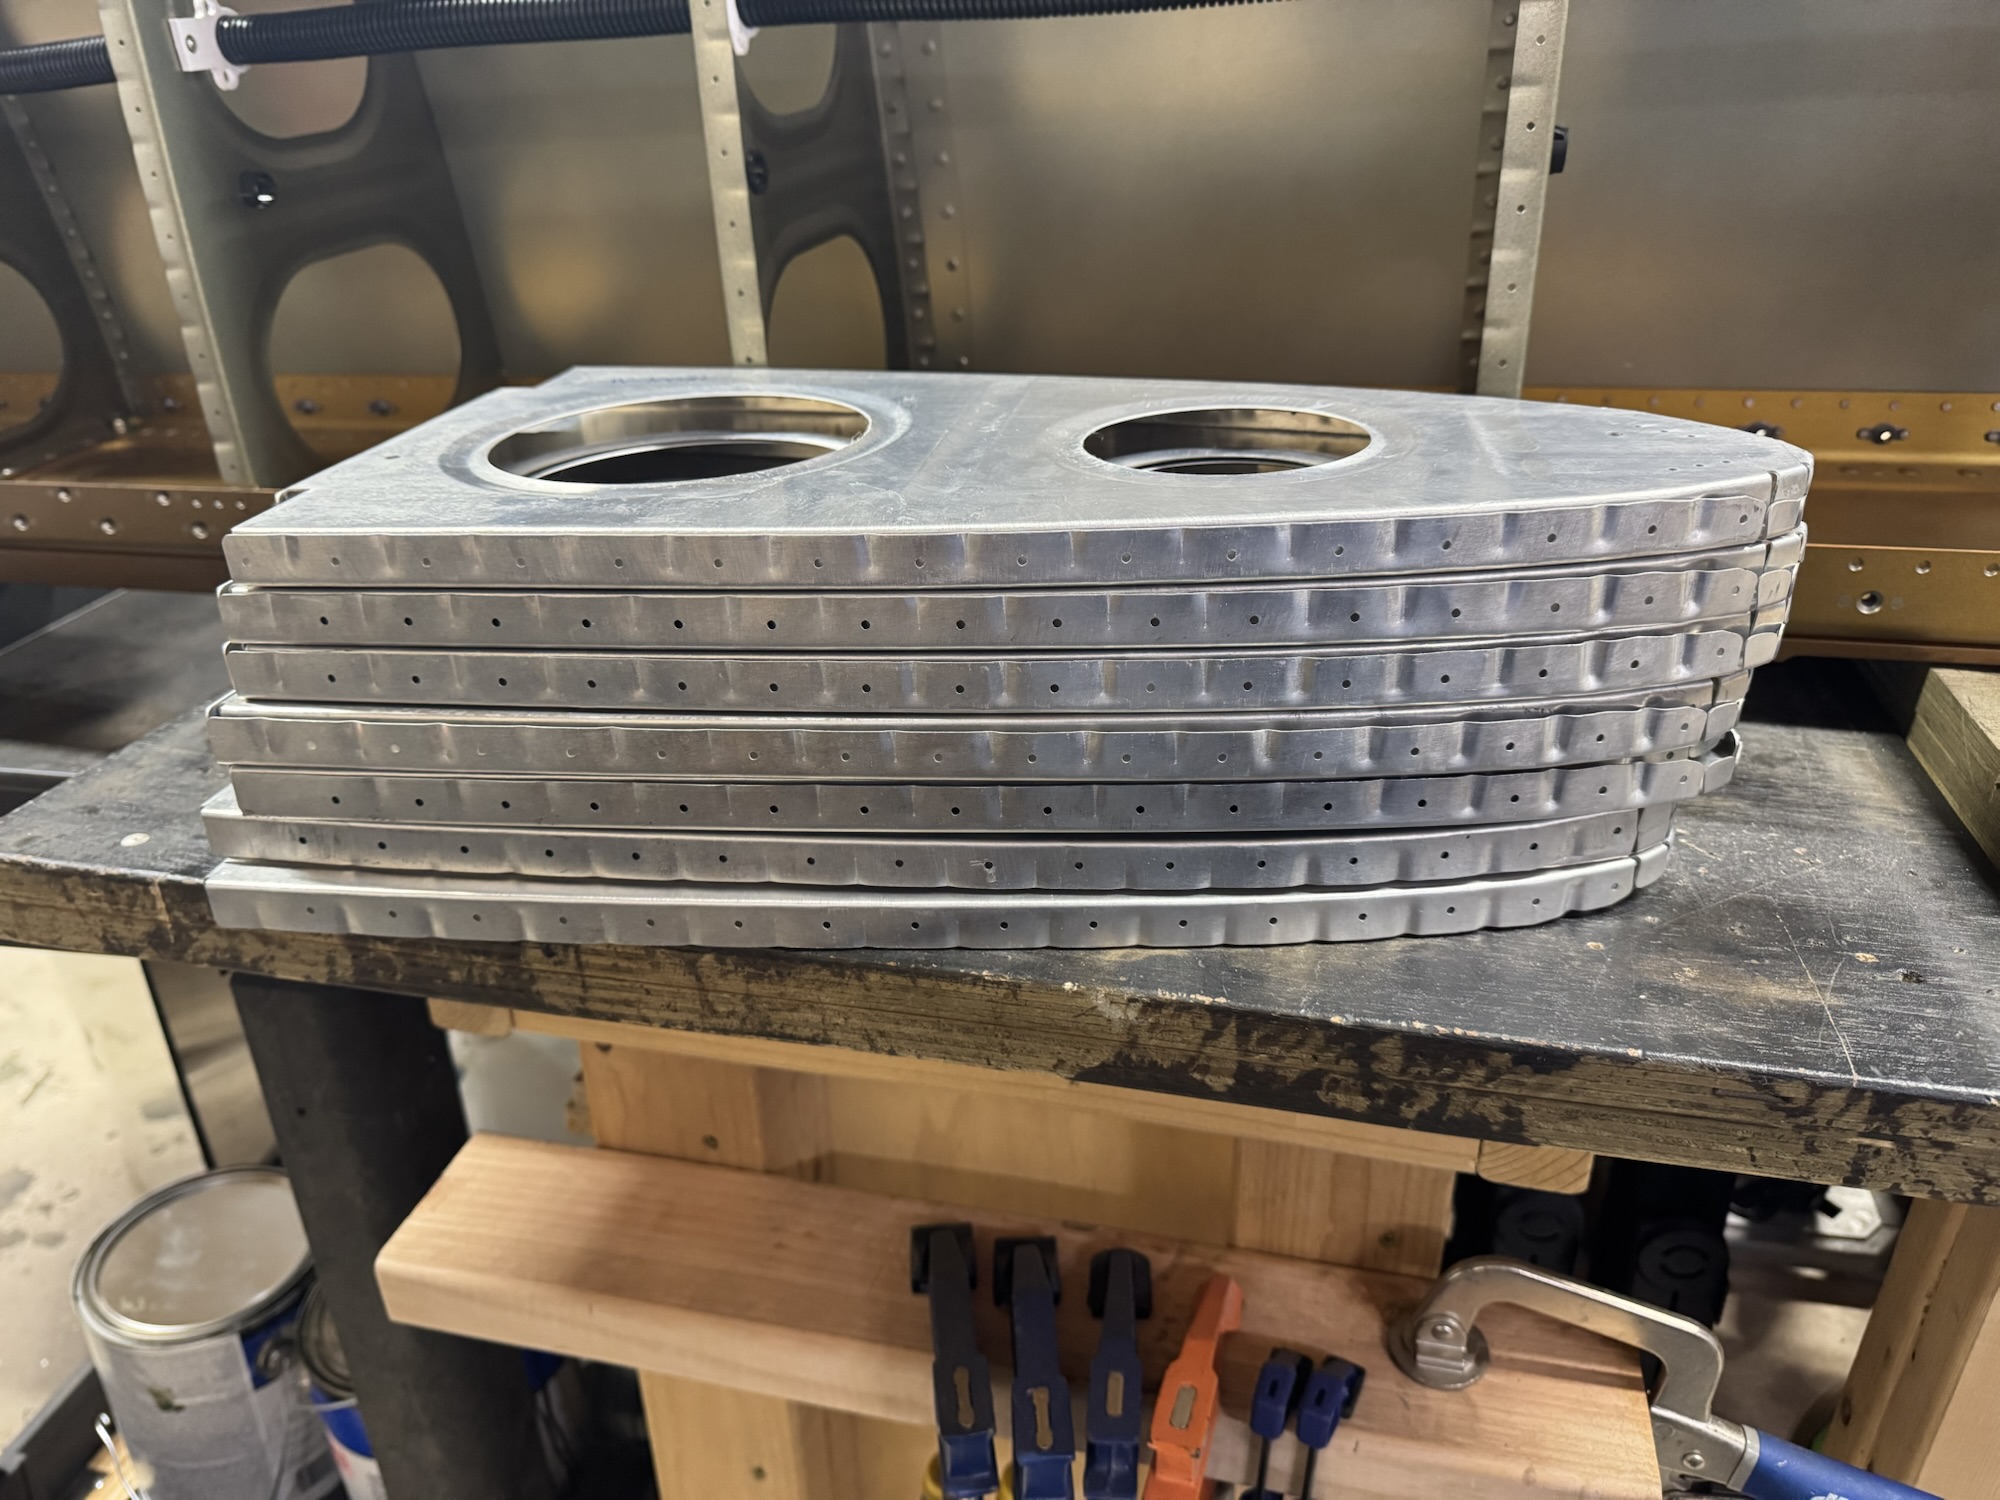
I got all of the deburring done today. I also got all of the ribs, J channels, and the outside portions of the skins dimpled. I setup the C frame to start dimpling the interior holes on the skins since it has the longer reach. Once I’m done with the dimpling, I’ll get the parts primed and then start final assembly!

-
More Leading Edge Deburring
I know it sounds boring but I find it relaxing getting these pieces cleaned up so they are smooth lol. I got all of the skins and the J channel stiffeners done and I’m a little over halfway done on the ribs. I forgot I needed to get the flanges so I went back on the ones I did yesterday and finished those.

-
Deburring & Countersinking Right Leading Edge
After my guitar lesson tonight I got a good amount of time to get some work done. I deburred all of the holes on the right leading edge and also got the countersinking done for the splice strip. I hope to get some time tomorrow to at least get some of that done for the left leading edge but I’ve got a bit of a busy night with church.


-
Holes Drilled for Leading Edges
I double checked a large handful of holes and they are definitely final sized which saves me about and hour to an hour and a half of work. I did drill the screw holes as those were not final sized. I didn’t get much time tonight as my son and I are going to a Disturbed concert.


-
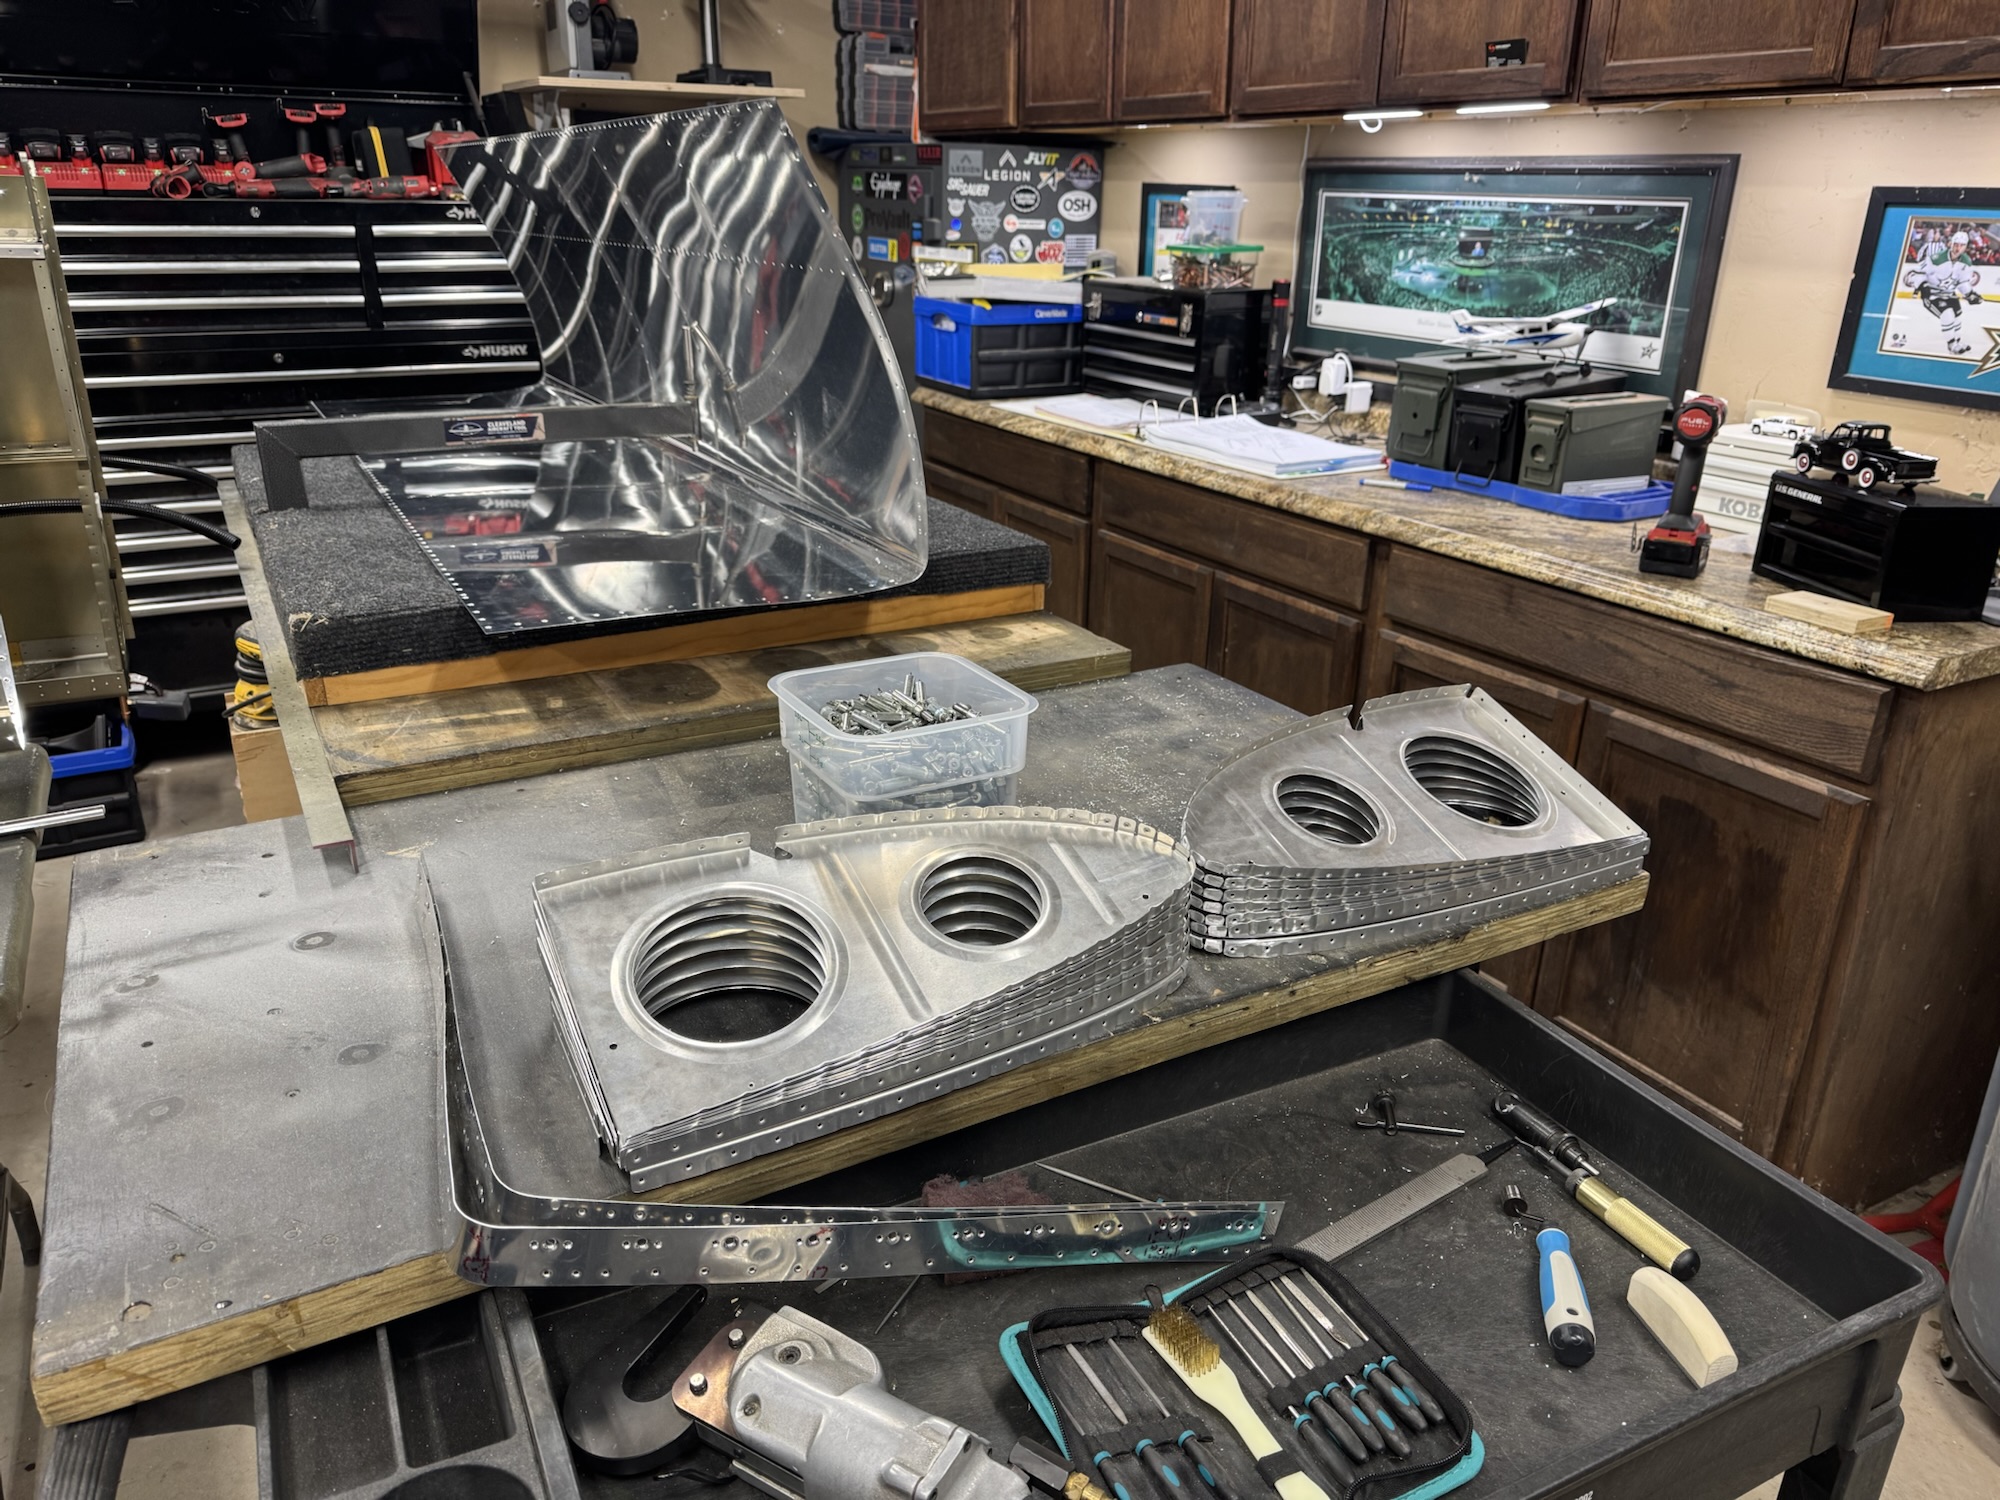
Top Skins Finished
I finally got time with Brendon to finish the top skins. Luckily it didn’t take too long and we were done as I hate doing work on Sundays.

-
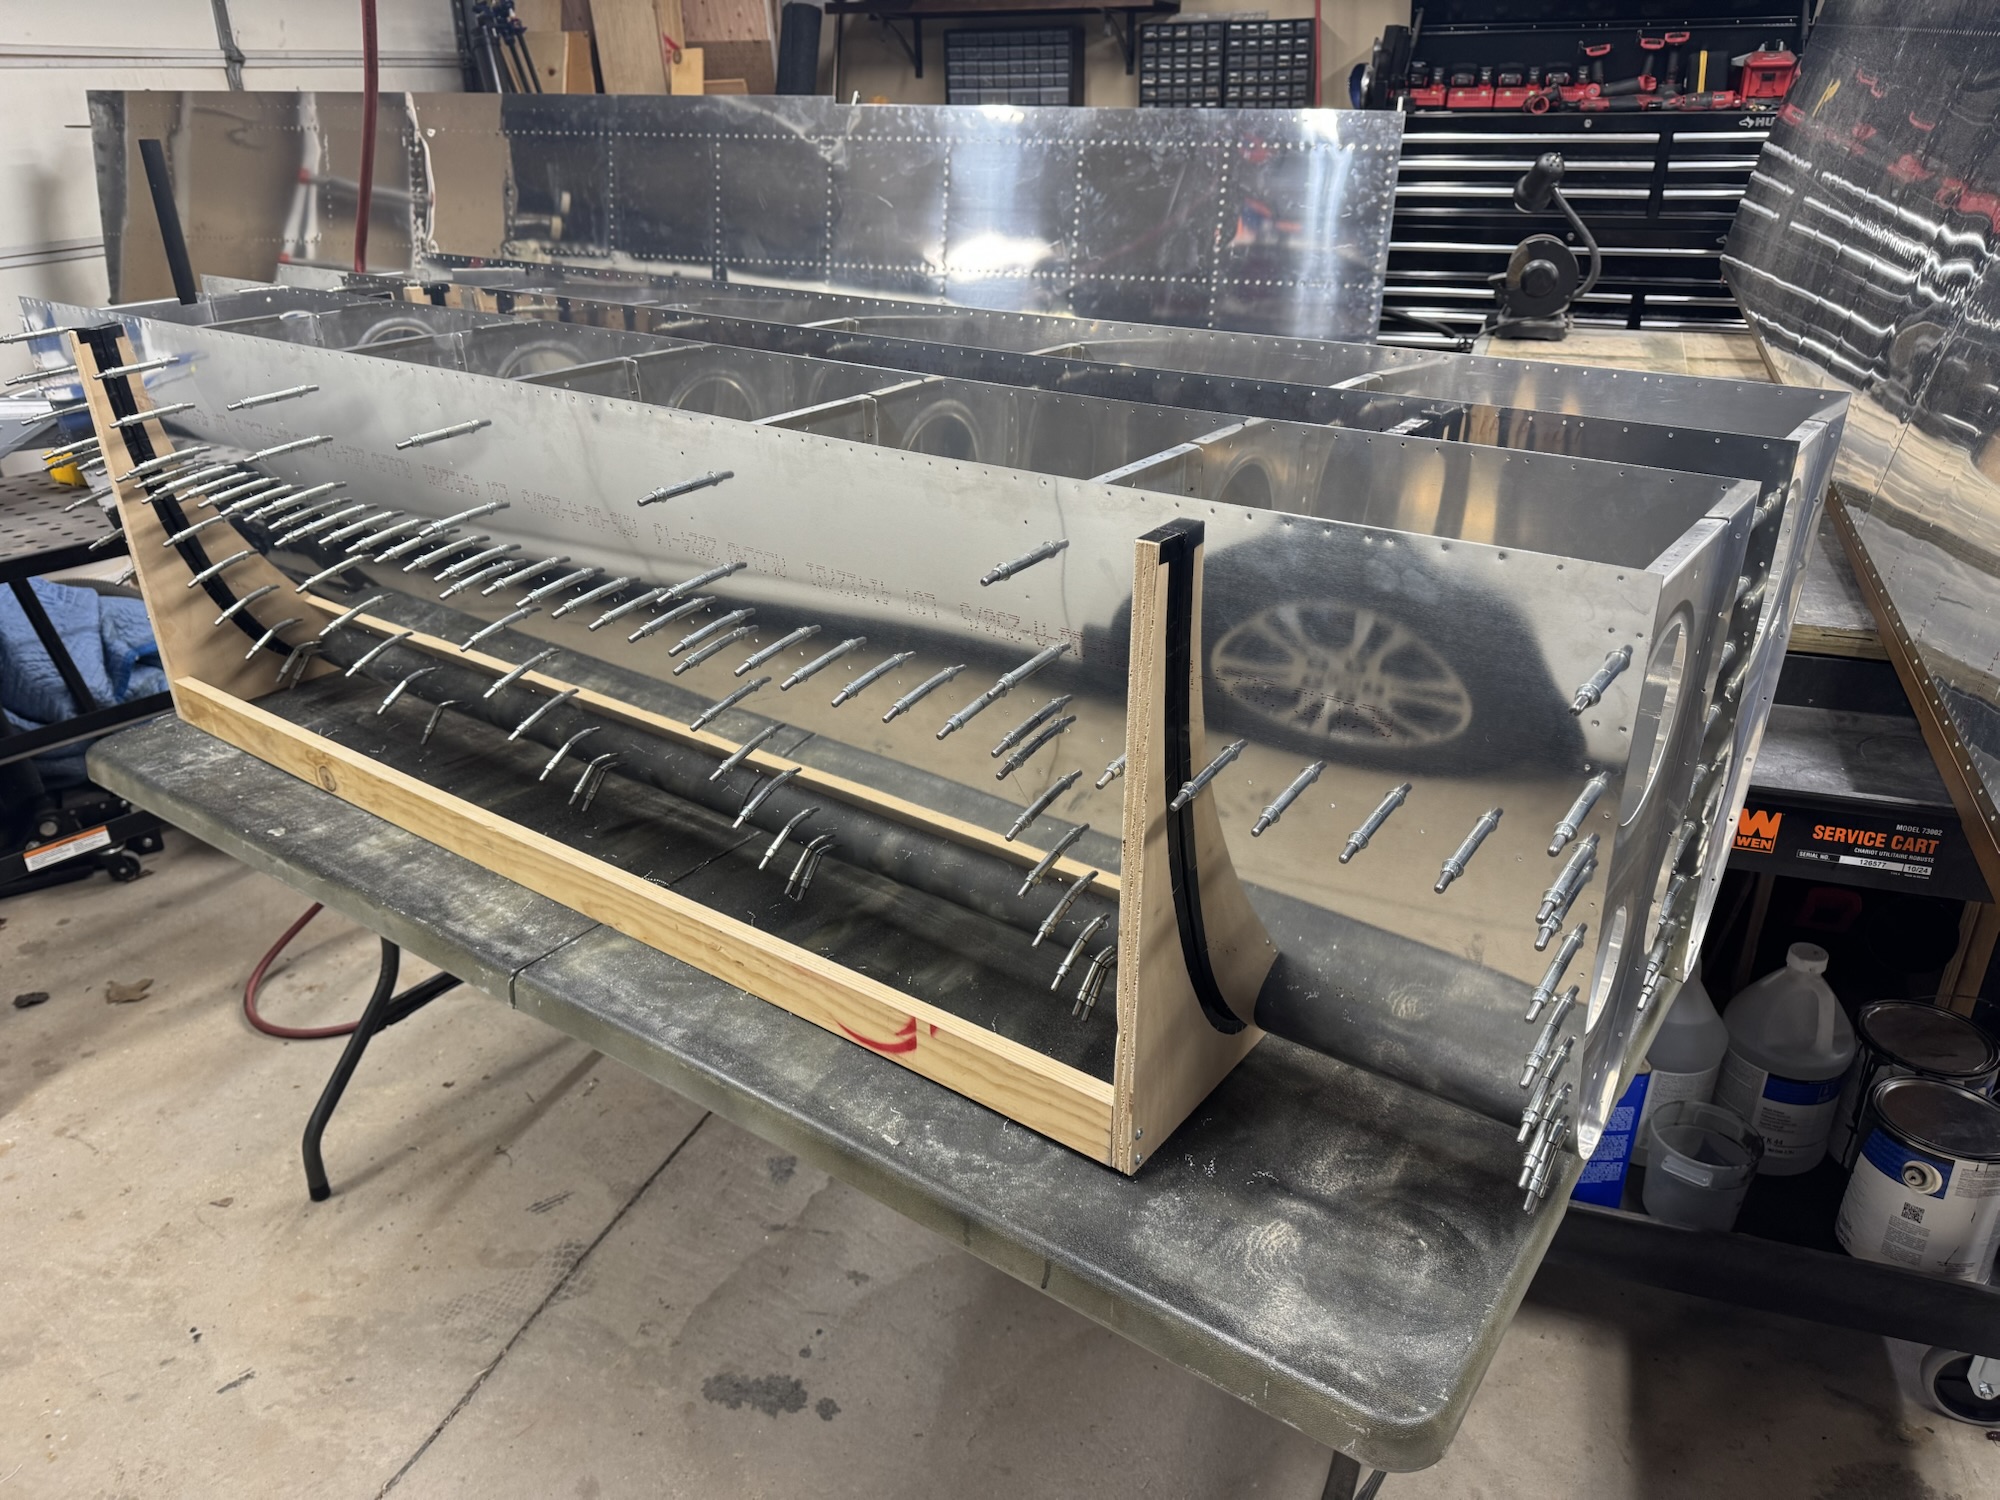
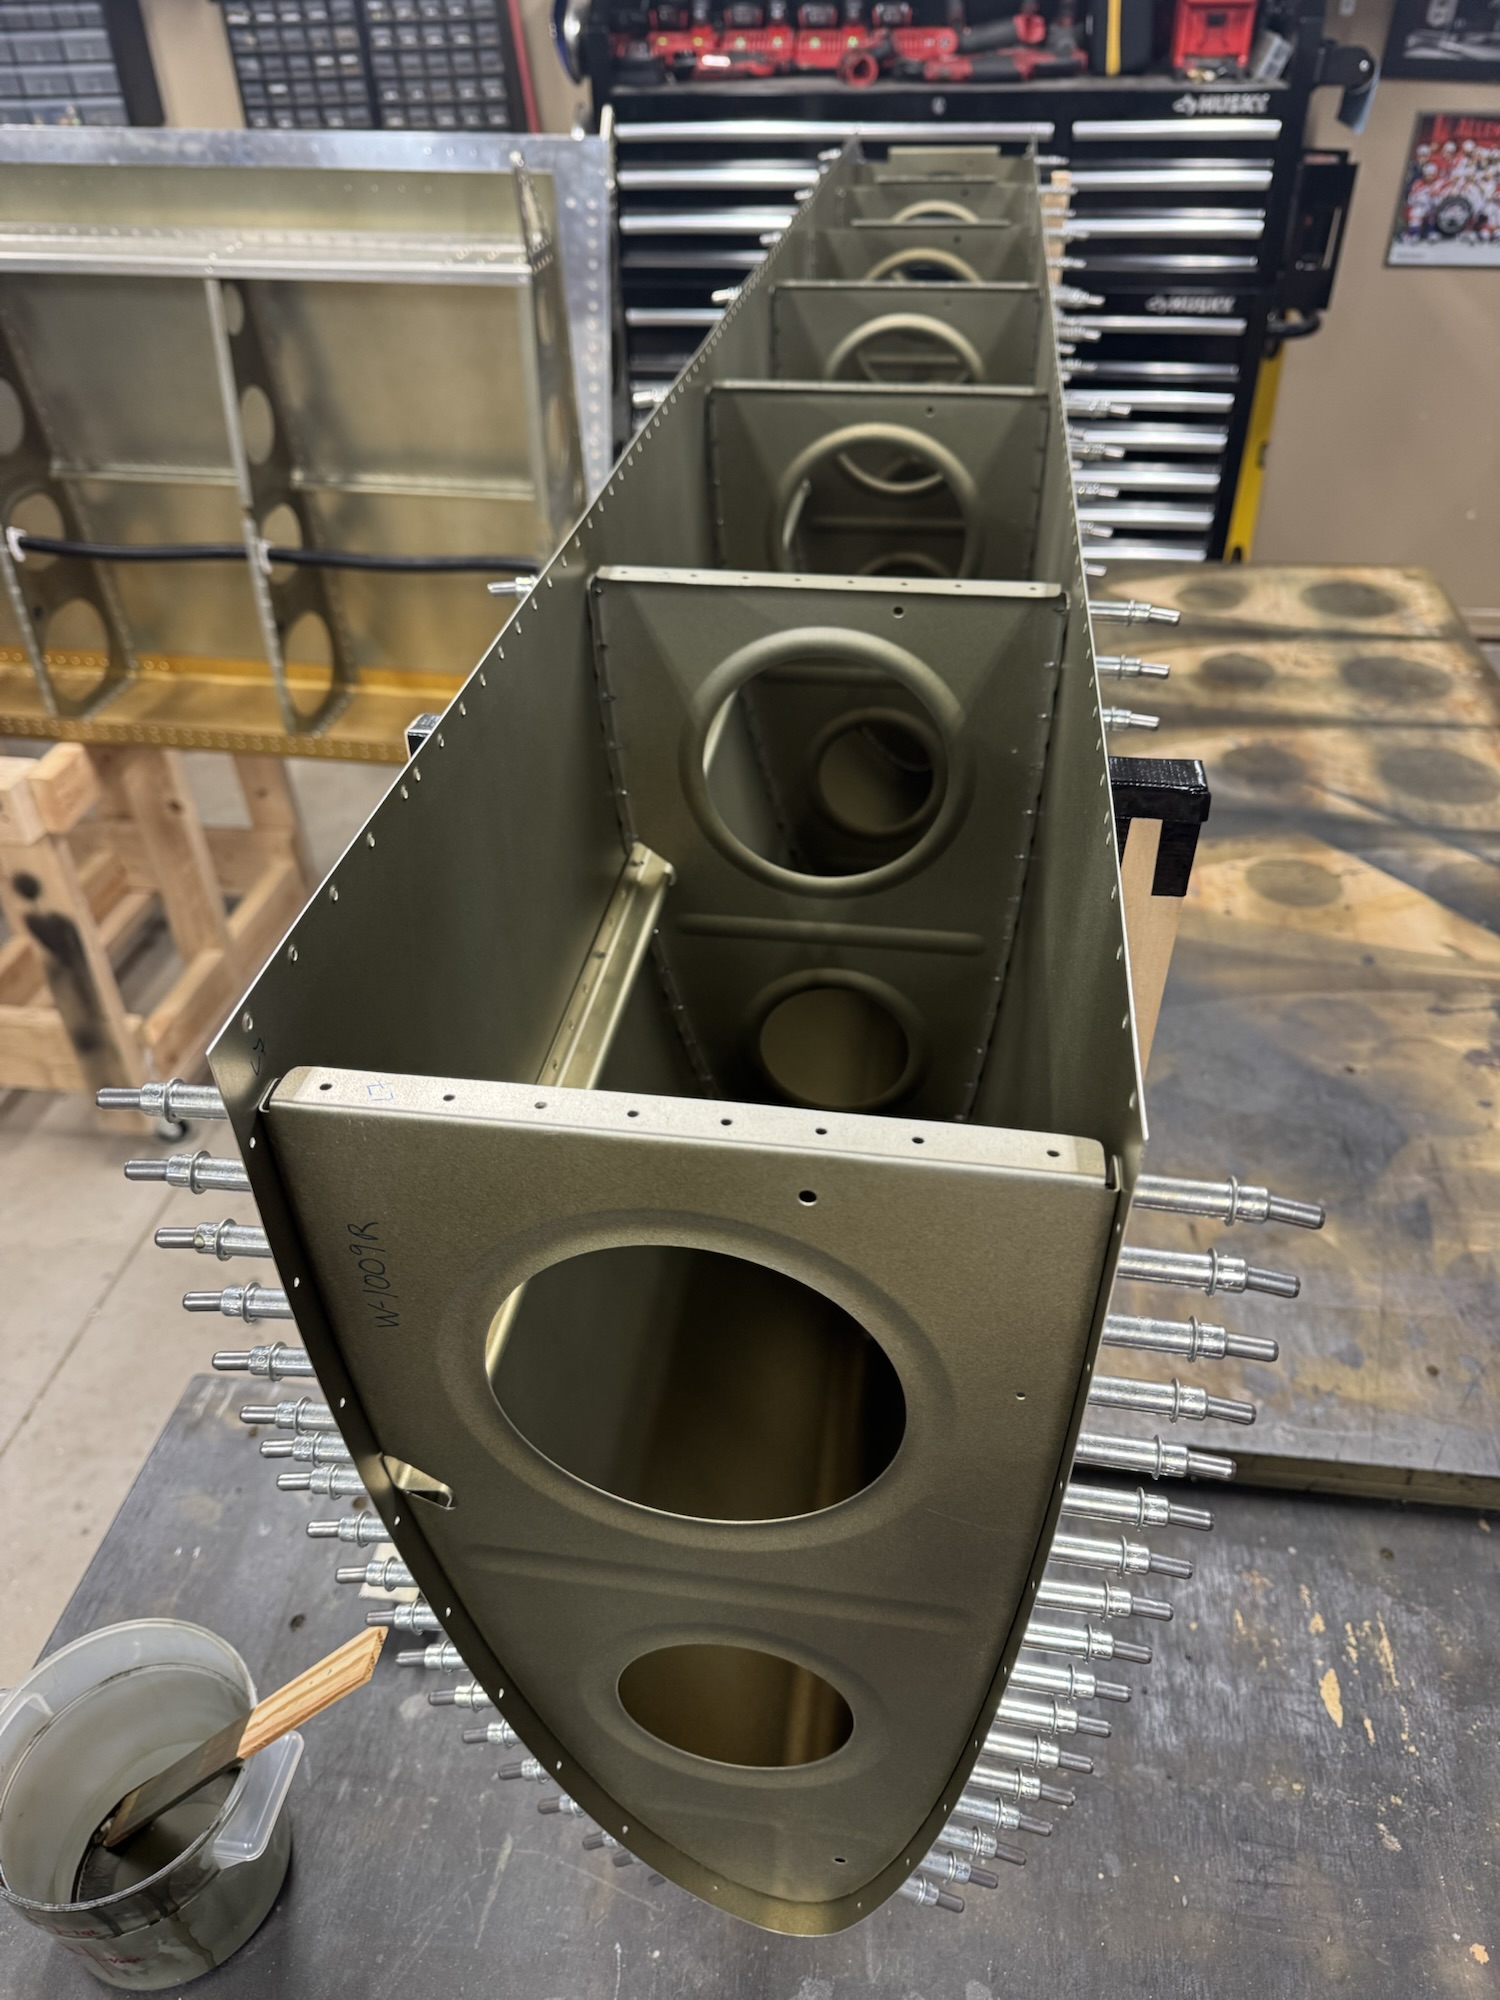
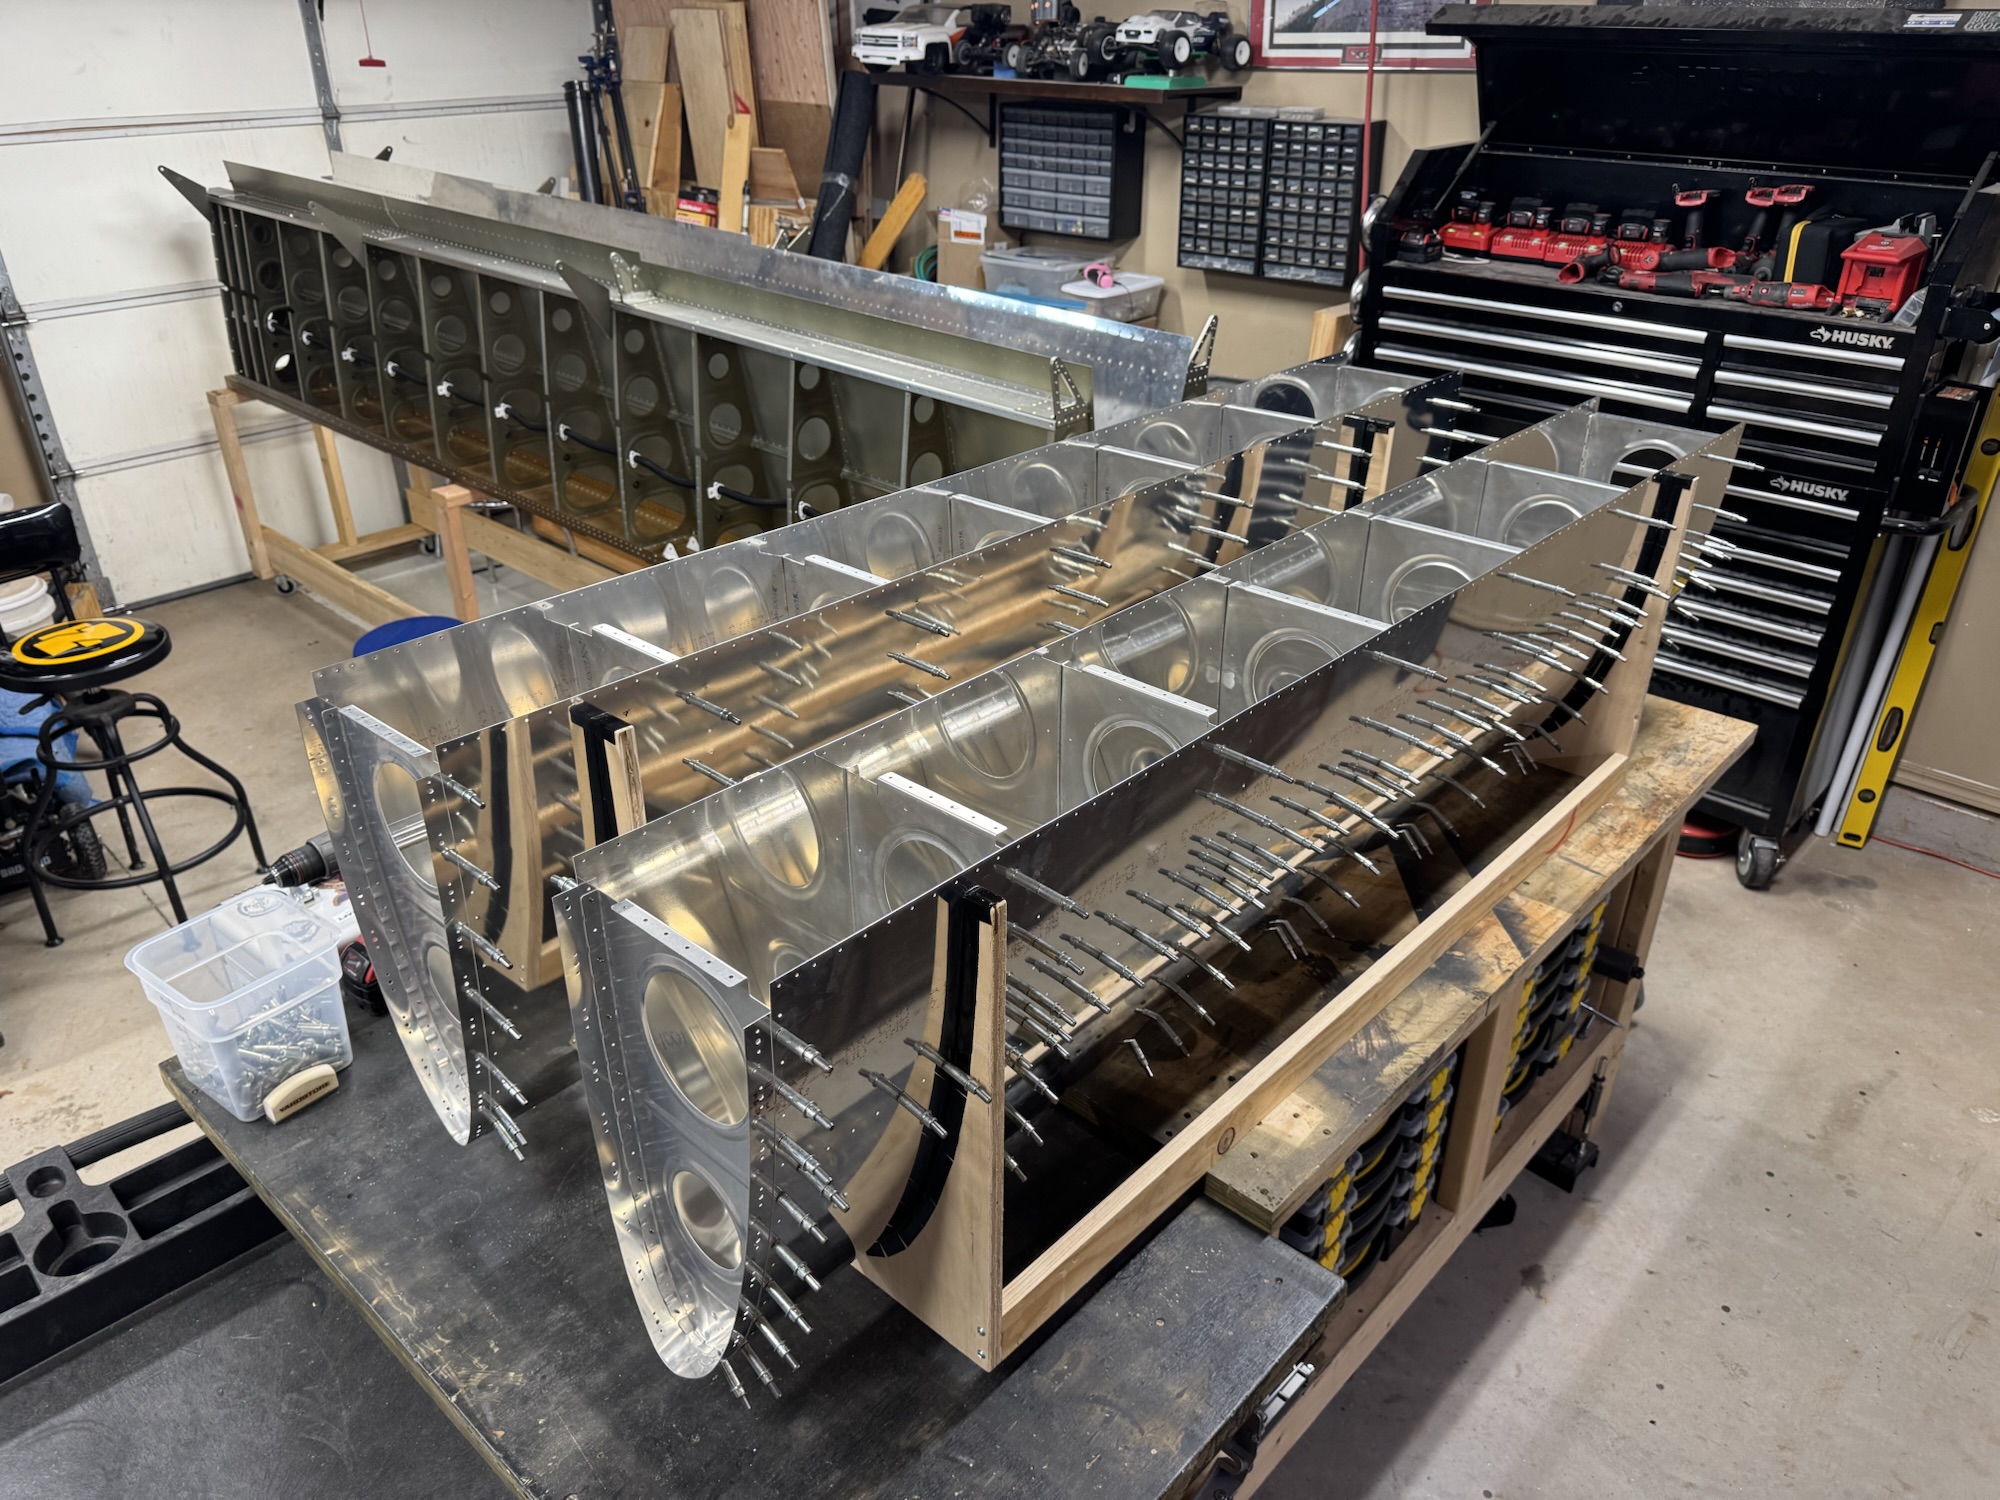
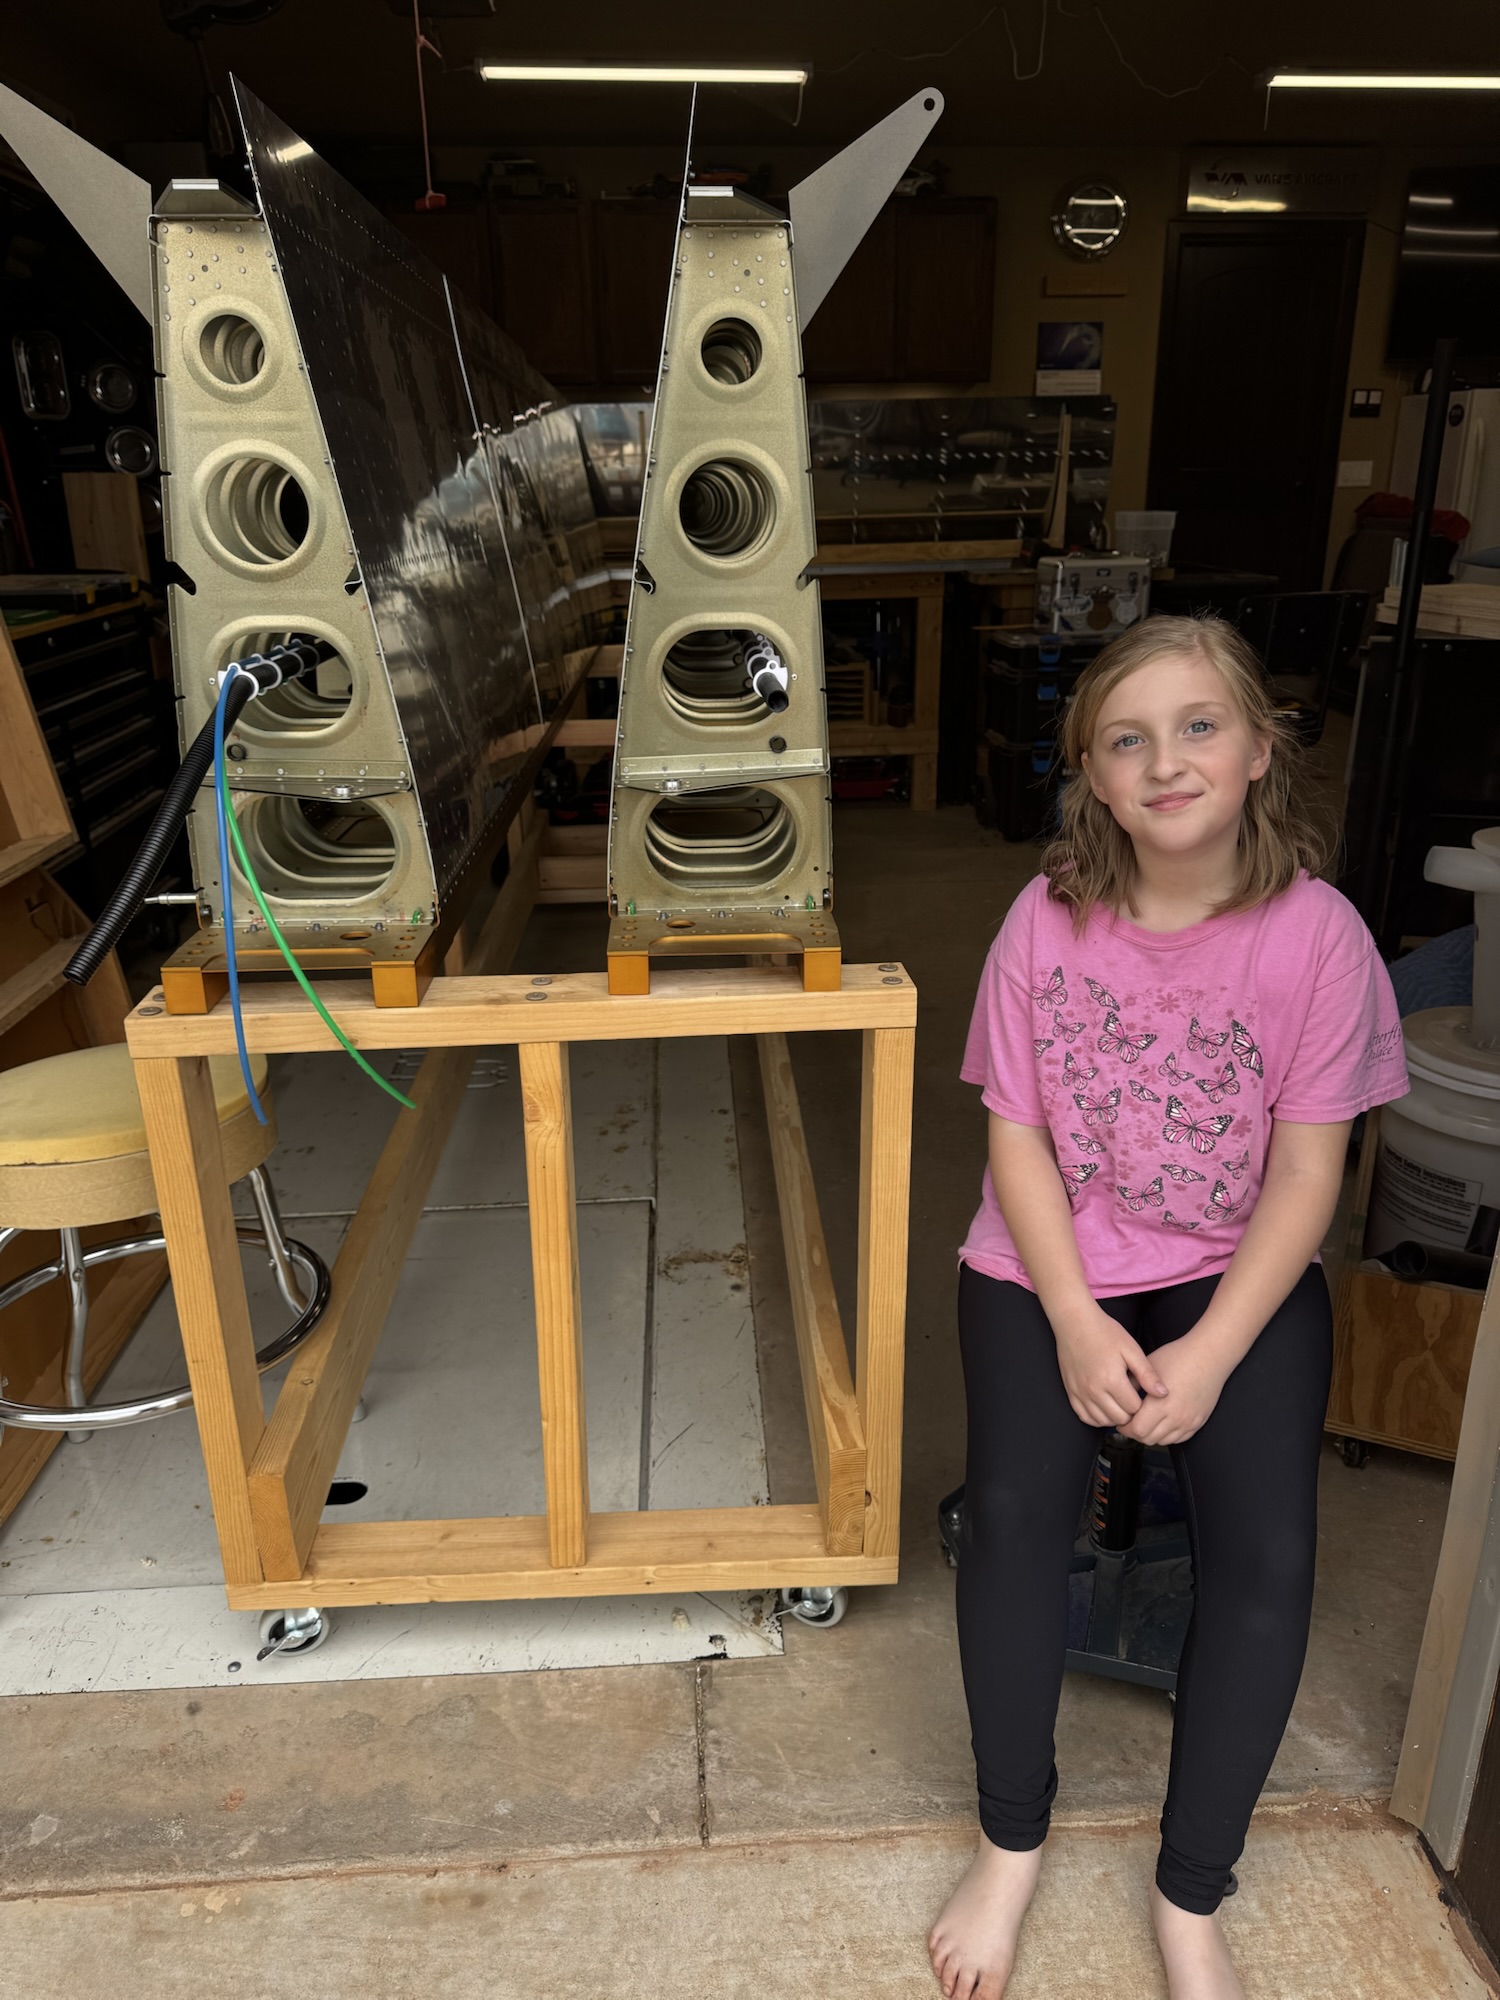
Leading Edges Assembled and J Channel Match Drilled
I got all of the ribs assembled into the leading edge skins today. I need to go back and smooth the forward edges some more on more of the ribs but I can do that when I’m disassembling them. I also got the J channels installed and match drilled them to the skin. Luckily I’ve had plenty of practice at doing that with the wings and the empennage kit so it didn’t take a huge amount of time.


-
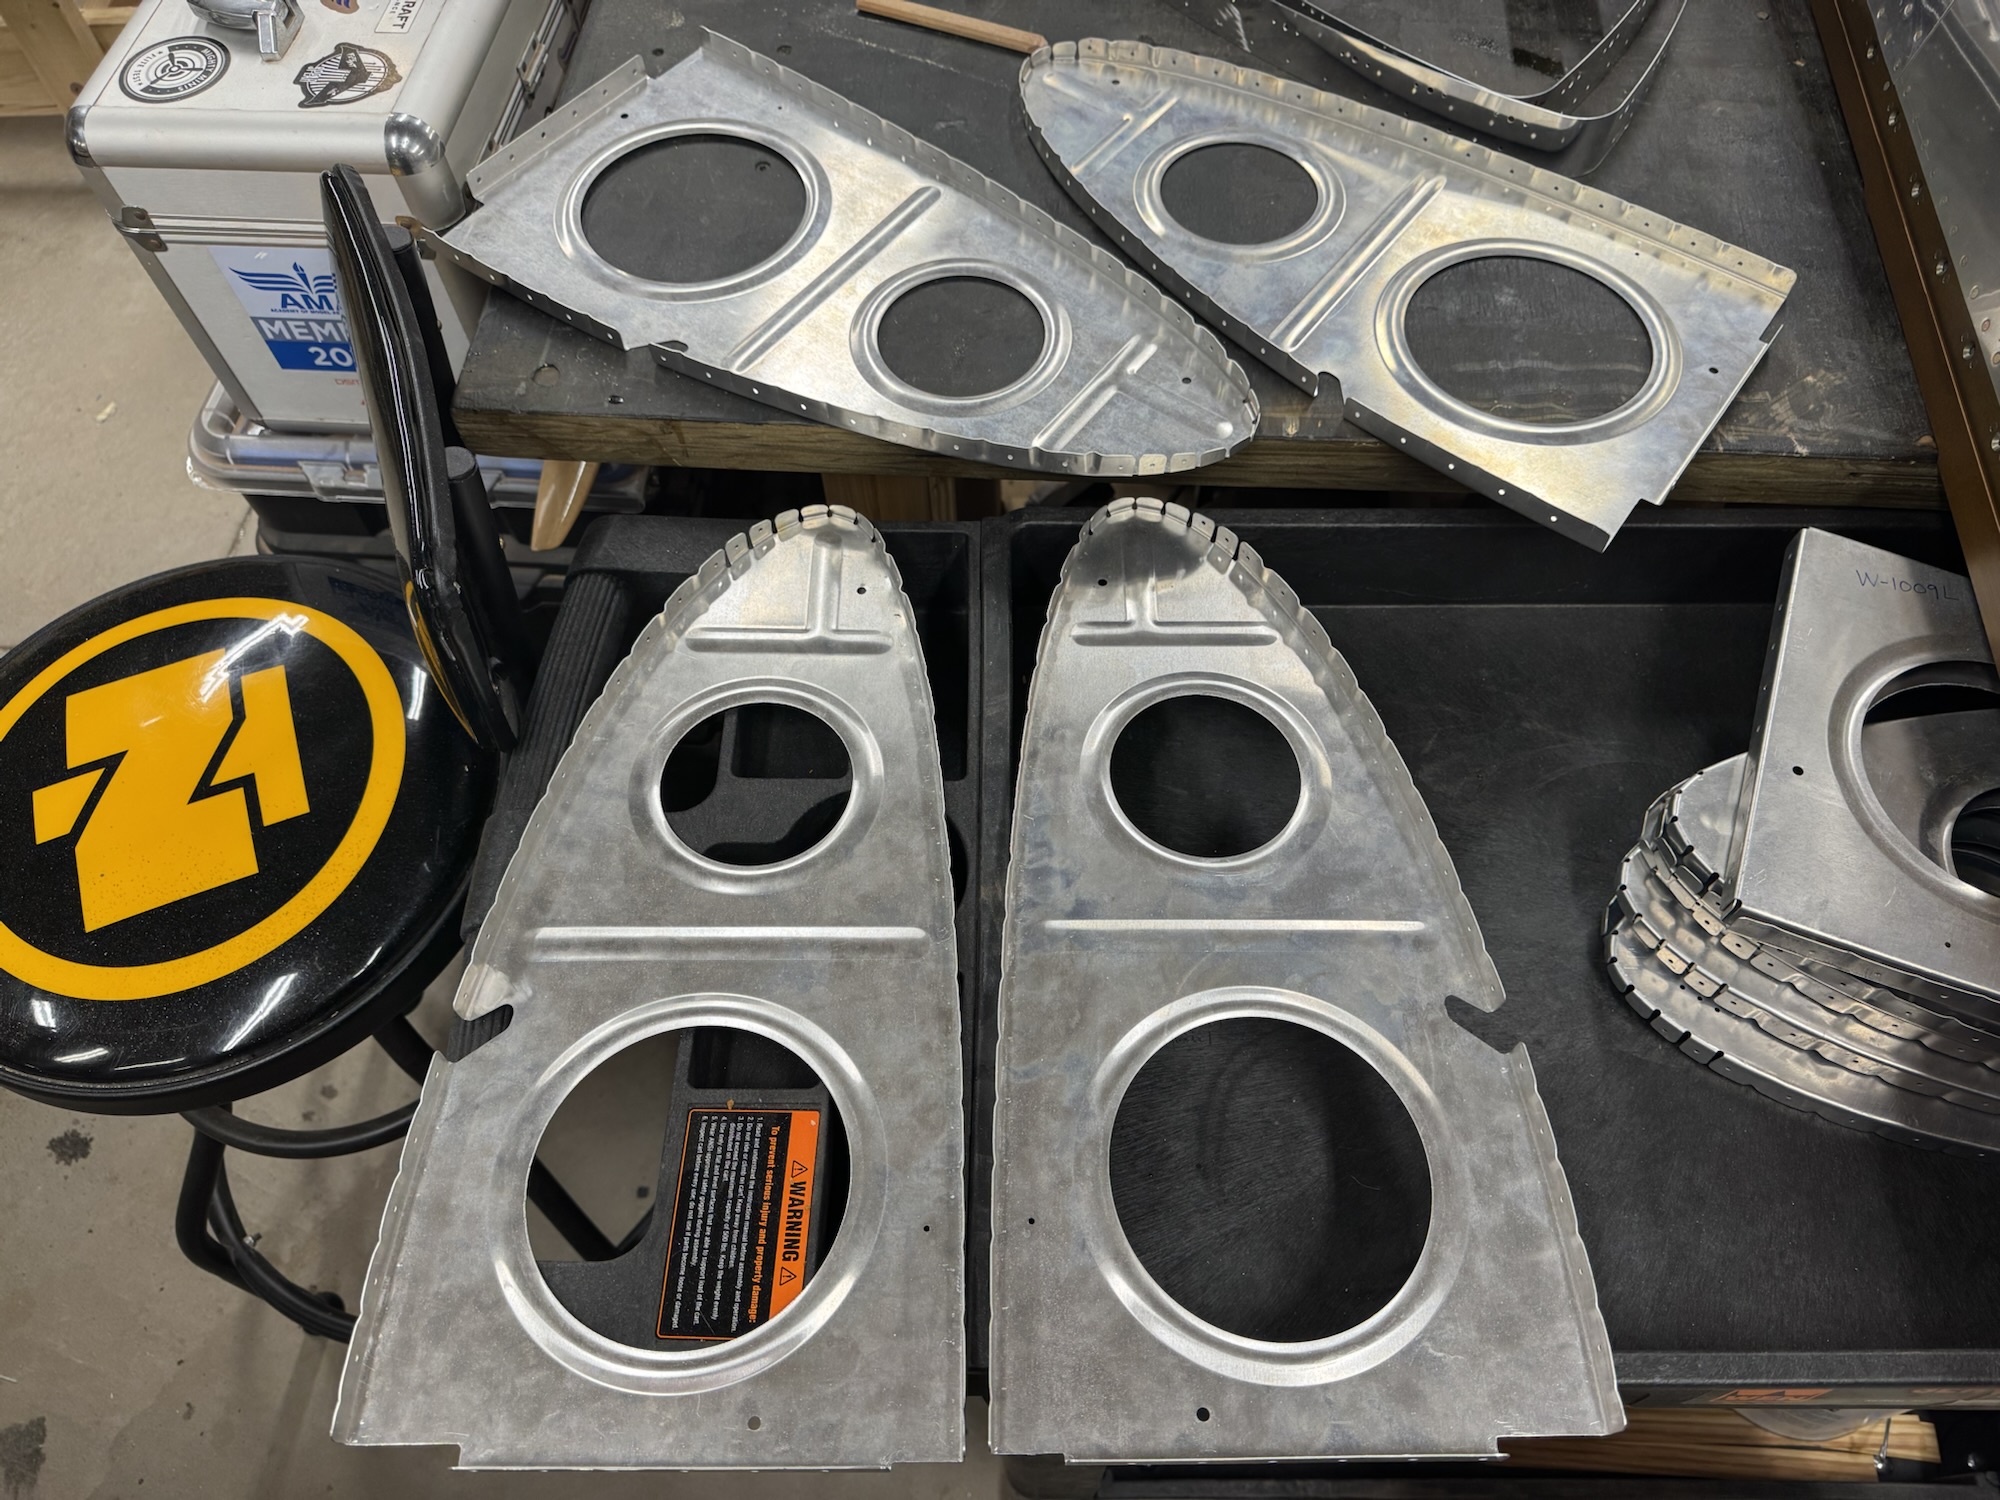
Modified Leading Edge Ribs and Cradle
I got the leading edge modified ribs cut and deburred today. I also got some time today to cut the cradle parts and get them put together. I wanted to get that done today so that I can work on things tomorrow while it is raining outside without having to worry about getting my wood working tools out of the shed.


-

Leading Edge J Channel and Splice Strip Work
I got the J channels cut to length, deburred and marked today. I also got the splice strips cut off of the tank skins that I have stored in the attic and got them deburred as well. Not alot of work done today but I didn’t have a ton of time.

-
Leading Edge Ribs Straightened and Fluted
I had extra time while on calls and during breaks to finish this work. Only took another hour and 15. I need to look at what step is next and get started on that but that will have to wait till tomorrow. I gave the builder’s number a call at Van’s to double check the VB-11 cradle’s location and they said it should have been drawn on the crate the wings came in. I did not see that when I was looking the crate over so I’ll just have to create them from scratch using one of the ribs as a template.


