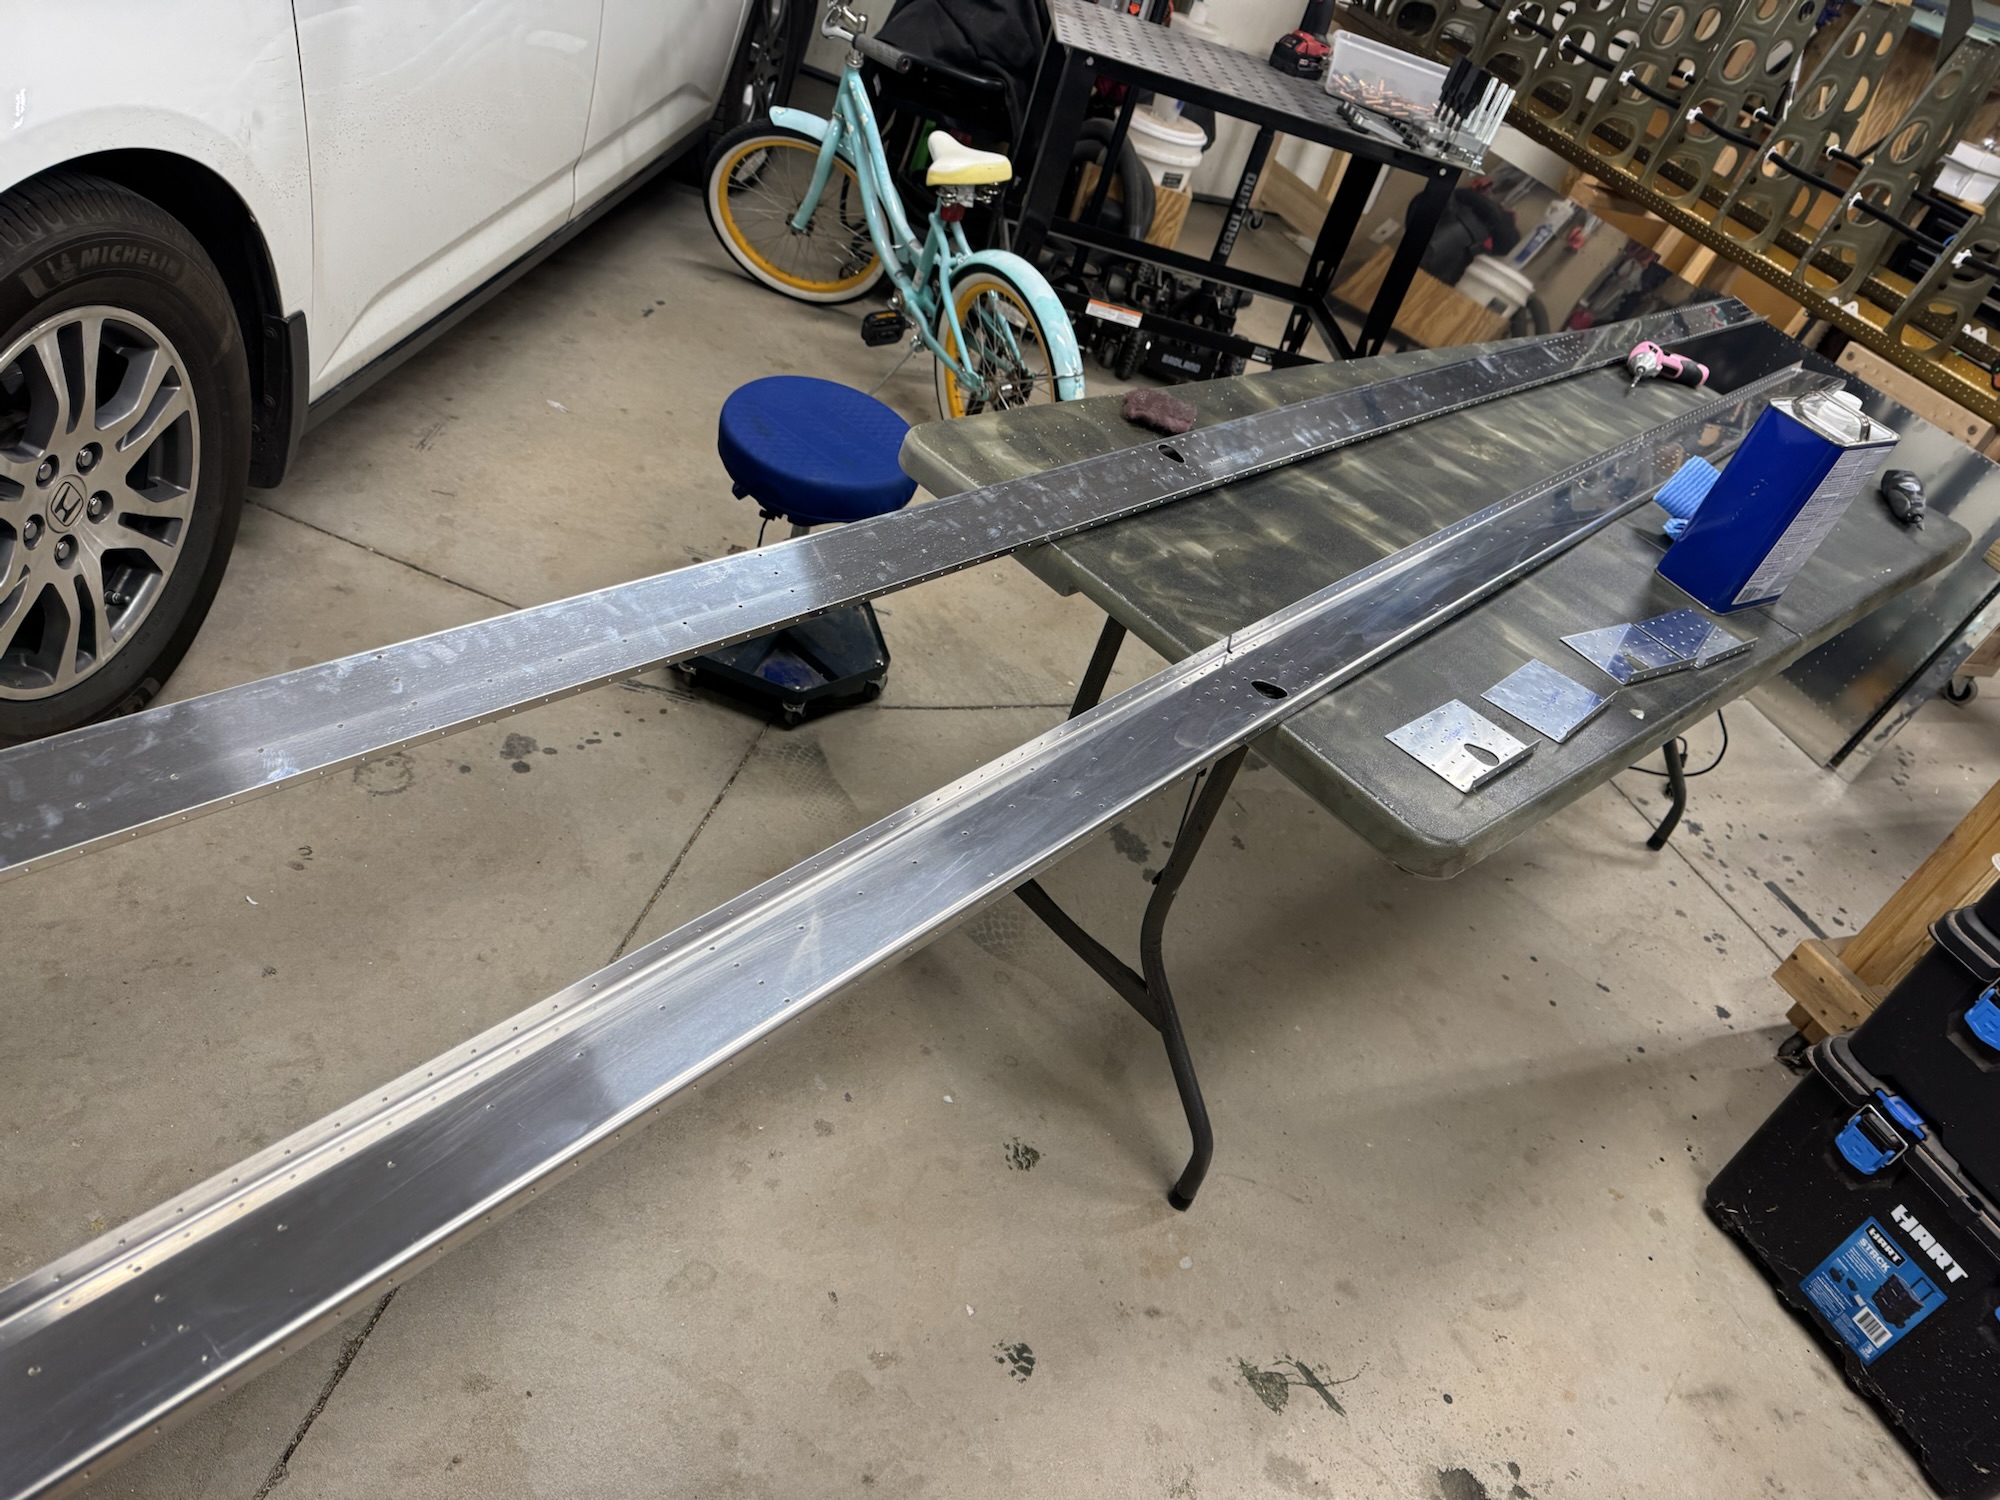
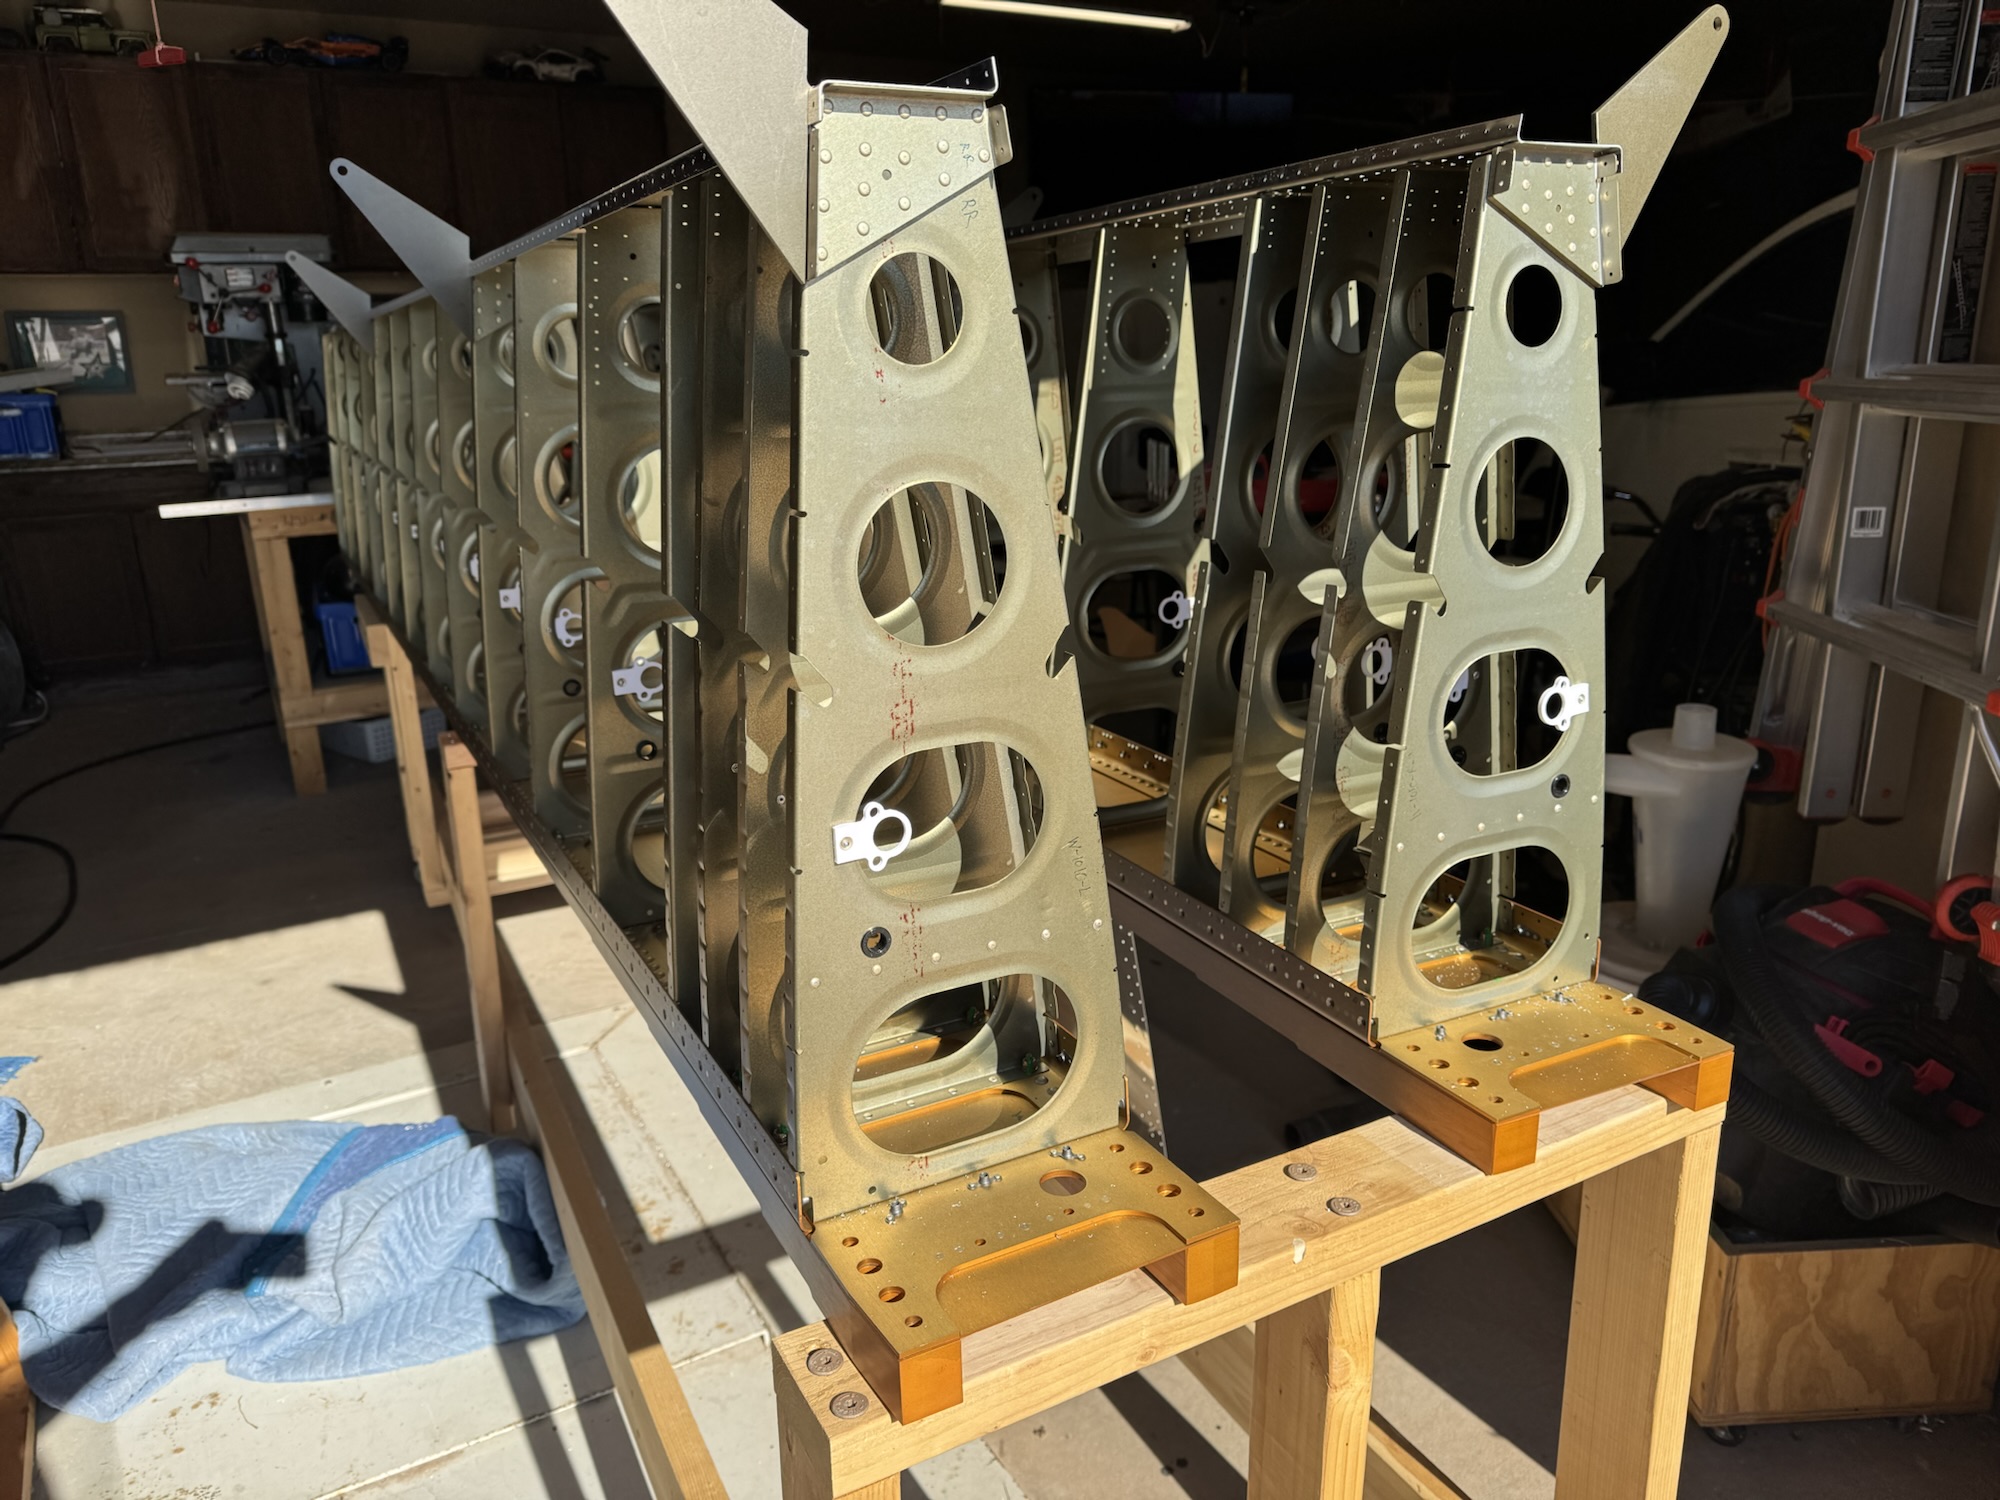
Not much to state except that I got all of the riveting done for the rear spar. I am done with offset rivet attachments though. You lose power in the offset. I ended up filing down the offset I had so it would fit in the tight area around the aileron hinges. All in all a good day and I’m ready for a little rest tomorrow on the Sabbath.
I got the countersinking and the dimpling completed and then primed all of the parts this morning. The ribs that had the flap brackets on them were a bit of a pain. I had my close quarter dimpler and I had to go buy some 4D 1.5″ nails to finish the job as I ran out of the mandrels they had given me originally. I got everything assembled and ready for riveting tomorrow. I also opened the holes by 1/64th for the pitot lines. I then staged those for later. All in all a good day and ready to get it riveted tomorrow!
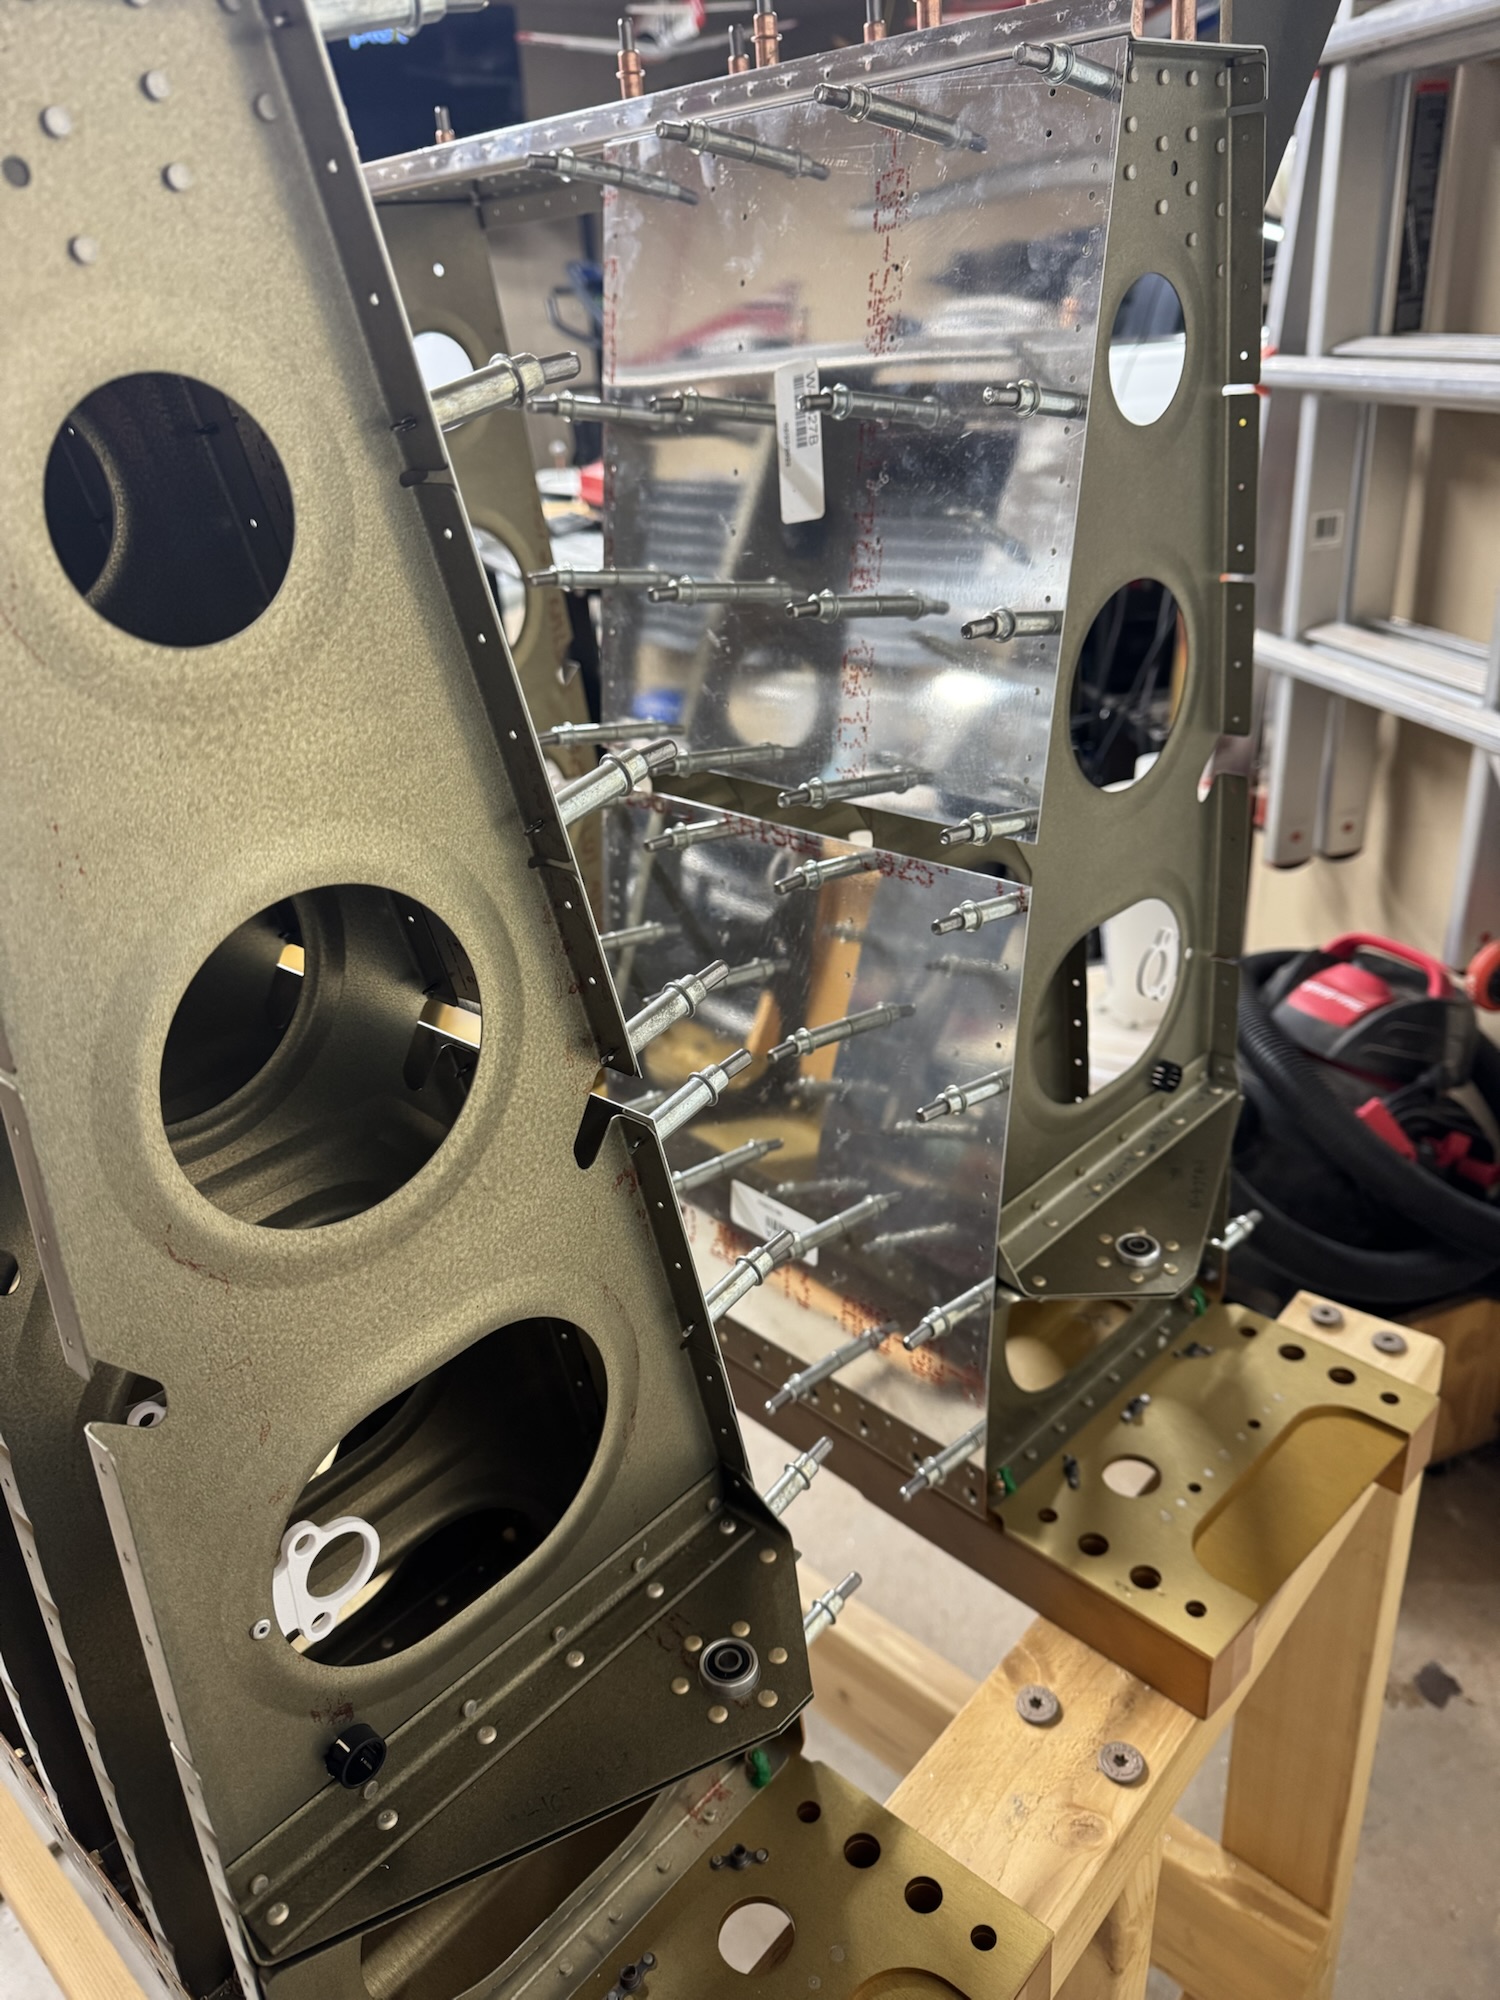
I had a visit with my local EAA chapter tech today to have him double check how things are going. He didn’t see any issues with the current build progress so that’s always a good sign. The spar doublers showed up today so I got those drilled and deburred. The last thing I need to do tomorrow is to countersink some of the areas of the rear spar and the rear inboard spar doubler, prime the parts that I have left and then put it all together for the last time!
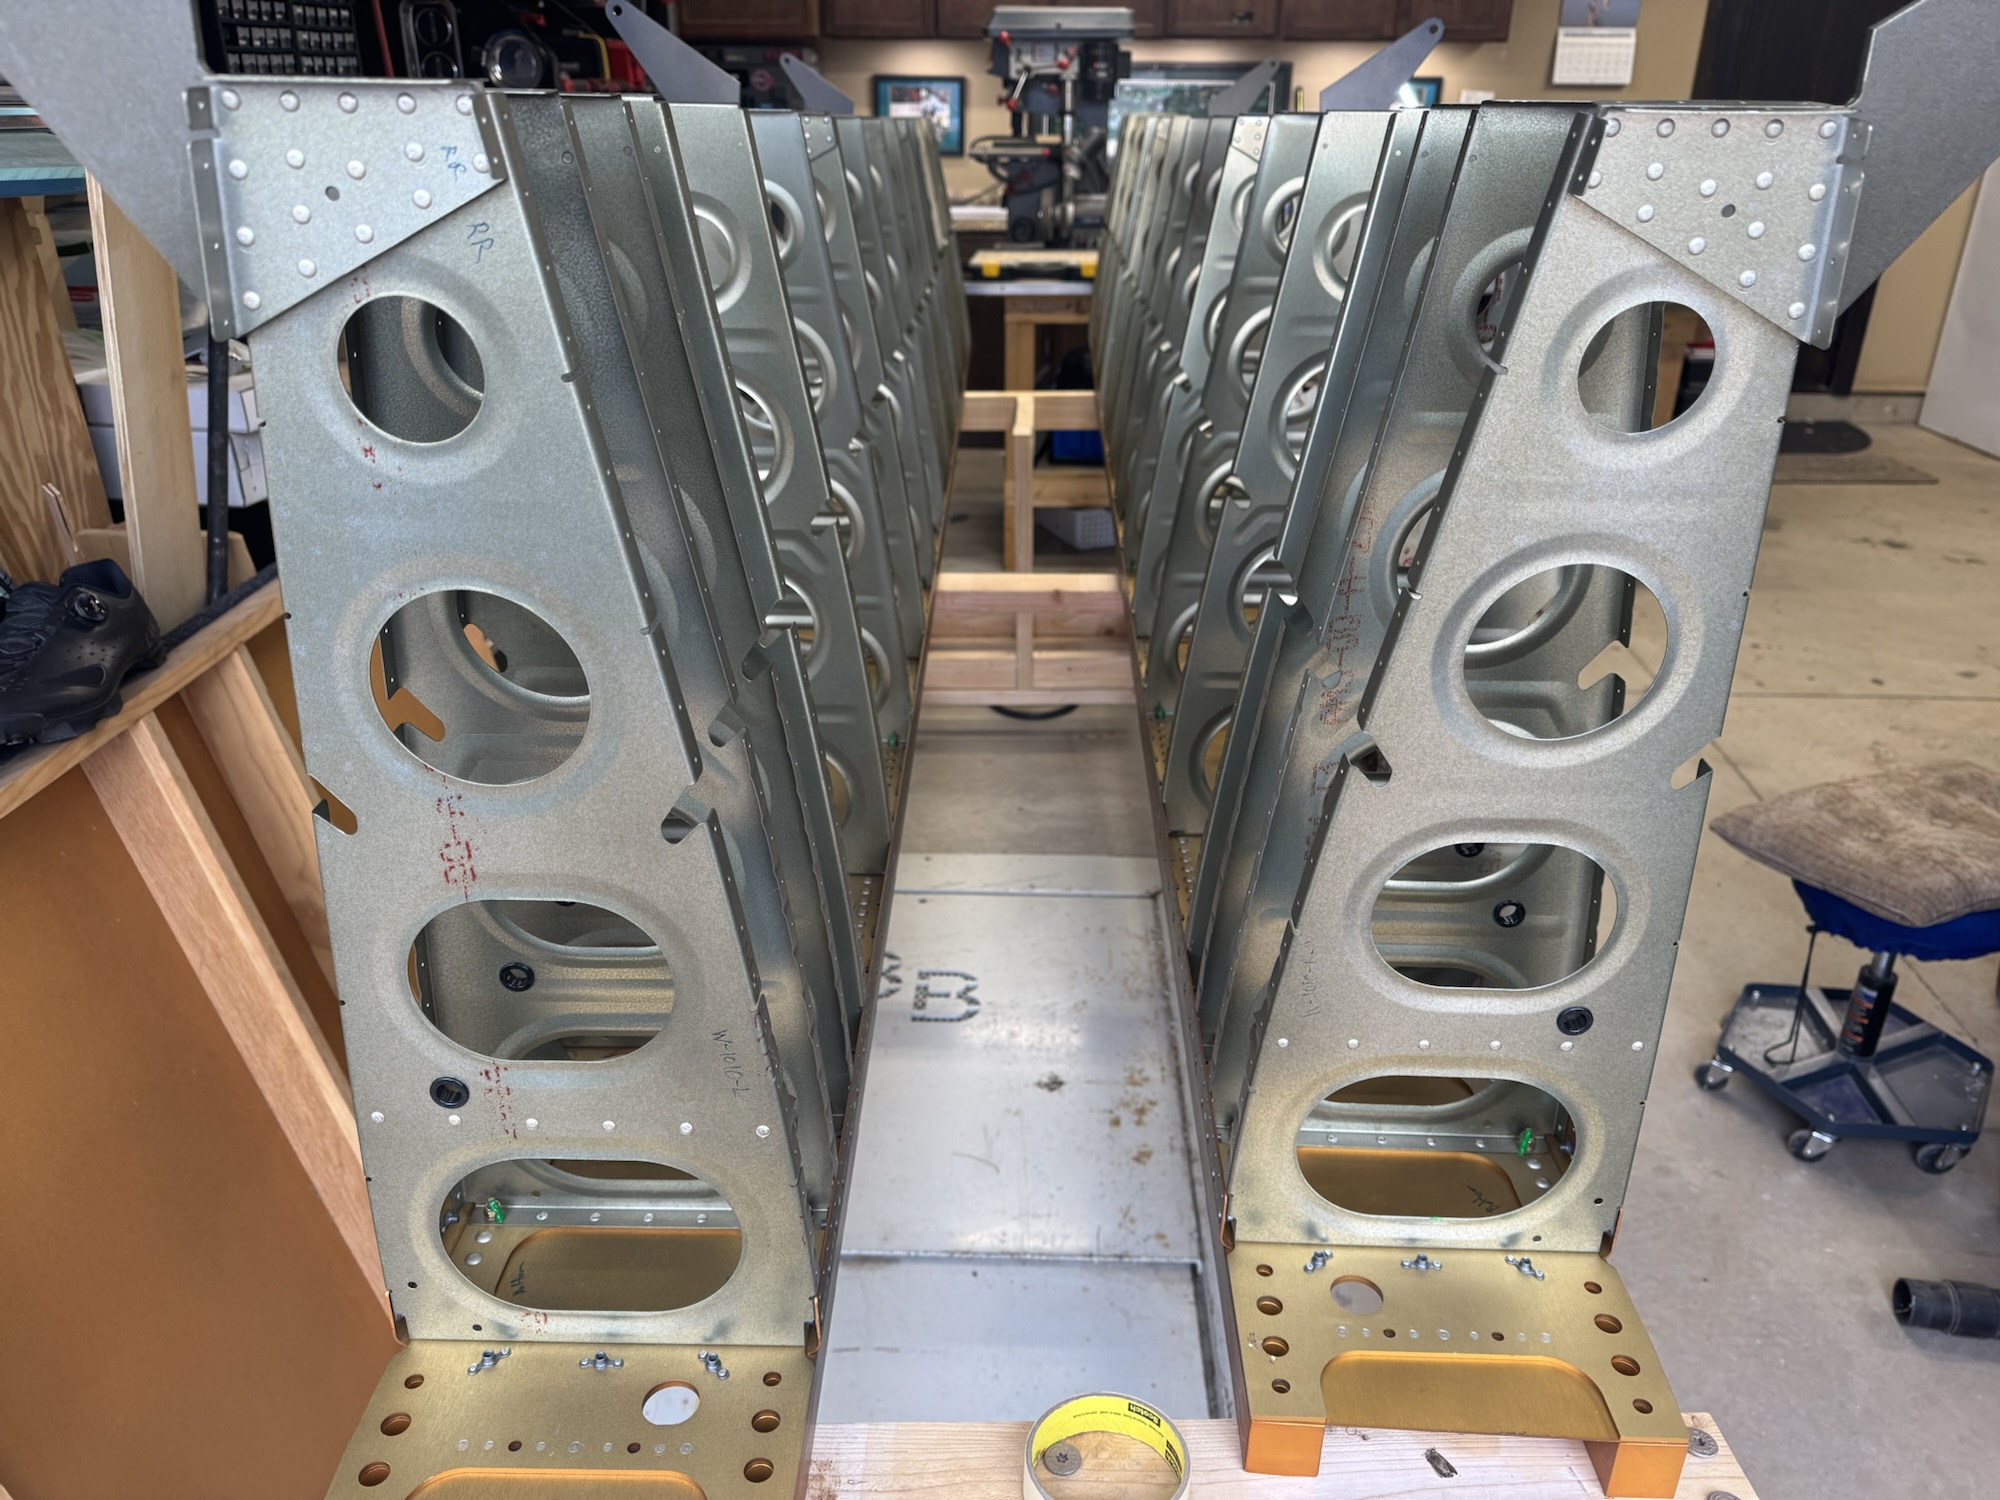
Since I’m waiting on parts to finish the rear spar I decided to check the skins and how they fit. I got them down from storage and removed the lamination from it. I then clecoed on the wing walk doubler skins and that’s when I noticed I had put the inboard ribs on the wrong spars. I counted all of that work in my previous post, but this is what led to that discovery. I also deburred the skins as these bit me too LOL Now I’ve got both of my hands with matching cuts to deal with.
I did a lot of work over the past two days which I’m going to put into two separate posts since they are over different sections, but I’ll mention some of it here as it will be necessary to see why I did some of the other work I mention.
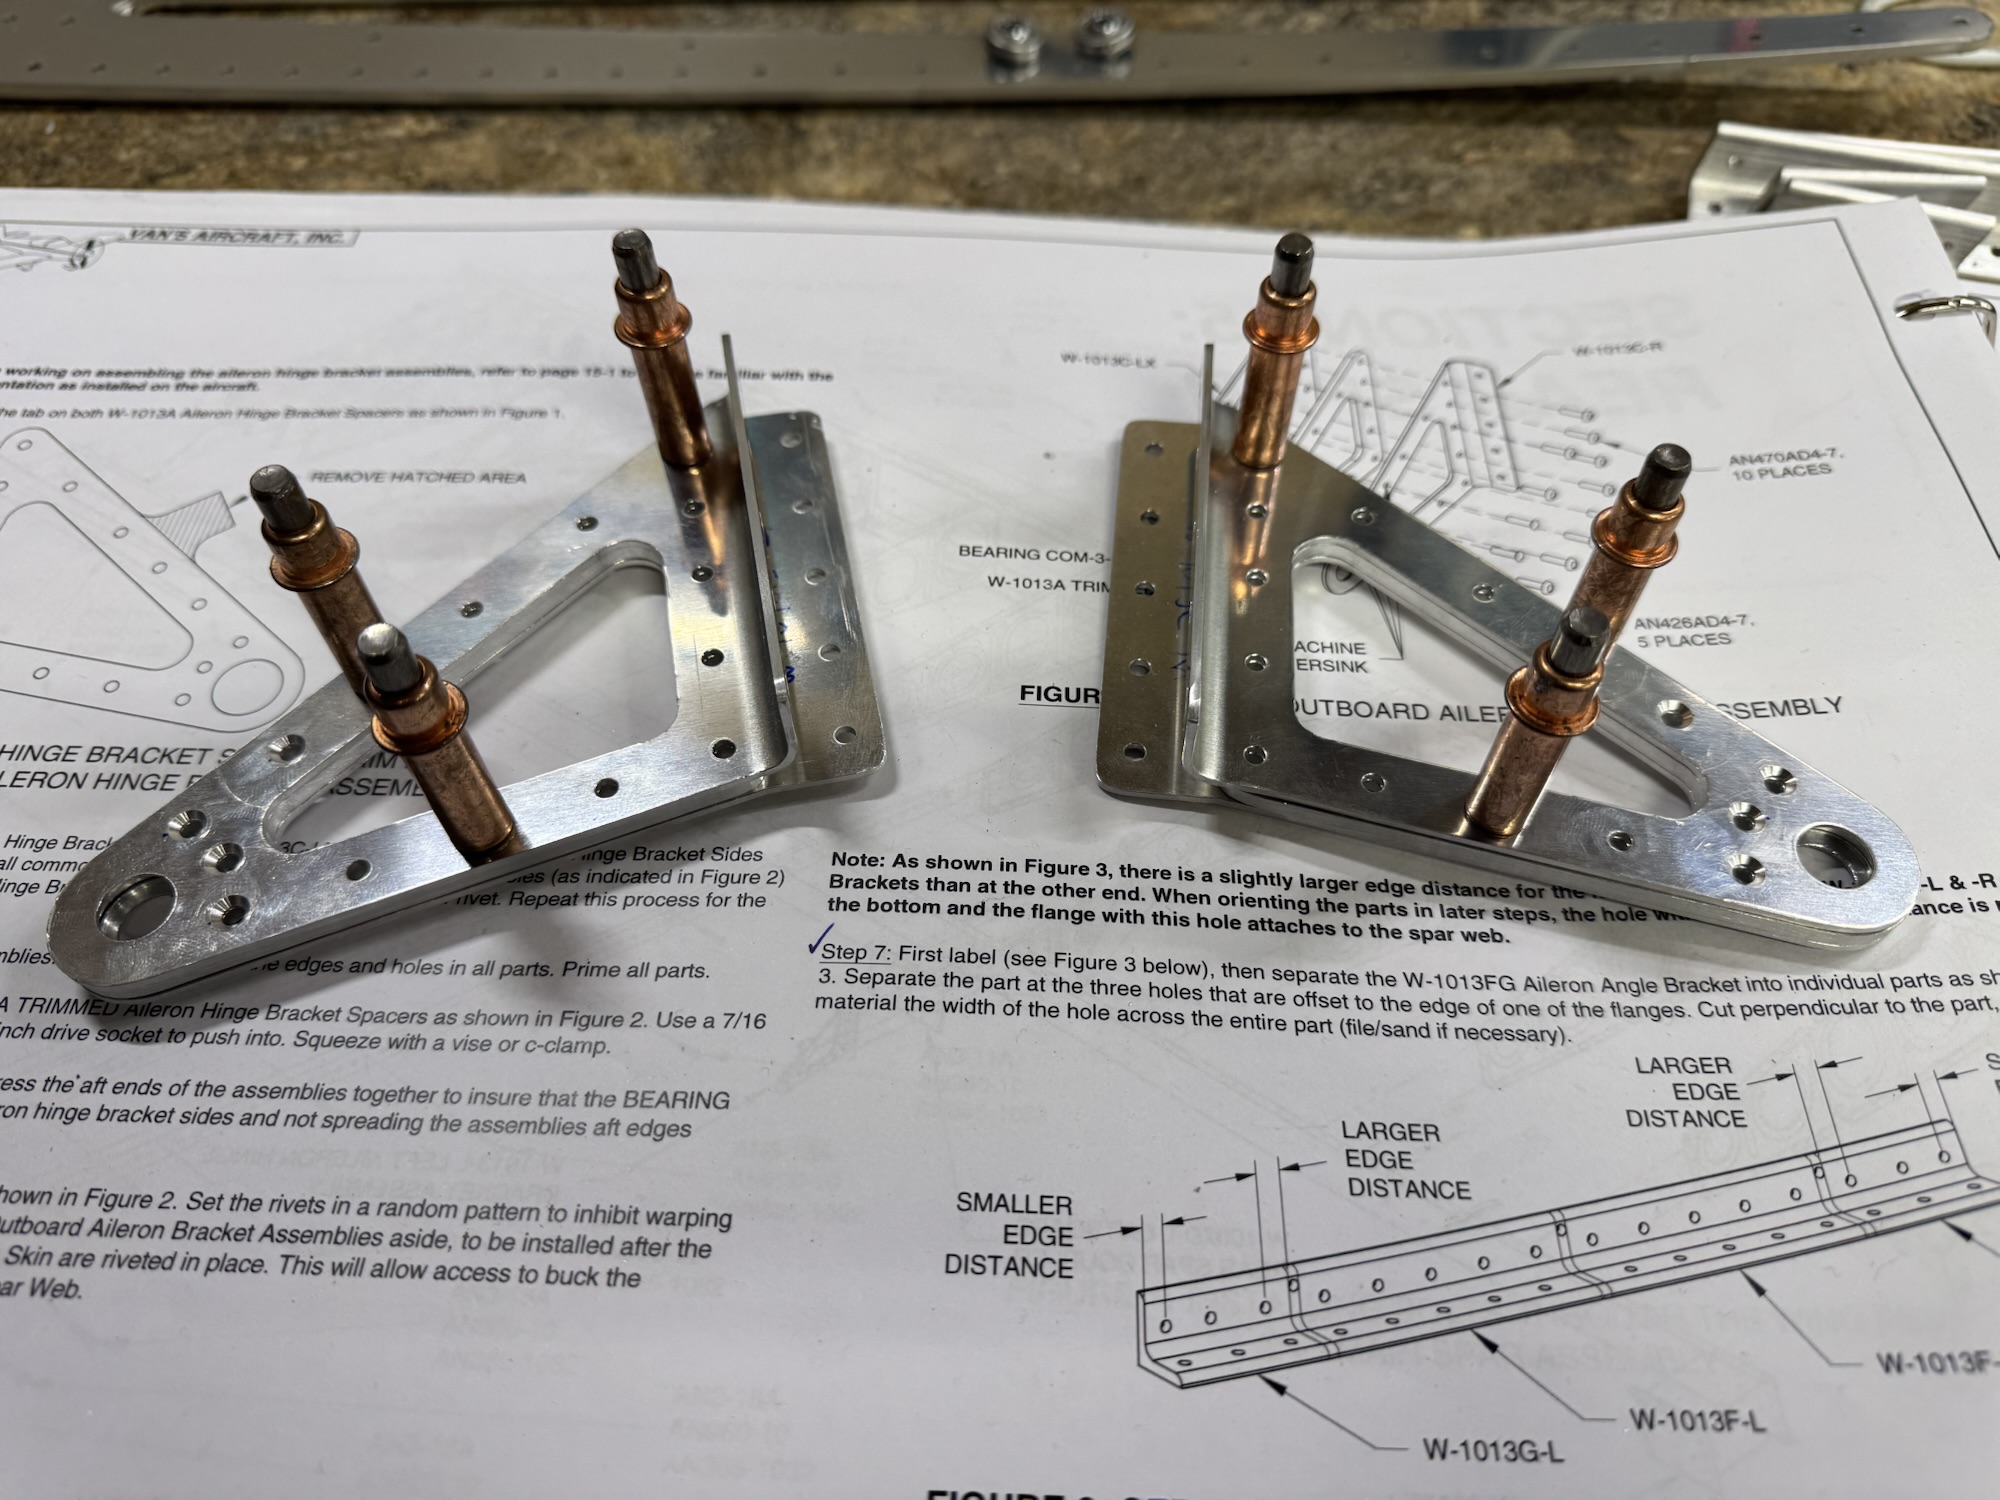
Later that night after I did my last post I decided to keep working. I primed the parts that I had out and then I put the aileron brackets together. They came out super straight and I was very excited they didn’t warp!
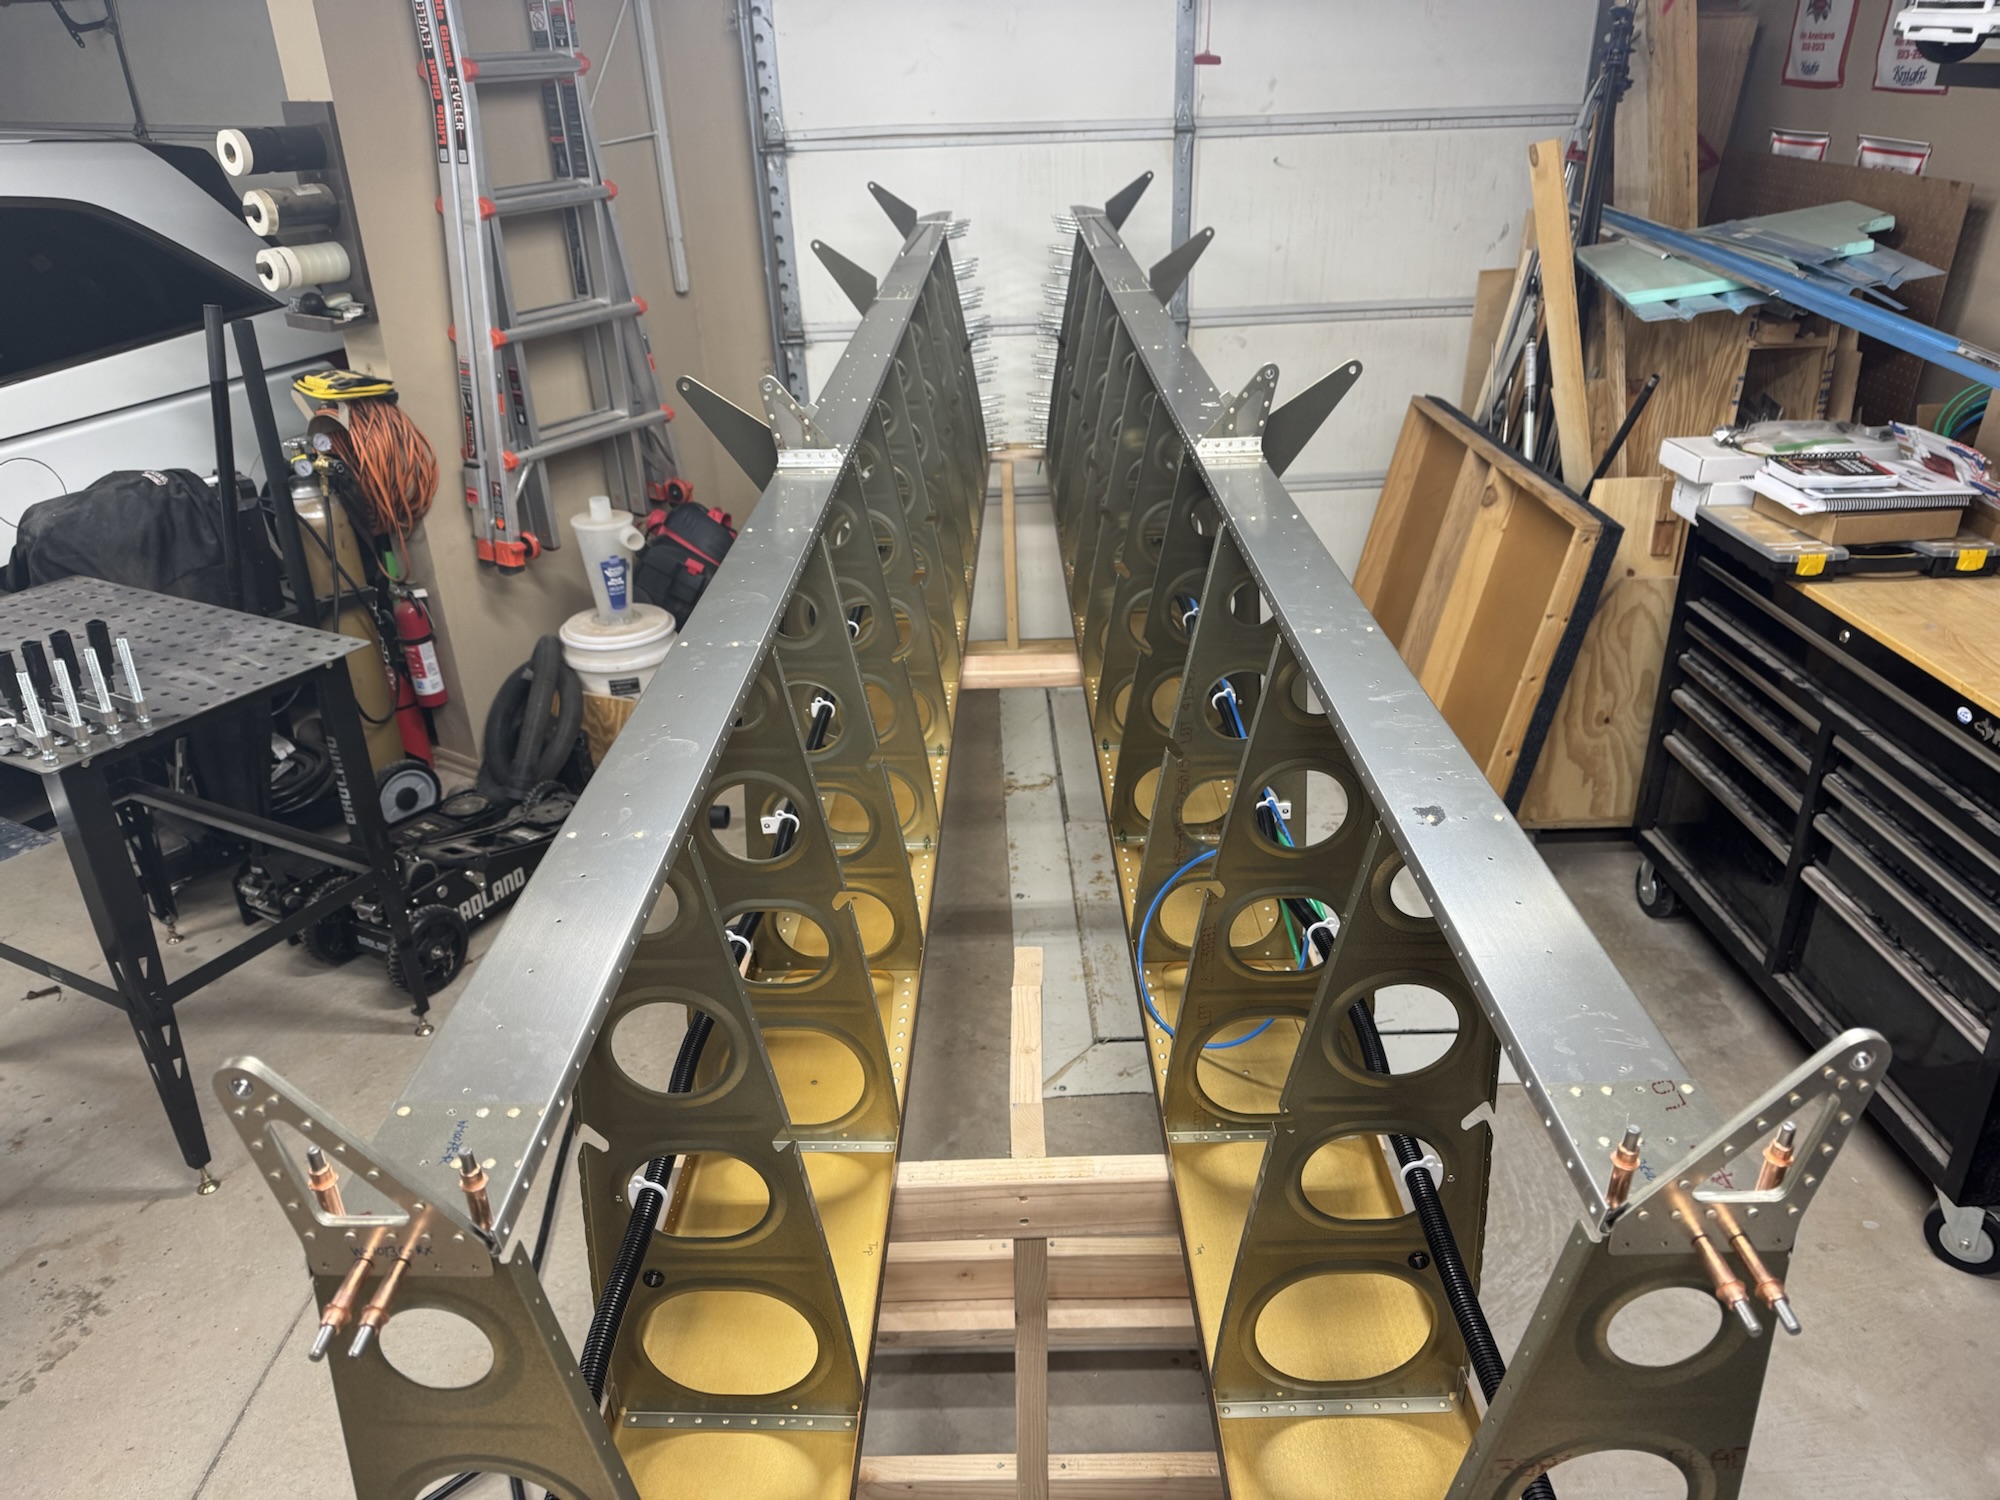
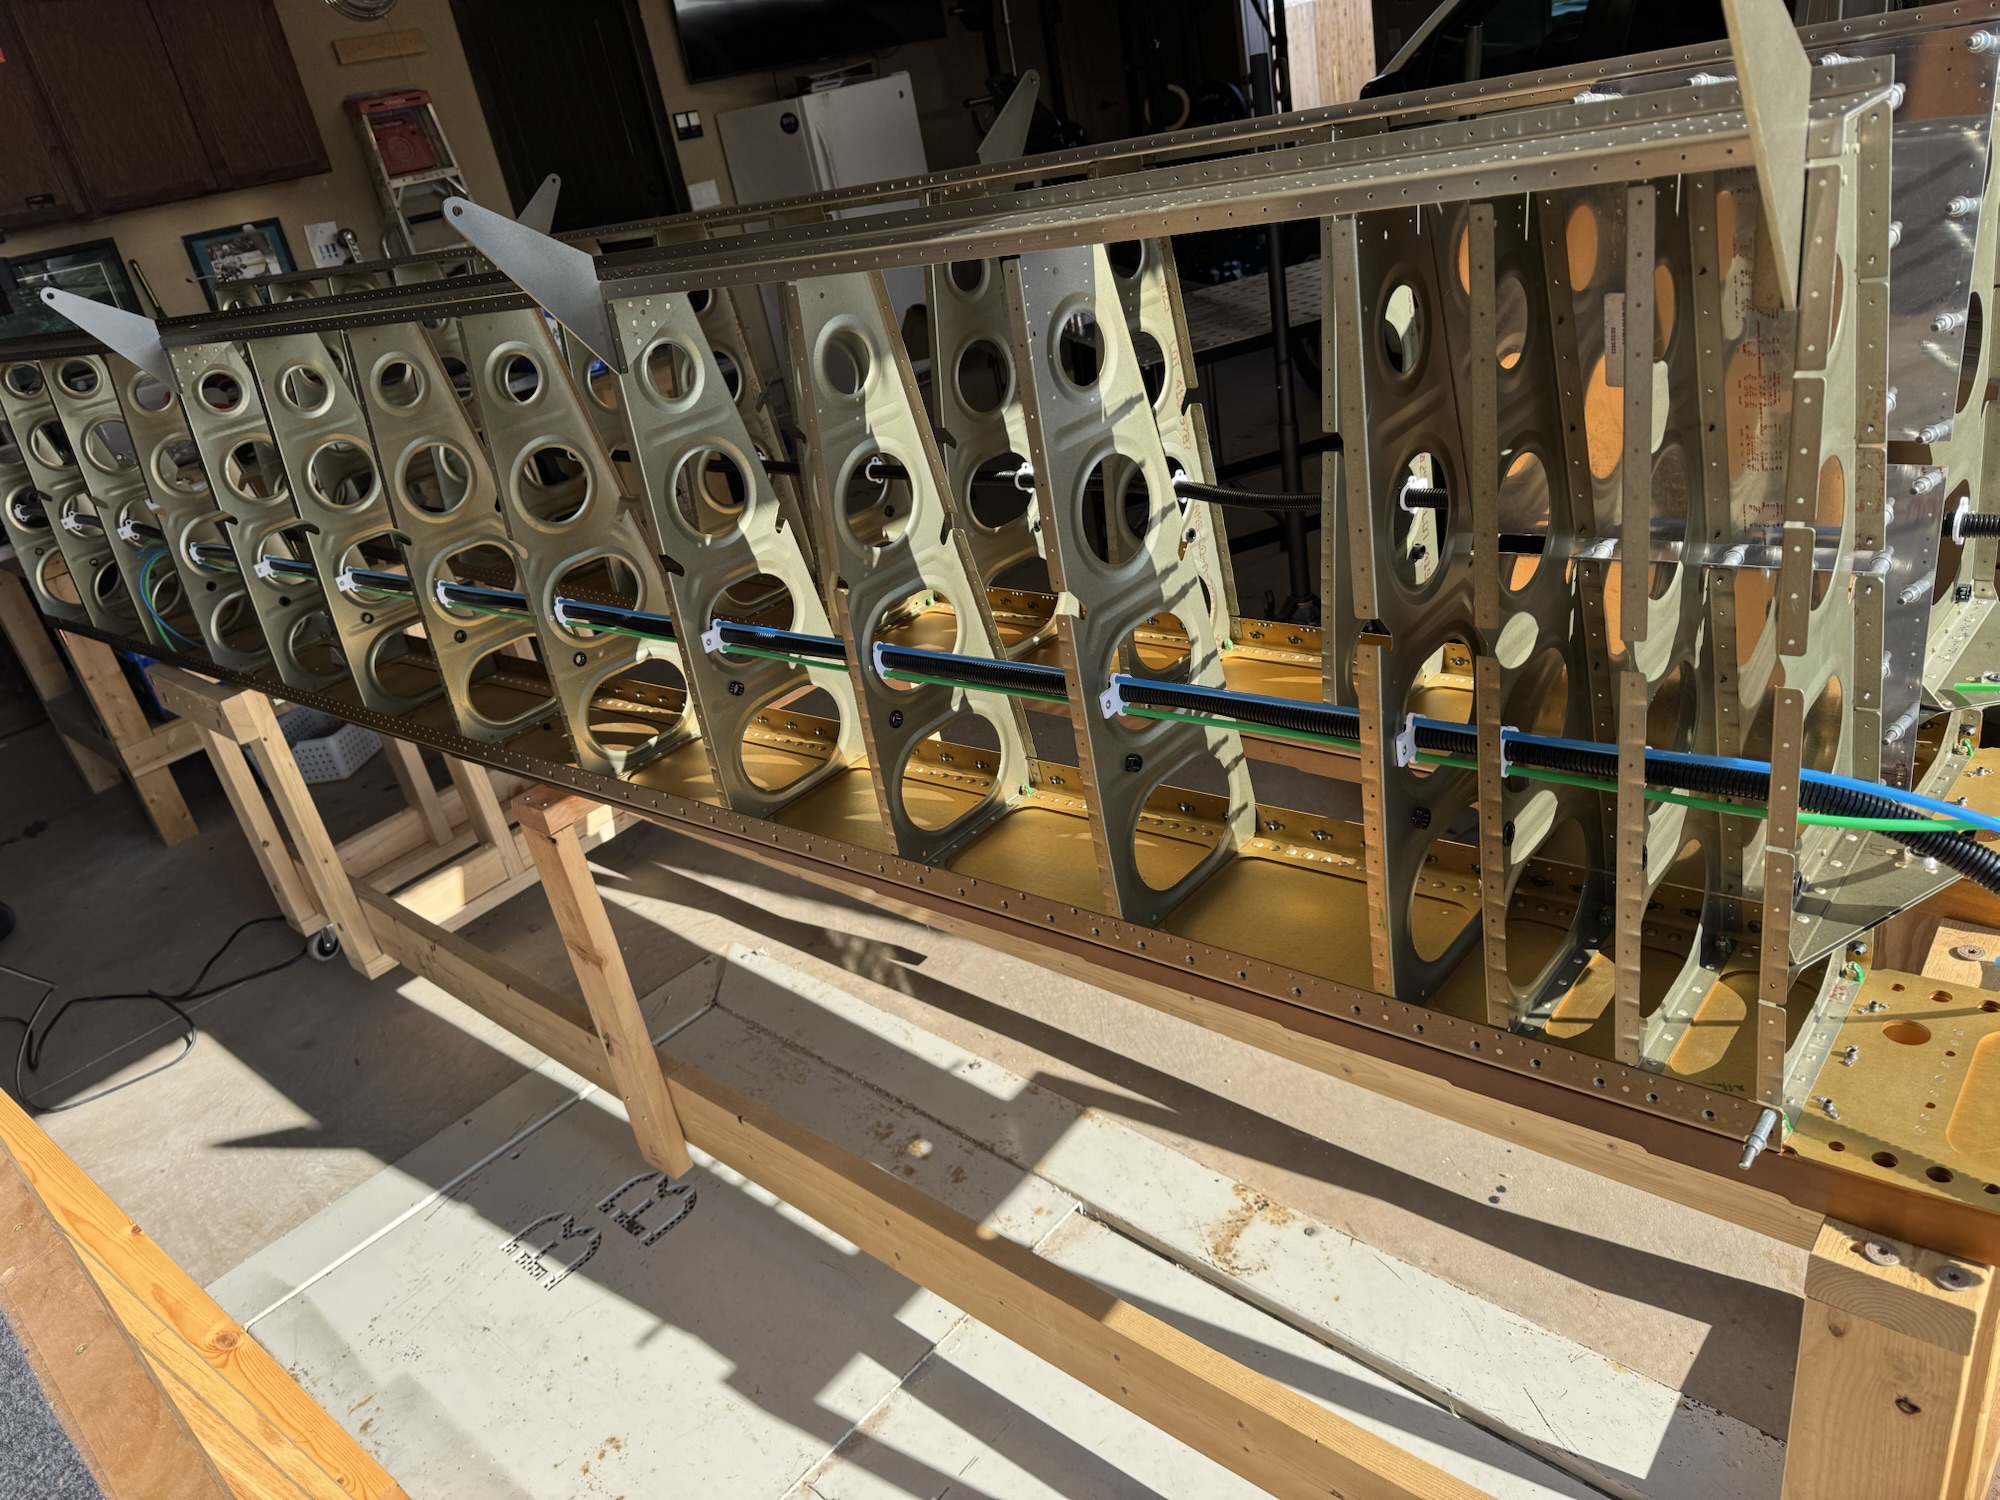
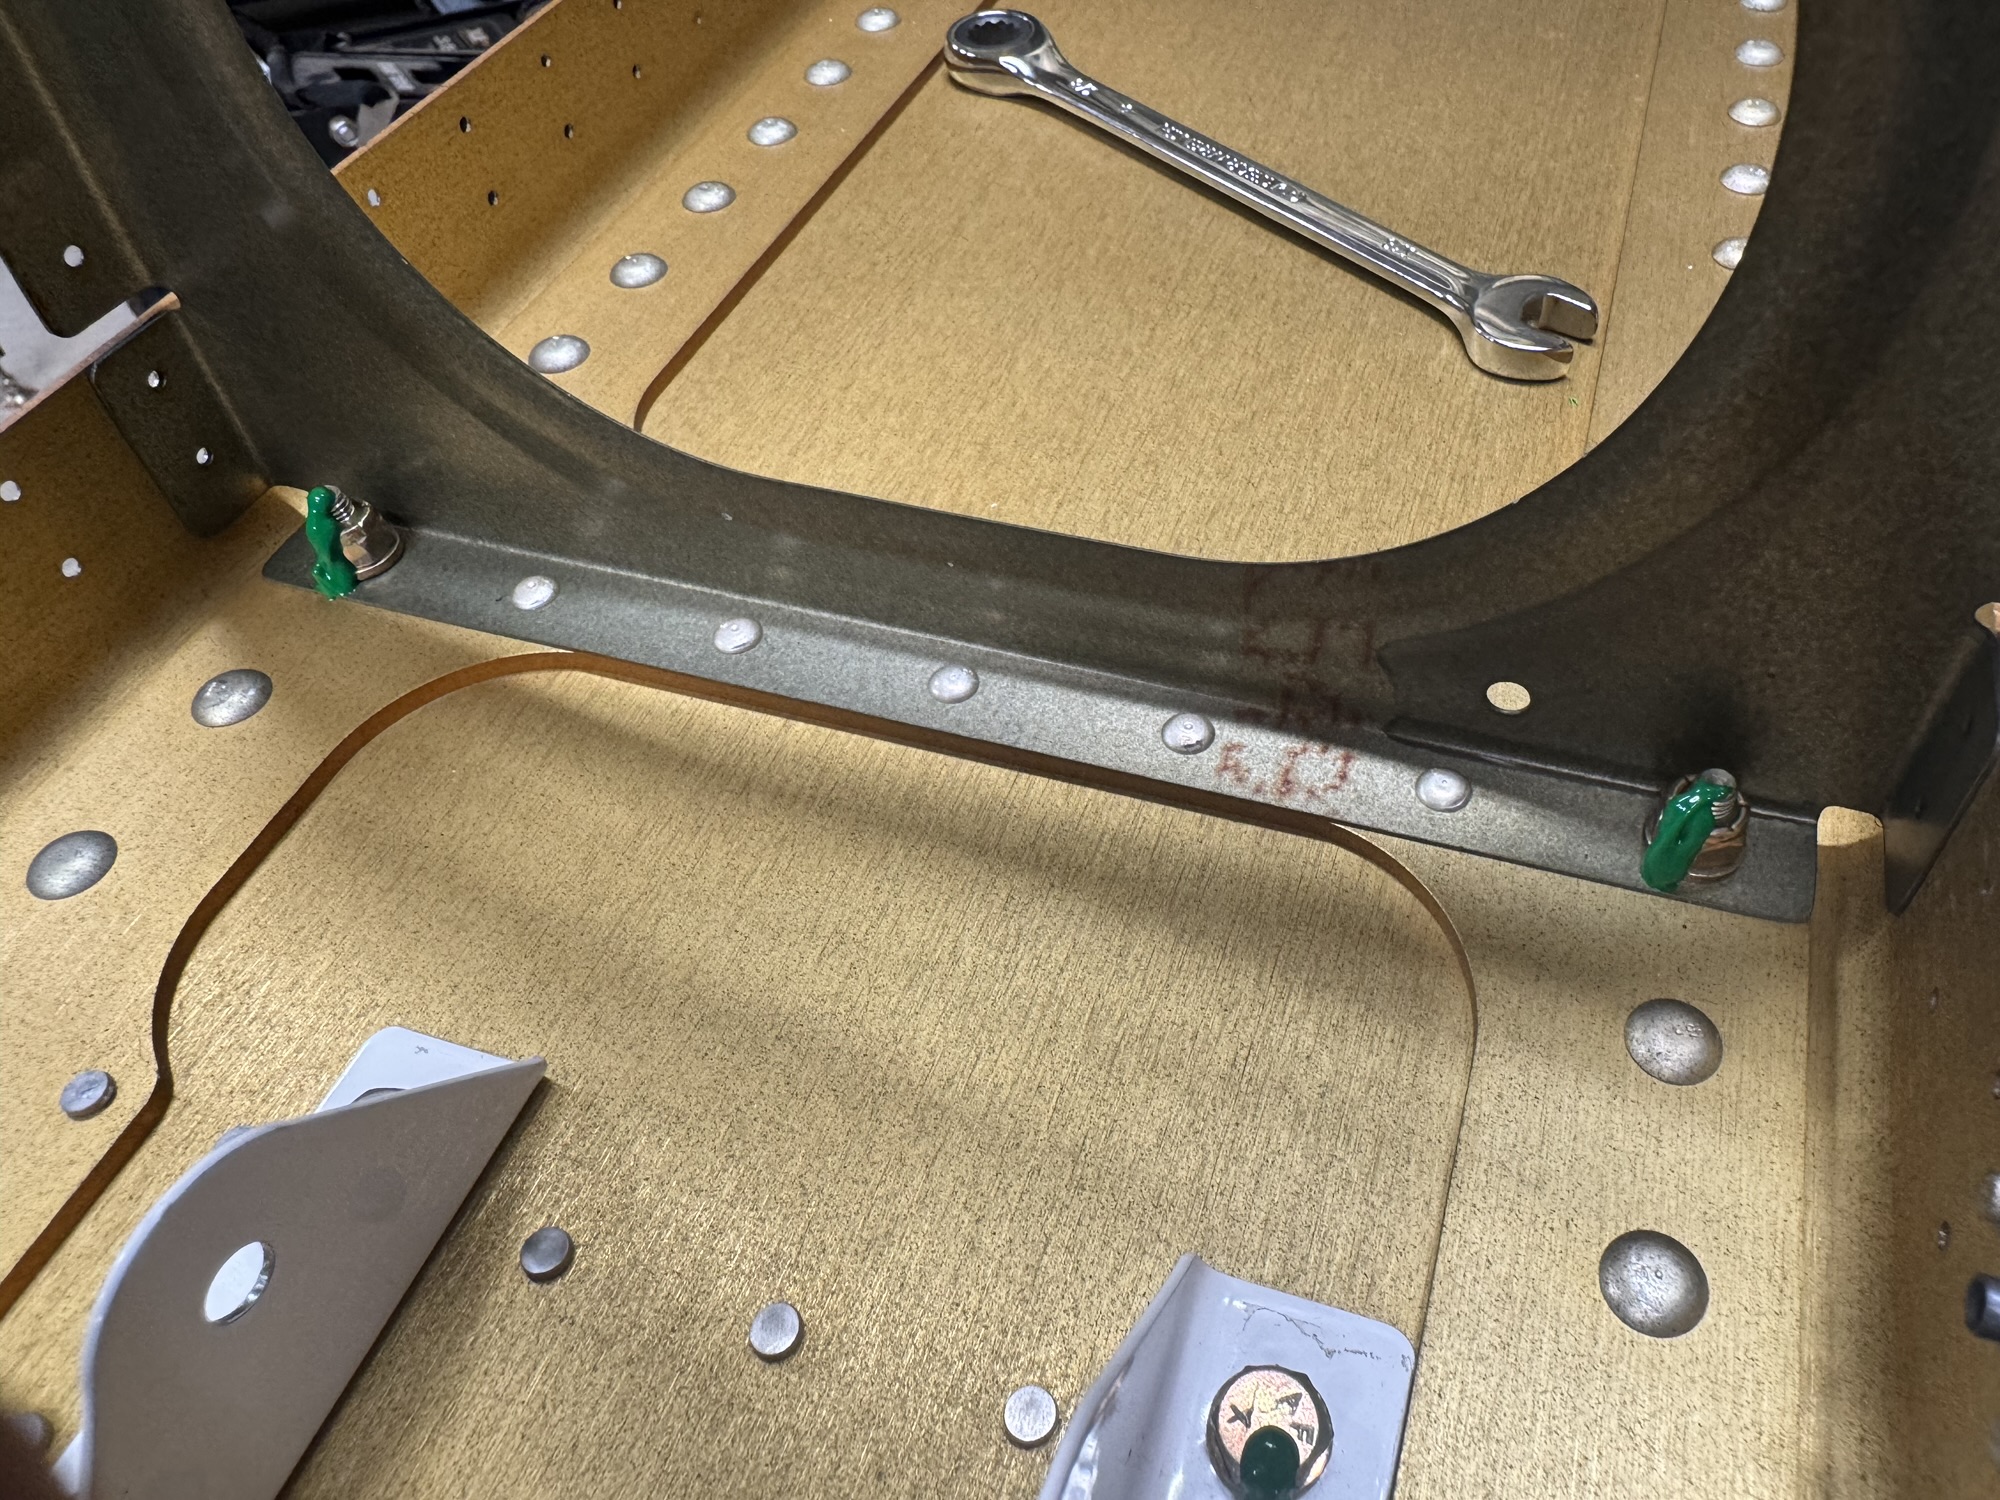
I then decided to finish getting the conduit brackets mounted since I’m still waiting on the reinforcement brackets for the rear spar. They should be in tomorrow. But here is what that worked looks like after I finished.
I then decided to mount the skins to see how they all fit up and that is when I noticed a problem. I had mounted the inboard ribs to the wrong spars. So, I drilled out the rivets on those and swapped them around. A bunch of extra work I wouldn’t have had to do if I had slowed down and made sure I had done it right.
I didn’t take a picture of this but I ran the conduit in the plane and then I started doing the pitot tubing but that is going to need some lubrication to get through as it is just a bit too tight. All in all I made some good progress!
I got all of the deburring done for all of the small parts as well as all of the drilling done on the outboard reinforcement plates. I also drilled the four additional holes on the inboard reinforcement plate into the ribs that are non-standard. I deburred all of the parts and got them ready to be painted. I just need to wait for the replacement reinforcement plates to show up so I can cut those, deburr them, and paint them. I need to go around and deburr the rear spars. I might get some of that done tomorrow.
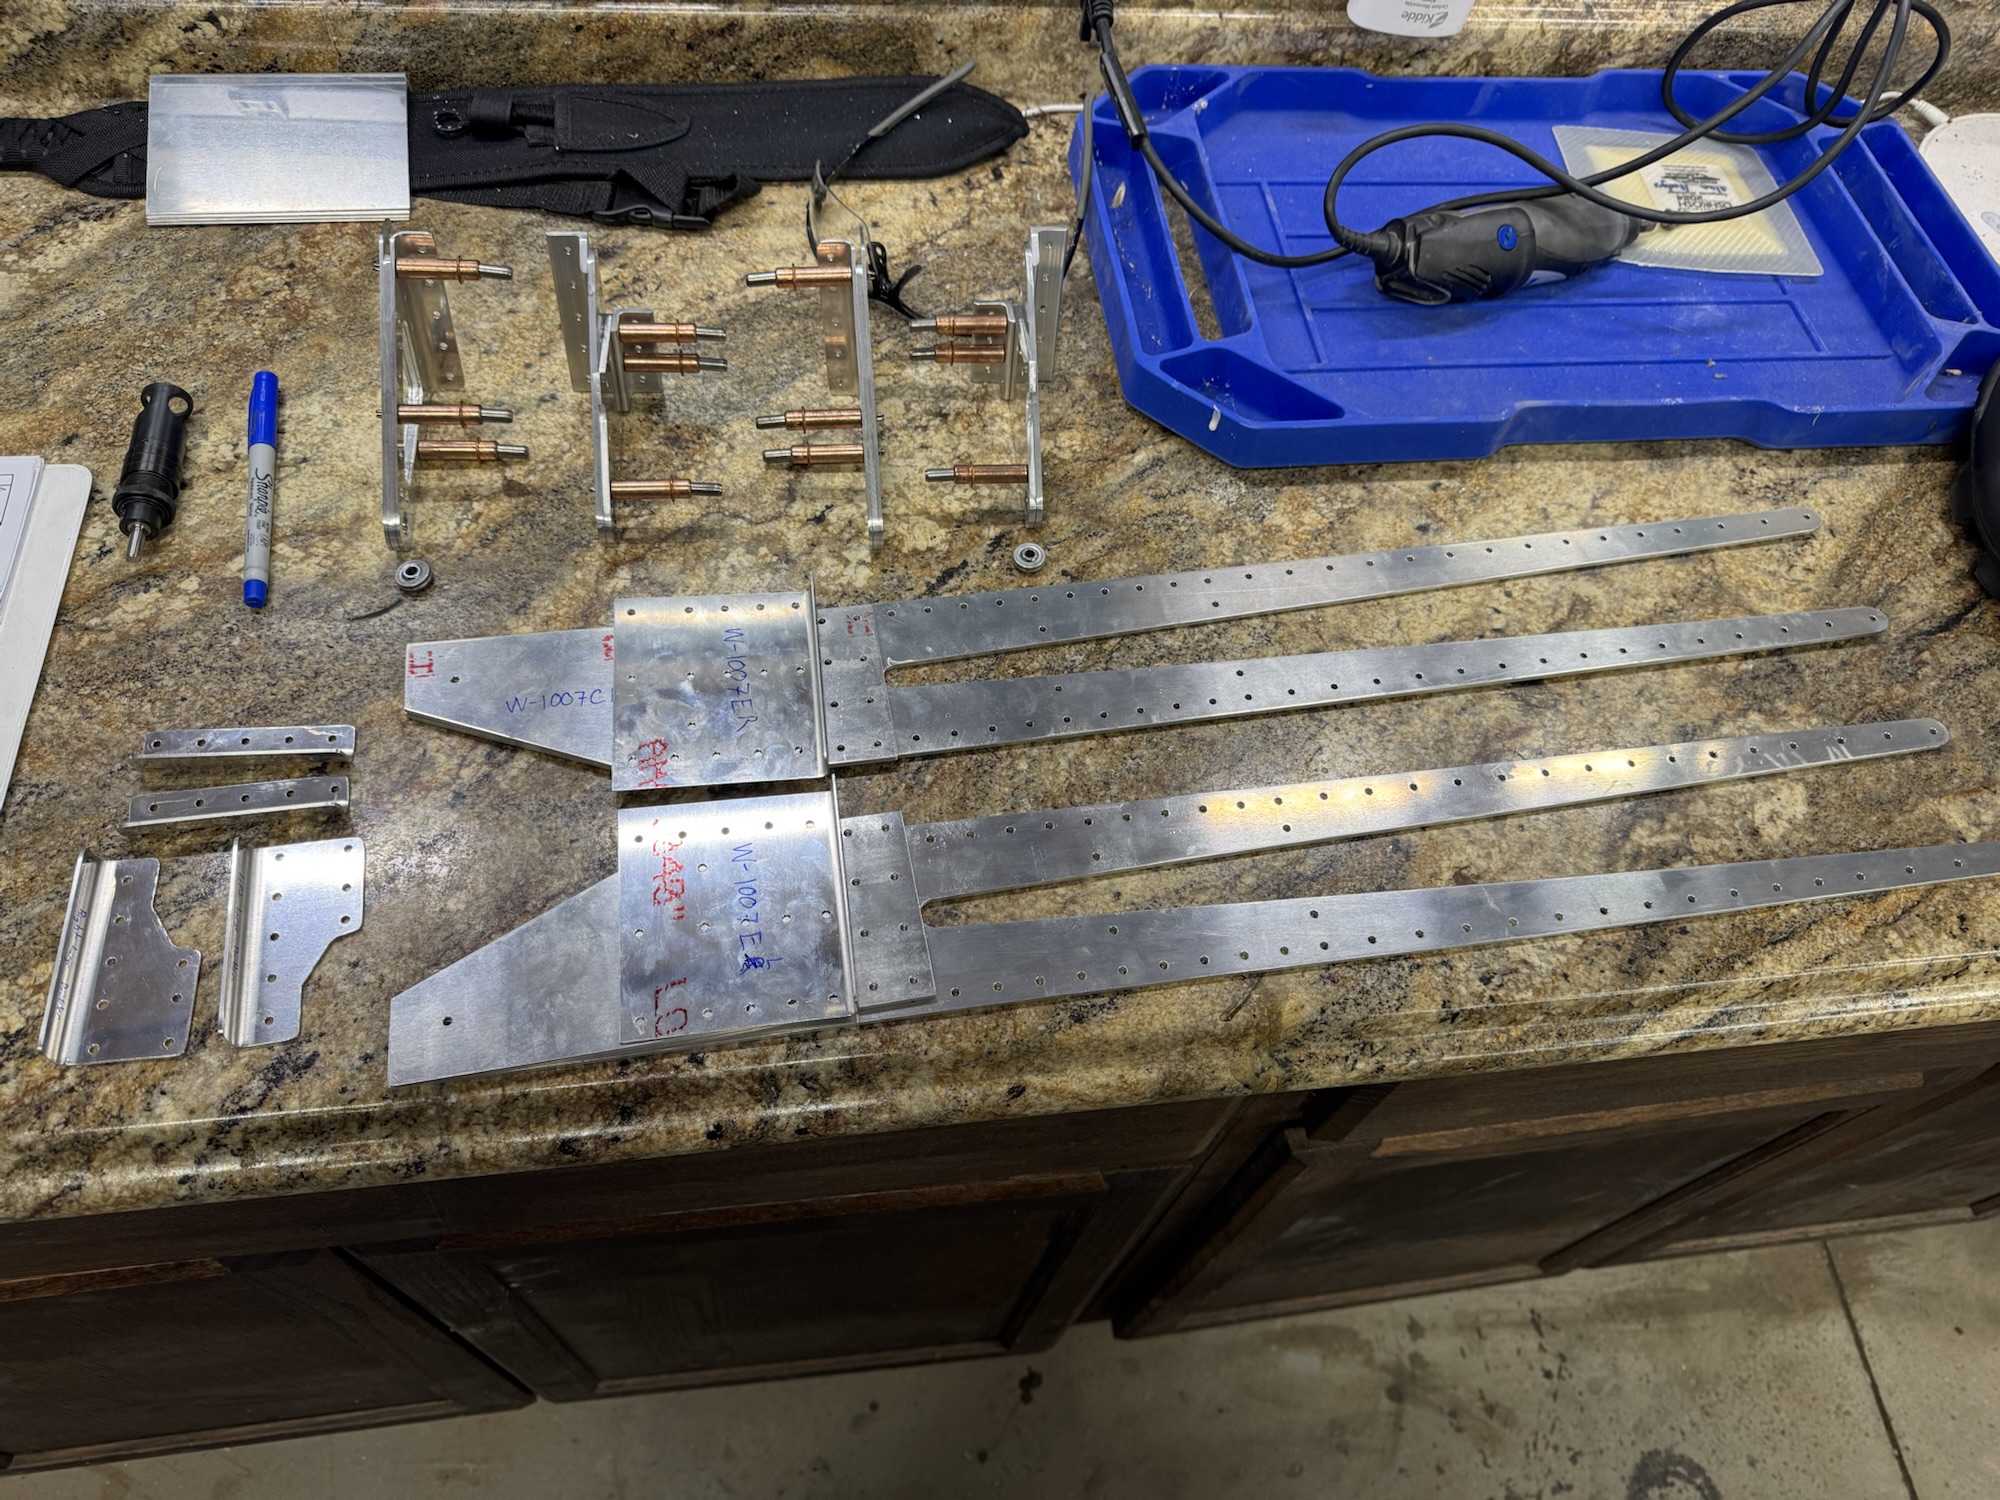
I decided to get another bit of work last night which I should have called it quits because I was mentally done for the night. I ended up cutting the W-1007D reinforcement plates too short so I had to reorder new ones of those.
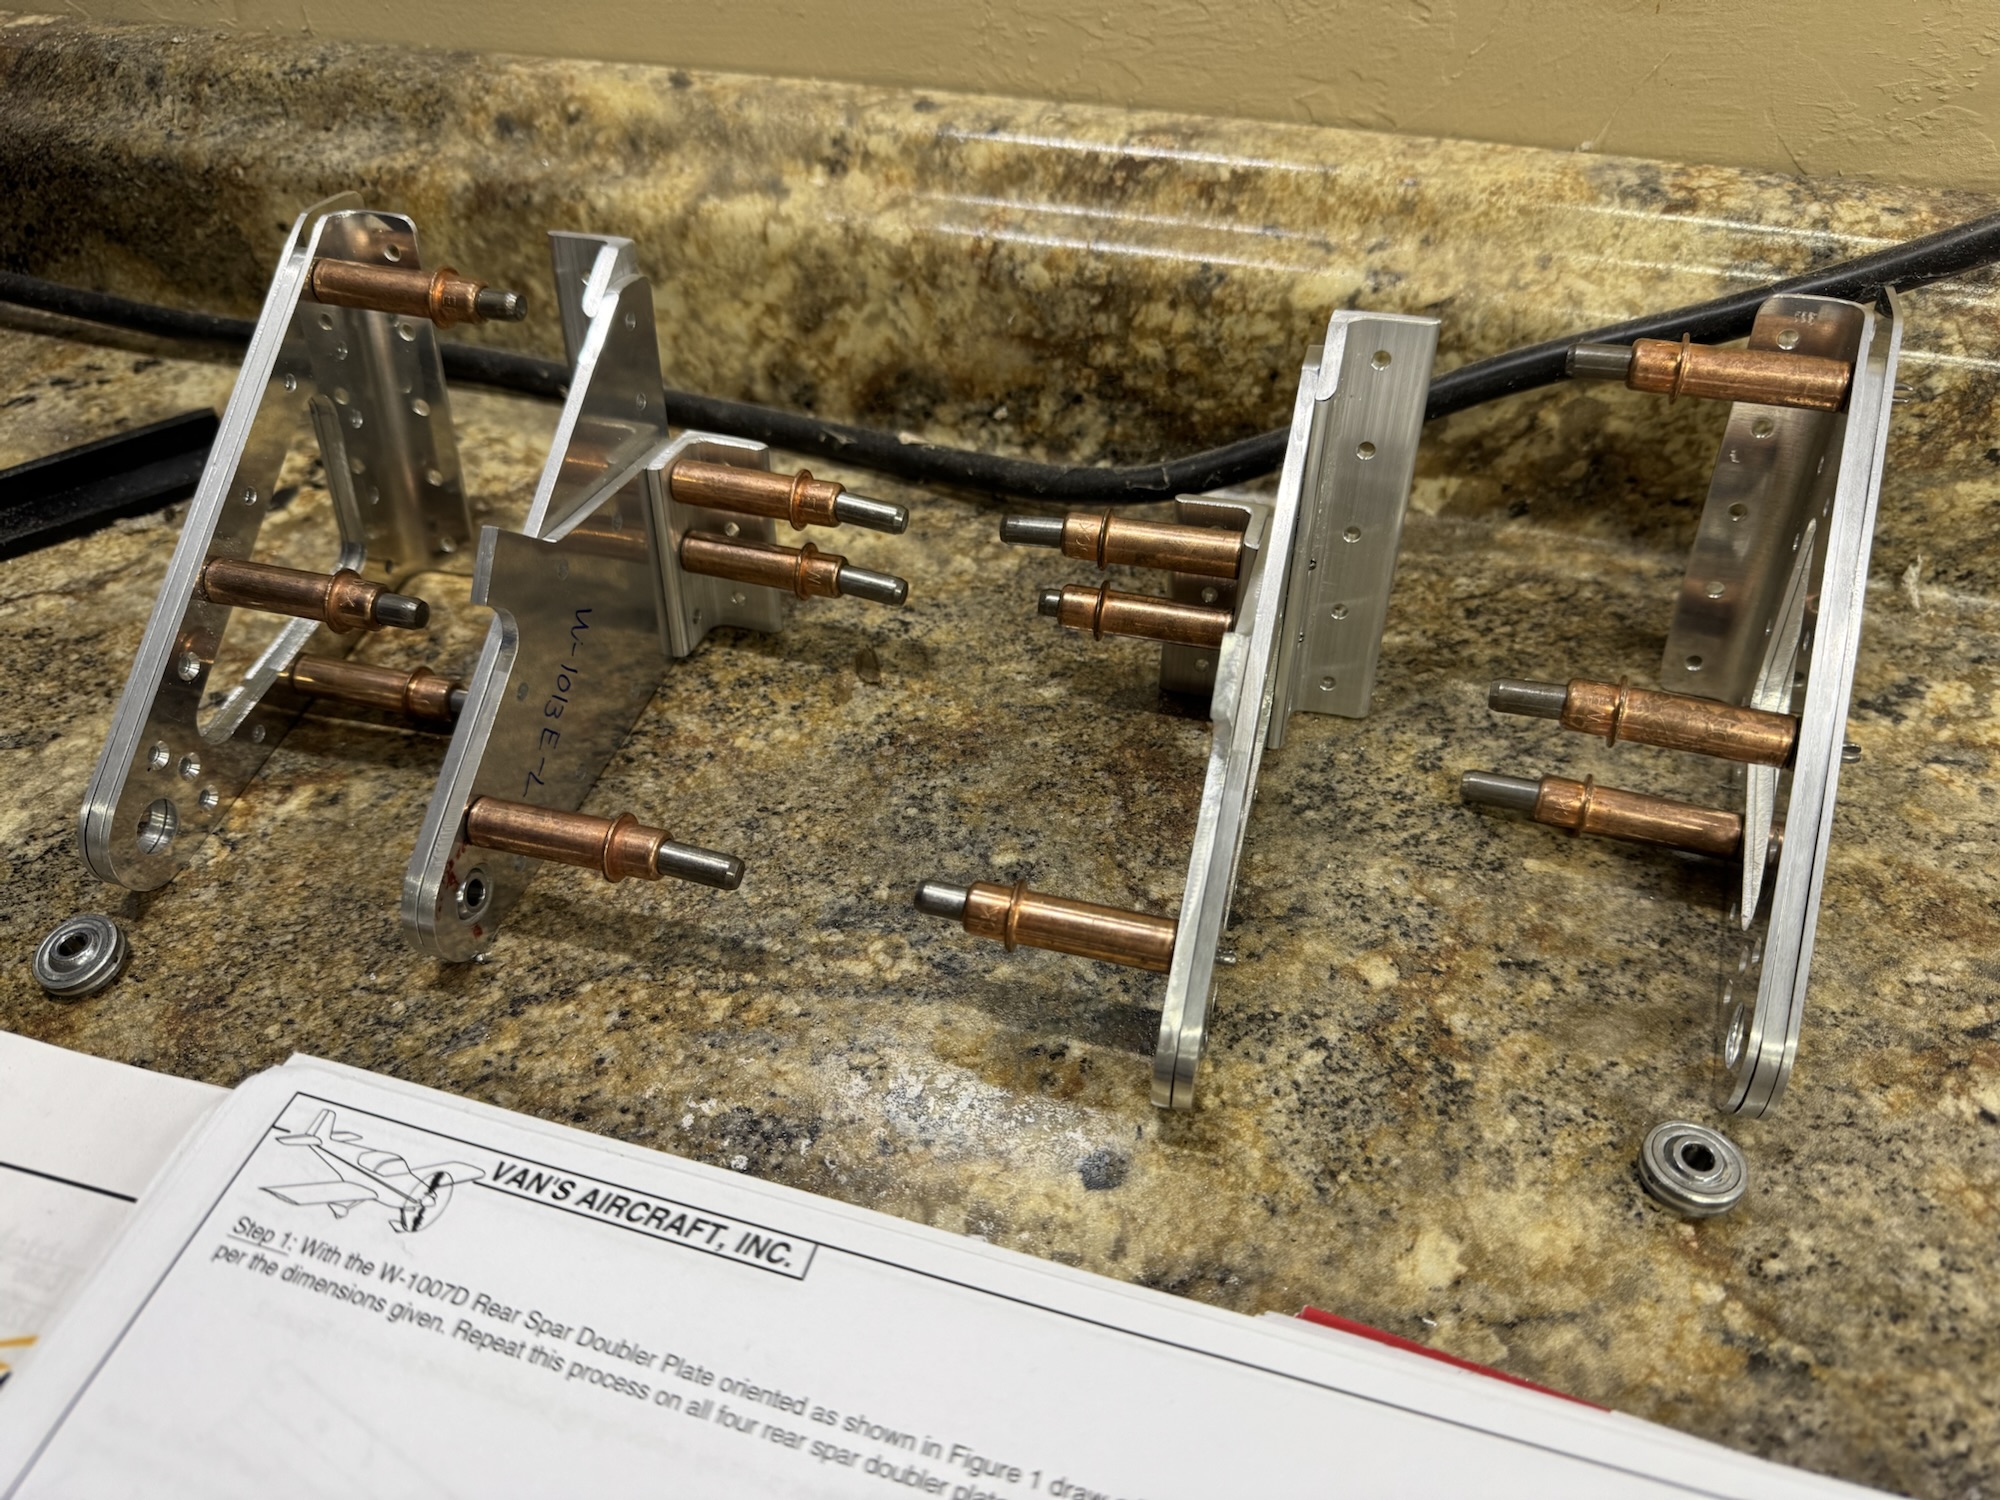
After that mistake I went ahead and finished the inboard brackets for the ailerons. It was mostly straightening, deburring and cutting a little bit of the angle aluminum to fit the angle of the other parts. Those came out really well!
Today after I had a little nap after church I decided to get a little bit more work done which was mostly deburring and straightening parts. They bit me back today though LOL
But after bandaging up, I got all of the rest of the parts straightened and deburred. I’ll start getting the W-1007E reinforcement plates modified tomorrow and then priming parts for the aileron brackets so I can put them together.
I got all of the parts for the outboard aileron brackets completed. I am trying to get other parts completed as well so I can prime them all at the same time. I wish I had a small spray can of some of this primer but it is what it is. I also straightened, deburred and cut alot of parts for the other sections as well since I was already working on deburring everything else.
I finalized the wing ribs today. I decided that I would just rivet all 8 holes of the 13th and 14th rib. I looked through the instructions and didn’t see any reason that there should only be 4 of the 8 holes riveted, so I just finished them all. Hopefully that doesn’t come back to bite me later lol.
I finally got some chance to sit down and work on the plane. I’ve been researching a few items and looking on how to tackle some things. I first got the pitot static system tubing ordered. I also got an ELT (who knows why LOL. It probably won’t be installed until another year or so.) I did find a 3d printed fitting to hold the 5/8″ wiring conduit from Van’s as well as the two pitot static tubes that will need to return from the Garmin AOA/Pitot tube. I had a friend at church print them (Thanks Nathan Dobie!) and I am going to install them soon, I just need to get the washers in so that I can rivet them to the lightening holes in the ribs.
I went ahead and riveted almost all of the ribs on the left side wing today. I got the flange and the web riveted to the ribs from #12 all the way down to #1. I still need to see how they want me to attach ribs 13 & 14. It states that there are four rivets to attach it but I have 6 holes…. And no bolts go through those ribs, so I need to figure out if that’s a possible misprint and they meant 6 or if I need to only rivet a few holes for something down the road. It doesn’t specify which holes so I’m leaning towards a misprint but I want to know for sure so I’ll probably see if Van’s is open tomorrow to see if they can provide me with an answer. I also went ahead and widened the holes for the originally wiring location just in case I need to use them in the future.