Blog

  • Rear Deck Completed and Top Skin Rivet Ready

    Rear Deck Completed and Top Skin Rivet Ready

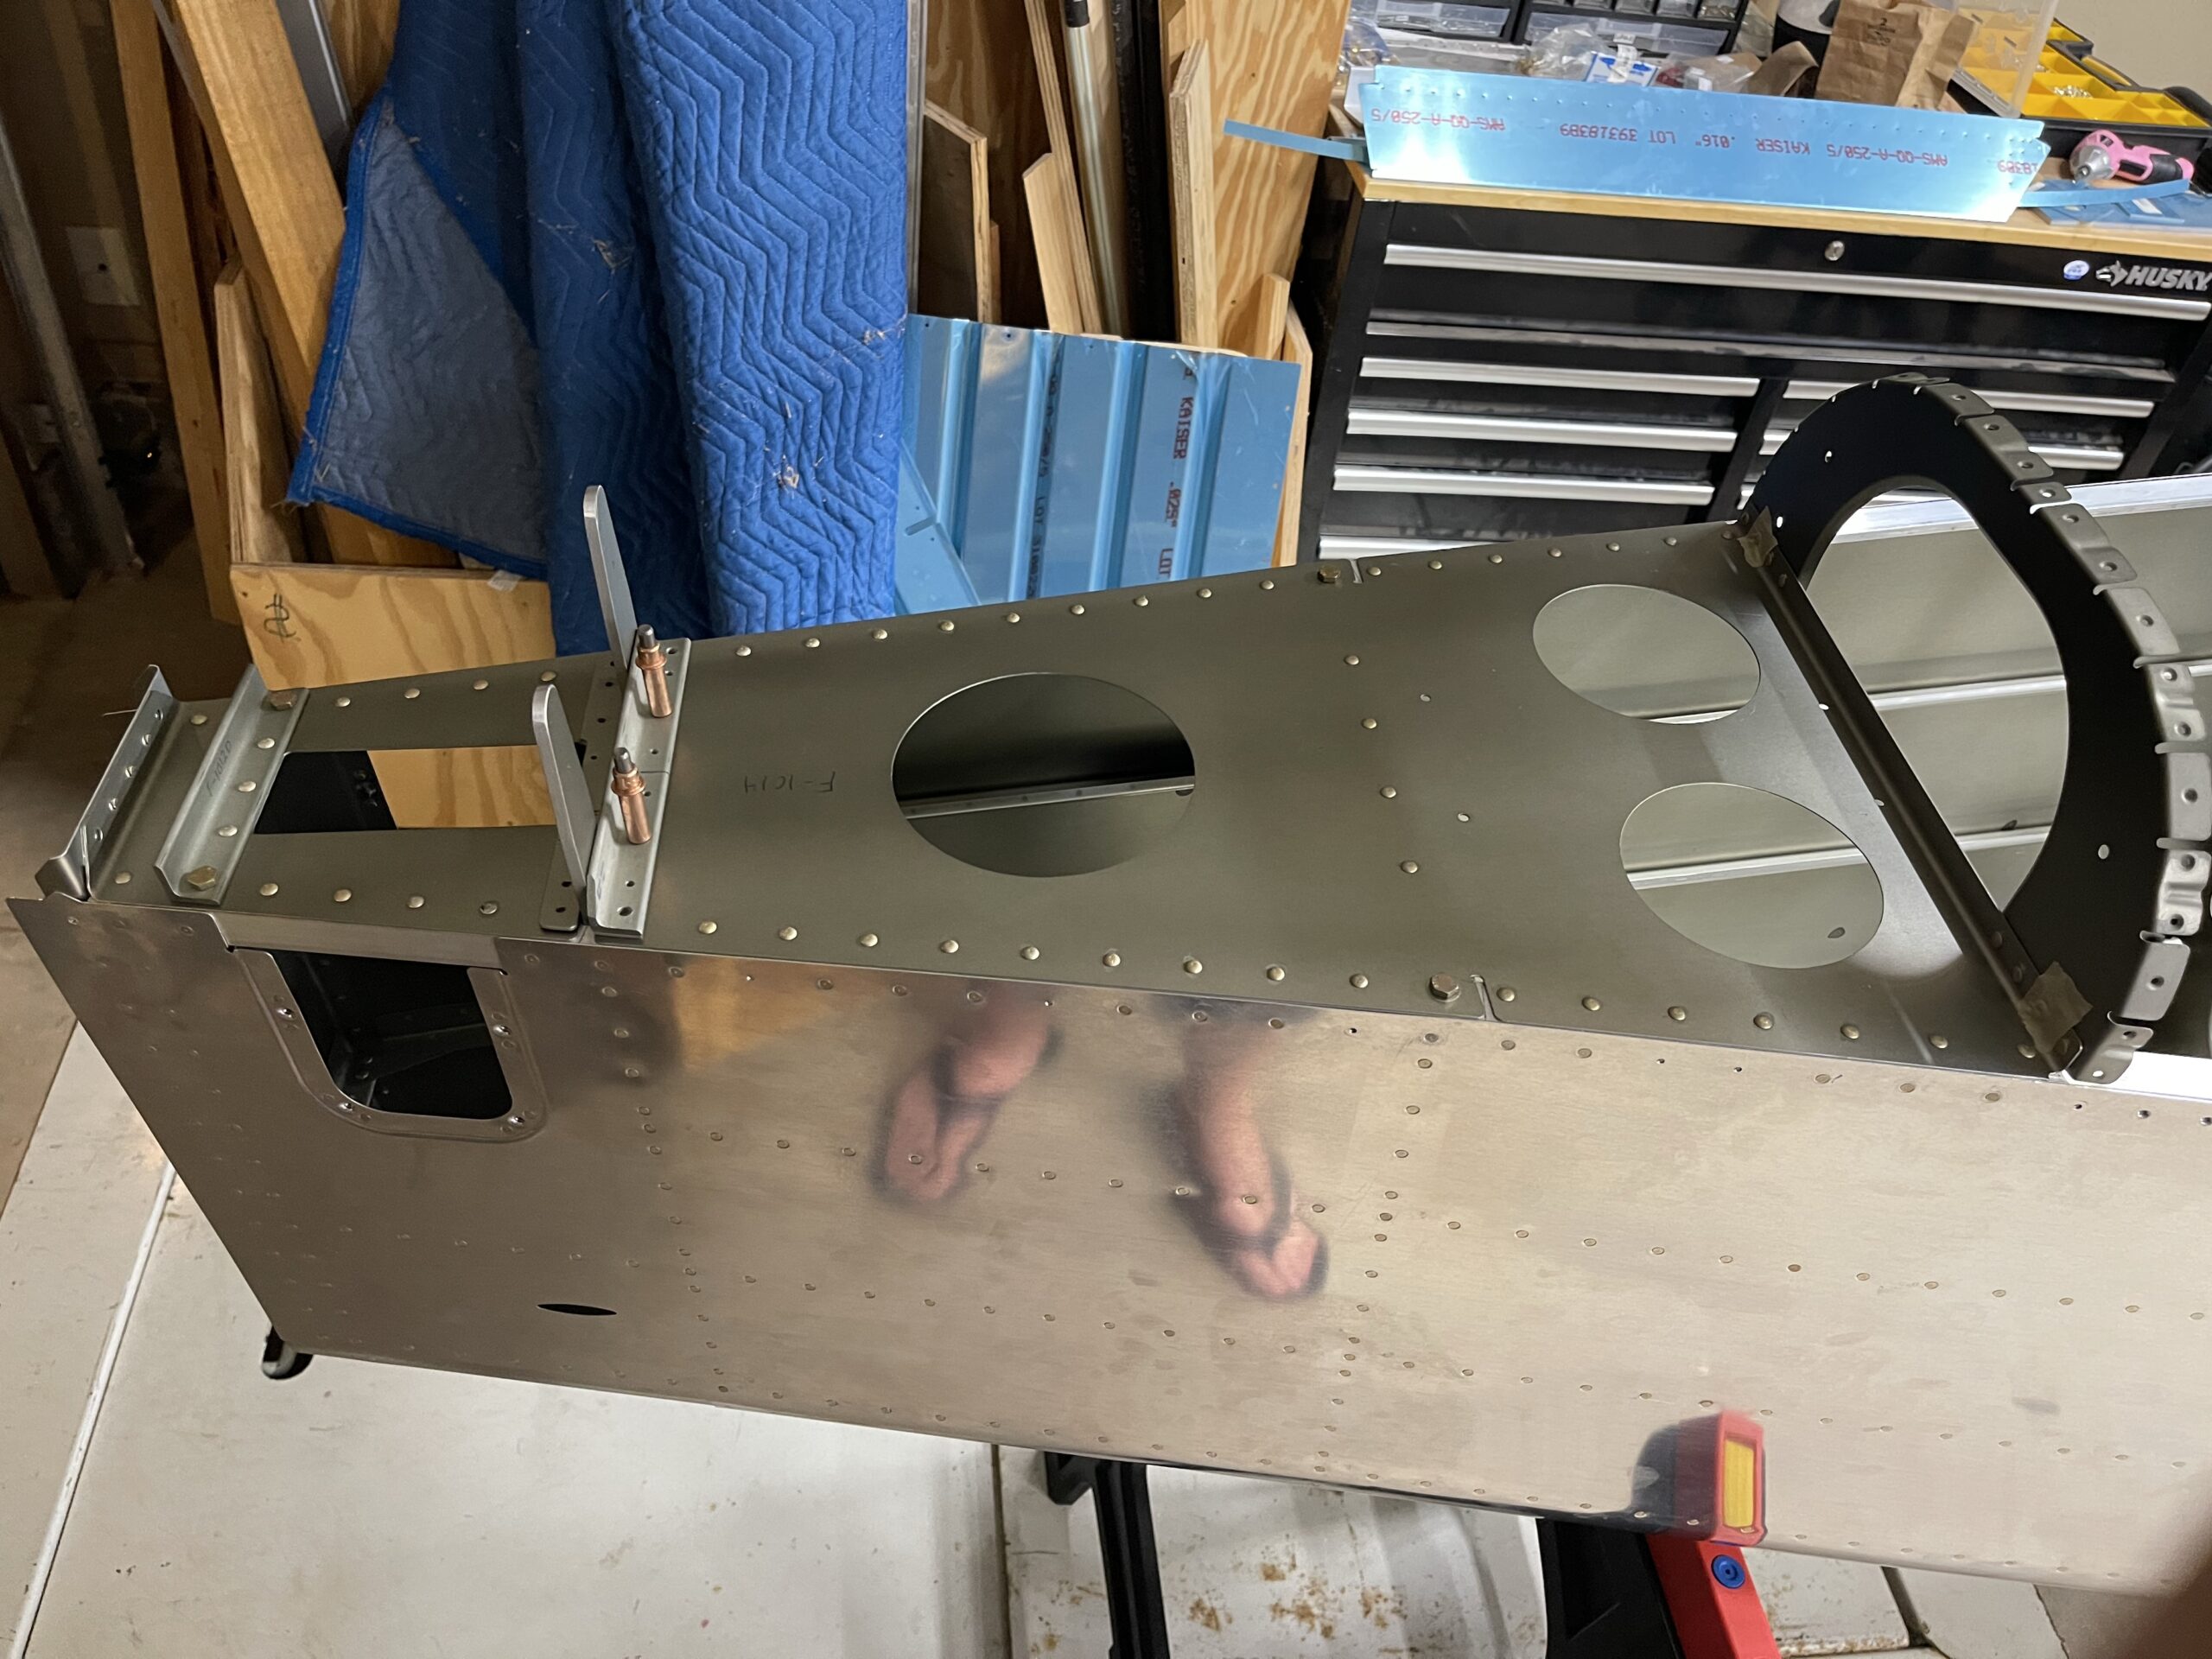
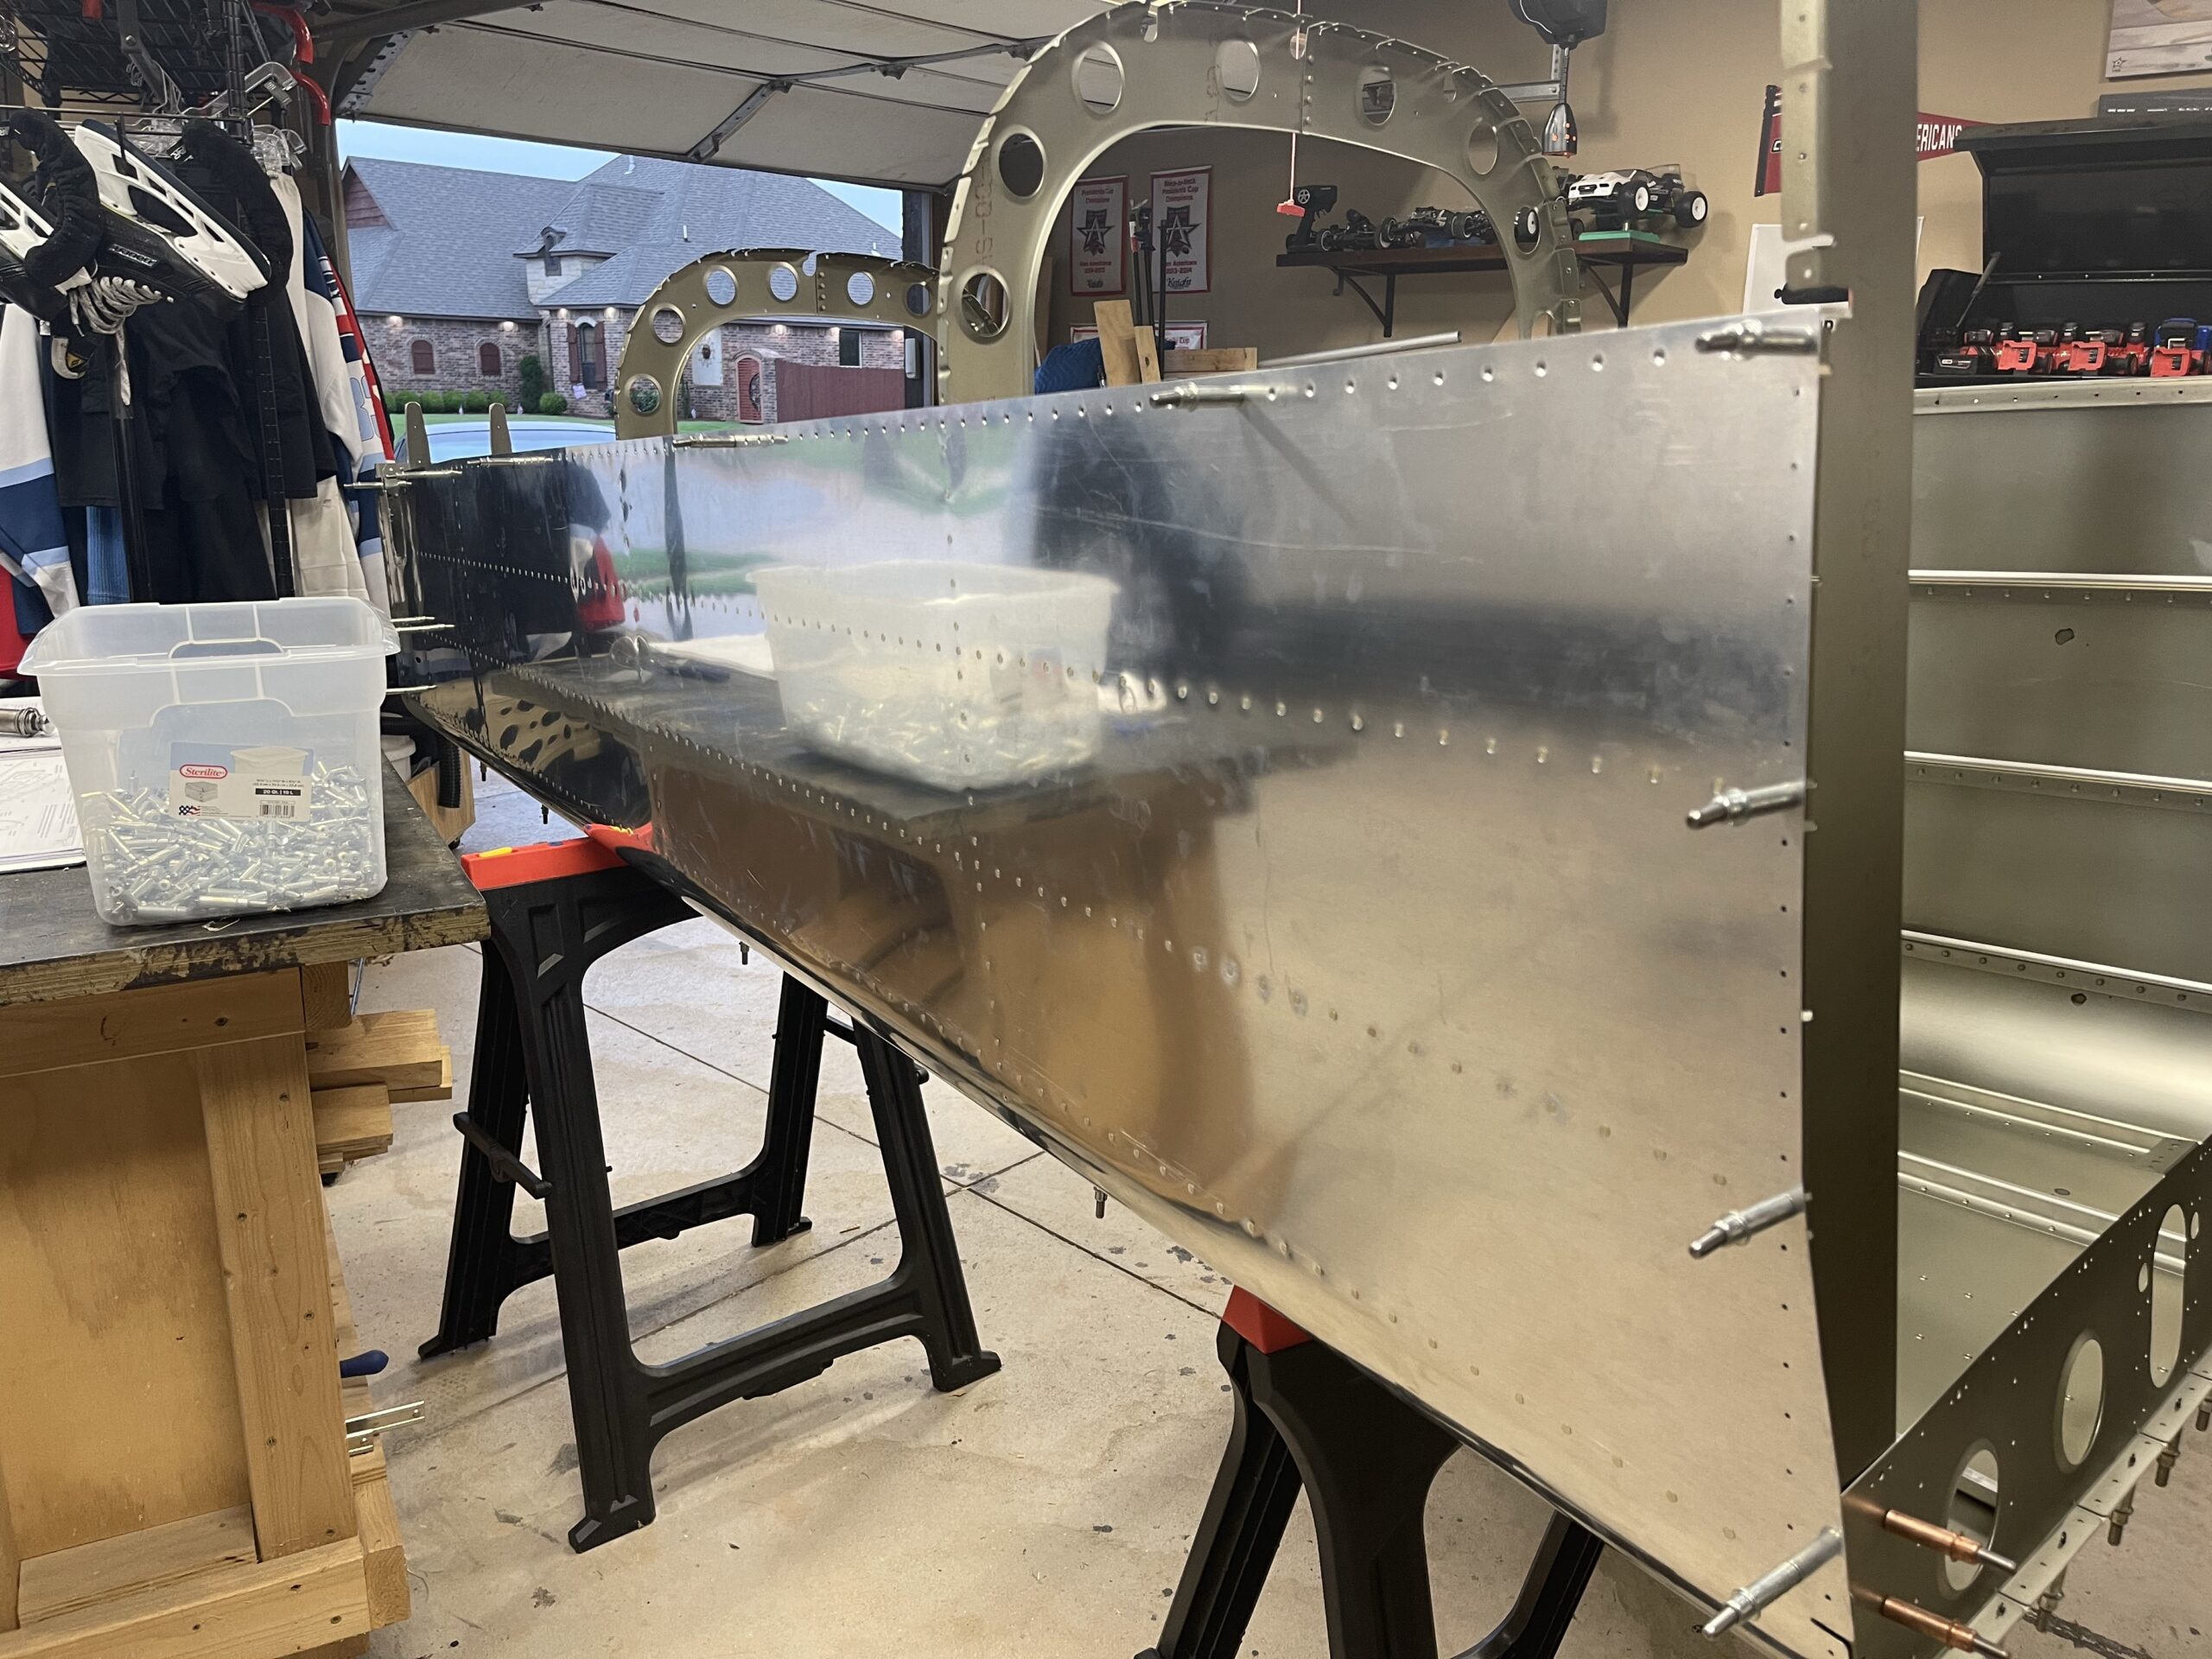
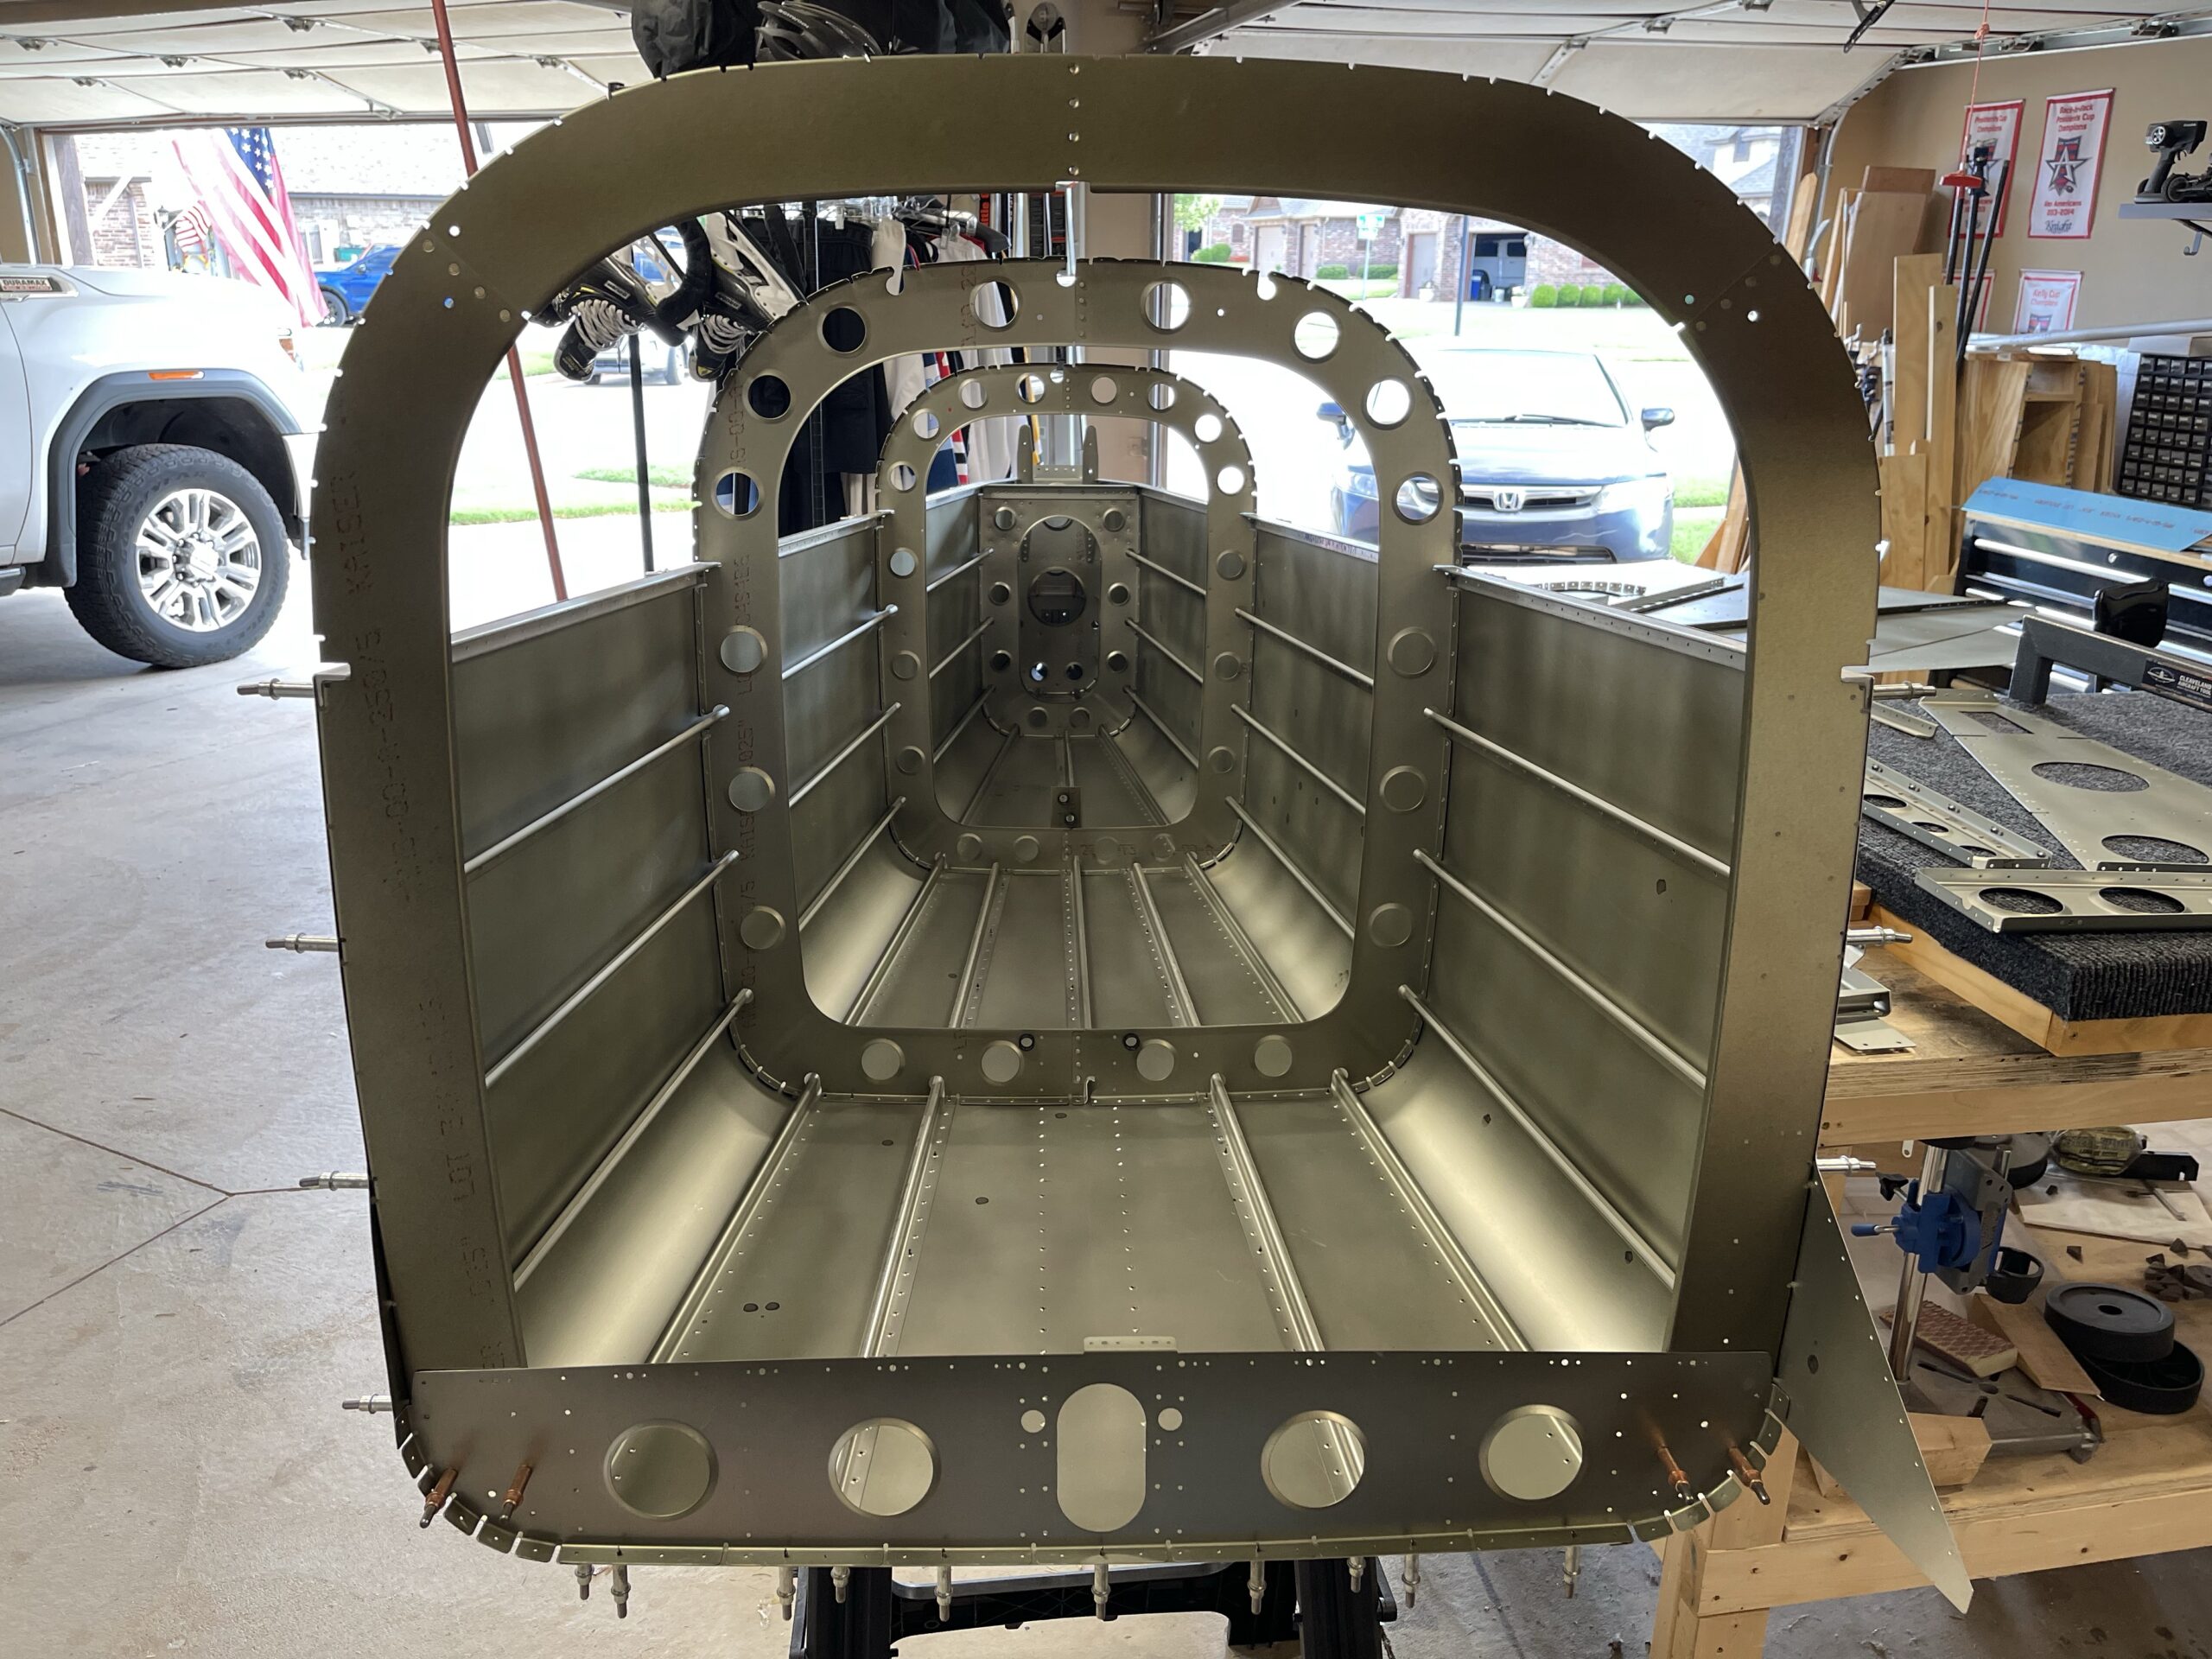
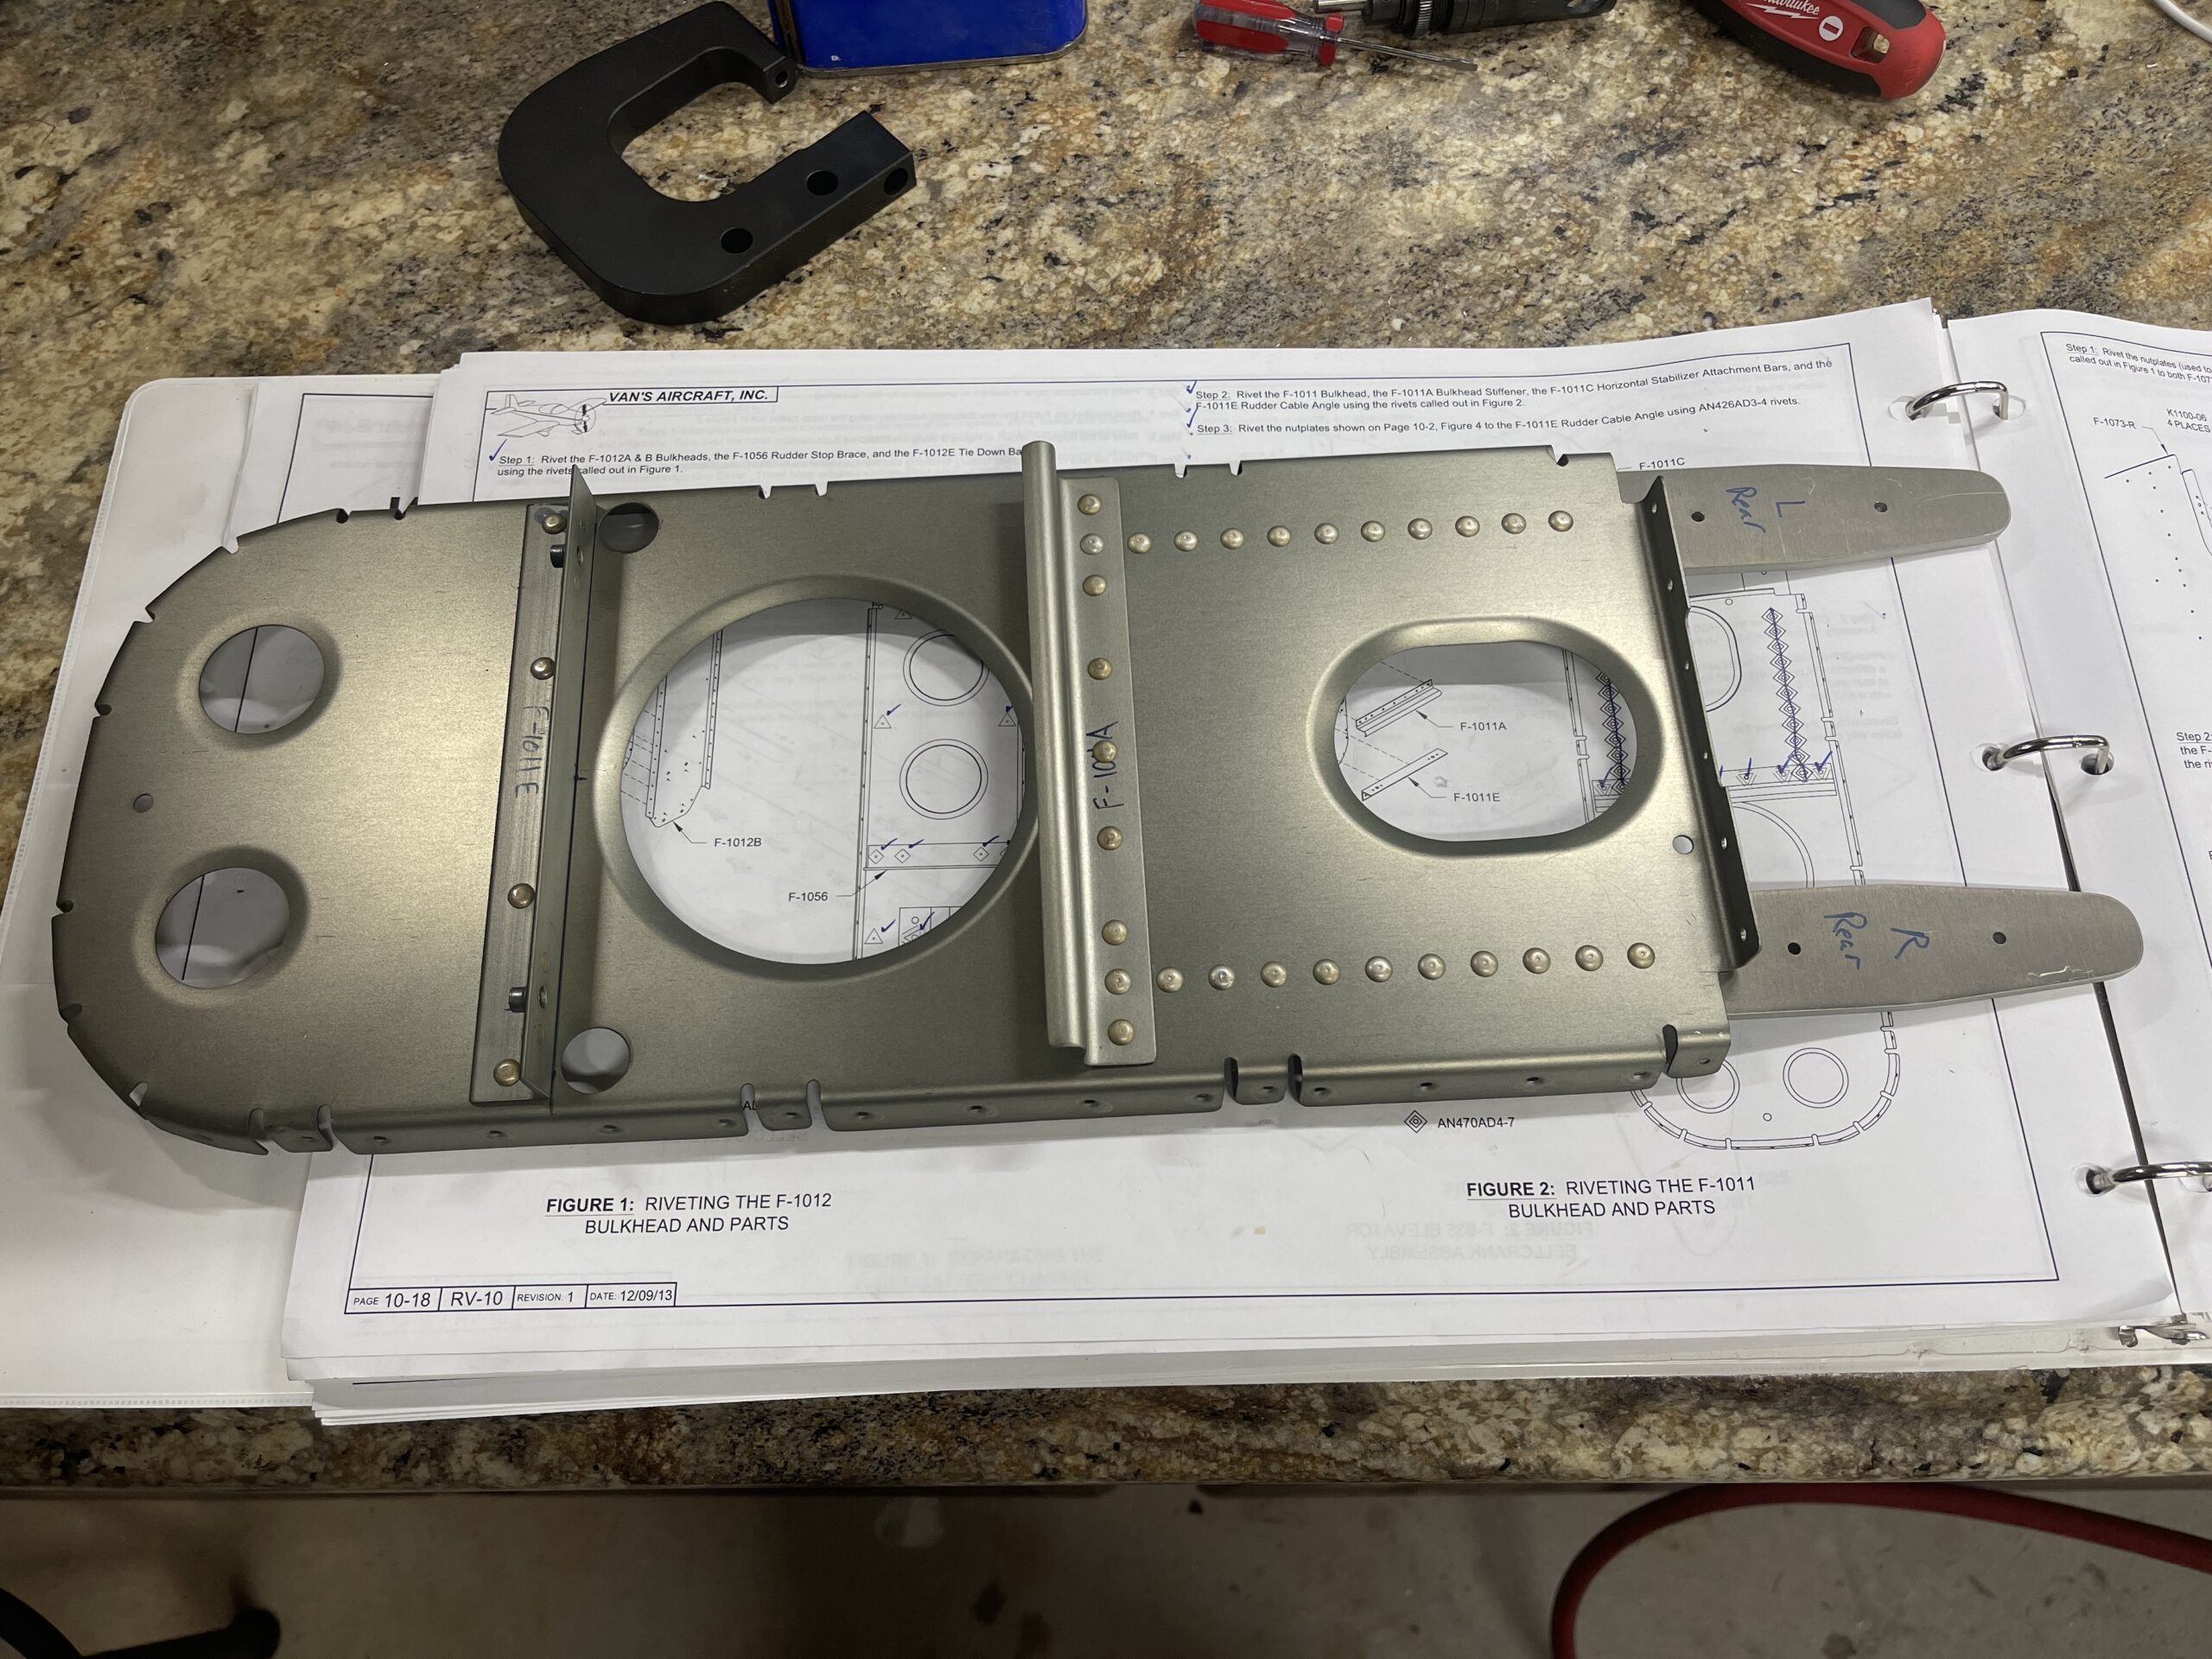
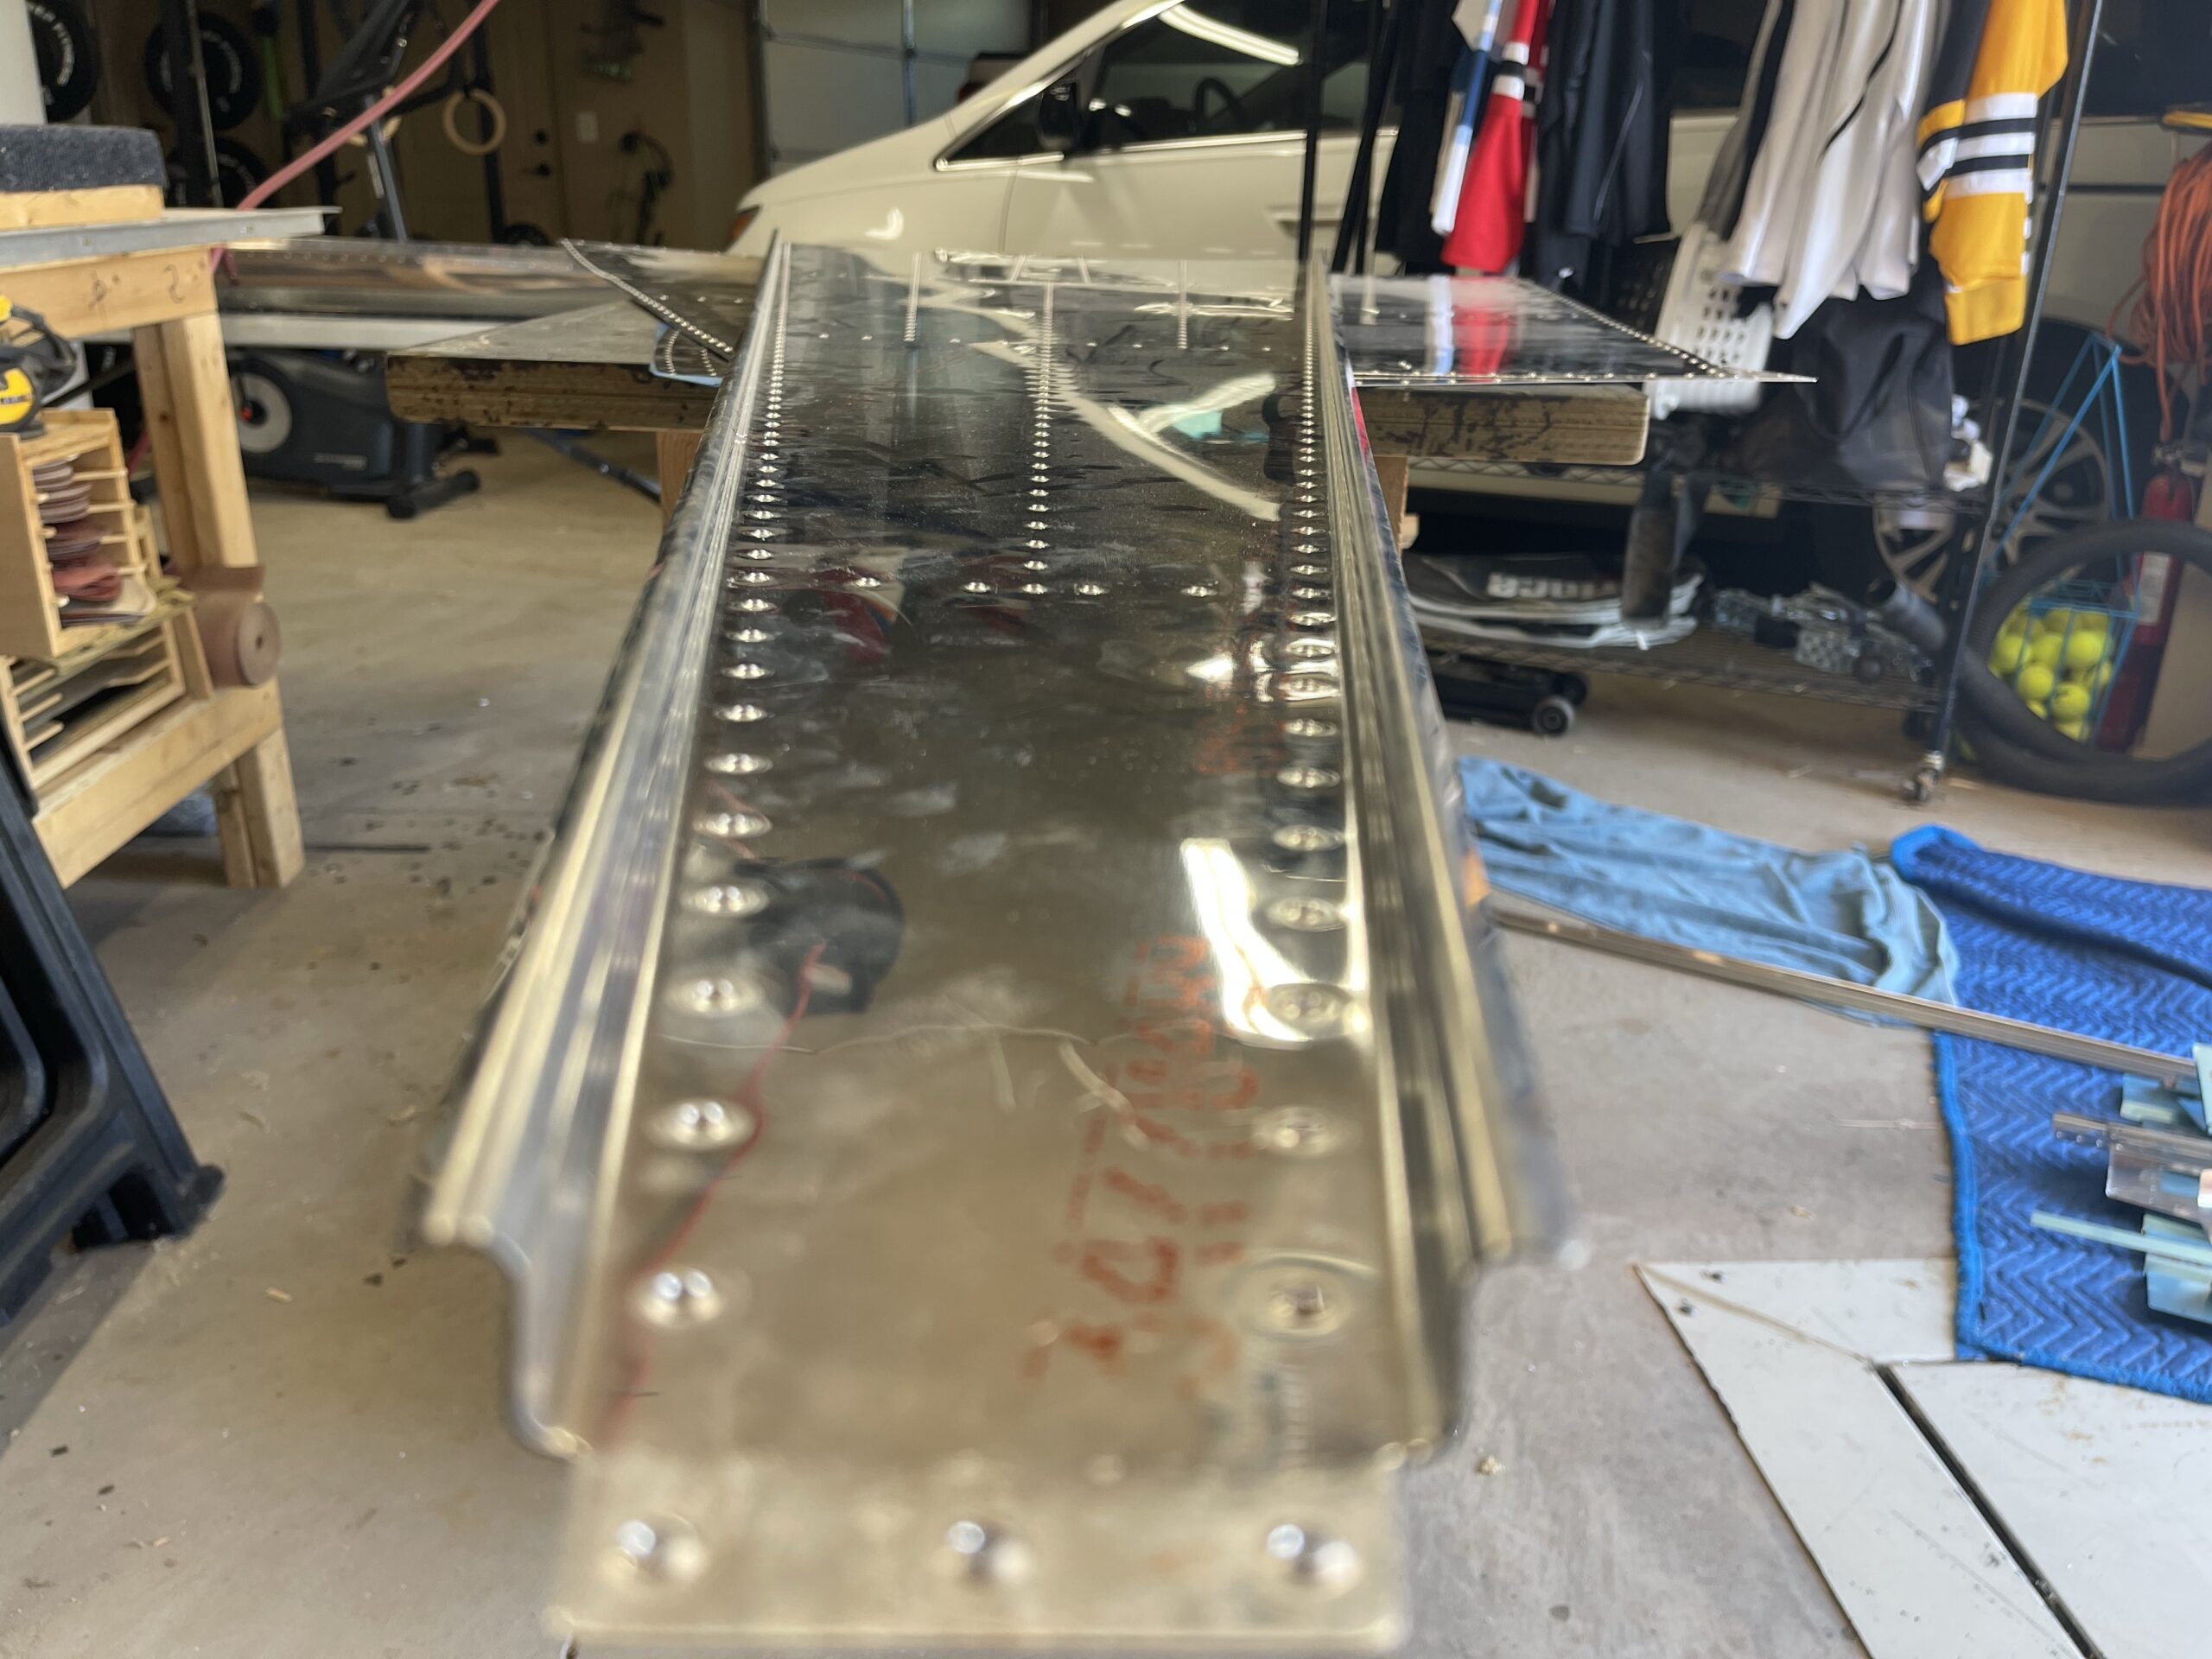
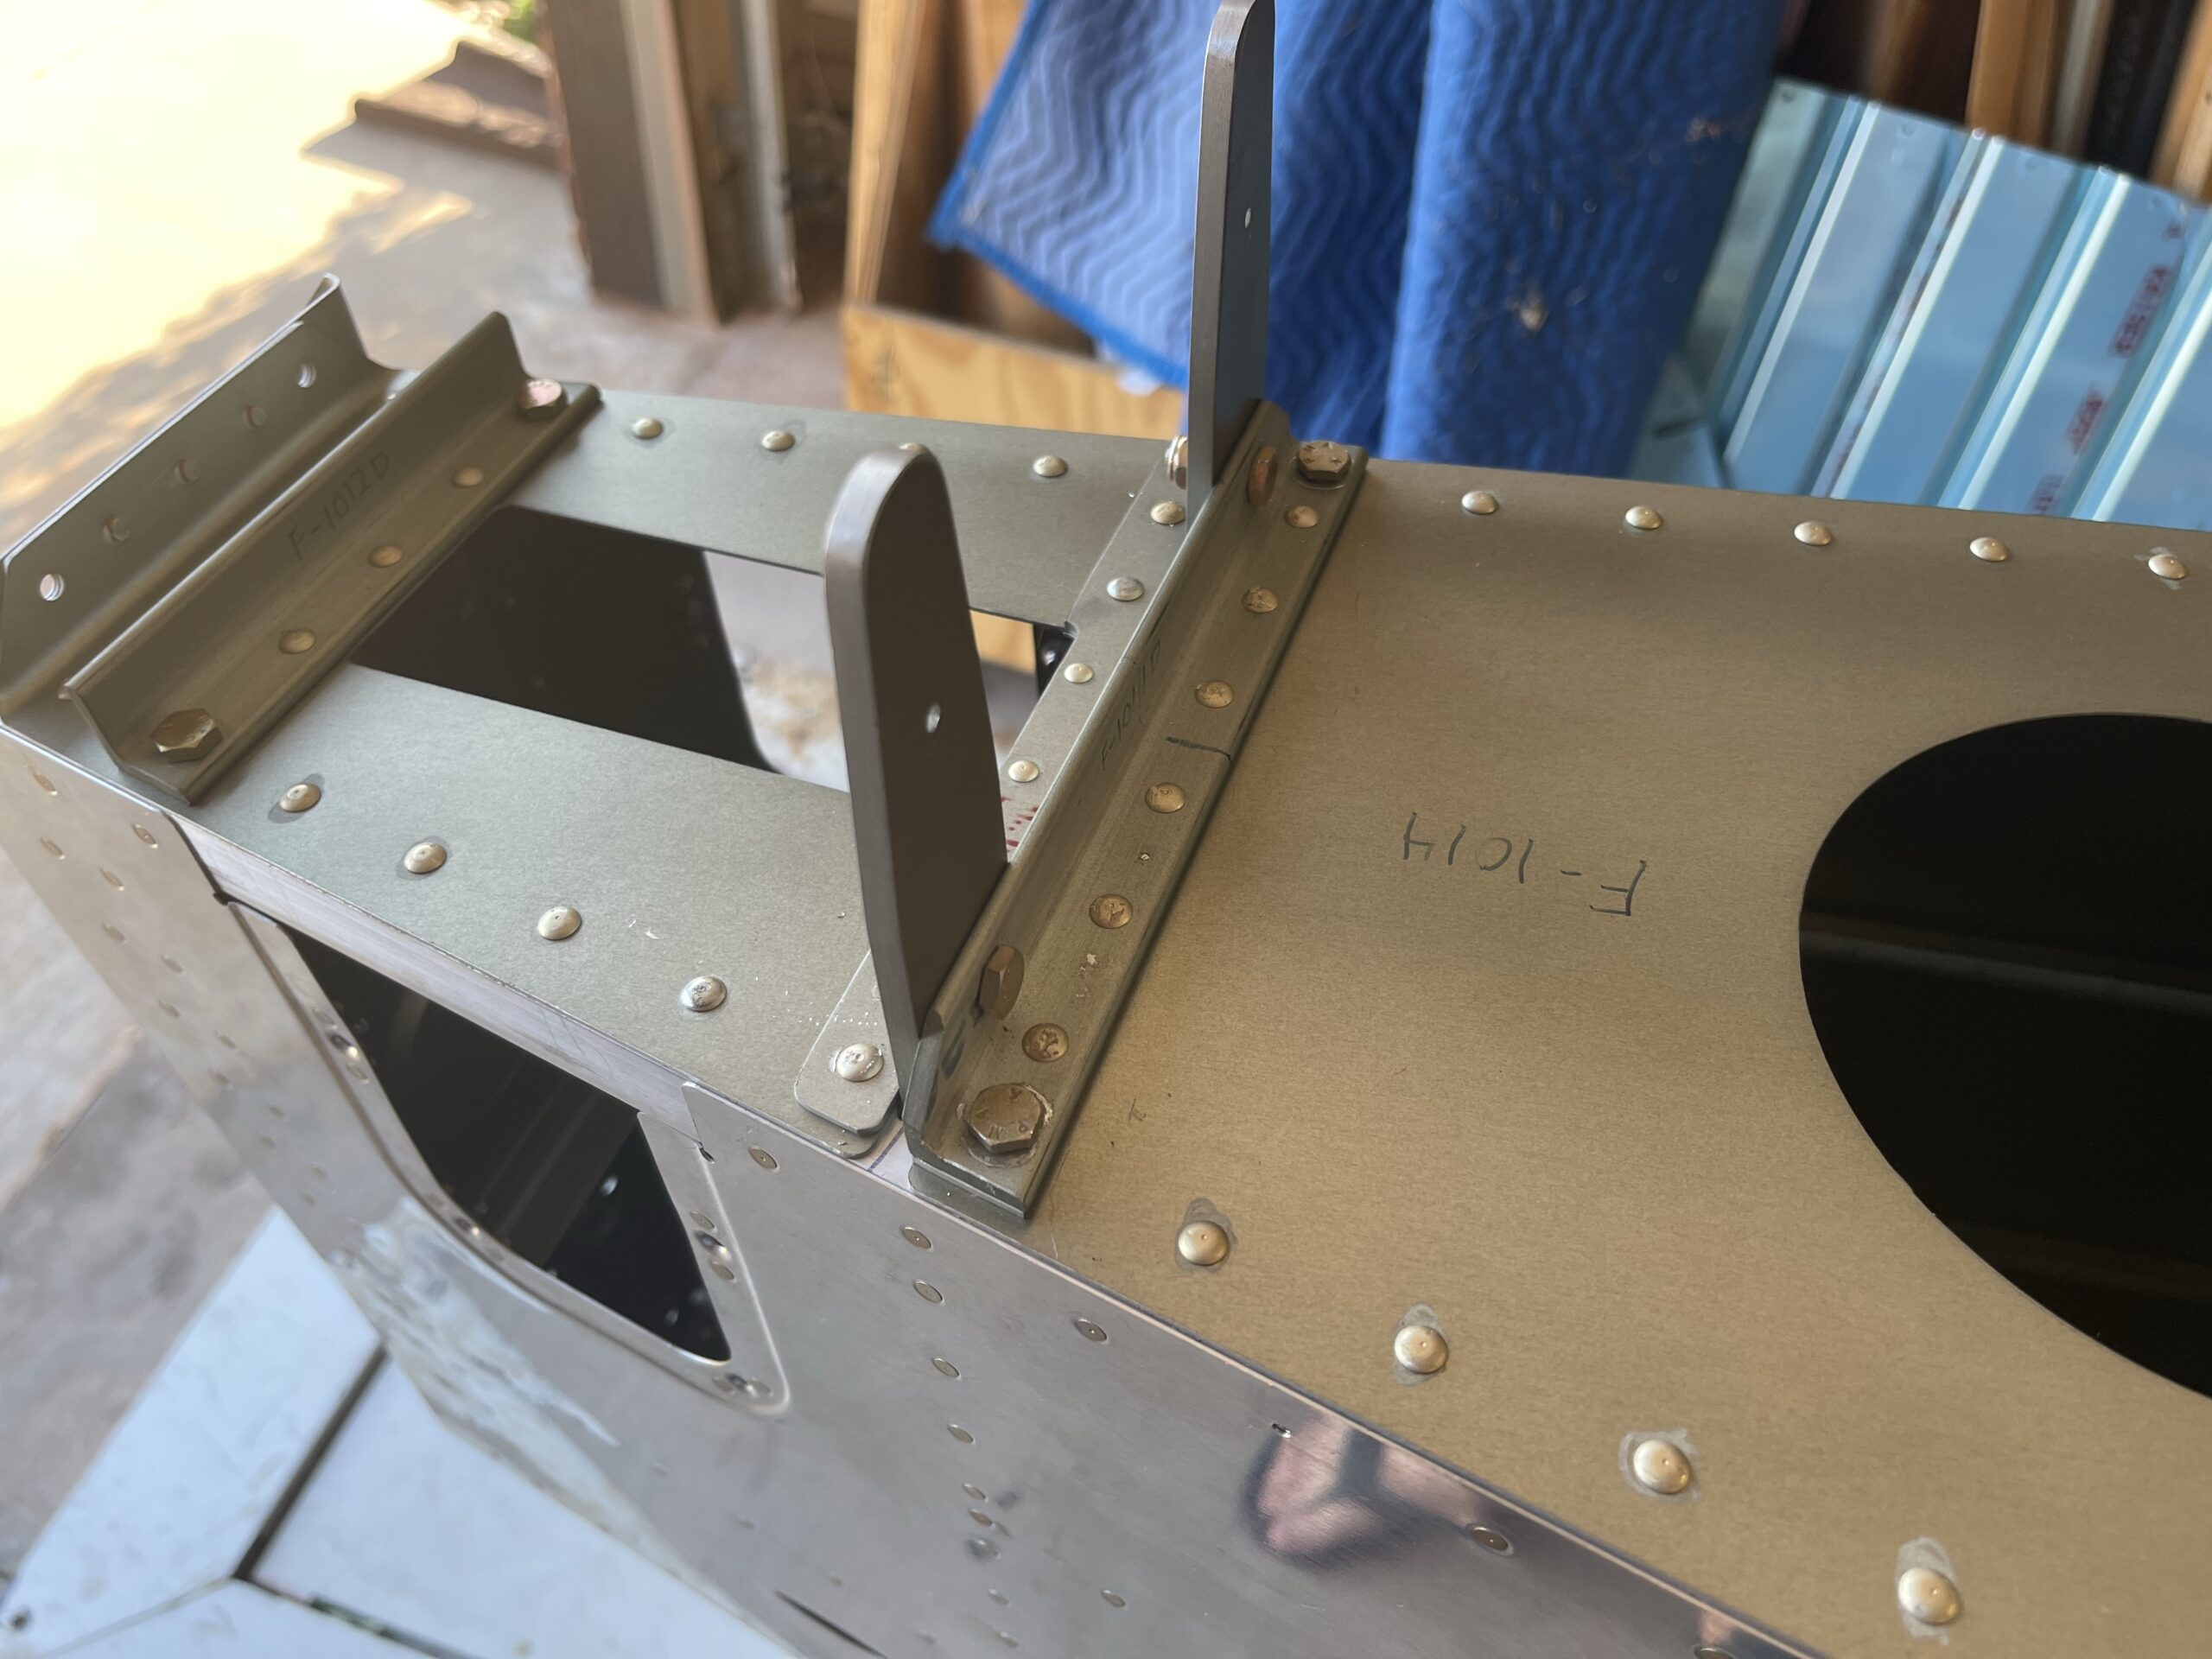
    I only had a small amount of time tonight and then it’s going to be a week and a half to two weeks before I can get back to this since we are going on vacation. I finalized the rear deck and I loaded all of the rivets into the skin with tape on top of them so that when we get back we can set them and be done with the empennage.

  • Rudder Stiffeners, Bellcrank Housing, and Rear Upper Deck Finished

    Rudder Stiffeners, Bellcrank Housing, and Rear Upper Deck Finished

    I got a manual squeezer which was able to get into the areas I needed. It kind of bent the rivets over in some cases which I don’t understand why it was doing that. I had it straight on to the rivets, but I couldn’t tell if it was bending open some or not. Either way, I got that all done and the upper deck is almost done and the battery / bellcrank housing is done. I just need to finish riveting some additional parts of the upper deck, put a few bolts in there, and then rivet all of the top skin and we are done with the empennage!

  • All Side and Bottom Skin Rivets Completed

    All Side and Bottom Skin Rivets Completed

    I spent quite a bit of time with my son Brendon today getting the side rivets completed as well as the bottom rivets. We had to drill some of the rivets that were done yesterday as well as today out as he was learning how to keep the rivet gun flush over the top of the rivet. He learned as we went along and got better at it. I was finishing up my day trying to get the rudder stop stiffners and braces put in but I’ve hit a small snag. The AN470 rivets for the F-1012 bulkhead to the F-1055 & 1056 stiffners didn’t buck properly. I drilled one out but ended up off the mark and drilled the hole a tiny bit bigger than I should have. I’m going to have to figure out what rivet to upsize it to but I think I’m going to have to squeeze those rivets. Many of the people in the build group on Facebook said they squeezed it but my pneumatic squeezer is just too fat to get in there properly. I’ll see if maybe a manual squeezer will work when we get back from vacation in Nauvoo here in a few weeks. I’ll order it and it’ll be here by the time I get back.

  • 1047 Stiffeners and Side Bulkheads/Frames Riveted

    1047 Stiffeners and Side Bulkheads/Frames Riveted

    Spent most of the day today getting these rivets done. Got my son Brendon involved who did a good job at running the rivet gun. Luckily we both have a music background so we based his count on 1.5 beats at 60 bpm. LOL

  • Final Tailcone Assembly

    Final Tailcone Assembly

    She’s starting to look like a tailcone again after yesterday’s work! I got the final F-1012 bulkhead put together and then I got all of the bottom and side skins put together with the frames and bulkheads. I got the front section of the stiffners riveted and then I just put the rivets in the rest of the holes on the sides. I plan on working on finishing those today and then flipping over the tailcone to do the bottom. Or maybe turning it on it’s side so that I can buck the rivet while the boys run the riveting gun. Either way, here are the pictures from yesterday’s work!

  • F1011 Bulkhead and Nut plate Install

    F1011 Bulkhead and Nut plate Install

    I got a tiny bit of time tonight to work so I was able to complete the F1011 Bulkhead and install the nutplates for the F-824B cover plates in the side skins. I had to figure out what to do since it didn’t call it out so I dimpled the nut plates and used an AD426-3-4 rivet to get it in. It worked out fine.

  • Final Dimpling, Priming, and Initial Empennage Assembly

    Final Dimpling, Priming, and Initial Empennage Assembly

    I was lucky on Monday and Tuesday to get a good amount of time to dedicate to working on the plane. I dimpled a large portion of the side skins myself and I then got both of my boys to help me out with the rest of the dimples. Luckily I’ve not seen any cracking in the dimples as I don’t think my skins were laser-cut as the recent notice from Van’s Aircraft told us about the recent cracking issues. I do suspect that my wings might fall in that boat but we’ll see.

    Tuesday I talked with a friend and fellow member of my local church about my painting issues and he has a turbine powered compressor that he said was excellent for this kind of work. I decided to give it a try. It definitely made the painting much easier and relieved some of the issues I had where I was seeing indications of moisture, but I still have some technique issues I have to work out. The gun also had issues with leaking on the top which ended up requiring me to tighten it almost to an extreme. It’s almost as if that lid should have had a rubber seal on it but it didn’t.

    After priming the parts, I was able to put together the bell crank, the battery trey and the aft bulkhead. I put the 1012 bulkhead together with clecos but I was tired at that point as it was 10PM. I’ll work on getting that assembled tonight and keep moving forward.

  • Empennage Skin Dimpling

    Empennage Skin Dimpling

    I finally got a block of time today to work. I got the dimpler out and I got the top and bottom skins dimpled. Not much else to report here. I did get a chance to involve my daughter for the first time as she helped me hold the bottom skin while I maneuvered it on the dimpler table. It was good to watch her light up when I asked for her help.

  • Frame Dimpling & Battery Frame Prep

    Frame Dimpling & Battery Frame Prep

    I finally got some time that wasn’t dedicated to school music programs or church related activities. All of the frames are dimpled and the battery and bell crank parts are prepped too. I skipped some steps to do that as I need to clear my work table to do the skin dimpling. I’ll probably clear the table tonight and get the dimple setup for the skins ready to go.

    This tight spot dimpling tool came in clutch again. It is still ever so slightly under dimpled no matter how much I keep hammering but it is what it is. But this was a live saver for the F-1012B which I couldn’t get my pneumatic dimpler in.

  • Longeron Countersinking & Some Dimpling

    Longeron Countersinking & Some Dimpling

    It’s been a bit since I’ve had time to build. I got the longerons countersunk and I did the #6 screw hole dimples on the skins and the cover plates. I hope to get more time to work on this tomorrow and the rest of this week (especially this summer) as the kids activities are winding down and we’re starting to get into summer.

    A sample of the countersinking on the longerons
    Access plate dimples