Blog

  • Day 3 – Rear Spar and Spar Caps Reordered

    Day 3 – Rear Spar and Spar Caps Reordered

    July 10th, 2020

    Page 6-2: Step 4

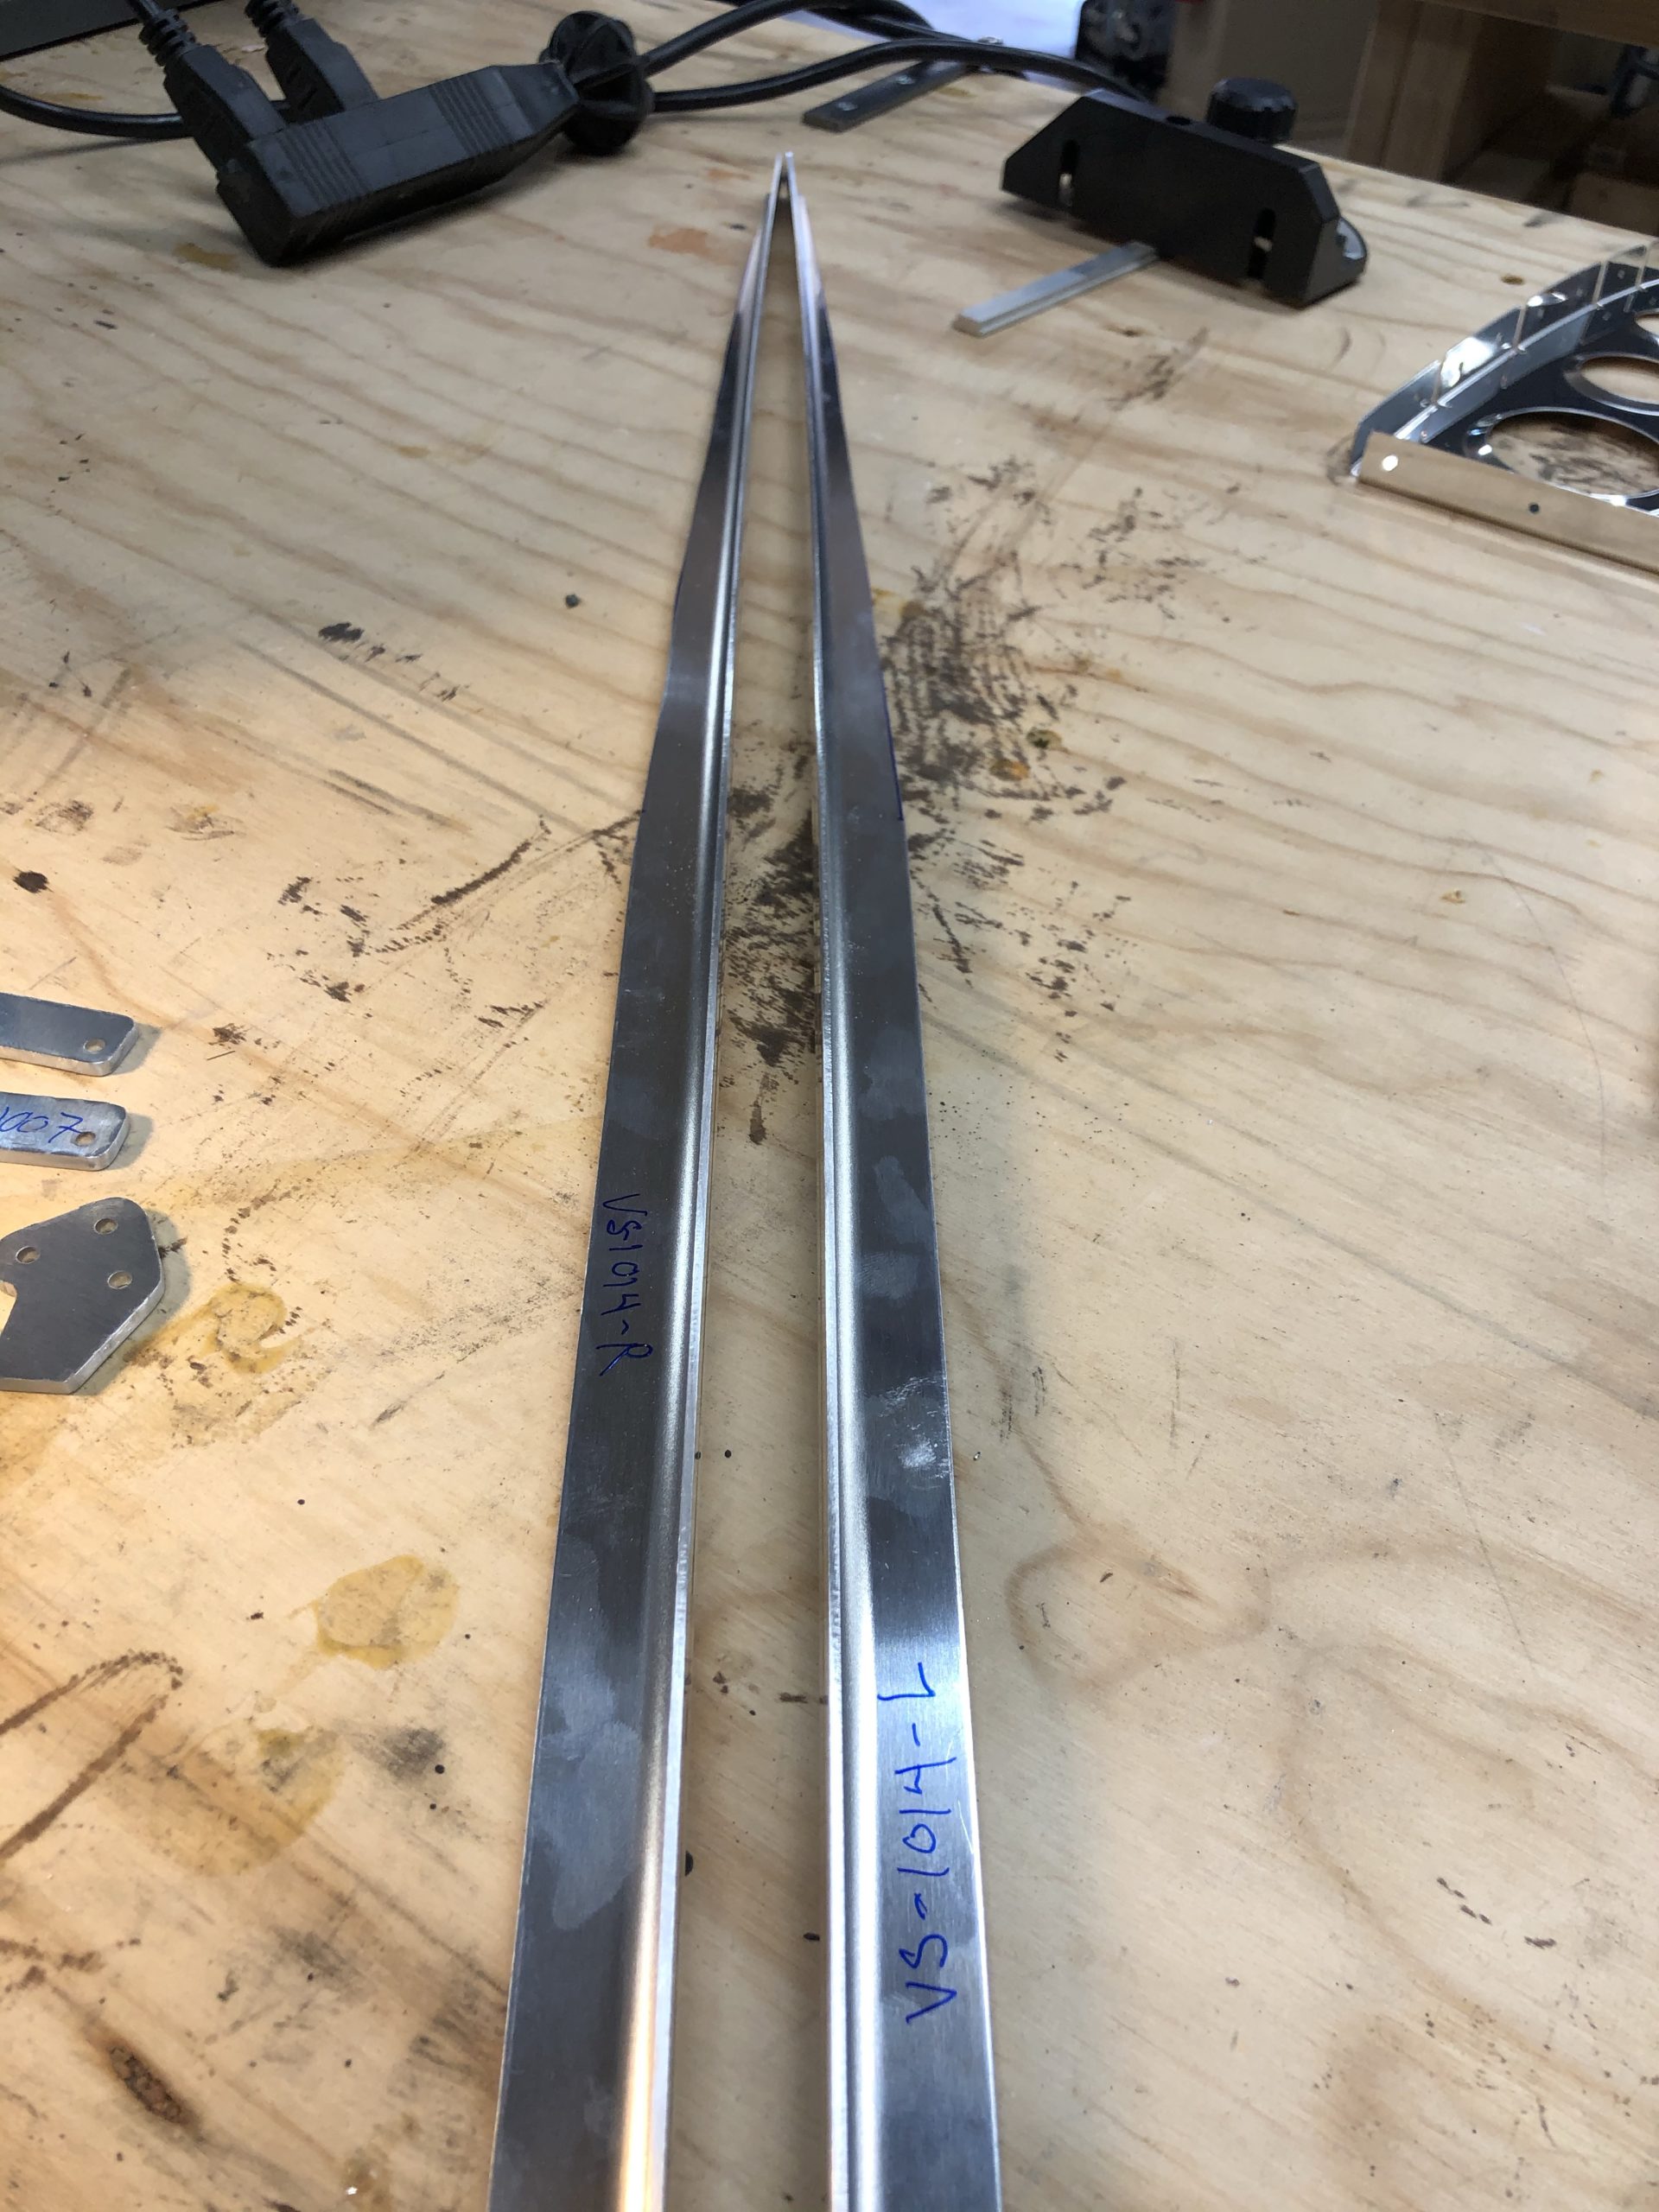
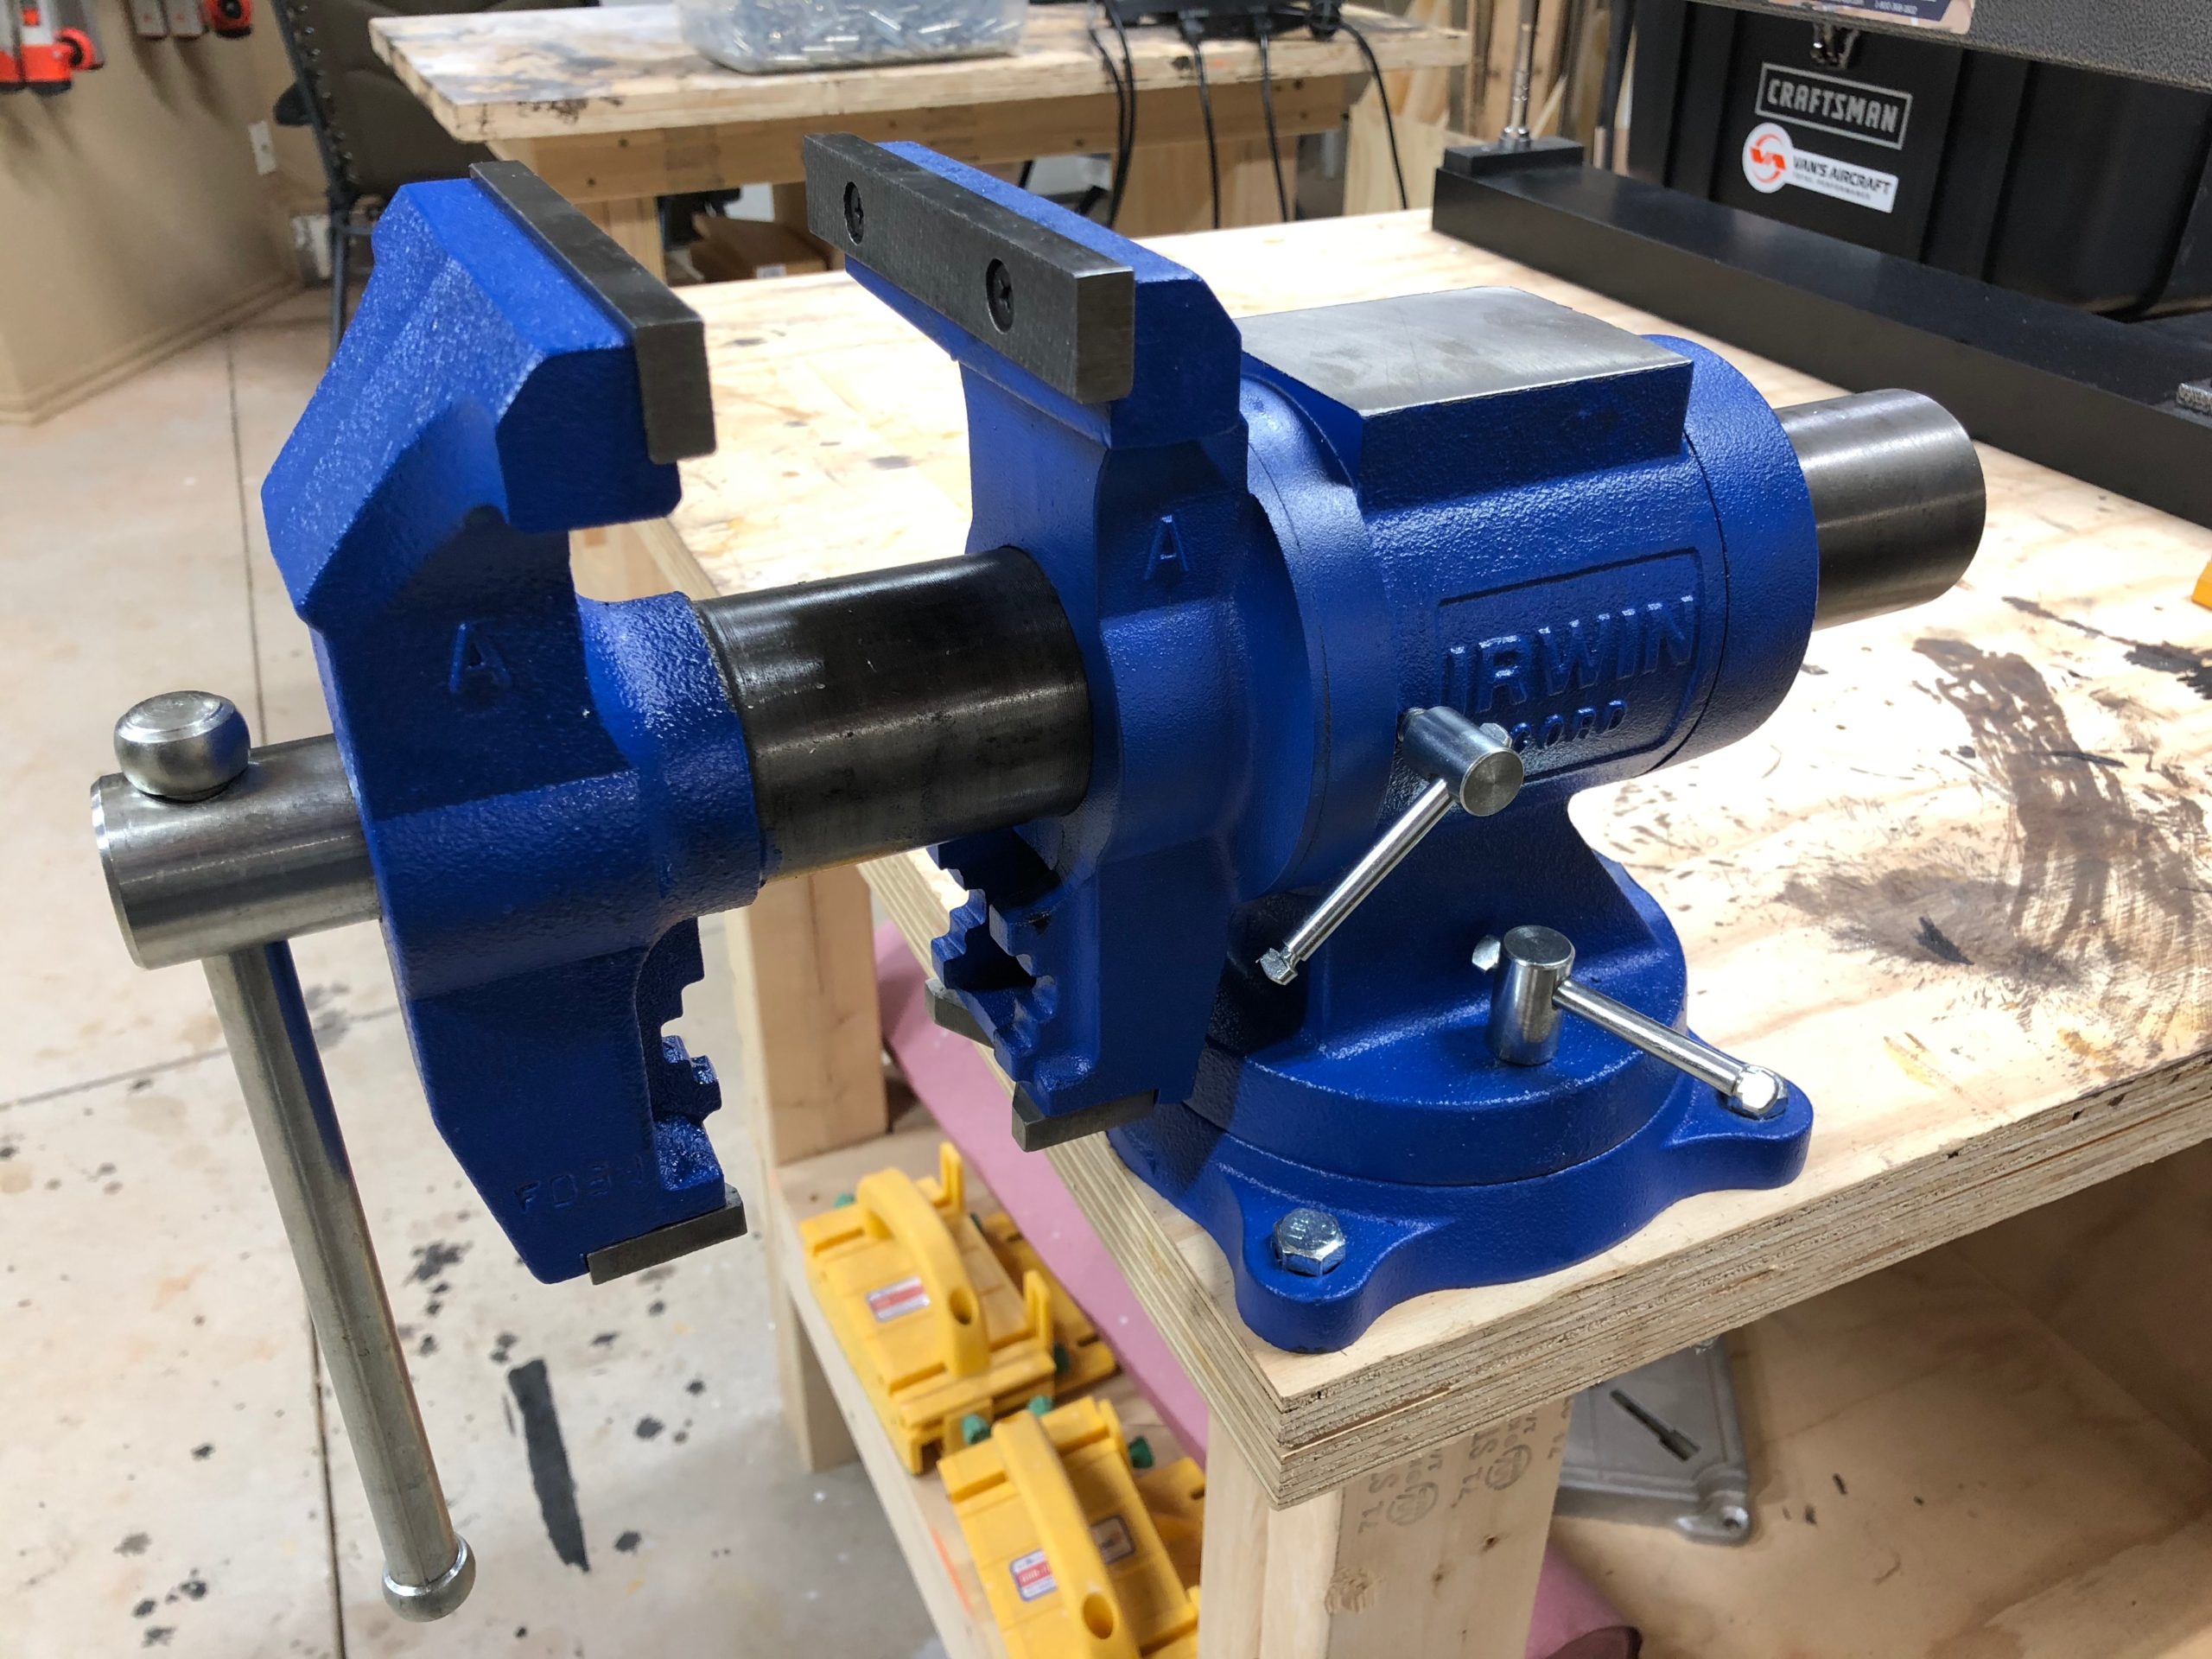
    I’m glad I found my mistake early on in the build. And it reinforces to me the absolute importance of reading sentence by sentence and understanding exactly what they are expecting. Also… Don’t have preconceived idea of what they want either. My first mistake was when I was clamping down the rear spar caps to the rear spar. I totally forgot that I had these clamps in my tool box that I could use.

    Cleco Clamps

    In my haste to get started I just head the rear spar cap against the rear spar and drilled a hole in the middle. I then clecoed that and went on my way. Well little did I know that as I was going along, drilled out material was building up inbetween the two parts, creating a gap. Thus the rear spar and the rear spar caps didn’t truly meet flush like they should have.

    Holes are slightly off if you put the spar caps exactly where they are supposed to be

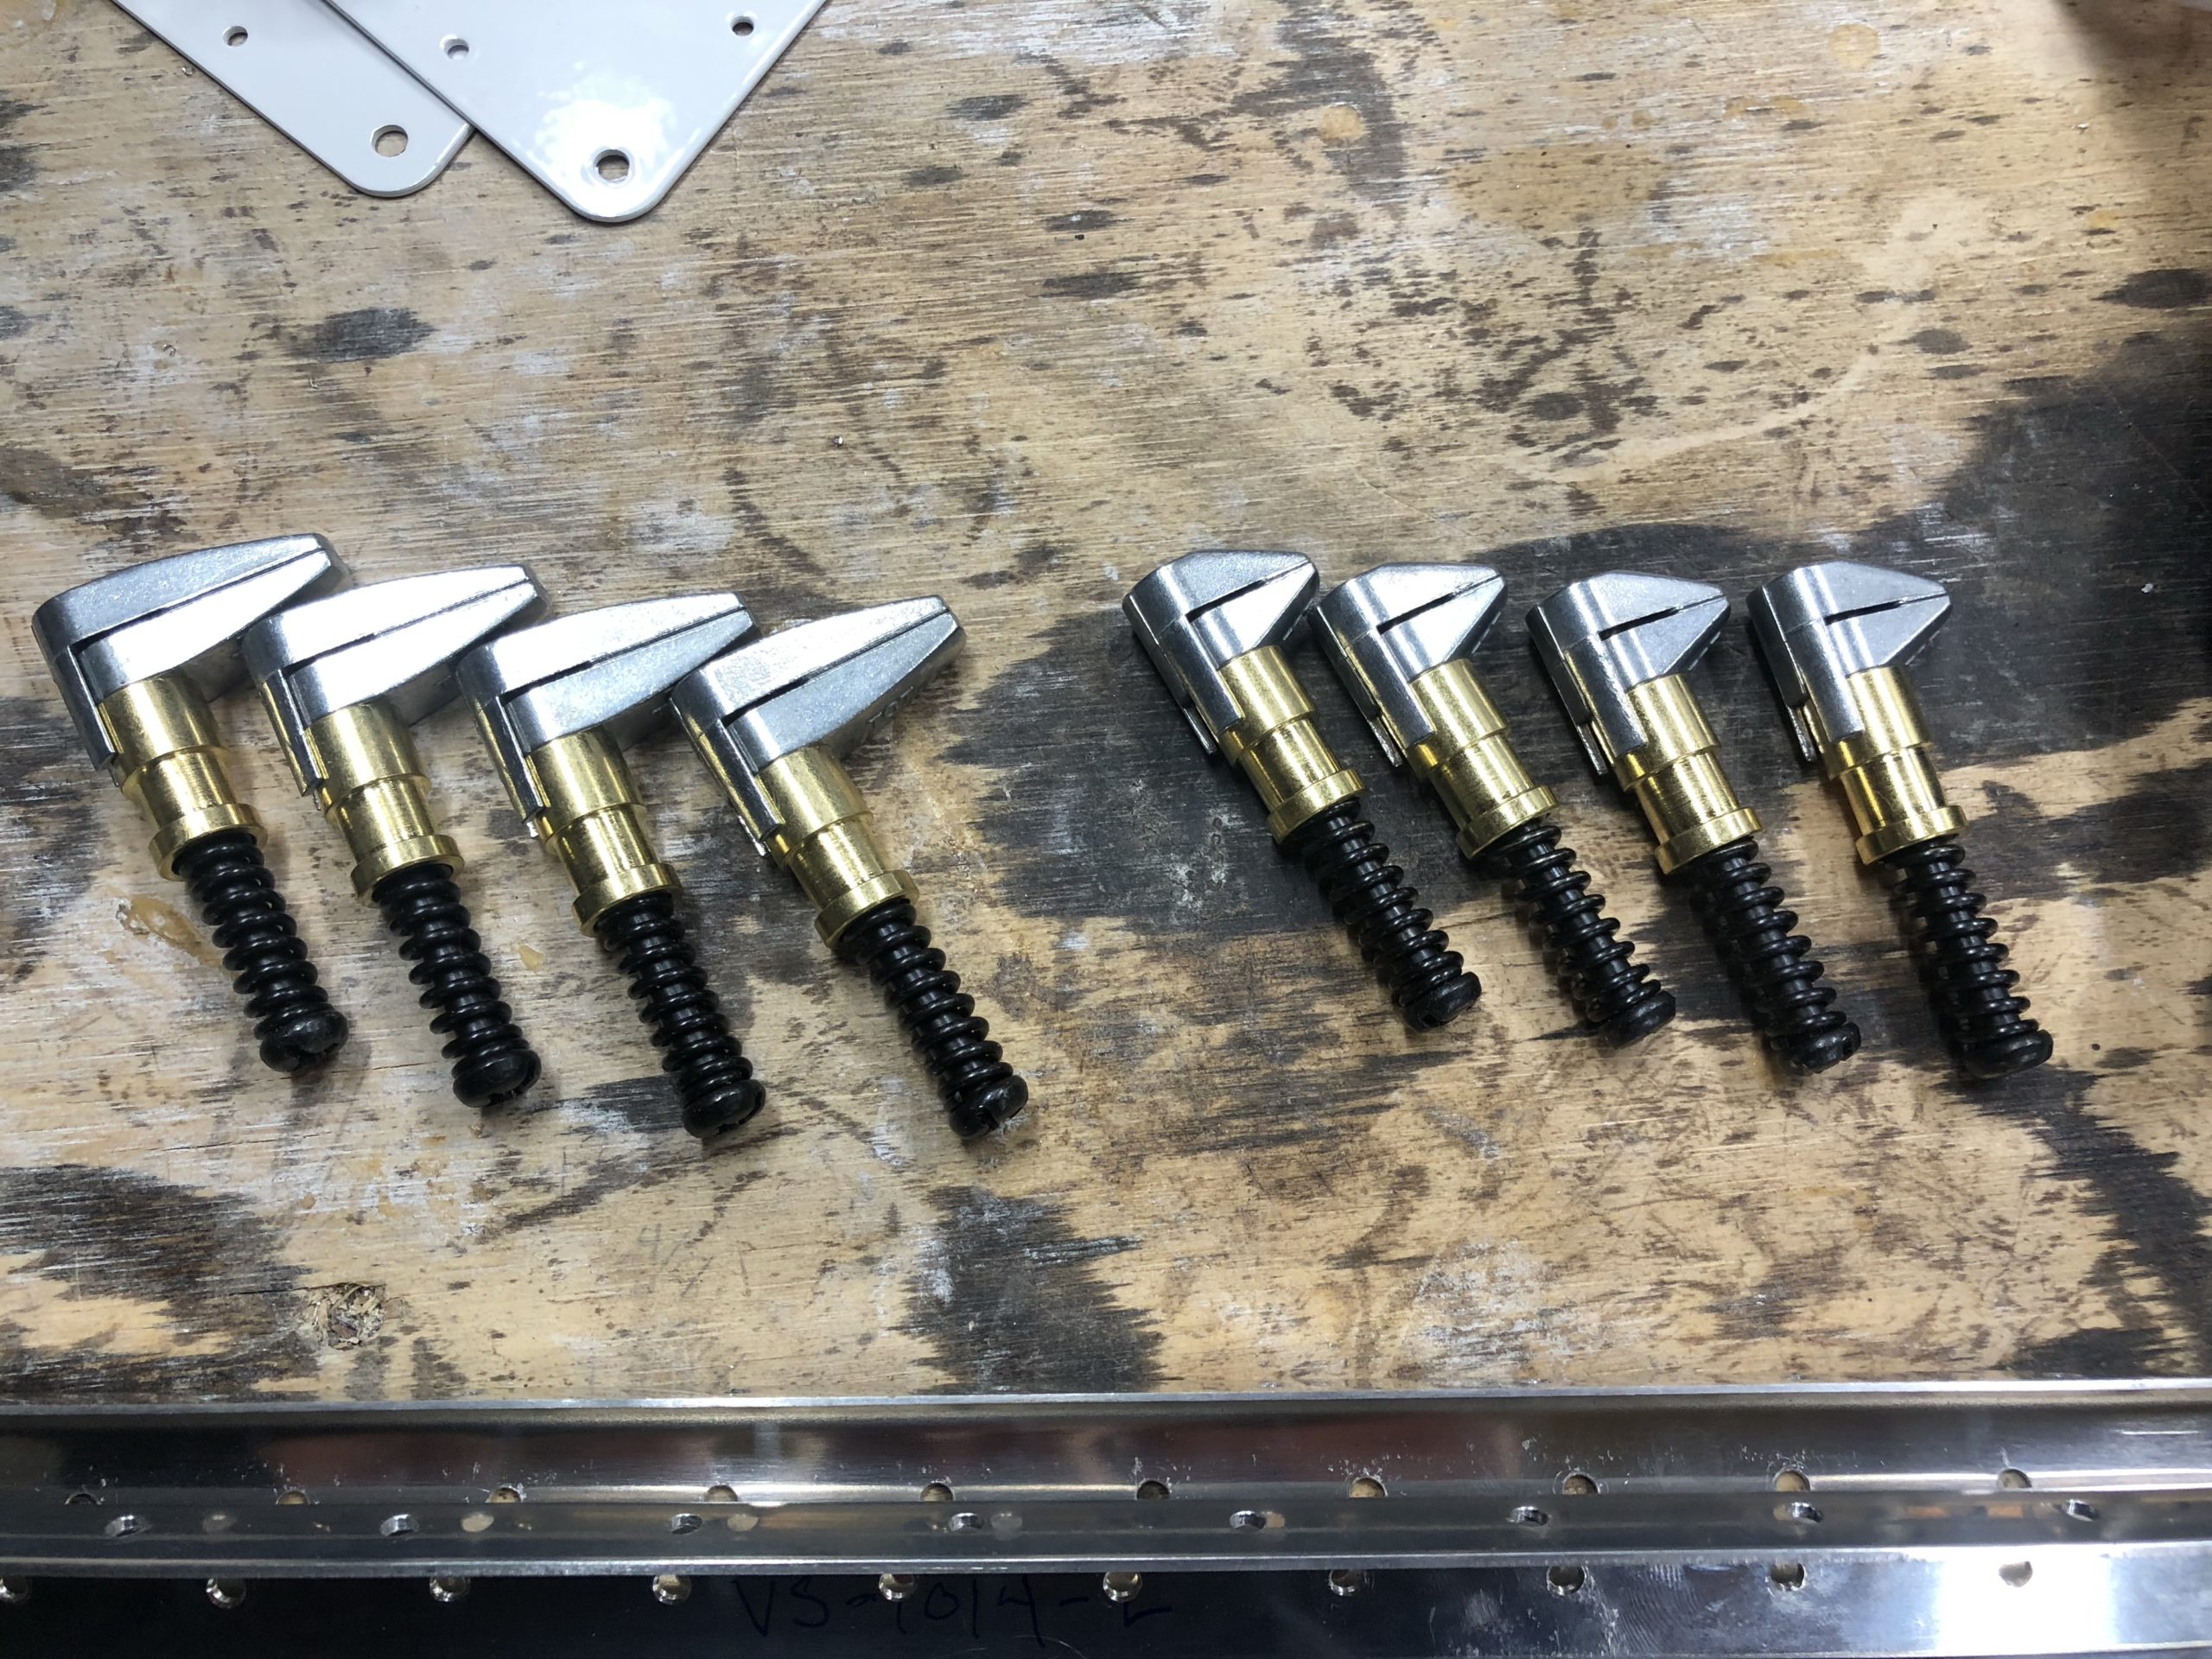
    My second mistake was drilling the #40 holes with a #30 drill bit. Probably not a huge mistake and I could have just used the 1/8″ rivets, but I want to follow the instructions exactly to the point, as I am pointing to here in this image.

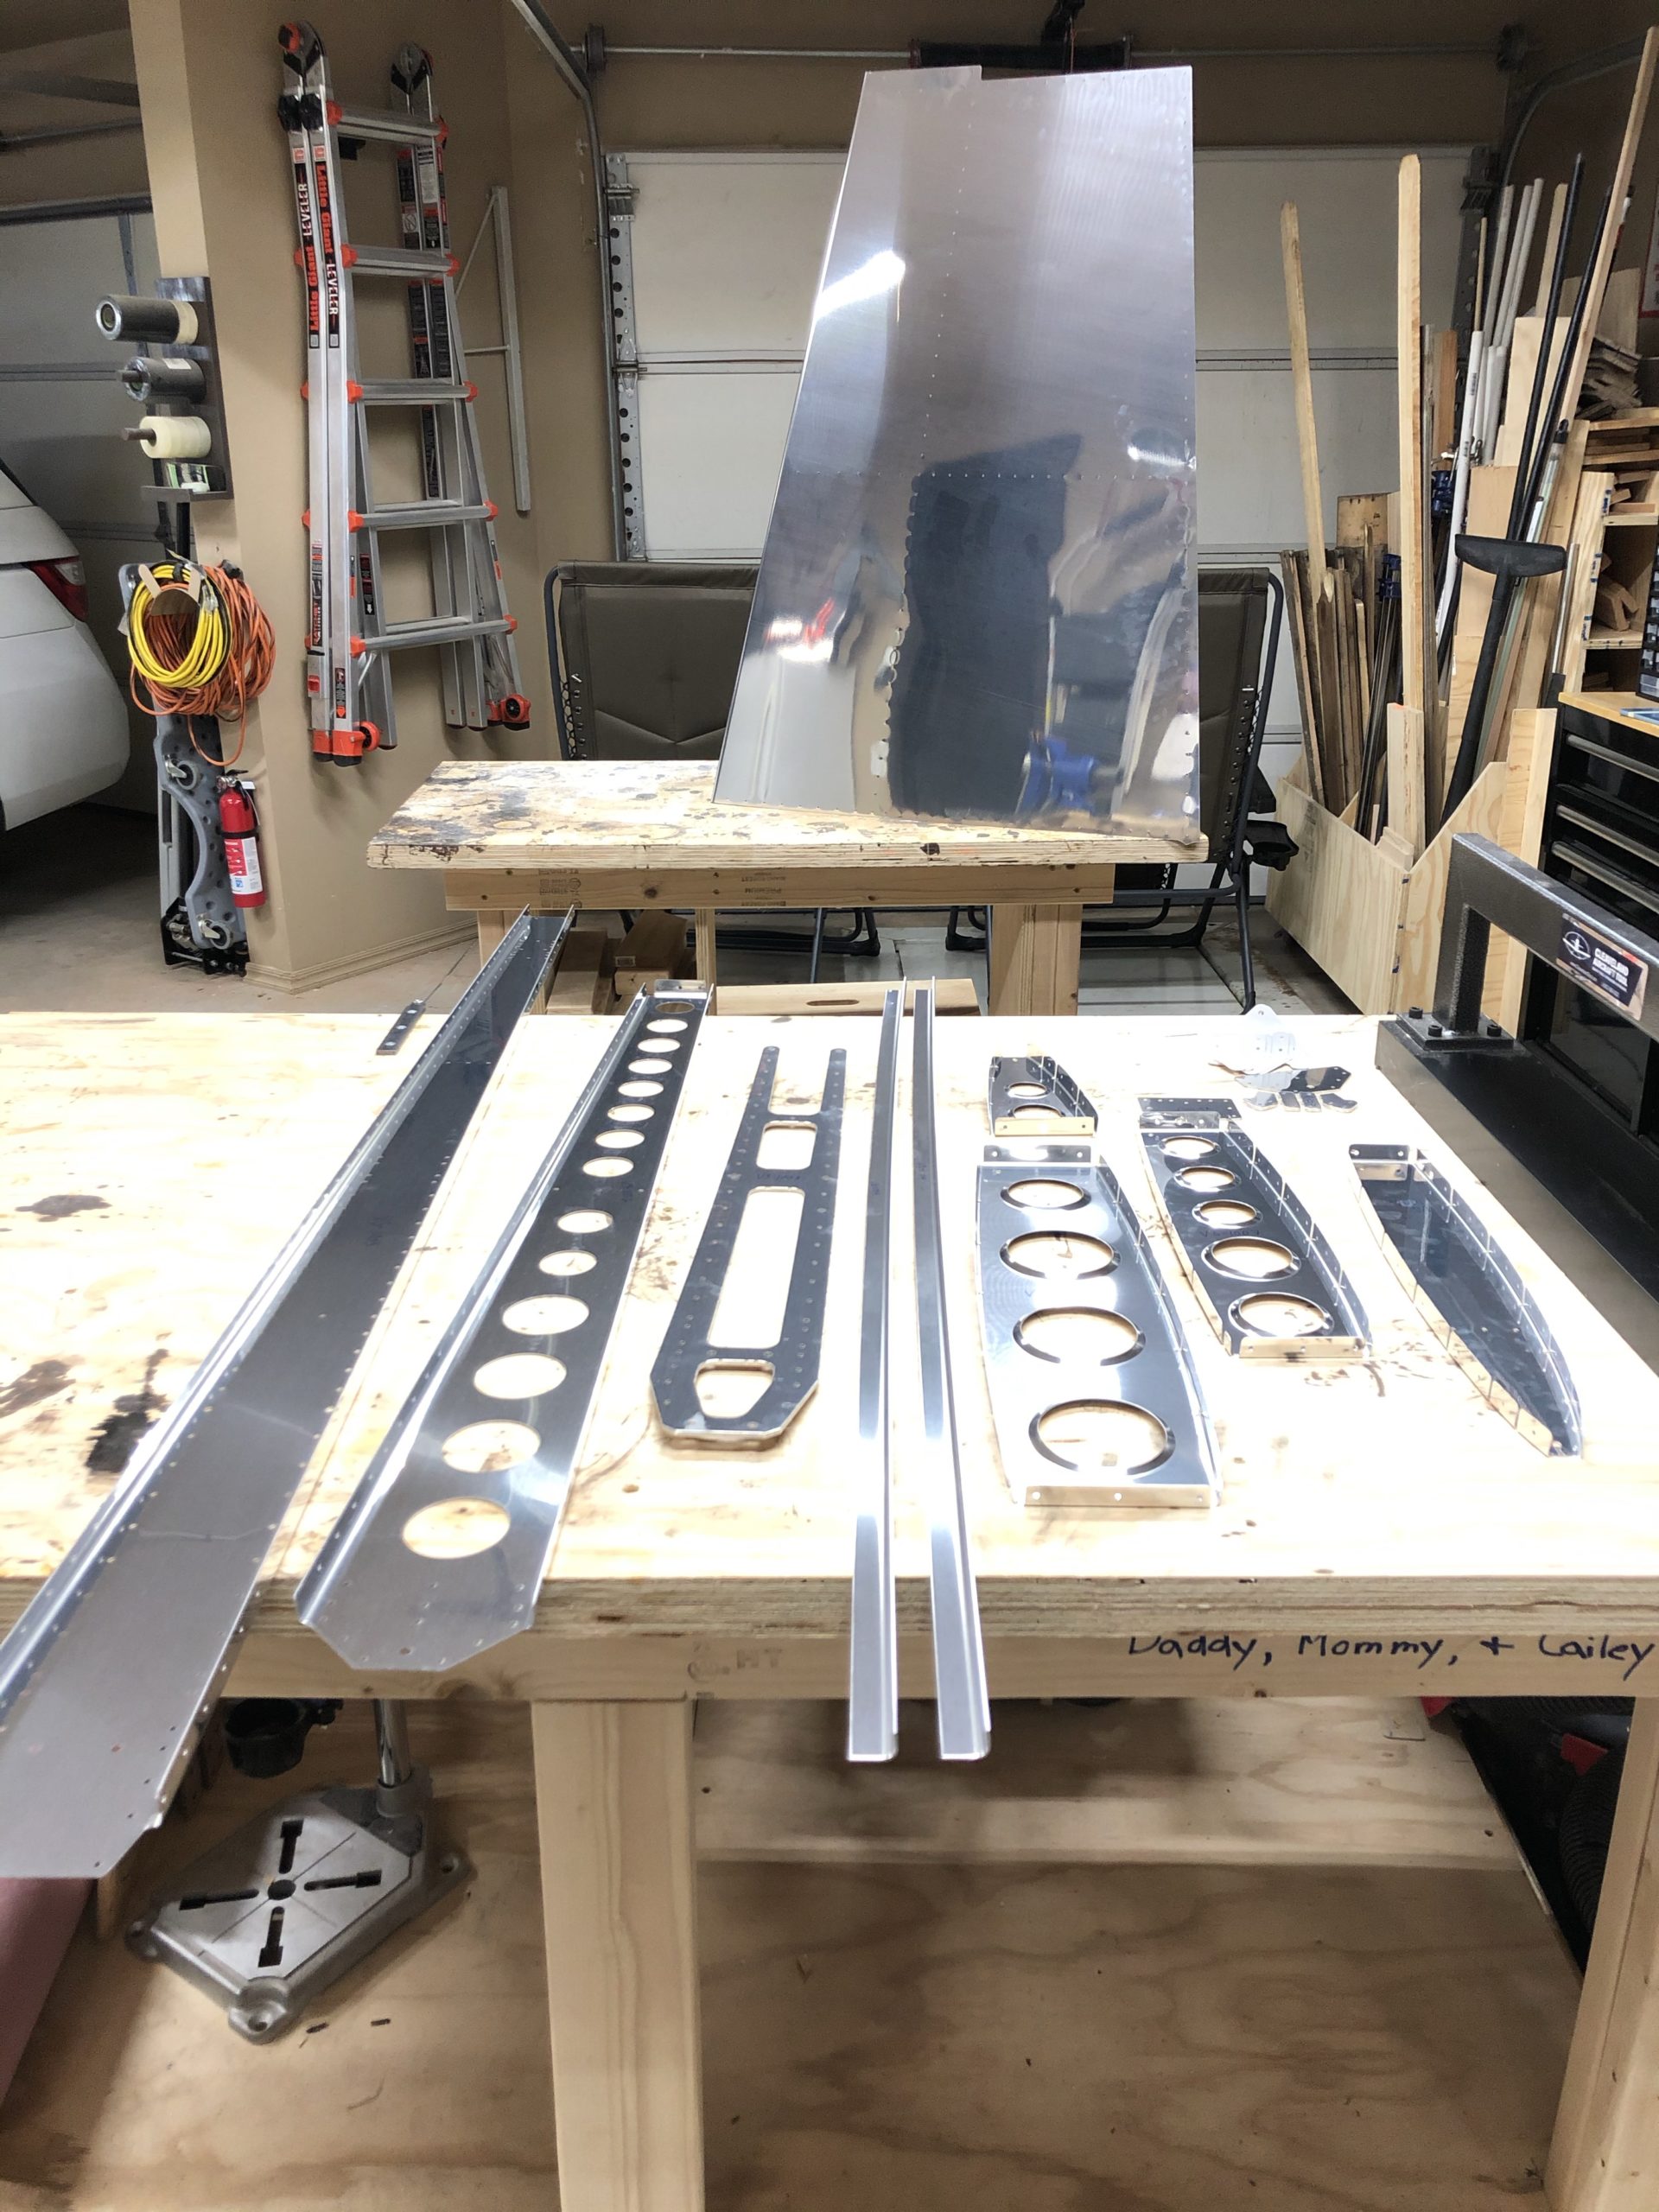
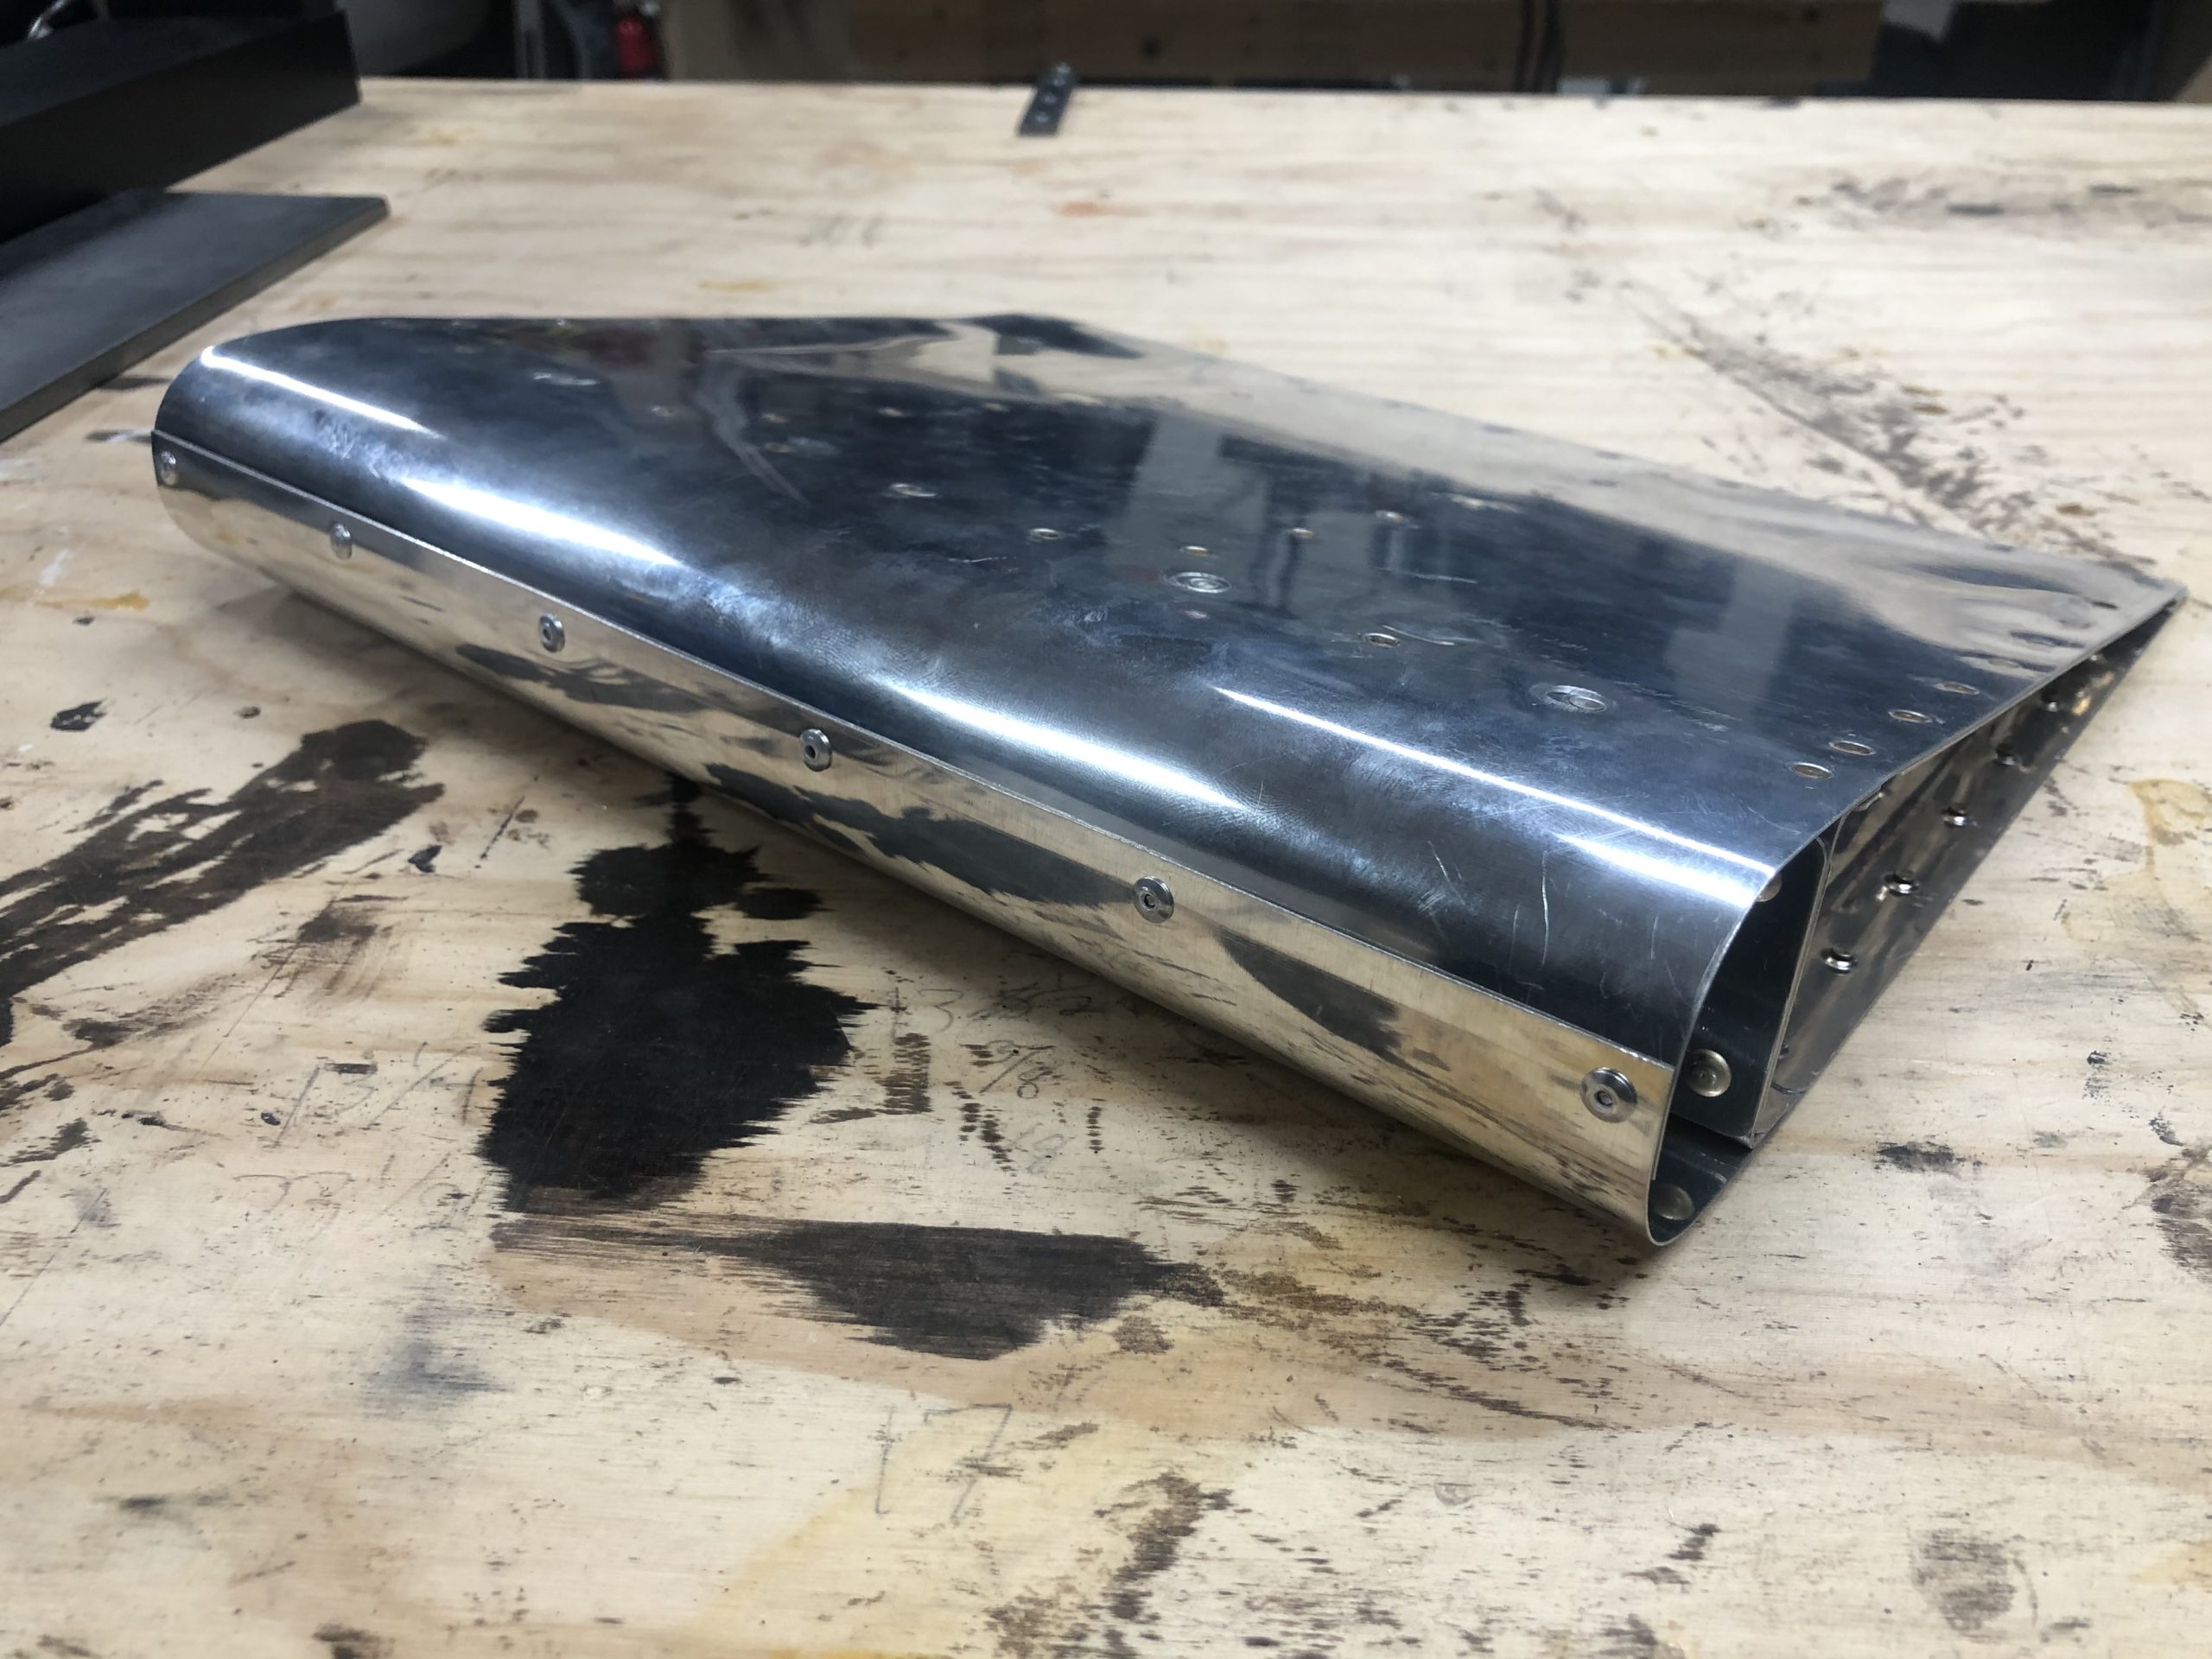
    But I did get some work done today! I got the VS-1008 piece completely deburred and I also got some additional clamps that I hope will help out in scenarios such as this.

    Irwin Miniature Quick-Grips

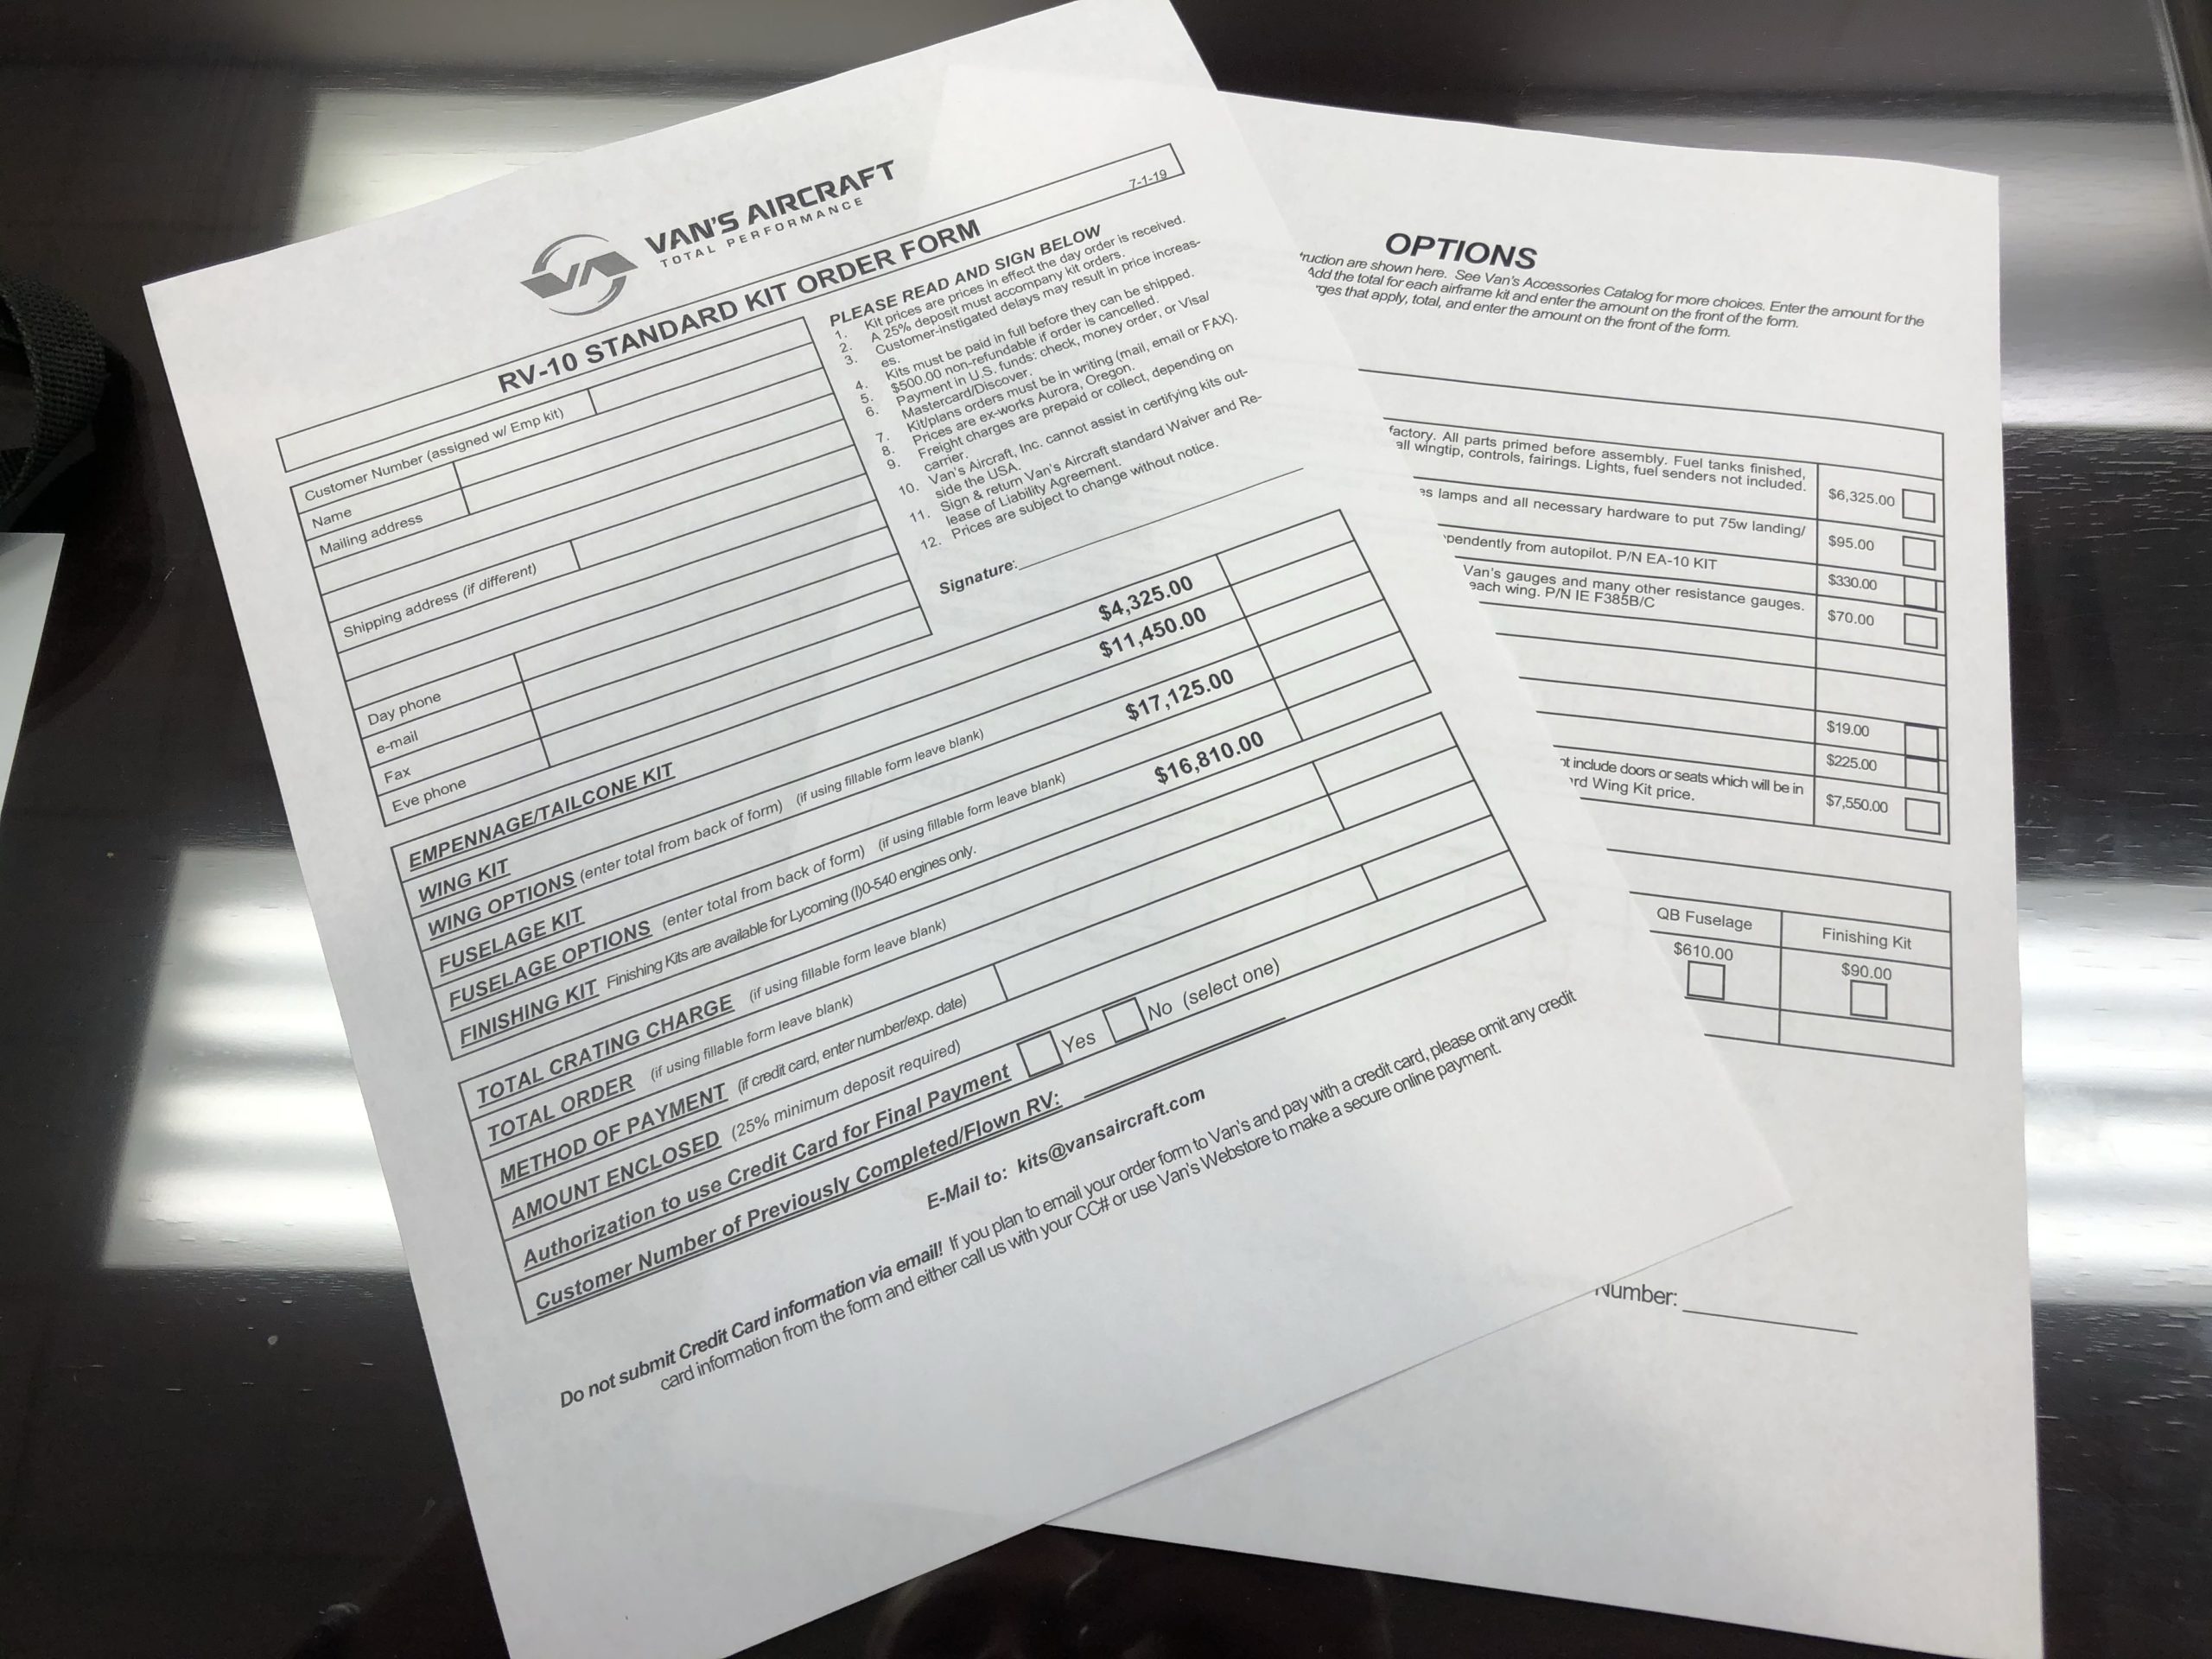
    All in all, I am still very positive about the build, even though this was just the first few steps in the build LOL. I knew this was going to be my down fall, and something I need to change anyways. This is a $49 dollar lesson as I wait for the replacement parts to come in.

    This will give me some more time to continue rehab with my shoulder anyways, as doing this work was pretty stinking difficult without the use of my shoulder the way I wanted it. I would use my left hand to basically grab things close by or to push down on parts slightly, but it was pretty useless LOL. Luckily my first physical therapy visit went well today and they were surprised at how well I’ve already progressed just resting at home. So here’s hoping I get through this therapy quickly and fully recover the use of my shoulder as I’ve been missing it dearly for the past year and couple of months since I hurt it.

  • Day 2 – Rear Spar & Spar Cap Match Drilling

    Day 2 – Rear Spar & Spar Cap Match Drilling

    July 9th, 2020

    Page 6-2: Step 2 & 3

    Not a ton to write about today. I got the holes match drilled between the rear spar and the spar caps. The only odd thing is that, even with them held firmly together, the shavings from near by holes would cause it to push out some and I didn’t notice until I was almost done. I’ll have to see what I can do to get it flush on both sides. I might have to find a better clamping solution as well as my small wood bar clamps don’t get enough perches to hold the pieces together very well.

    Here are some more photos of the spar and spar caps clecoed together.

  • Day 1 – Initial Cuts – Vertical Stabilizer

    Day 1 – Initial Cuts – Vertical Stabilizer

    July 8th, 2020

    Page 6-2: Step 1

    I was cleared by my doctor today to do some very small movement of my shoulder. I didn’t waste anytime getting into the garage to get started on the plane 🙂 I honestly did not use my left arm much but to guide parts through the band saw or to run it through the bench grinder for deburring.

    I got the initial cuts done on parts VS-1014 which turned them into VS-1014-L and VS-1014-R. I fitted the deburring wheel to my bench grinder and got the long exposed edges deburrred on all of the vertical stabilizer parts. Hopefully tomorrow, I will get the bits cut for my detailed deburring tool and get those small areas done so I can cleco everything together and start match drilling.

    VS-1014s All Cut!
    Before vs After deburring
    The rudder stops all cut out and deburred on the outside edges

  • First Build Hour

    First Build Hour

    I just recently had rotator cuff repair surgery so I’m not going to be able to do too much with the build for another month or so. But I did want to go on ahead and get everything organized and ready to go.

    I had my boys take all of the parts that I wouldn’t be using upstairs for long term storage. We stored them in reverse order so that I would be able to access parts as I need them.

    I also spent some money to buy some organizing units and I split up everything into individual part numbers. It will help me find things down the road. Here are a few pictures to document the progress. I also removed the protective covering from all of the parts so that I would have one less thing to worry about when I start cutting, deburring, etc.

    I spent about 4 hours in total doing all of this organization. I need to figure out how I’m going to document the work hours to each of these posts. Luckily I have a few weeks to worry about that. LOL

    Harbor Freight 40 Bin Organization Units
    All the rivets in a single 20 bin organization unit
    All future parts stored away upstairs
    Parts ready for work
  • Plane Schemer New Ideas

    Plane Schemer New Ideas

    While looking through social media, I found another awesome paint scheme from Plane Schemer. This plane also has the exact cowling I am looking for with my build. This had a few extra points that I wanted to document that I want to do in my plane maybe with different logos or my own twist to it. This are Plane Schemer’s photos and I’m not taking these to be the exact paint scheme I want, but it is my inspiration for what I want in my plane.

    I love the three bladed prop and the cowl
    Excellent personalization idea for the traction section of the wing-walk
  • Empennage kit has arrived!

    Empennage kit has arrived!

    As of June 22, 2020, I now have the empennage kit in my possession. I will say there was a little bit of hassle to get it here which was partially my own fault plus that of ABF Freight.

    The kit arrived in Oklahoma City and was ready for delivery on Wednesday June 17th, 2020. I called them that day and the lady scheduled me for the following day. She did say she was extremely busy so this could have been the reason for the first misstep.

    I worked from home the next day, which was June 18th, 2020. The same lady called me and let me know that it did not go out for delivery because she didn’t get payment from me. She wasn’t expecting the recipient to pay for it so, I get it. She said that if I paid today, it would go out for delivery tomorrow. Now, I had plans to go to Dallas, TX the next day (June 19th, 2020) as I needed to do some maintenance on our rental property down there. I told her I planned on leaving around noon and asked her if it was possible they could deliver it that morning. She said it would not be a problem. So I paid that day and went along my way.

    On June 19th, 2020, I waited until 4:45PM when I called them and they said that they had already attempted delivery. I was pretty perturbed at this point since I had not received a call, email, or any notification that they were trying to deliver it. I waited, because I told her I would be here and preferred the shipment to be done in the morning. That was my one and only misstep. I should have clarified with her that I would wait until they delivered, but I preferred to have it delivered before noon. But in my opinion they should have called me to try delivery instead of just assuming I wasn’t going to be there and mark it as “attempted” and move on.

    The other misstep on ABF’s part was that the lady said she didn’t feel that they would need a lift gate so she took that off the request and they were only going to send a normal truck. That’s where the driver also said he didn’t want to deliver it because it needed a lift gate to drop it down properly. Either way, I was pretty miffed that they communicated very poorly and weren’t apologetic about it at all.

    Lesson learned for next time though… I will be crystal clear on delivery expectations.

    The kit is now in the garage!
    No damage so far. This is good!
    The build manual and the inventory checklist. Pen out and start!
    All of the packing paper now removed so I can see more of what’s in there
    External plan view
    3D Schematic
    Inventory complete!

    My boys actually enjoyed doing the inventory with me! They thought it was so cool to see how many parts there were just in the empennage kit to make a plane function. I was only missing one item, which was E-905. F-1006C, F-1006D, and VS-1005 were all on backorder. I called Van’s and got ahold of Jessica. She noted the missing part and also said that it appeared that those backordered parts were possibly ready to ship. I told her to just ship it all together to save on packing and shipping (hopefully).

    I am having shoulder surgery tomorrow (June 24th, 2020) so I won’t be able to work on this for a while which is fine. I want to work with my local EAA chapter and have some more discussions anyways before I start in earnest on the build. I need to figure out what the best option for primer is out there and getting that ordered as well as getting a spray gun. I have a HVLP sprayer, but I don’t think this is the right way to apply it since we just want a very small amount of primer to go out. Either way, I’ll have plenty of time here in the next few days to research this and get caught up.

  • Empennage Kit Ordered!

    Empennage Kit Ordered!

    It is for real now everyone! I submitted my order to Van’s Aircraft for the empennage and an additional practice kit yesterday June 4, 2020. I’m super excited to get this started and the practice projects I’ve already done have gone very well. I plan on making sure I do the practice project that’s coming in just like I would treat the airplane build. I skipped a few steps on the last one just to focus more on the actual riveting, but the game is on now. My assigned builder number is 42171!

    Long story short… here we go!

    Order Forms Before Completion
  • Van’s Aircraft Lightbox Build

    Van’s Aircraft Lightbox Build

    This was a really fun, easy, educational project. It gives you something that is usable after the fact and was simple enough that it doesn’t require alot of thought or even alot of tools. Here are the tools I used to complete the project:

    • Pneumatic squeezer
    • 3/32″ squeezer dies
    • #30 drill bit
    • #40 drill bit
    • Scotchbrite pads
    • Scotchbrite wheel
    • De-burring drill bit
    • Air drill
    • Electric impact drill
    • Rivet gun
    • 3/32″ rivet gun attachment
    • Back rivet attachment
    • Back rivet steel bucking bar (more like a sheet but I forget it’s name)

    It doesn’t give you a ton of instructions because there’s just not much to say. The only advice I would give you if you plan on using any style of rivet besides a blind rivet is this…. DO NOT PUT THE NUTPLATES ON UNTIL YOU’VE DONE THOSE OTHER RIVETS. LOL I had to change my rivet choice because the nut plates were now in my way of actually riveting the flush rivets in place. I could have used a very skinny bucking bar, but that hurts my hand so much and I couldn’t find a way to get a flat surface to rivet against on that area. That was the only problem I had with the instructions.

    This project is very beautiful when it’s done. They have super bright LEDs that work very well. The only problem I had with the LEDs is that they would not stick to the surface. I cleaned it with alcohol and the next morning I came in and the lights on the top had popped off. I’m still trying to figure out what adhesive to replace it with so that it will be permanently installed. I have some strips of double-side tape at home that I might give it a try. I’ve never used them before and I believe they are from some brand that makes CA glue, so hopefully that means it will stick very well. Here are the pictures of the finished project.

  • Practice Project #2 Complete

    Practice Project #2 Complete

    I couldn’t wait any longer to keep learning about riveting, assembling, etc. I had the project all cleco’d together when I left it last. I decided I would check out the pneumatic squeezer and how it functioned this time since I’d already spent a good amount of time dimpling with the C-frame. I can now see why so many builders like this tool. Once it was set, I really had very little to do except line the hole up with the male portion of the dimple and press the trigger. It made quick work of all of the dimples on the edge and across the spar section. I got so excited that I just went to riveting after the fact. I didn’t read the instructions exactly as they were meant to be read LOL. That lead me to another issue. The picture below is the front and back of where I finally realized my mistake. Anyone able to spot it?

    Top side of C-2 panel
    Under side of C-2 panel

    As I was thinking about how to get the second skin on at this point was when I realized…. How am I going to do that with the top skin riveted? I went back to the instructions and finally understood what they wanted me to grasp. I was to rivet only the bottom section of the skin to the main spar and not rivet it just yet to the ribs. So out came the drill to remove all of the rivets I had done up and down the ribs to the C-2 skin. I did really good at removing the rivets all except for one. It was just slightly bigger now, which I opted to just skip drilling it bigger this time and just remember that I would have to drill it bigger, de-burr it, and re-dimple it in the actual build.

    Once I completed riveting the entire project together, this is how it turned out!

    Completed project

    I didn’t have too many things I wasn’t okay with in this project. I learned alot about de-burring. I was de-burring way too much at the beginning until I watched an EAA video that stated you should only have to make a few turns of the deburring tool in each hole. I might have to get a much slower drill to get the speed they were talking about. Luckily they said the drills that go that speed are very inexpensive so it might not be a bad buy in the long run.

    Another part that didn’t turn out how I wanted it was the trailing edge. With the trailing edge clecoed together, it looked great! It was all flush and even with the root of the surface. I couldn’t have been happier! But it appears I still have something to learn about doing the double-flush rivets on the trailing edge. After I did that, the trailing edge turned out this way. I’m still perplexed as to how that occurred. I had the project on top of the 16″ back-rivet plate. And I had it where both the front of the project and the trailing edge were supported by the plate. Now I couldn’t get the entire project on the plate, but I felt that if I had the project laying in that way (with the rounded front edge on one end of the plate, and the trailing edge on the other) it would be fine. But it didn’t quite work out. I’m going to have to do some research as to how best to perform a double-flush rivet.

    Slightly off
    WAY off

    I also didn’t bring my wife or kids out to help me on this. I found it extremely difficult though to track both the rivet gun and the bucking bar at the same time. It resulted in this nice little dent around the main spar.

    The rivet gun slipped off again, LOL

    All in all, I’m still very happy with the project. Like they stated in the instructions, if it comes out without any issues, you didn’t learn anything. I plan on ordering a second kit here soon as well as constructing the lightbox that I ordered too. This will give me (hopefully) plenty of time to practice riveting, bucking, seam rolling, de-burring, etc.

  • New Vise and Soft Grips

    New Vise and Soft Grips

    I had been limping along with a small and inexpensive Bessey 4″ vise that I got from Home Depot a while back. It was rusting pretty bad and I couldn’t seem to get it to grip anything anymore like it should. I didn’t feel like using a cheater bar because the I honestly don’t think the vise would take it.

    I started my research to find a practical vise that wasn’t going to cost me an arm and a leg. I’ve started going to Lowe’s more often to get descent tools that aren’t going to break the bank. I still make the occasional trip to Home Depot, but it’s further away from home, thus making Lowe’s more convenient. But, I found some nice Irwin vises there. They had the normal small 4″ style vise, which I wasn’t interested in. There were two models that I was looking at.

    The first was the Irwin 5″ Multi-purpose vise. This was intriguing because it had a rotating jaw section of the rise. It rotates 360 degrees, while the base only rotates 120 degrees. I wasn’t as concerned about the base rotating very far, but I didn’t want a fixed base either. It also had a very nice anvil section which was much larger than the laughable almost one inch square I had on my previous anvil.

    The second option was the Irwin 6″ Mechanics vise. This is just like your normal vise. The vise jaws were fixed on the vertical plane, but the base could rotate up to 120 degrees as well. I liked having another inch of surface area for clamping down on material.

    I eventually chose the Irwin 5″ Multi-purpose vise. Below are pictures of the vise installed. I had already used it for some of the project work today, but felt I should cover this as part of the costs I’ve spent for this build.

    Vise in the horizontal position
    Vise in the vertical position (It can go to the other side as well)
    View from above

    I also found some great soft grip vise pads with magnets on Amazon. They were the Trisense 6″ Vise Jaw pads. These are very well built and have a very soft rubber to cushion the part in the vise. The only problem I have is that the magnets are not as strong as they lead you to believe. Granted, this is meant for a 6″ vise, but all four of the magnets are engaged on the vise, so it should hold securely no matter what. But it quite often ends up falling off and I have to reattach it.

    Trisense vise pads
    Magnetic side of the pads. These are not at strong as they should be
    Pads installed

    All in all, this is working very well so far and does not mar the parts that I’ve put in there. I had to repair a wooden draw pull and this was the easiest thing to hold the drawer pull together while the glue dried. It did not leave any marks on the wood and held the piece solidly together. I would recommend both of these for a good vise and hopefully I’ll be able to provide more complete feedback as the project goes on.