Blog

  • Cradle Done and Wiring Block Diagram Started

    Cradle Done and Wiring Block Diagram Started

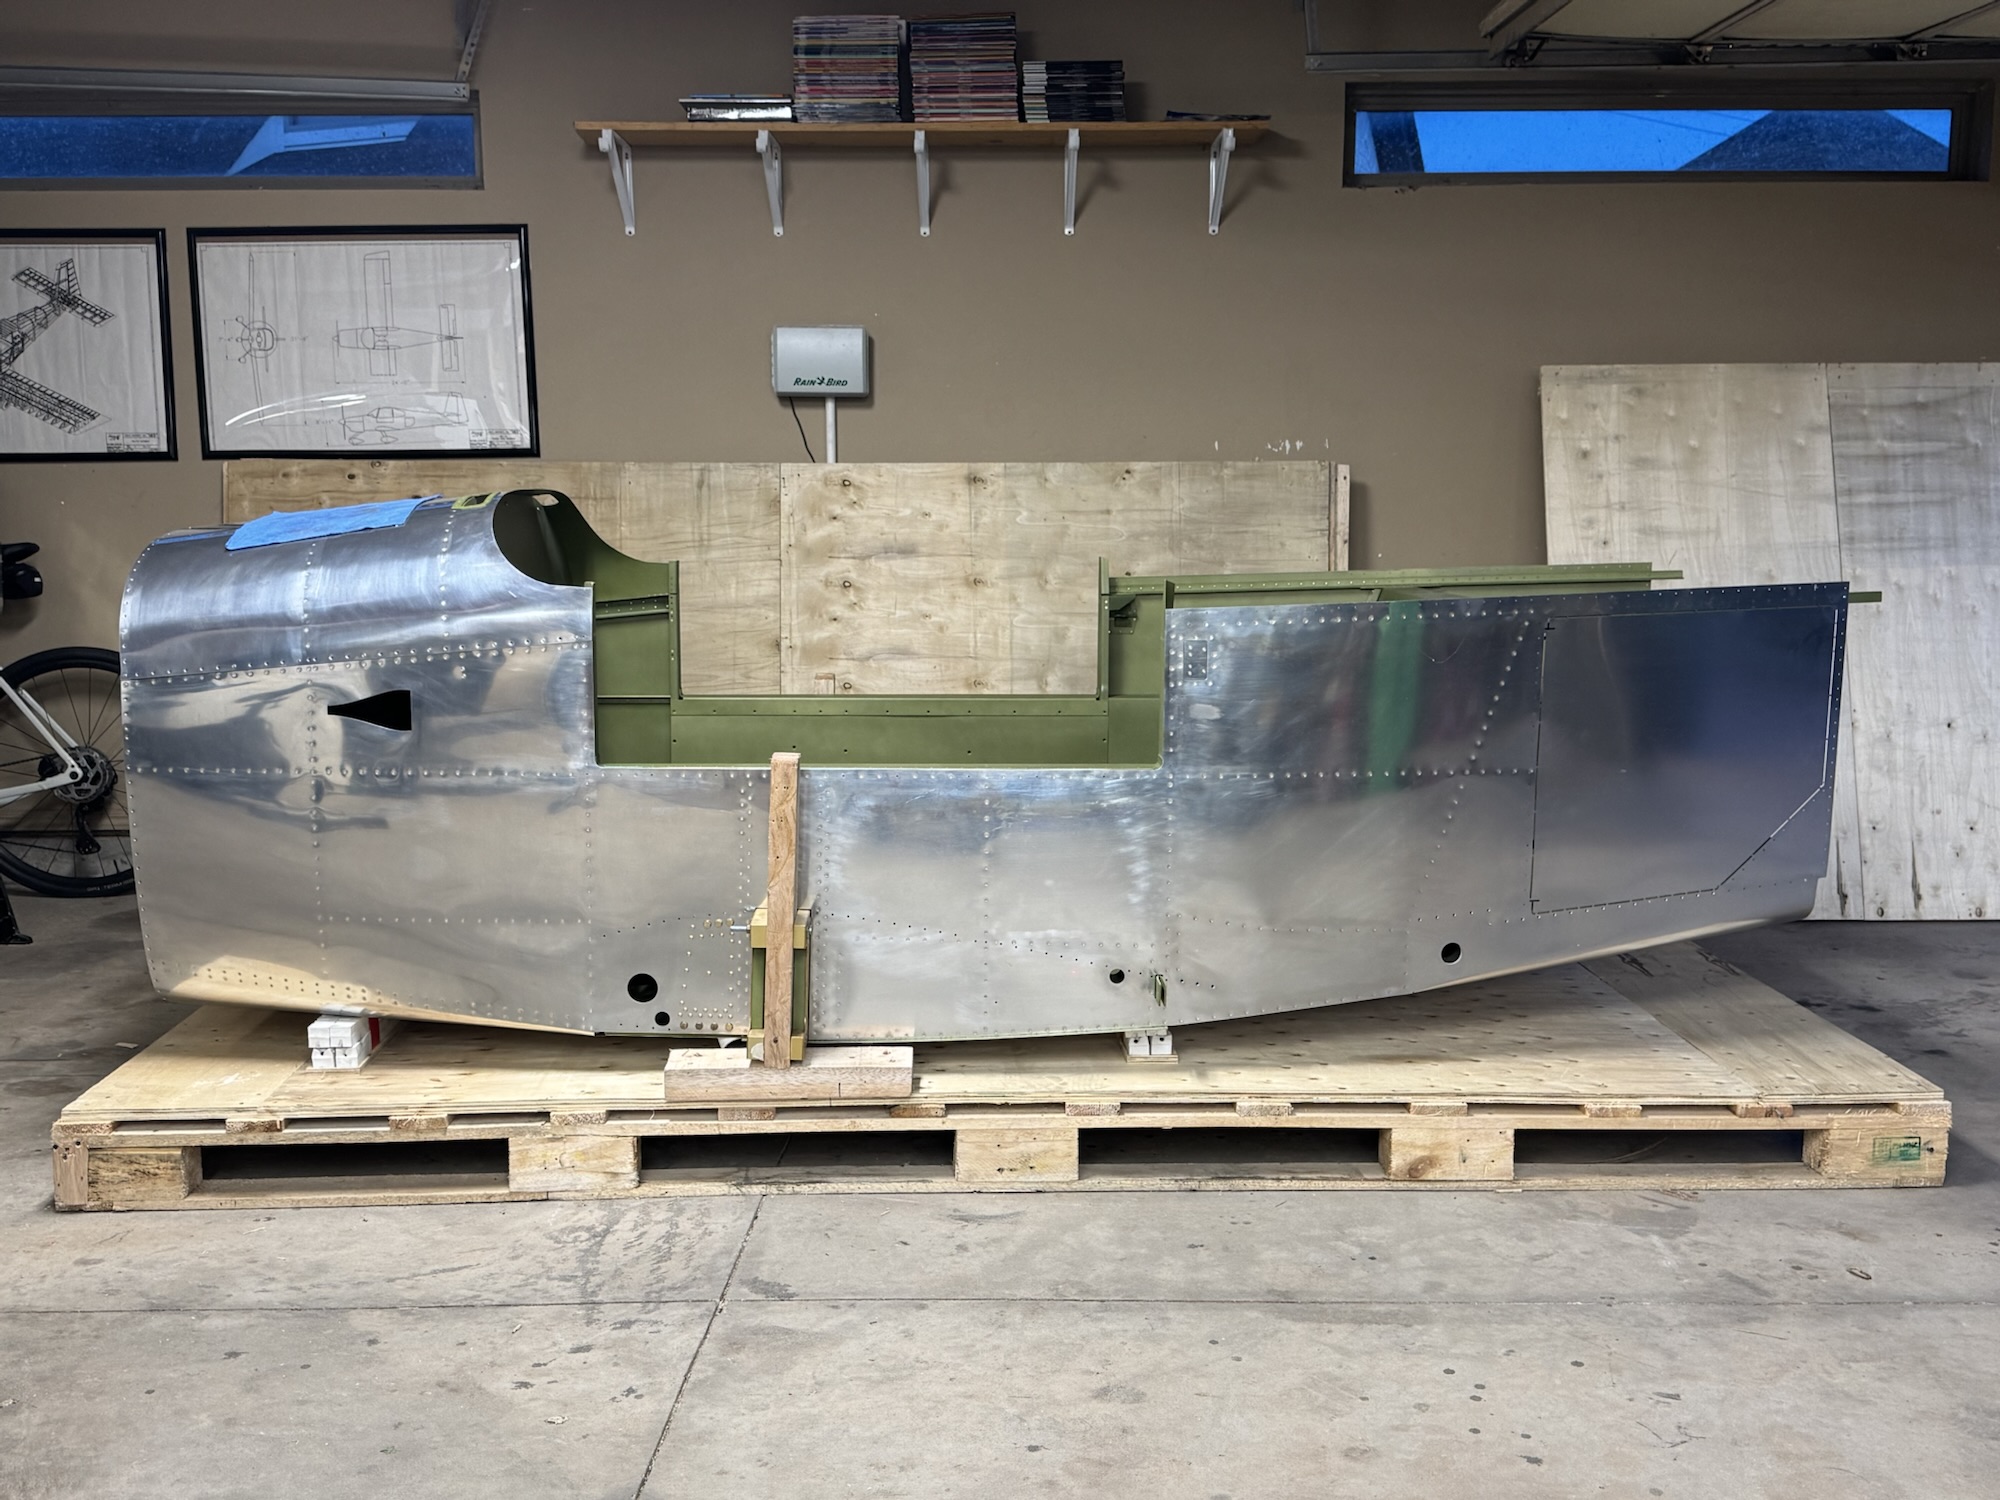
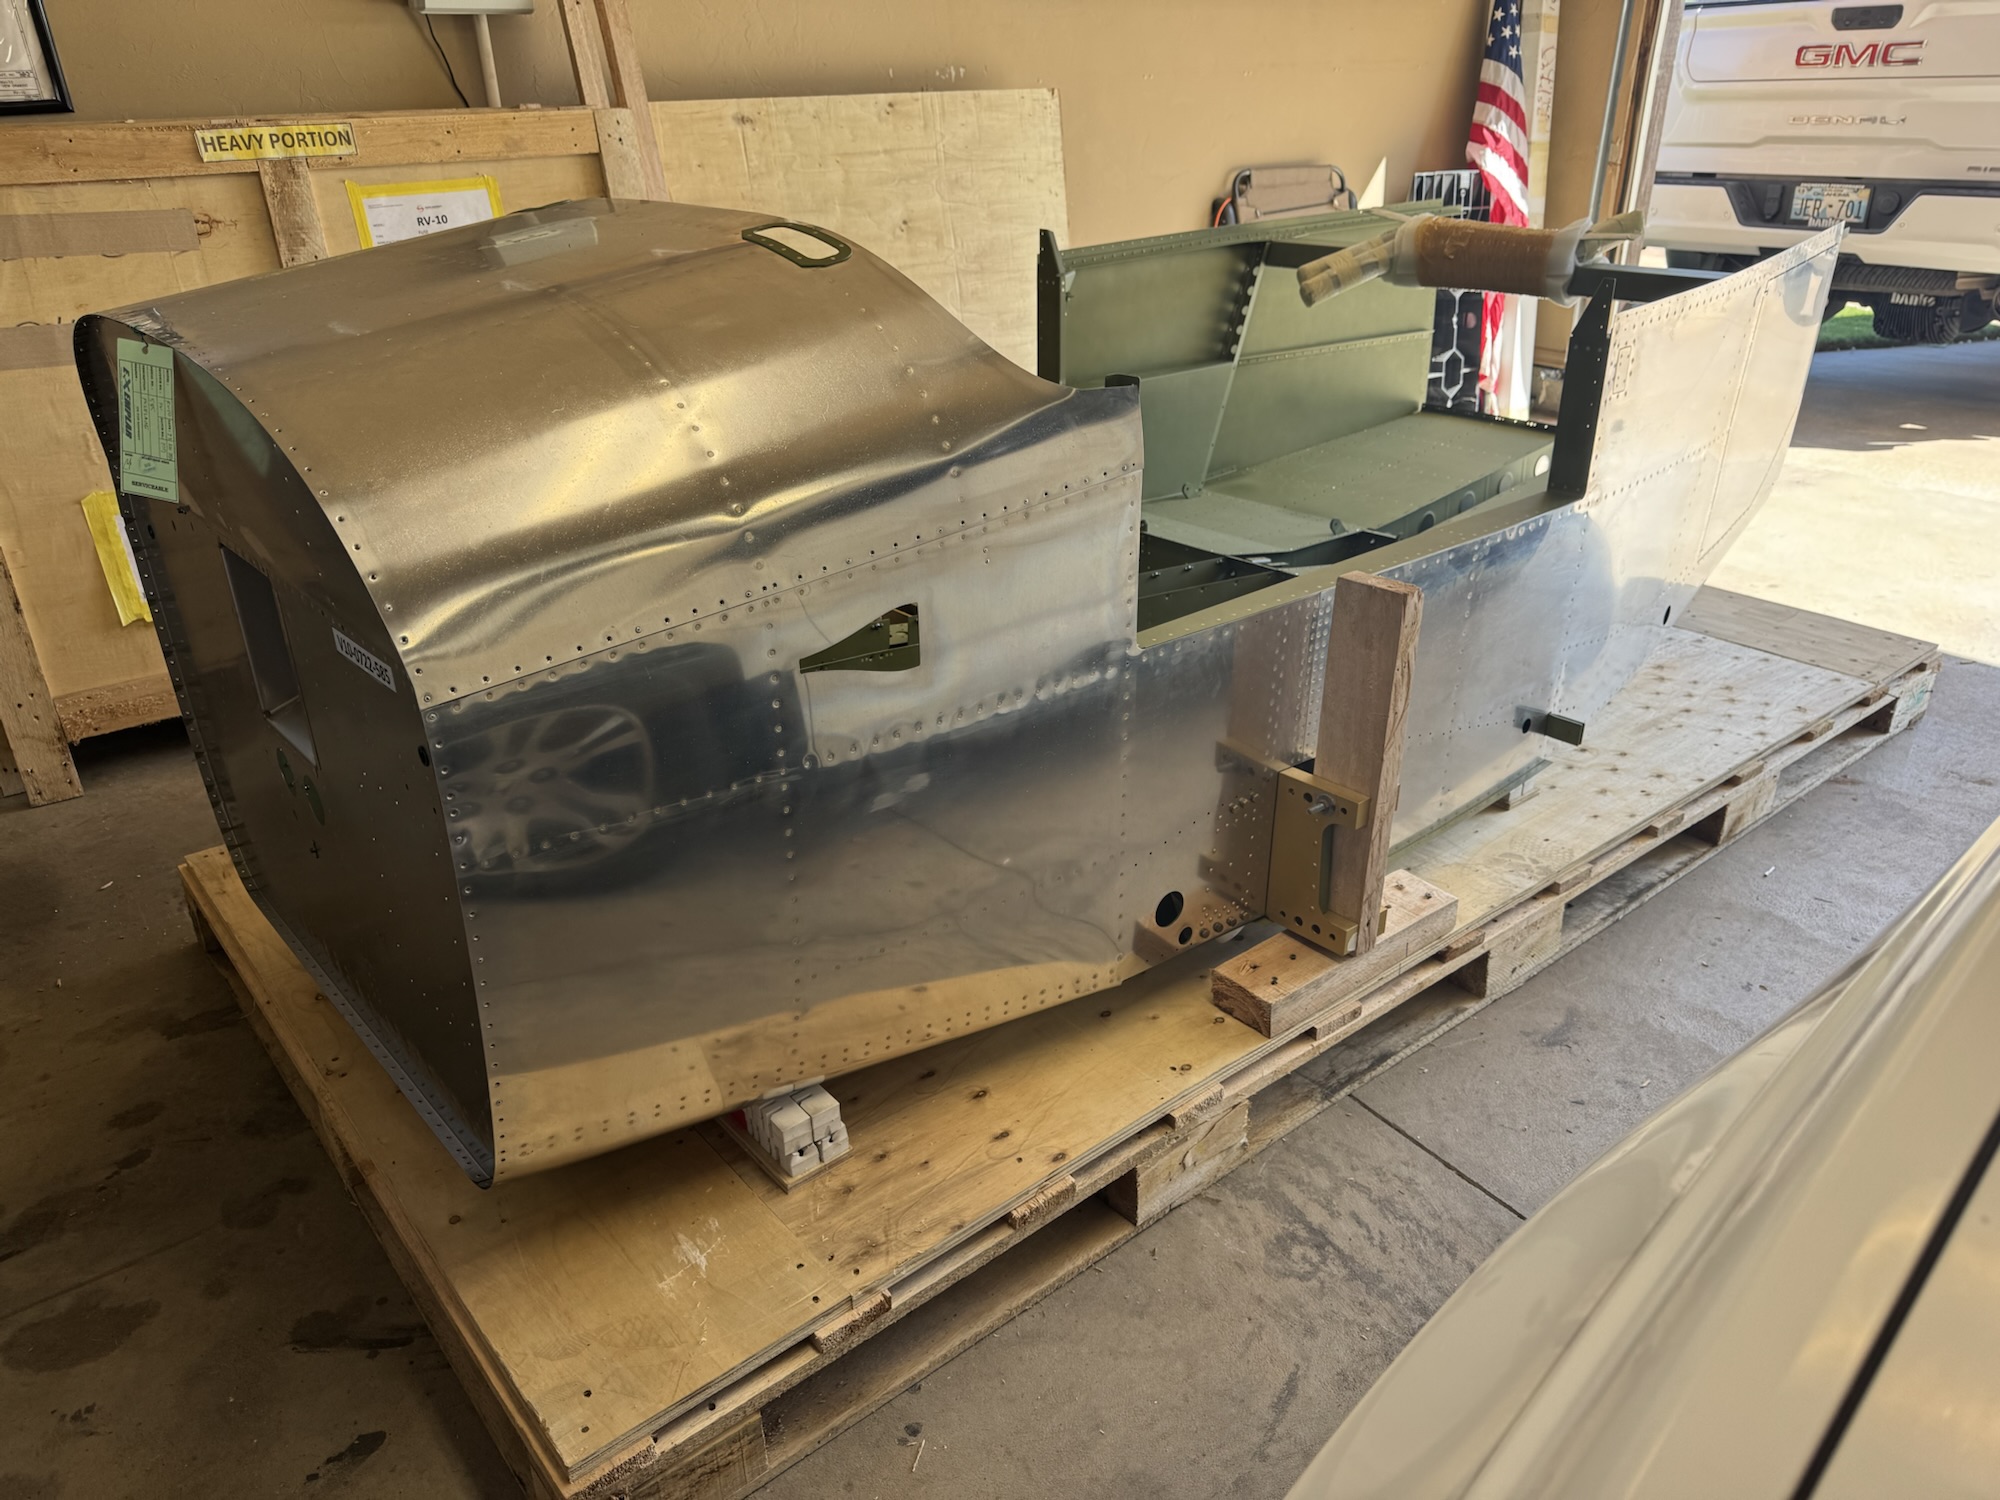
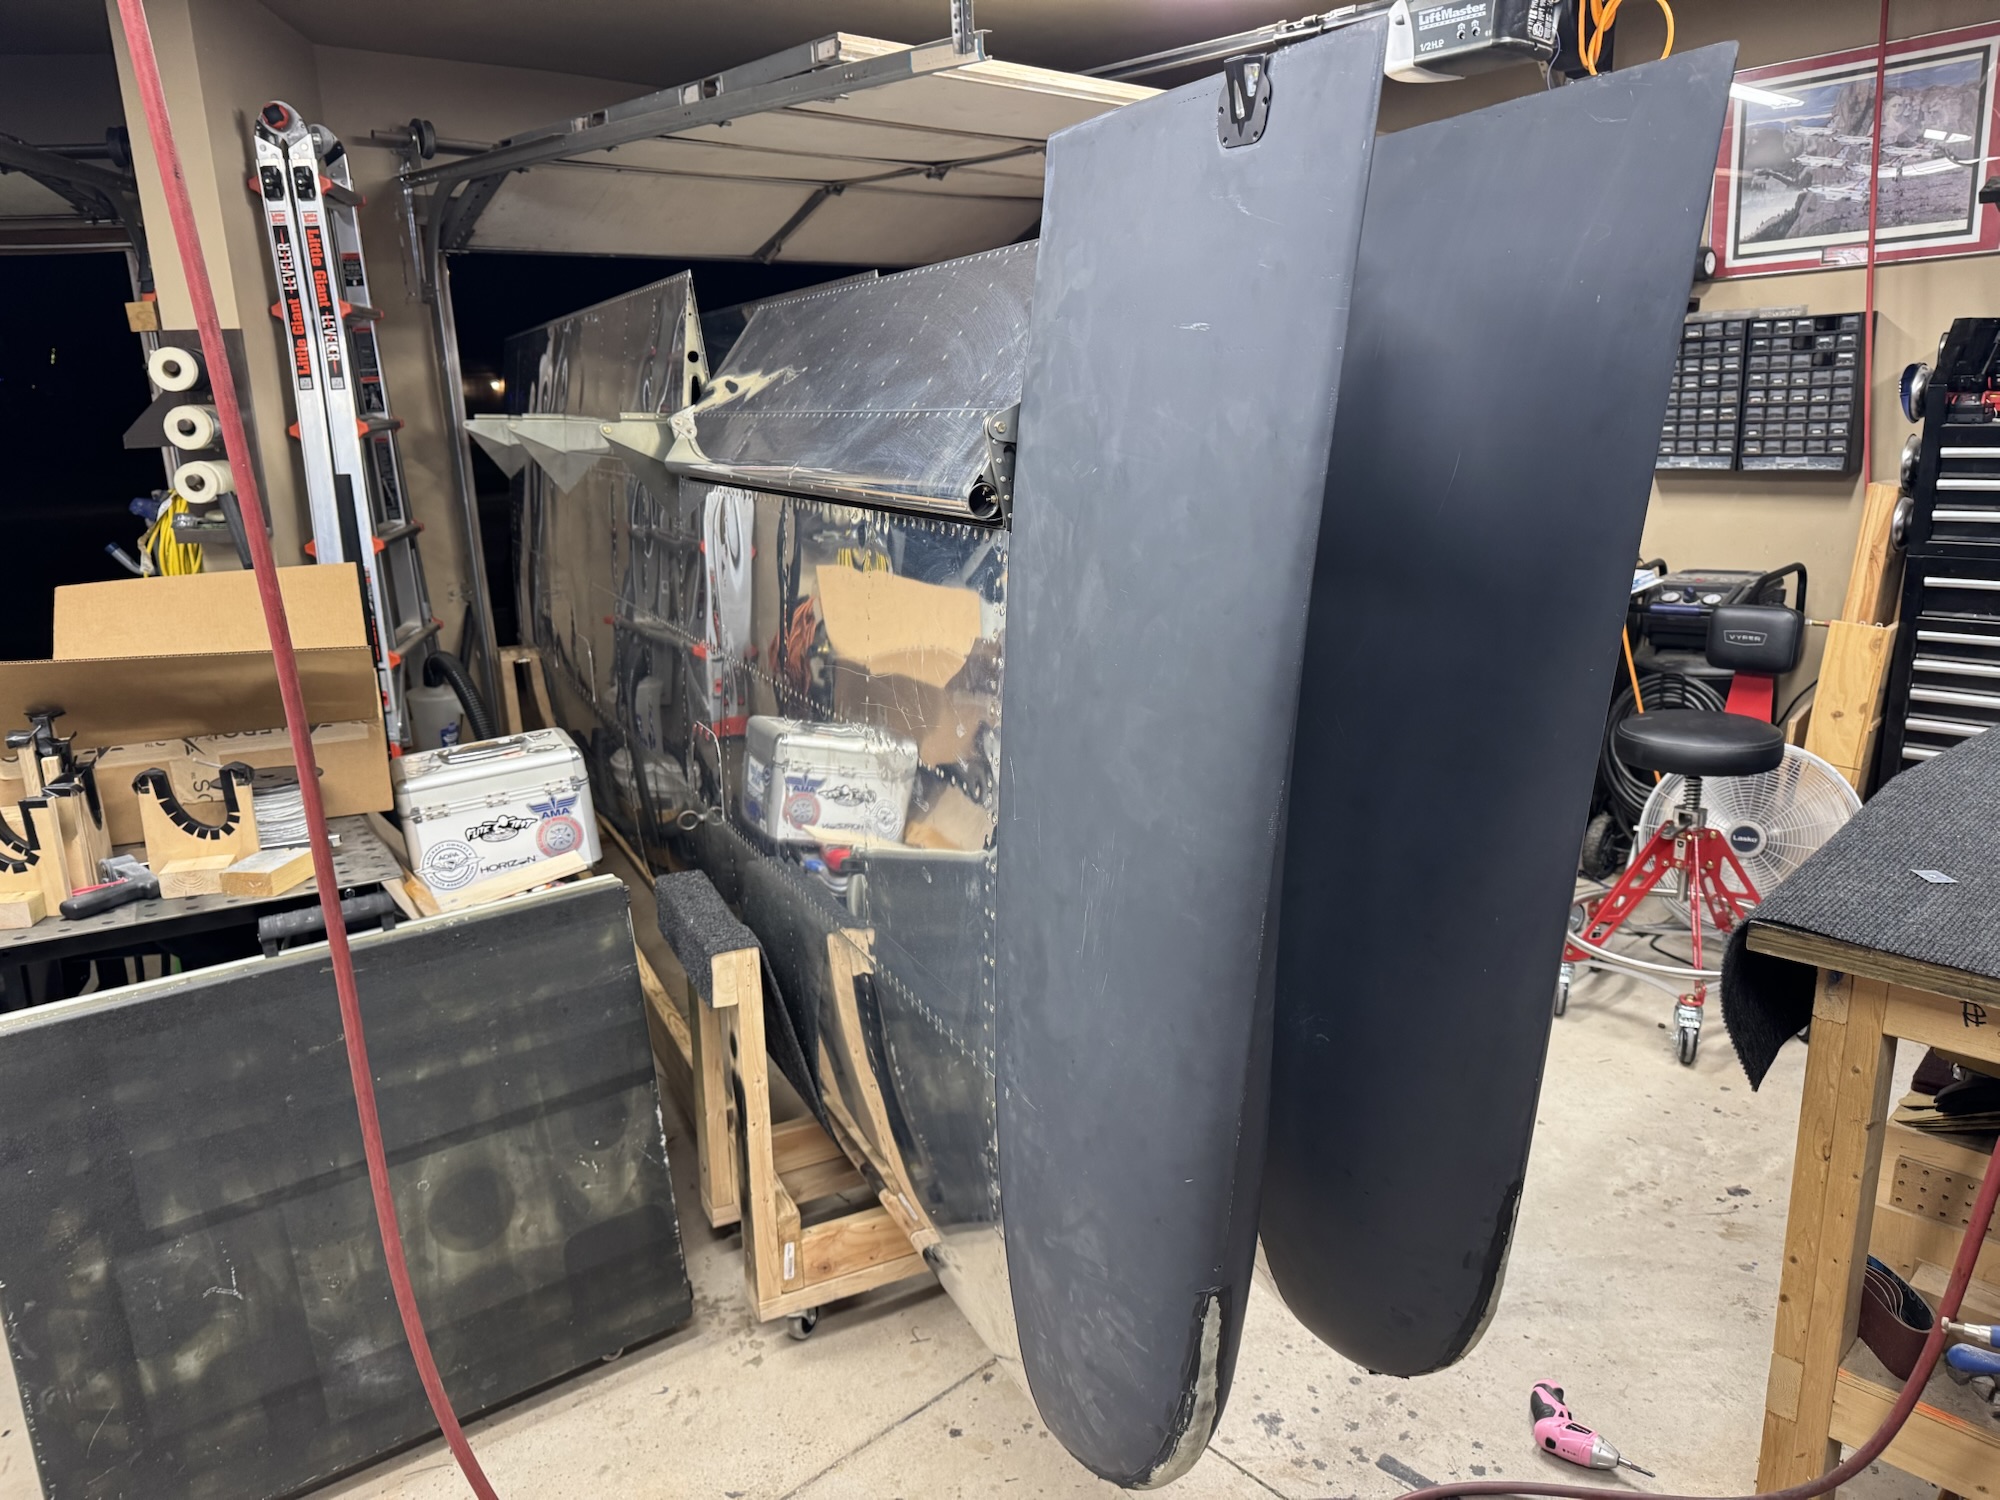
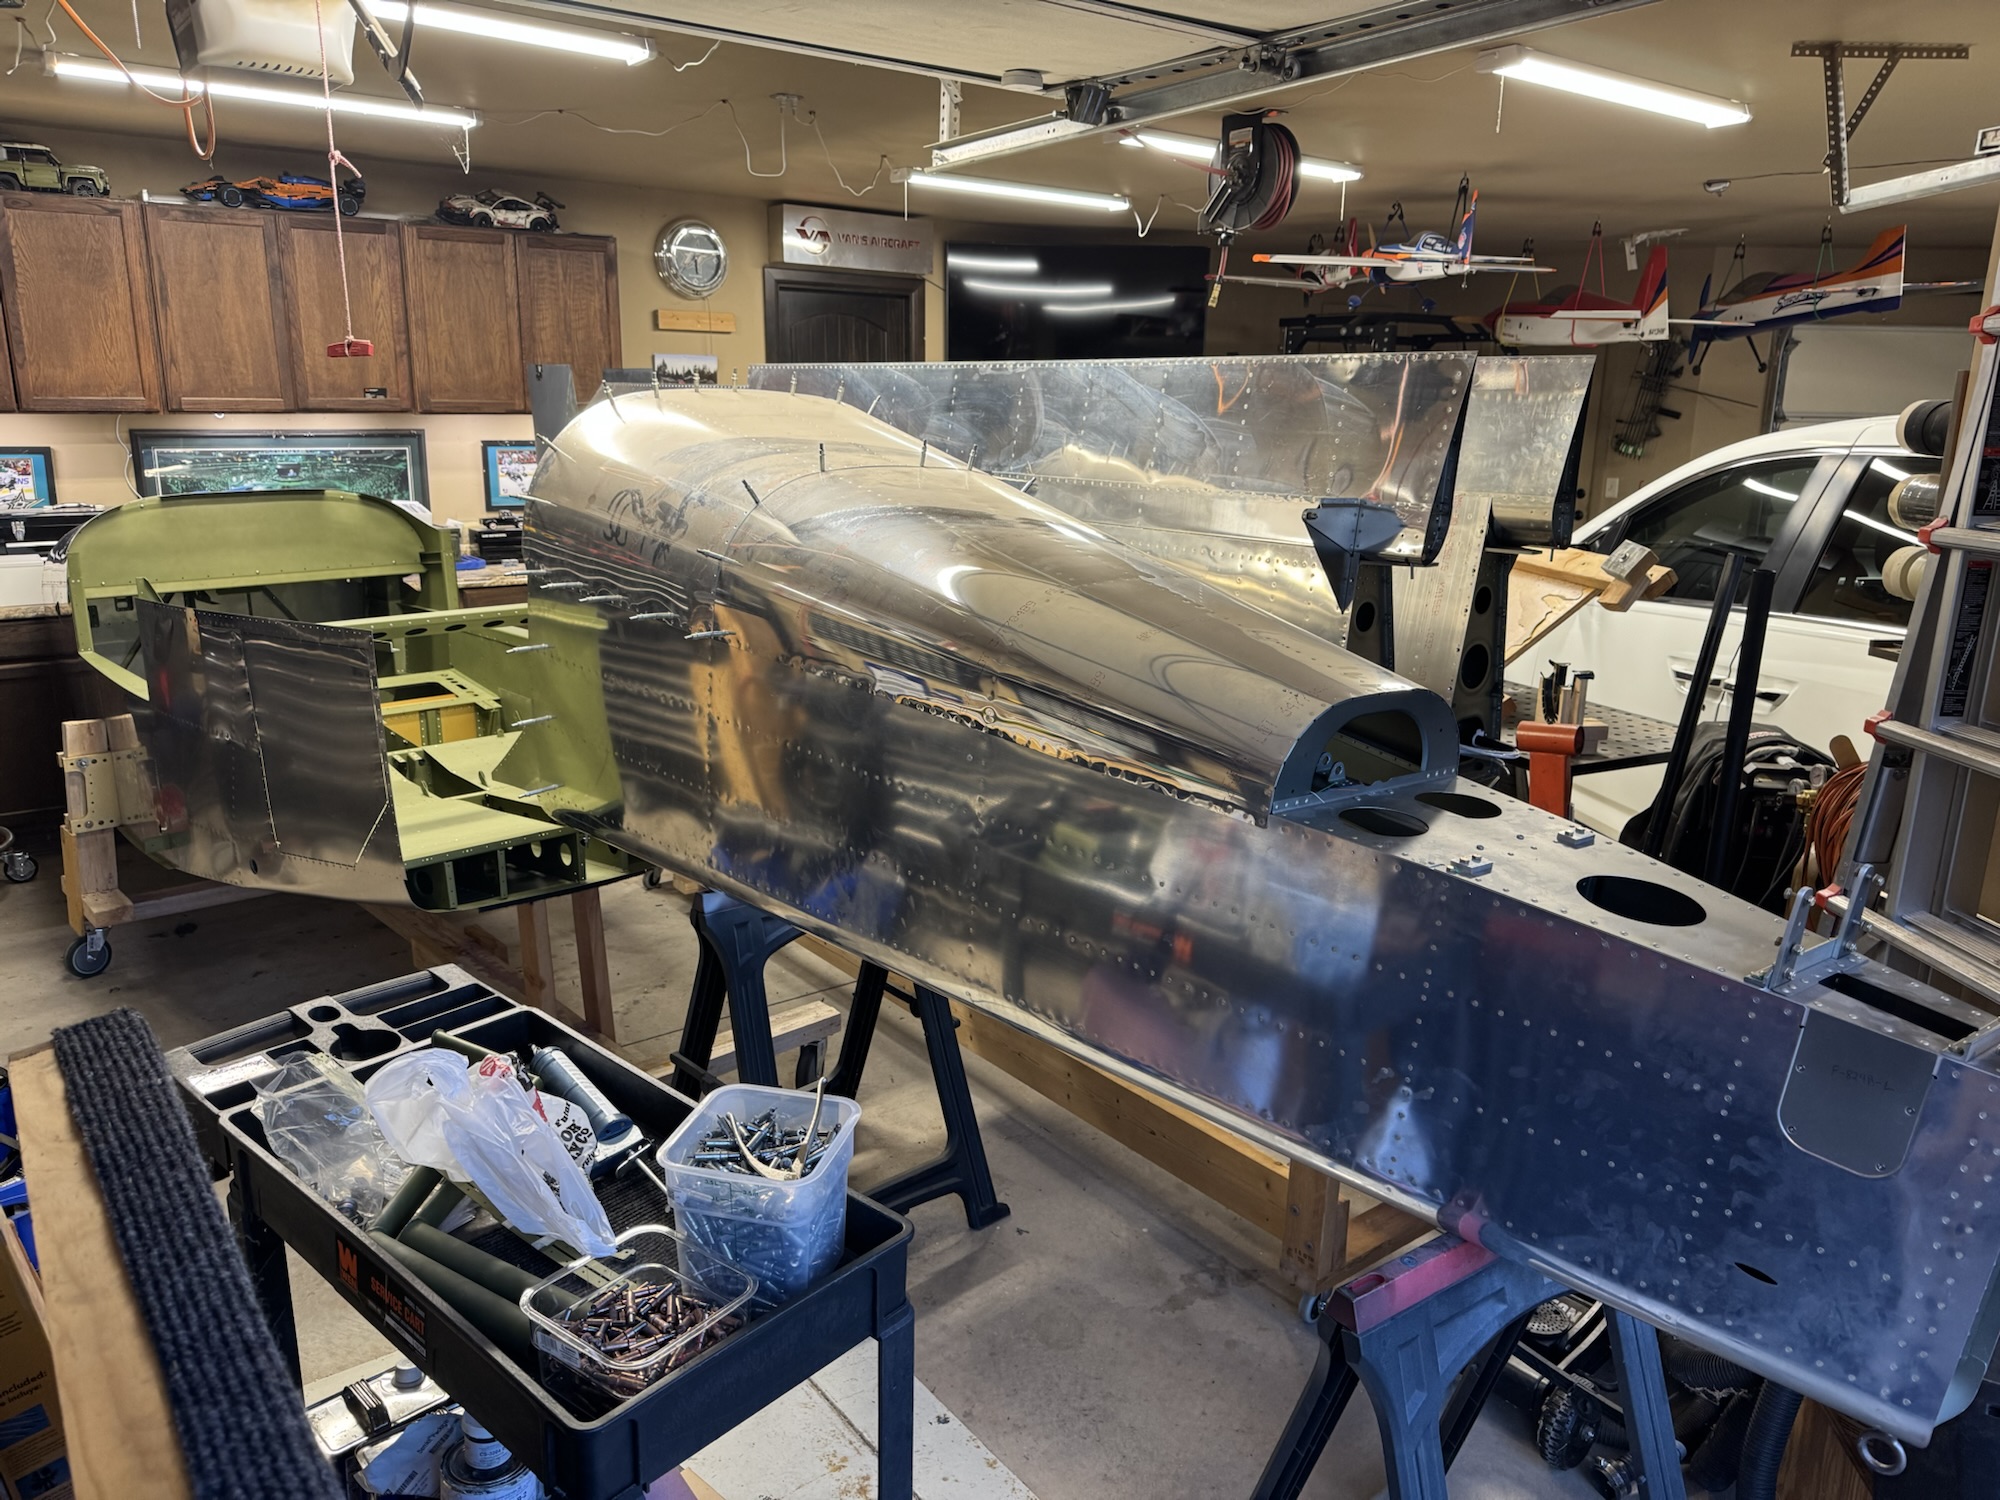
    I spent quite a bit of time in Visio working on the block diagram. I know the components I want/need in the plane so now I just need to document how they will connect to each other as well as the redundant paths in case one of the methods goes awry. When Brendon got home from school I got him and Andrew to help me out in moving the fuselage to the cradle. It worked pretty well and it is surprisingly stable which makes sense with the main portion going through the spar of the plane. It is VERY tight in the garage right now so I will definitely need to take the wings to storage as soon as possible. I just need to find a safe way to do it. I will probably have to move them one at a time as I don’t think they will both fit in the trailer at the same time without overlapping and creating an opportunity for scratching. Either way, here’s pictures from the work today. Note: The block diagram is not 100% finished yet. I still have a bunch of documentation to validate what is needed, etc.

  • Additional Cradle Work

    Additional Cradle Work

    After looking at the cradle and thinking about the stability I want, I decided to put some additional length and width to the rear. This will allow me to adjust the cradle after I get the empennage attached so that it will support it a little bit better. But hopefully I won’t have to use this for too long as I got the rotisserie from the club which should be what I use for the majority of the build while it is not on its wheels. Either way, I used as much of the timber from the crate as I could which appears that some of it was made out of balsa…. It should be sturdy enough with how big of a block it is but it does give me some pause. I need one more wheel which I will pick up tomorrow and then I can move the spar mount brackets they had from the crate onto the cradle for my forward mount and then I have some additional 2×4’s which I can use to mount along the middle spar of the cradle to support the rear.

  • Fuselage and Empennage Retrieved and Cradle Build

    Fuselage and Empennage Retrieved and Cradle Build

    I got the fuselage and empennage today from storage. Took quite a bit of moving stuff around but we got it figured out. I got the fuselage removed from the crate and I started working on building a cradle. I think I might need to make it a bit longer though as the wood I used from the crate wasn’t long enough. Luckily I have plenty more where that came from to make it longer. I also ordered my magnetometer and one of the autopilot servos so that I can 100% finish the wings. I still need to determine how I want to terminate everything at the inboard wing rib but I’ll do more research tomorrow

  • Aircraft Electronics Association – Experimental Avionics Class Day 3

    Aircraft Electronics Association – Experimental Avionics Class Day 3

    I graduated! LOL My harness worked first try which was a sigh of relief. This course definitely gave me a TON of confidence on completing the avionics installation on my plane. I now know which components I need for my installation, how to get them wired up, and what wiring needs I will have. I need to start by getting into Visio and building my block diagram, wiring diagram, and then (when I get more information on cable lengths I will need) my harness layout diagram. I got home tonight and I had a few tools and parts waiting on me. I got my nutplate jigs and I got the screws for the rear lights for my AeroLED VXi wingtips so I got those secured in place. I need to go ahead and get the harness completed for that now that I feel confident in doing that. I also need to get wiring harnesses in my wing roots so that I can connect up those components to the fuselage when I get the wings mounted. All in good time!

  • Aircraft Electronics Association – Experimental Avionics Class Day 2

    Aircraft Electronics Association – Experimental Avionics Class Day 2

    The second day was excellent. We learned practices for system design starting with our mission, equipment that will support the mission, how we should design and place it within the cockpit, etc. We also went over the different communication methods like RS232, ARINC, and CANBUS. CANBUS is primarily what the G3X system will use so it was good to learn some of the basics of that. We then learned how to wire the CANBUS together with window splicing. I finished the harness today but I wasn’t super happy with my connection to the GDU and the GMU. I didn’t terminate them all to the same length and it caused pillowing in the harness. Luckily I got it some what ironed out on the connection to the G5 and the GSU so those looked much better. All in all I was happy with the class. Tomorrow should be fairly short and then I can drive back. I am guessing the Garmin rep will show up tomorrow as he was supposed to show up today and didn’t.

  • Aircraft Electronics Association – Experimental Avionics Class Day 1

    Aircraft Electronics Association – Experimental Avionics Class Day 1

    The first day of class went fairly well. Levi Self from Midwest Avionics was the instructor for the class and he did an excellent job of answering our questions and the content was well organized. We covered the regulations for an avionics installation (what you want to include, how it should be done, etc) and they briefly covered the major brands of avionics. We then hit the topic I was the most interested in which was the tools we would need, and how to use each of them. Some of the pictures below include the toolbox contents, and some of the examples of the terminations I did. I ordered a few tools and some parts to label my cables that I’ve already run in the wing. The only one I didn’t buy yet was the DMC AFM8. I have the generic tool already for this but since this tool is just over $1000 with all of the dies you need I think I’m going to research this first before I buy it. Luckily I have quite a bit of time before I need it anyways.

    We ended the day by laying out the wires we would need for starting our harness we are building for the test stand. I’m excited for tomorrow where we start going into systems design, planning, documentation, etc. I need to start working on that as I research through the Garmin G3X manual on the pinouts, interconnections, etc. so I can then determine locations of devices, length of wire runs, etc. Just so much planning that I need to work through. Luckily they use Visio too so I’ve already got a leg up there on documenting my system design since I know Visio.

  • Pitot Wireloom and Wingtip Lighting Cleanup

    Pitot Wireloom and Wingtip Lighting Cleanup

    Before I left for the wiring class today I got the package from Aircraft Spruce in with all of the adel clamps. I installed nutplates and then got the wireloom mounted. I also got the tape off the wingtip lights and cleaned up the excess sealant. I might need to come back down the road to clean up the sealant better but I’ll do that when the wings are installed and I can better see the lights.

  • Wing Tips Finished and Wings Finished!

    Wing Tips Finished and Wings Finished!

    Man it was a long day but I really wanted to wrap up on the wings today before I packed up for the wiring class tomorrow. I talked with my EAA tech counselor and he had a nut plate jig that I could borrow. Man that thing was awesome! Made the work so much faster! I got all of the nut plates installed, installed the lights and mounted the wing tips. Of course I’m leaving out steps of dimpling, countersinking, etc. which was a huge amount of the work.

    Now, when I say the wings are done, there is still some fine tweaking to do on them when I get them mounted and plus I still have to mount nut plates and mount the adel clips for the wiring for the pitot controller and I left the light support out on the right wing tip light so I’m going to have to take the wing tip off again and put that in before I can call that done. Plus I do still need to finish the wiring harnesses for the wing tips but I want to go through this class and do some research before I do that. All in good time

  • Lens Bonding and Rear Nav Lights Ready

    Lens Bonding and Rear Nav Lights Ready

    I got the lenses bonded today and went ahead and got the rear NAV lights installed. I’m missing some screws but beyond that they are ready.

  • Aeroled VXi Wingtips Started

    Aeroled VXi Wingtips Started

    I had spare time after dealing with weekend chores so I decided to spend some time getting the lenses prepped for bonding with the wing tips. Spent most of my time taping and then I scoured the external edges for the bonding process which I will start on Monday.