Finally I finished the trim tabs and they were true and straight this time. I Installed them and I also got the static ports installed too. Over all a good night and glad this is done now!
Tag: Elevators
-
Static Ports Drilled & Trim Tabs Glued
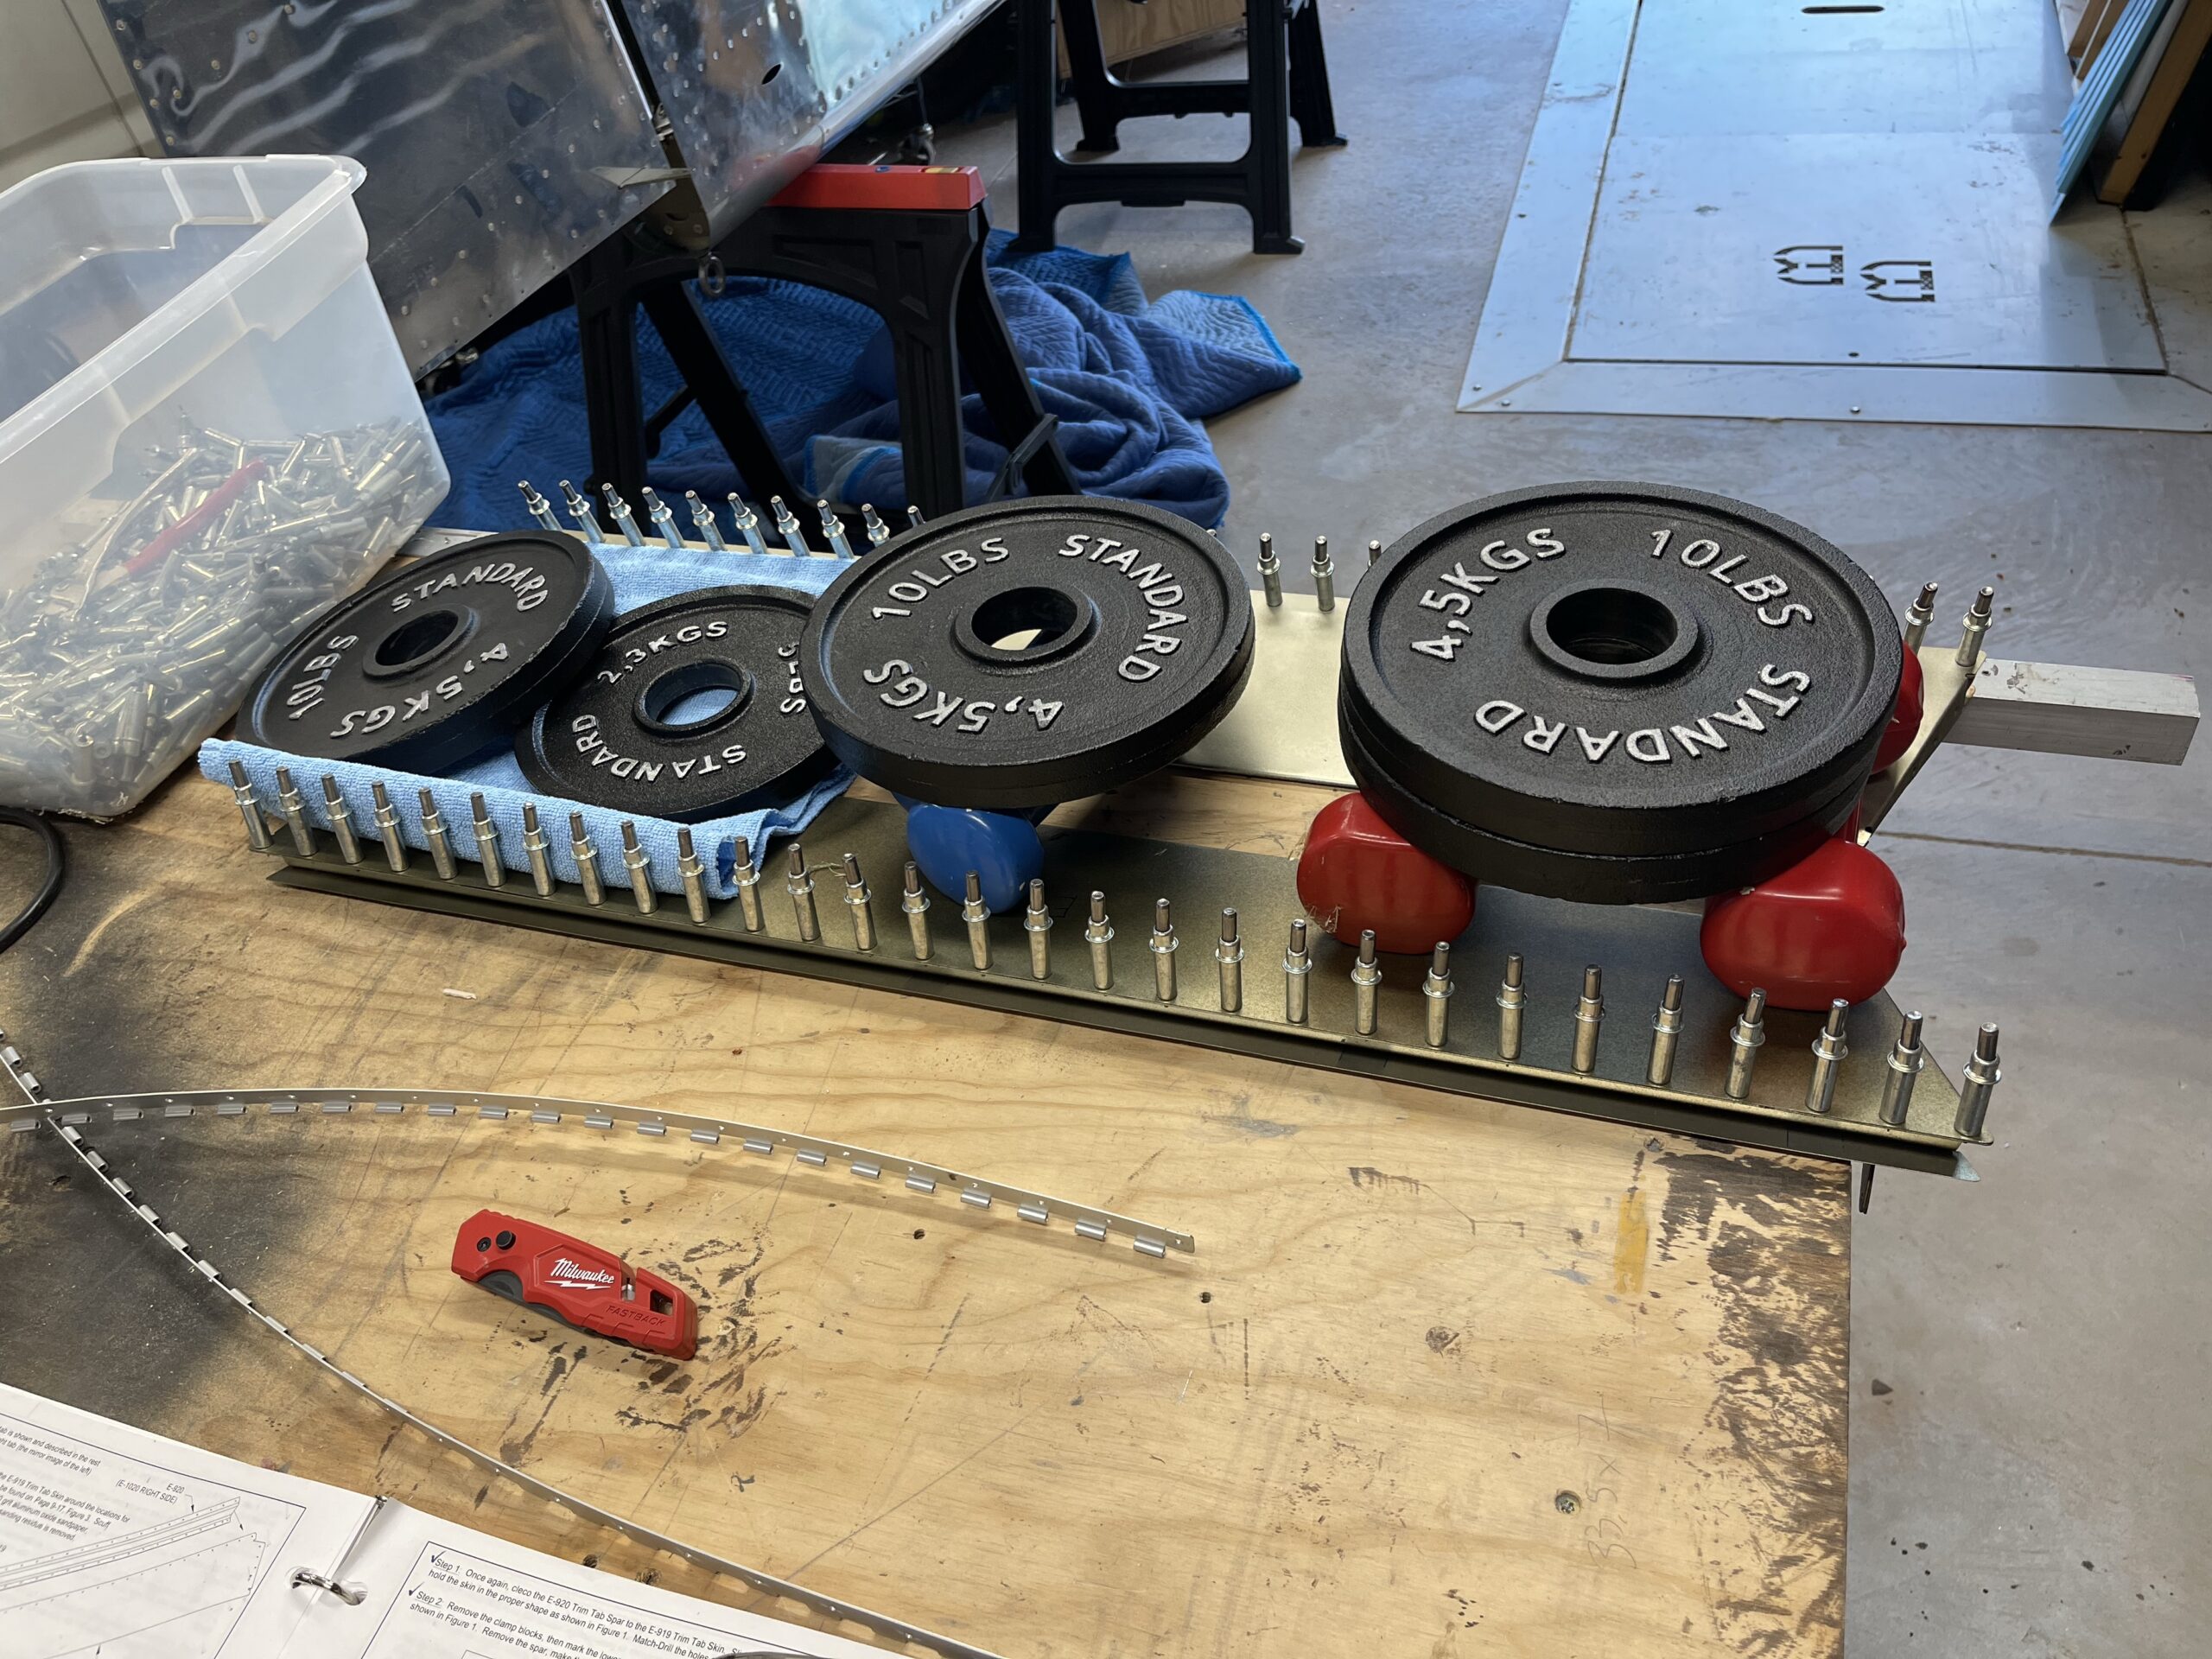
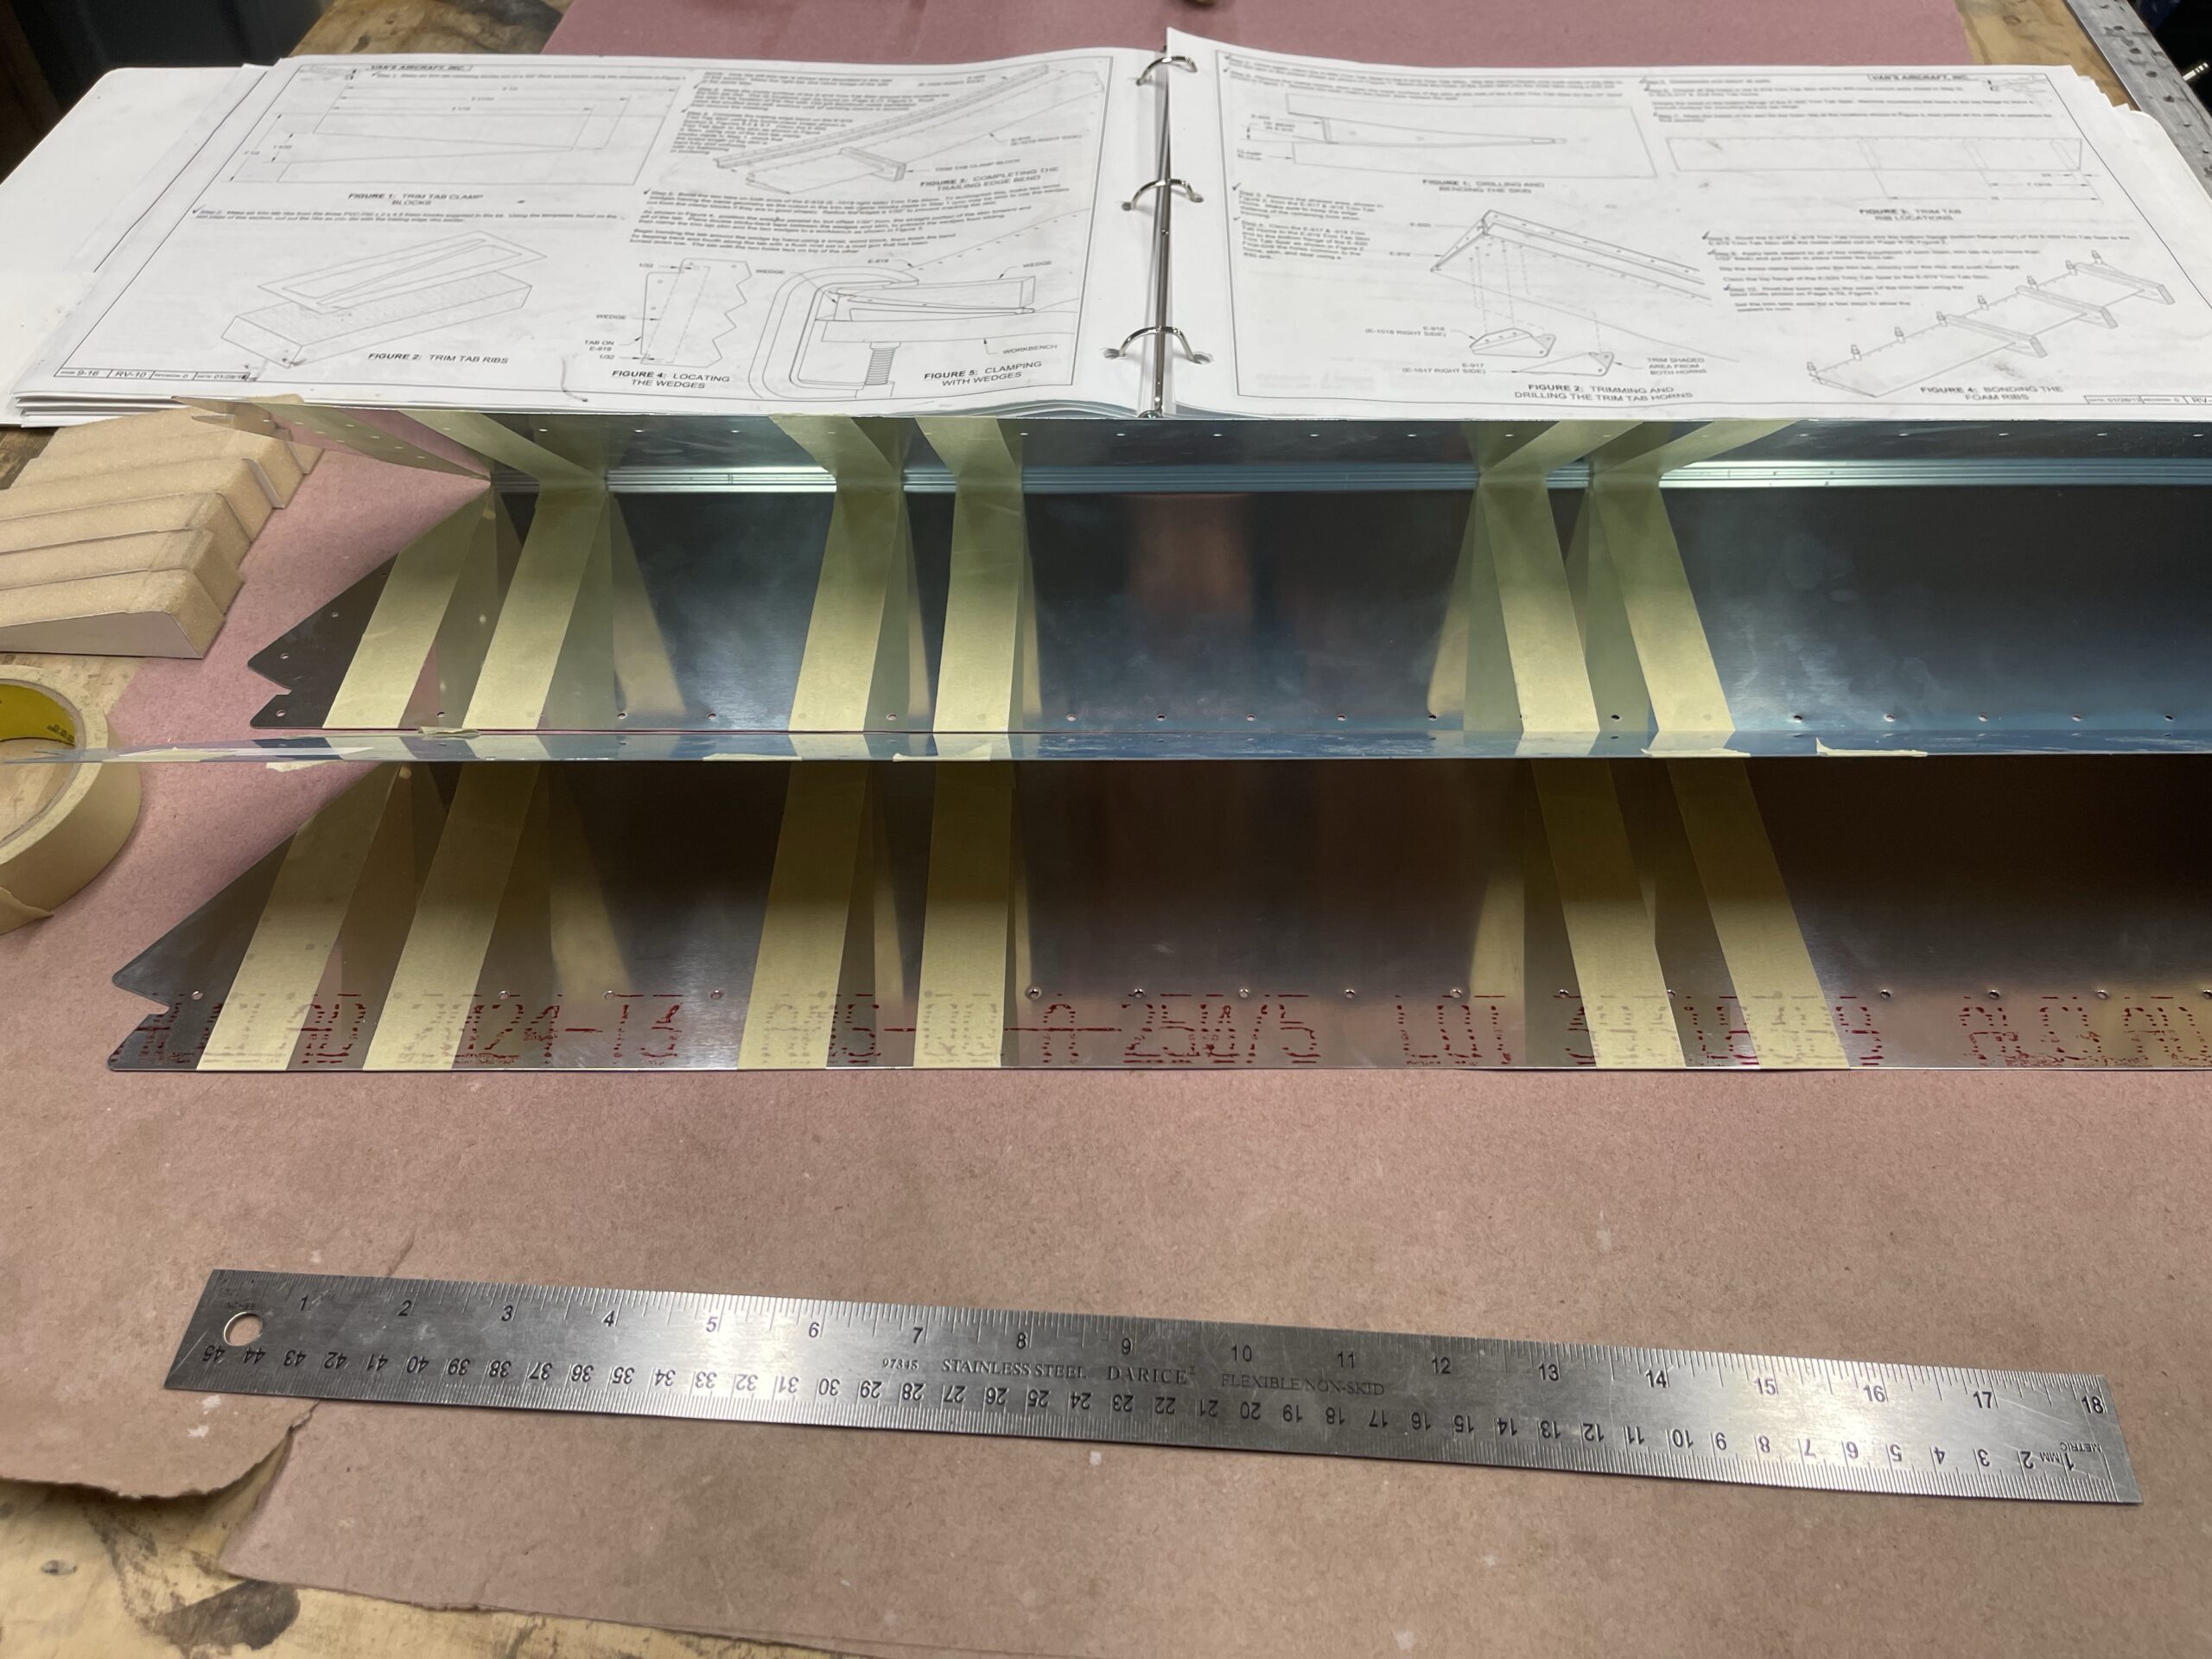
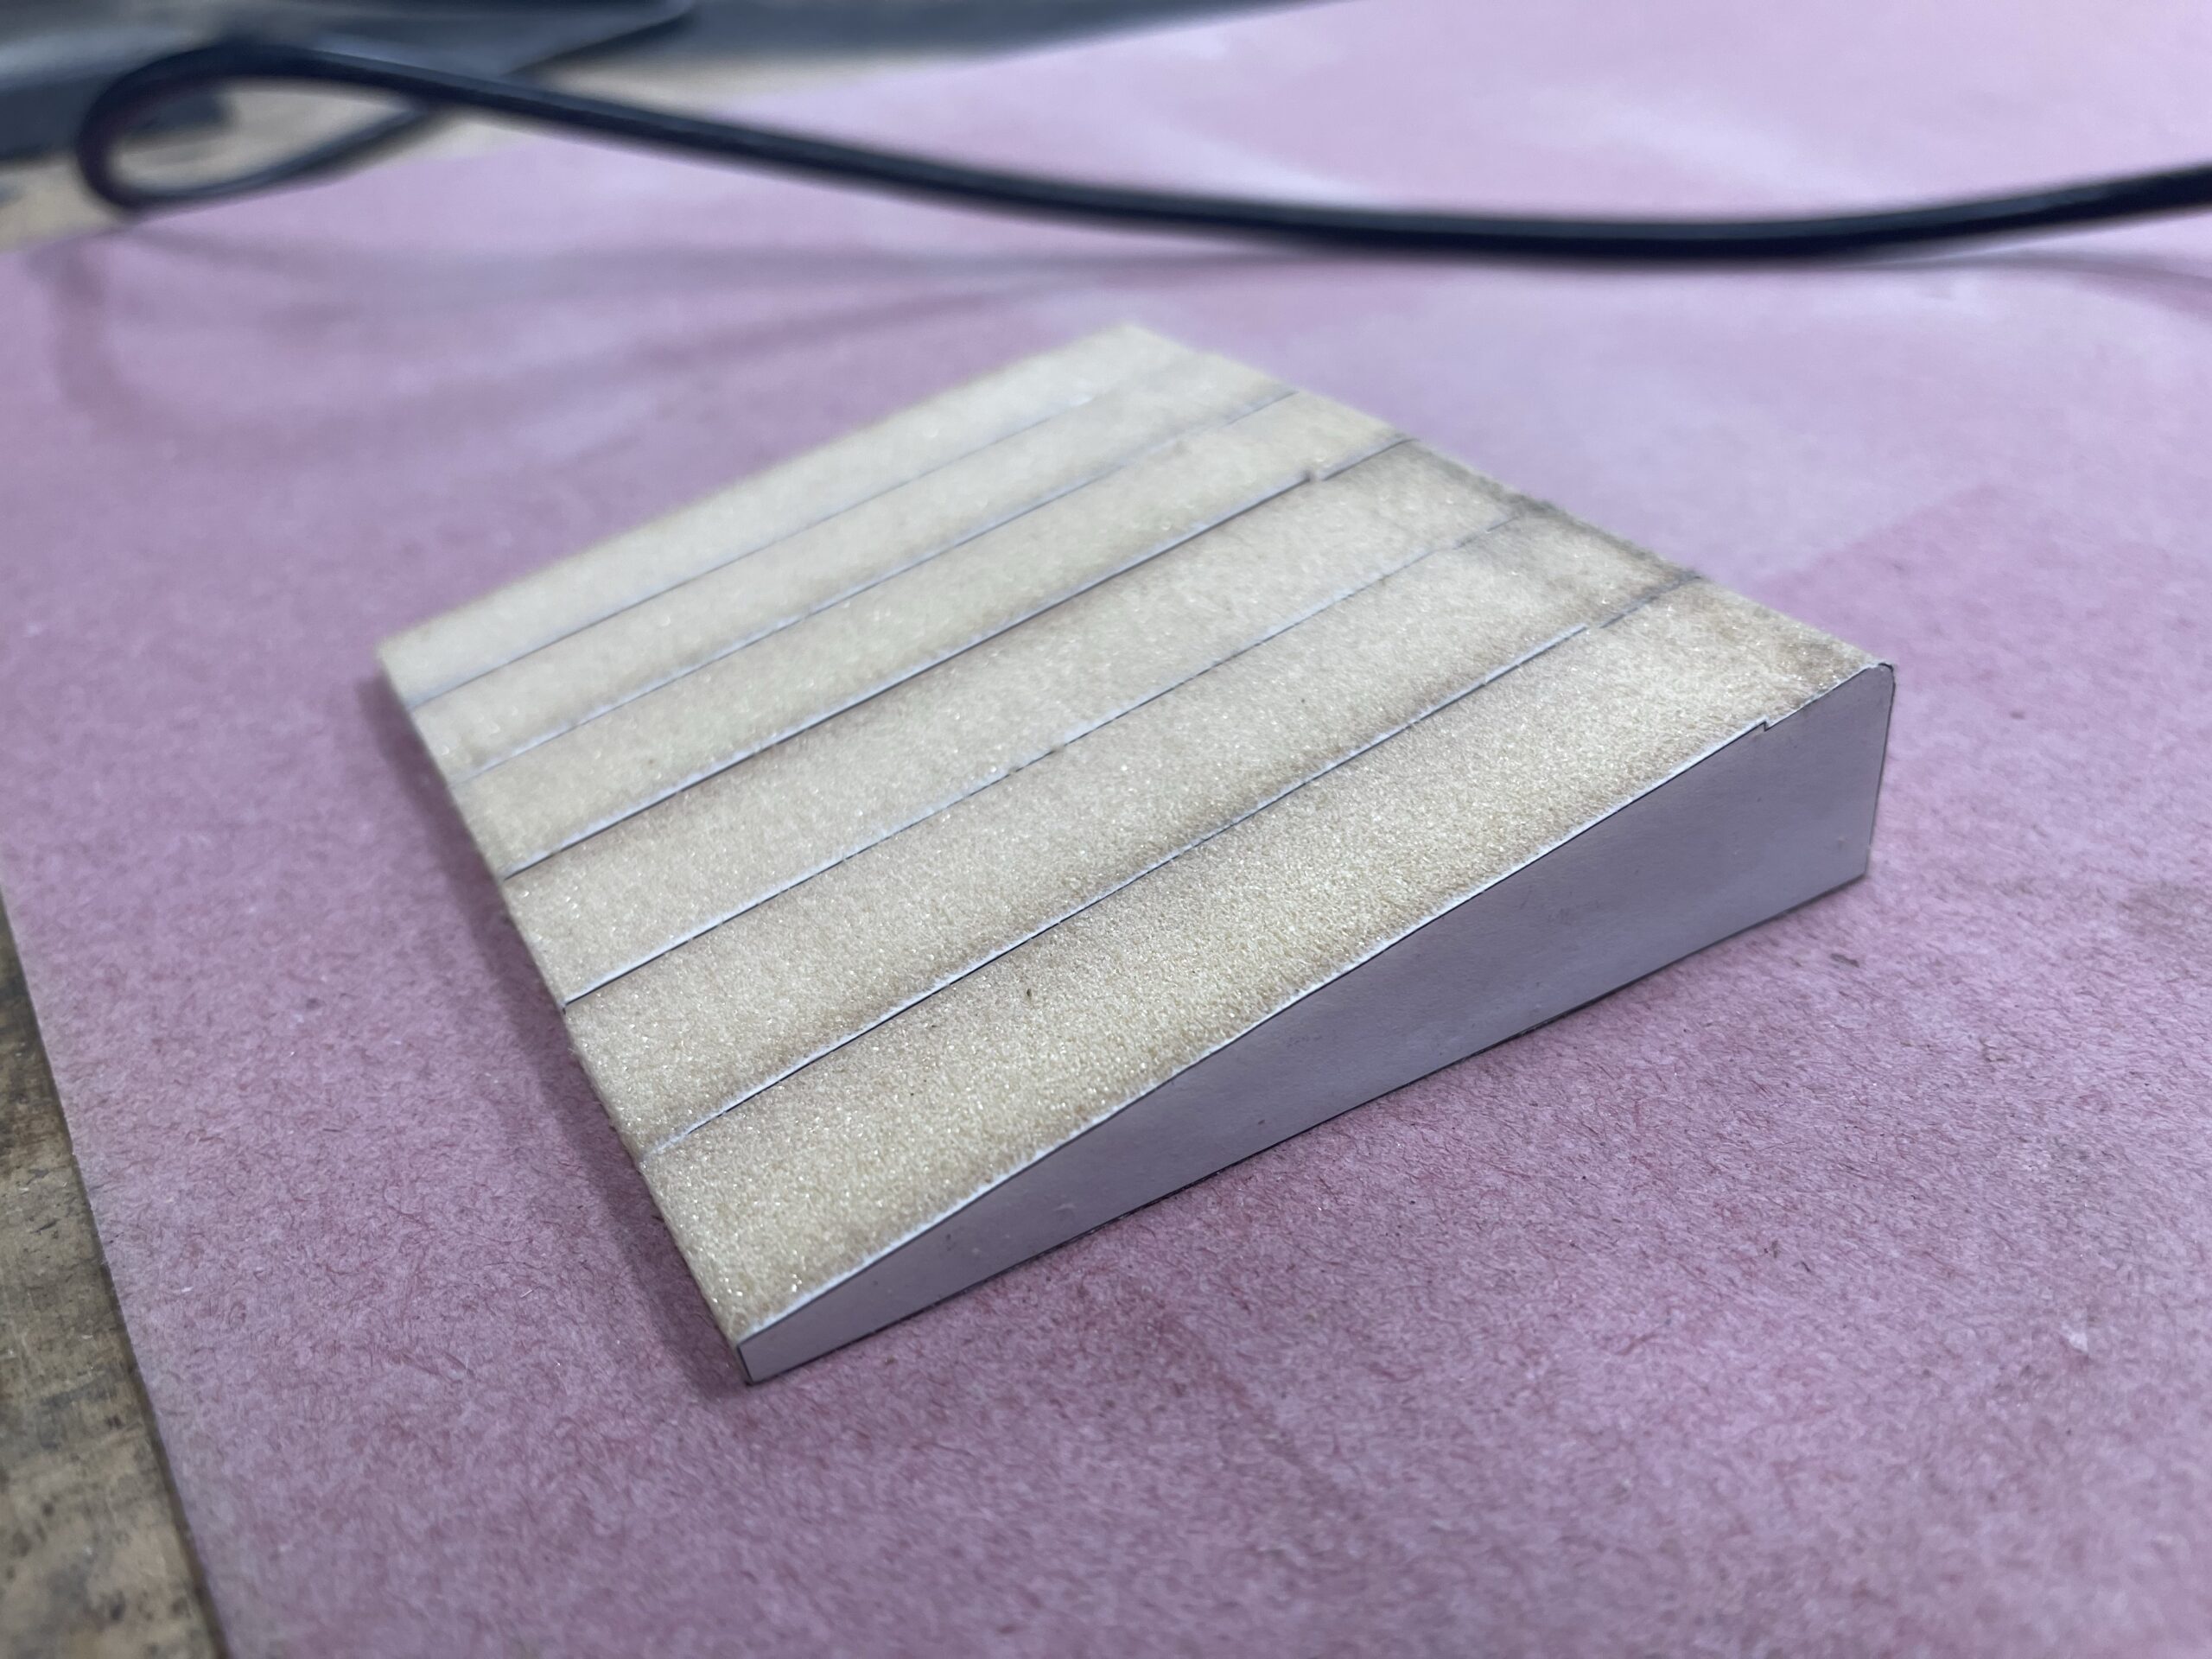
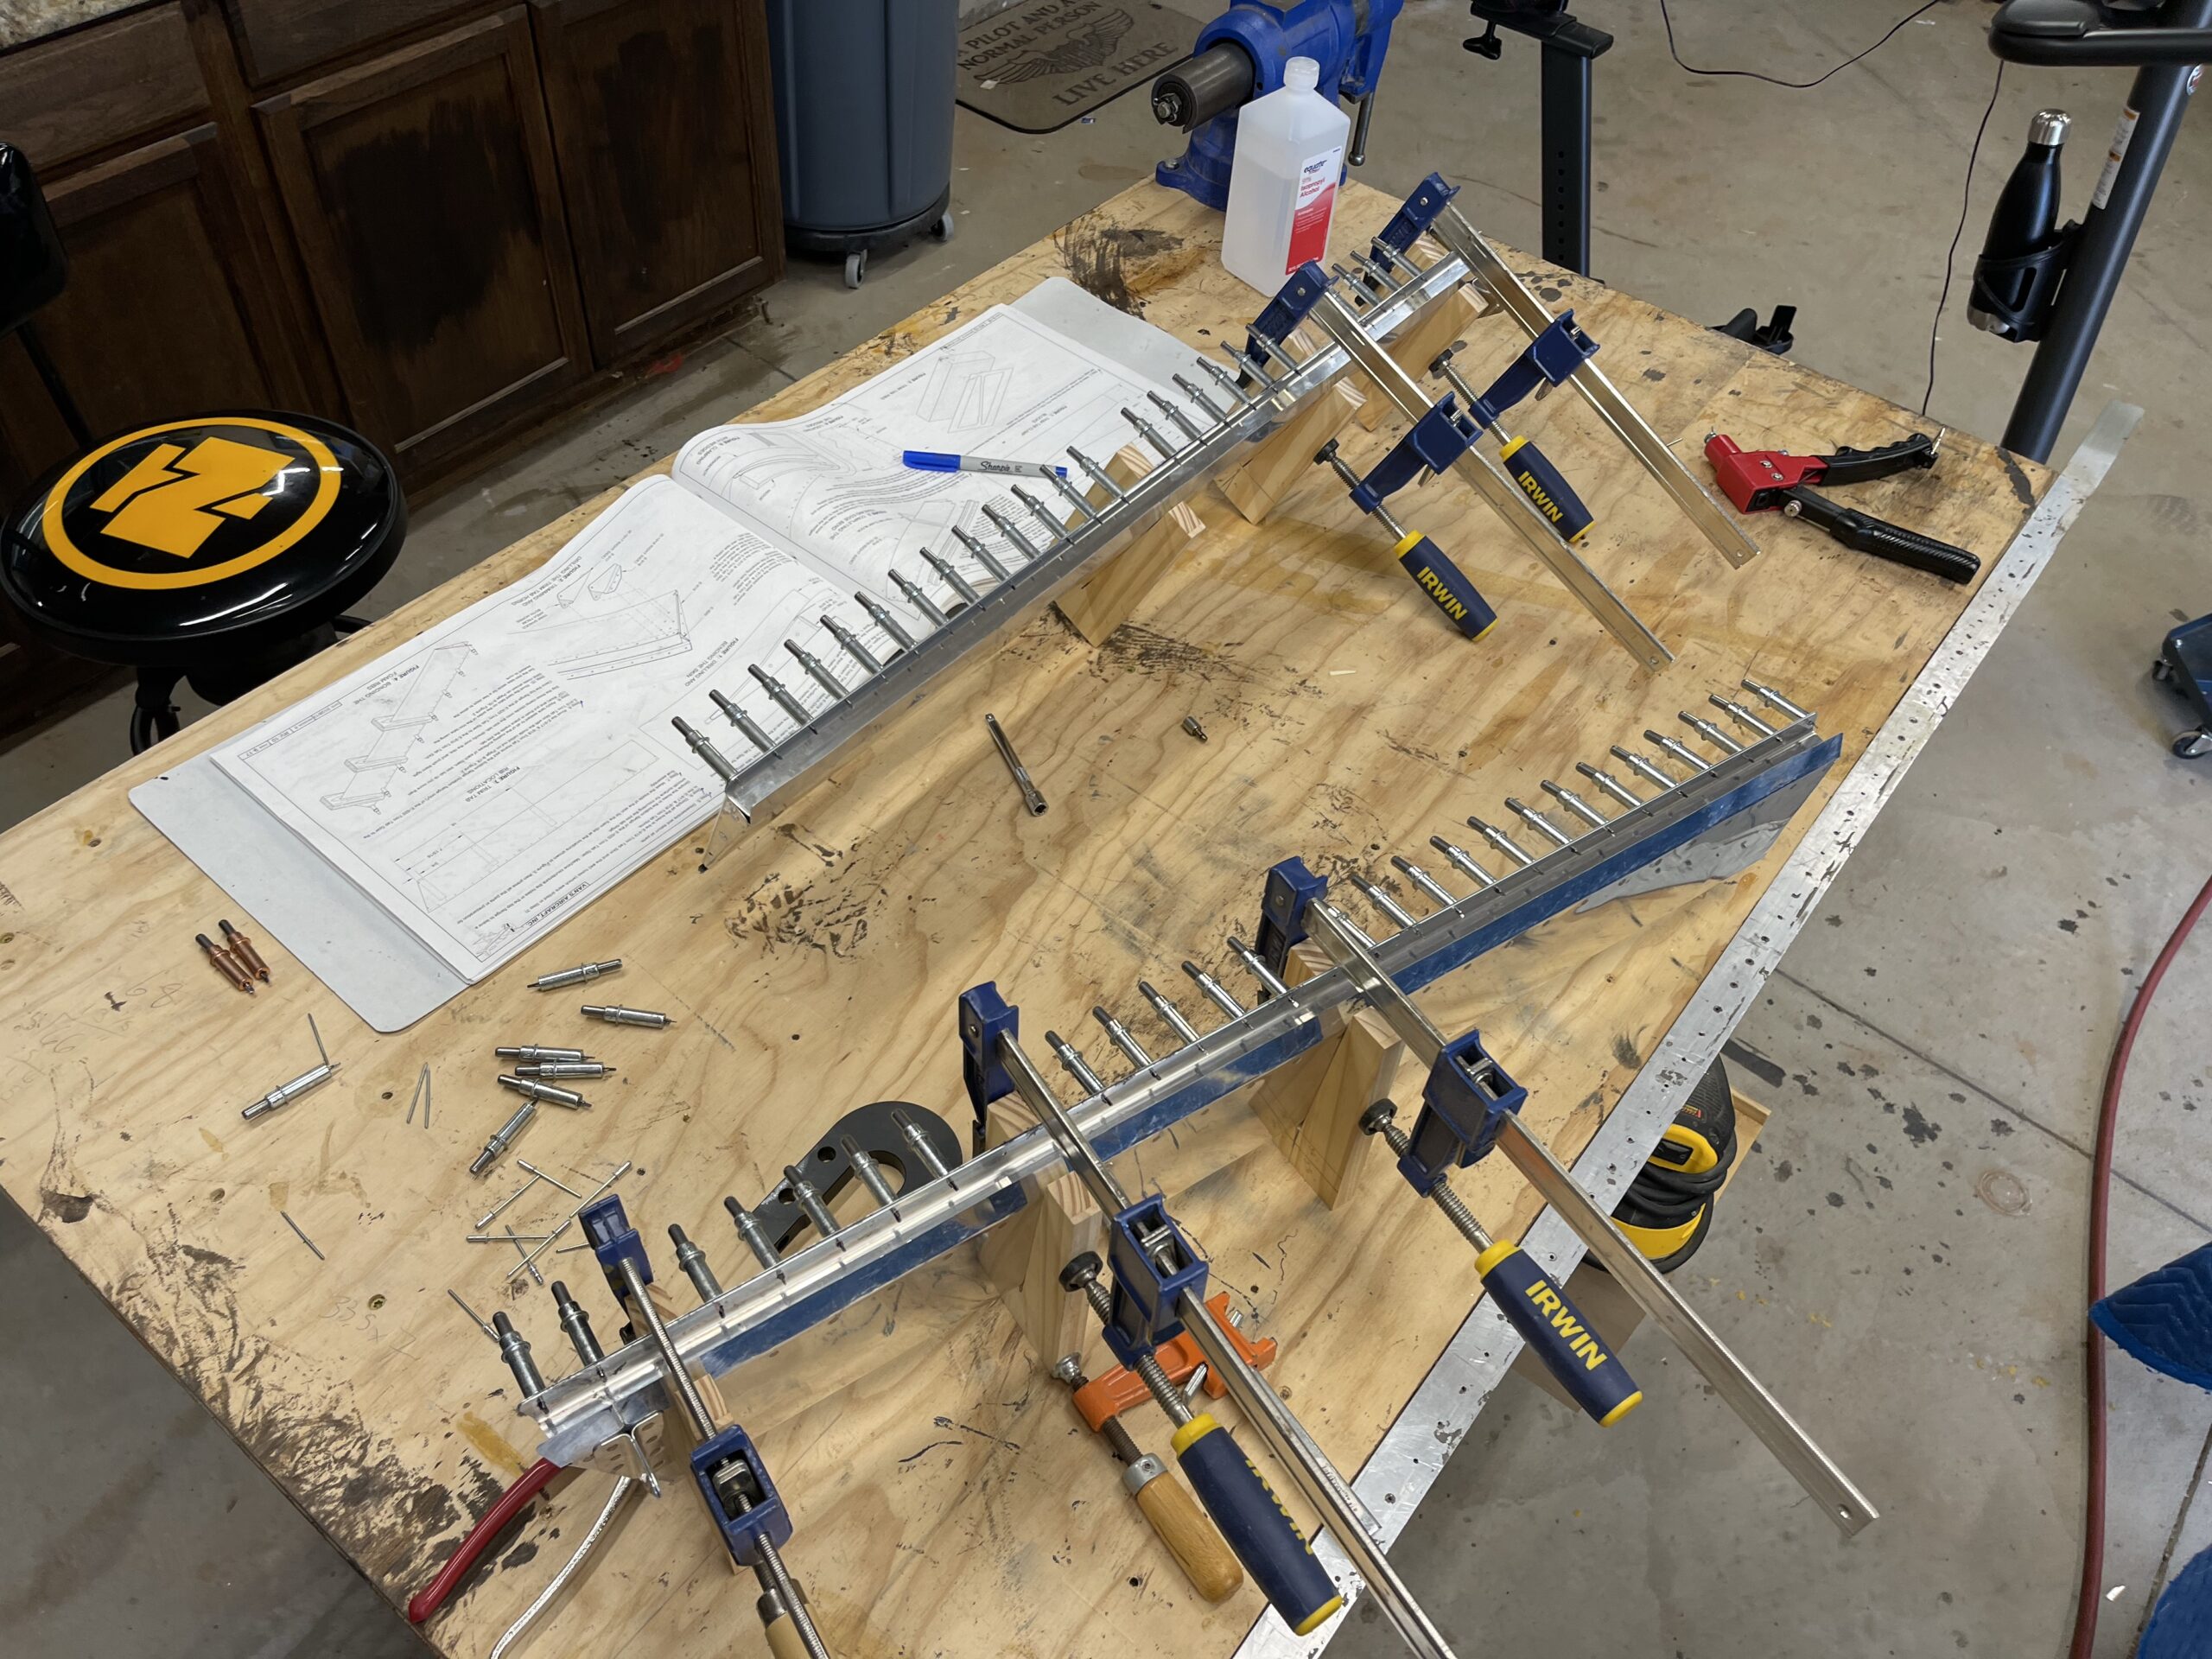
I got the static ports drilled but the back side was way too deep for me to get the nut on the back so I’ll screw those in tomorrow. I did all of the priming and assembly of the trim tabs today. I stead of putting them in the wood forms I decided to do a weighed down approach this time to try to keep the twisting from happening. The picture shows my almost final setup. I went back a little bit later and put two by four blocks on each of the foam ribs and put the weights on them. That should compress everything as well as keep them straight.

Static ports drilled to the size specified 
Almost final setup for waiting for the glue to cure 
Slight change to hopefully equalize the pressure over the foam ribs -
Elevator Trim Tab Dimpling
Super hot today so didn’t work as much as I wanted. Supposed to be 90 tomorrow so we’ll see. It is prepped for priming and assembly at least.

-
Trim Tabs Formed and Drilled
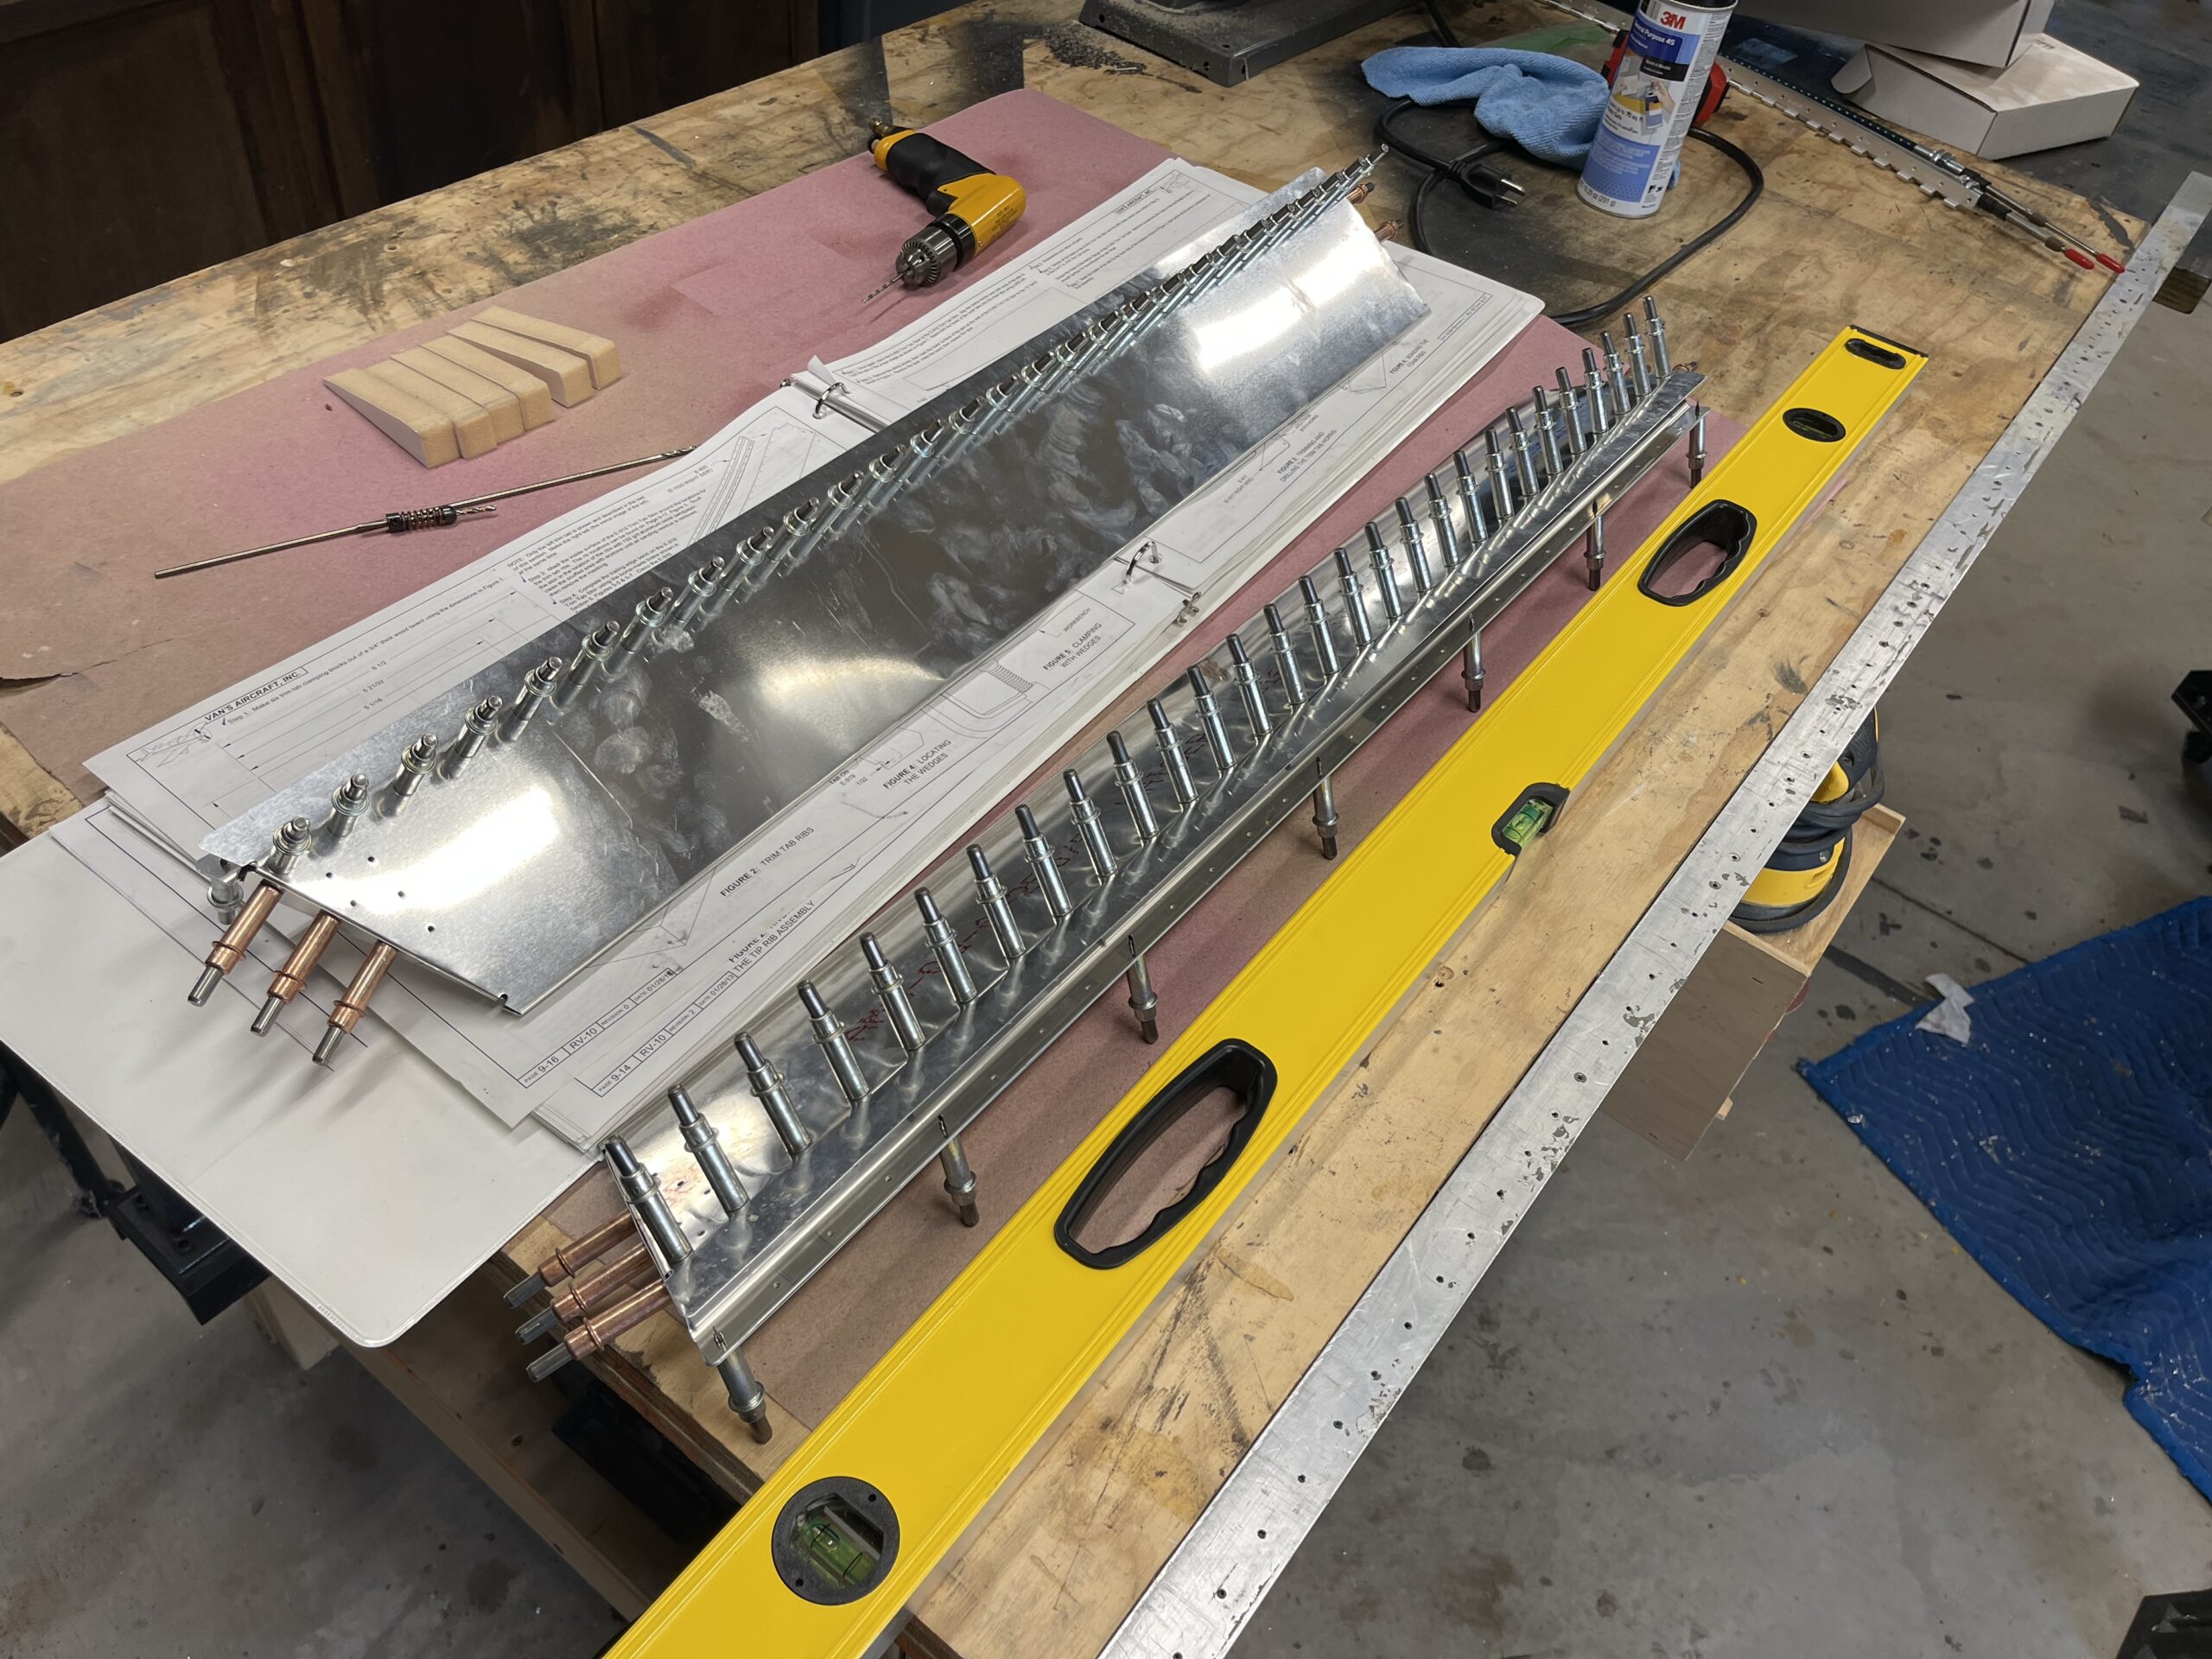
The trim tabs arrived later than expected. They didn’t come until Thursday which I had other stuff that ended up happening that night. So I finally got a chance to work on it all today. I got the skins bent to their proper angle and then I got the ends bent as well. They still are further in than they are supposed to be. I finally got the first tab to bend properly on the second end of the first trim tab that I worked on but the second tab that folded over it for some reason still ended up further in than it should be. That is a very frustrating step. I kept eyeing over the block and it was not slipping on me, but I also couldn’t get the block as far forward as I wanted with the first tab bent up. I almost feel like you need to bend the first tab a little further out and then the second tab will fall into place. I don’t know. Either way that is all done. I went to final drill the holes but it appears that these new parts are final sized already so that work was for not. I still went through all of the holes just to check but they were all final sized. I then finalized it by bending the forward edge of the trim tab. I’ll work on priming it tomorrow and then hopefully getting to assemble it. I have a car wash fundraiser that I need to go to tomorrow morning with my boy but I have the afternoon and evening to finish those tabs. Fingers crossed they stay true. I used a flat edge and weights on the trim tabs while I was drilling the ends so that it would stay straight. So far they are still straight as can be so so far so good.
On a final note I did finally finish organizing all of the parts from the wing kit and I mounted the drawers to the wall so I had more table space.
-
Laser Cut Parts Issue & Delayed Inspection
Eric called me yesterday stating he did not feel well. This will delay the inspection which is fine. I started working on the trim tabs again and I noticed that the trim tab spars are laser cut parts. I looked and saw burn splatter in quite a few places as well as all of the holes were not perfectly circular. I’ve since ordered new spars but that’s going to take a week or so to come in so that puts that on hold. I’ll keep working on the skins to get them perfect and I’ll use the current spars that I have to help me get the folded edge right at least. The parts for the trim servo mount arrive tomorrow so I’ll be able to continue on that while I wait for the spars to come in.
I did have to redo my taping work from yesterday. I knew I shouldn’t have done work in haste as I was off on the measurements. I sat down and meticulously got the lines exactly where they needed to be and I scuffed up those areas for the glue to take hold.
-
Elevator Trim Tab Skin Taping
I only got 15 minute but I wanted to document it. I got the tape on in the places the manual asks us to so that I can buff the area where the foam ribs will be glued. I need to double check the measurements before I actually sand it but I had to head off to church. I plan to get started on that when I get home and hopefully get the skins prepped and the spar drilled and dimpled/countersunk so that I can prime them and glue the foam ribs in on Friday and then rivet and install them on Saturday. Hopefully by then my parts will have arrived on Saturday so that I can redo the few pieces I messed up and finish out the rest of the work this weekend. High hopes!

-
Elevator Trim Tabs Rework Step 1
I finally got a new print out of the templates for the trim tabs. I glued them to the foam and cut them out last night. I did much better on them this time around as I knew the pitfalls with my machinery and also with my impatience LOL. I took my time and slowly cut along the line. These look almost 100% identical to each other and I plan to do a tiny bit of light sanding to get them perfect, but these look great. I won’t be able to work on the plane tonight but I have Eric Muehlberg from my chapter coming over tomorrow to do a spot check on the work I’ve done and give me some pointers or things I might need to redo that I didn’t notice. My reordered parts should arrive on Saturday so that will be good to get back on the empennage trim on Saturday. I am hoping to have the elevator trim tabs done on Friday night or early Saturday so that they are there for the rest of the work since they will be involved in that.

-
Redoing Elevator Trim Tabs – Drilling Rivets Out
Got my first hour of rework done on the trim tabs. I needed to recover some of the parts that I could salvage which was the hinge and the clevis horn components. I hit Vans up for a PDF of the foam rib templates so hopefully they answer tomorrow so I can cut those foam ribs again.

-
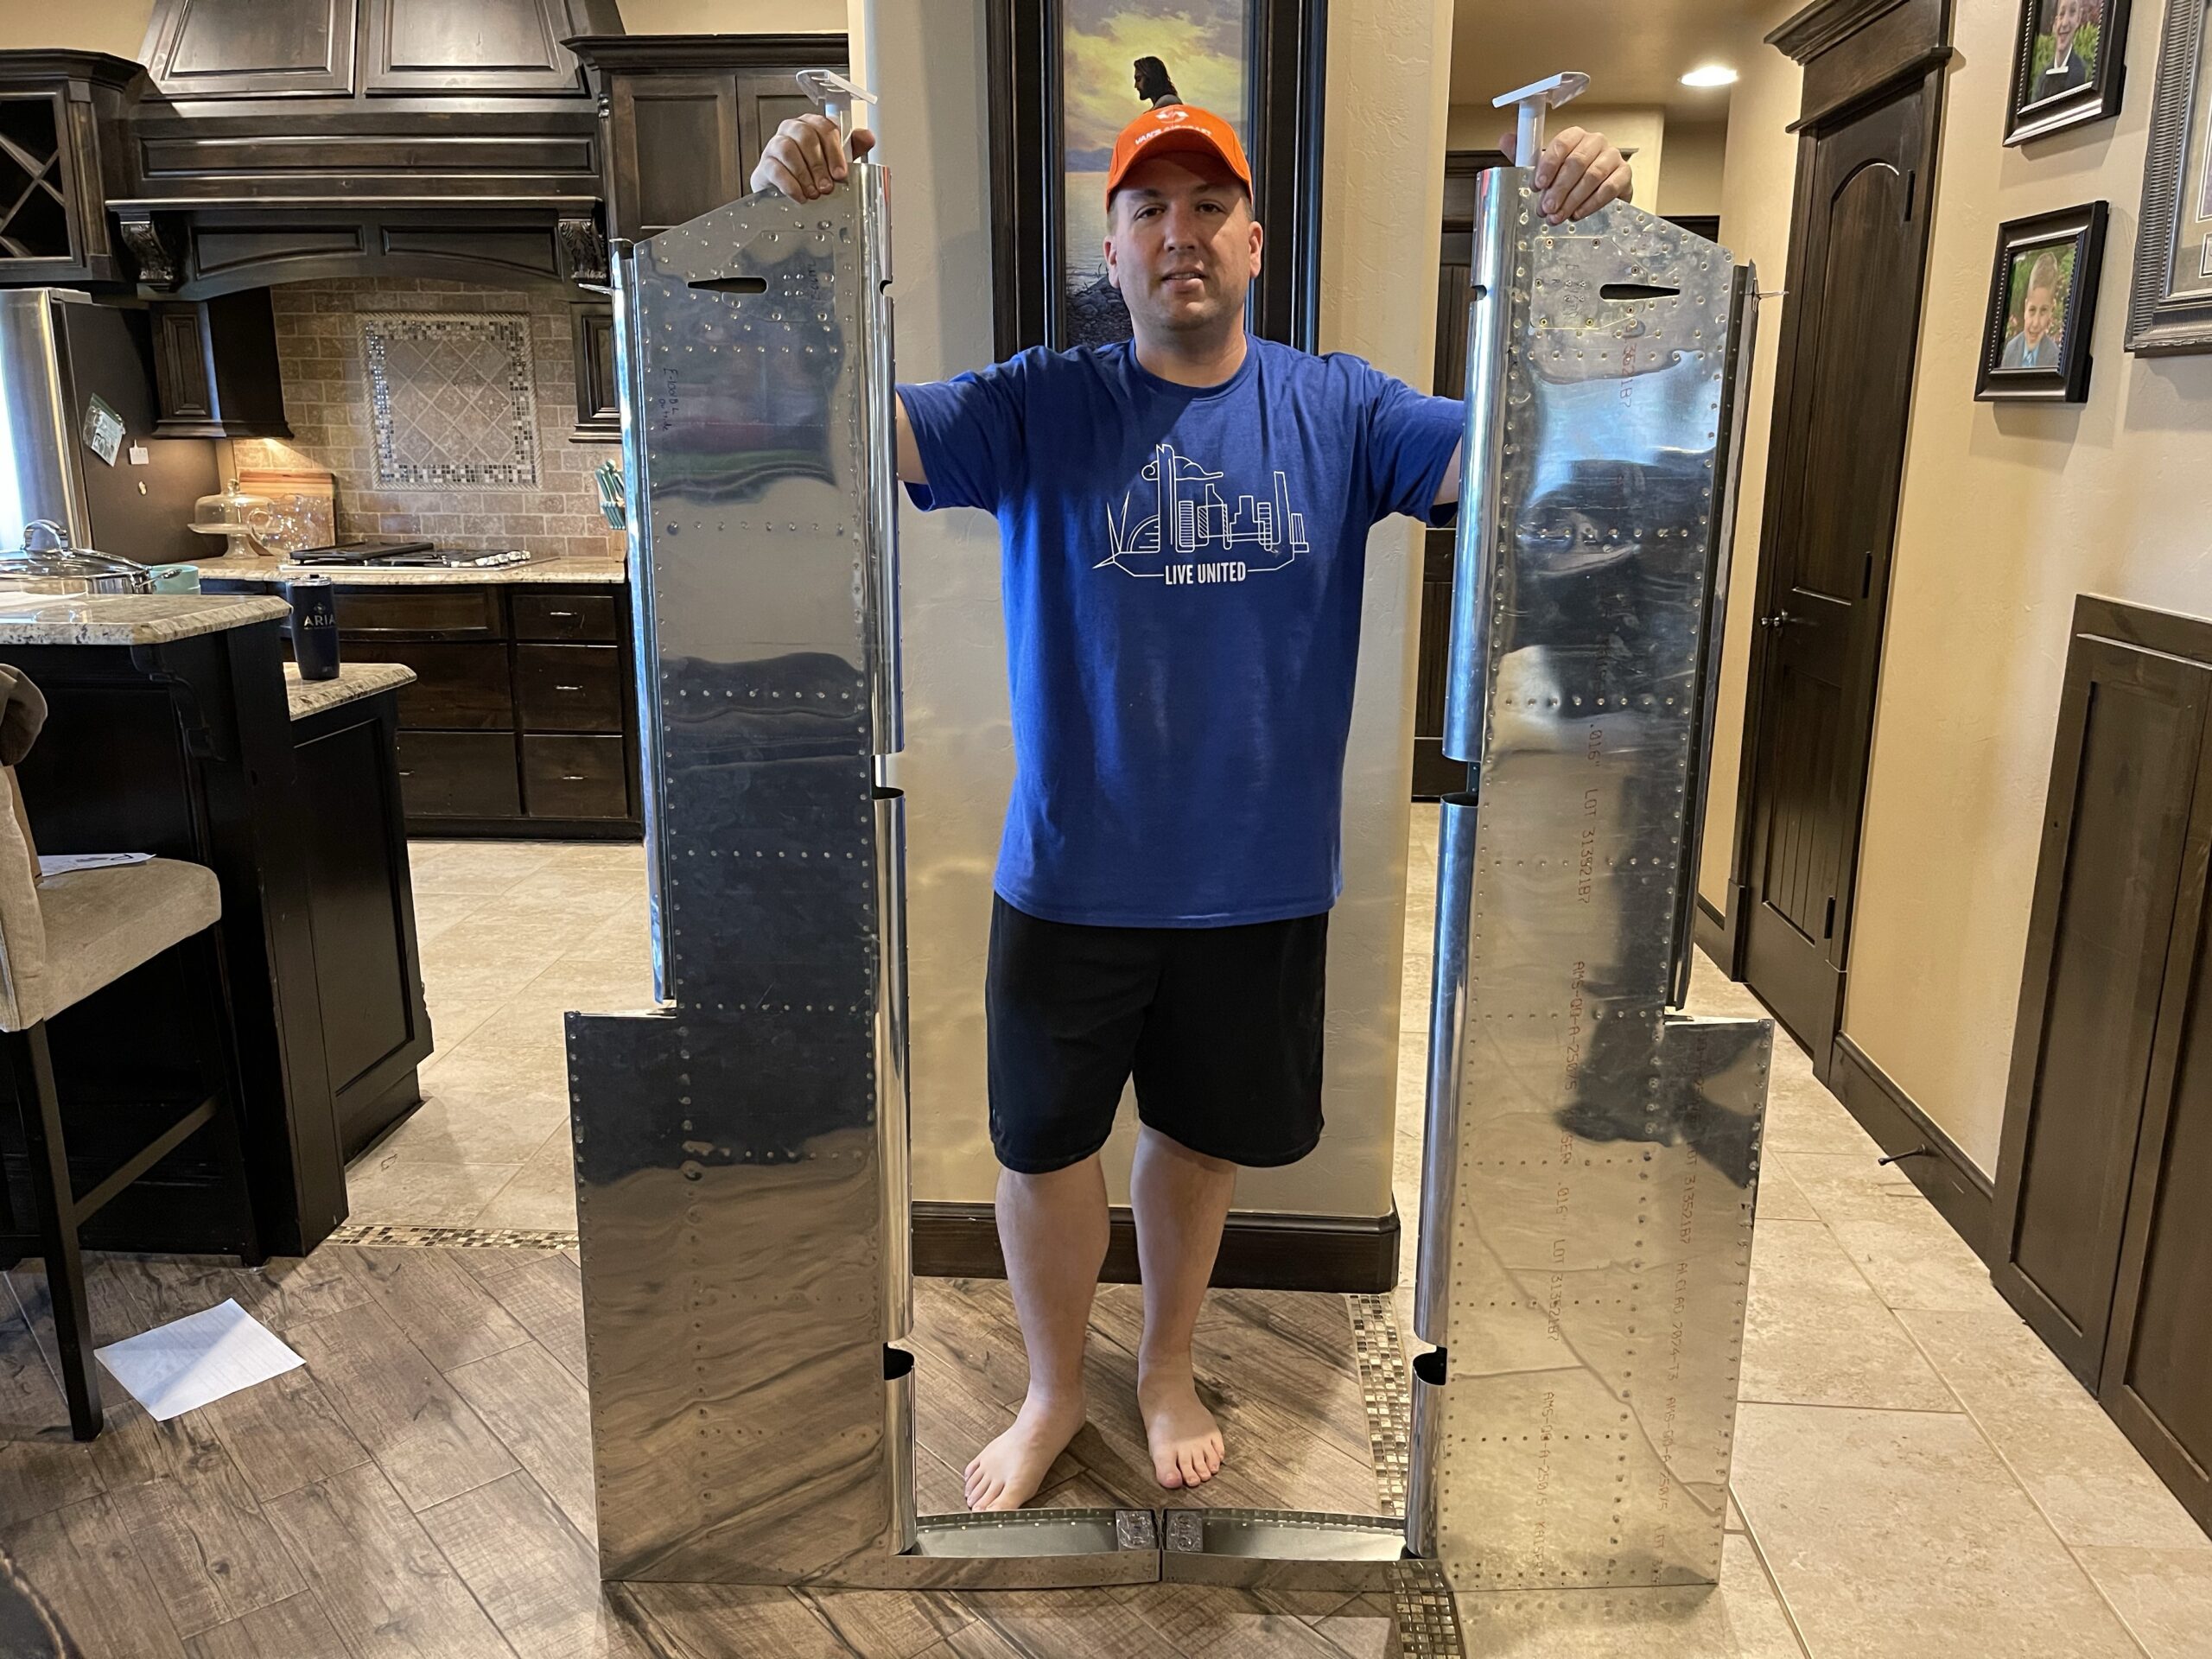
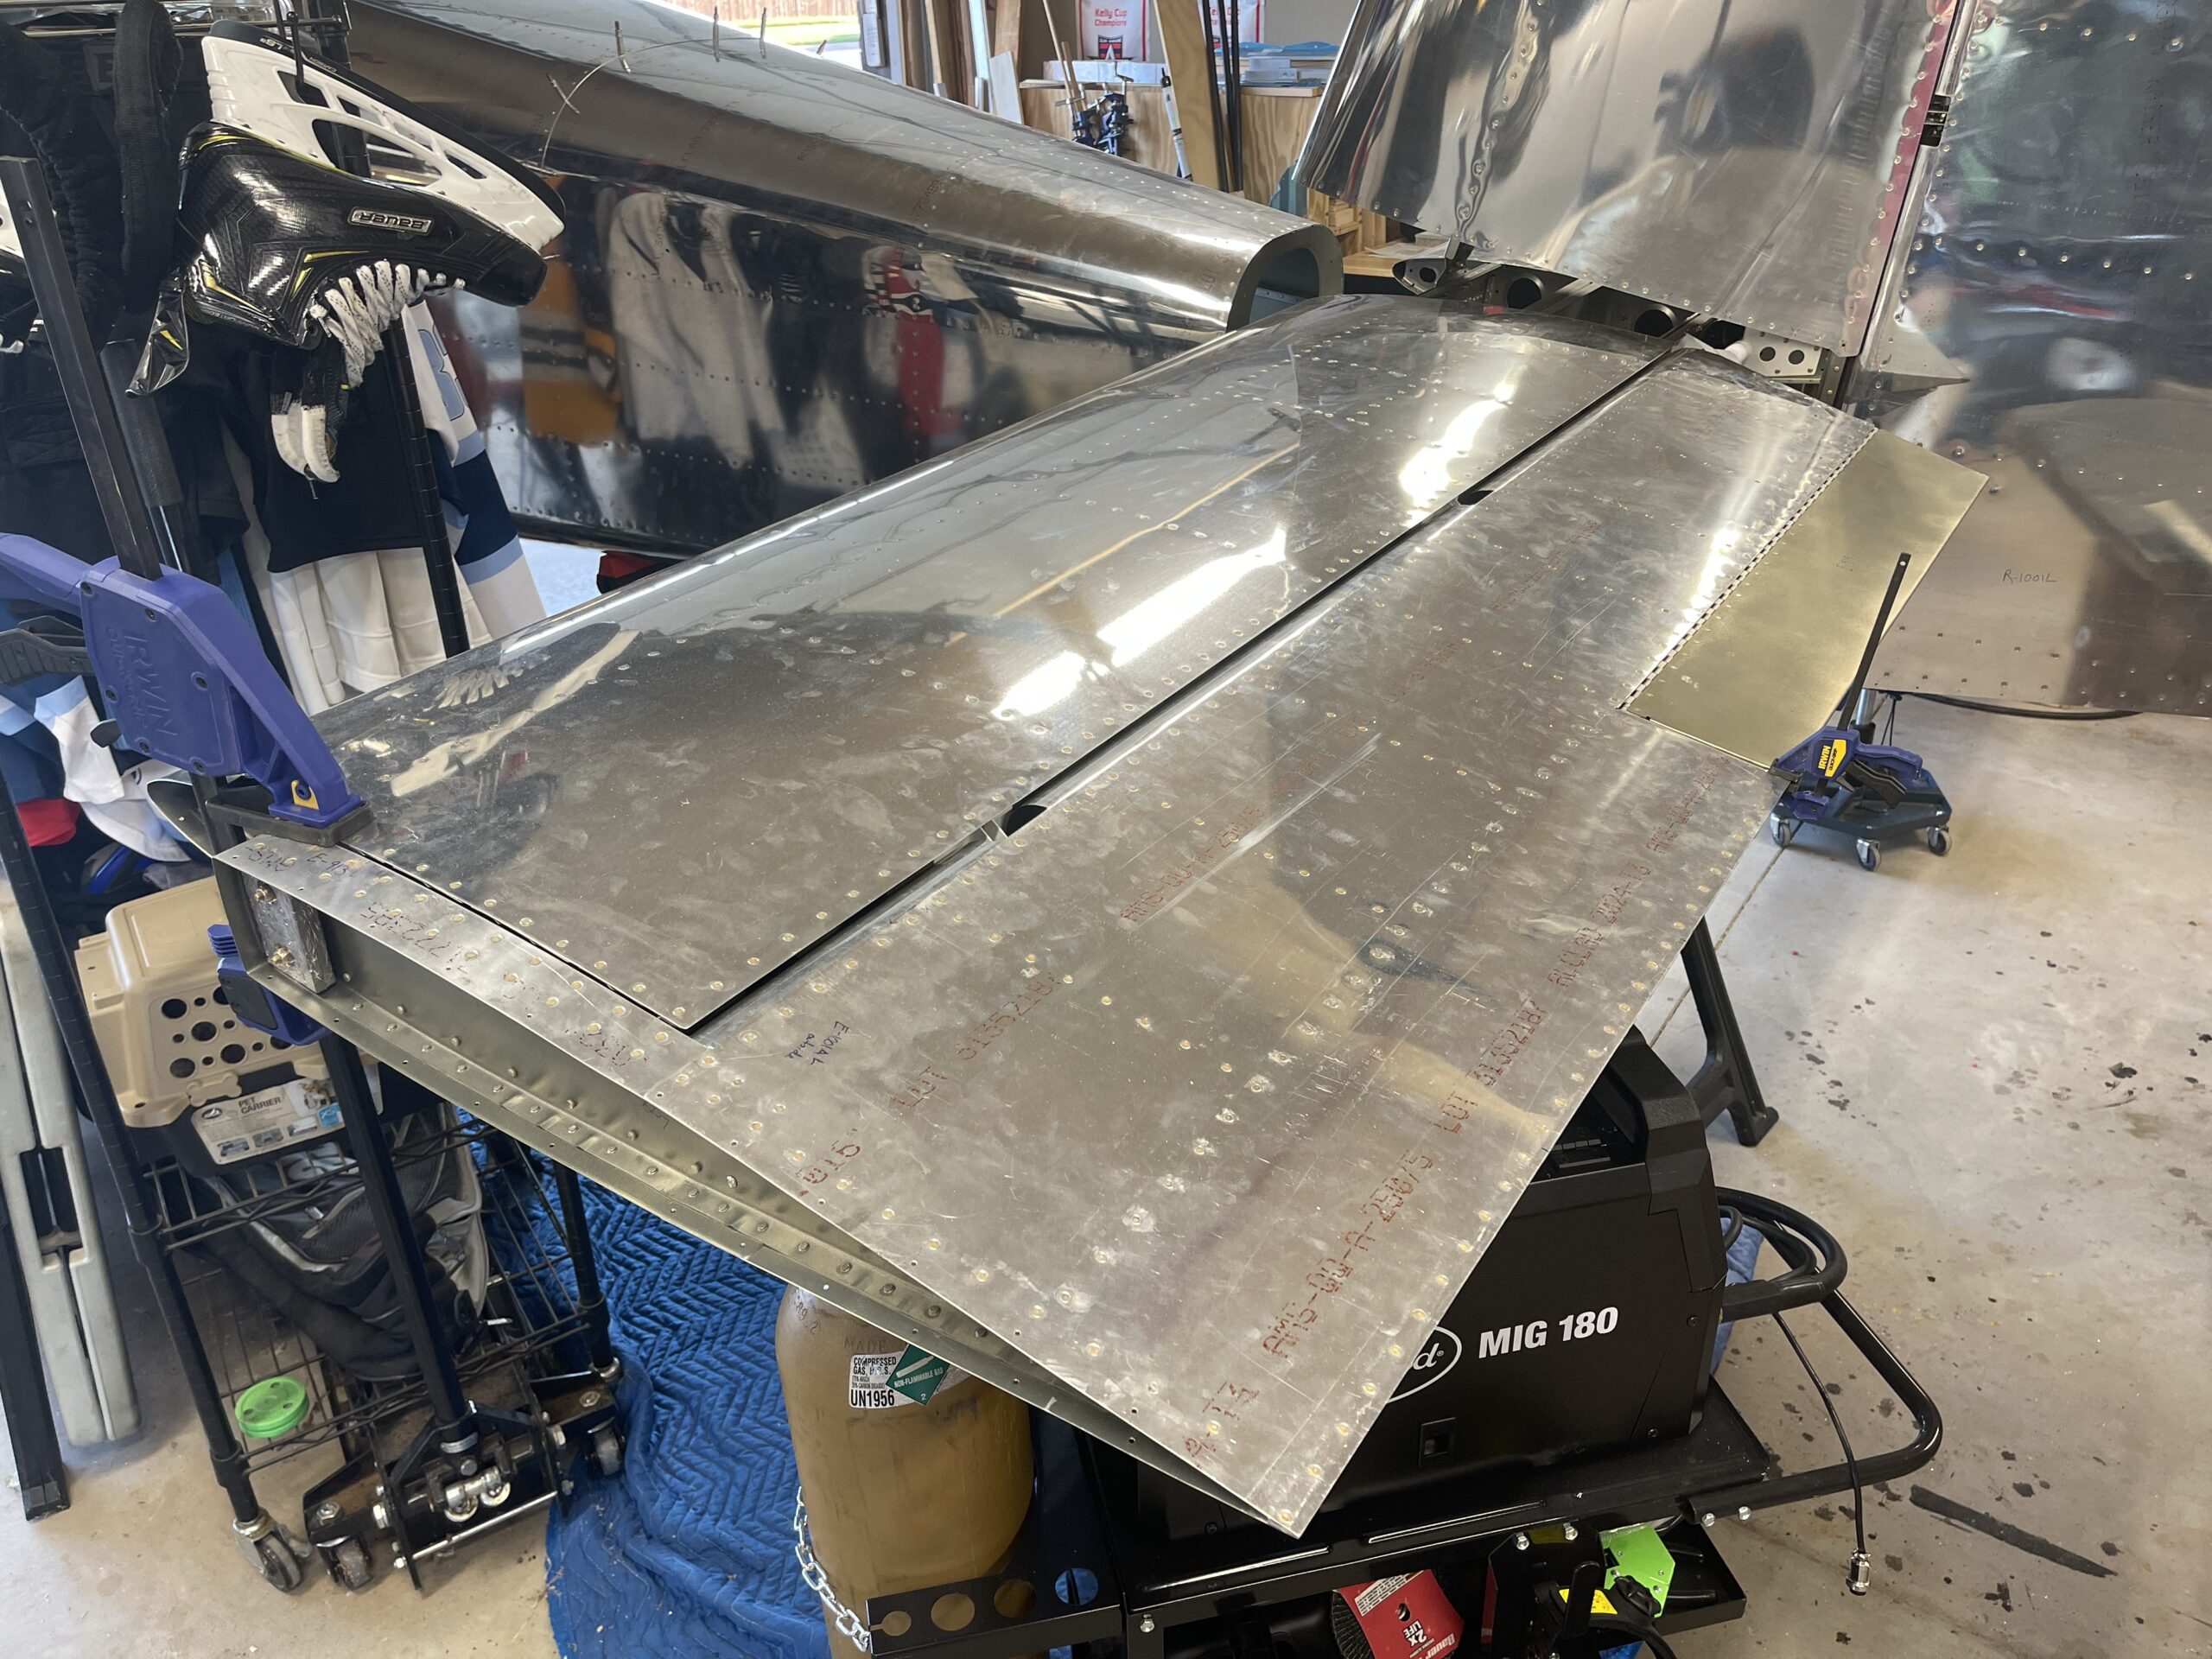
Elevators Done!
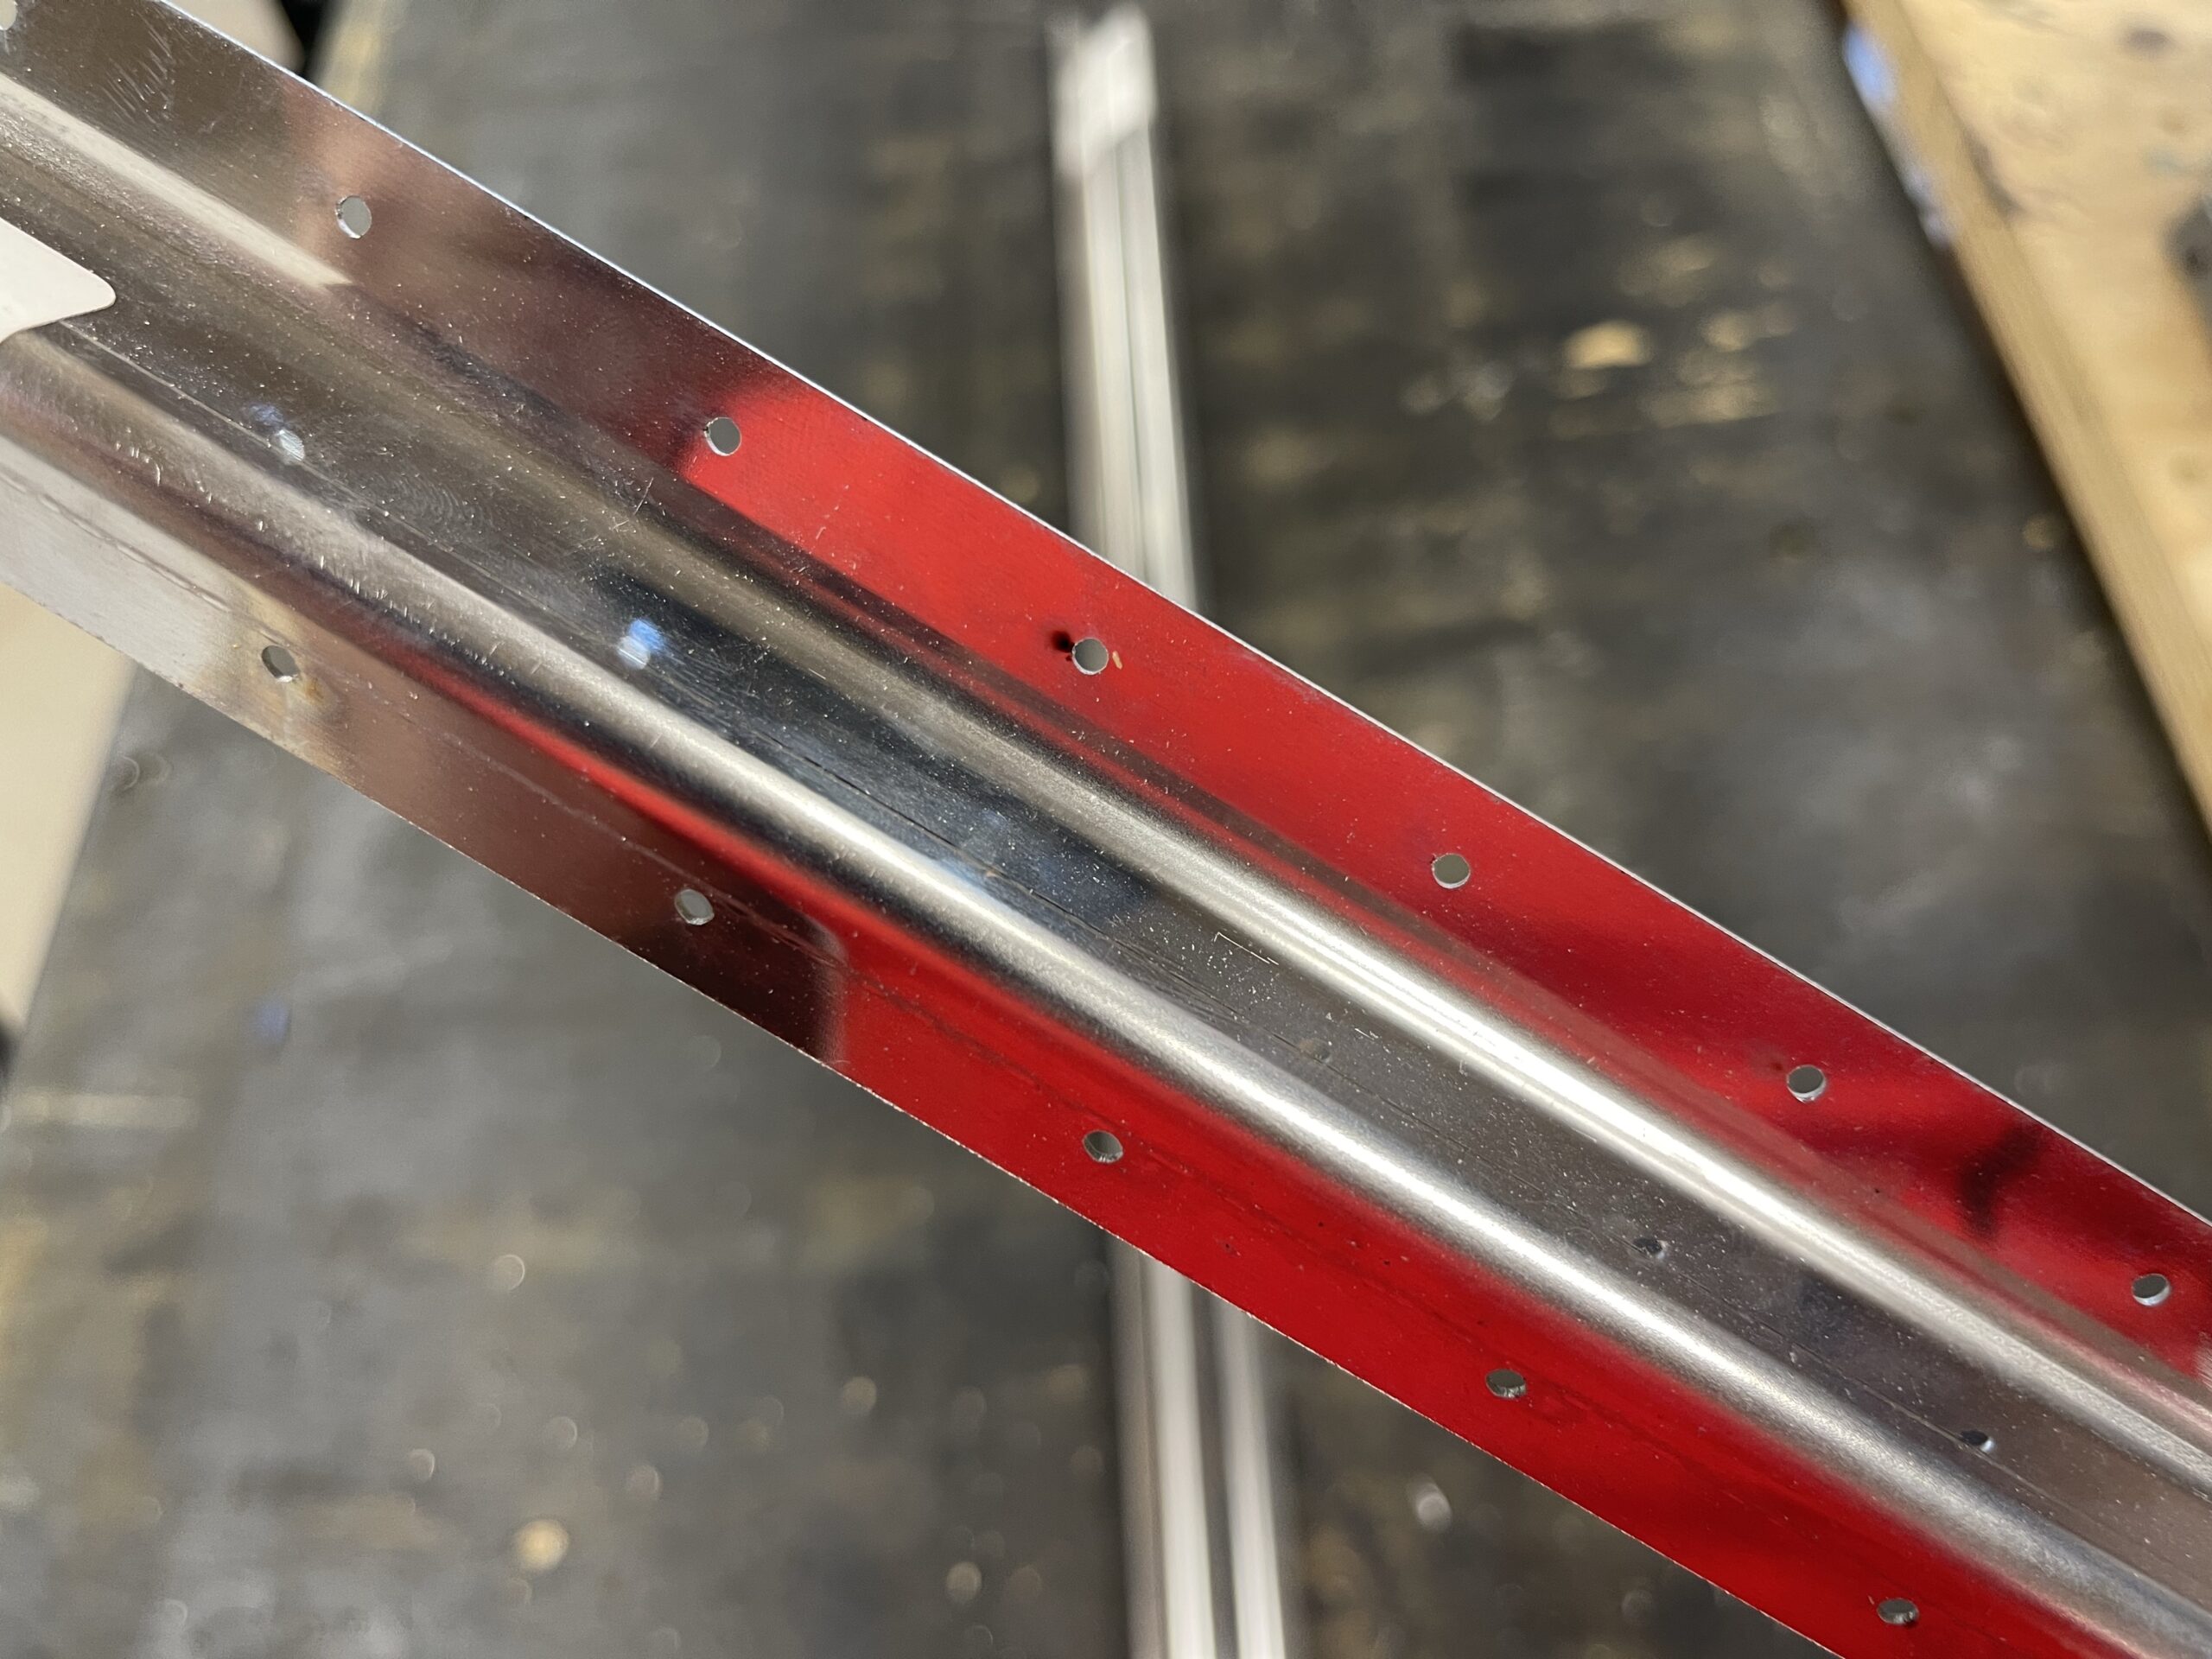
I finally finished the elevators! I will have to come back and redo the trim tabs. It appears when I drilled the end rivet holes I got them off. There is a pretty bad twist in BOTH of the trim tabs. Not a big deal, I’ll just order new parts and rebuild them down the road. It is nice to have these elevators done!

-
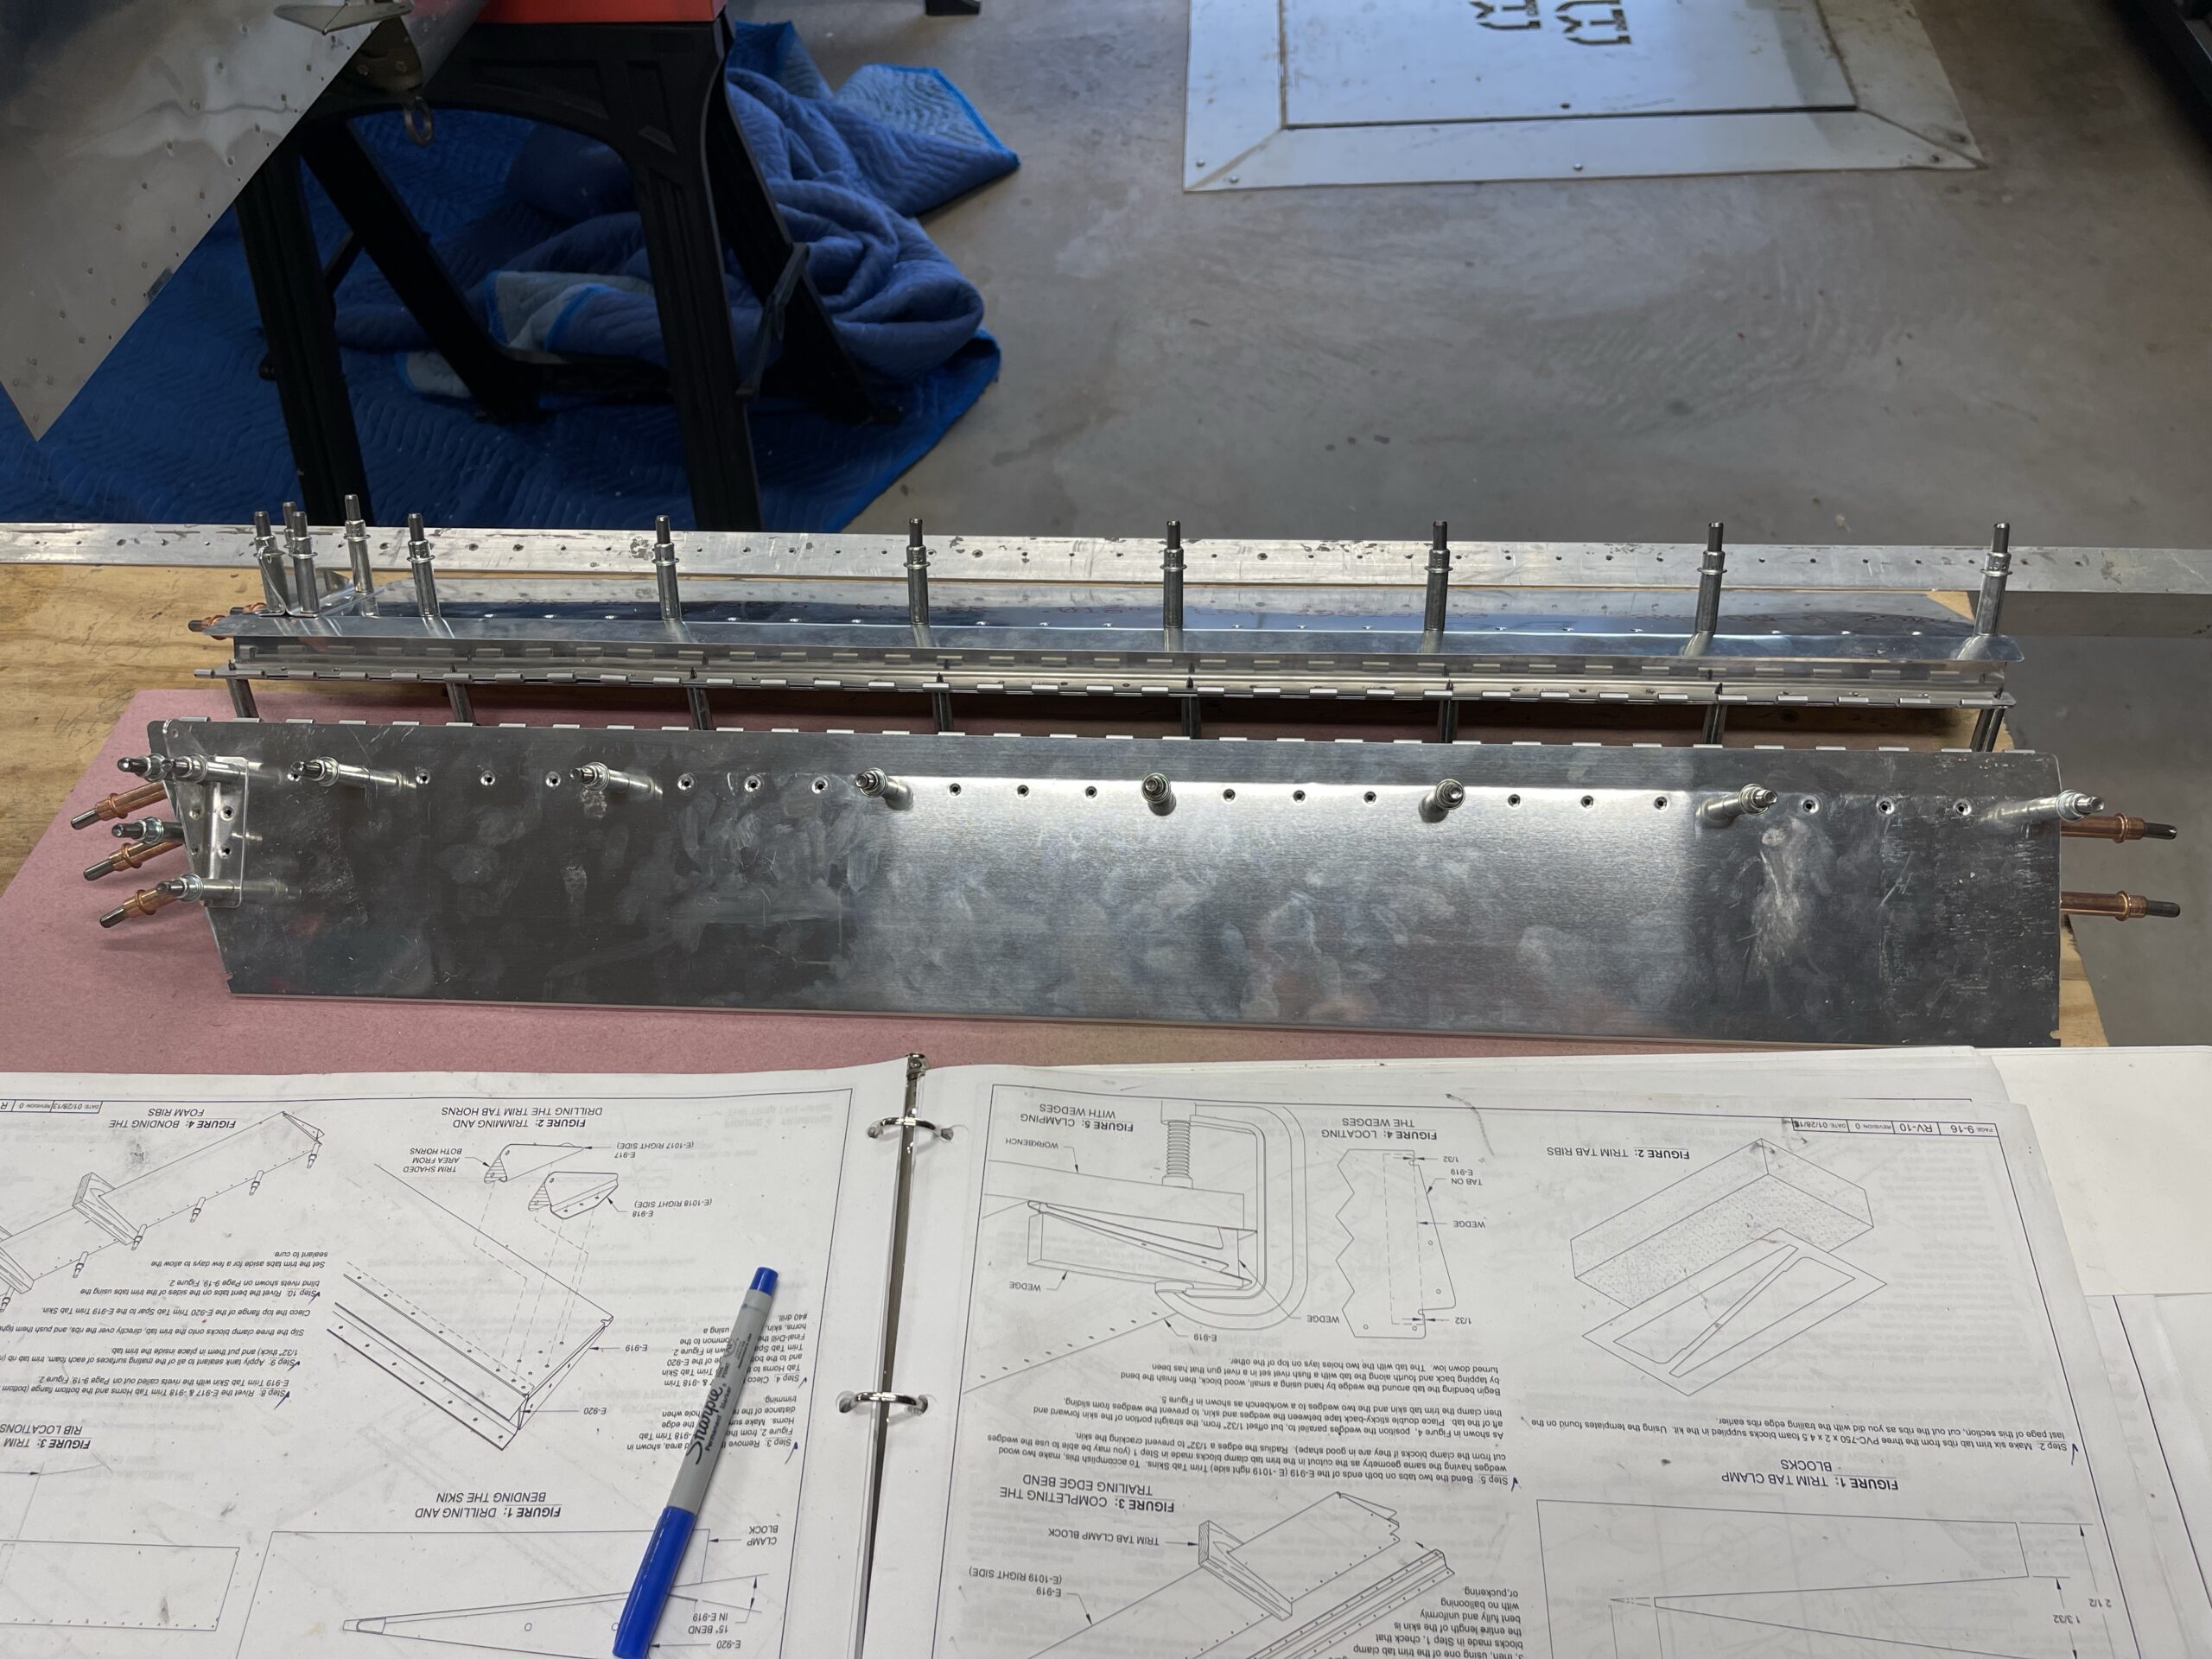
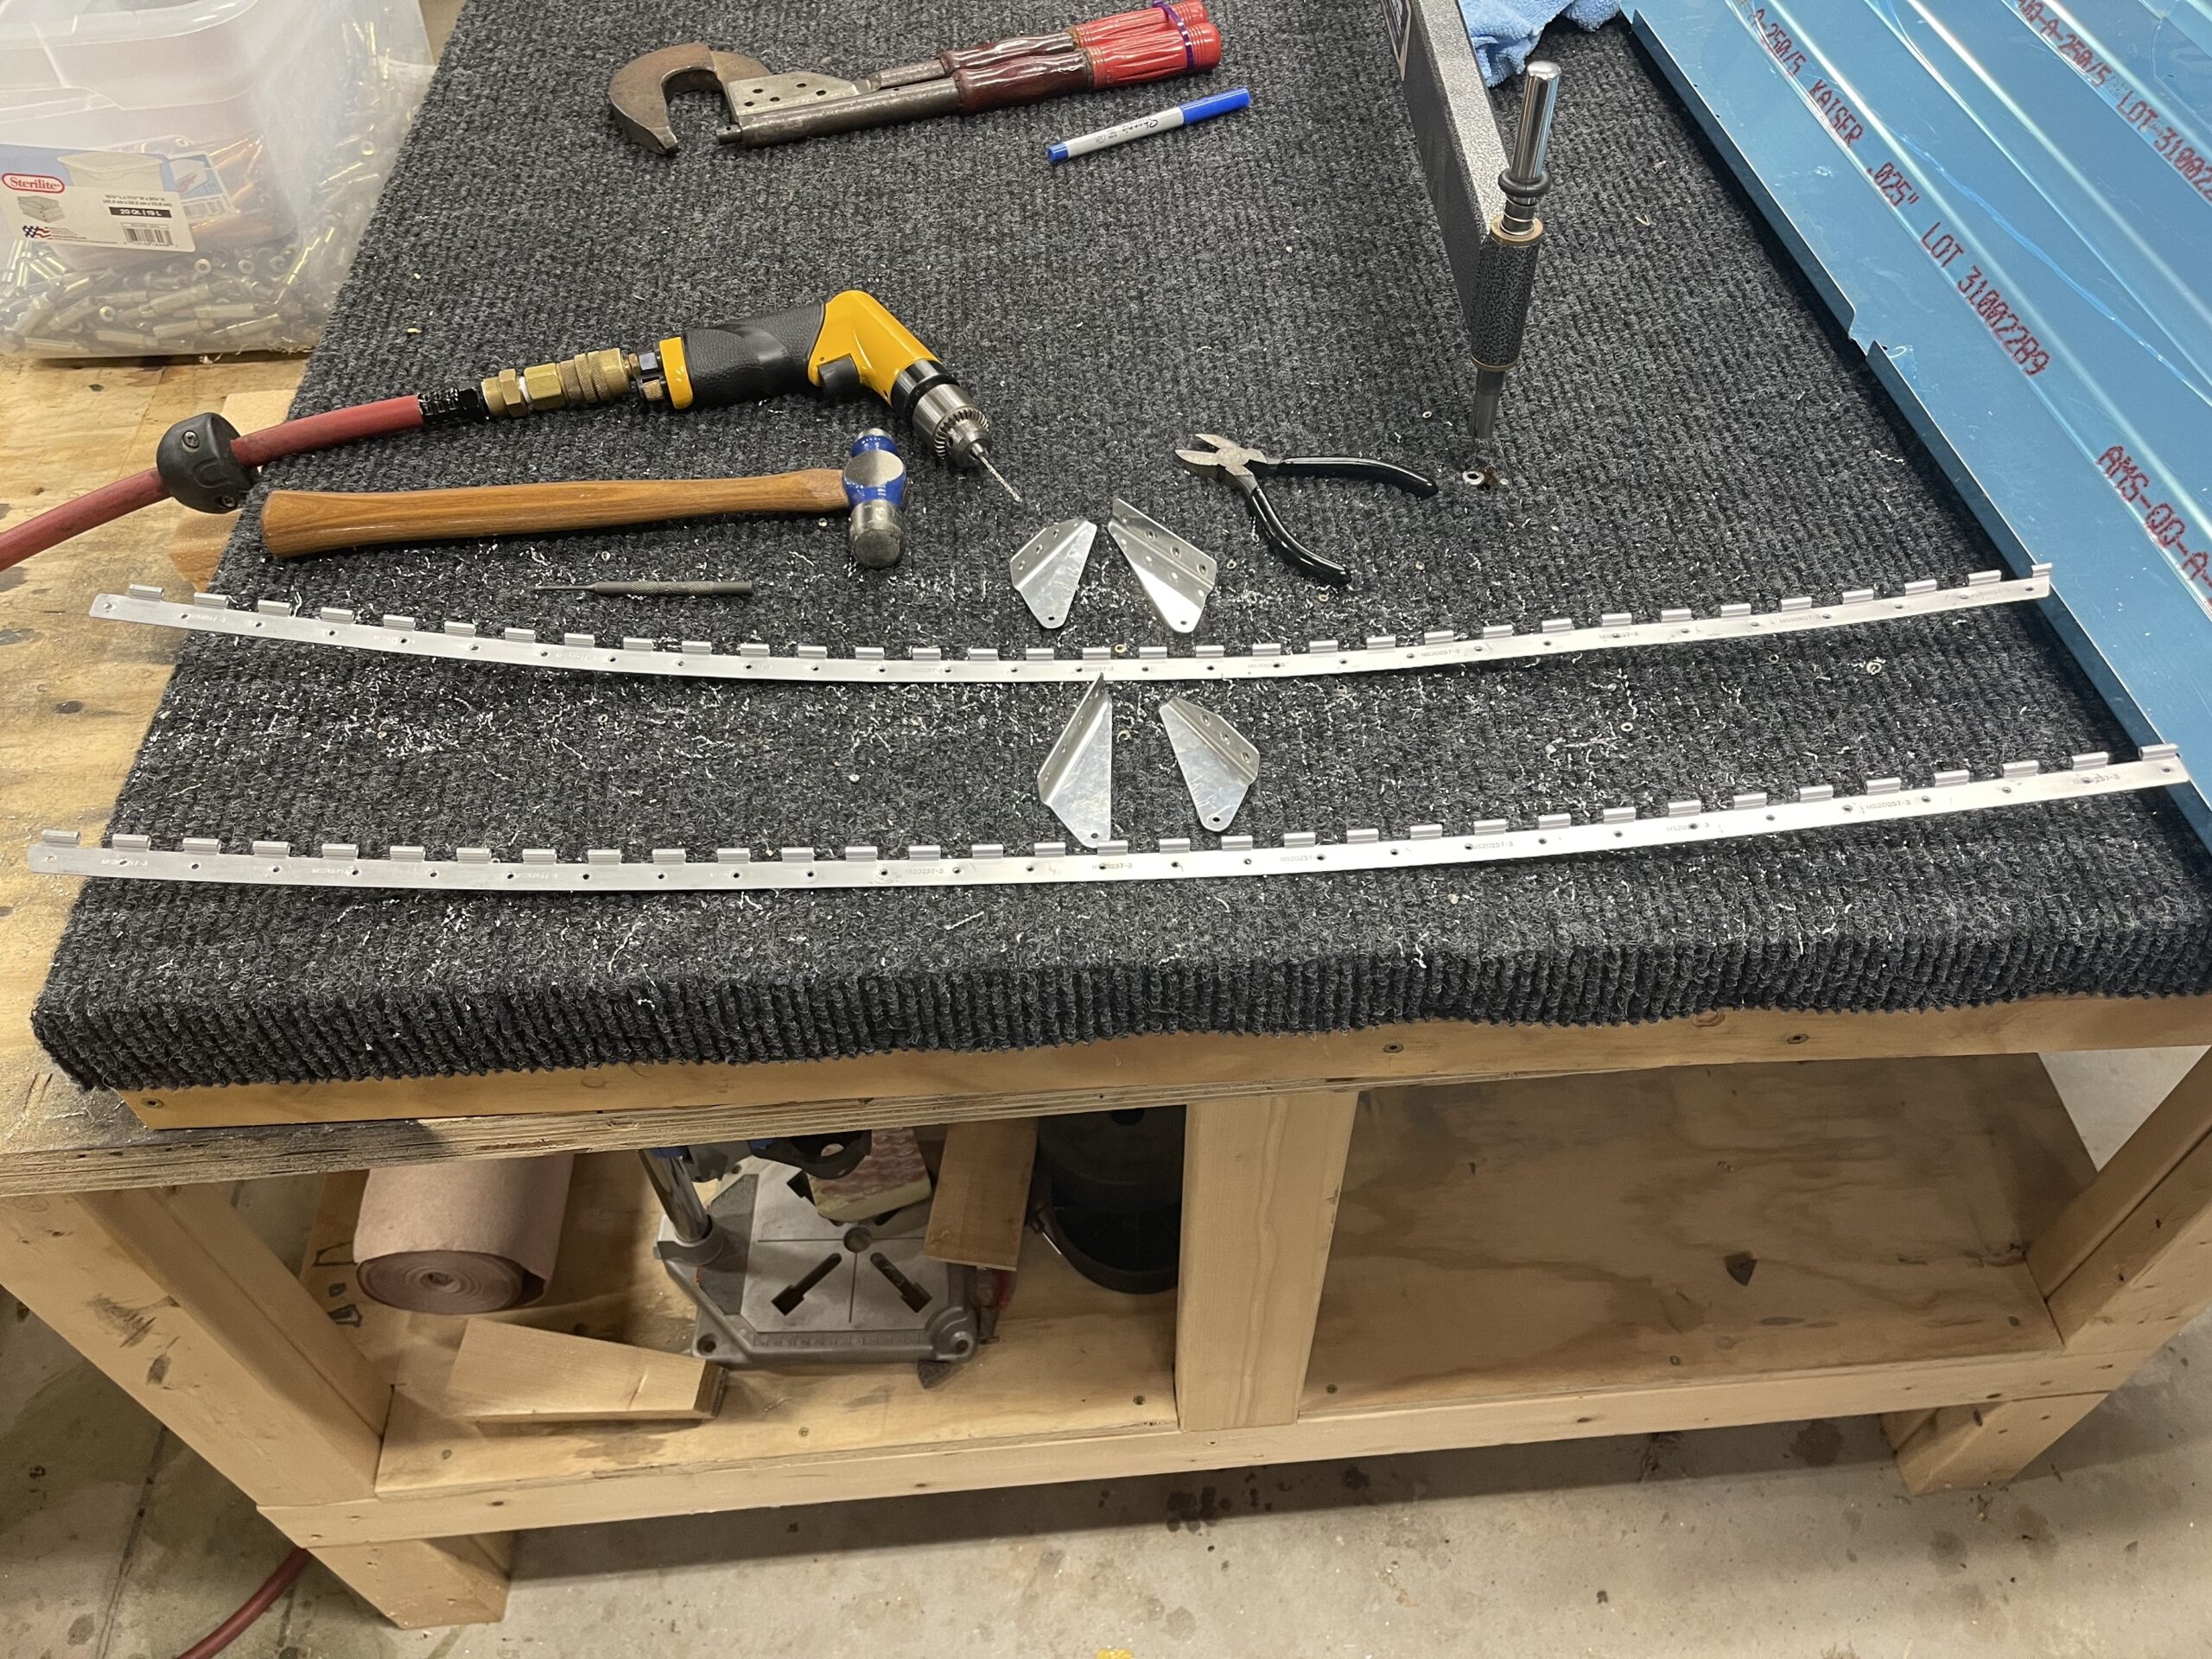
Trim Tabs Sealed up and Hinge Partially Installed
I spent some time on Saturday and Sunday getting the trim tabs sealed up and I at least drilled the holes for the elevator side of the trim tab hinge. I’m going to have to wait until Thursday to do the rest of the hinge drilling on the trim tabs since I have church visits on Tuesday night and then Mutual on Wednesday. I just got it sealed up last night and I want to let it sit for a couple of days like the instructions say so that it cures properly on those foam ribs and tank sealant. But I’m almost done though with the elevators and then I can get on to the tailcone. I want to get as far along on that as possible since the wings should be shipping any day now.

Trim tabs riveted and sealed. Just need to let them cure now 
Hinges drilled on the elevator side. Need to take them off and deburr the drilled holes.


