I started working on the fairing caps on the horizontal stabilizer yesterday. I got it first trimmed on the flange depth so it would fit appropriately. I then drilled the holes and started trimming the backside of the cap so the elevator could move freely. I noticed once it was finally able to get clear that they were not the same shape. I noticed if I pushed the outside edge in it would come to the right shape. I will need to get the foam so it will hold that shape. I got my fiberglass ordered from Airspruce so hopefully that will arrive this week so I can finish at least one side this weekend. I’ll have to do the same process to the other horizontal stabilizer cap and the vertical stabilizer cap.
Tag: Empennage
-
Rudder Fairings Attached/Ready
I got the rudder fairings on, well at least the ones I could attach for now. I got the top fairing attached and the bottom fairing is ready to be attached but I am waiting on the tail light before I do that. It looks good and hopefully I can clean some of it up with some bondo later.

Top rudder fairing attached 
Bottom rudder fairing ready to go on. Waiting on light -
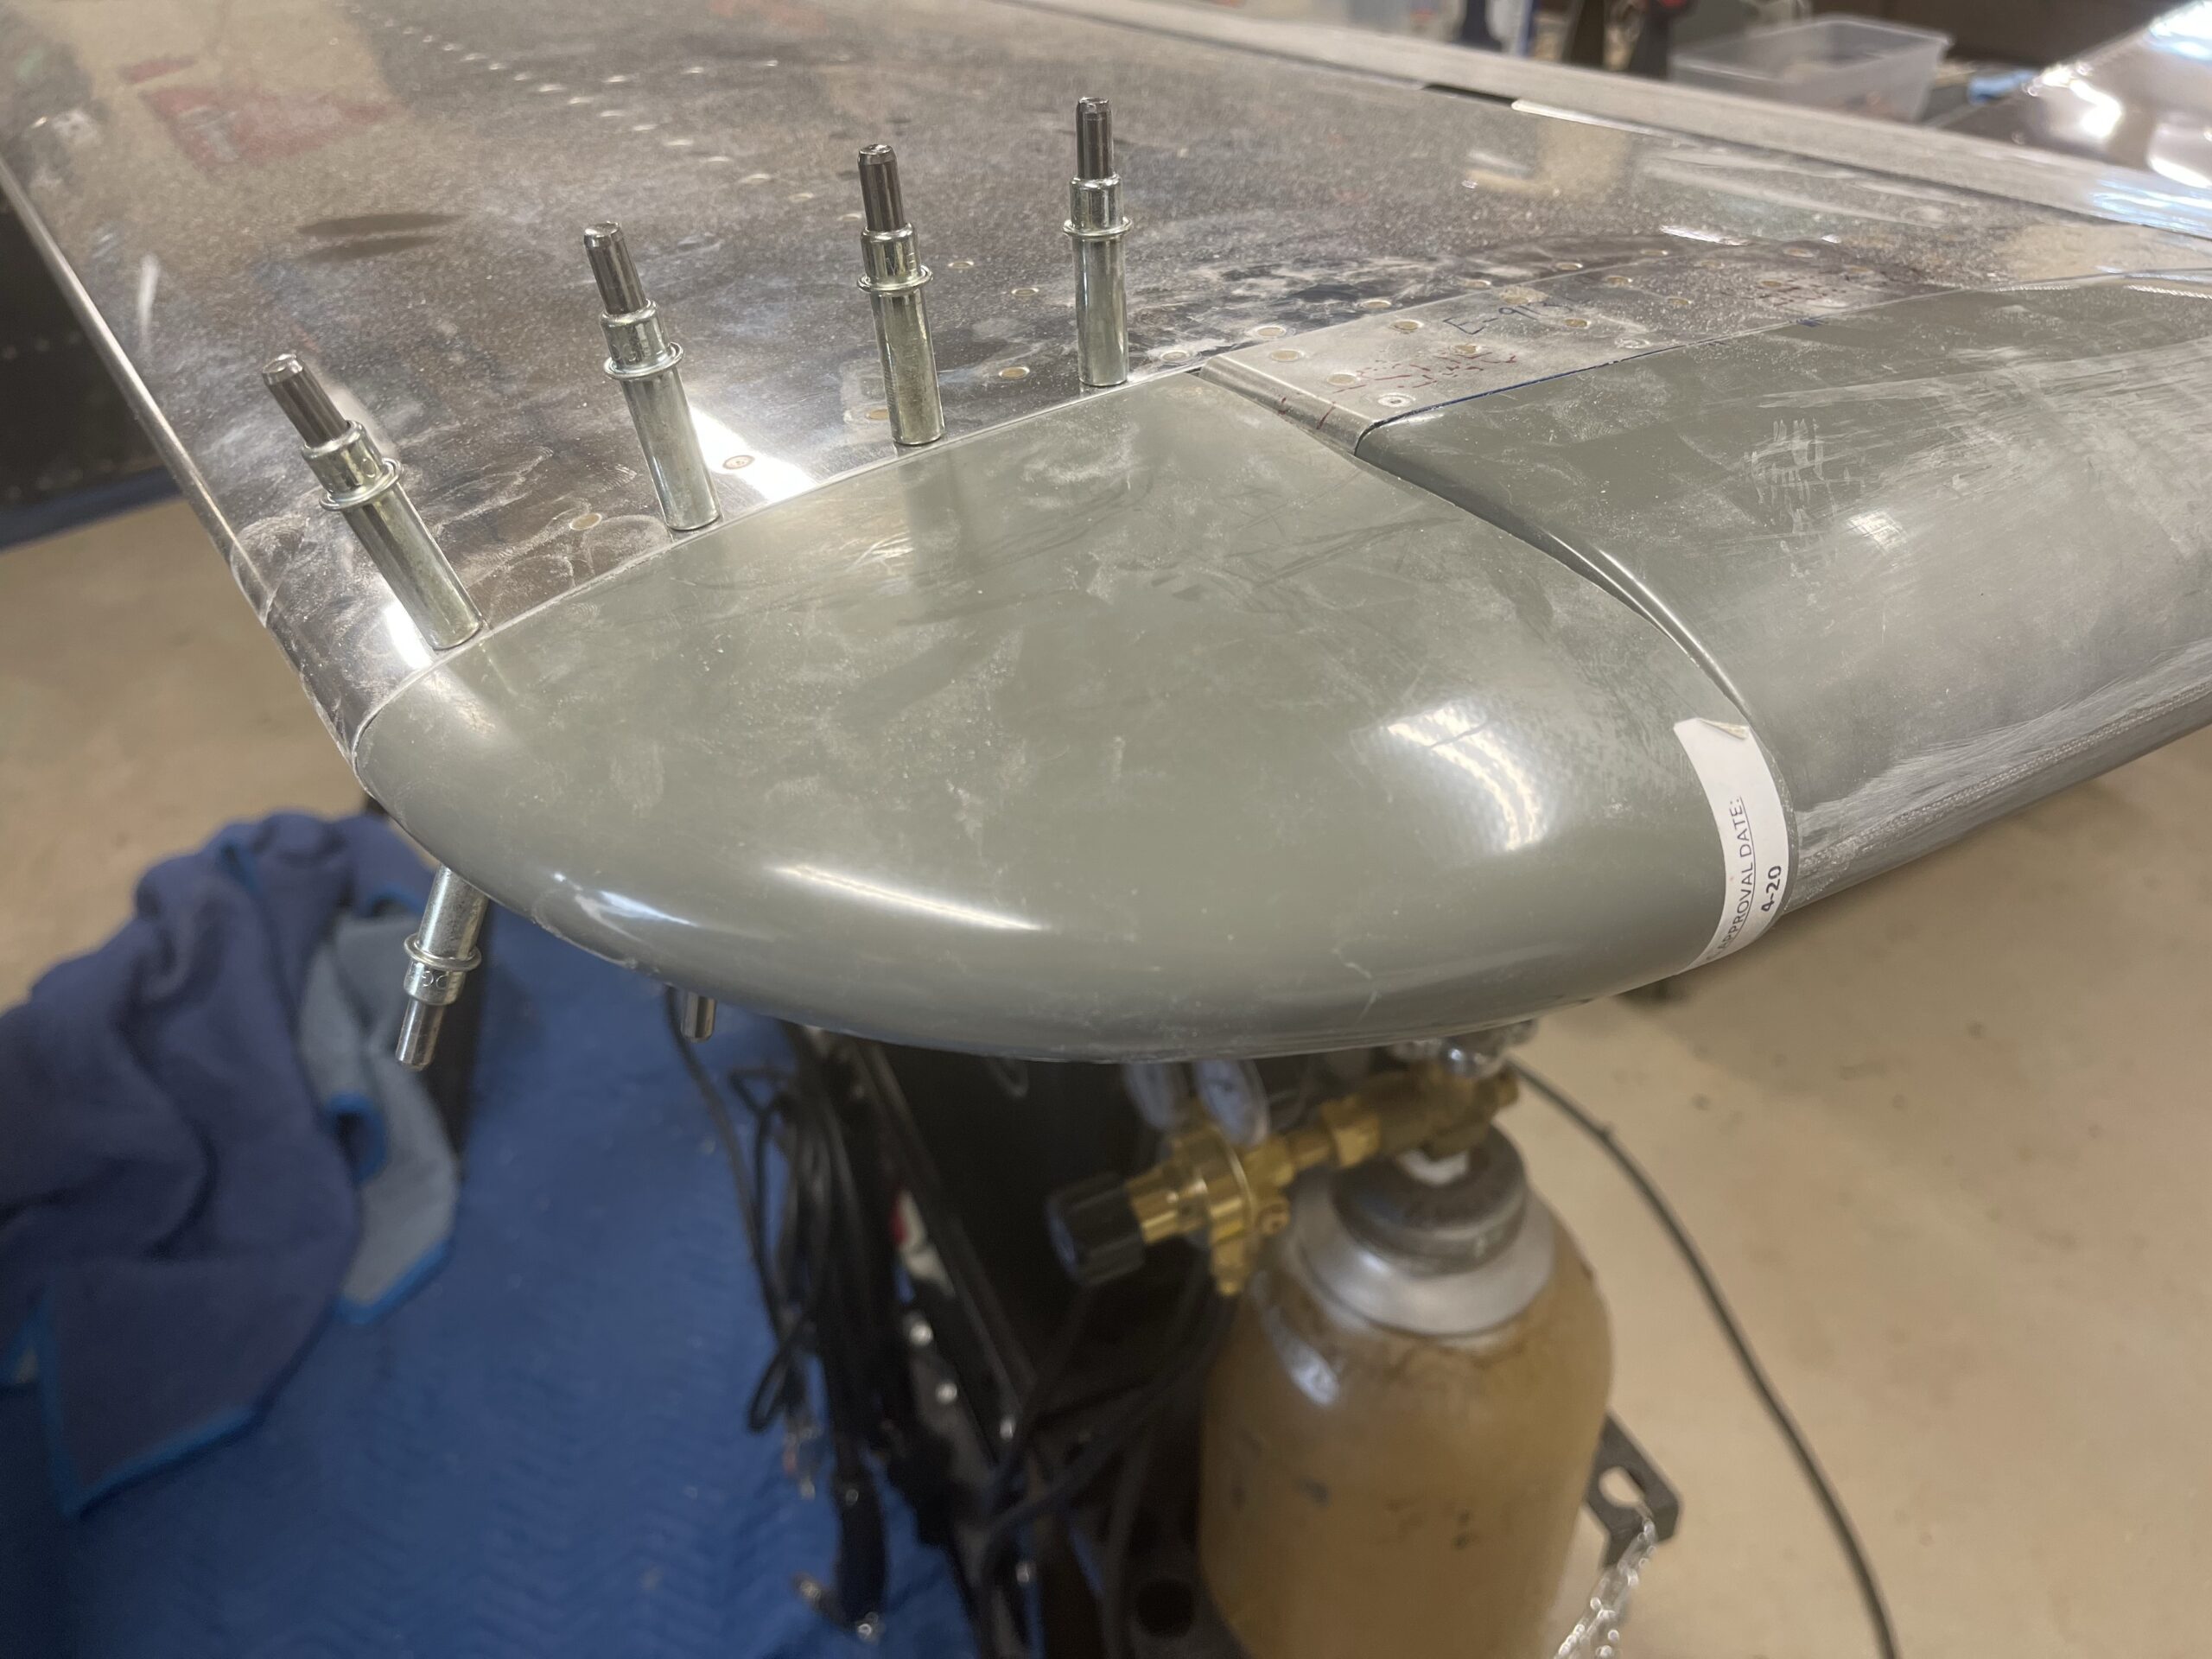
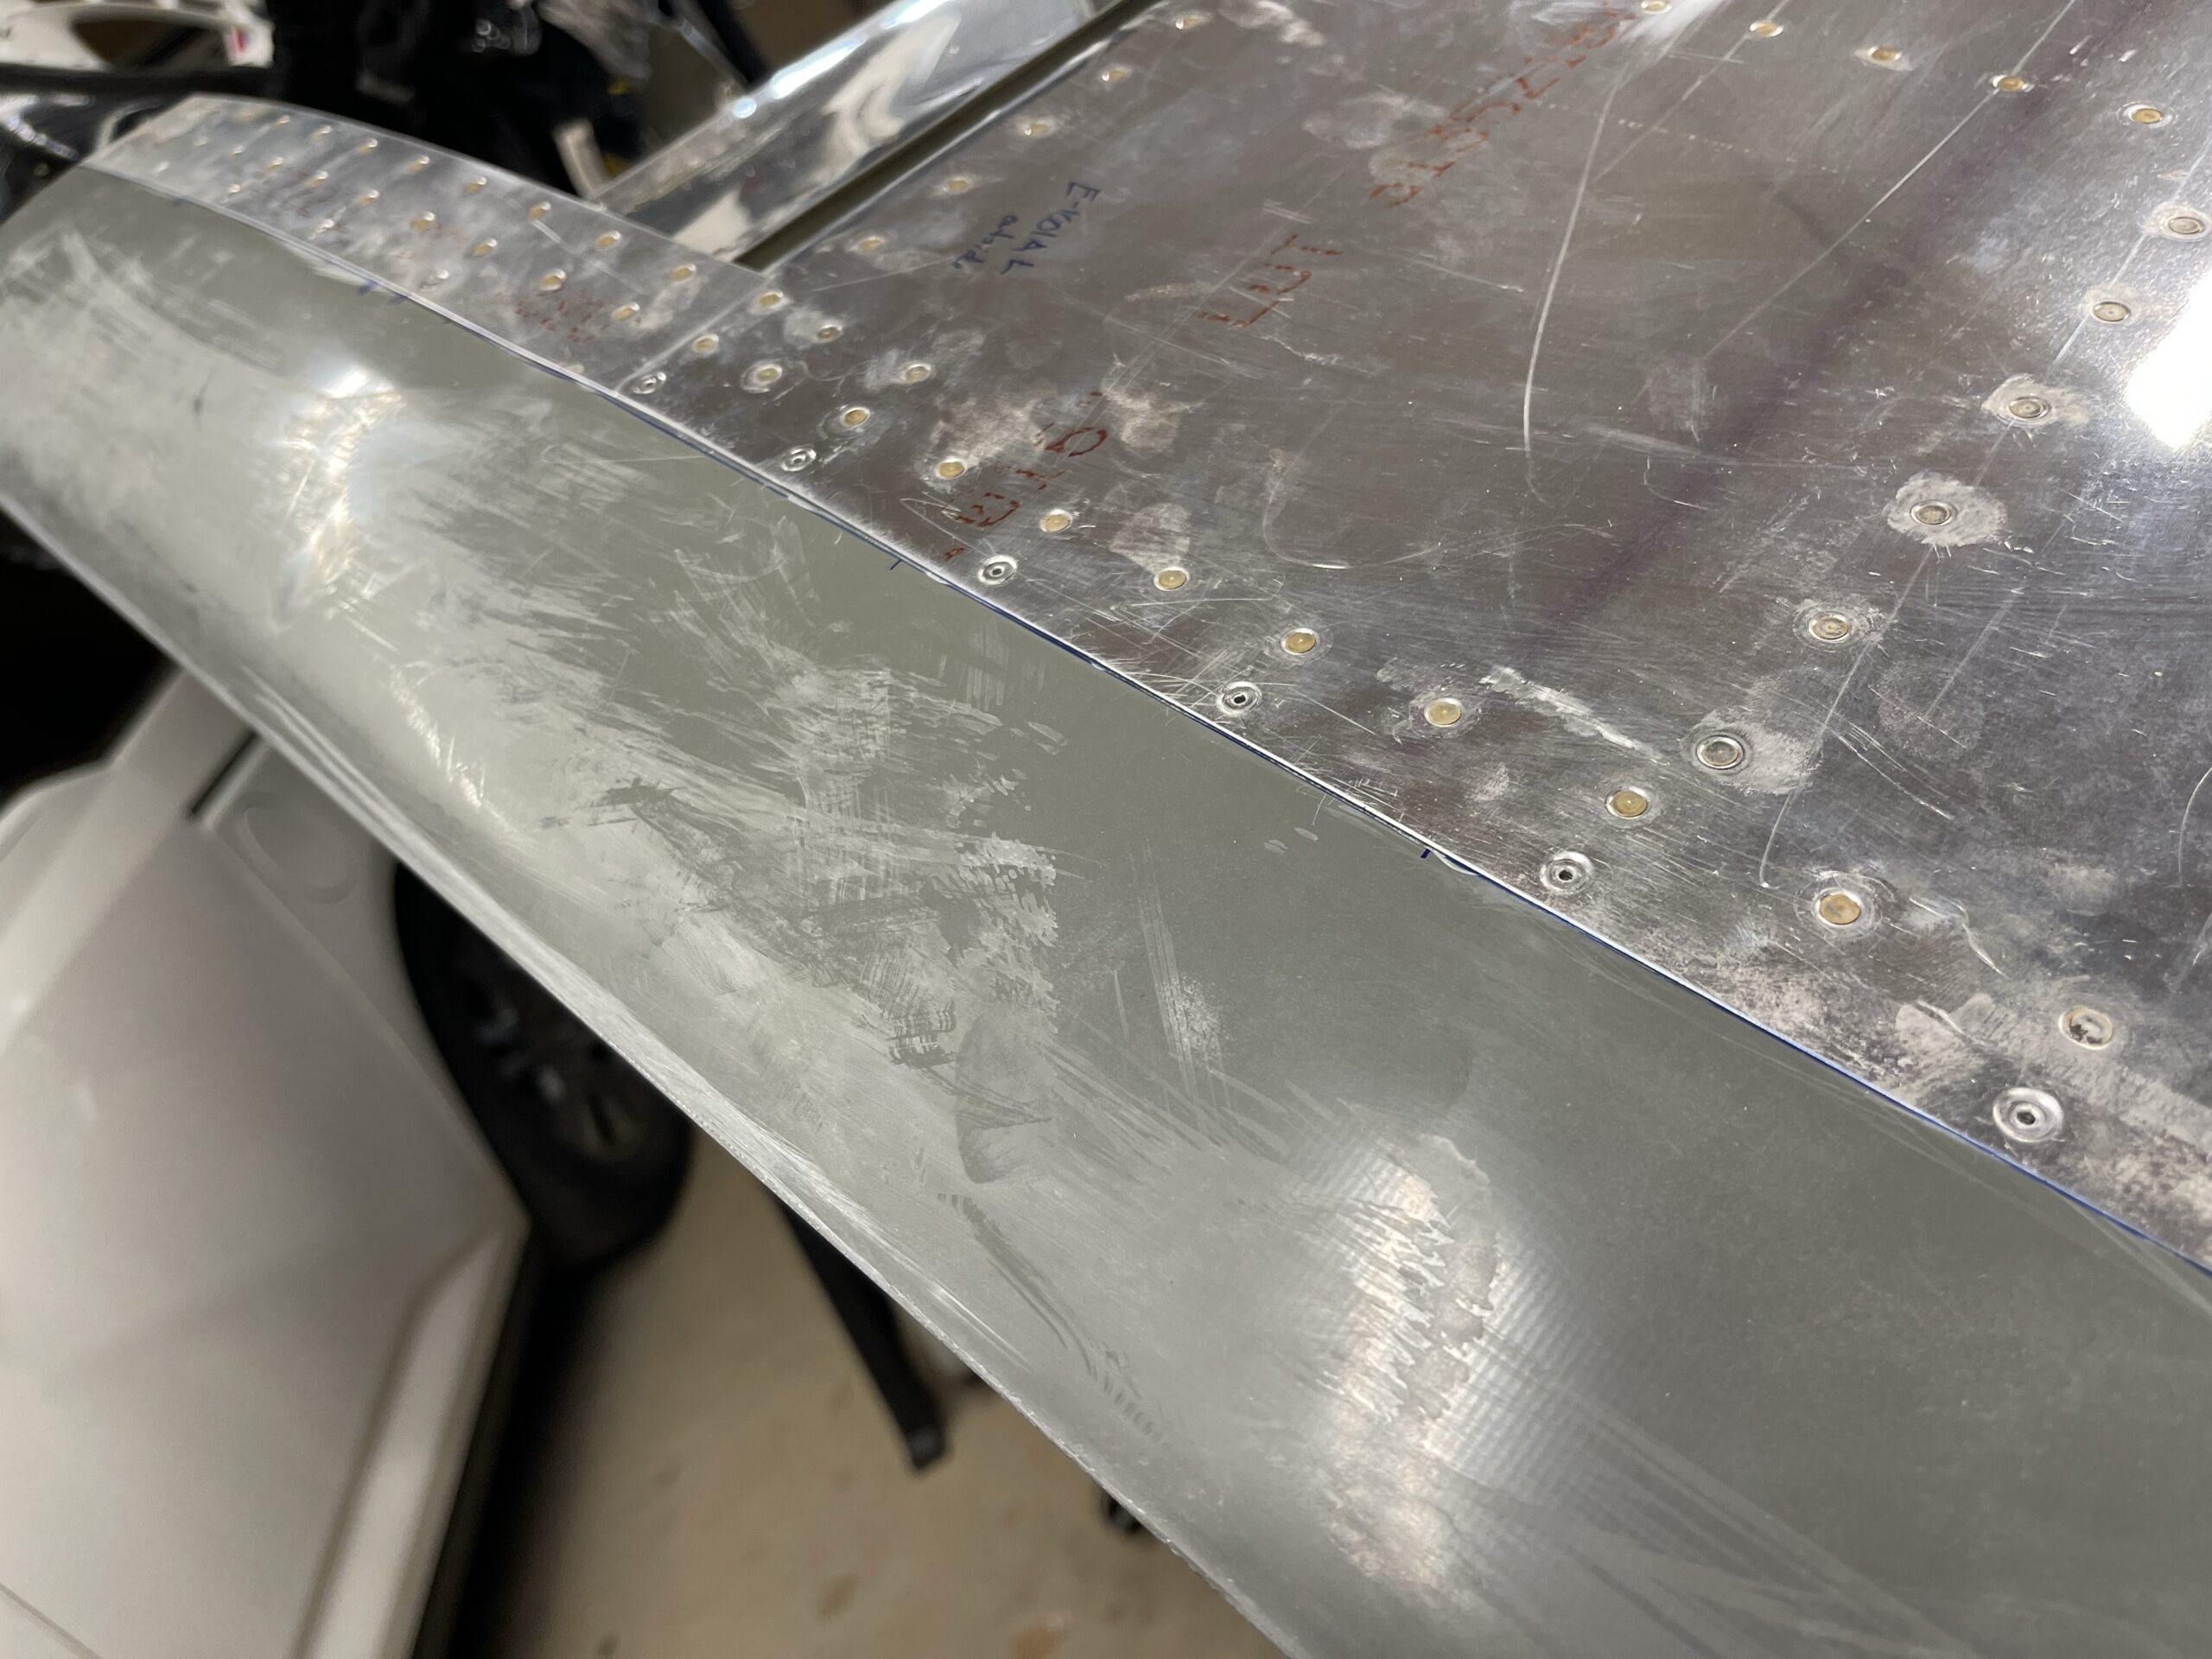
Right Elevator Fairing Attached
I got 30 minutes tonight to final drill the holes to a #30, dimple the holes, countersink the fairing, and then rivet it together. Looks good and it’ll look perfect with some bondo or whatever the aviation community calls it.

-
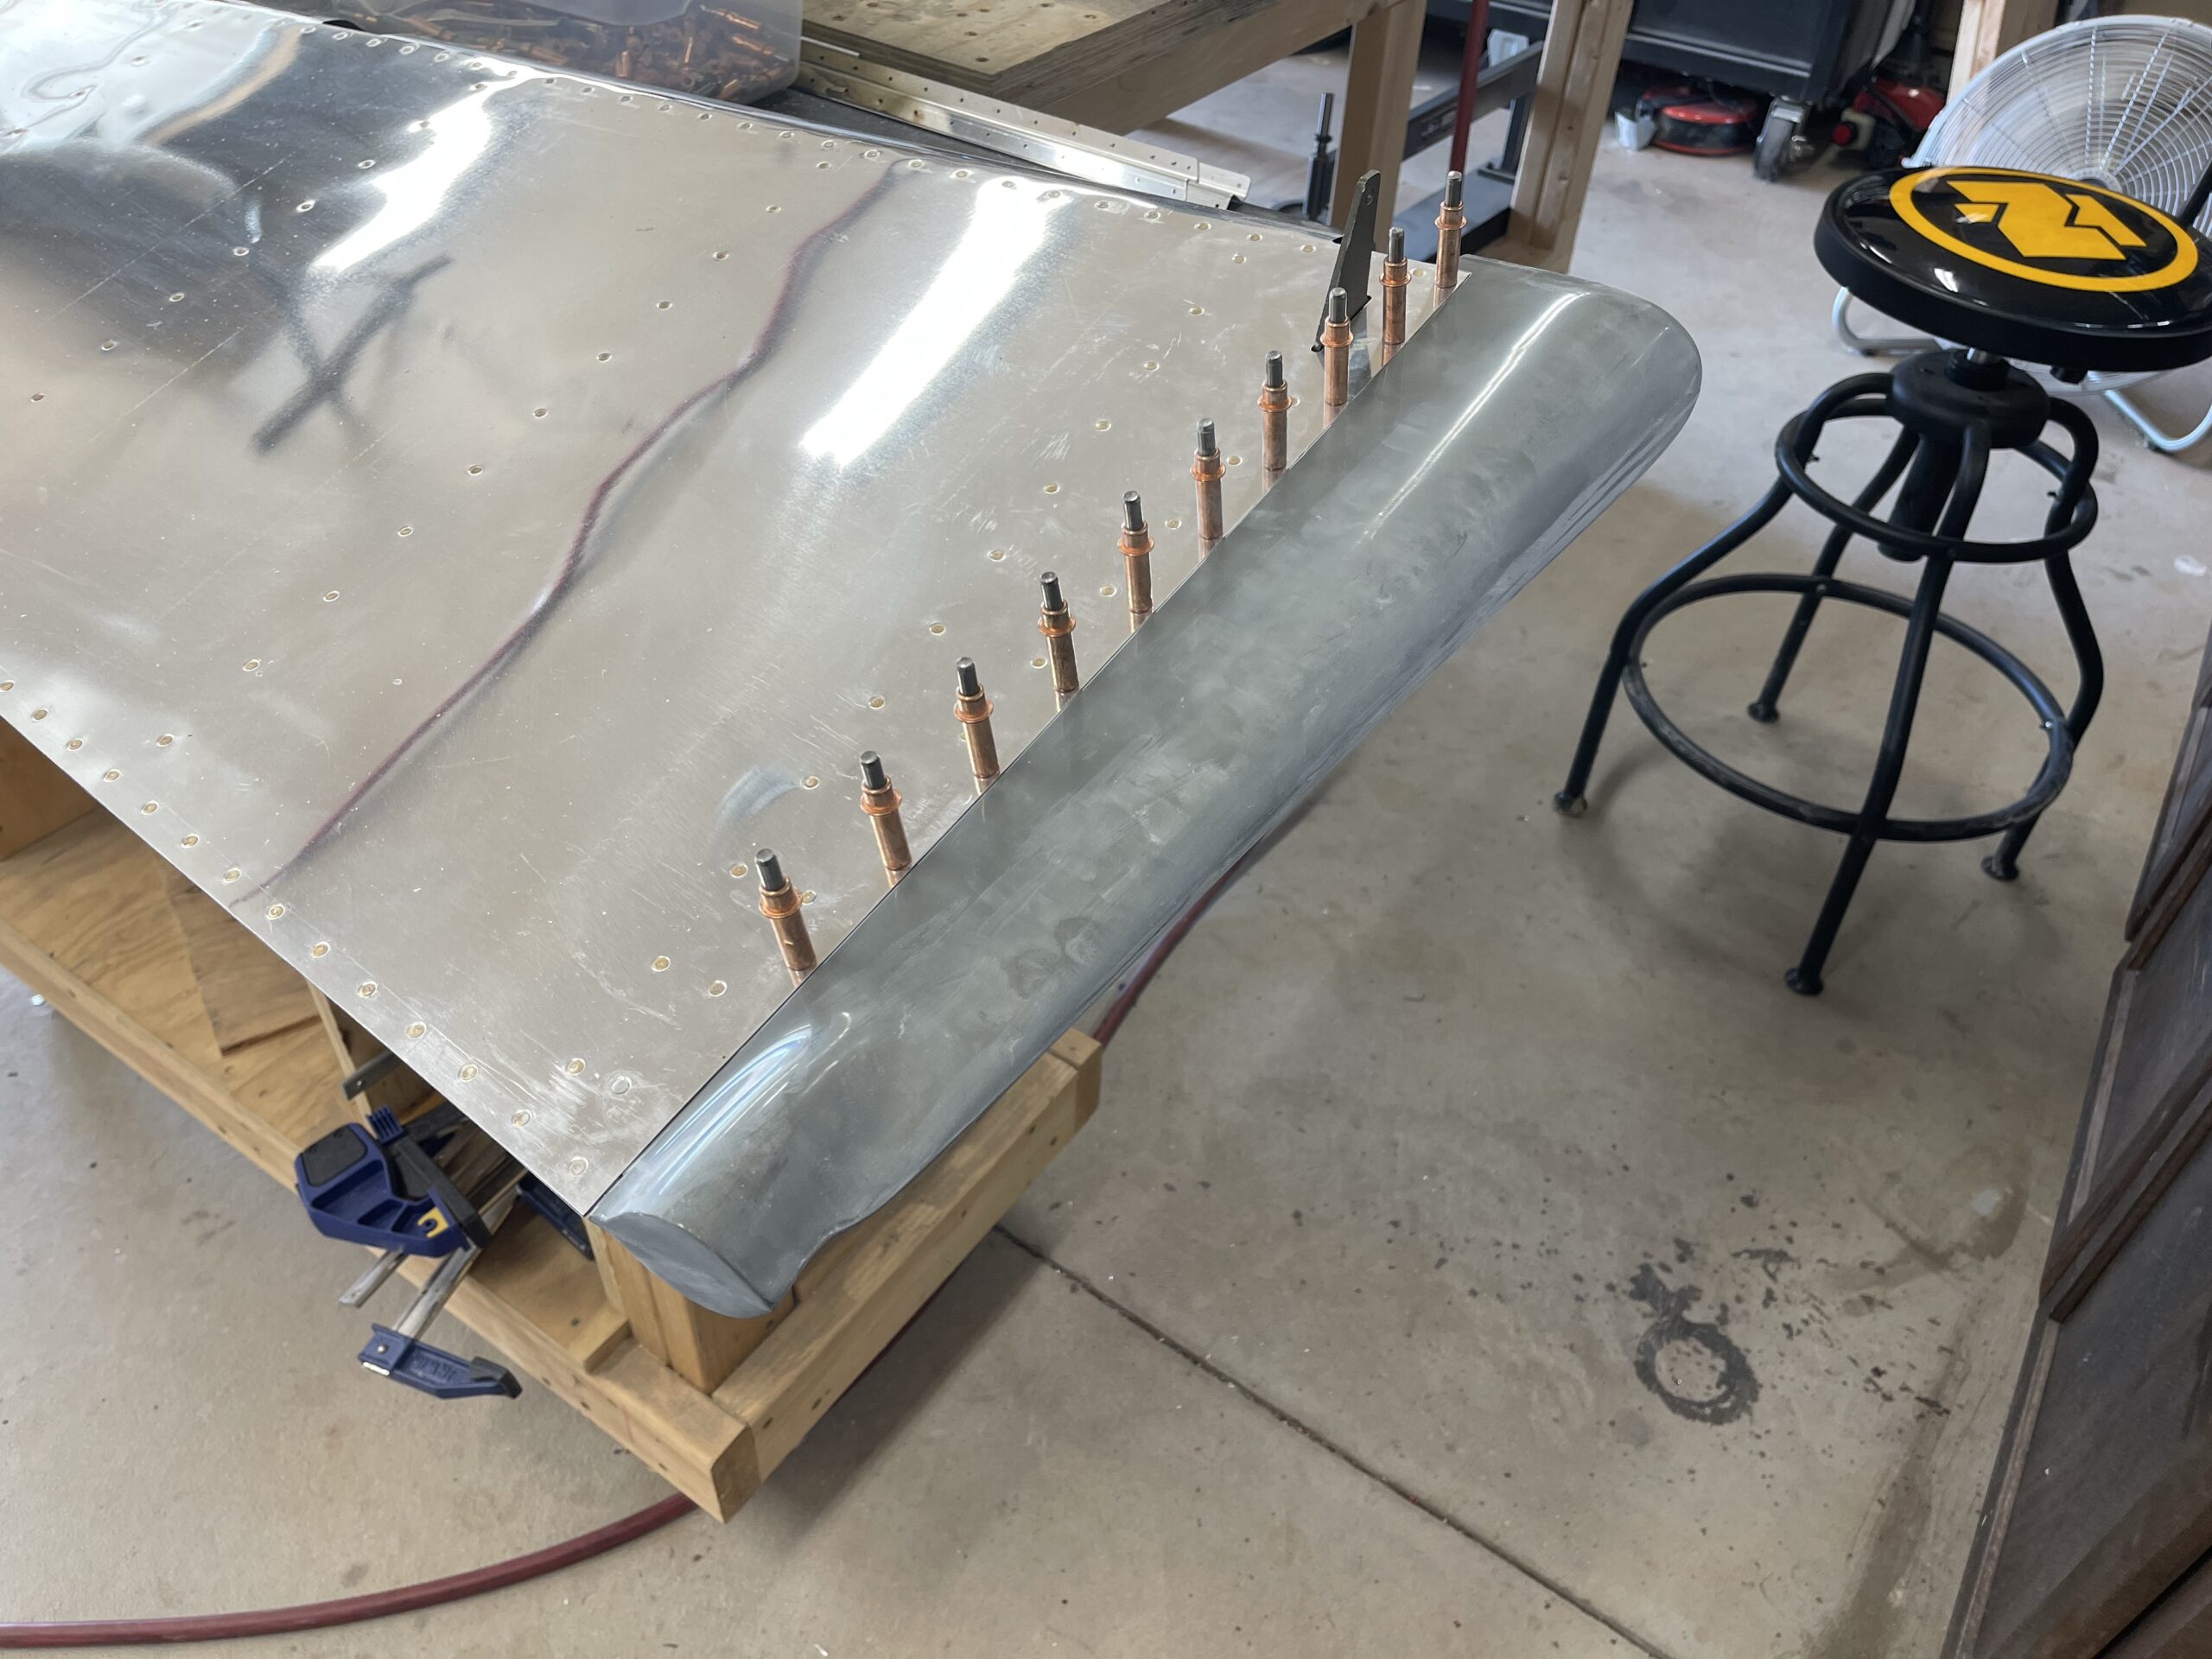
Right Elevator Fairing Fitted
I got an hour and a half tonight to get the fairing cut and sanded. Tomorrow I’ll dimple and countersink.

-
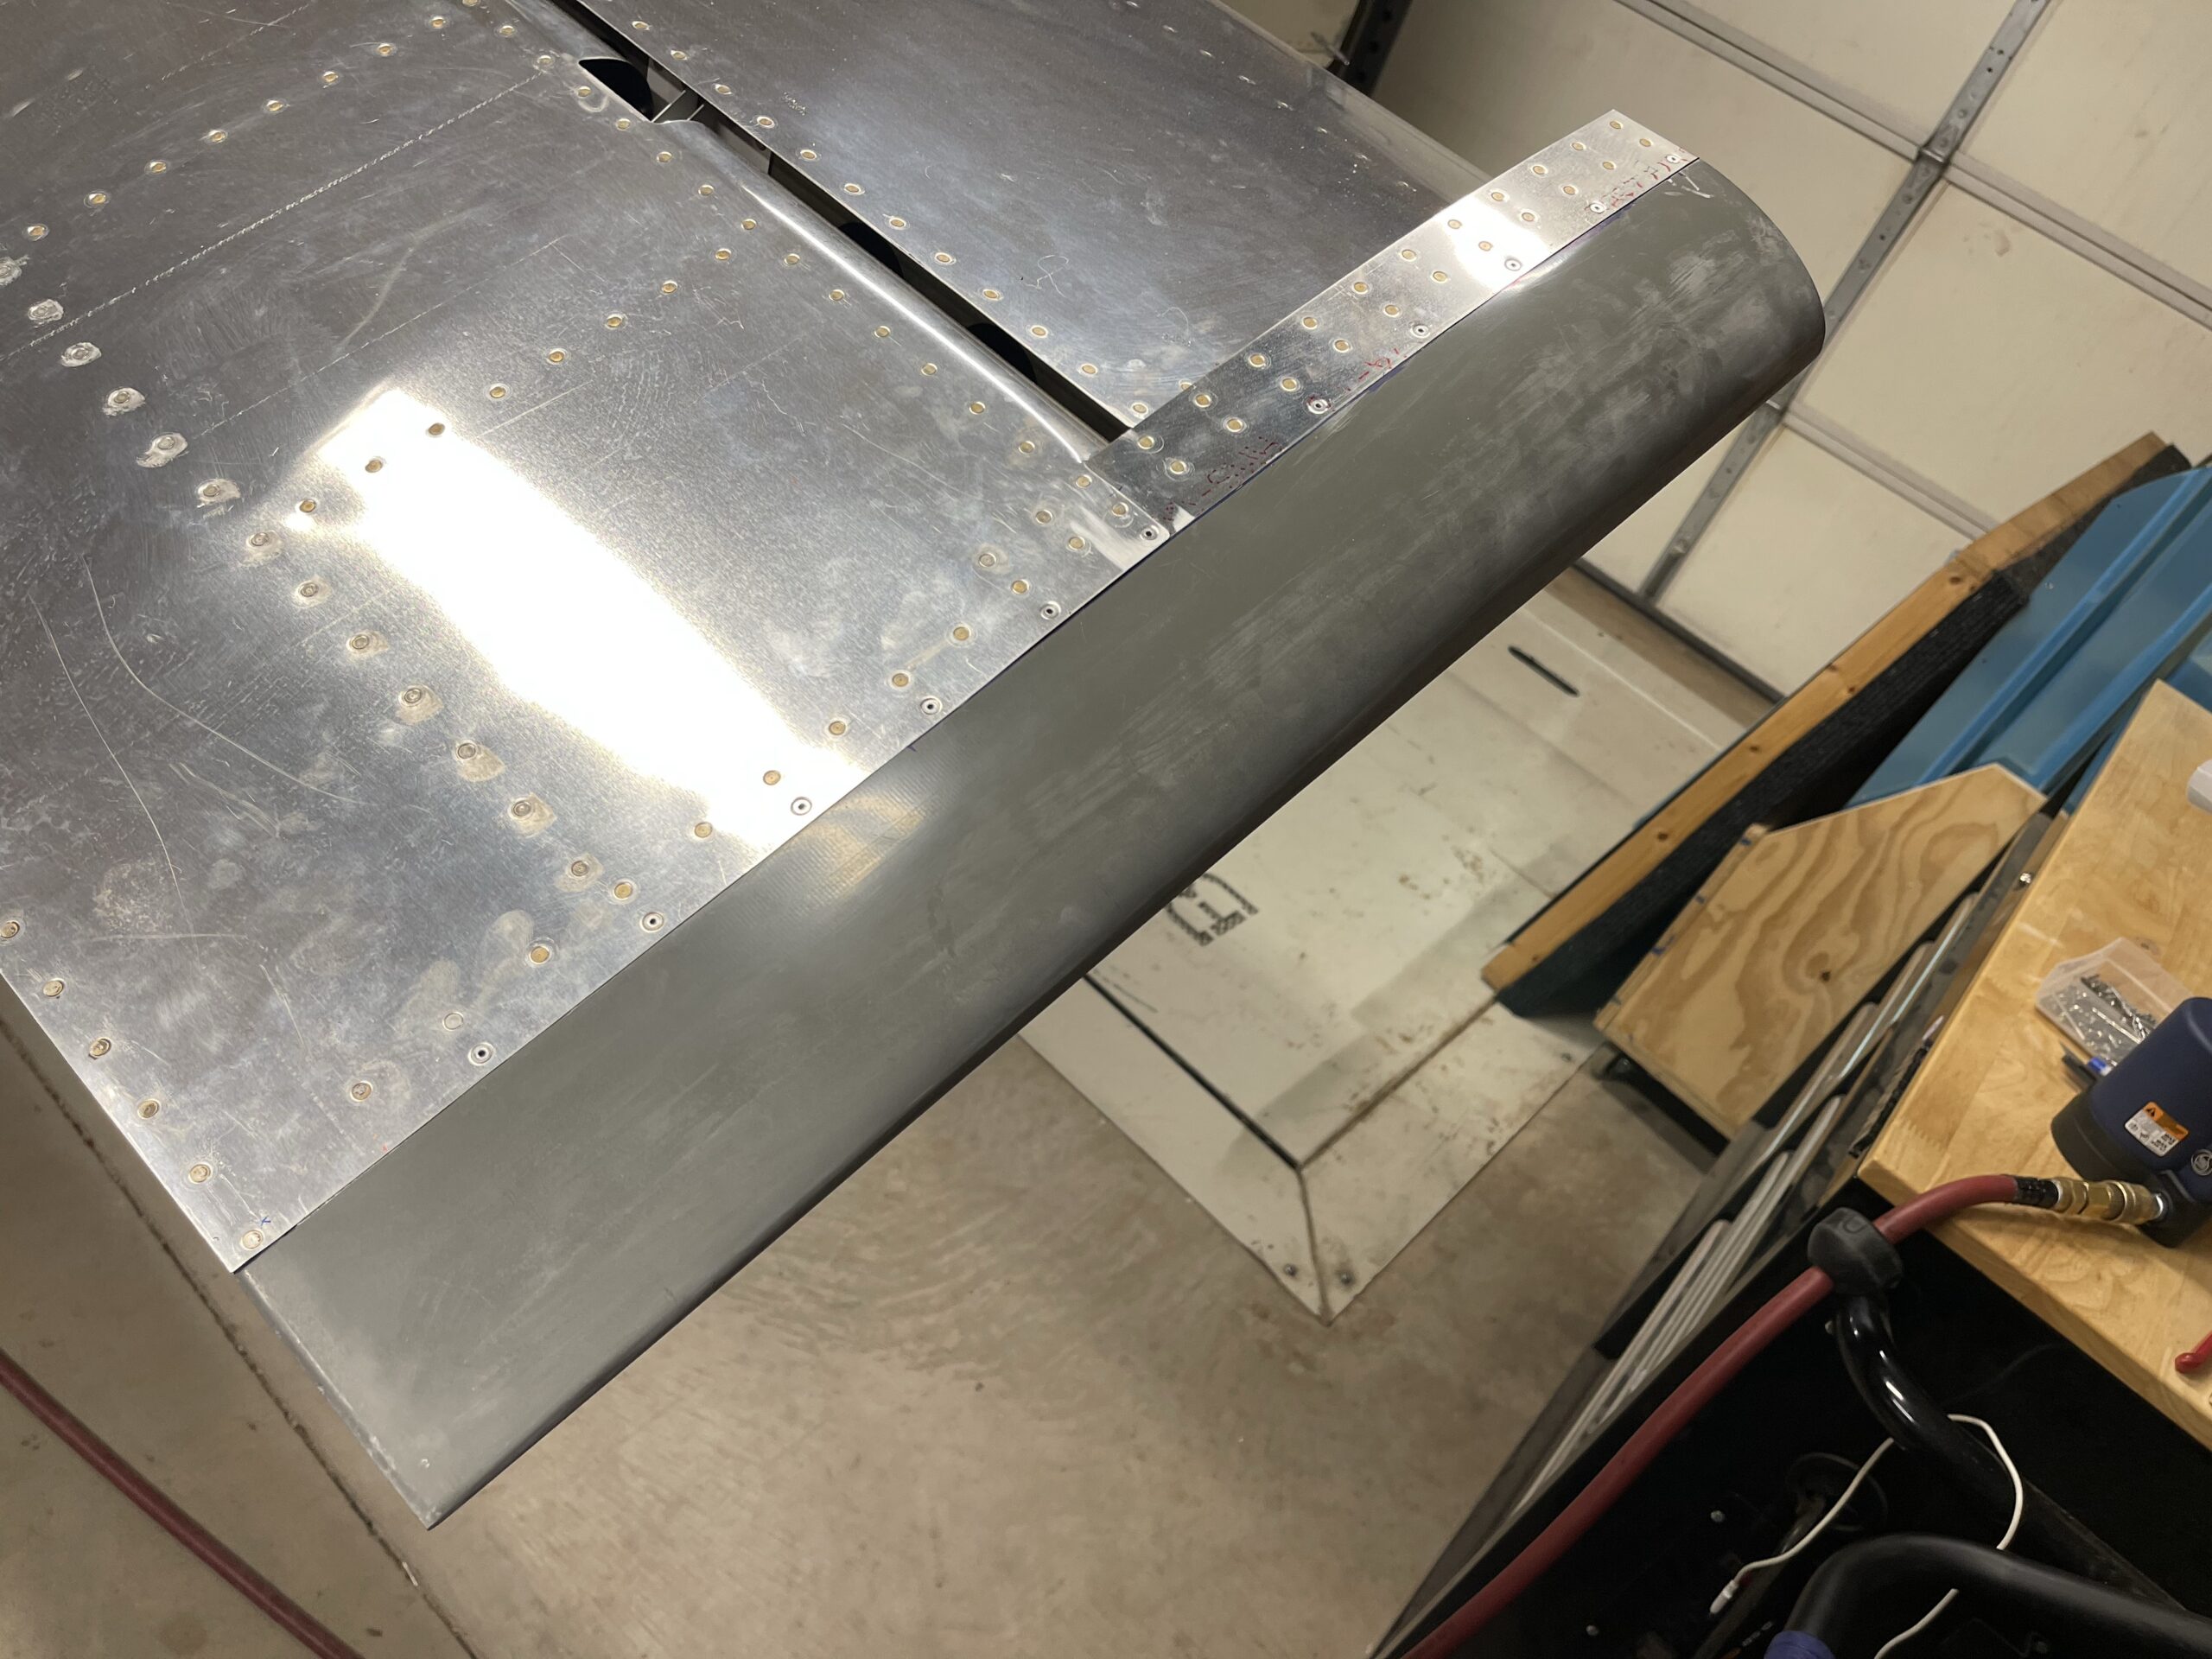
Left Elevator Fairing Installed
I decided to take the rest of Labor Day after finishing the empennage attach section to start working on the fairing. I focused on the left elevator since it was more easily accessible. A large majority of the time as dealt with shaping the fairing, both the surface of it as well as the depth of the flange. It looks good and I’ll start on the right elevator fairing tomorrow.
-
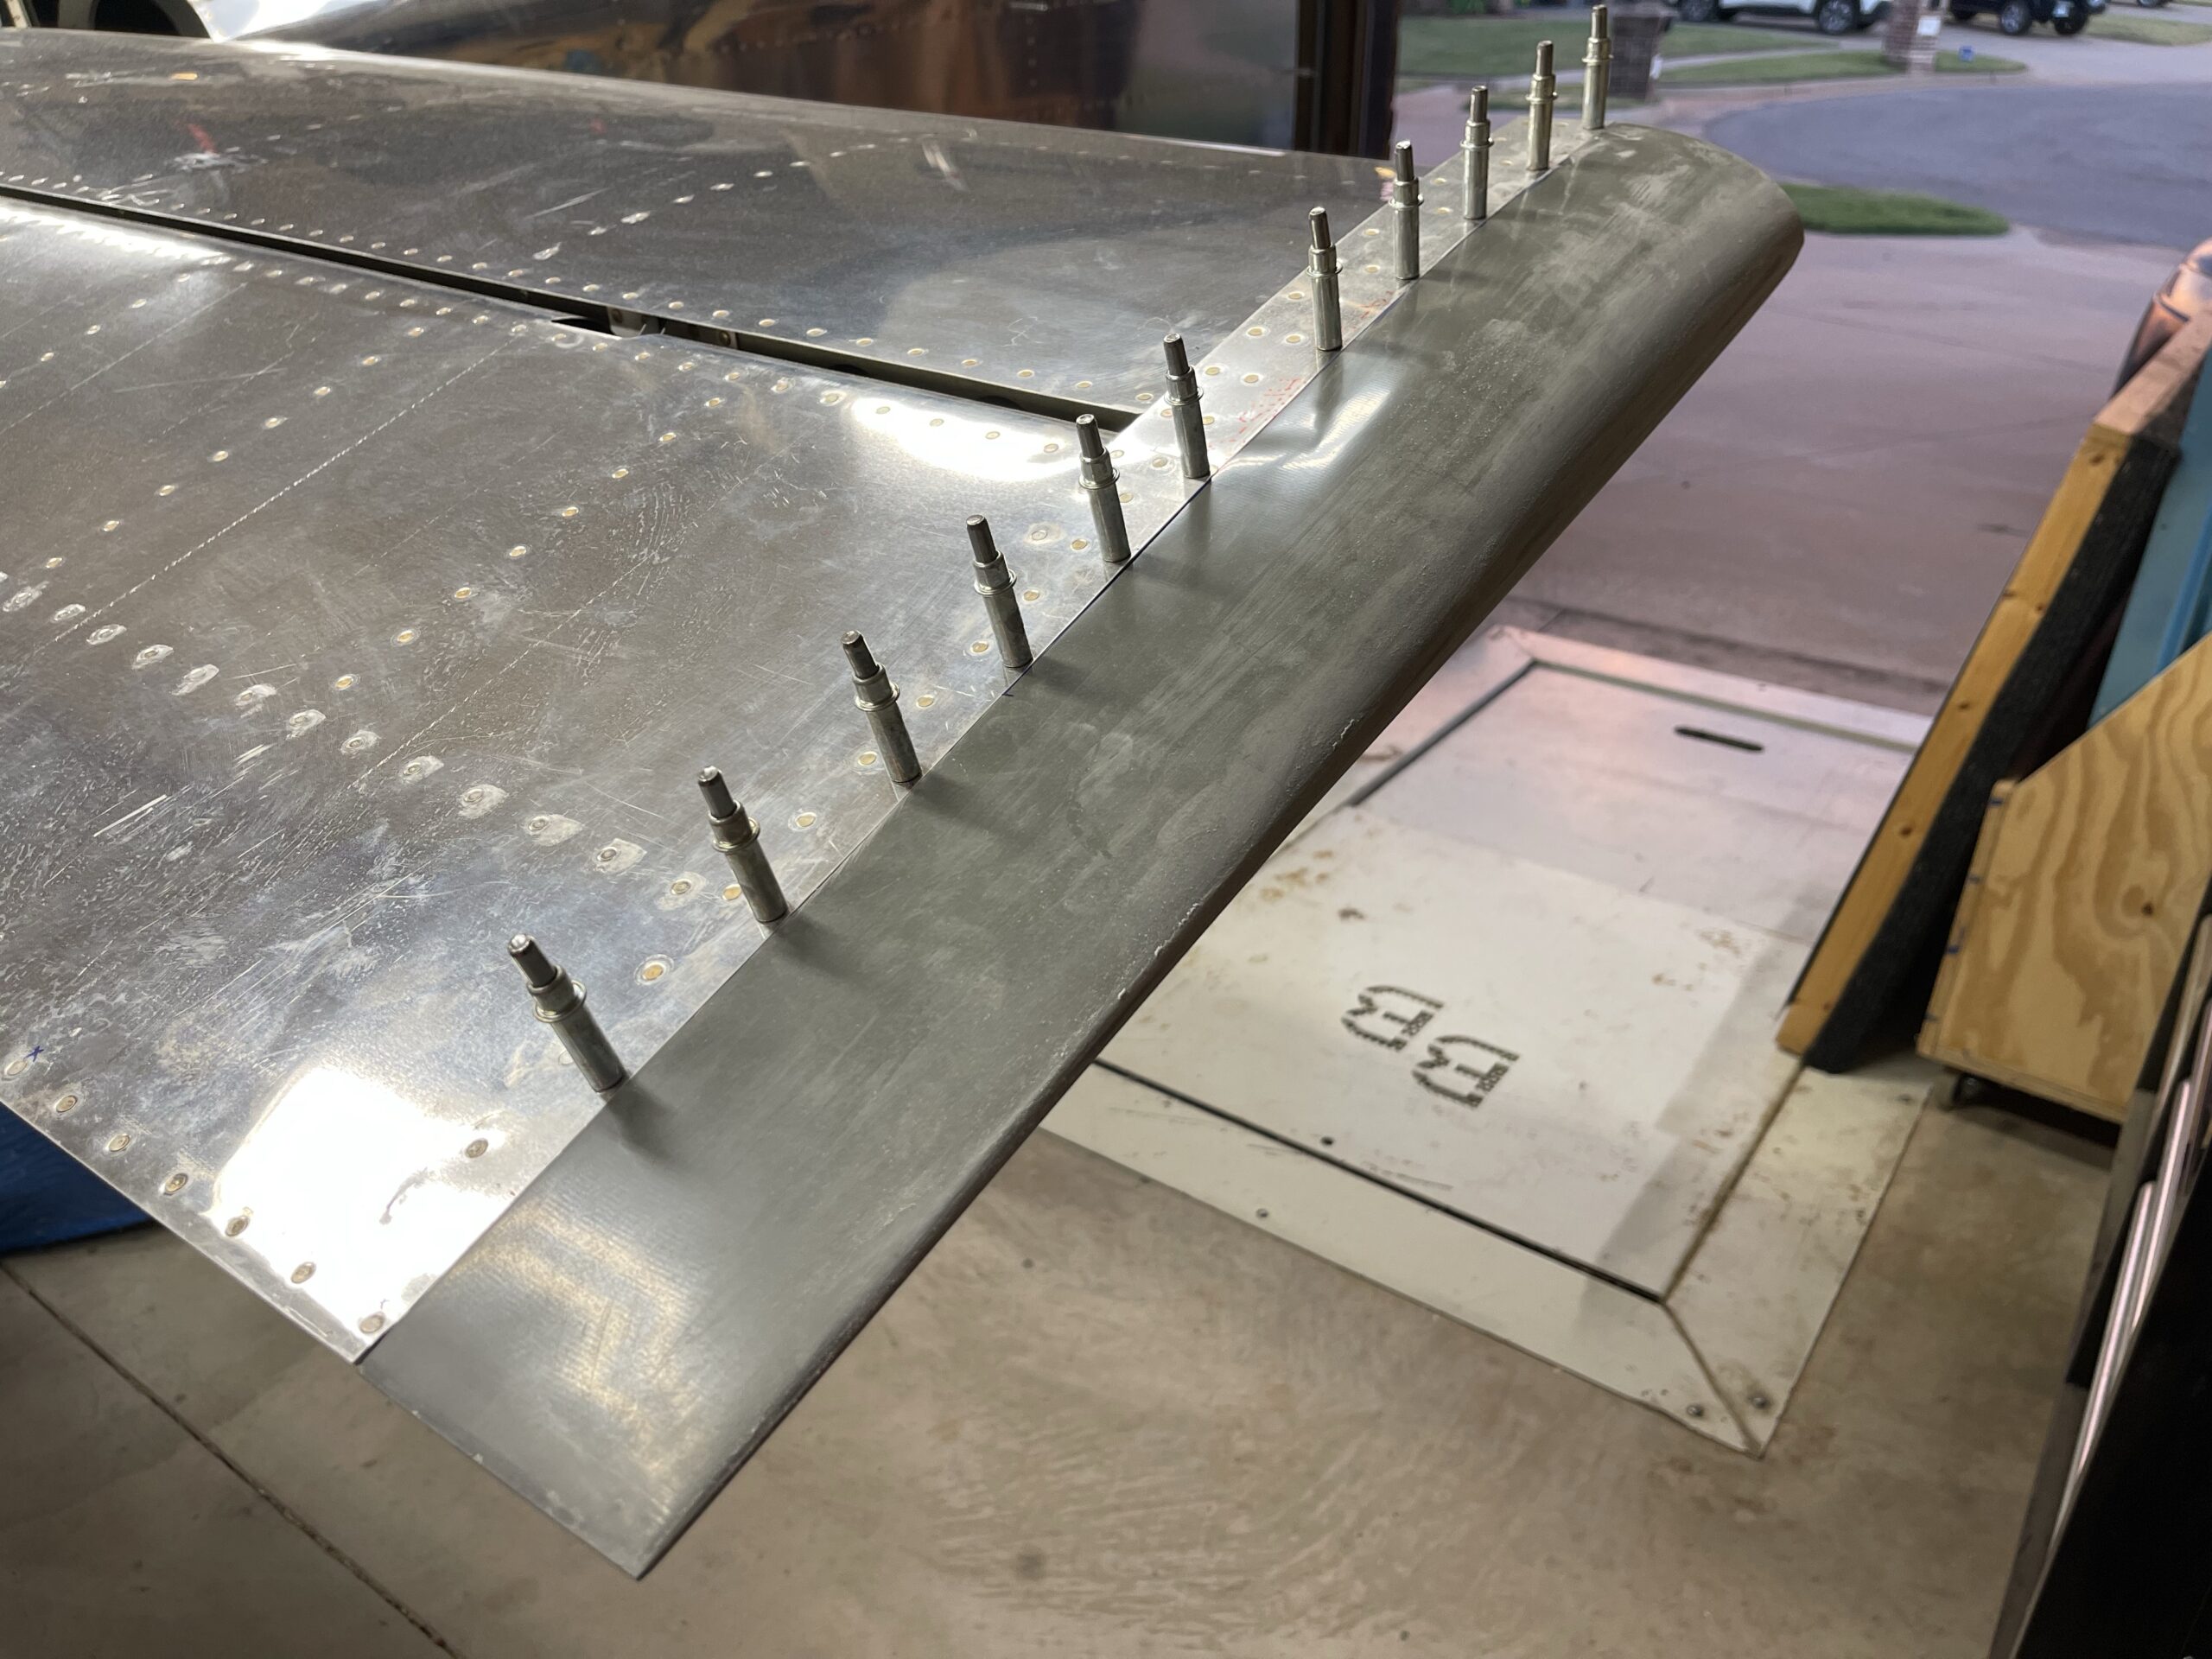
Empennage Attach Section 11 Complete
I finished the rest of the empennage attach work today. I have an issue that I will need to resolve in the future which is the servo throw is not as far as it should be outwards (the servo extending) and it pulls too much in (the servo retracting). I believe it is an issue with the bellcrank brackets that I created. They were off by about 1/16″ and I believe that’s throwing off the geometry. I checked the servo to see if I could change it’s internals but it does not have that capability. I’ll probably have to redo those brackets and be VERY exact on the hole drilling. The part I hate the most is that when you are drilling the tip doesn’t seem to be the center of the drill bit. I will punch a tiny mark to get the center of the hole I need to make and then put the very point of the drill bit on that mark but it always ends up off of that center. Still not sure what I’m doing wrong with it. Next time I make these brackets I’m going to have to start with a small hole and work my way up so that I can make sure that I can correct the hole location as I drill larger and larger.
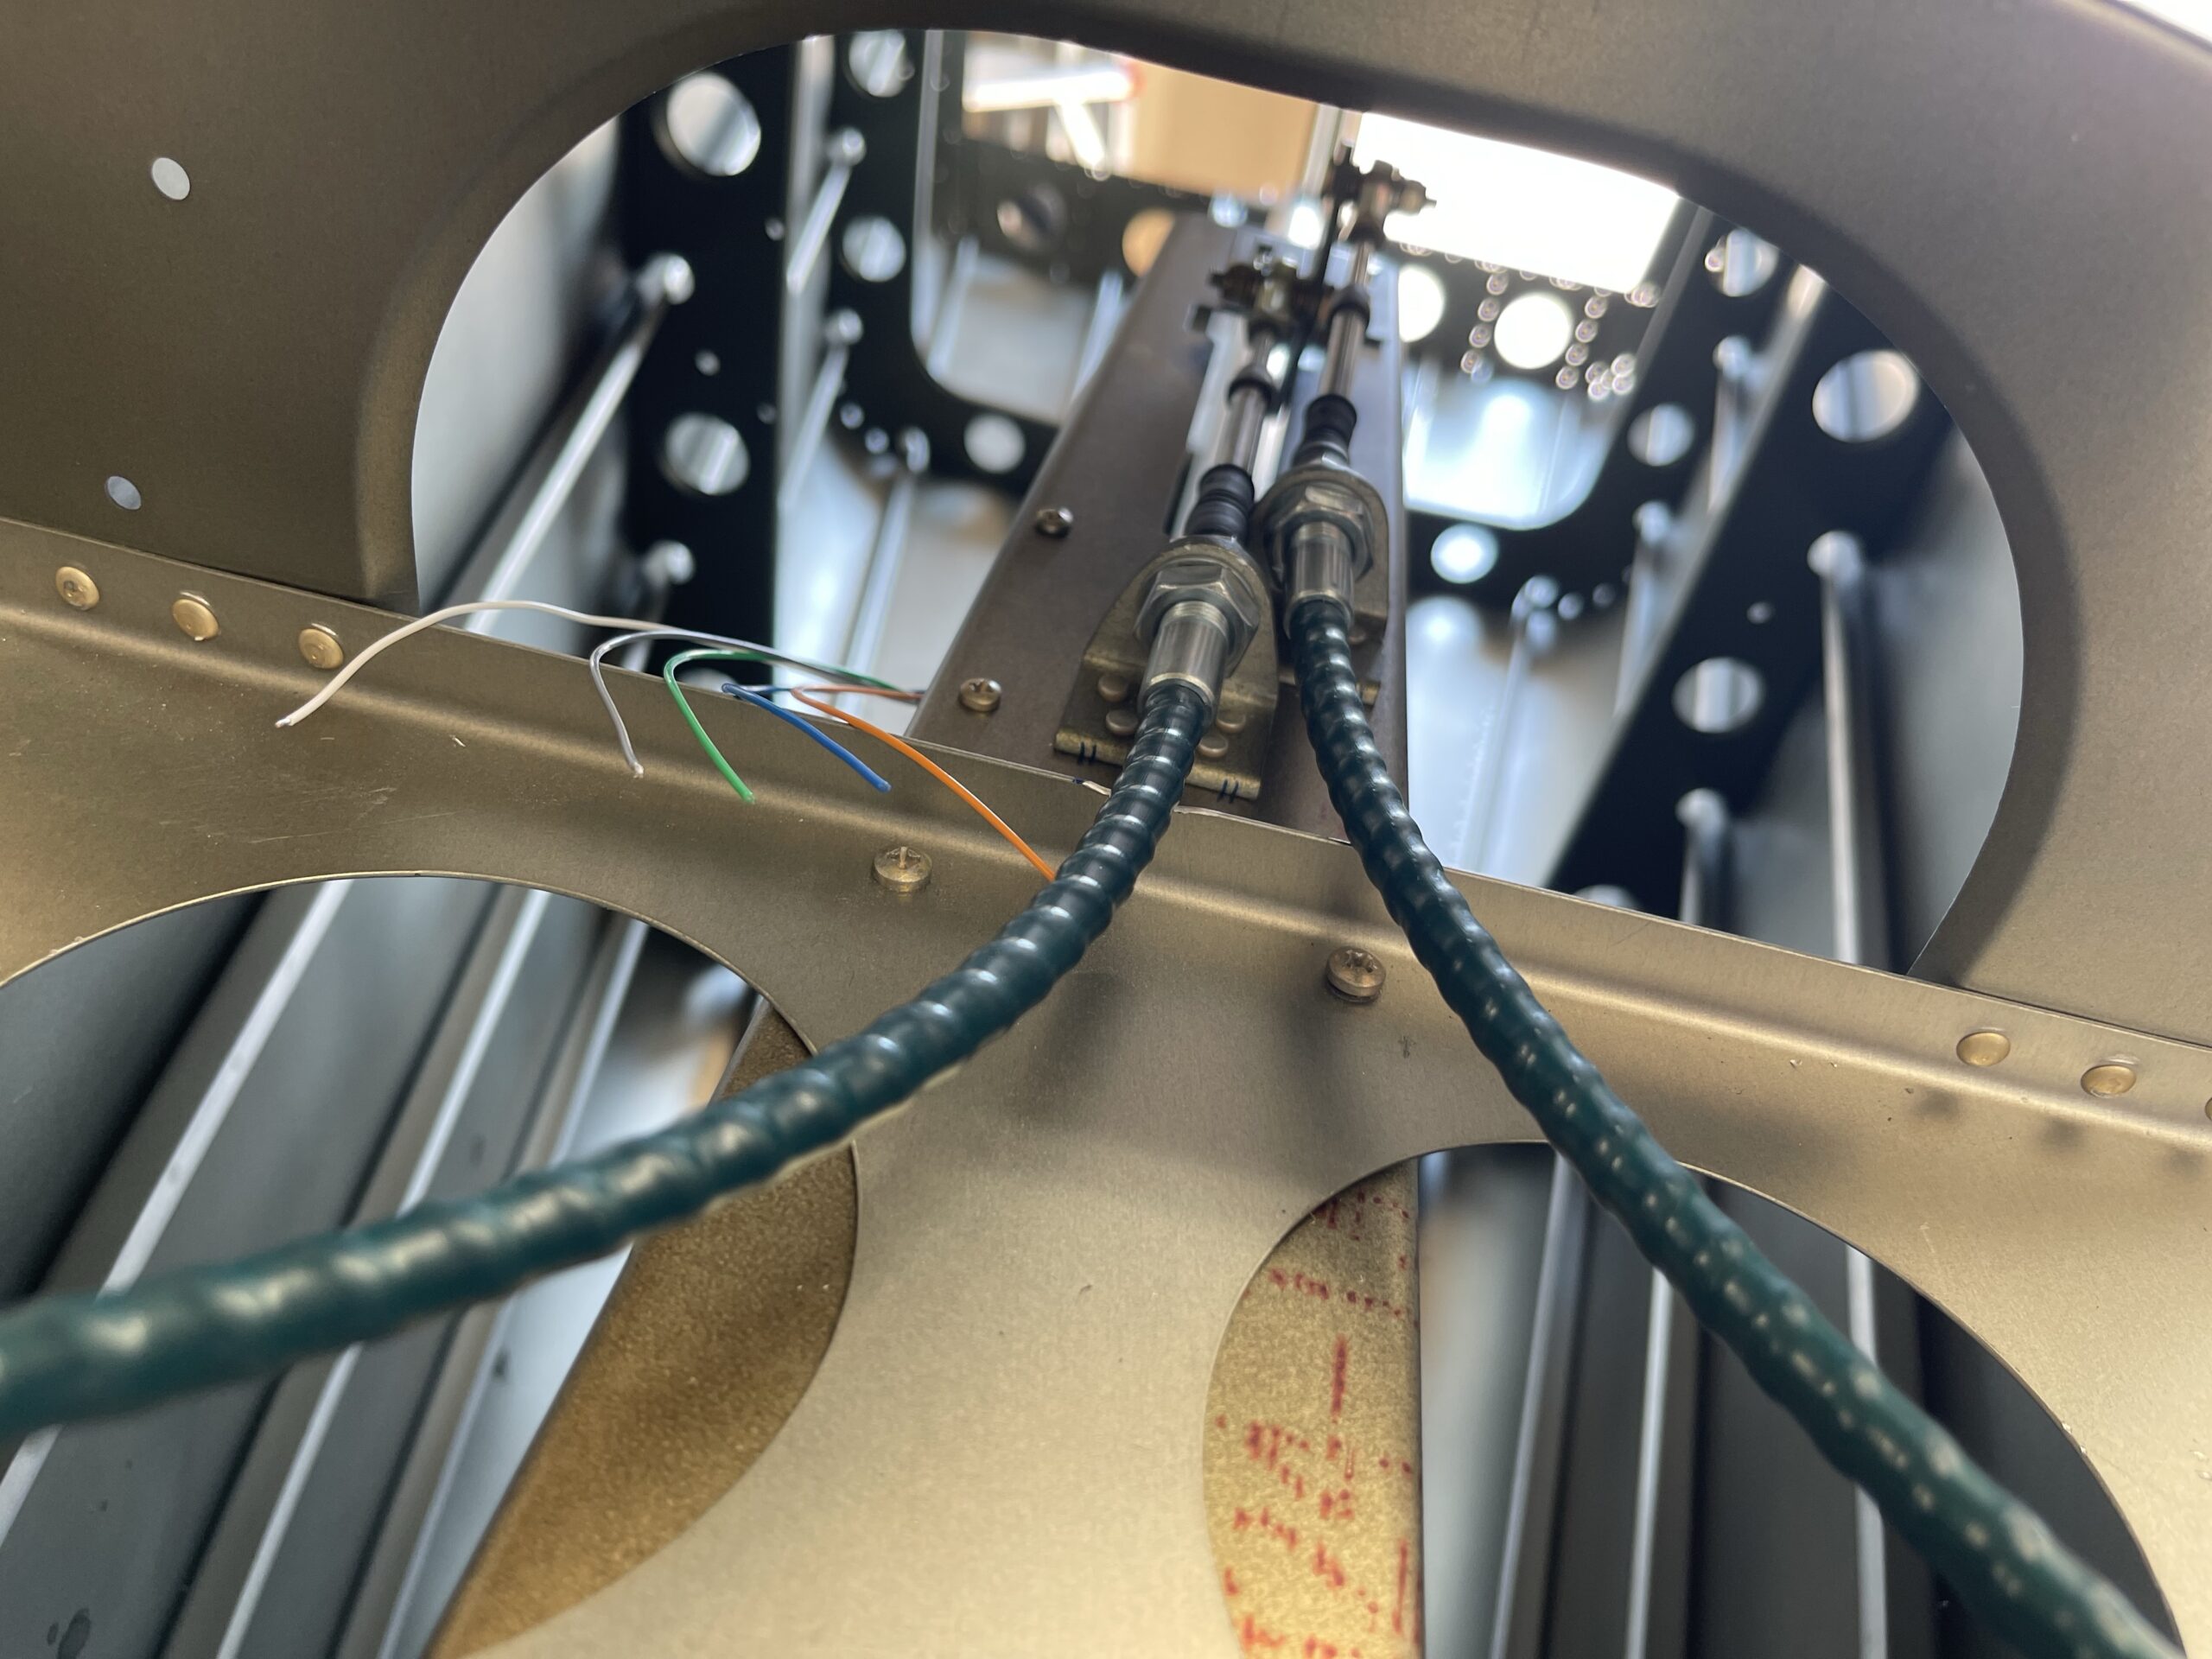
Other than that the rest of this went fine! I might have to adjust the location of the cable sleeve jam nuts but that can be fine tuned later towards the end of the project.
-
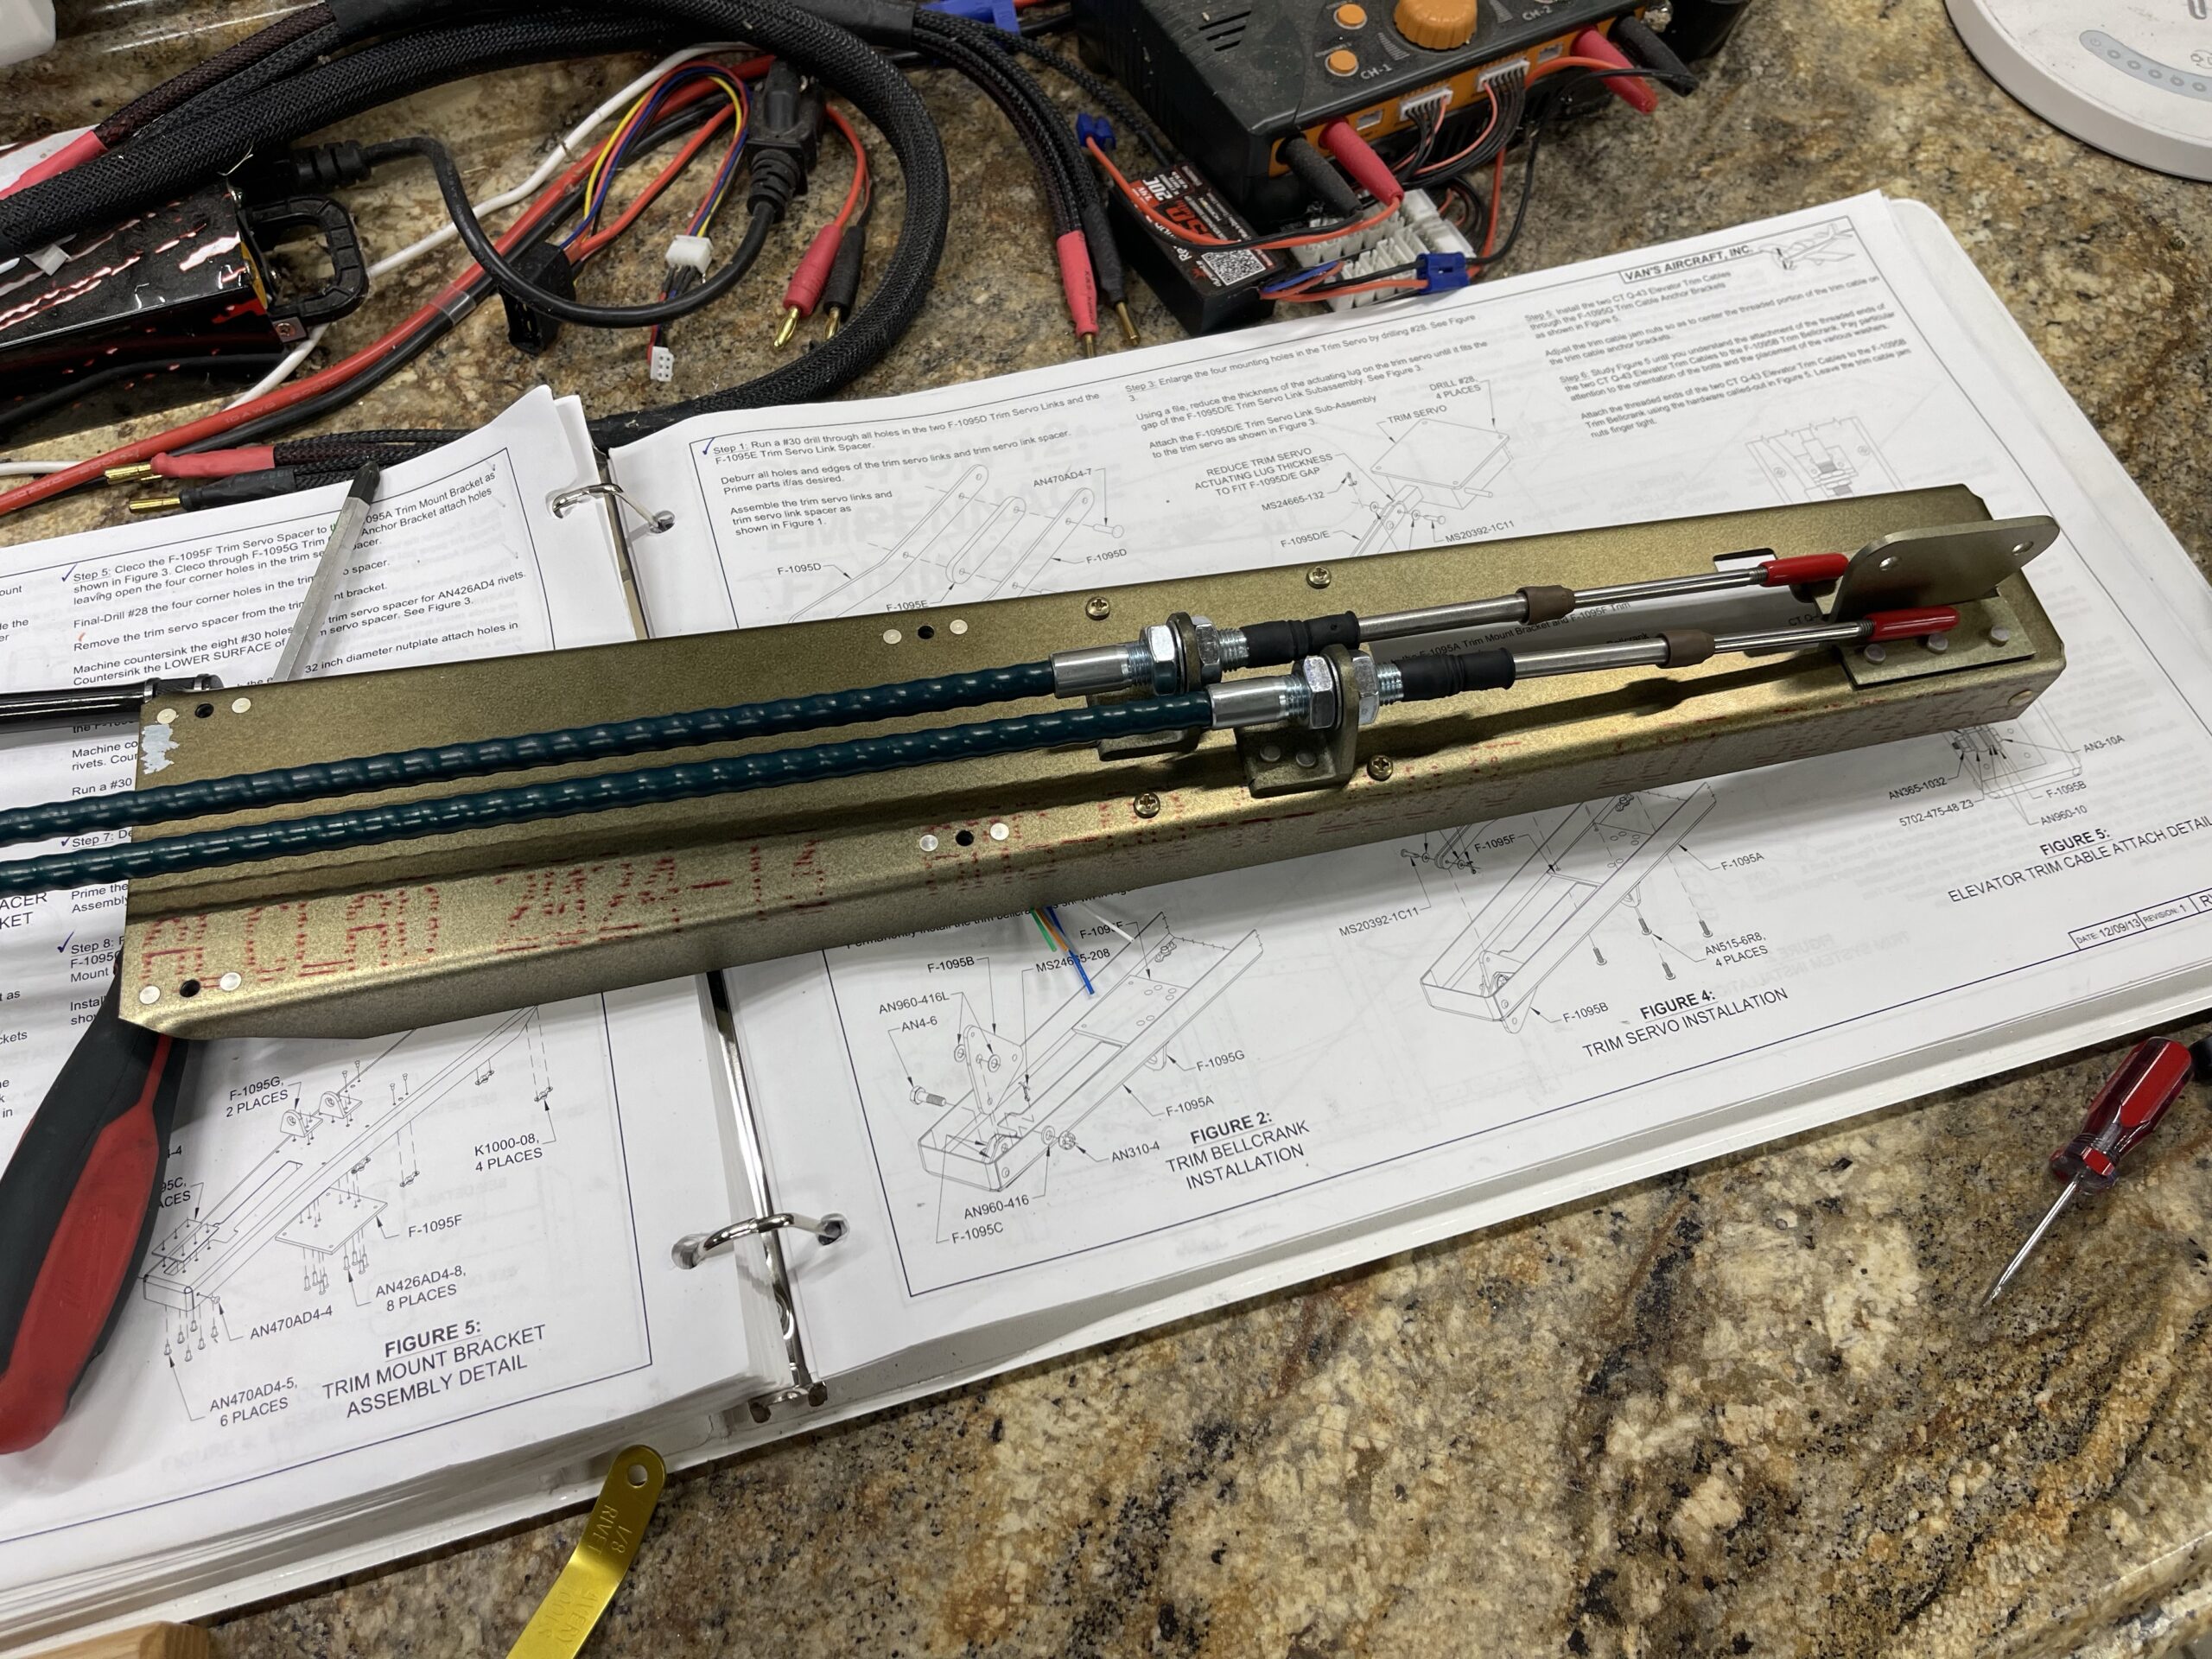
Elevator Trim Servo Mounting Assembly
Eric Muehlberg showed up on August 30th to review what I’ve assembled of the tailcone. He saw everything looked good and he’s going to give me the form on the next EAA chapter meeting on September 9th.
I got all of the parts primed for the trim tab servo assembly. I put it all of the riveted portions together. I need to figure out a way to power up the servo to actuate it from one end to the other. I just have the last page on the tailcone assembly before I move on to the fairing installation steps.
-
Static Ports Drilled & Trim Tabs Glued
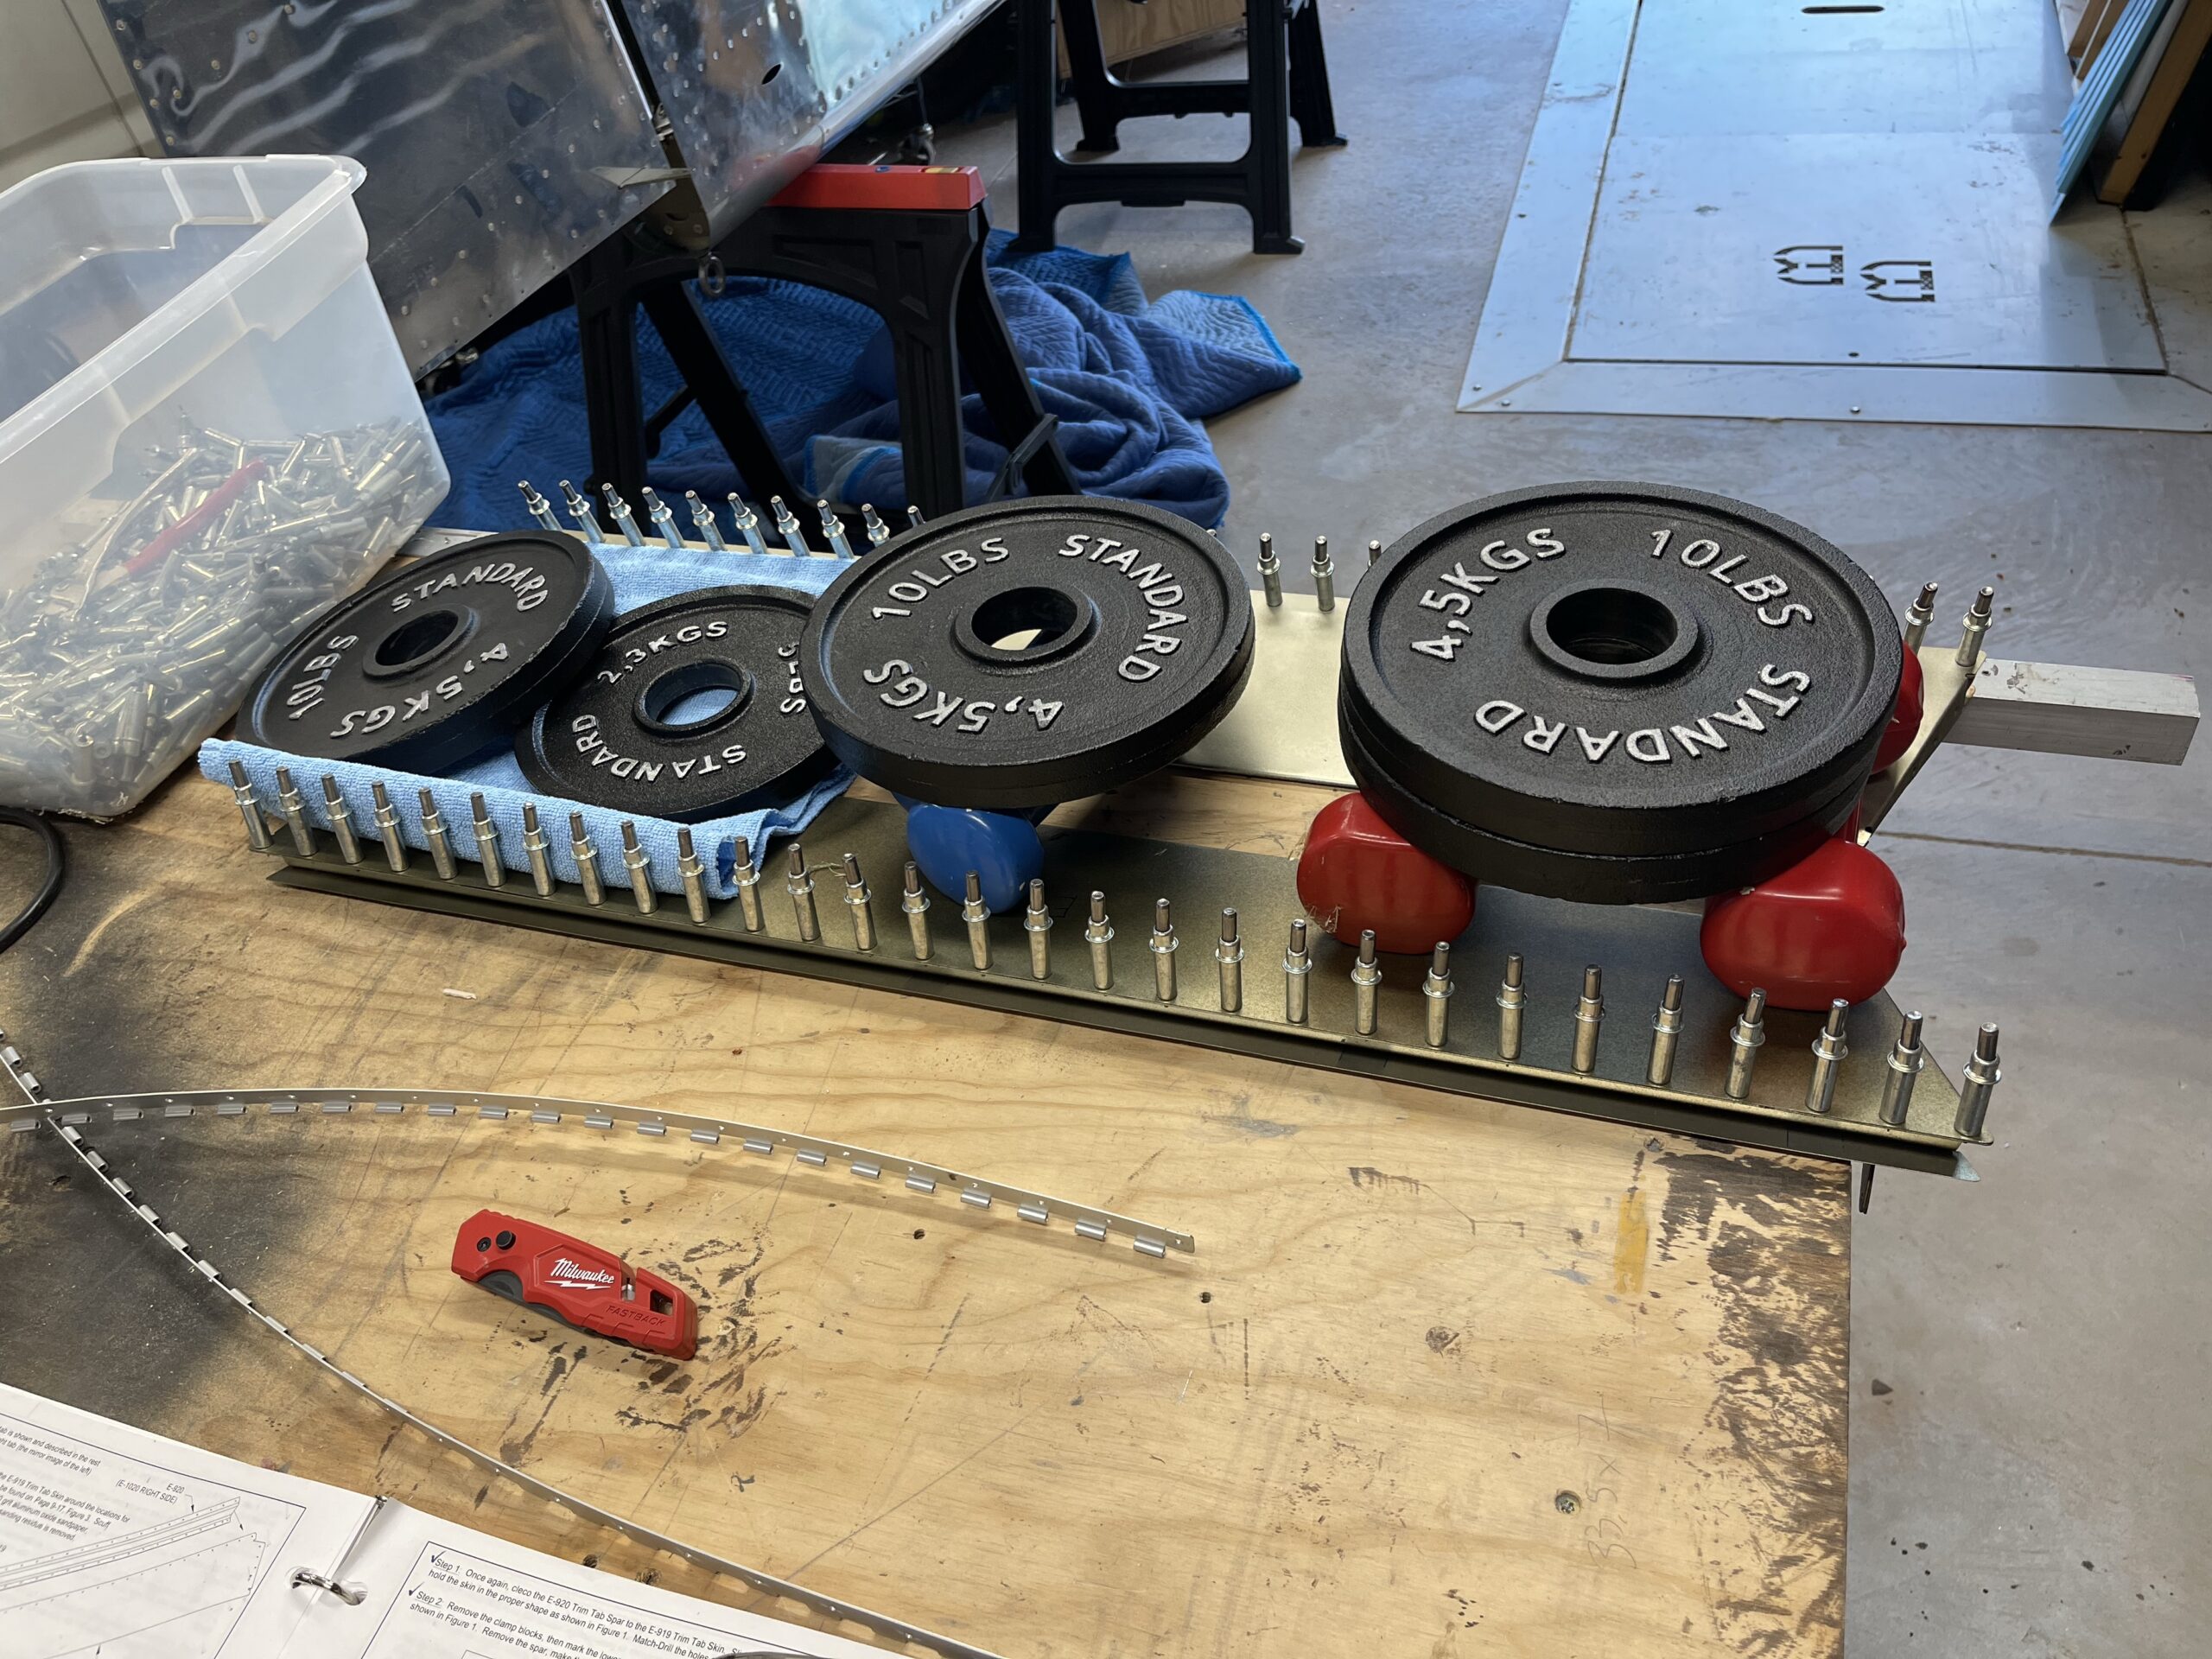
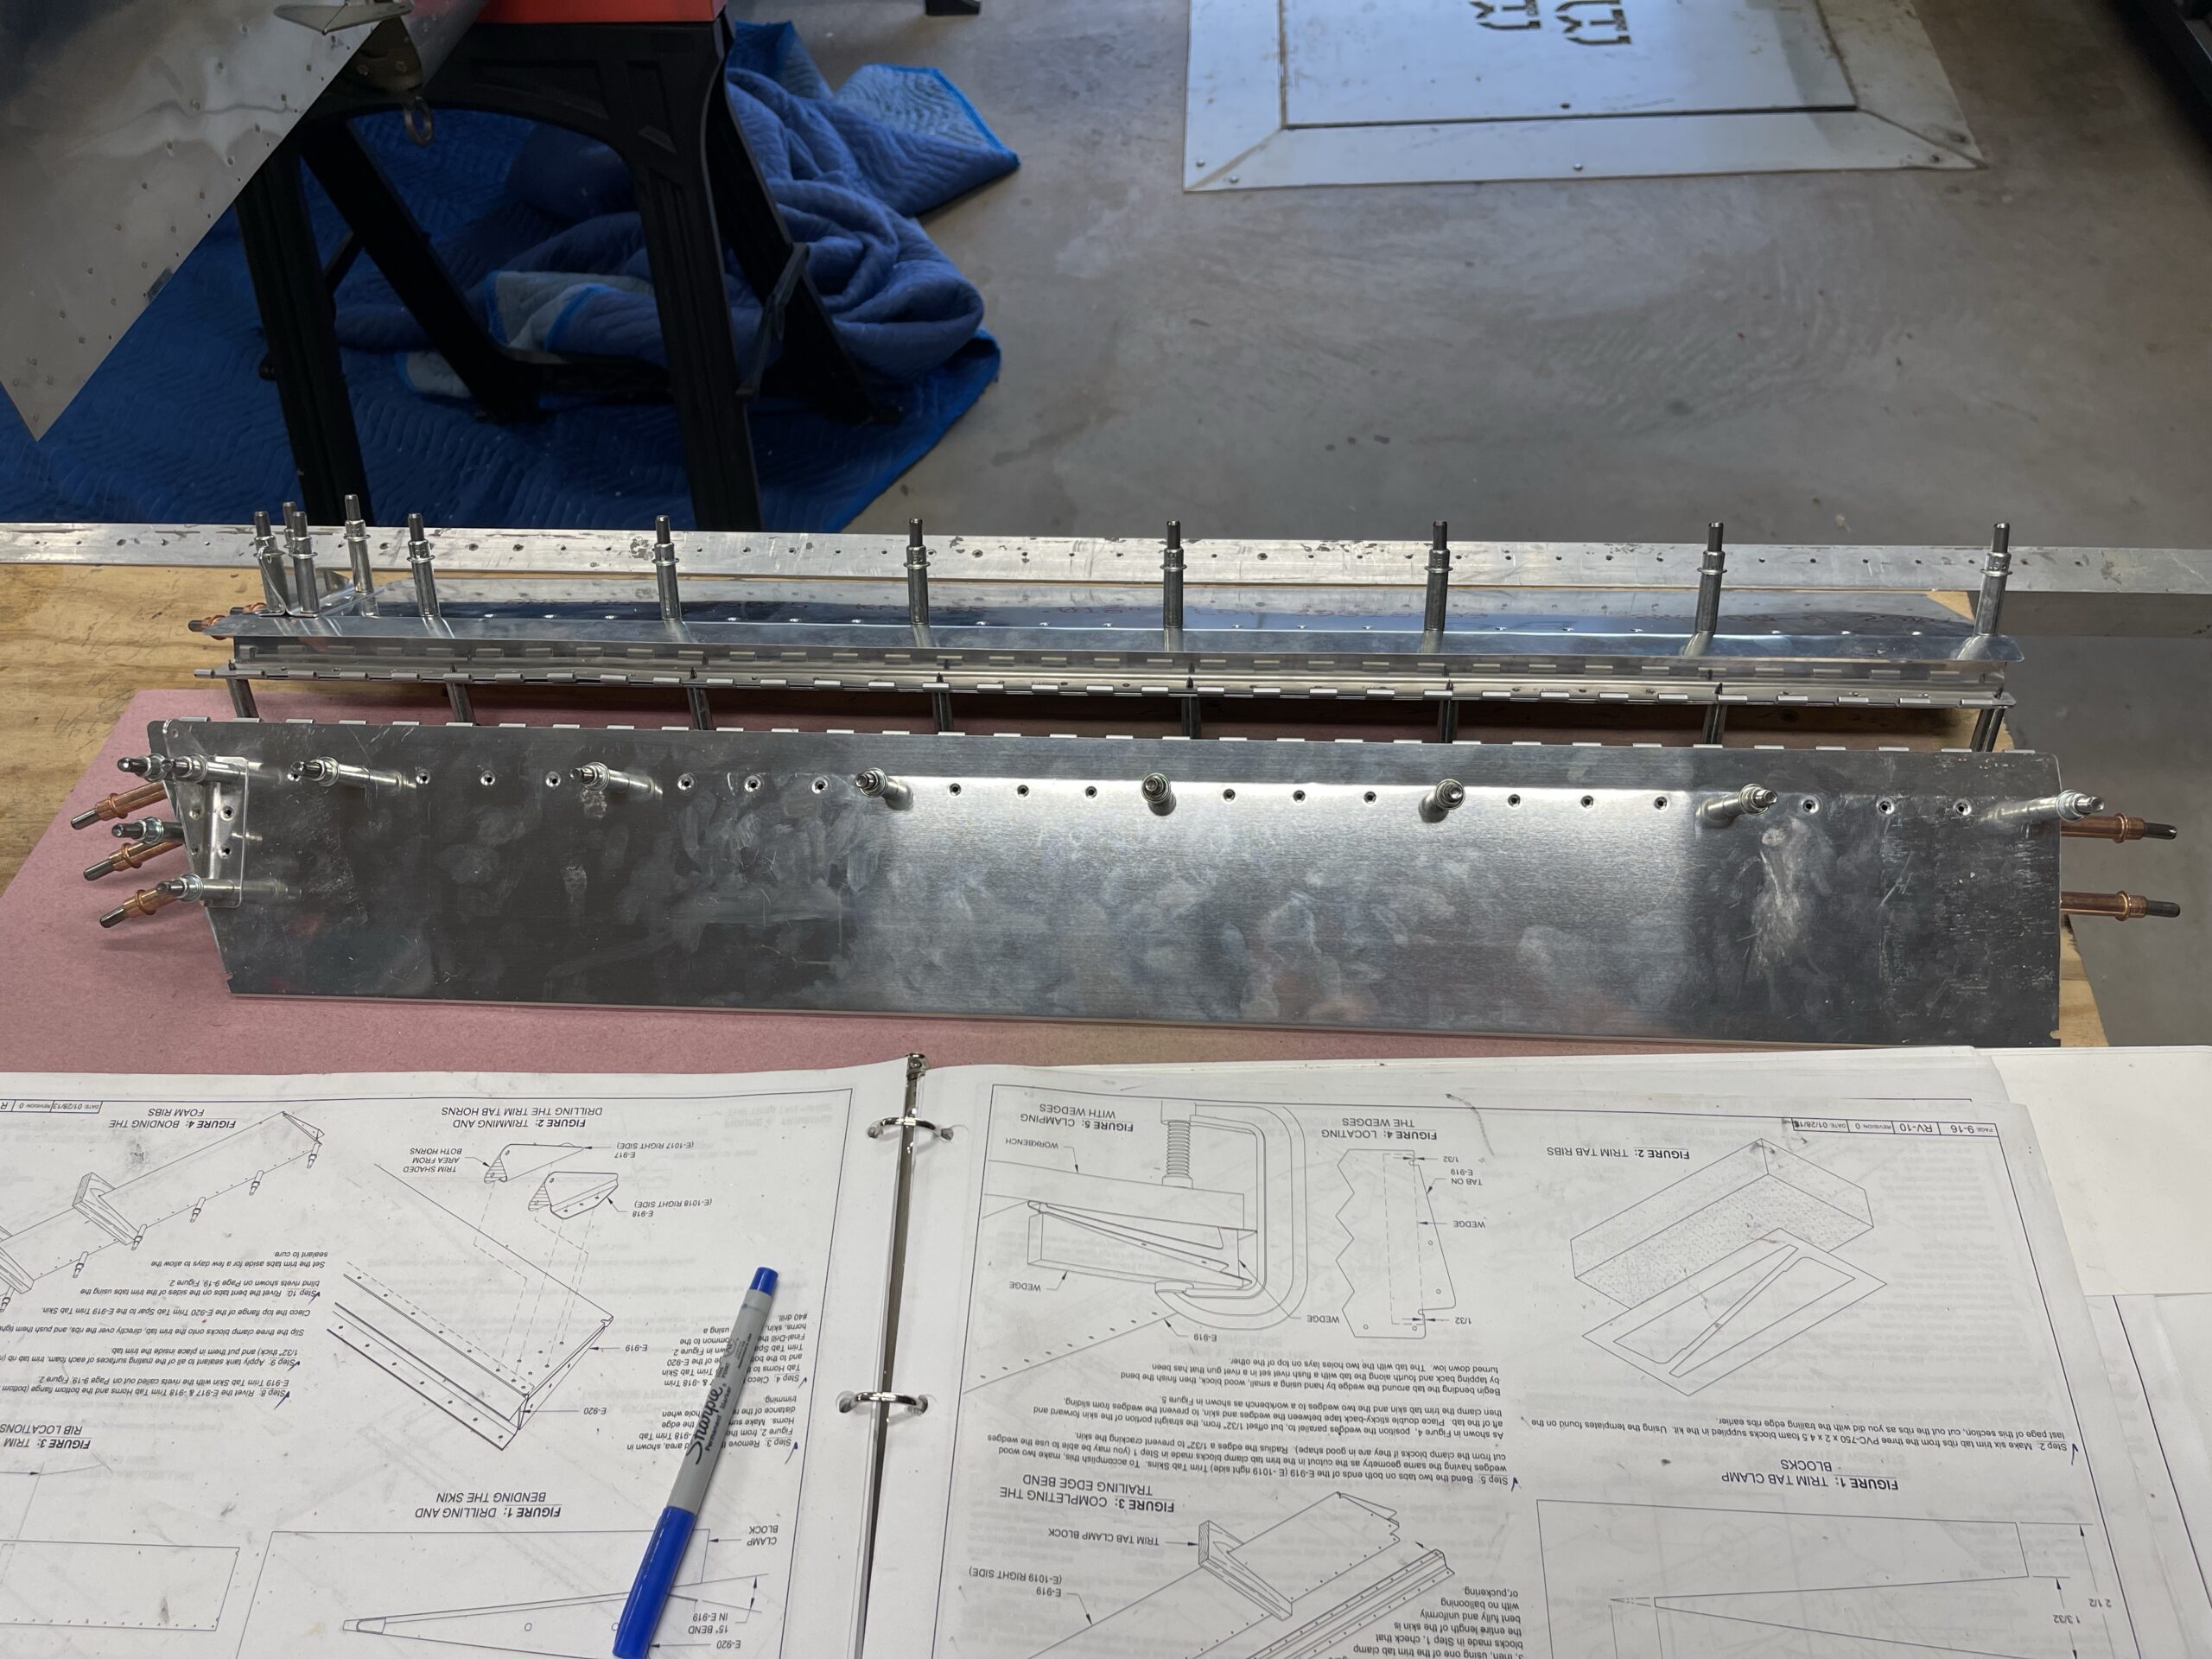
I got the static ports drilled but the back side was way too deep for me to get the nut on the back so I’ll screw those in tomorrow. I did all of the priming and assembly of the trim tabs today. I stead of putting them in the wood forms I decided to do a weighed down approach this time to try to keep the twisting from happening. The picture shows my almost final setup. I went back a little bit later and put two by four blocks on each of the foam ribs and put the weights on them. That should compress everything as well as keep them straight.

Static ports drilled to the size specified 
Almost final setup for waiting for the glue to cure 
Slight change to hopefully equalize the pressure over the foam ribs -
Elevator Trim Tab Dimpling
Super hot today so didn’t work as much as I wanted. Supposed to be 90 tomorrow so we’ll see. It is prepped for priming and assembly at least.