Tag: Empennage Attach

  • Elevator Control Horn Initial Drilling

    Elevator Control Horn Initial Drilling

    I didn’t get too much time yesterday but I did go back and tighten up the lock nuts for the elevator threaded rod end bearings that I forgot to do the other day on the elevators. I also found a piece of wood that was exactly the width I needed for between the control horns and drilled the first hole. I need to get the drill press out tonight, drill the block and then drill the control horns together.

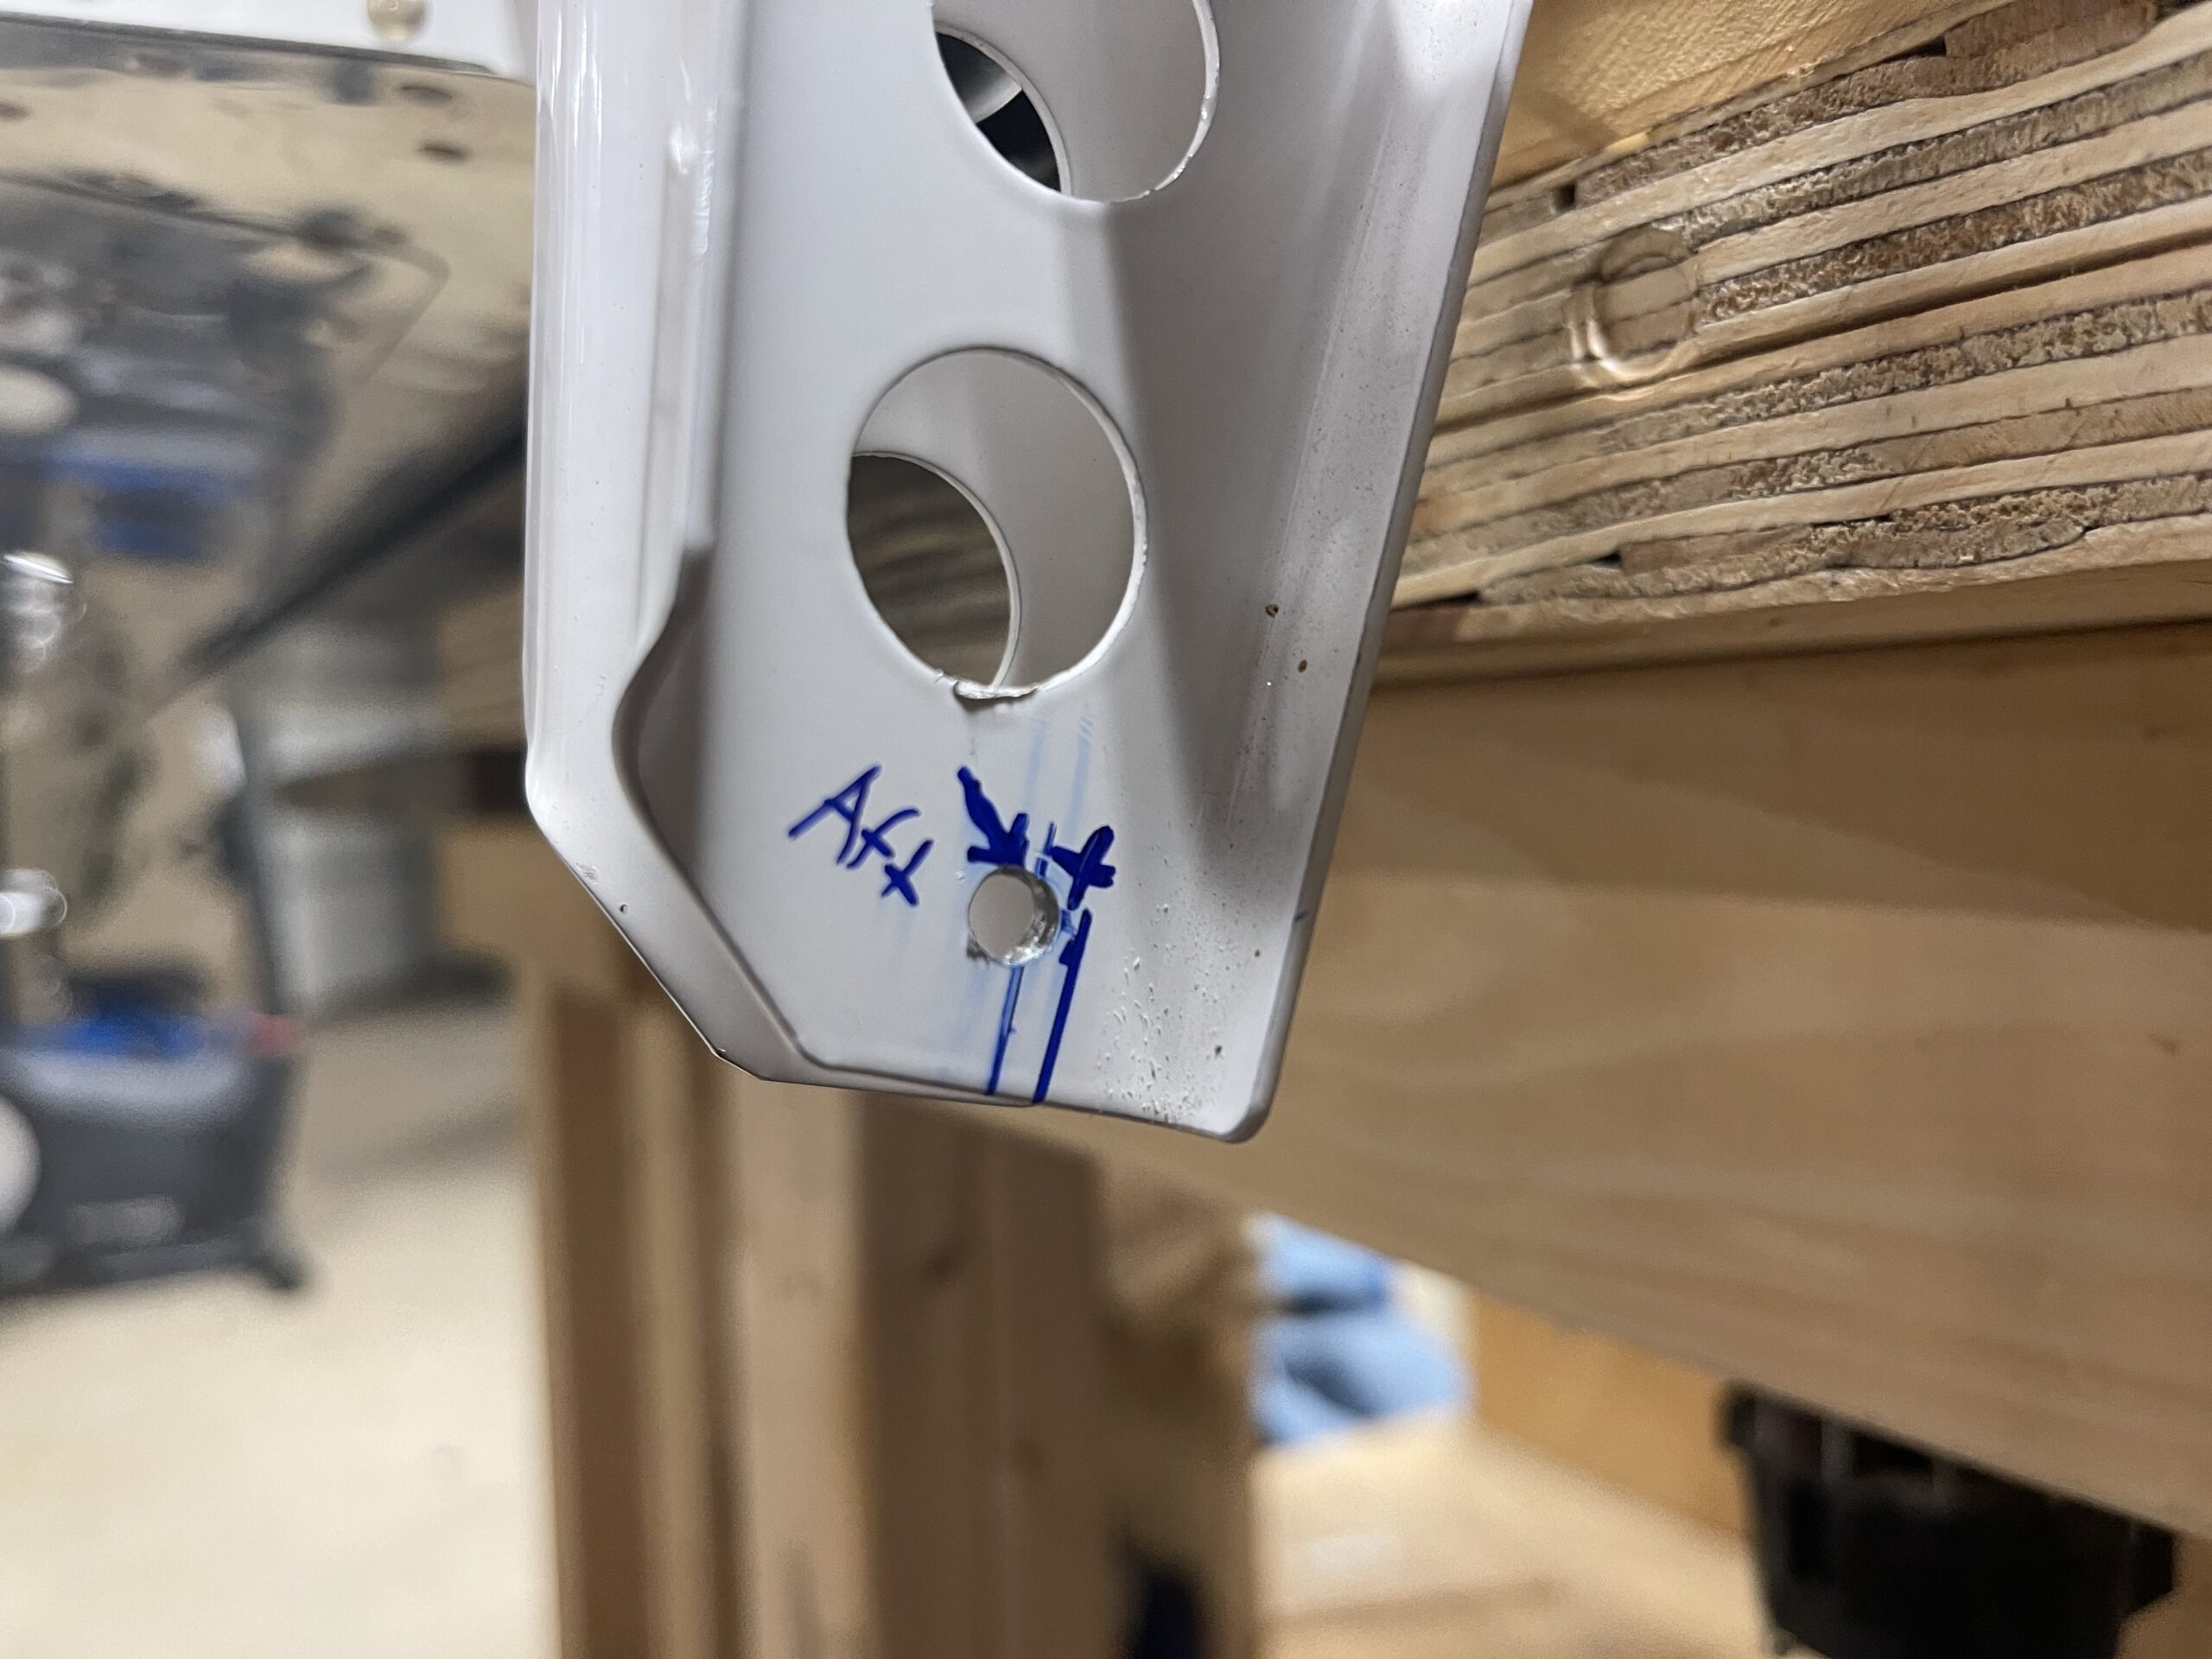
    I did end up ordering a new caliper as my old one just doesn’t want to work anymore for some reason. And all of it’s dimensions on the slide ruler are in metric. So I had to measure what I needed on a ruler with the caliper and then transfer that to the control horn. Also ignore the mark I made on the control horn that is still there. I had my measurements backwards and when I went to double check my work I noticed I had them switched.

  • Elevators Aligned & Installed

    Elevators Aligned & Installed

    Over the past few days I’ve worked here and there to get both the left and right elevators straight and the control horns drilled. I was surprised that the drill bushing was not only larger in diameter (which they warned us about) but I also had to figure a way to drill out the middle to the right size. Either way, it’s all done and it’s aligned. The one odd thing is that the right elevator is straight down the line, but the counterbalance is 1/16″ skewed inboard. The left elevator is in great shape and straight as can be. Not sure why it is off that amount.

  • Left Elevator Initial Attachment

    Left Elevator Initial Attachment

    I didn’t get alot of time to work on the plane this weekend with all of the church and band activities we participated in. I did get the left elevator attached and measured the gap along the counter balance. It is 1/16″ wider at the front than at the back. The back is perfect at 1/8″. I’ll need to take it off and remeasure the rod end bearings distance from the rear spar. I suspect I might have tightened the right rod end bearing one turn too much but we’ll see tonight when I start working on it again.

  • Empennage Attach Step 1

    Empennage Attach Step 1

    I decided to go on ahead and go through the empennage attach section since I’m still waiting on Van’s to get back with me on the elevator tab template. I also don’t want to pull all of the wing parts out just yet since I was reviewing the parts I had left over and saw that those were part of the empennage attach section. I’d like to get all of the parts put on instead of having them laying around till I finish the project almost. I got the rod end bearings attached to the elevators, which actually was more difficult than I expected. I ended up using a open end wrench and then a screw driver through the boxed end of that wrench to turn it. I got them set to 7/8″ like they asked for and I put on the torque dope or whatever it’s called that lets you see if your nut has moved. I also got the horizontal stabilizer on the table but I don’t have a screw that is tiny enough to go through those holes. I’ll have to drop by Lowes tomorrow and see if they have something that skinny.