I did quite a bit of filler and sanding and I’m about as far as I want to get with it at this point. I’ll come back when the plane is nearing completing to get this done the way I want it.
Tag: Empennage Fairings
-

More Filler and Sanding
I spent most of my time today and yesterday filling the low spots and sanding. Not alot of an update here but wanted to include pictures. I do need to order some thin fiberglass so that I can glass over the edges between the fiberglass parts and the aluminum. I’ve seen quite a few builders do that to have a very smooth and strong transition so I plan on doing that as well.
-
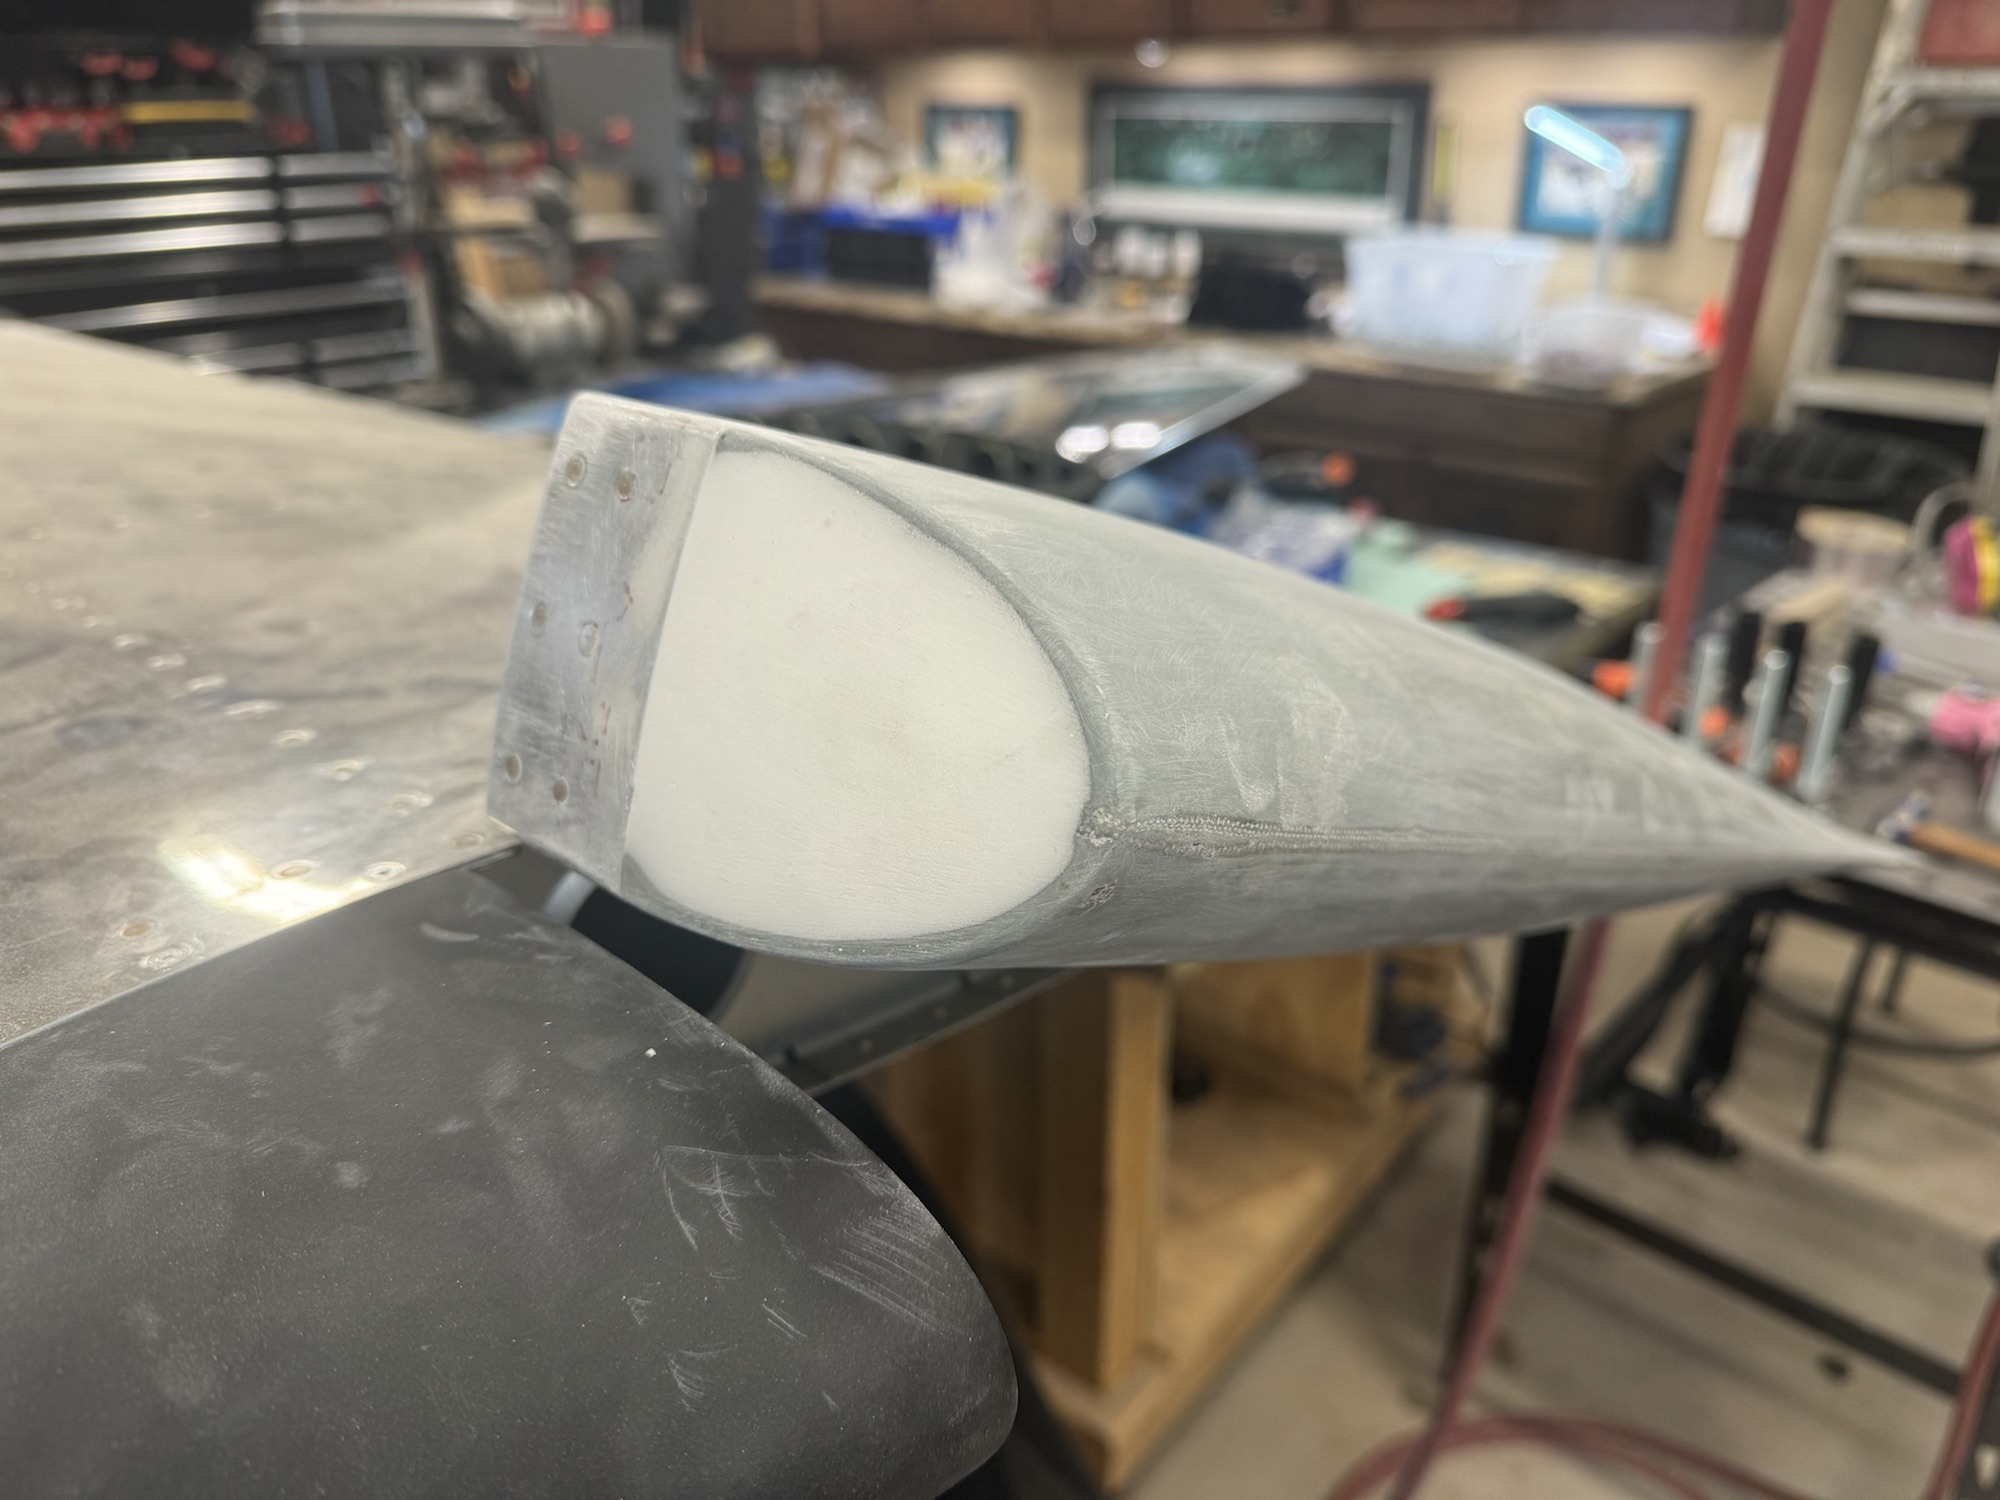
VS Tip Fiberglassing Continues
I trimmed and sanded down the first two layers of glass and it definitely wasn’t thick enough to cover the rear gap. I added three more layers and that still didn’t add enough thickness but I wanted to go ahead and get the interior glass layers done first so I put two layers in there to help hold it to the tip. I won’t have any time today with church but I plan to work on it some more on Thursday. I might add a few more layers of glass tonight to the back to add more thickness but I’m not sure. I’m going to do some research and see what others might have done in this scenario where the back portion needs to be filled quite a bit.
On another note, the servo mounts for the three Garmin GSA 28 servos came in yesterday! I’ll need to figure out where they need to be installed. I know at least two of them are in the fuselage but I think the yaw control might be in the empennage.

-

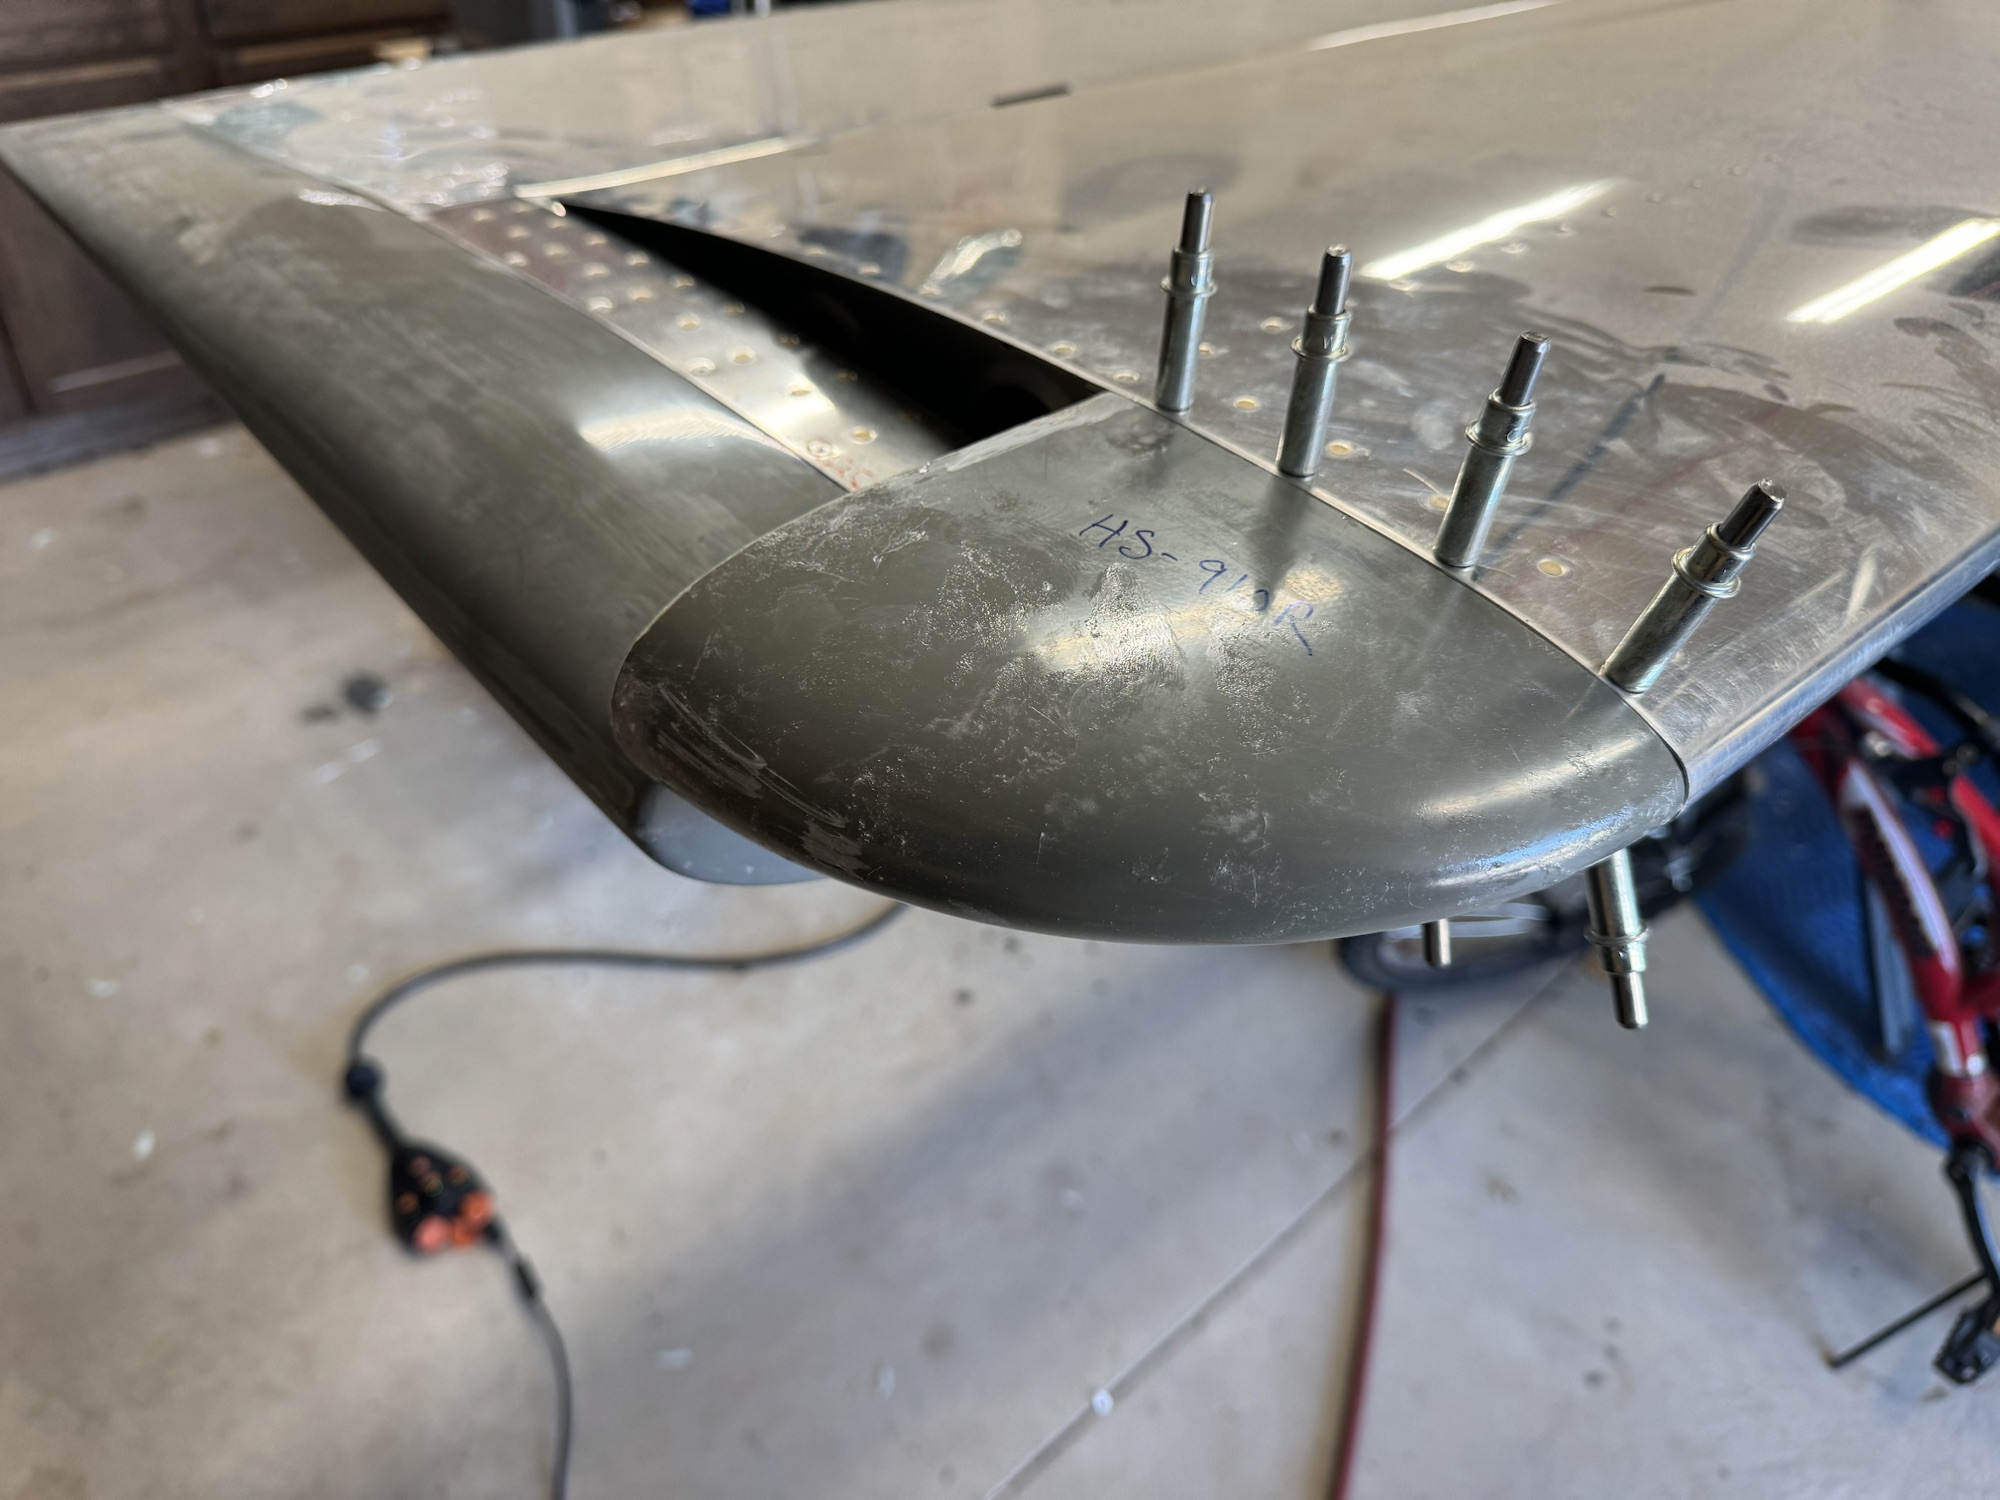
HS Tips Primed and Installed – VS Tip Fiberglass First Layers
I got the HS tips sanded, countersunk, cleaned, primed and installed tonight. I also got the fiberglass for the first two layers done for the VS tip tonight. Had to strap it down so it wouldn’t move on me as it was still wanting to bow in a few millimeters. So I set the width and clamped it down slightly to hold to width. Tomorrow I’ll glass the back side of it and then I’ll have to see if I need more glass layers on the back because it is so far from the front of the rudder. I might also double check my hardware for mounting the rudder and make sure it is at the right depth.
-
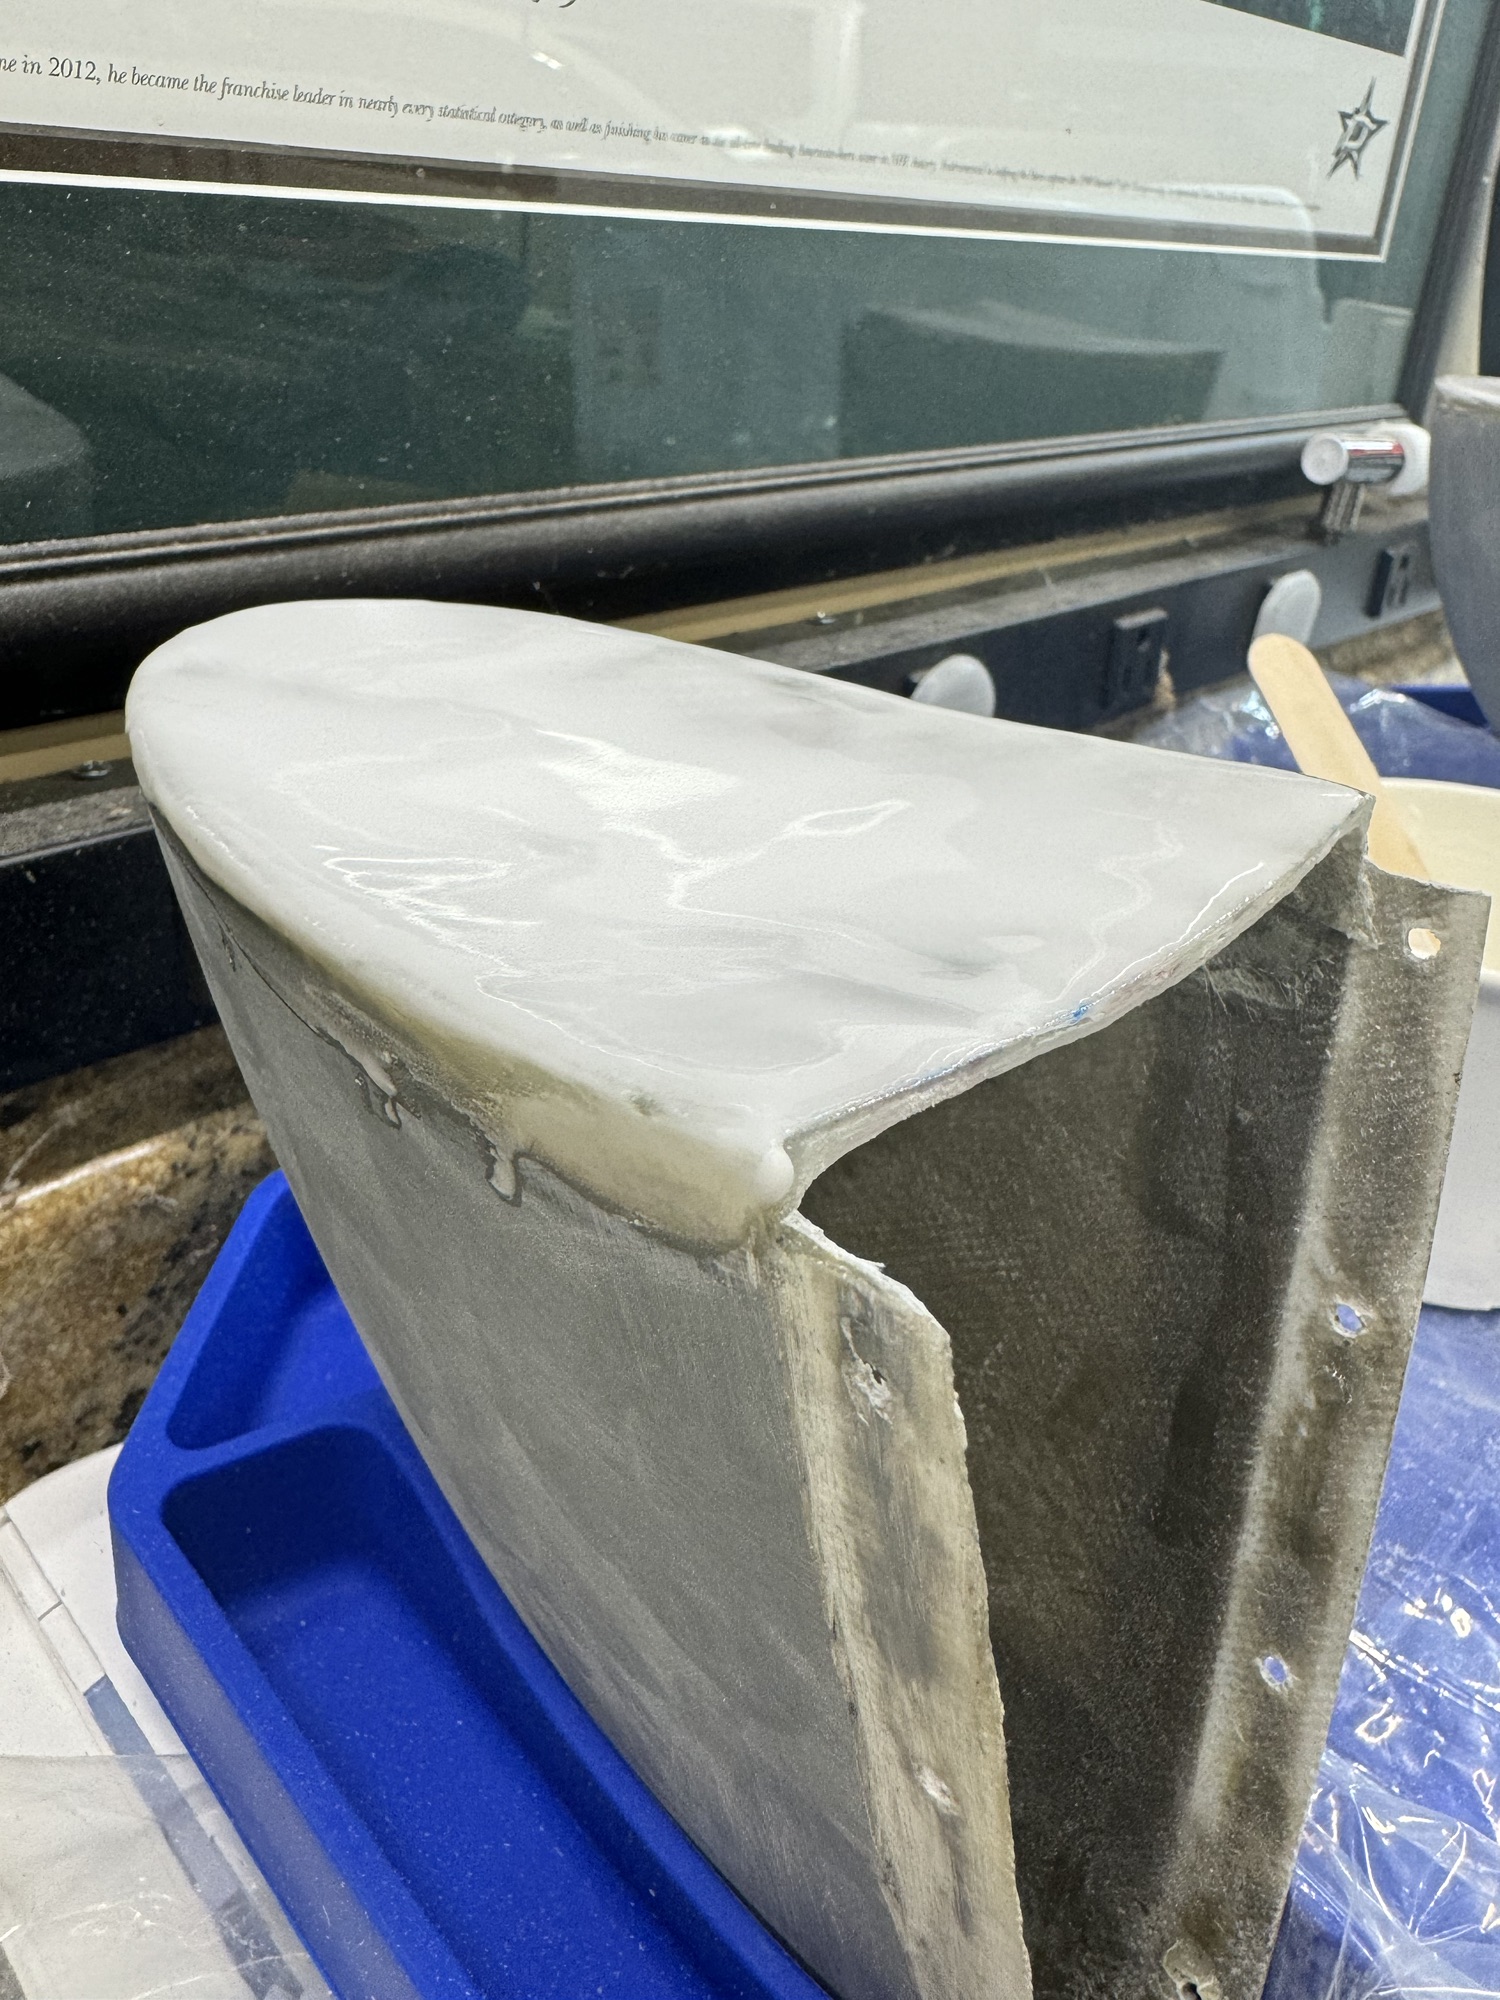
Finishing Surface on HS Tips & Prepping VS Tip
I spent time getting the VS tip cut and match drilled so that I can get it ready to fiberglass the back. It didn’t take too terrible long to get it ready but did take quite a bit of heat and molding to get the shape right. It had sunken in quite a bit in the middle so I had to expand that so it looked natural. But it is shaped and match drilled so it is ready for fiberglass.
I then spent the rest of the time working on sanding the excess epoxy and smoothing out the HS tips before I added more epoxy mixed with microballoons to make the final rear surface smooth so I can prime the entire surface before I install them permanently. I’m happy with the result so far and will have to do more sanding of course when it cures. I’m happy with my work and progress though I am no expert and could be making tons of mistakes lol.
-
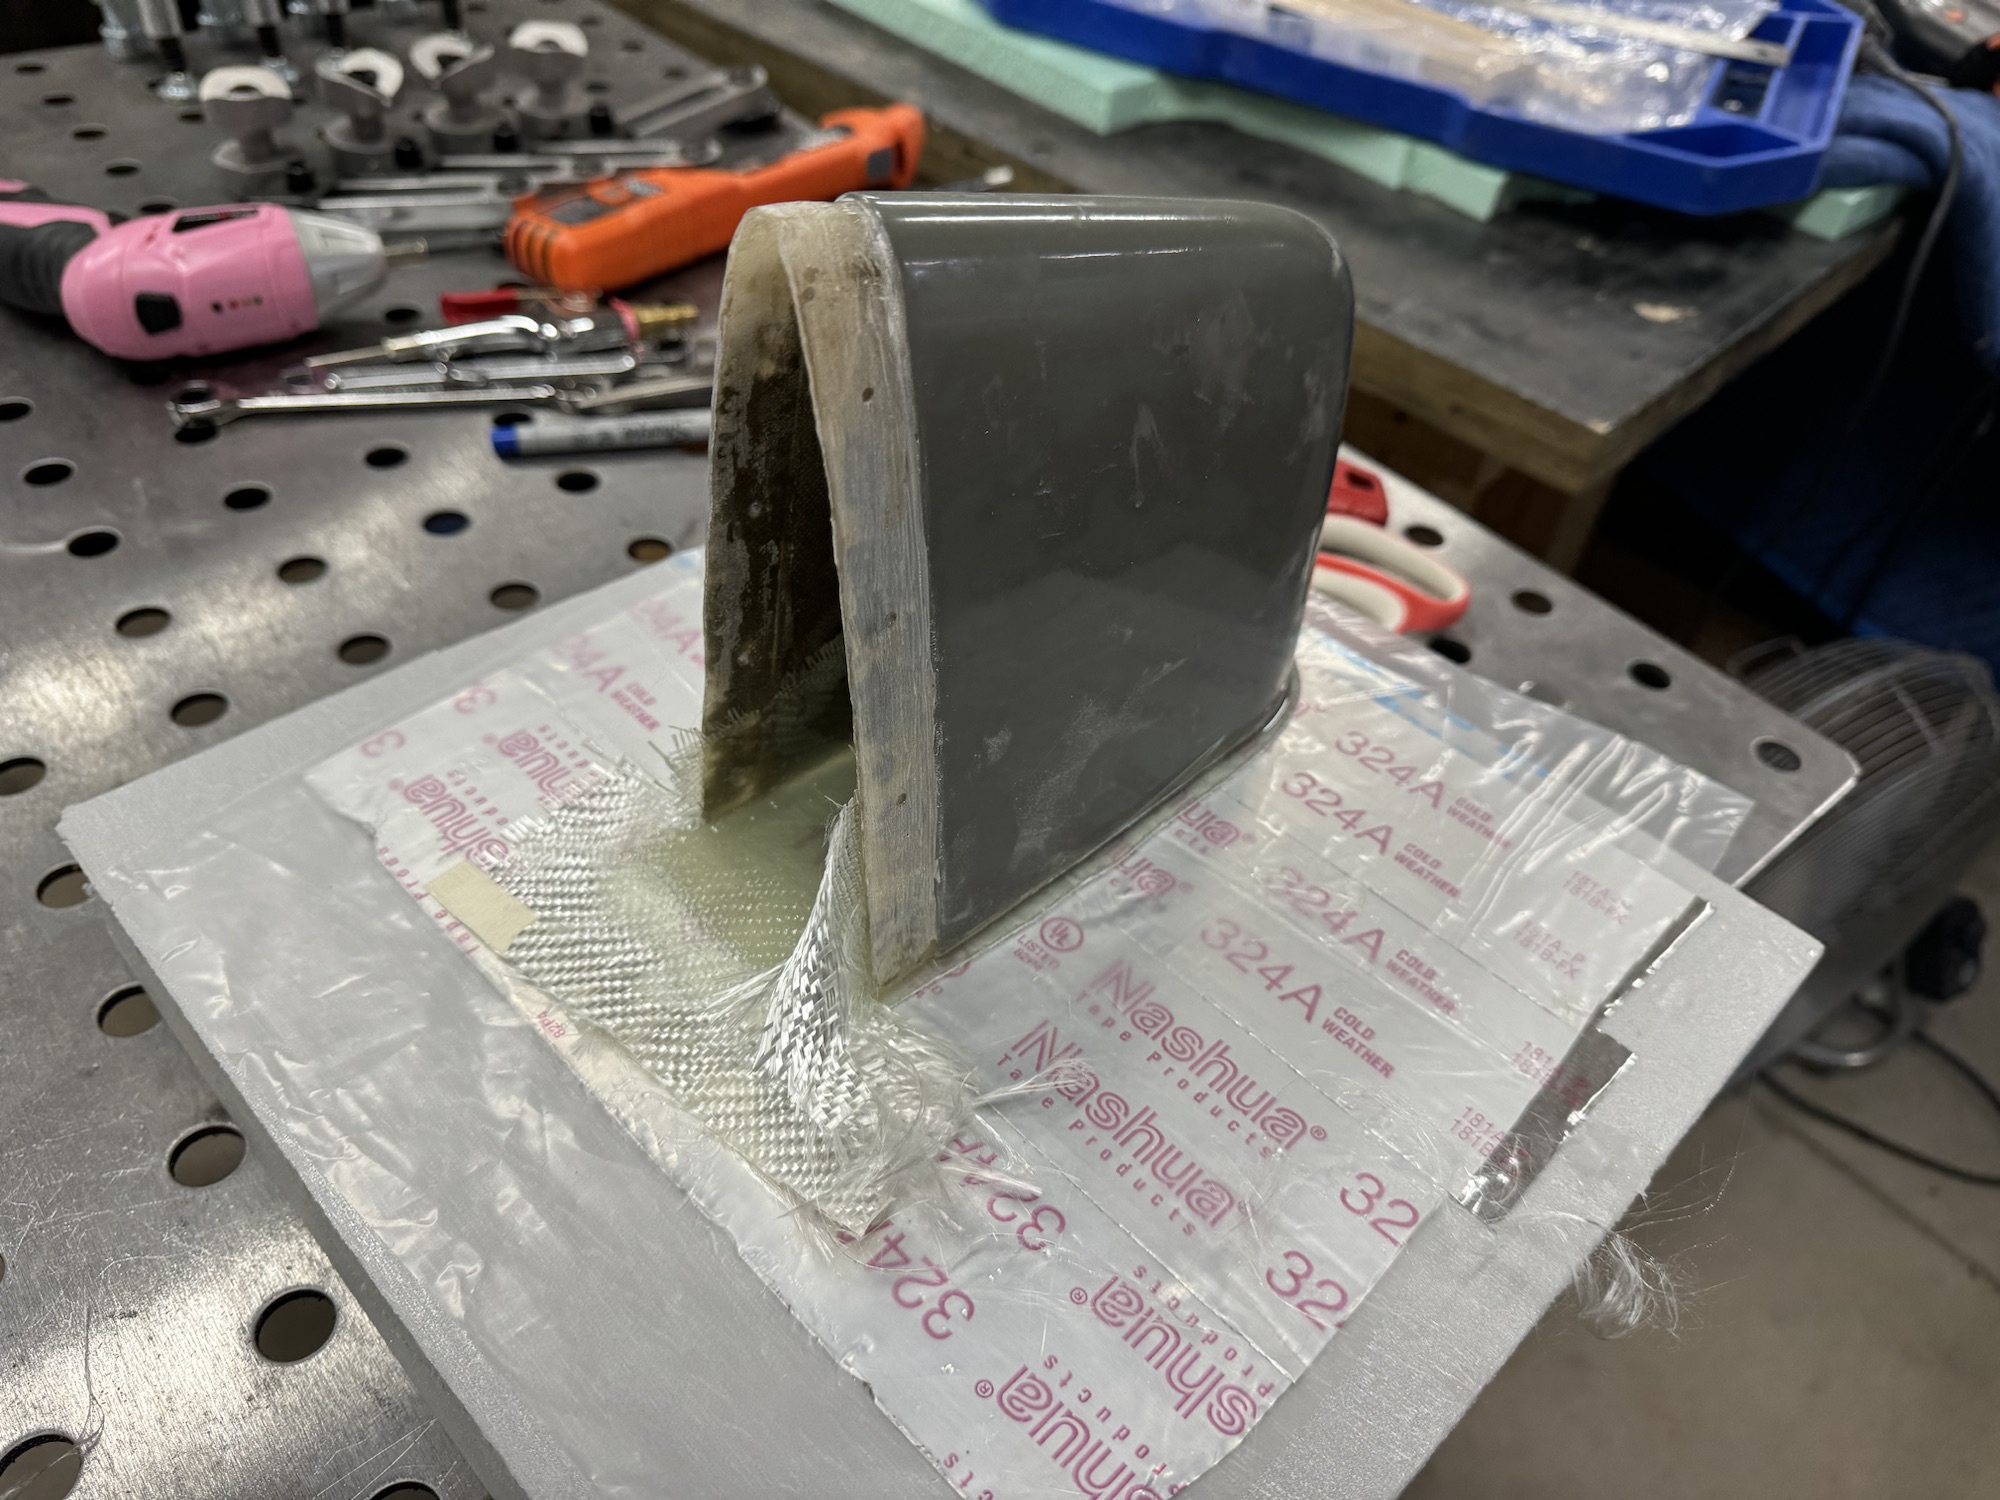
HS Tip Fairings Done
The horizontal stabilizer tips are now finished. It took a bit of getting over the fear of messing up the parts to start but I did it LOL. I formed foam to get the right shape to the outside layer. I wrapped it with AC duct tape but I forgot to put the mold release spray on it. Luckily the epoxy didn’t really stick to the aluminum tape so it took some time but it came free. I then put two layers on the inside to stiffen the the back side and it turned out excellent!
I’ve now started forming the vertical stabilizer tip which wasn’t too terribly bad but is taking some work to get it done. Hopefully I can get that finished next week so that I can then put some bondo or whatever to smooth the surface and then prime these parts before installing them permanently.
-
Forming Horizontal Stabilizer Tips
I found a post from someone where they had the same issue with their horizontal stabilizer tips being out of shape. They used clamps and heat to shape it, which I remember from the fiberglass 101 class that they stated that if you get fiberglass warm enough (180F or so) you can change its shape slightly. Sure enough I got it to shape. I still have a little bit of an issue with the shape but I’ll get there after some time and patience.
-
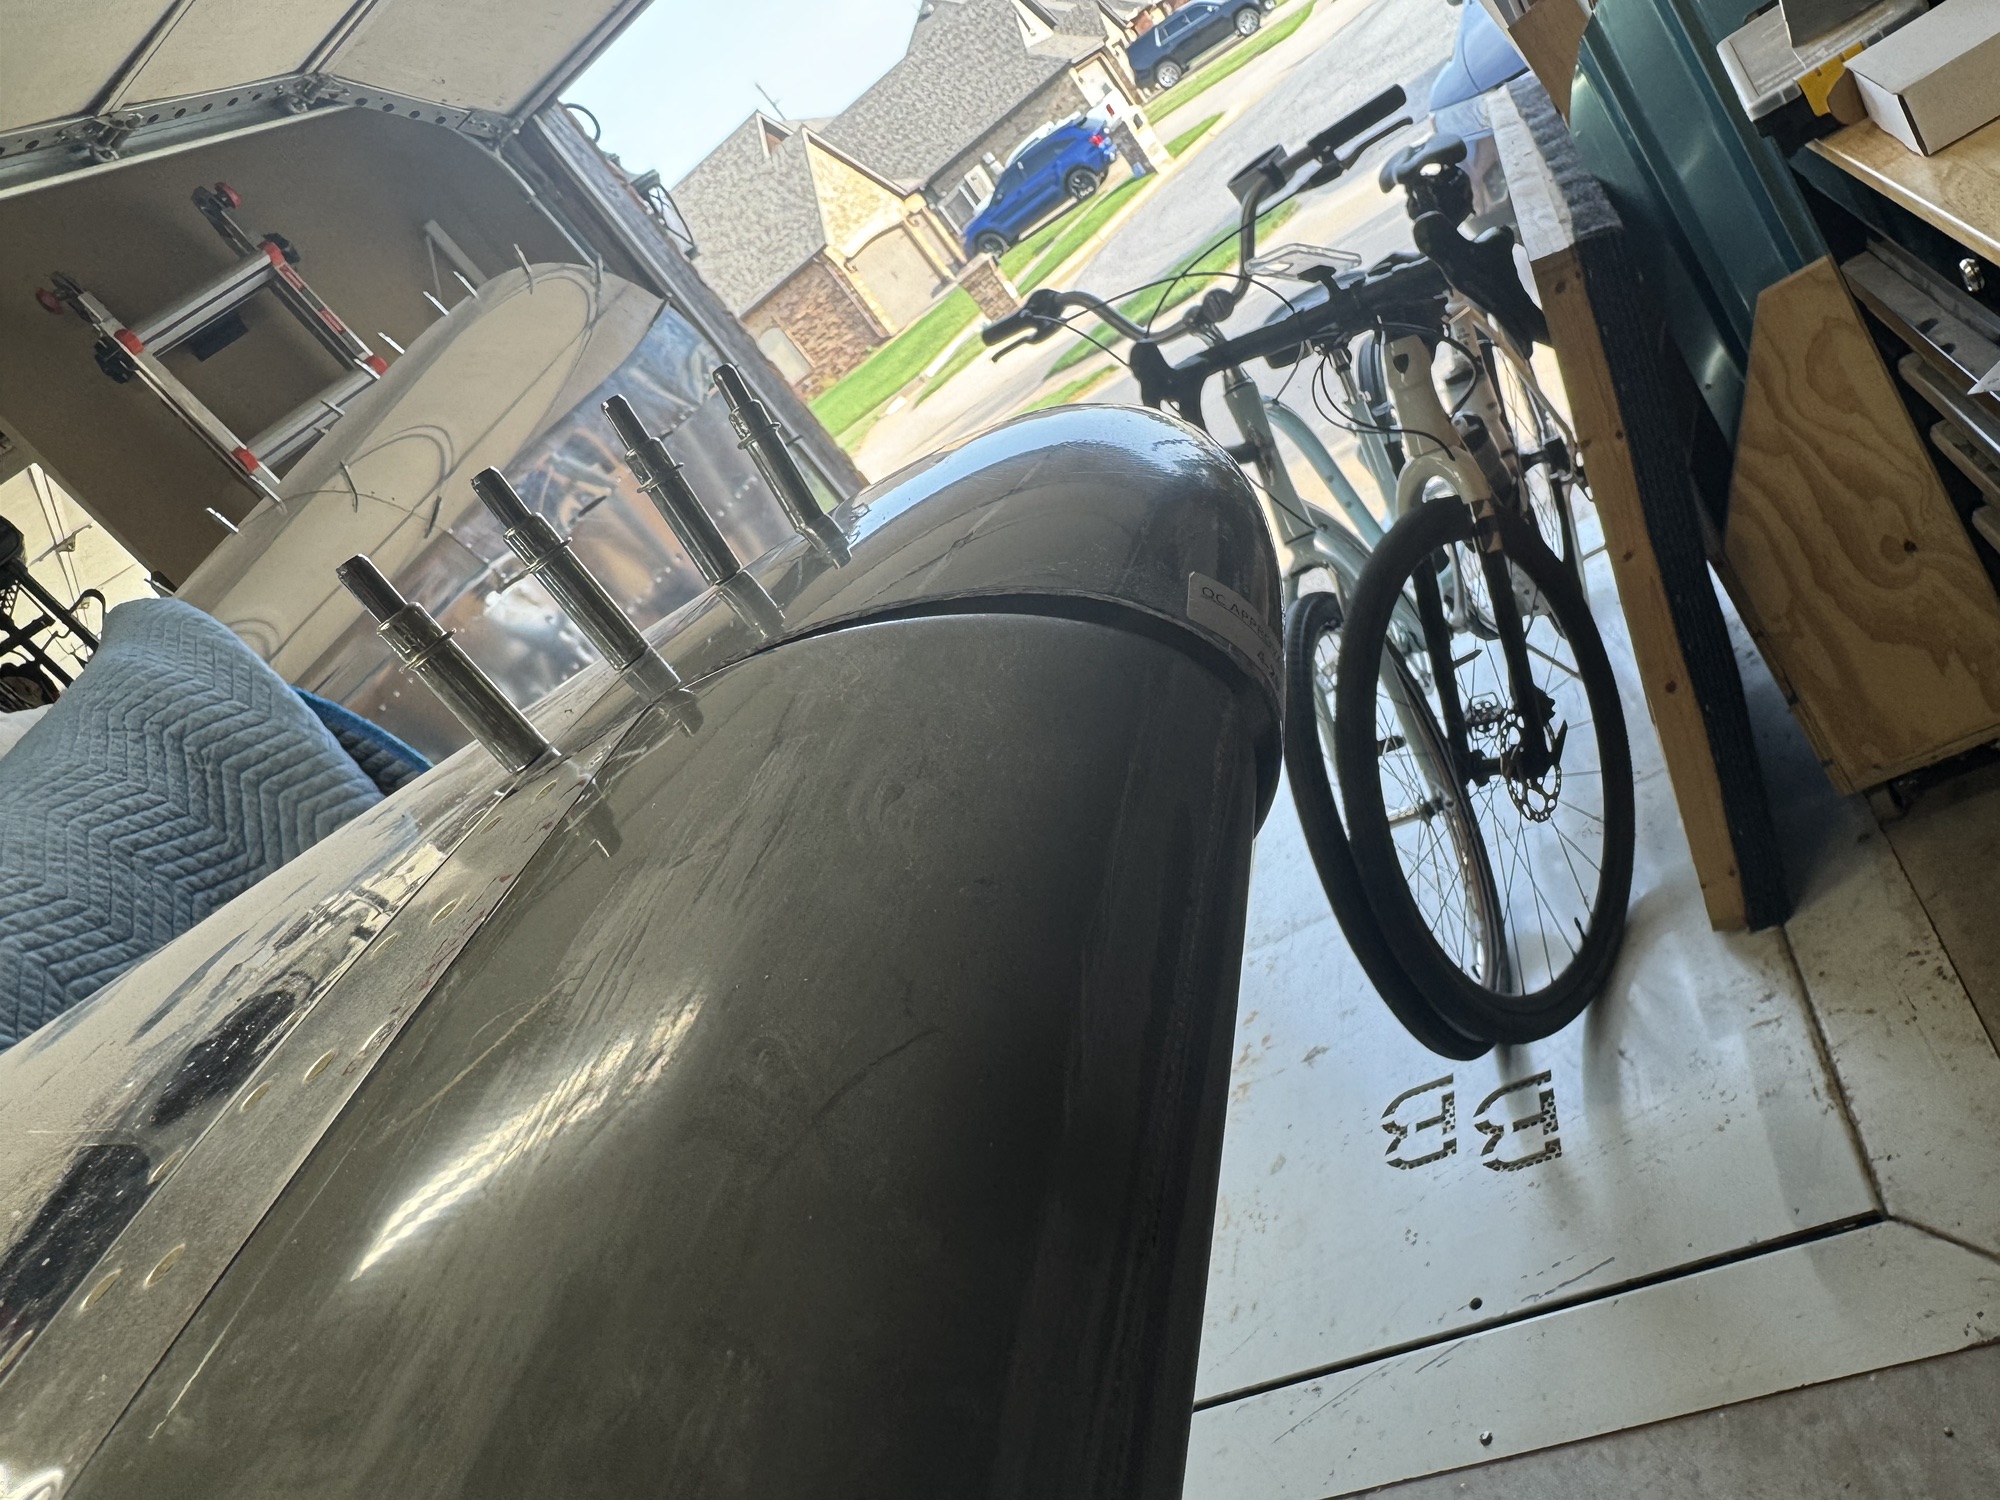
EAA AirVenture 2024 & Fiberglass Work
It has been too long since I’ve been able to work on the airplane. Kids’ activities (and the volunteer work to go with it), church service, my school work (I’m now working on my MBA through WGU), and trying to spend more time with the kids has taken alot of it from me. I hope to try to swing more time with my kids while building the plane as they showed interest in continuing to build with me while we were at AirVenture this past week.

AirVenture was a blast as always! We plan to return in 2026 and make our avionics purchases then. We are going to purchase the quick-build fuselage next year along with the finishing kit and firewall-forward kit. So hopefully we can pick it all up at the same time around the same time as AirVenture 2026. We plan to drive to Oregon to pick it up as it will be an opportunity to see their facilities and plus it will be saving quite a bit of money in freight costs and it’ll be a good time for my wife and I to spend time together in the car.
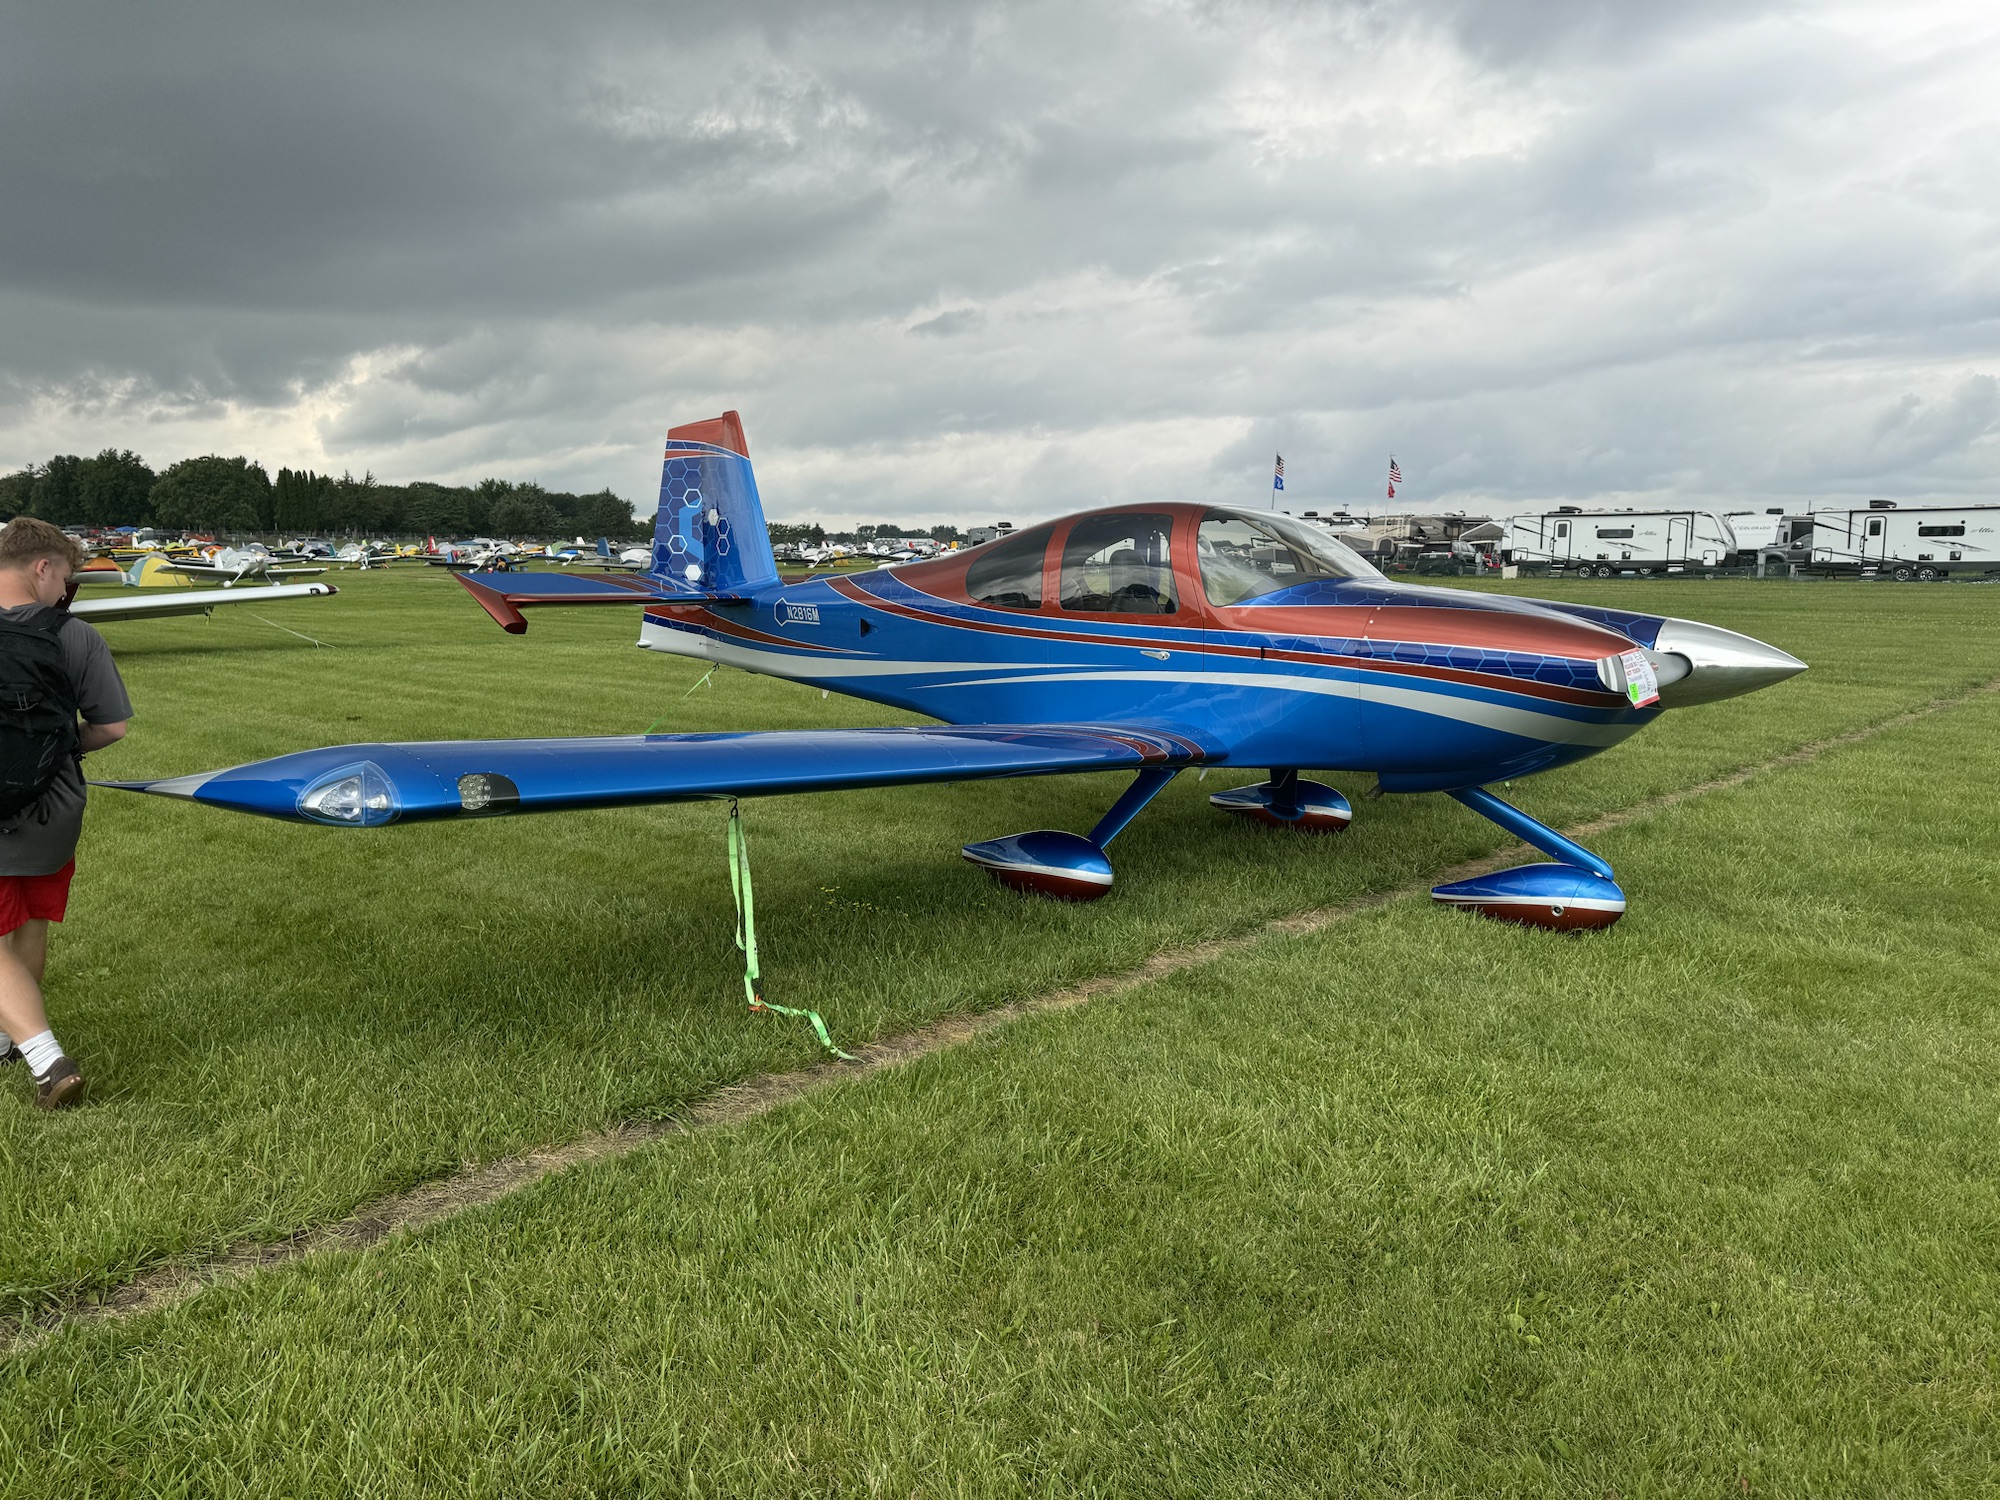
My wife and I visited the new display plane that Van’s had for the RV-10 model. It was very well done and I even got a chance to sit in it. It reminded me of what we are shooting for and is giving me more desire to want to finish the plane!

While as AirVenture I did two fiberglass classes. One was the short snippet of the fiberglass for RV’s class put on by the EAA. It had some great tips for how to cut the fiberglass, how to work epoxy into it, shape it around difficult shapes, etc. I then took the fiberglass 101 class, which had a hands on practical at the end. It was great to get some very basic experience and it gave me the courage to finally start tackling my own fiberglass work at home. I had also taken their fiberglass 101 class online back in January and I ordered the practice kit, but that did not arrive until early July because it was on backorder so I just decided to wait until I could take the class at AirVenture to have someone there with me. I want to do the practice kit at home now to solidify more of what I learned.


The one RV-10 that stood out amongst all of them (of which there were many super great builds) was this one – N2816M. I’m not a fan of the paint job personally, but the level of detail on this plane and how well things were done was superb! I didn’t take a picture of this but he put a wedge on the left side of the rudder to tune the yaw in the plane. It was very nicely done and almost invisible to see. Better than having to put a trim servo in or some other mechanism. He also had fiberglassed all of the open control surfaces so it looks very smooth and didn’t have the open weight reduction holes.


I started working on shaping the foam block to back the rear portion of the horizontal stabilizer tip fairing. It took a long time just to get where I am now but I’m still not satisfied with it. It is close but it is still protruding too much on the edge. I hope to get that shaped appropriately tonight when I have some time after church.


-
HS Fairing Caps – Left side trimming
I started working on the fairing caps on the horizontal stabilizer yesterday. I got it first trimmed on the flange depth so it would fit appropriately. I then drilled the holes and started trimming the backside of the cap so the elevator could move freely. I noticed once it was finally able to get clear that they were not the same shape. I noticed if I pushed the outside edge in it would come to the right shape. I will need to get the foam so it will hold that shape. I got my fiberglass ordered from Airspruce so hopefully that will arrive this week so I can finish at least one side this weekend. I’ll have to do the same process to the other horizontal stabilizer cap and the vertical stabilizer cap.
-
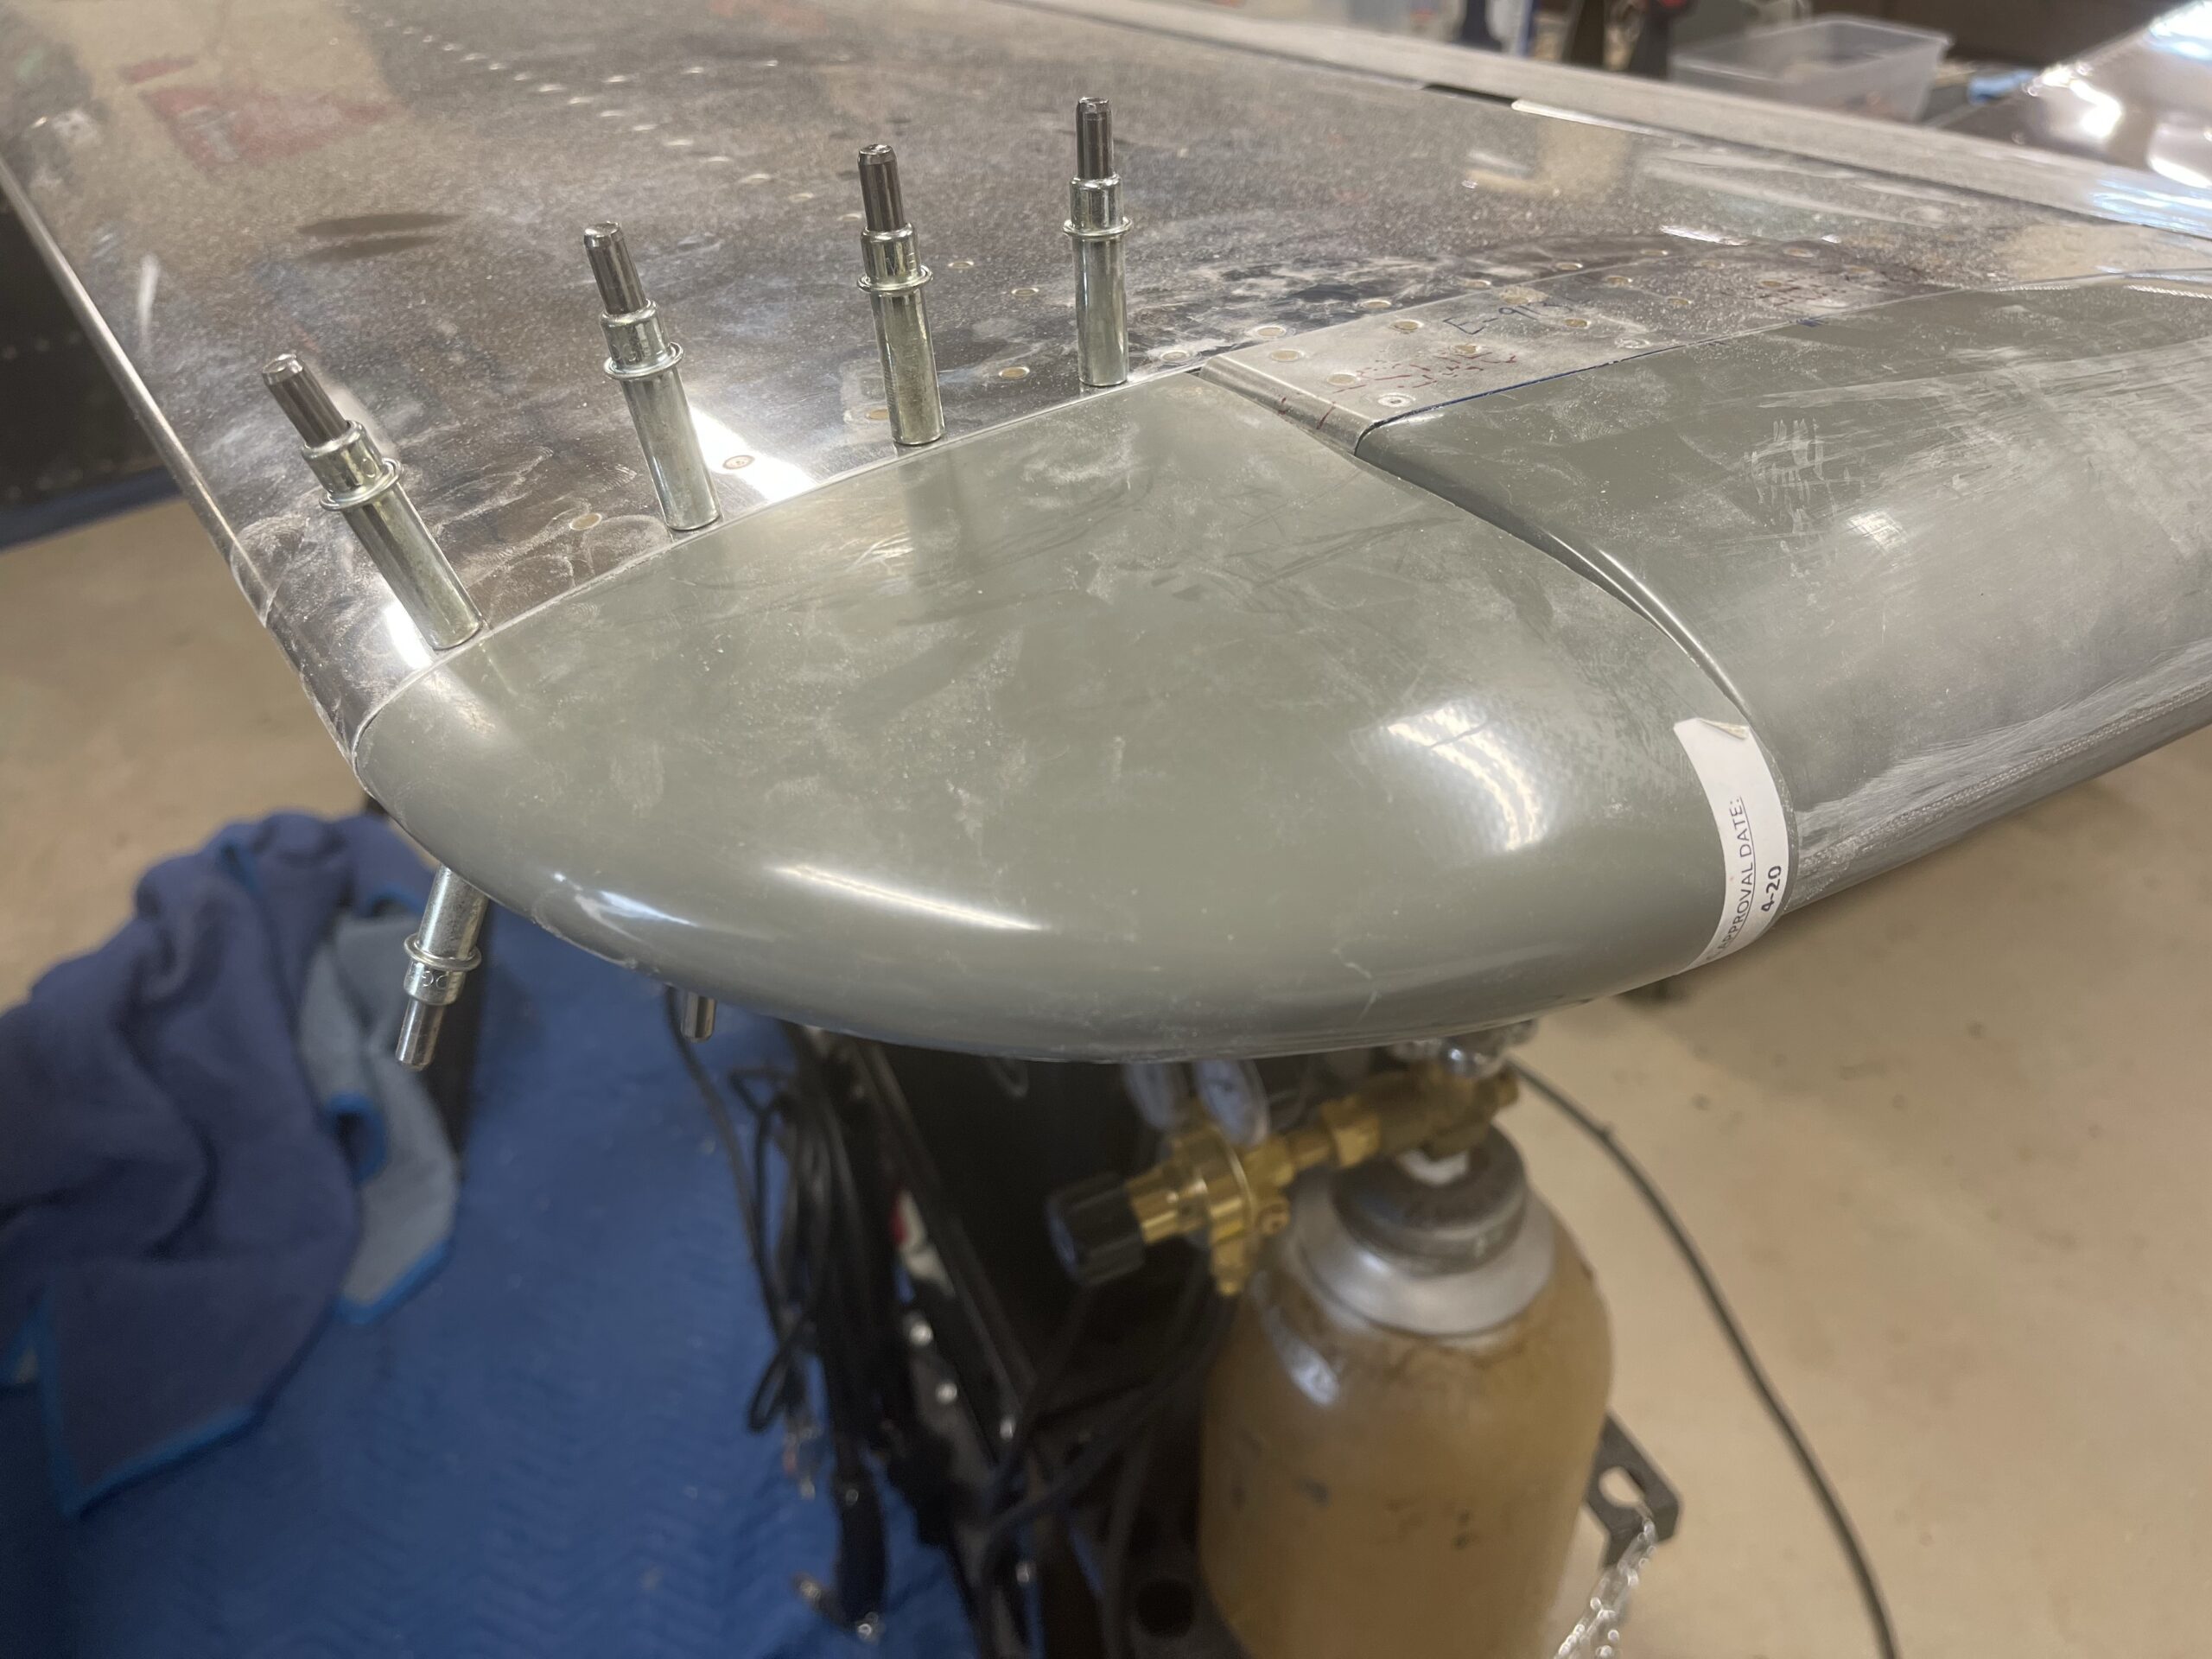
Rudder Fairings Attached/Ready
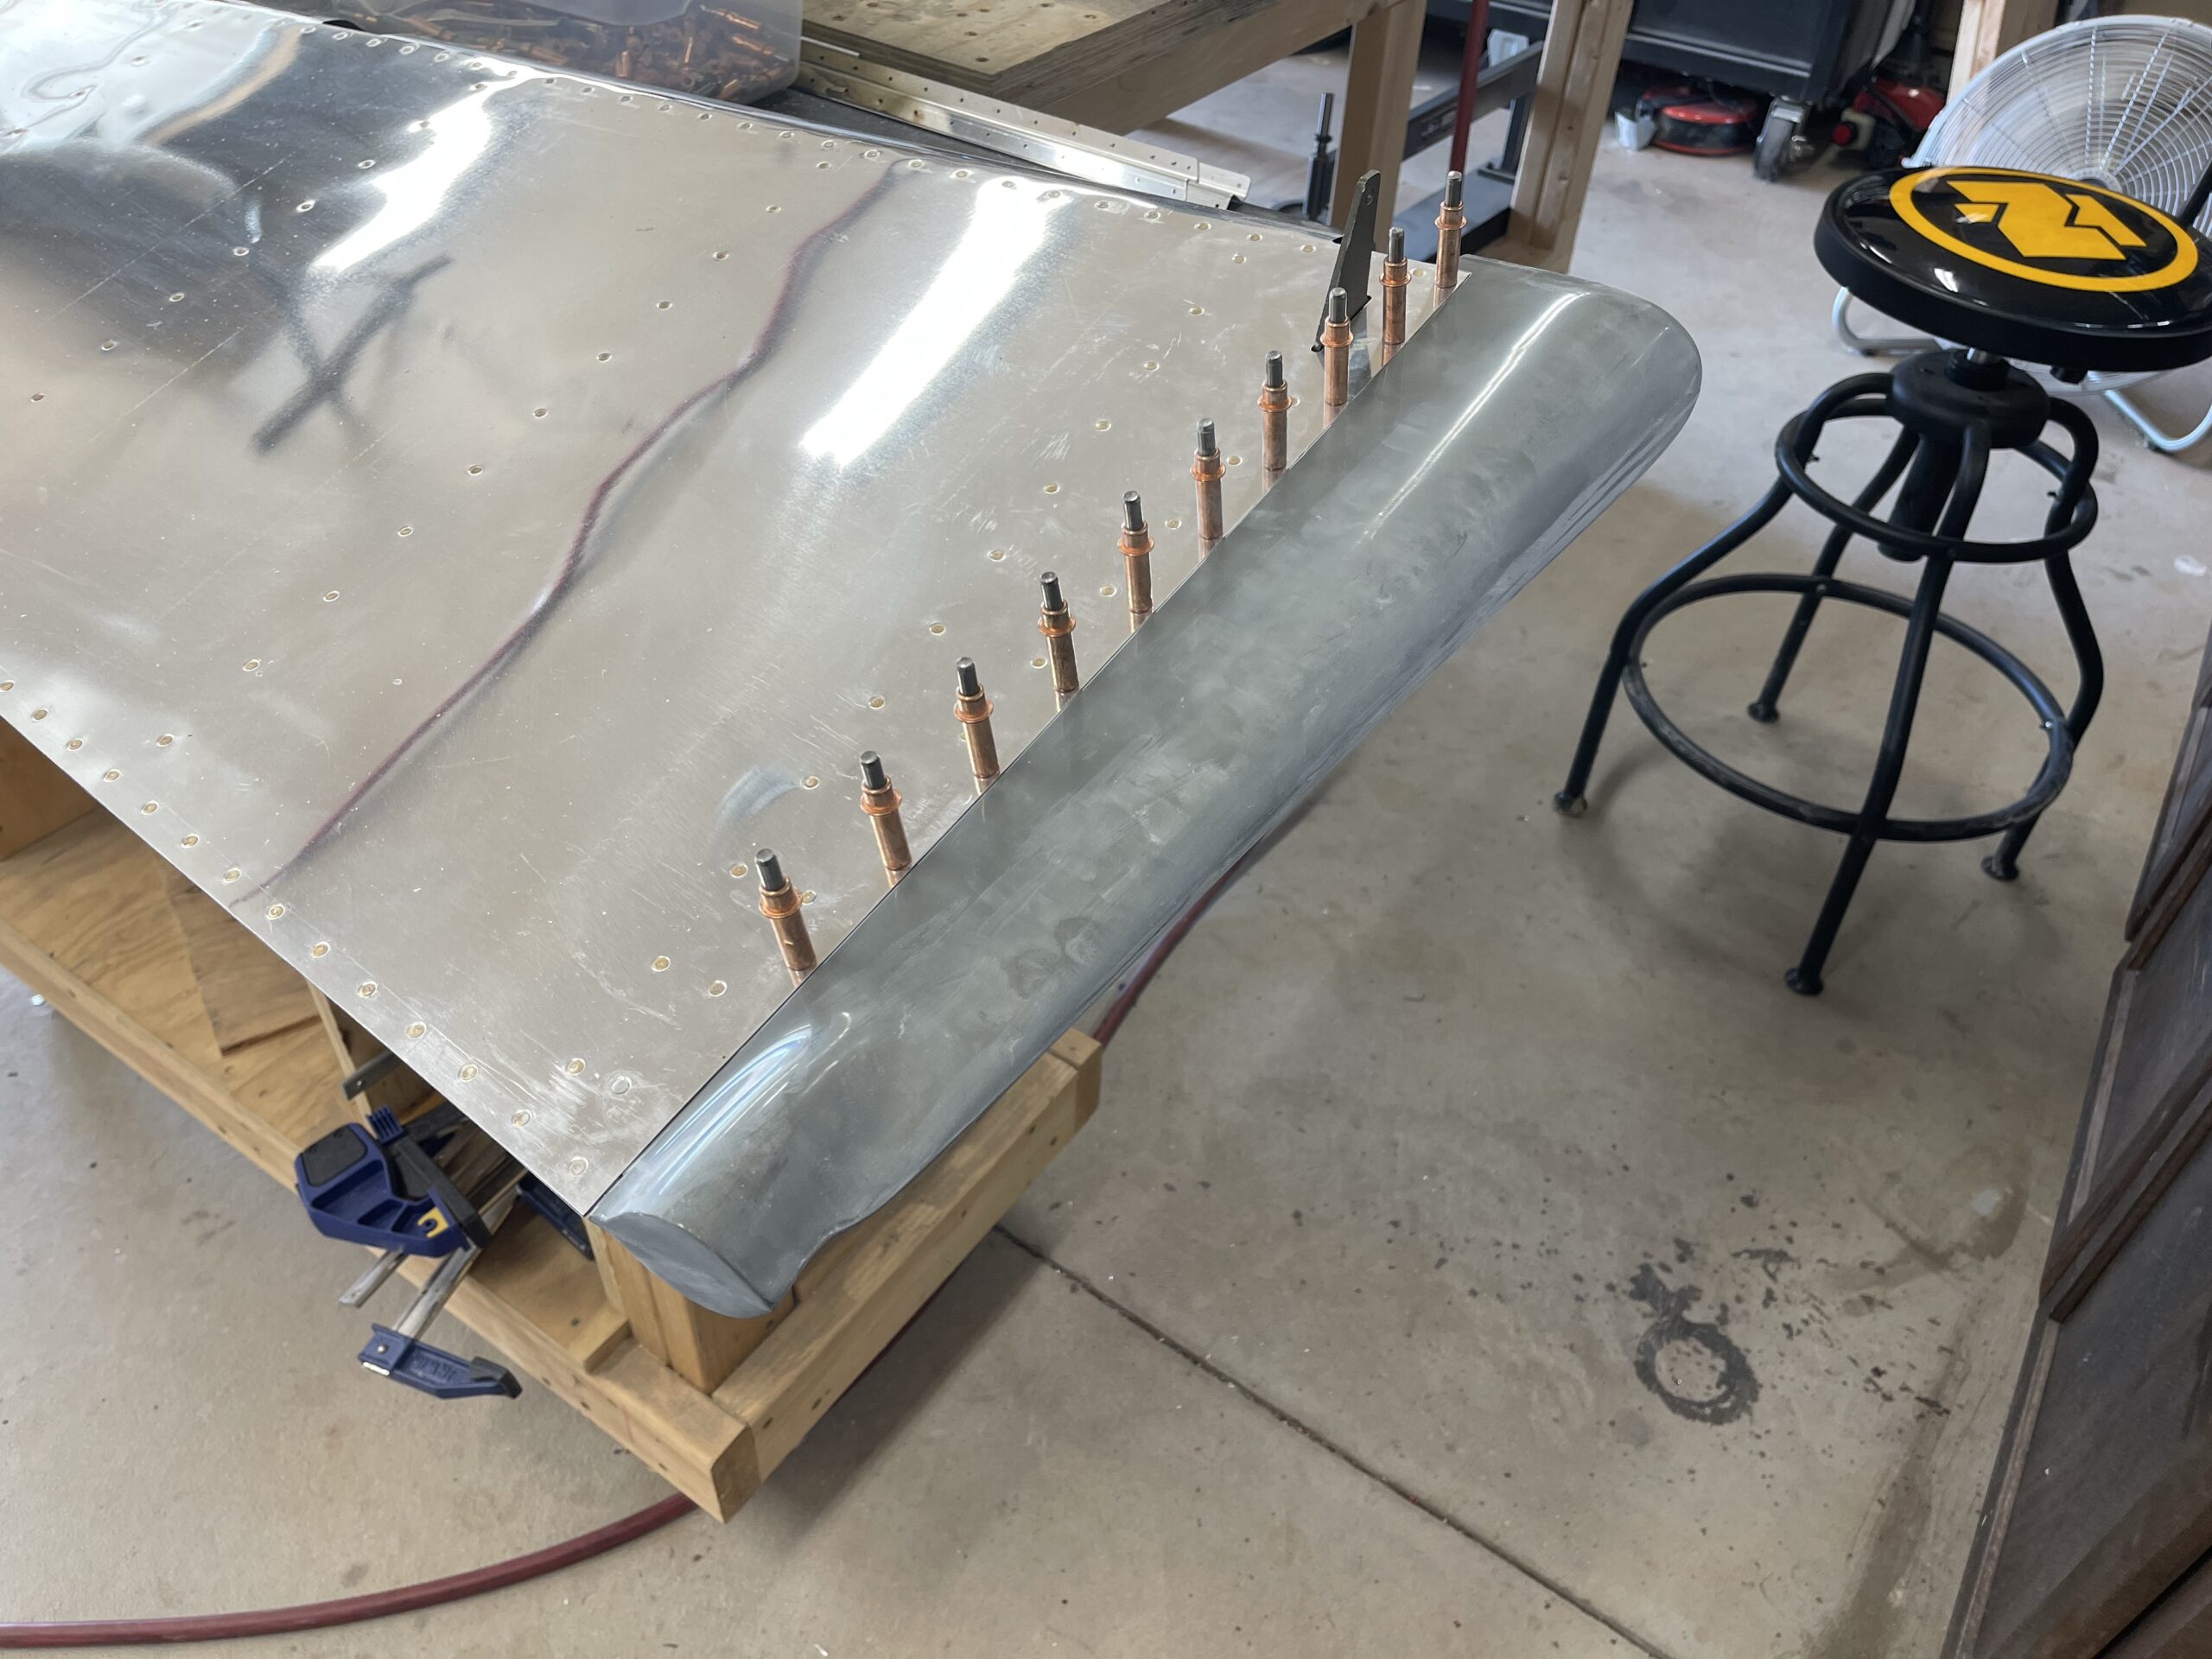
I got the rudder fairings on, well at least the ones I could attach for now. I got the top fairing attached and the bottom fairing is ready to be attached but I am waiting on the tail light before I do that. It looks good and hopefully I can clean some of it up with some bondo later.

Top rudder fairing attached 
Bottom rudder fairing ready to go on. Waiting on light


