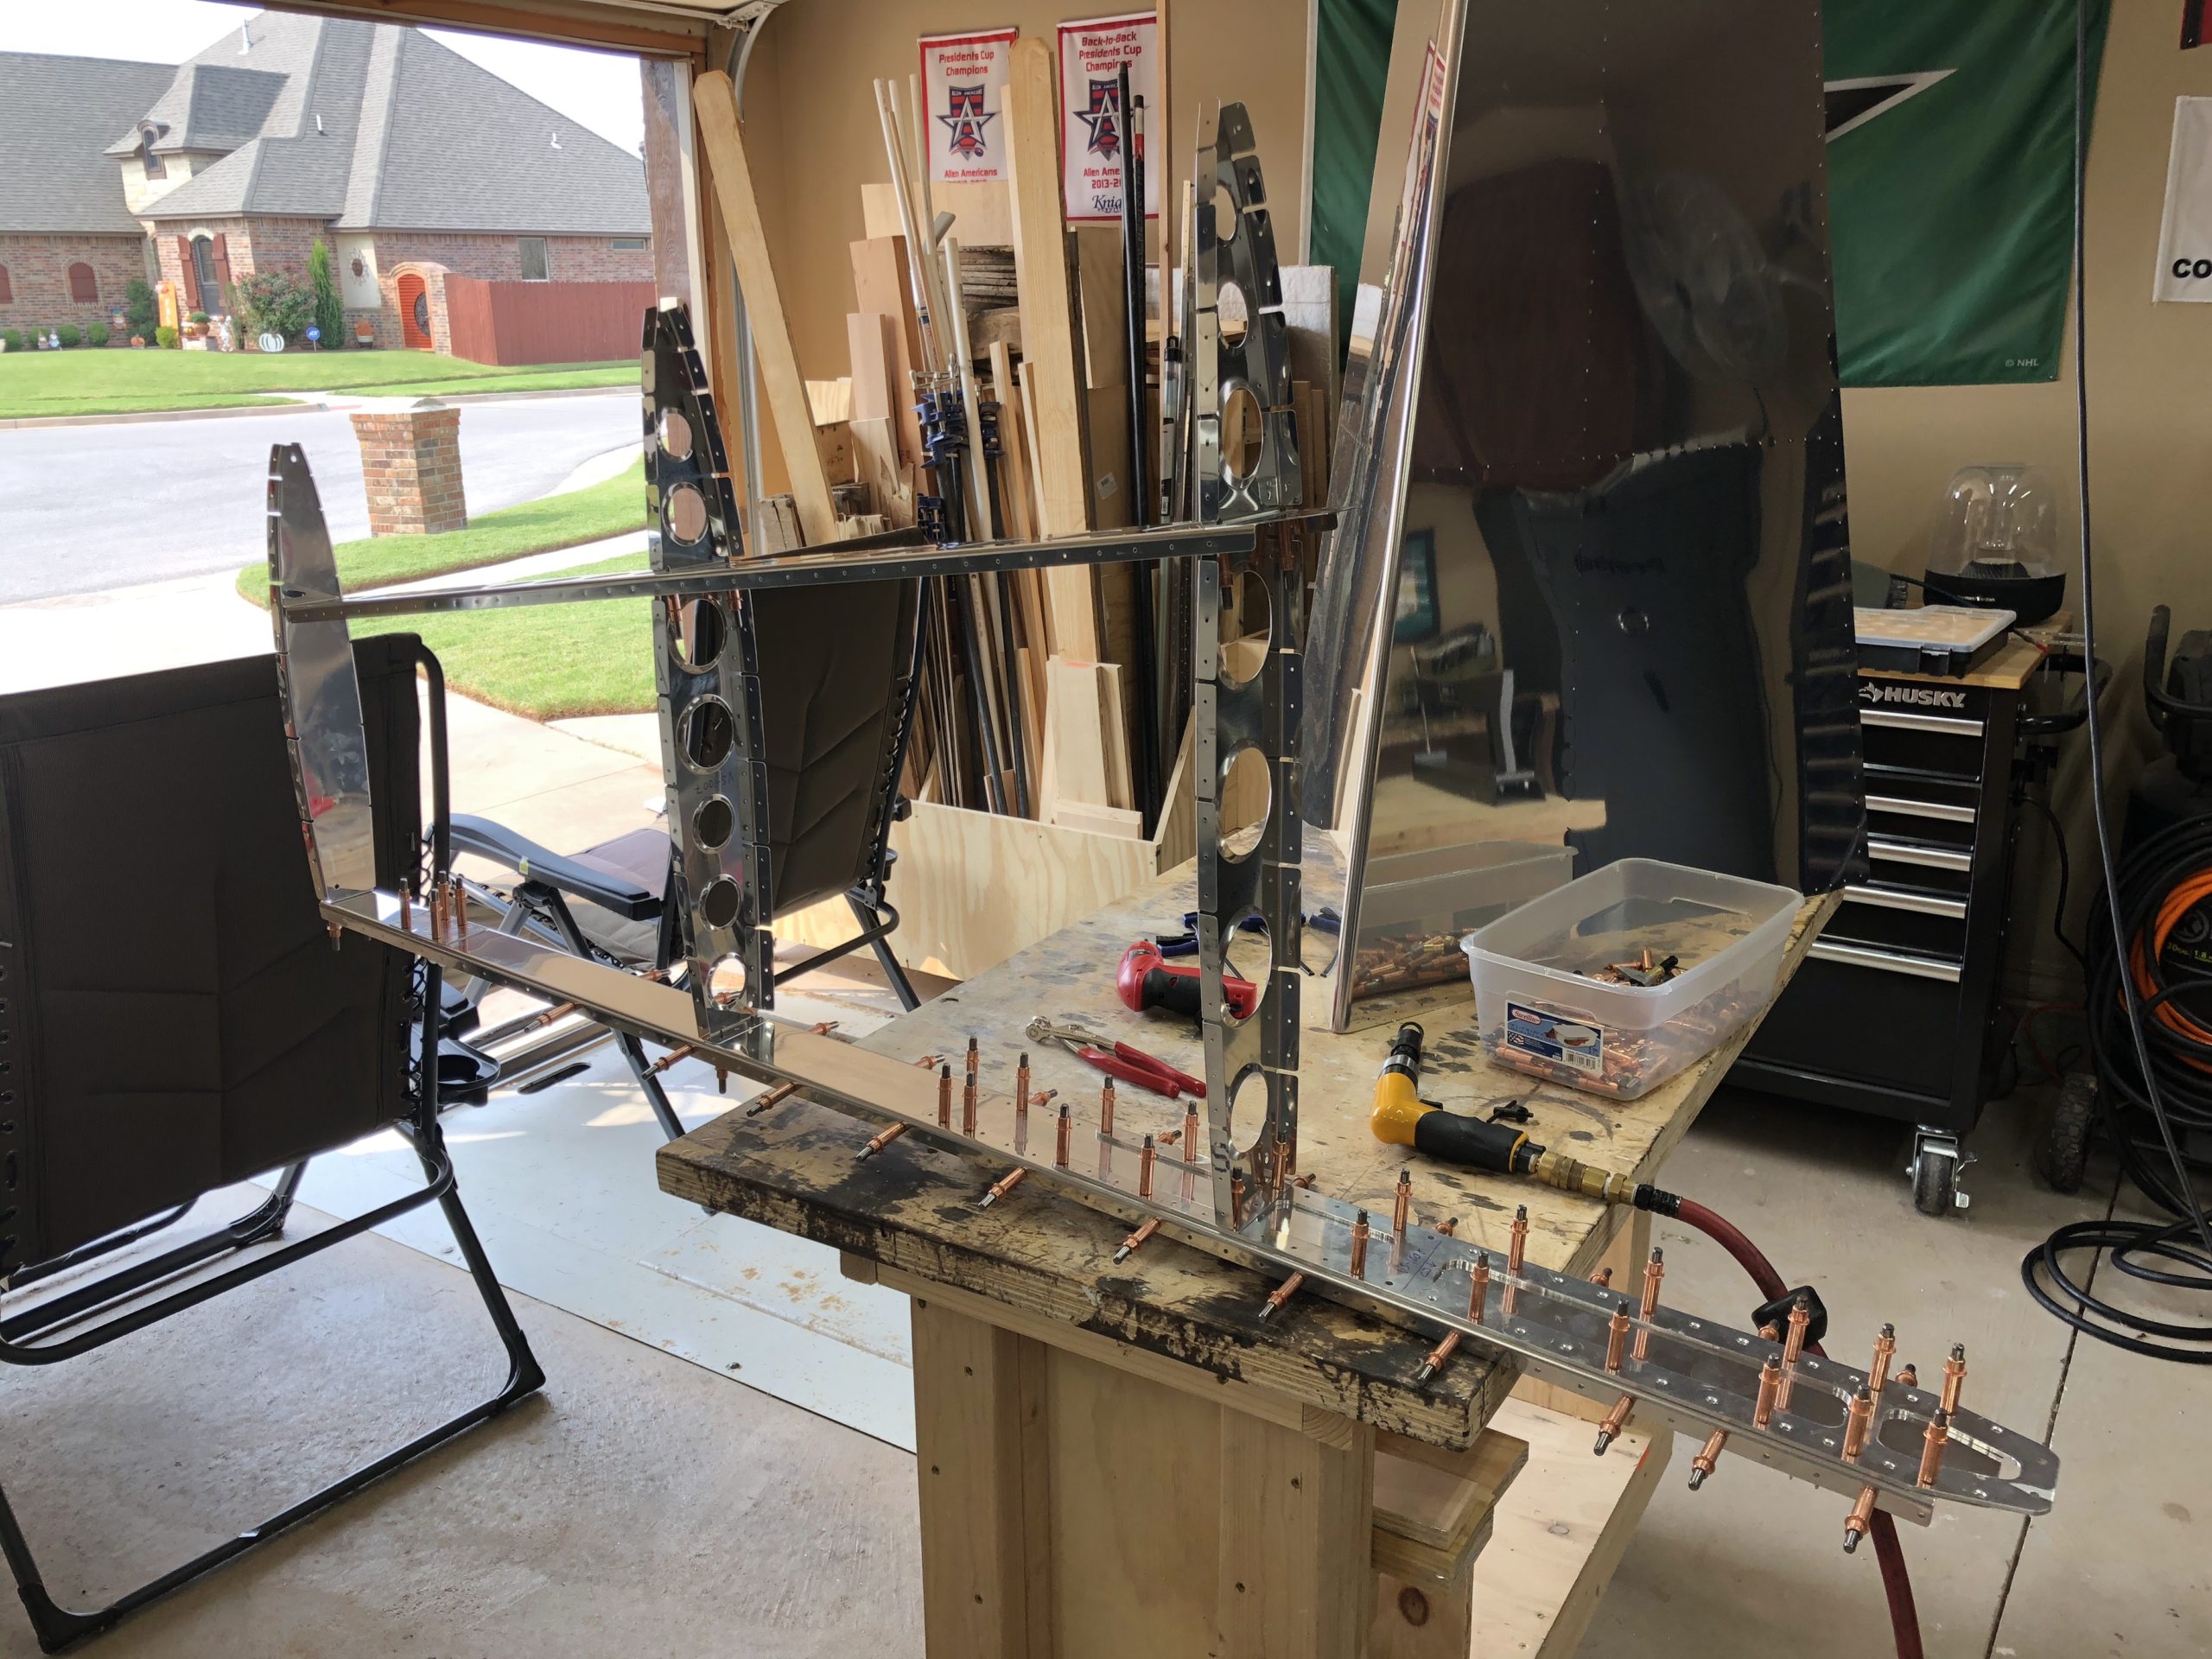
I spent a lot of time today working on getting everything clecoed together and doing match drilling. The most difficult part was that they wanted a cleco for every hole that you match drilled and in a specific order from the middle of the spar/trailing edge and out. So it was a methodical process that I wanted to make sure I got 100% right. Plus the deburring of the skins before hand and removing the blue film was tricky too.
I’ve read the arguments around leaving the blue film on versus removing it and I feel like I’m just going to remove it. I’m going to prime the interior anyways and the outside is getting painted so if there are very slight scratch marks on the skin, I’m not too concerned about it. Now I just hope some deeper scratches don’t happen.
First skin clecoed in placeMatch drilling the skin to the rudder skeleton – Just started on the trailing edge in the middle and working outwards
I finished the rest of the control horn drilling/countersinking, deburring, and match drilling. I also got the spare deburred and all of the stiffeners and shear clips clecoed together and match drilled. I also finally countersunk the control horn holes that I couldn’t do yesterday. I think it was premature to countersink them yesterday since it wasn’t final drilled yet. I decided to leave it off there since I didn’t have lots of time today.
Clecoed Stiffeners and Shear ClipsAll put together and match drilled
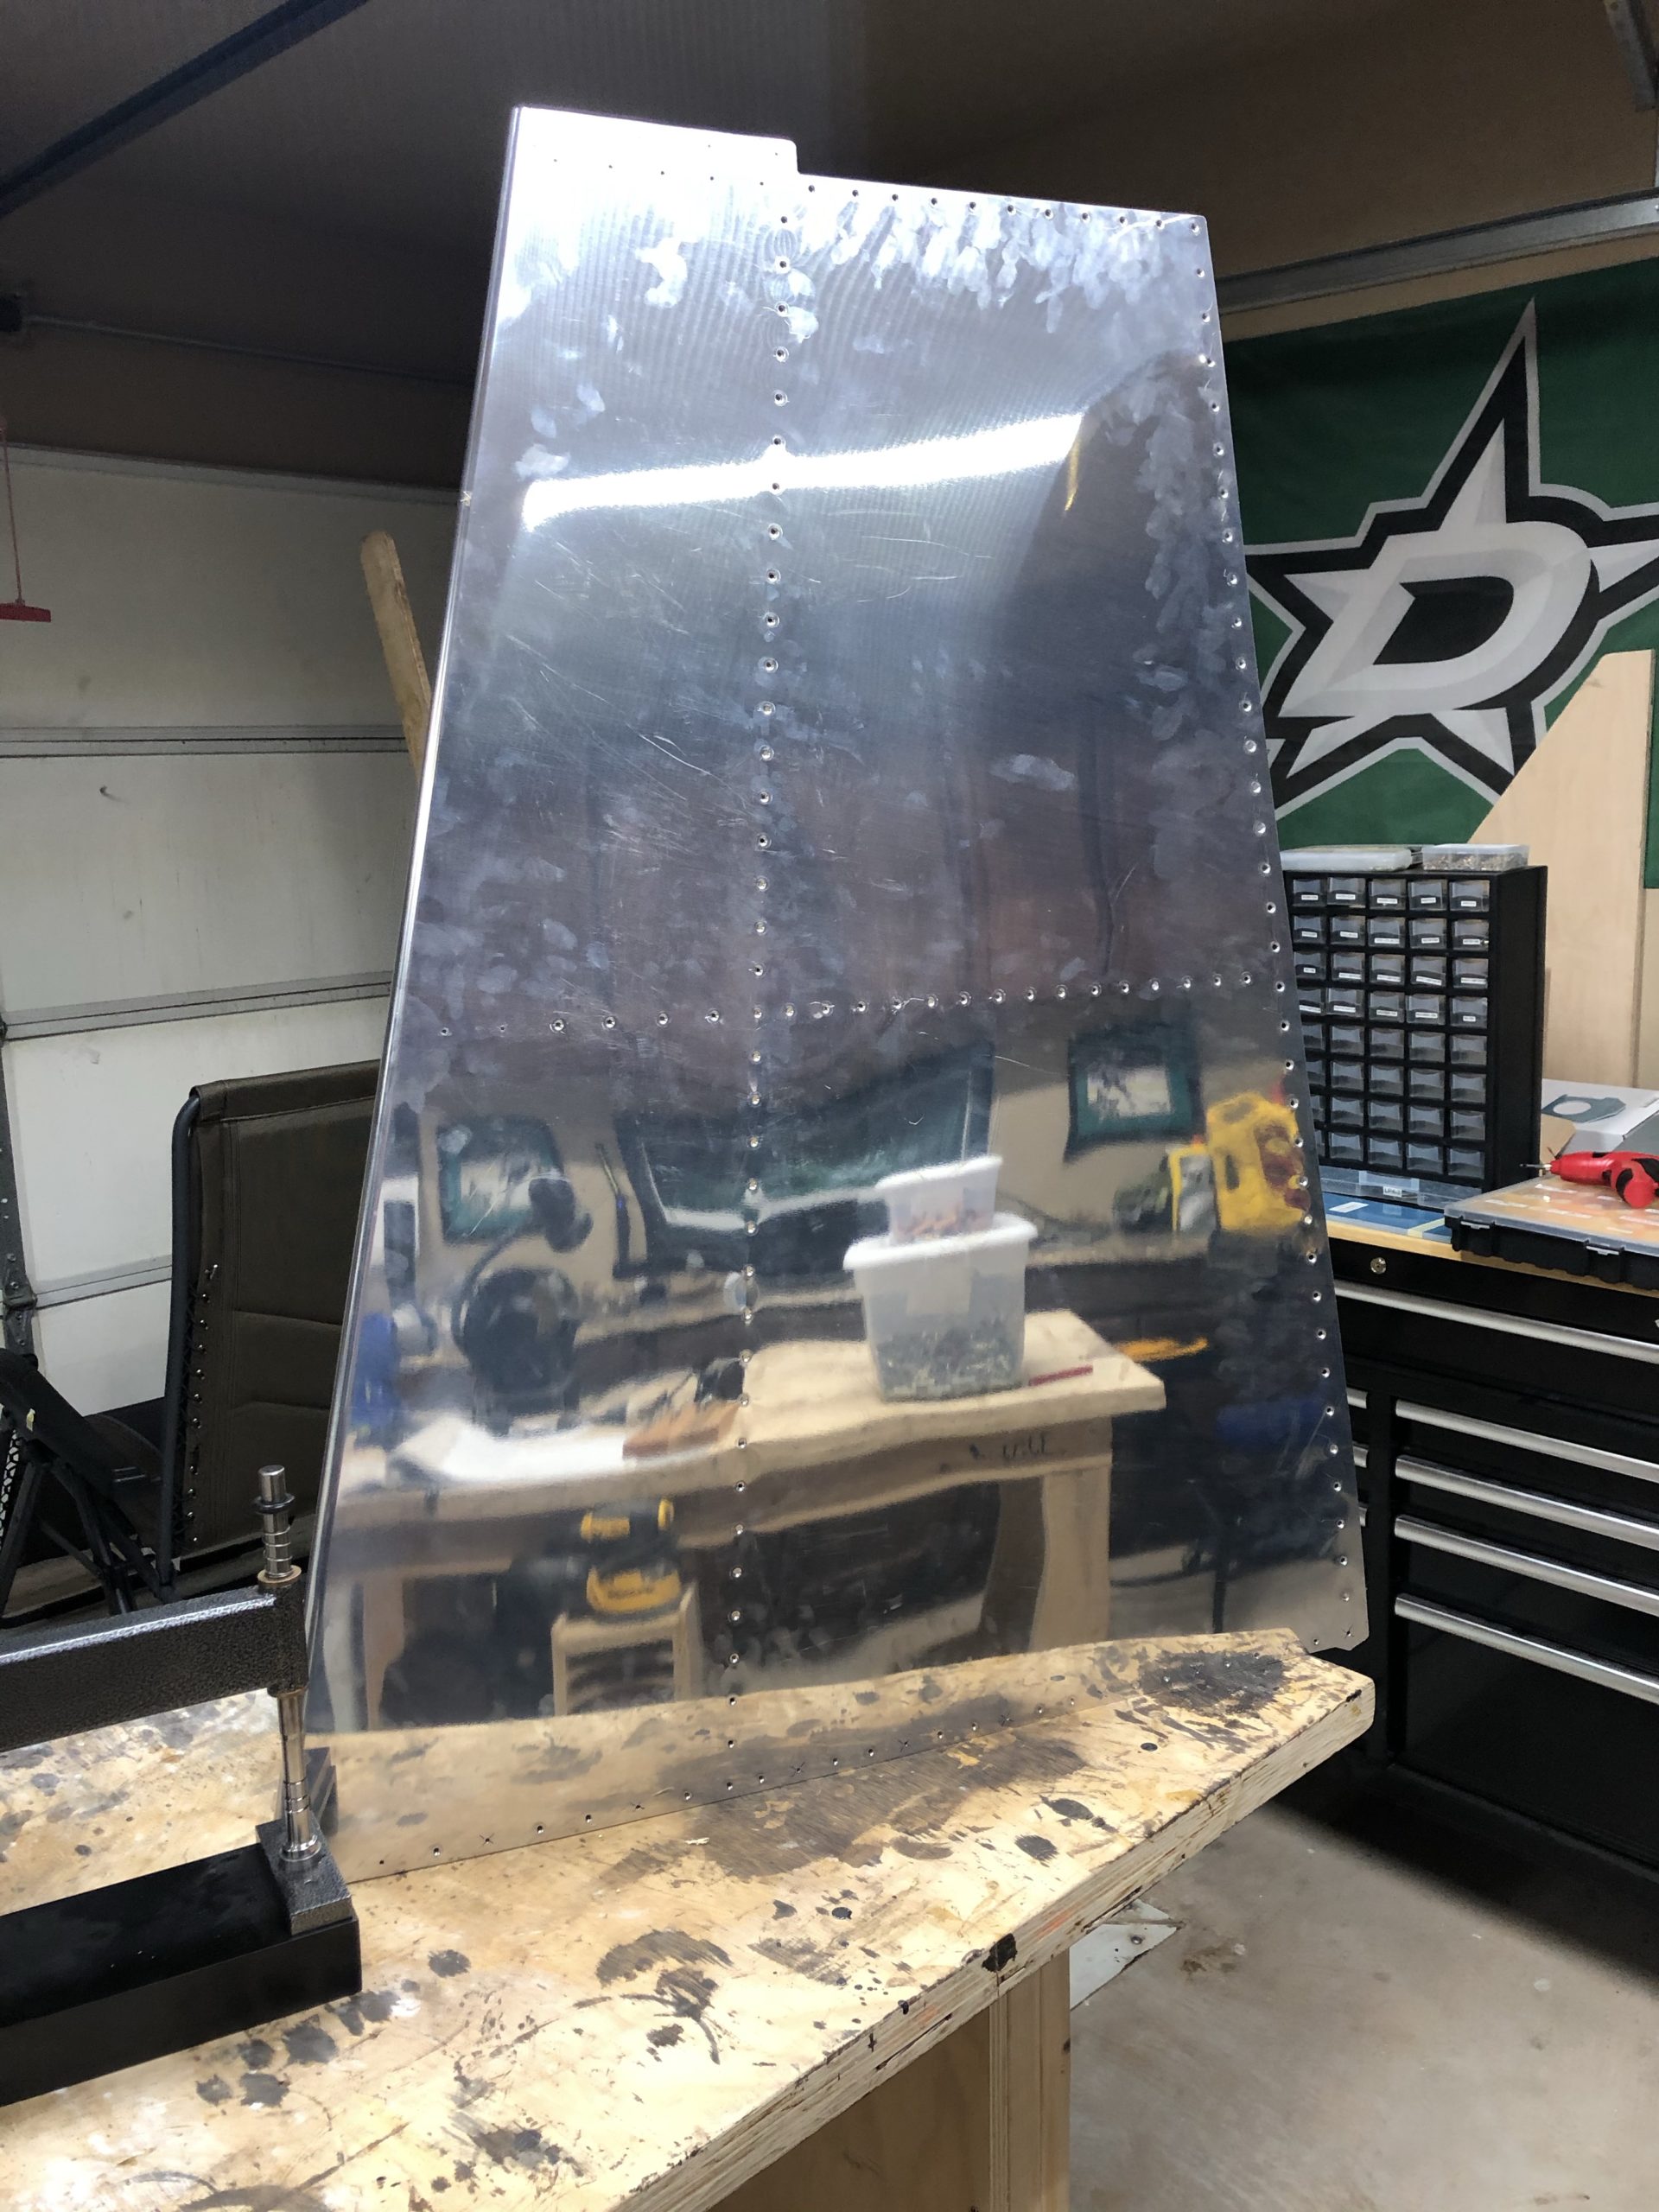
After rethinking and reinspecting the holes I had dimpled in the vertical stabilizer skin, I realized there were just a ton of holes that were misshapen. And after some discussion on Facebook, I’ve come to the conclusion that I need to change two things. 1) Speed and 2) Platform. I never built the platform they recommended because I just couldn’t see the need for it. And it as just a recommendation, not a requirement. So I decided to skip on it. I think that was my downfall. I don’t have any one to help me out persay, so holding the skin up while trying to hammer was just a little much.
So I reordered the skin as well as the VS-1015 spar doubler because I didn’t like how the countersinking went. I also built the platform for the C-frame dimpler from the spare wood that I had. I did have to buy some carpet but I think it turned out good!
After that was all said and done I spent alot of time tonight cutting parts for the rudder, deburring, and then doing a few of the first steps of countersinking, match drilling, and clecoing parts together. All in all it was a good day off of work.
Platform after all was said and doneCut and deburred partsStiffeners and other parts cut and deburredWhere it stands today for the rudderThey asked these to be countersunk, but they aren’t match drilled yet? I’ve noted to countersink them in the future
September 26th, 2020 – I added 1 hour to this last post as I did more deburring while working on the rudder and realizing a mistake I had made.
I got alot done today! I got all of the dimpling completed as well as countersinking. I need to figure out how to get the primer done tomorrow for all of the internal parts. I will need to put everything back together first to drill the one rivet hole out to the larger size and then I need to figure out how to fix that double hole in the skin. I will say one other thing I need to research is how to do the doubler for the front spar. For some reason to get it to sit flush I had to drill alot of material out and it got to the point that the counter sink would not keep itself centered and it the hole. That might to be another replaced part.
All of the completed partsFront spar doublerThe horrible counter sinking. I might need to redo this on a new partRudder stops
First day of skin dimpling and first day of the dimple slip mistake. Well, twice! LOL. Going to research how best to resolve this one. I might have to step up a size in rivet for one of these, but not sure on the other. I’ll have to figure it out down the road I guess. LOL
Most dimples done. Need to use my other tools to get the hard to reach onesMistake #1 – The thing slipped just as I was swinging down and I punched a good hole in the skin LOLThis slipped too even though I changed grip. I now know why I need to build the table surrounding the C frame.
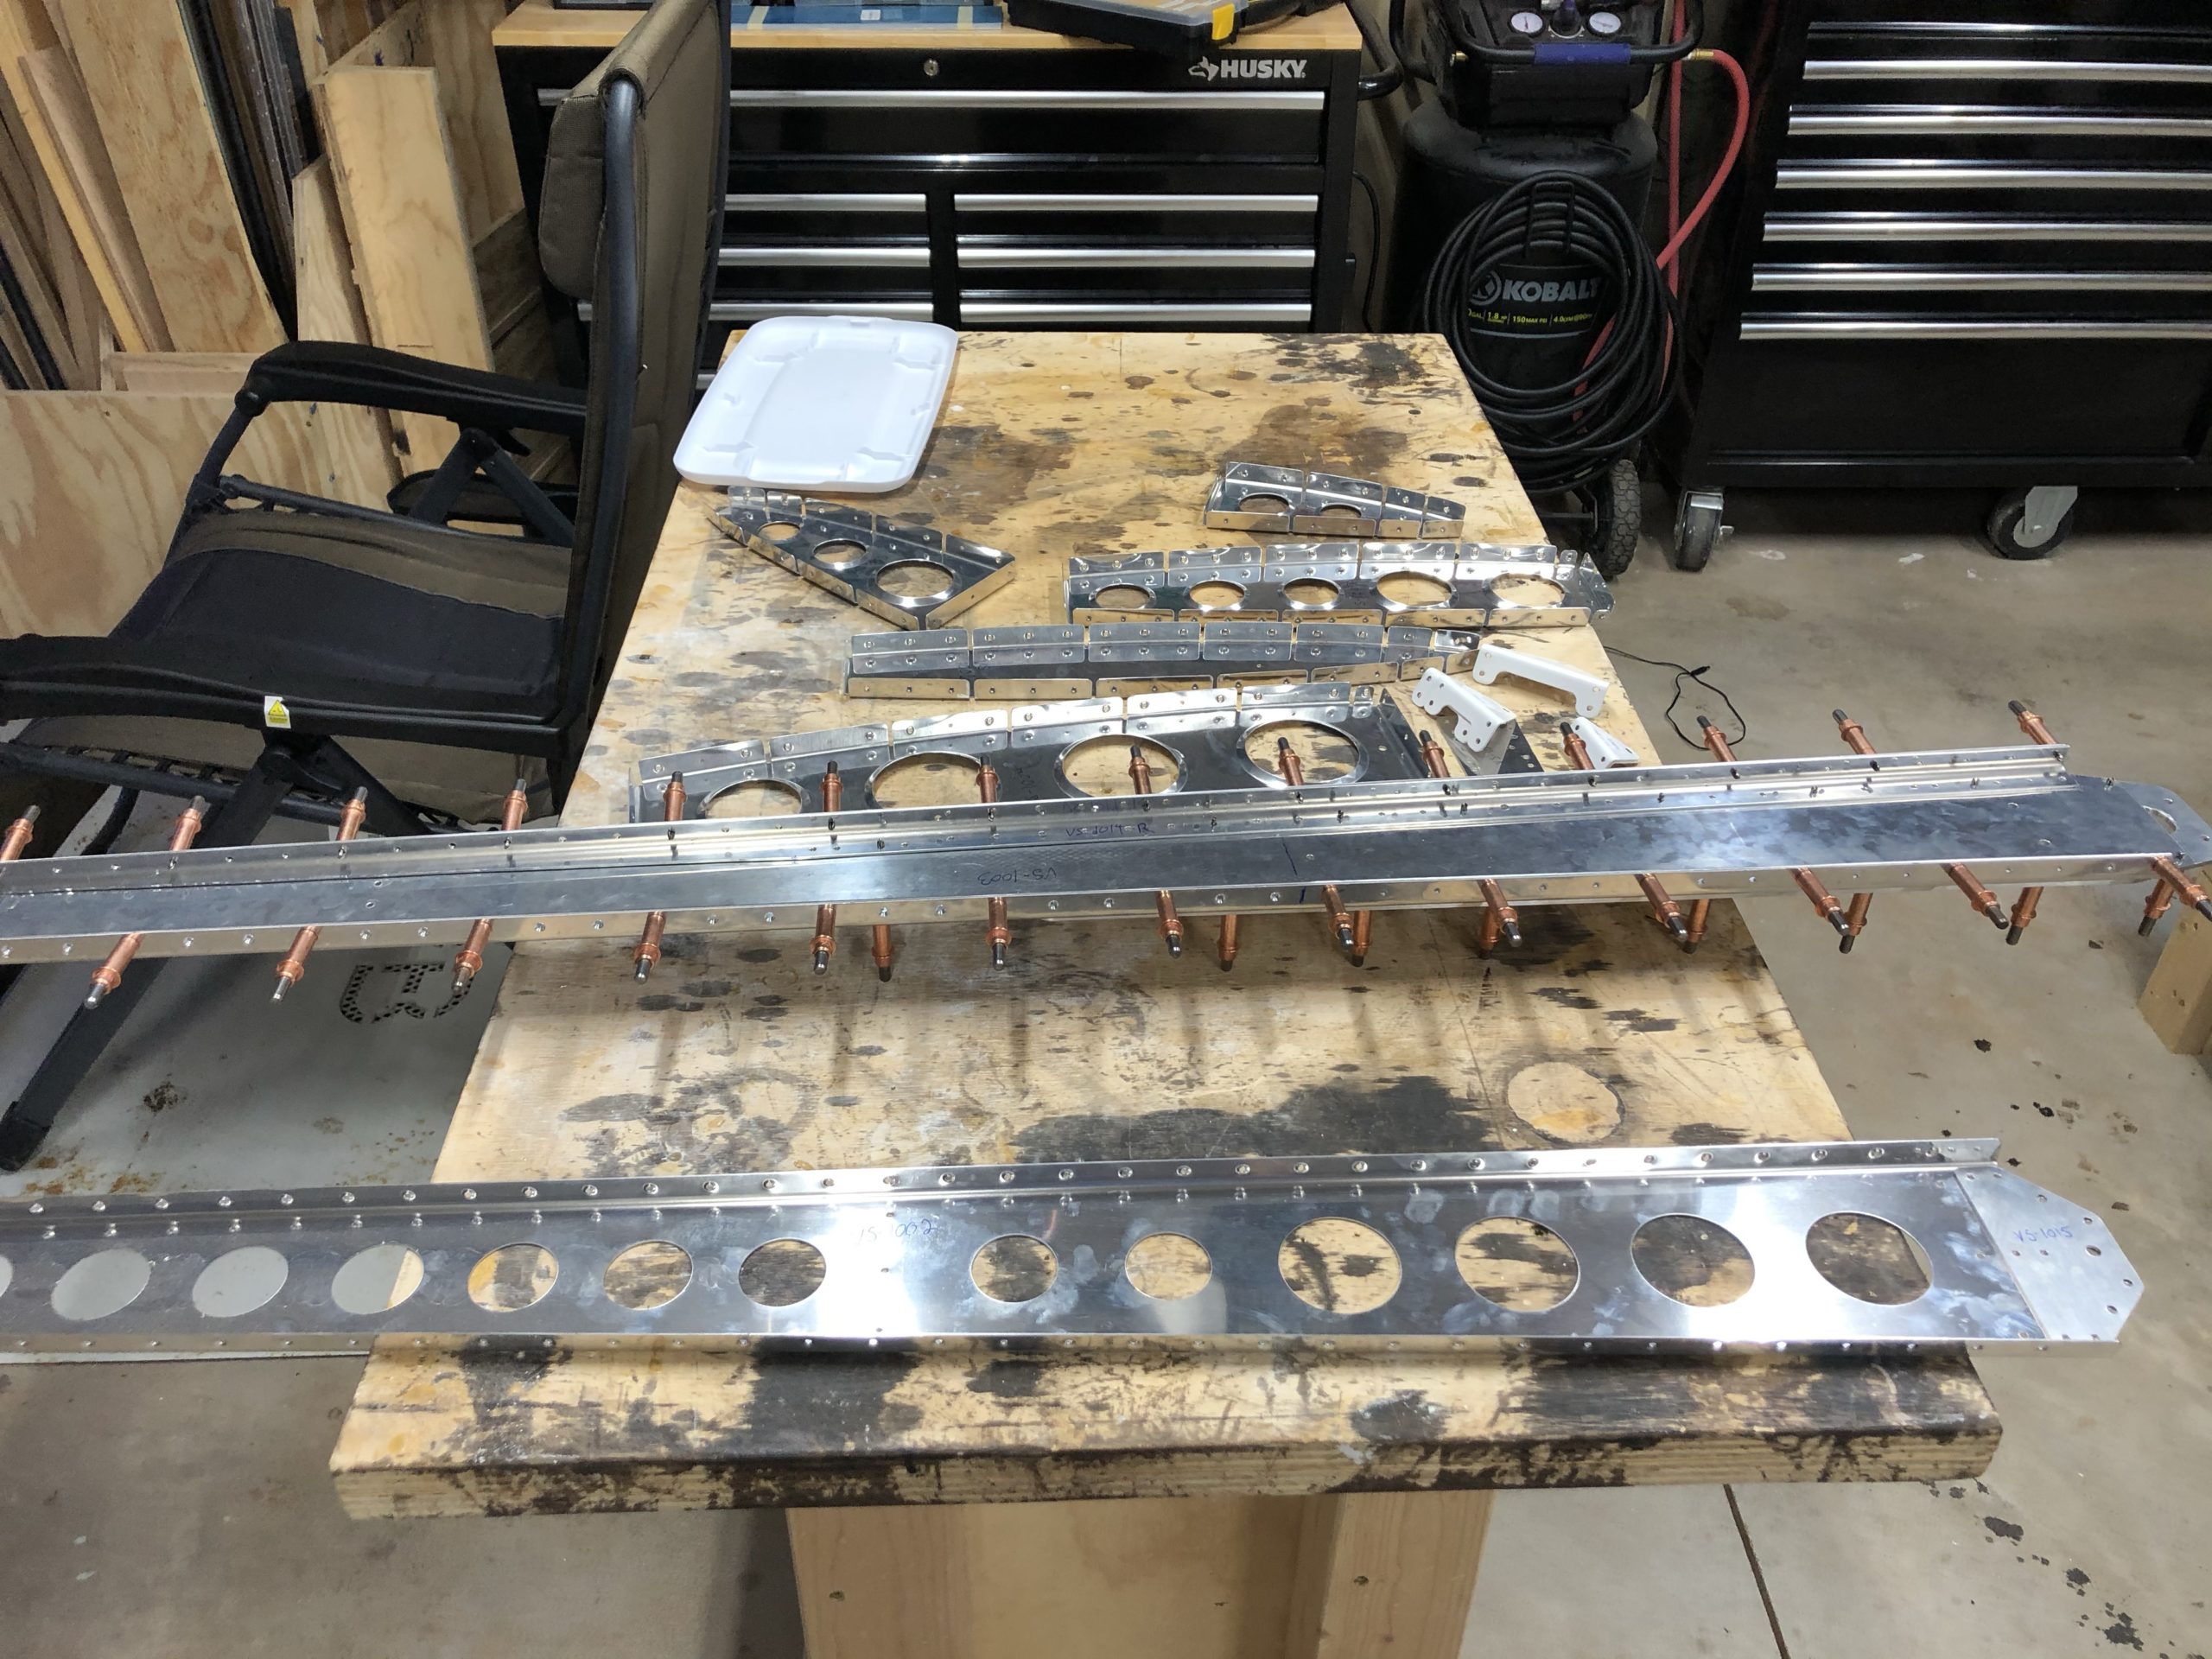
All of the parts were together for the first time today! I got all of the holes drilled. I did notice a mistake a made on the original drilling I did for the flange holes. I drilled them to #30 size instead of #40. So I just drilled all of those that were in the flange section with the 1014-L & R parts behind it to a #30 size. The rest were #40 like they were supposed to be. Details man, I assume it is one size and move on. I am going to start highlighting these numbers and double checking my drill bit every time before I go to drill from here on out.
I finally got steps 6 and7 done! The holes are countersunk for the rivets on the bottom half of the front side of the spar doubler and all of the other pieces have been deburred. I might need to go back and redo some deburring as I’m still trying to learn what is the right amount, but so far so good! It’s looking nice all put together even though I have to take it apart again 🙂
Countersunk holes drilled!Test fitting – and it’s flush! I might put a ruler on it to make sure it’s exactly flush thoughRibs and spars all assembled!
Well, I’m not cheering too soon haha. It will be coming apart again to get reburred, but this is its first time together! This was Section 6, Steps 3-5.
Clecoed together for the first timeFinal-size drilling Spar Flanges to #30More final-size drilling
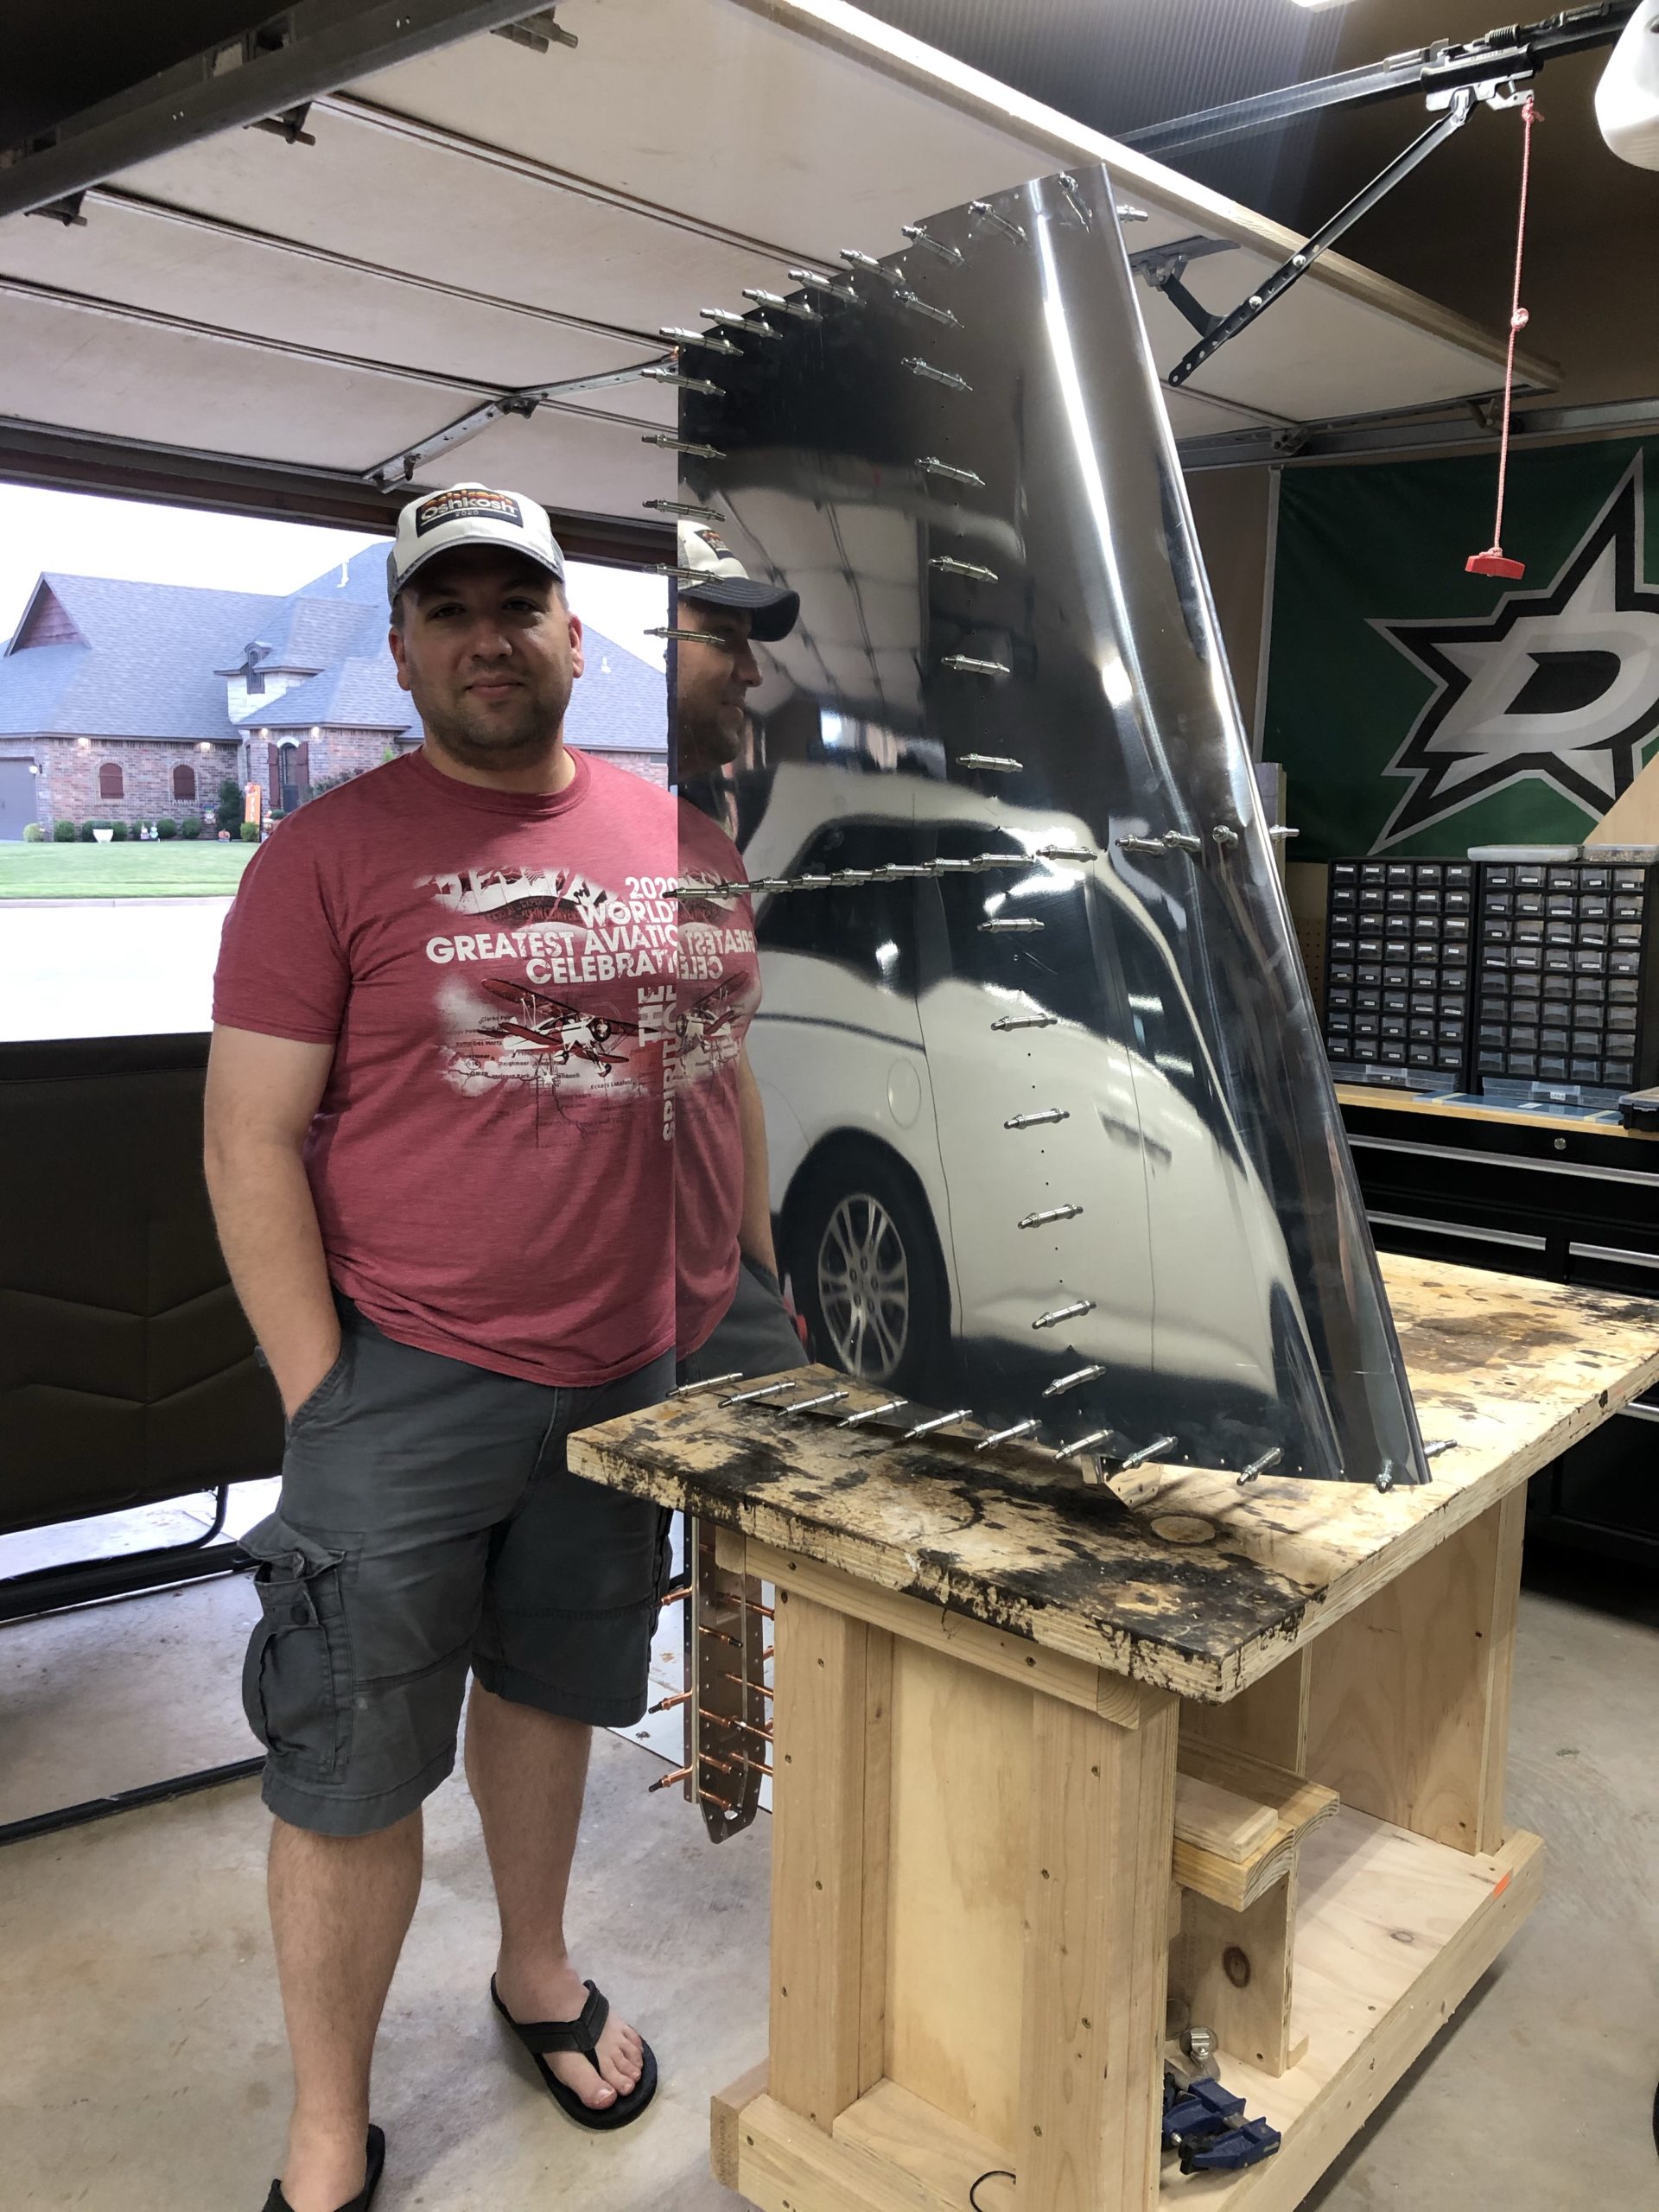
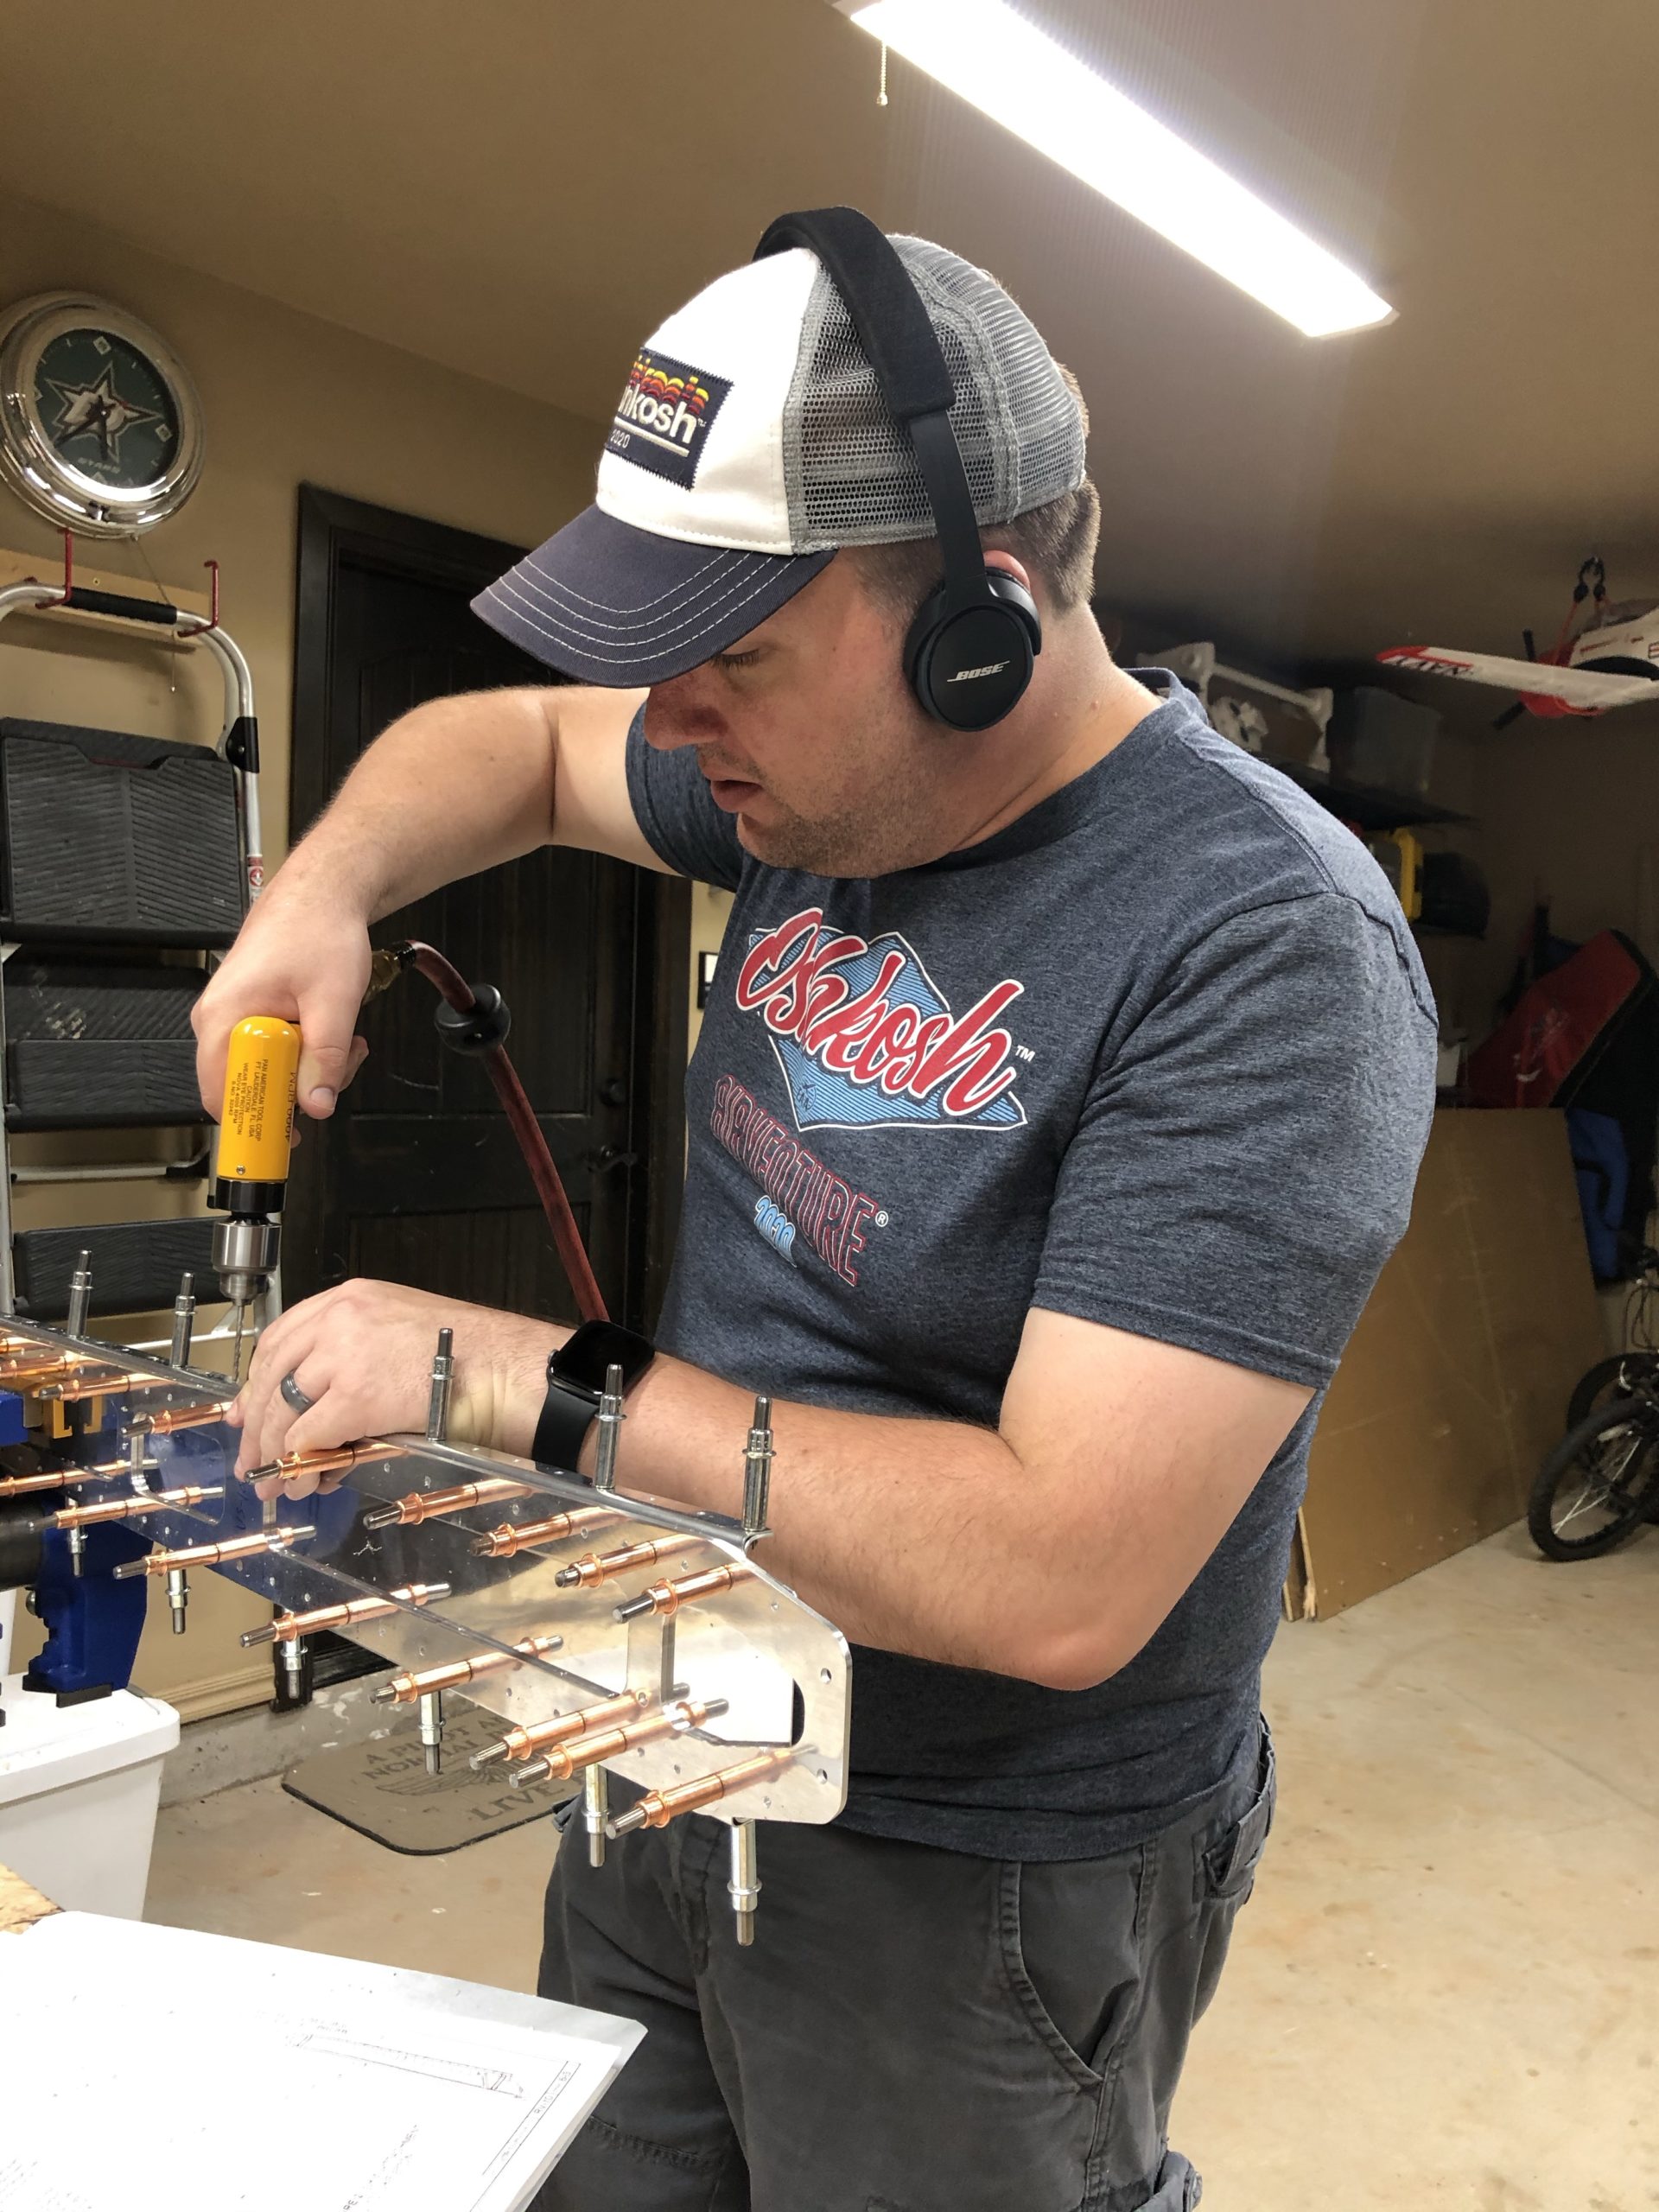
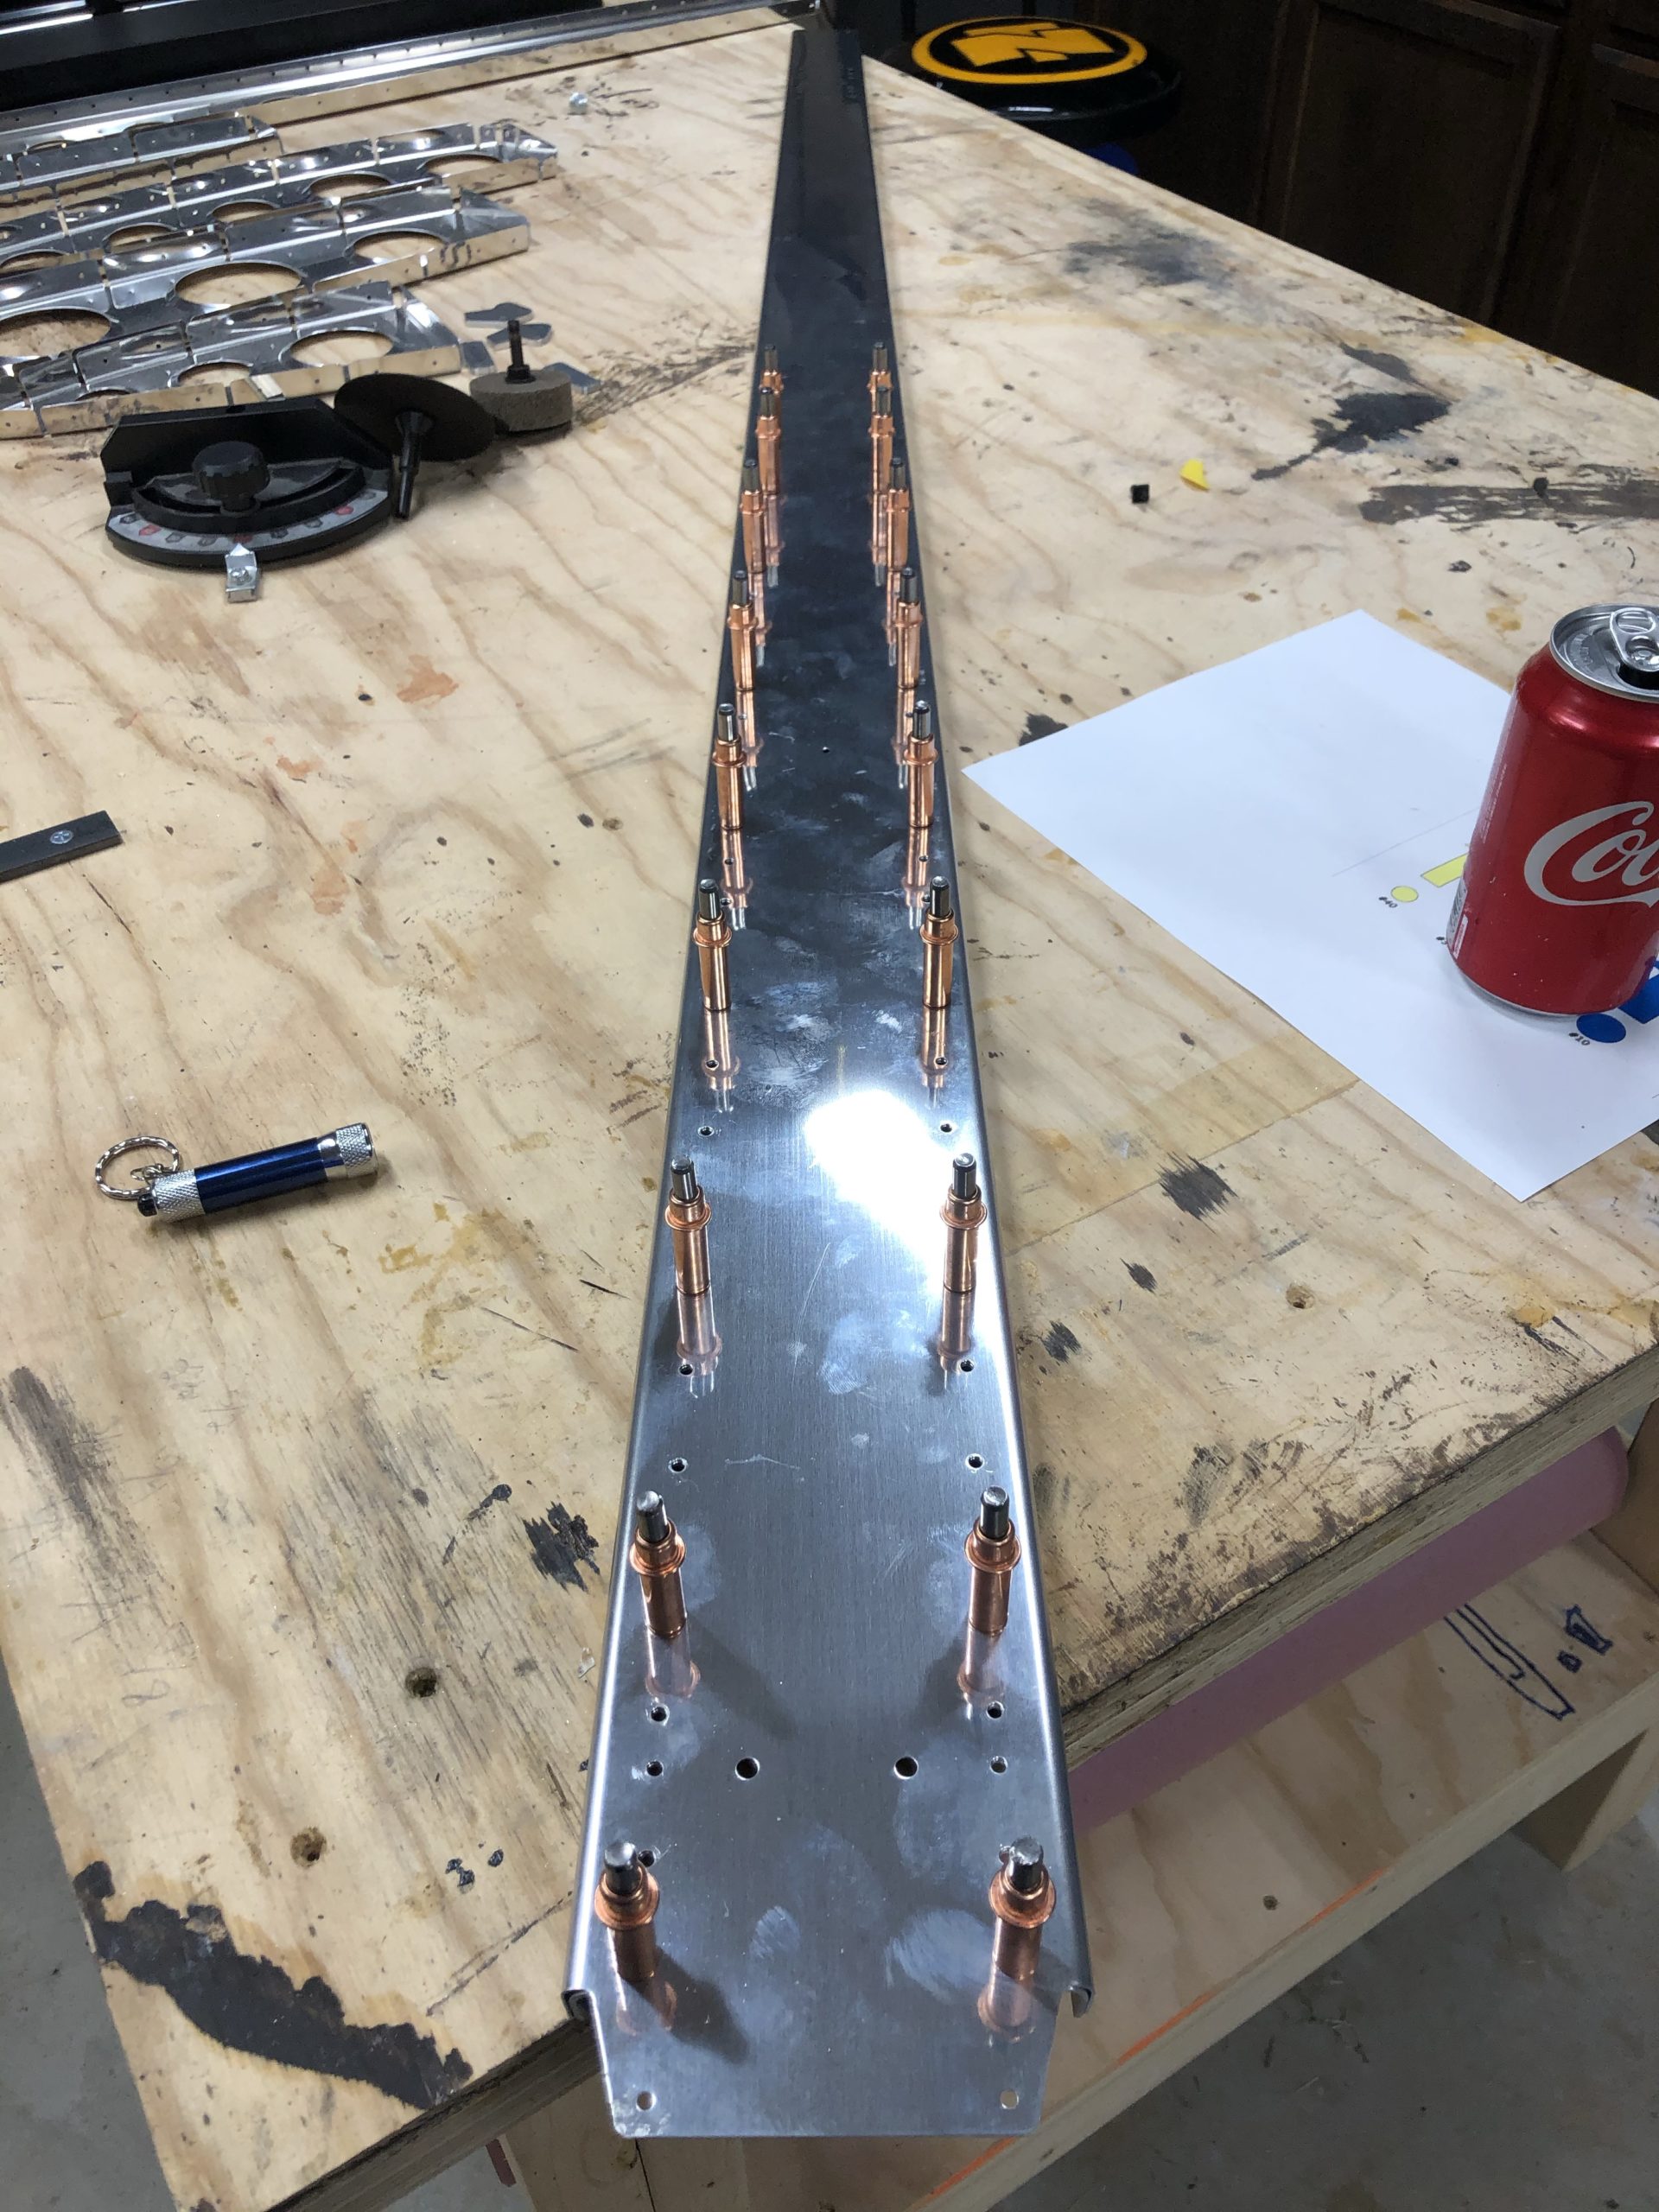
I just got cleared to start doing work again. I’ve been out since June 24th due to rotator cuff repair. I will say, I wouldn’t wish that on my worst enemy. I got almost back to where I was before my mistake in one hour tonight. Update pictures below! It is looking much better this time.
Checking out the lineup before drillingLots of Clecos!Best quality tool I own!Drilling and deburring complete! Prepped for drilling holes into the flanges tomorrow
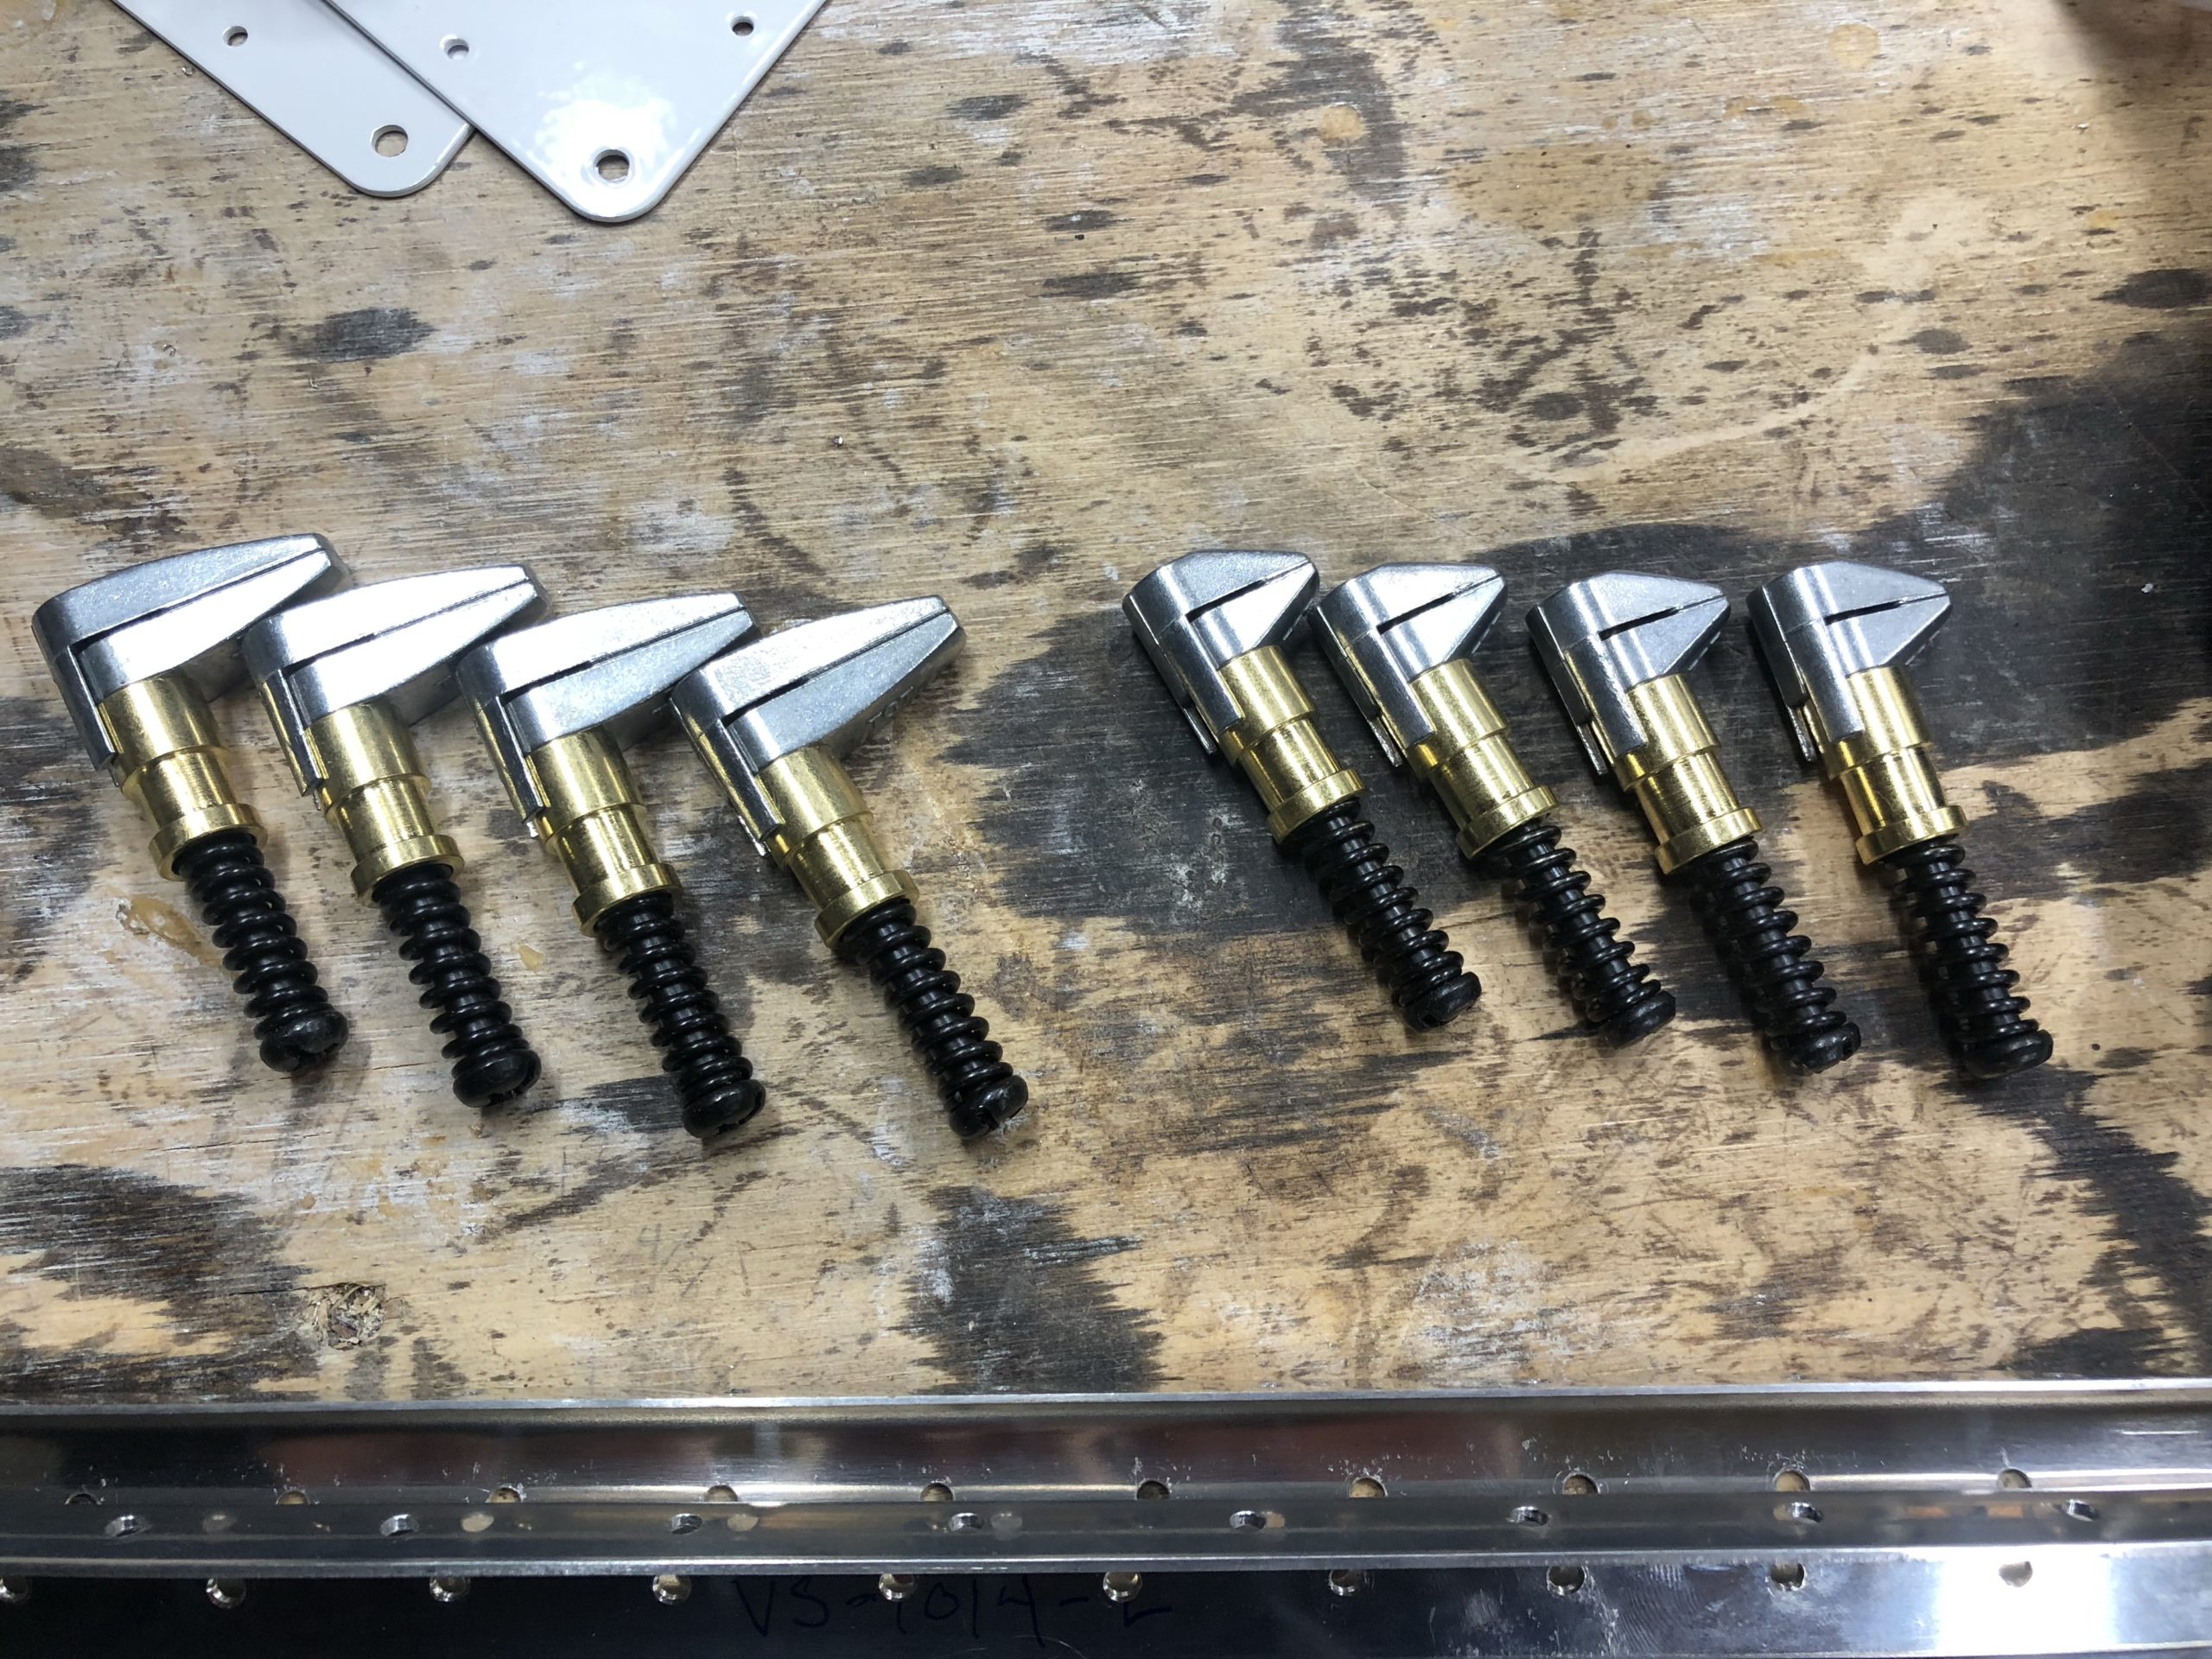
I’m glad I found my mistake early on in the build. And it reinforces to me the absolute importance of reading sentence by sentence and understanding exactly what they are expecting. Also… Don’t have preconceived idea of what they want either. My first mistake was when I was clamping down the rear spar caps to the rear spar. I totally forgot that I had these clamps in my tool box that I could use.
Cleco Clamps
In my haste to get started I just head the rear spar cap against the rear spar and drilled a hole in the middle. I then clecoed that and went on my way. Well little did I know that as I was going along, drilled out material was building up inbetween the two parts, creating a gap. Thus the rear spar and the rear spar caps didn’t truly meet flush like they should have.
Holes are slightly off if you put the spar caps exactly where they are supposed to be
My second mistake was drilling the #40 holes with a #30 drill bit. Probably not a huge mistake and I could have just used the 1/8″ rivets, but I want to follow the instructions exactly to the point, as I am pointing to here in this image.
But I did get some work done today! I got the VS-1008 piece completely deburred and I also got some additional clamps that I hope will help out in scenarios such as this.
Irwin Miniature Quick-Grips
All in all, I am still very positive about the build, even though this was just the first few steps in the build LOL. I knew this was going to be my down fall, and something I need to change anyways. This is a $49 dollar lesson as I wait for the replacement parts to come in.
This will give me some more time to continue rehab with my shoulder anyways, as doing this work was pretty stinking difficult without the use of my shoulder the way I wanted it. I would use my left hand to basically grab things close by or to push down on parts slightly, but it was pretty useless LOL. Luckily my first physical therapy visit went well today and they were surprised at how well I’ve already progressed just resting at home. So here’s hoping I get through this therapy quickly and fully recover the use of my shoulder as I’ve been missing it dearly for the past year and couple of months since I hurt it.