Not a ton to write about today. I got the holes match drilled between the rear spar and the spar caps. The only odd thing is that, even with them held firmly together, the shavings from near by holes would cause it to push out some and I didn’t notice until I was almost done. I’ll have to see what I can do to get it flush on both sides. I might have to find a better clamping solution as well as my small wood bar clamps don’t get enough perches to hold the pieces together very well.
Here are some more photos of the spar and spar caps clecoed together.
I was cleared by my doctor today to do some very small movement of my shoulder. I didn’t waste anytime getting into the garage to get started on the plane 🙂 I honestly did not use my left arm much but to guide parts through the band saw or to run it through the bench grinder for deburring.
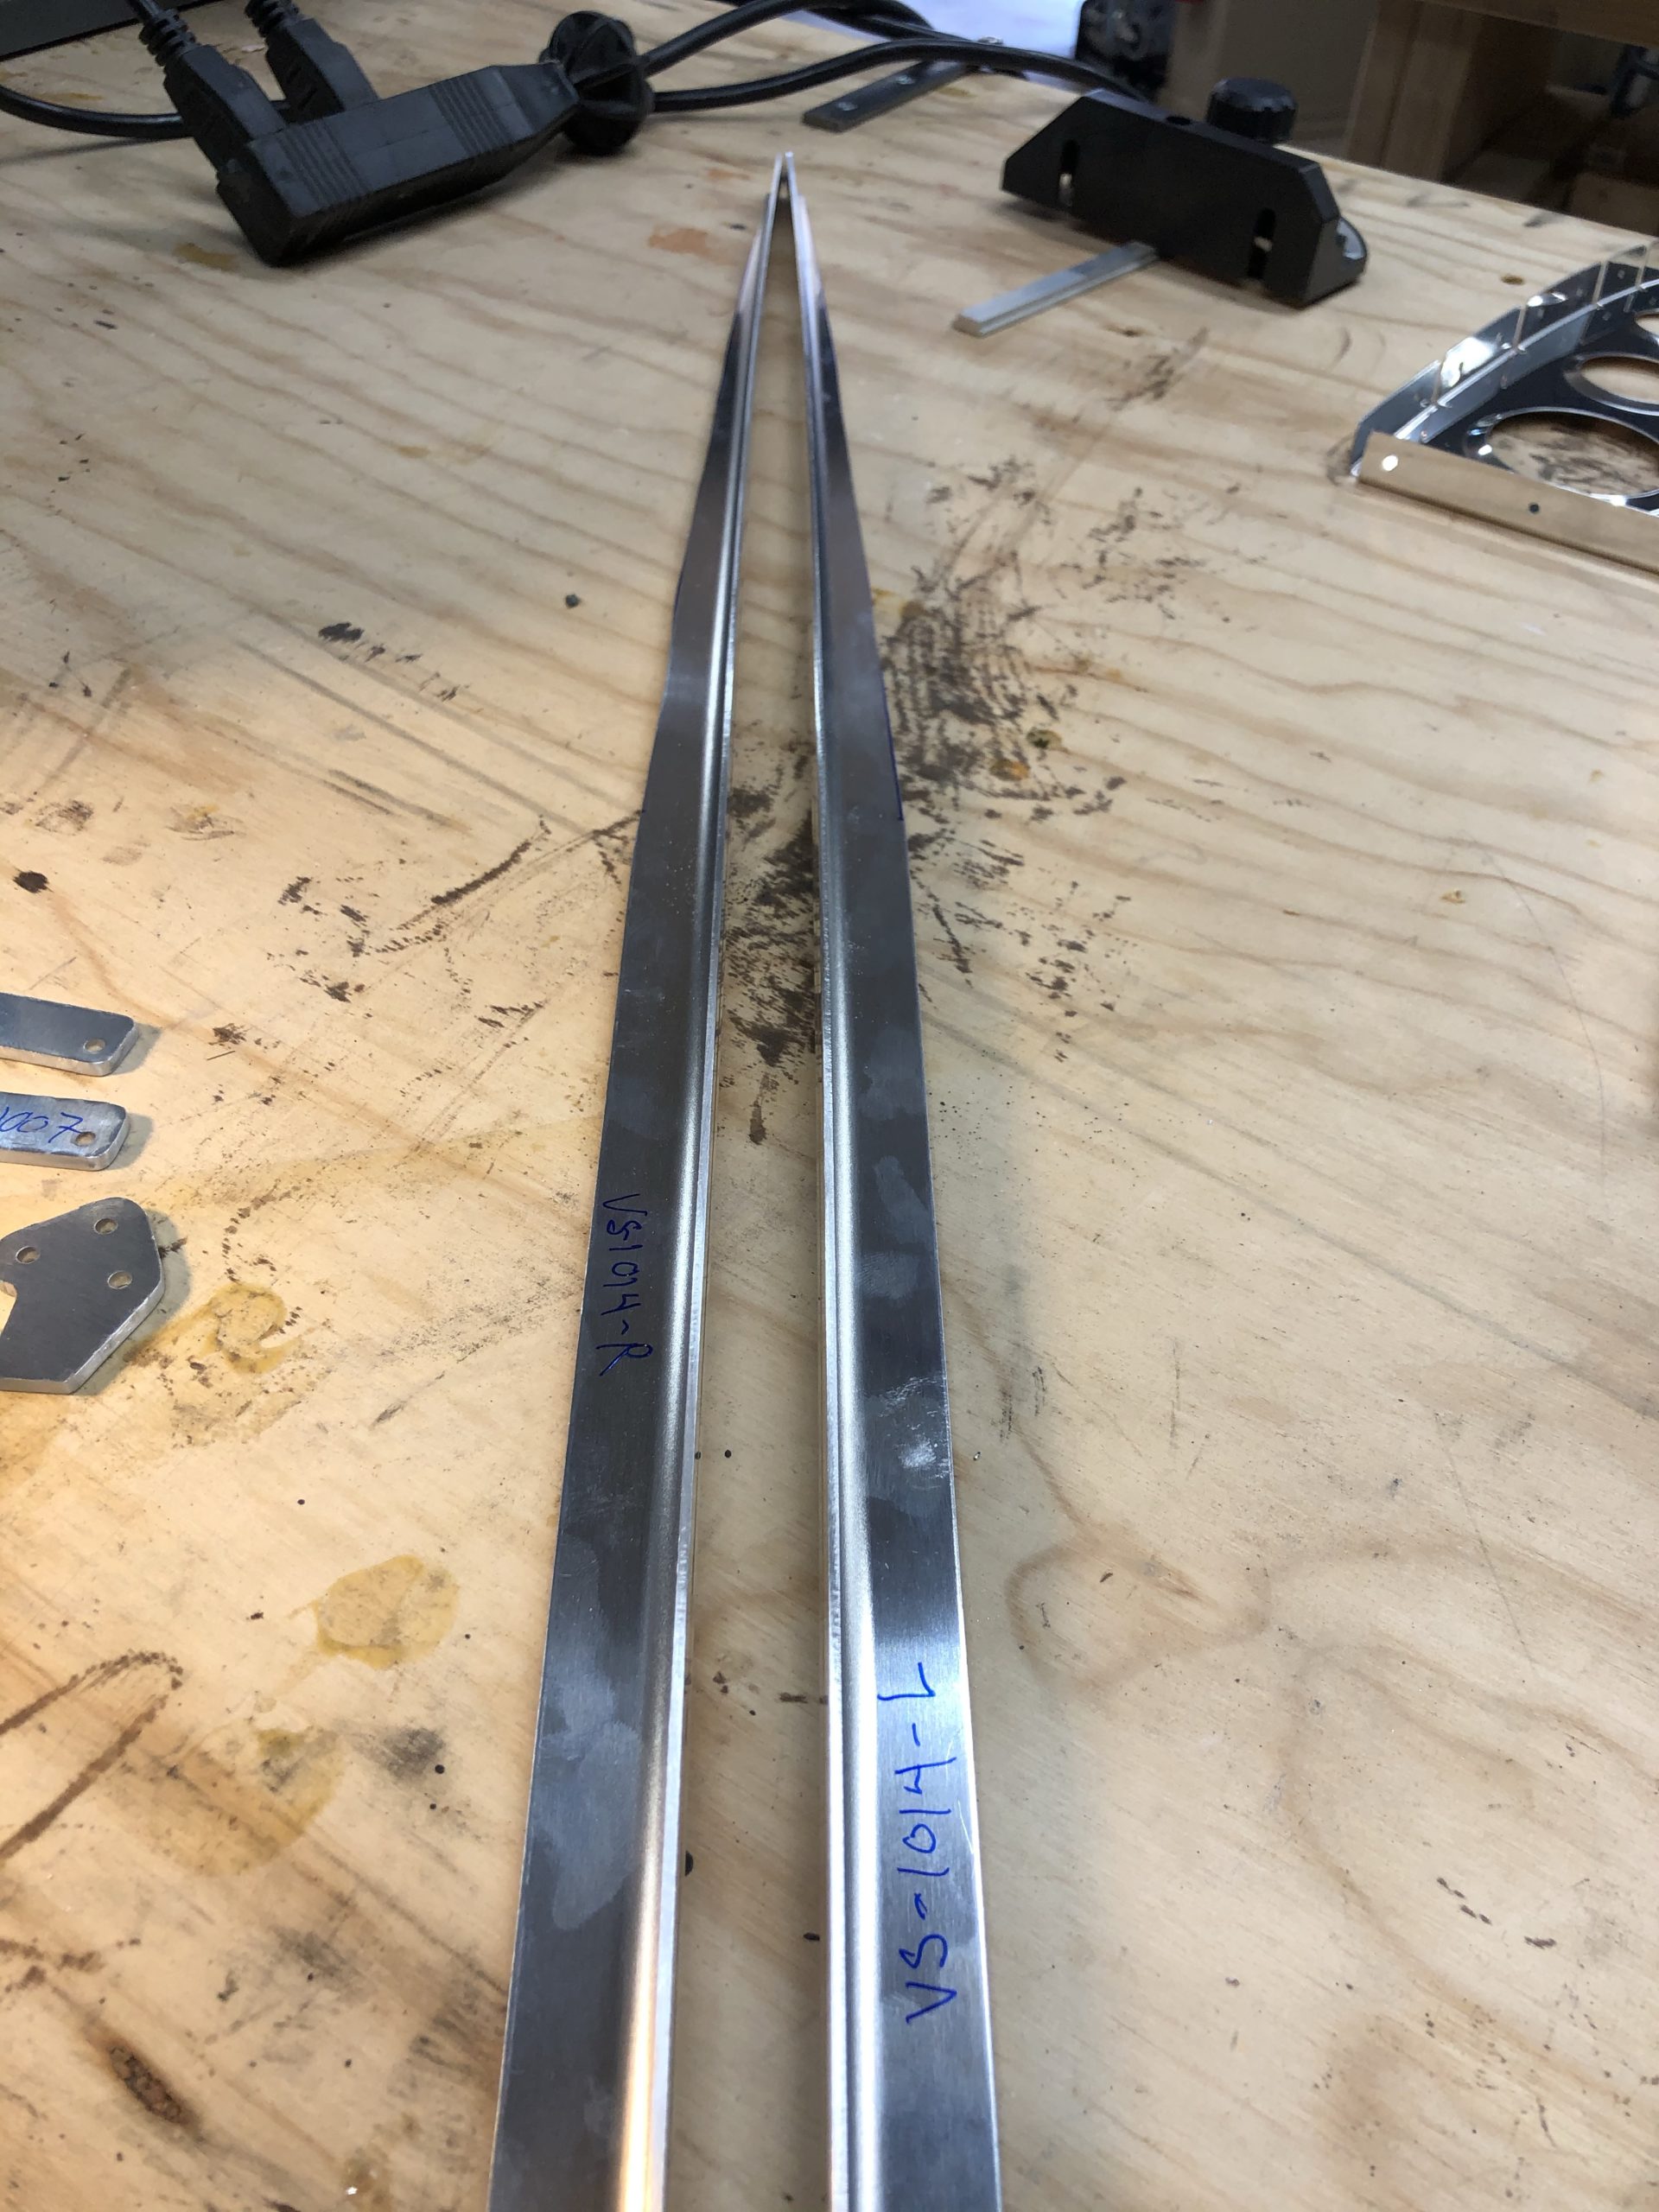
I got the initial cuts done on parts VS-1014 which turned them into VS-1014-L and VS-1014-R. I fitted the deburring wheel to my bench grinder and got the long exposed edges deburrred on all of the vertical stabilizer parts. Hopefully tomorrow, I will get the bits cut for my detailed deburring tool and get those small areas done so I can cleco everything together and start match drilling.
VS-1014s All Cut!Before vs After deburringThe rudder stops all cut out and deburred on the outside edges
I just recently had rotator cuff repair surgery so I’m not going to be able to do too much with the build for another month or so. But I did want to go on ahead and get everything organized and ready to go.
I had my boys take all of the parts that I wouldn’t be using upstairs for long term storage. We stored them in reverse order so that I would be able to access parts as I need them.
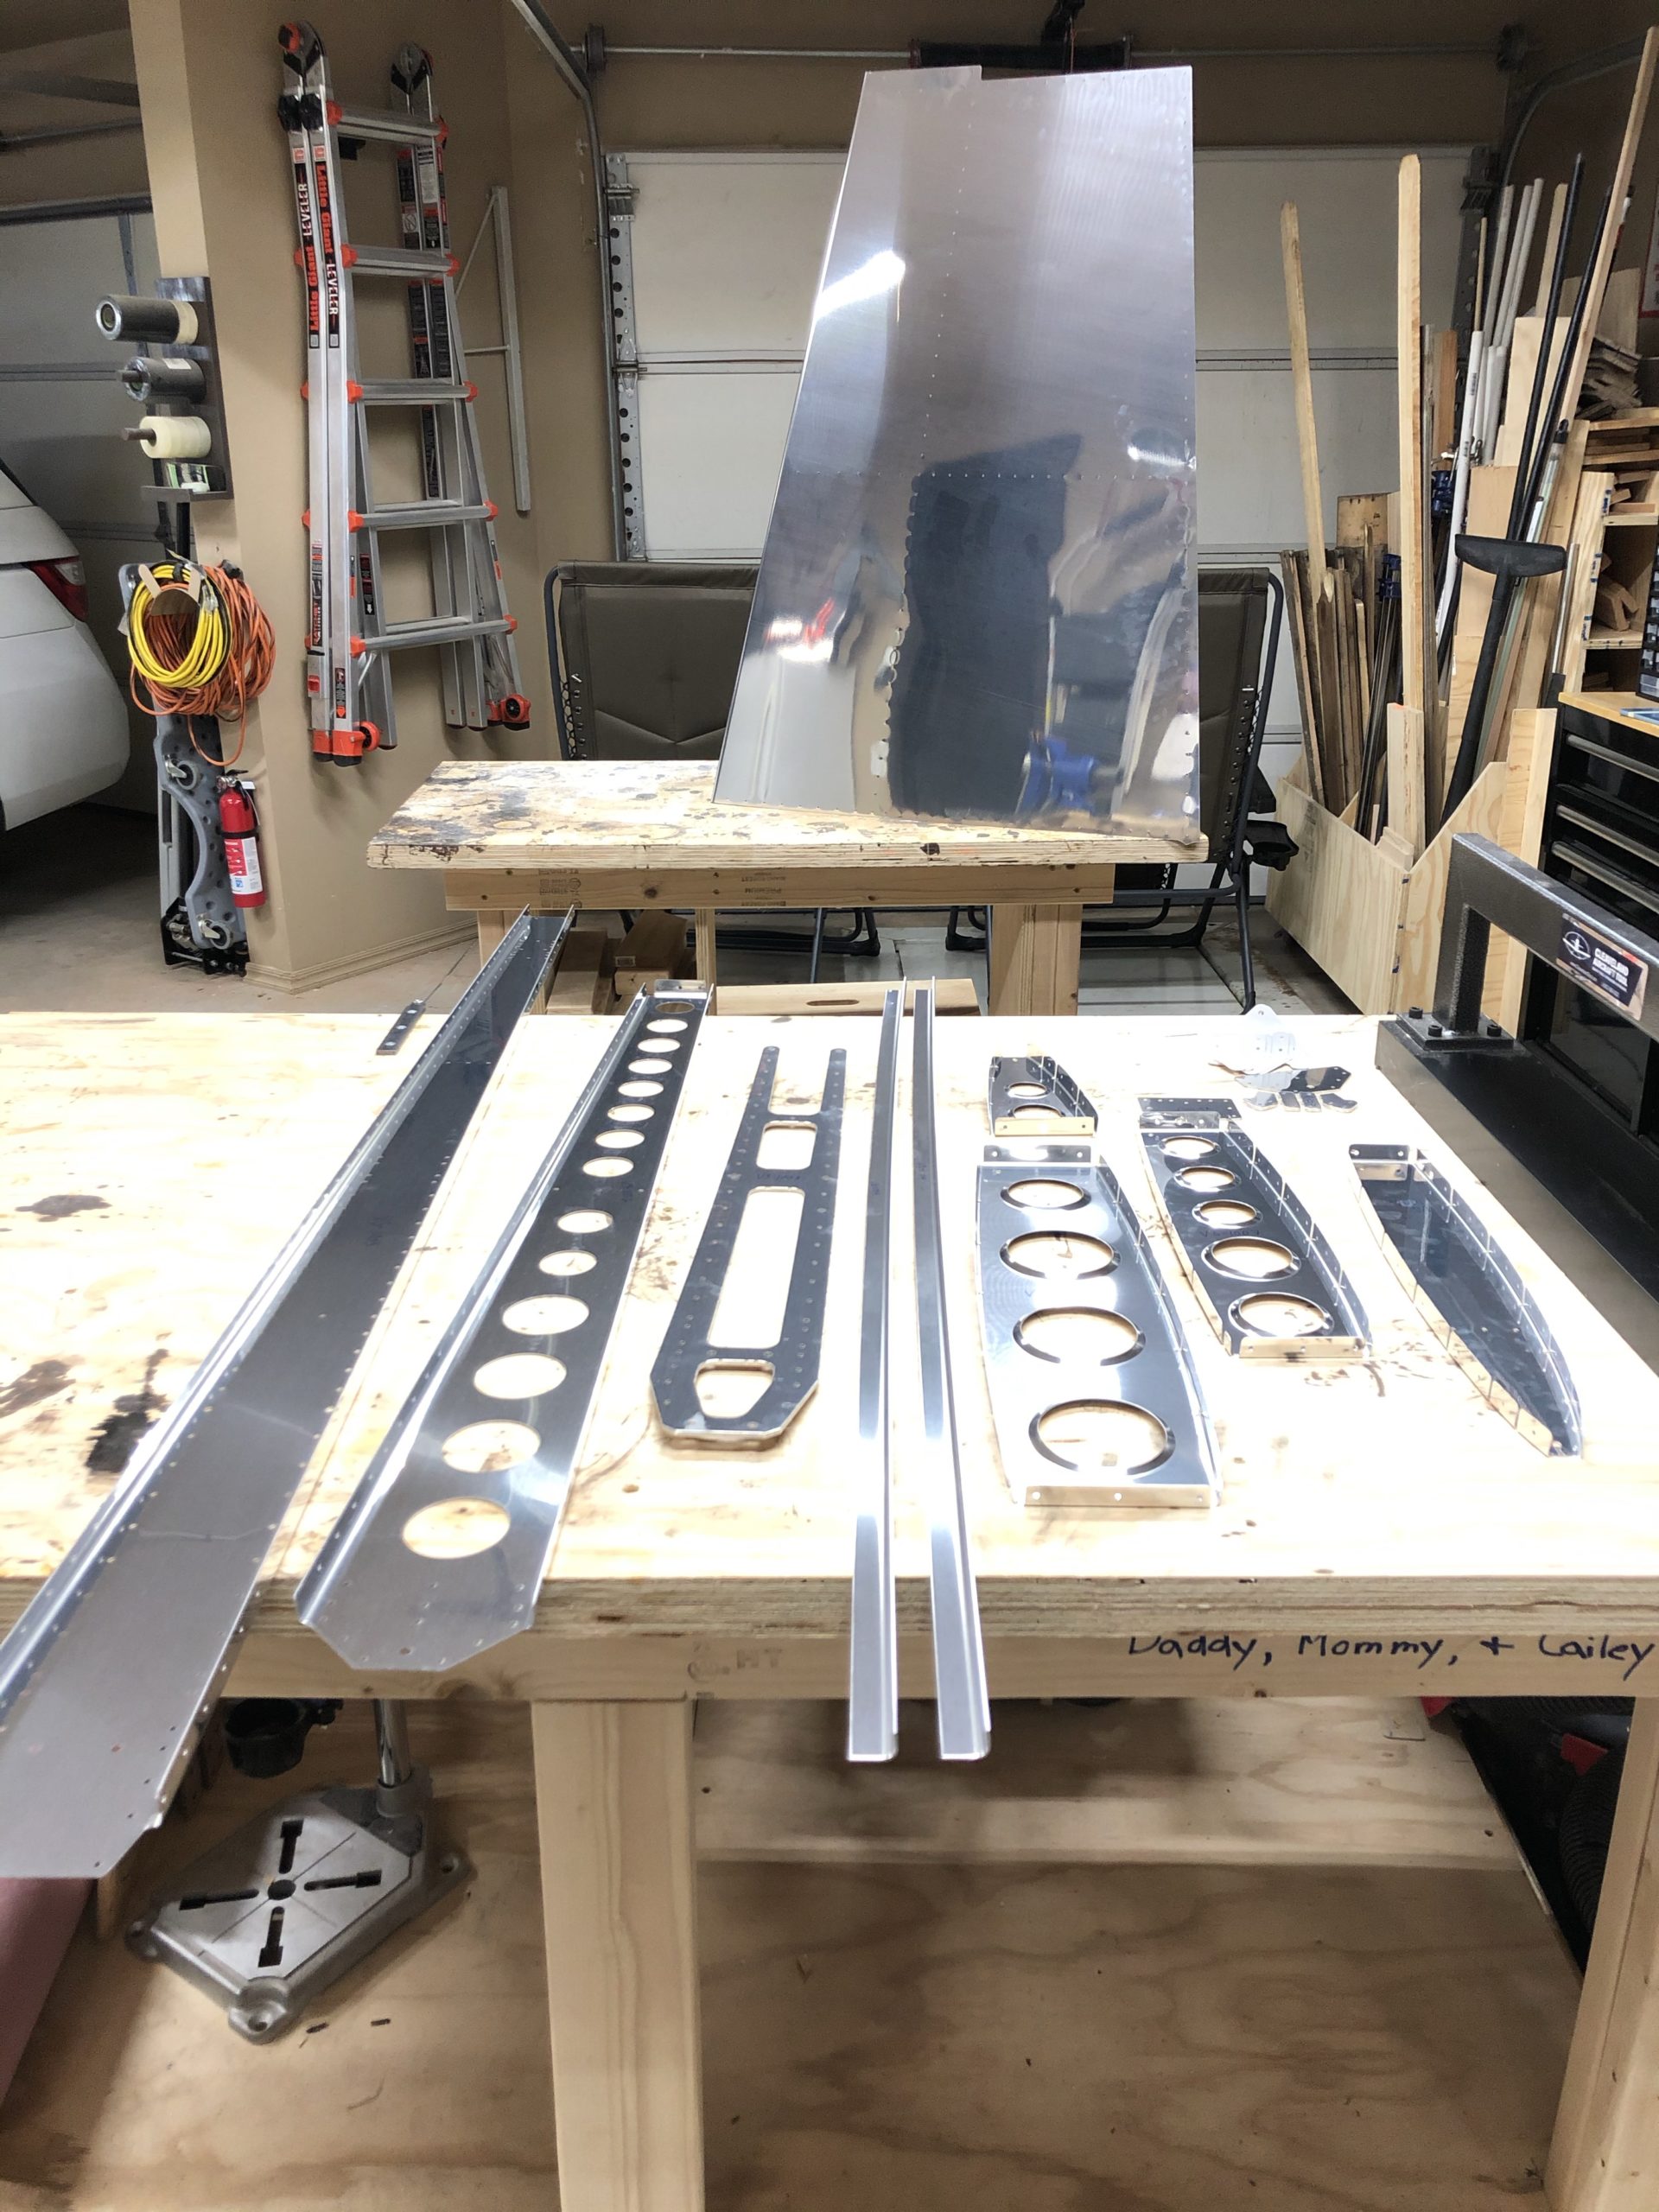
I also spent some money to buy some organizing units and I split up everything into individual part numbers. It will help me find things down the road. Here are a few pictures to document the progress. I also removed the protective covering from all of the parts so that I would have one less thing to worry about when I start cutting, deburring, etc.
I spent about 4 hours in total doing all of this organization. I need to figure out how I’m going to document the work hours to each of these posts. Luckily I have a few weeks to worry about that. LOL
Harbor Freight 40 Bin Organization UnitsAll the rivets in a single 20 bin organization unitAll future parts stored away upstairsParts ready for work
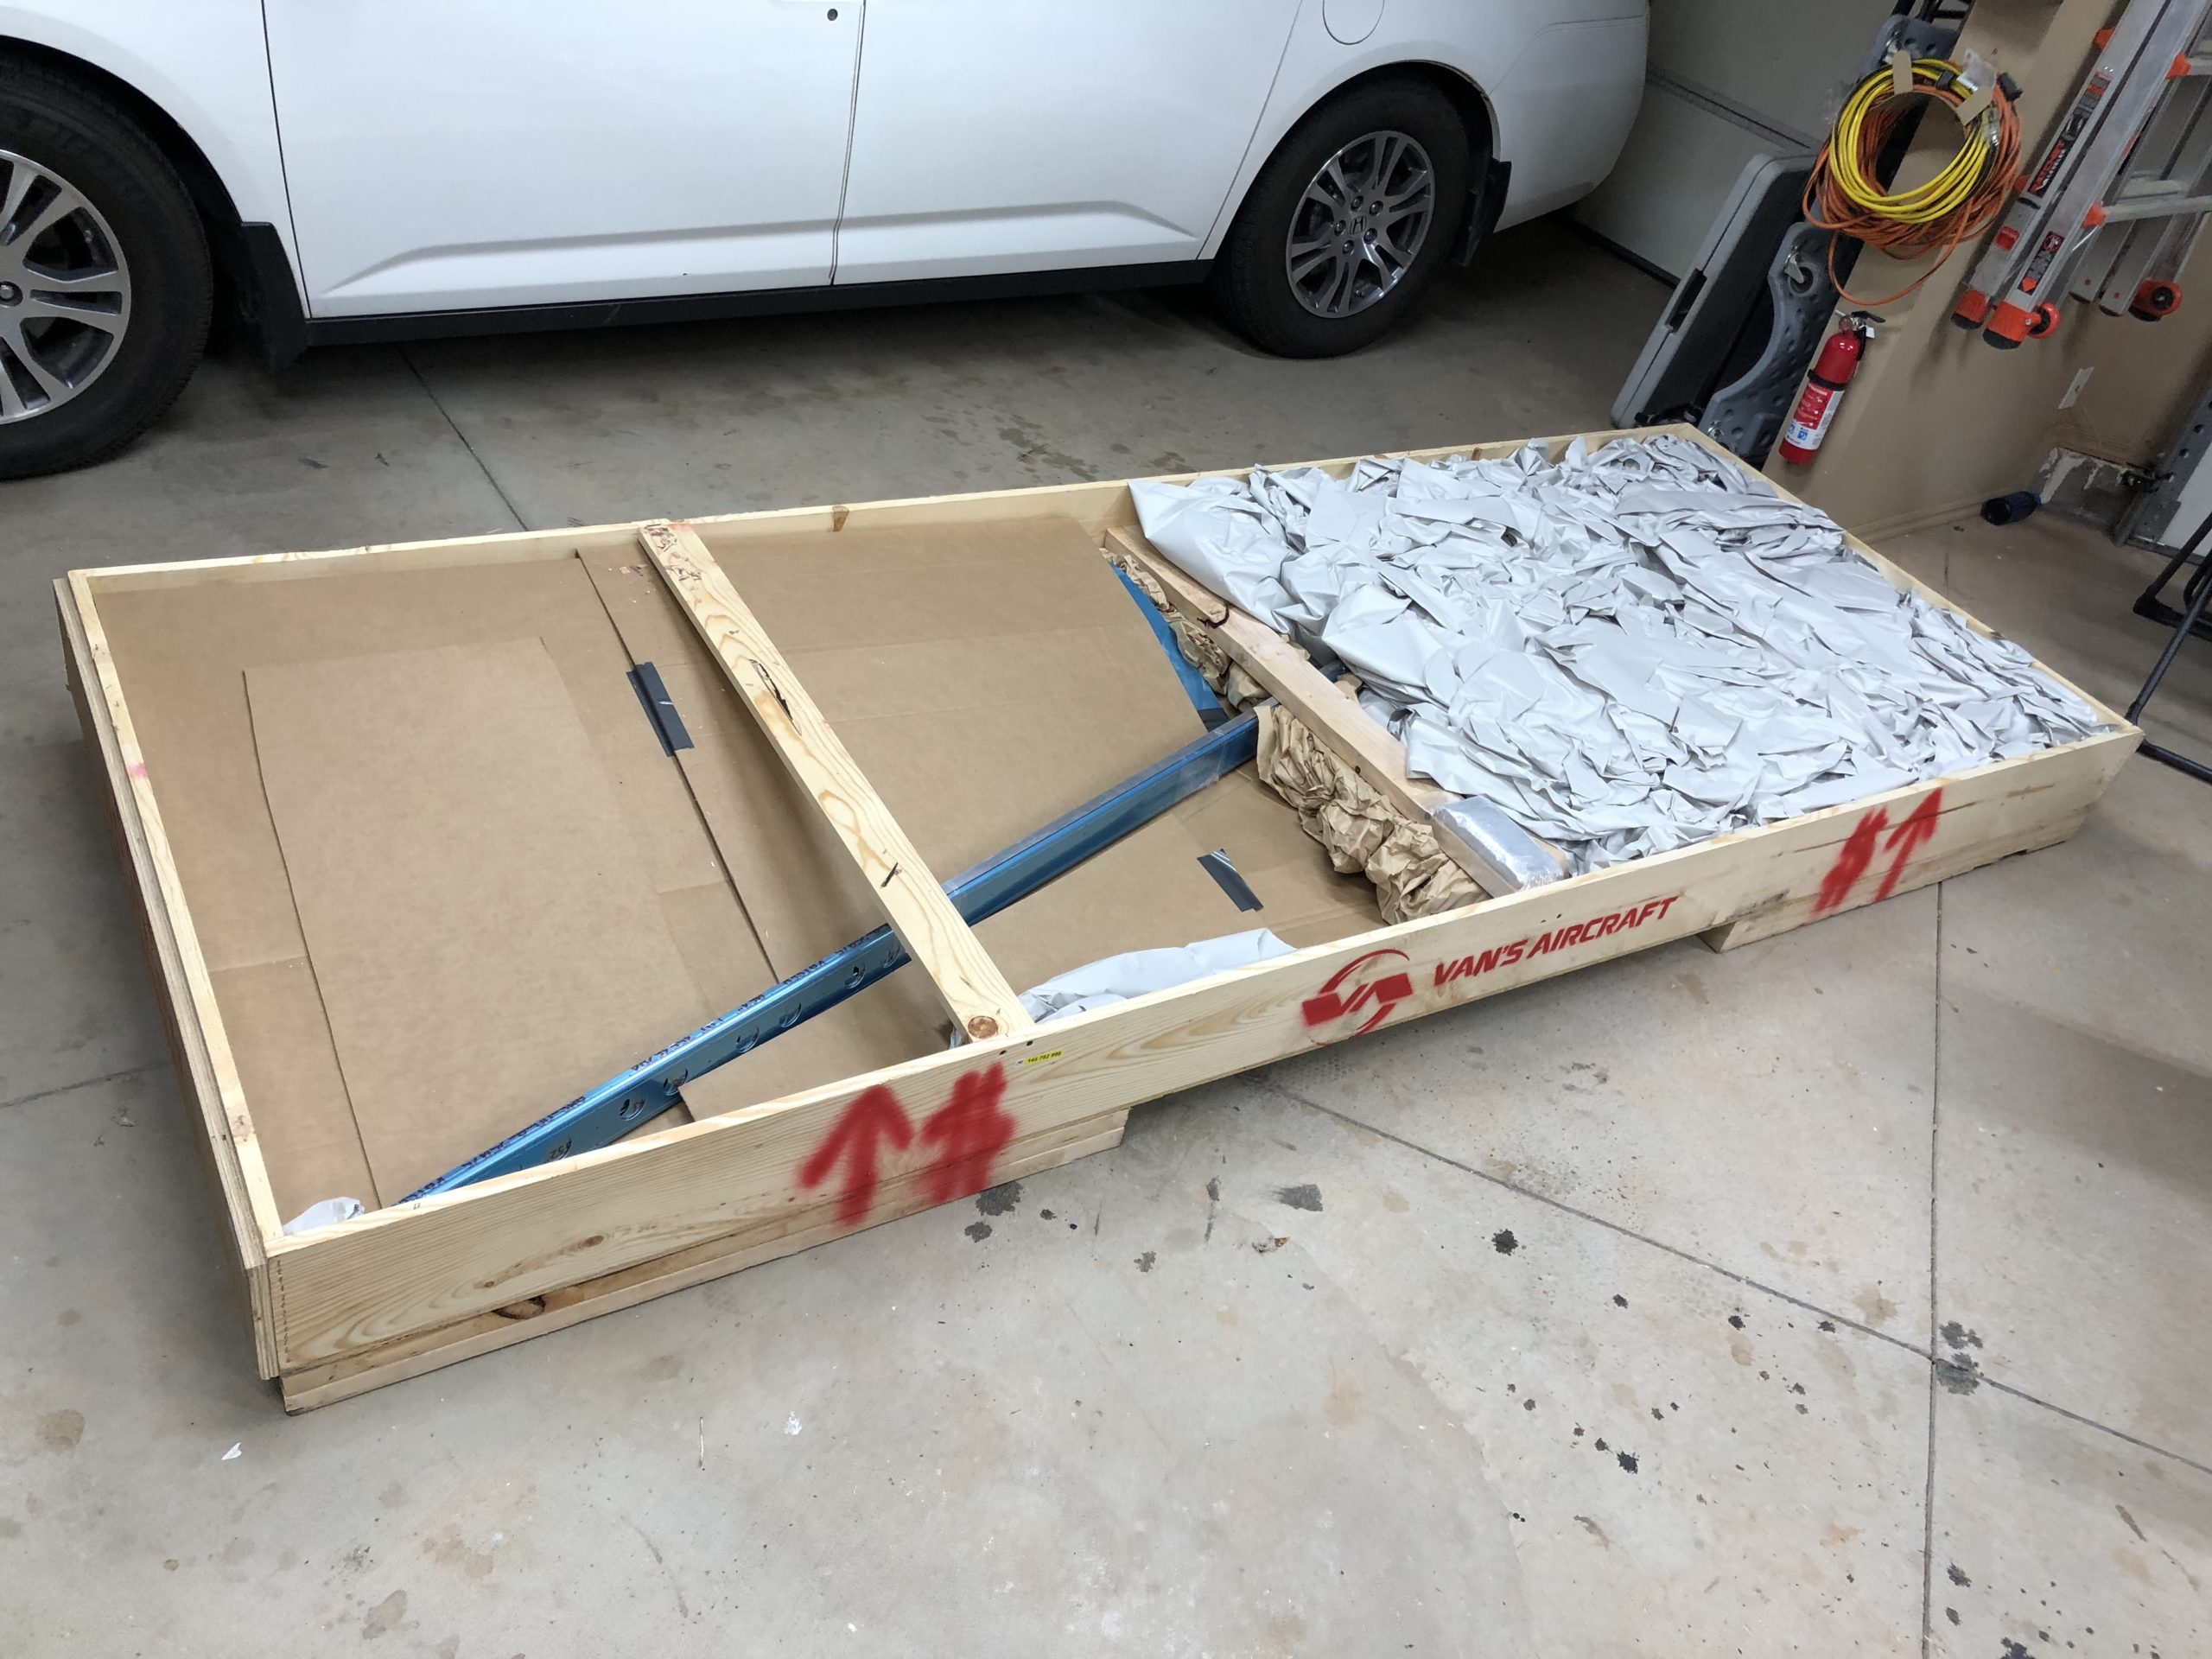
As of June 22, 2020, I now have the empennage kit in my possession. I will say there was a little bit of hassle to get it here which was partially my own fault plus that of ABF Freight.
The kit arrived in Oklahoma City and was ready for delivery on Wednesday June 17th, 2020. I called them that day and the lady scheduled me for the following day. She did say she was extremely busy so this could have been the reason for the first misstep.
I worked from home the next day, which was June 18th, 2020. The same lady called me and let me know that it did not go out for delivery because she didn’t get payment from me. She wasn’t expecting the recipient to pay for it so, I get it. She said that if I paid today, it would go out for delivery tomorrow. Now, I had plans to go to Dallas, TX the next day (June 19th, 2020) as I needed to do some maintenance on our rental property down there. I told her I planned on leaving around noon and asked her if it was possible they could deliver it that morning. She said it would not be a problem. So I paid that day and went along my way.
On June 19th, 2020, I waited until 4:45PM when I called them and they said that they had already attempted delivery. I was pretty perturbed at this point since I had not received a call, email, or any notification that they were trying to deliver it. I waited, because I told her I would be here and preferred the shipment to be done in the morning. That was my one and only misstep. I should have clarified with her that I would wait until they delivered, but I preferred to have it delivered before noon. But in my opinion they should have called me to try delivery instead of just assuming I wasn’t going to be there and mark it as “attempted” and move on.
The other misstep on ABF’s part was that the lady said she didn’t feel that they would need a lift gate so she took that off the request and they were only going to send a normal truck. That’s where the driver also said he didn’t want to deliver it because it needed a lift gate to drop it down properly. Either way, I was pretty miffed that they communicated very poorly and weren’t apologetic about it at all.
Lesson learned for next time though… I will be crystal clear on delivery expectations.
The kit is now in the garage!No damage so far. This is good!The build manual and the inventory checklist. Pen out and start!All of the packing paper now removed so I can see more of what’s in thereExternal plan view3D SchematicInventory complete!
My boys actually enjoyed doing the inventory with me! They thought it was so cool to see how many parts there were just in the empennage kit to make a plane function. I was only missing one item, which was E-905. F-1006C, F-1006D, and VS-1005 were all on backorder. I called Van’s and got ahold of Jessica. She noted the missing part and also said that it appeared that those backordered parts were possibly ready to ship. I told her to just ship it all together to save on packing and shipping (hopefully).
I am having shoulder surgery tomorrow (June 24th, 2020) so I won’t be able to work on this for a while which is fine. I want to work with my local EAA chapter and have some more discussions anyways before I start in earnest on the build. I need to figure out what the best option for primer is out there and getting that ordered as well as getting a spray gun. I have a HVLP sprayer, but I don’t think this is the right way to apply it since we just want a very small amount of primer to go out. Either way, I’ll have plenty of time here in the next few days to research this and get caught up.