Tag: Empennage

  • Final Dimpling, Priming, and Initial Empennage Assembly

    Final Dimpling, Priming, and Initial Empennage Assembly

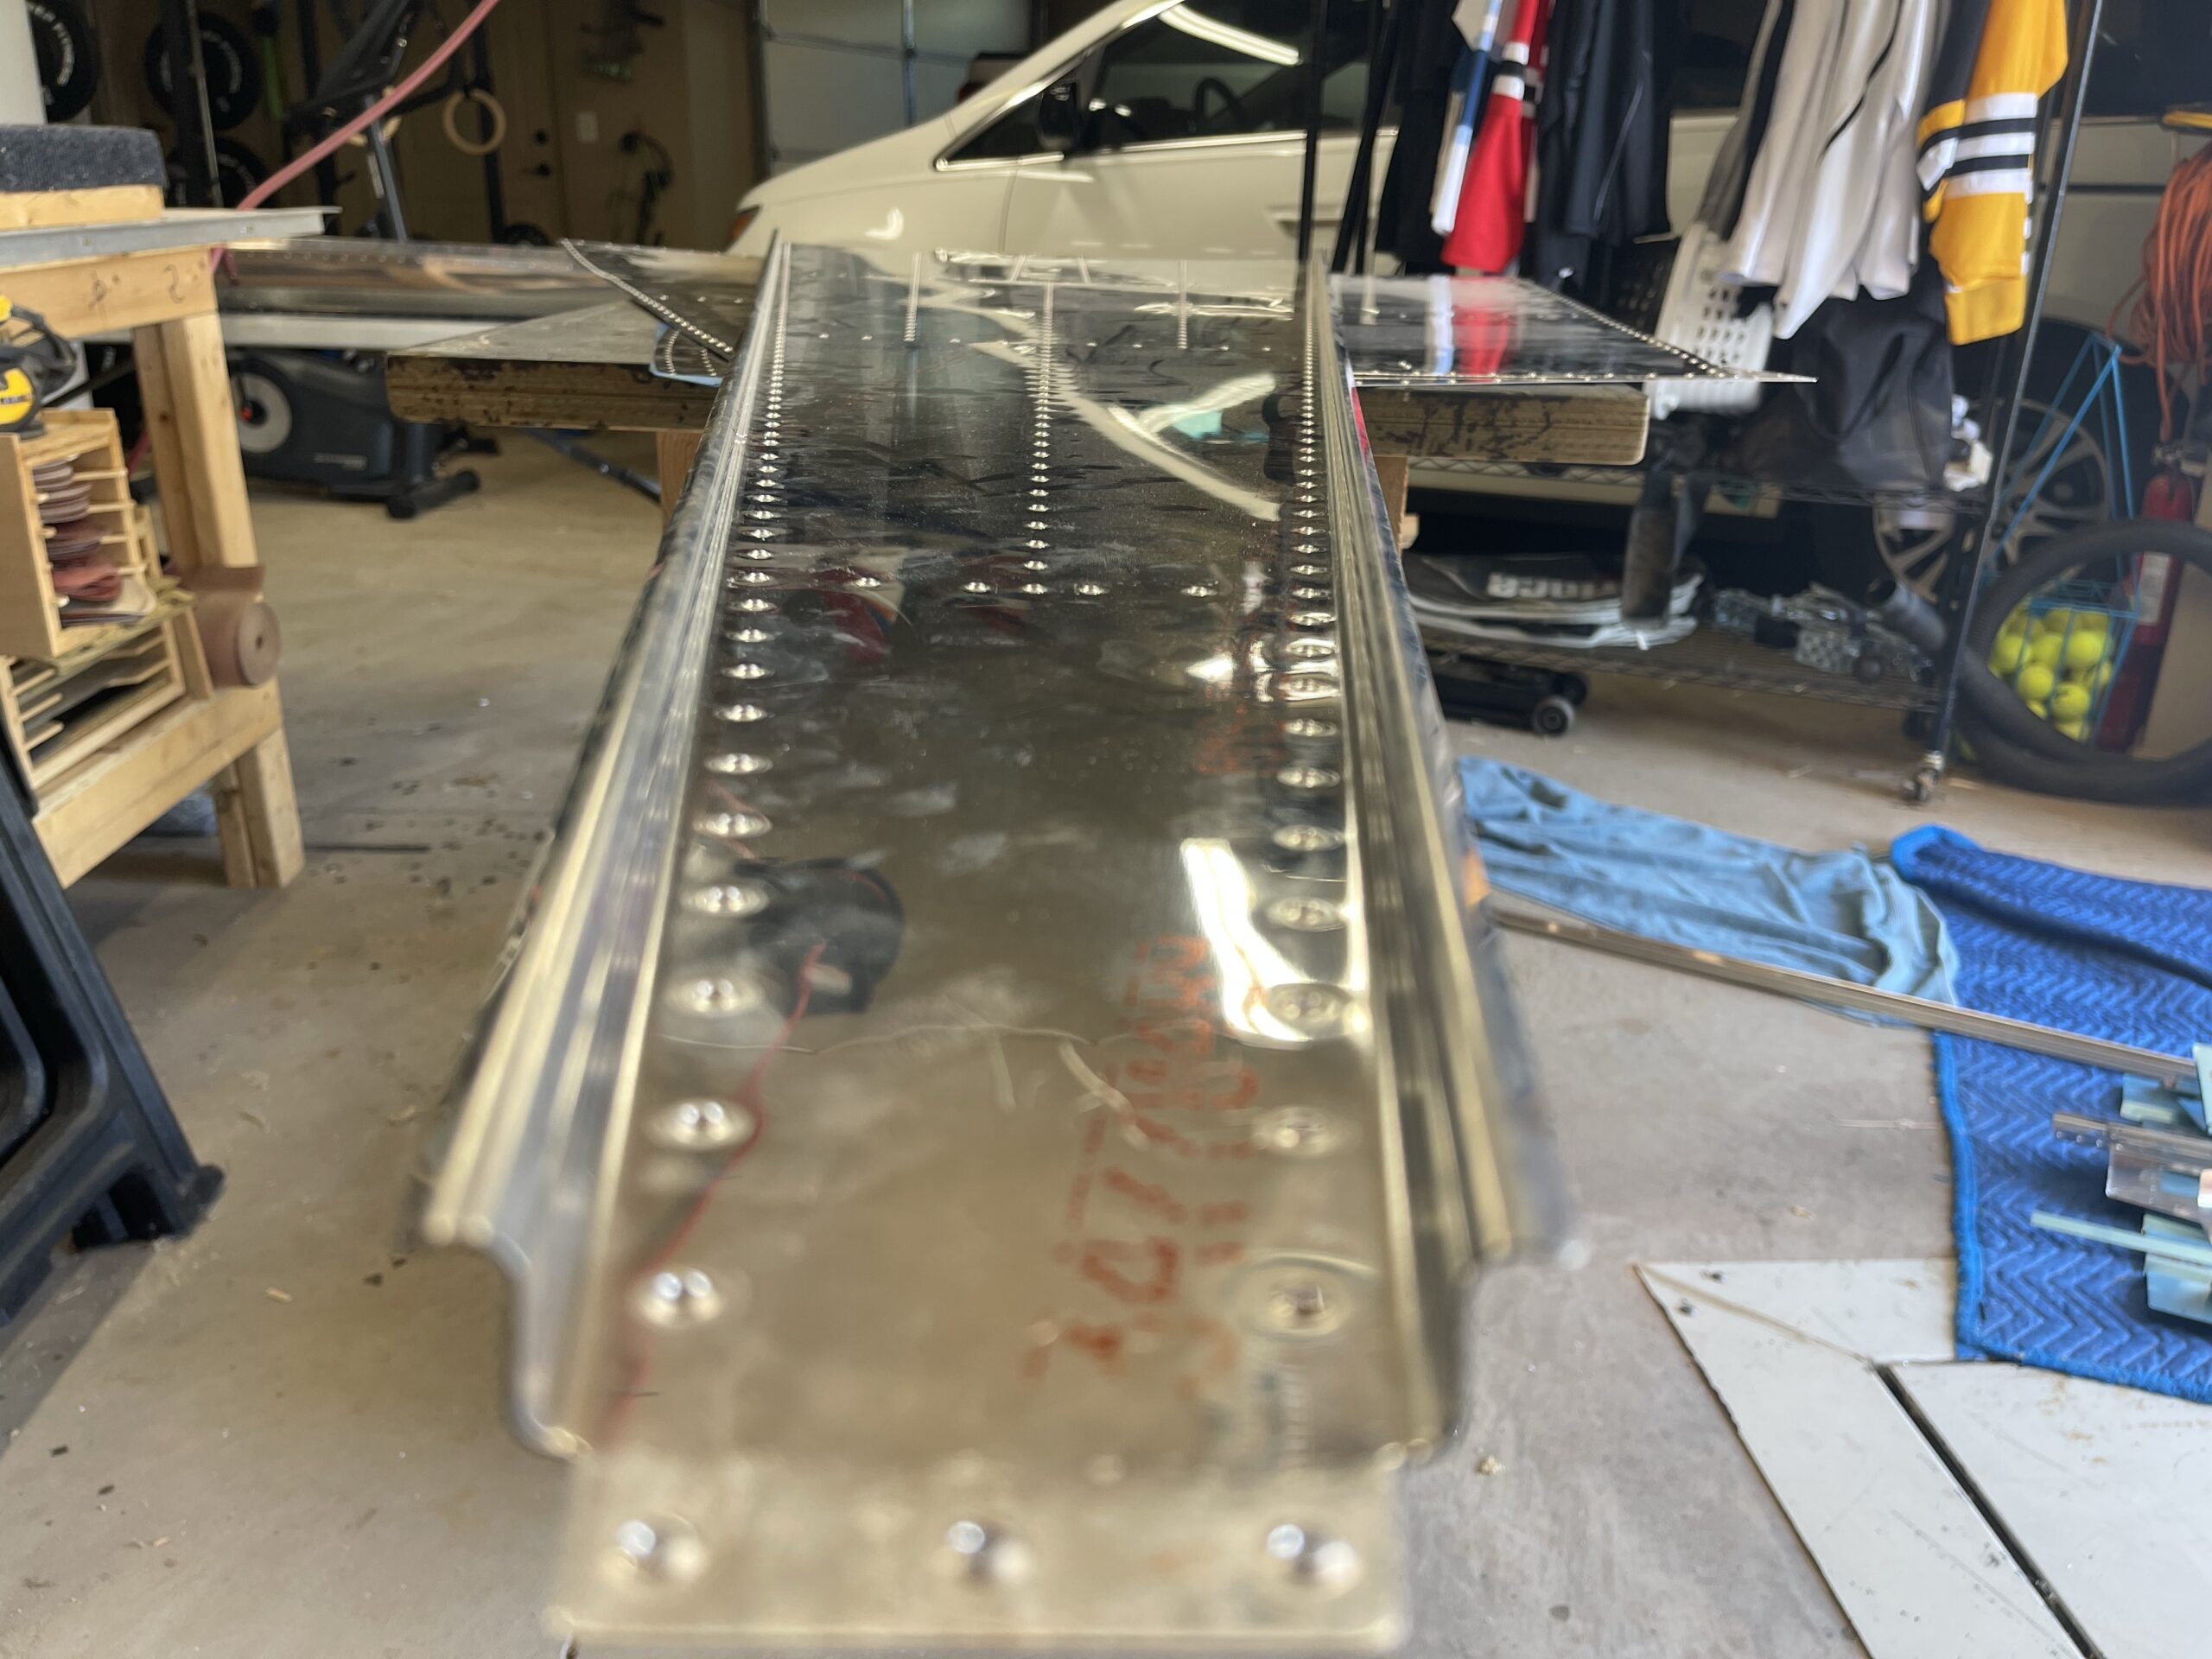
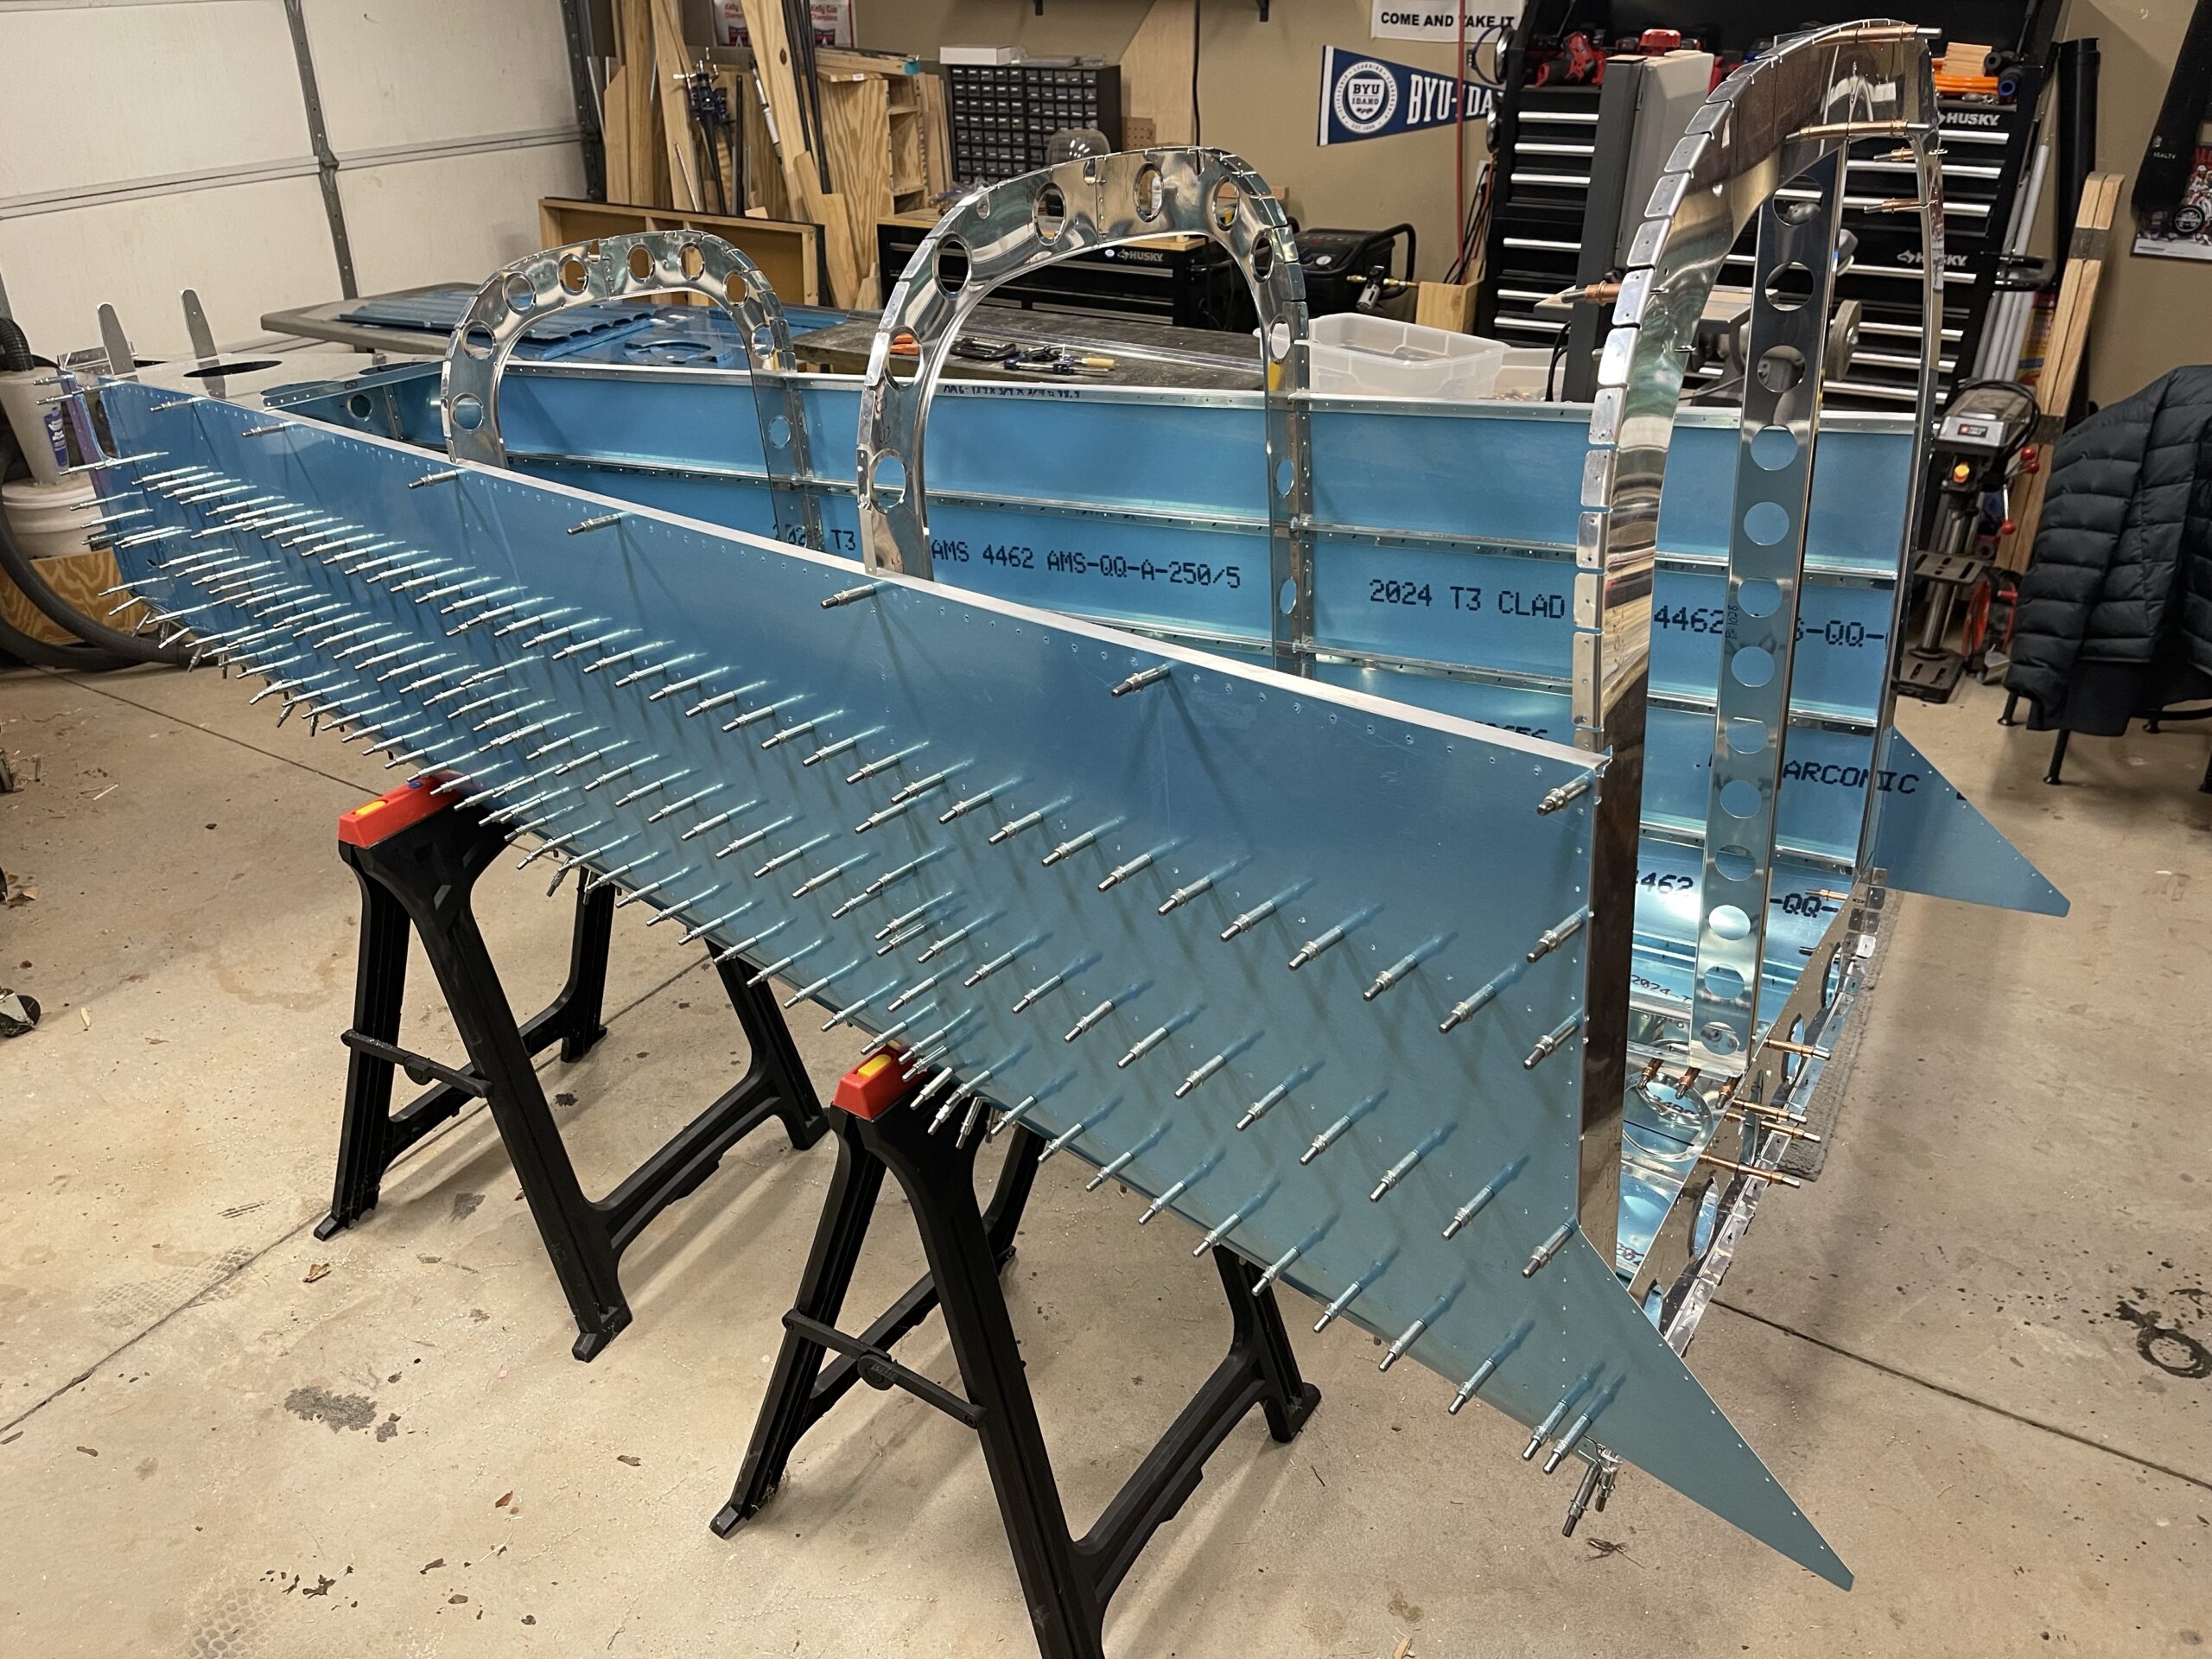
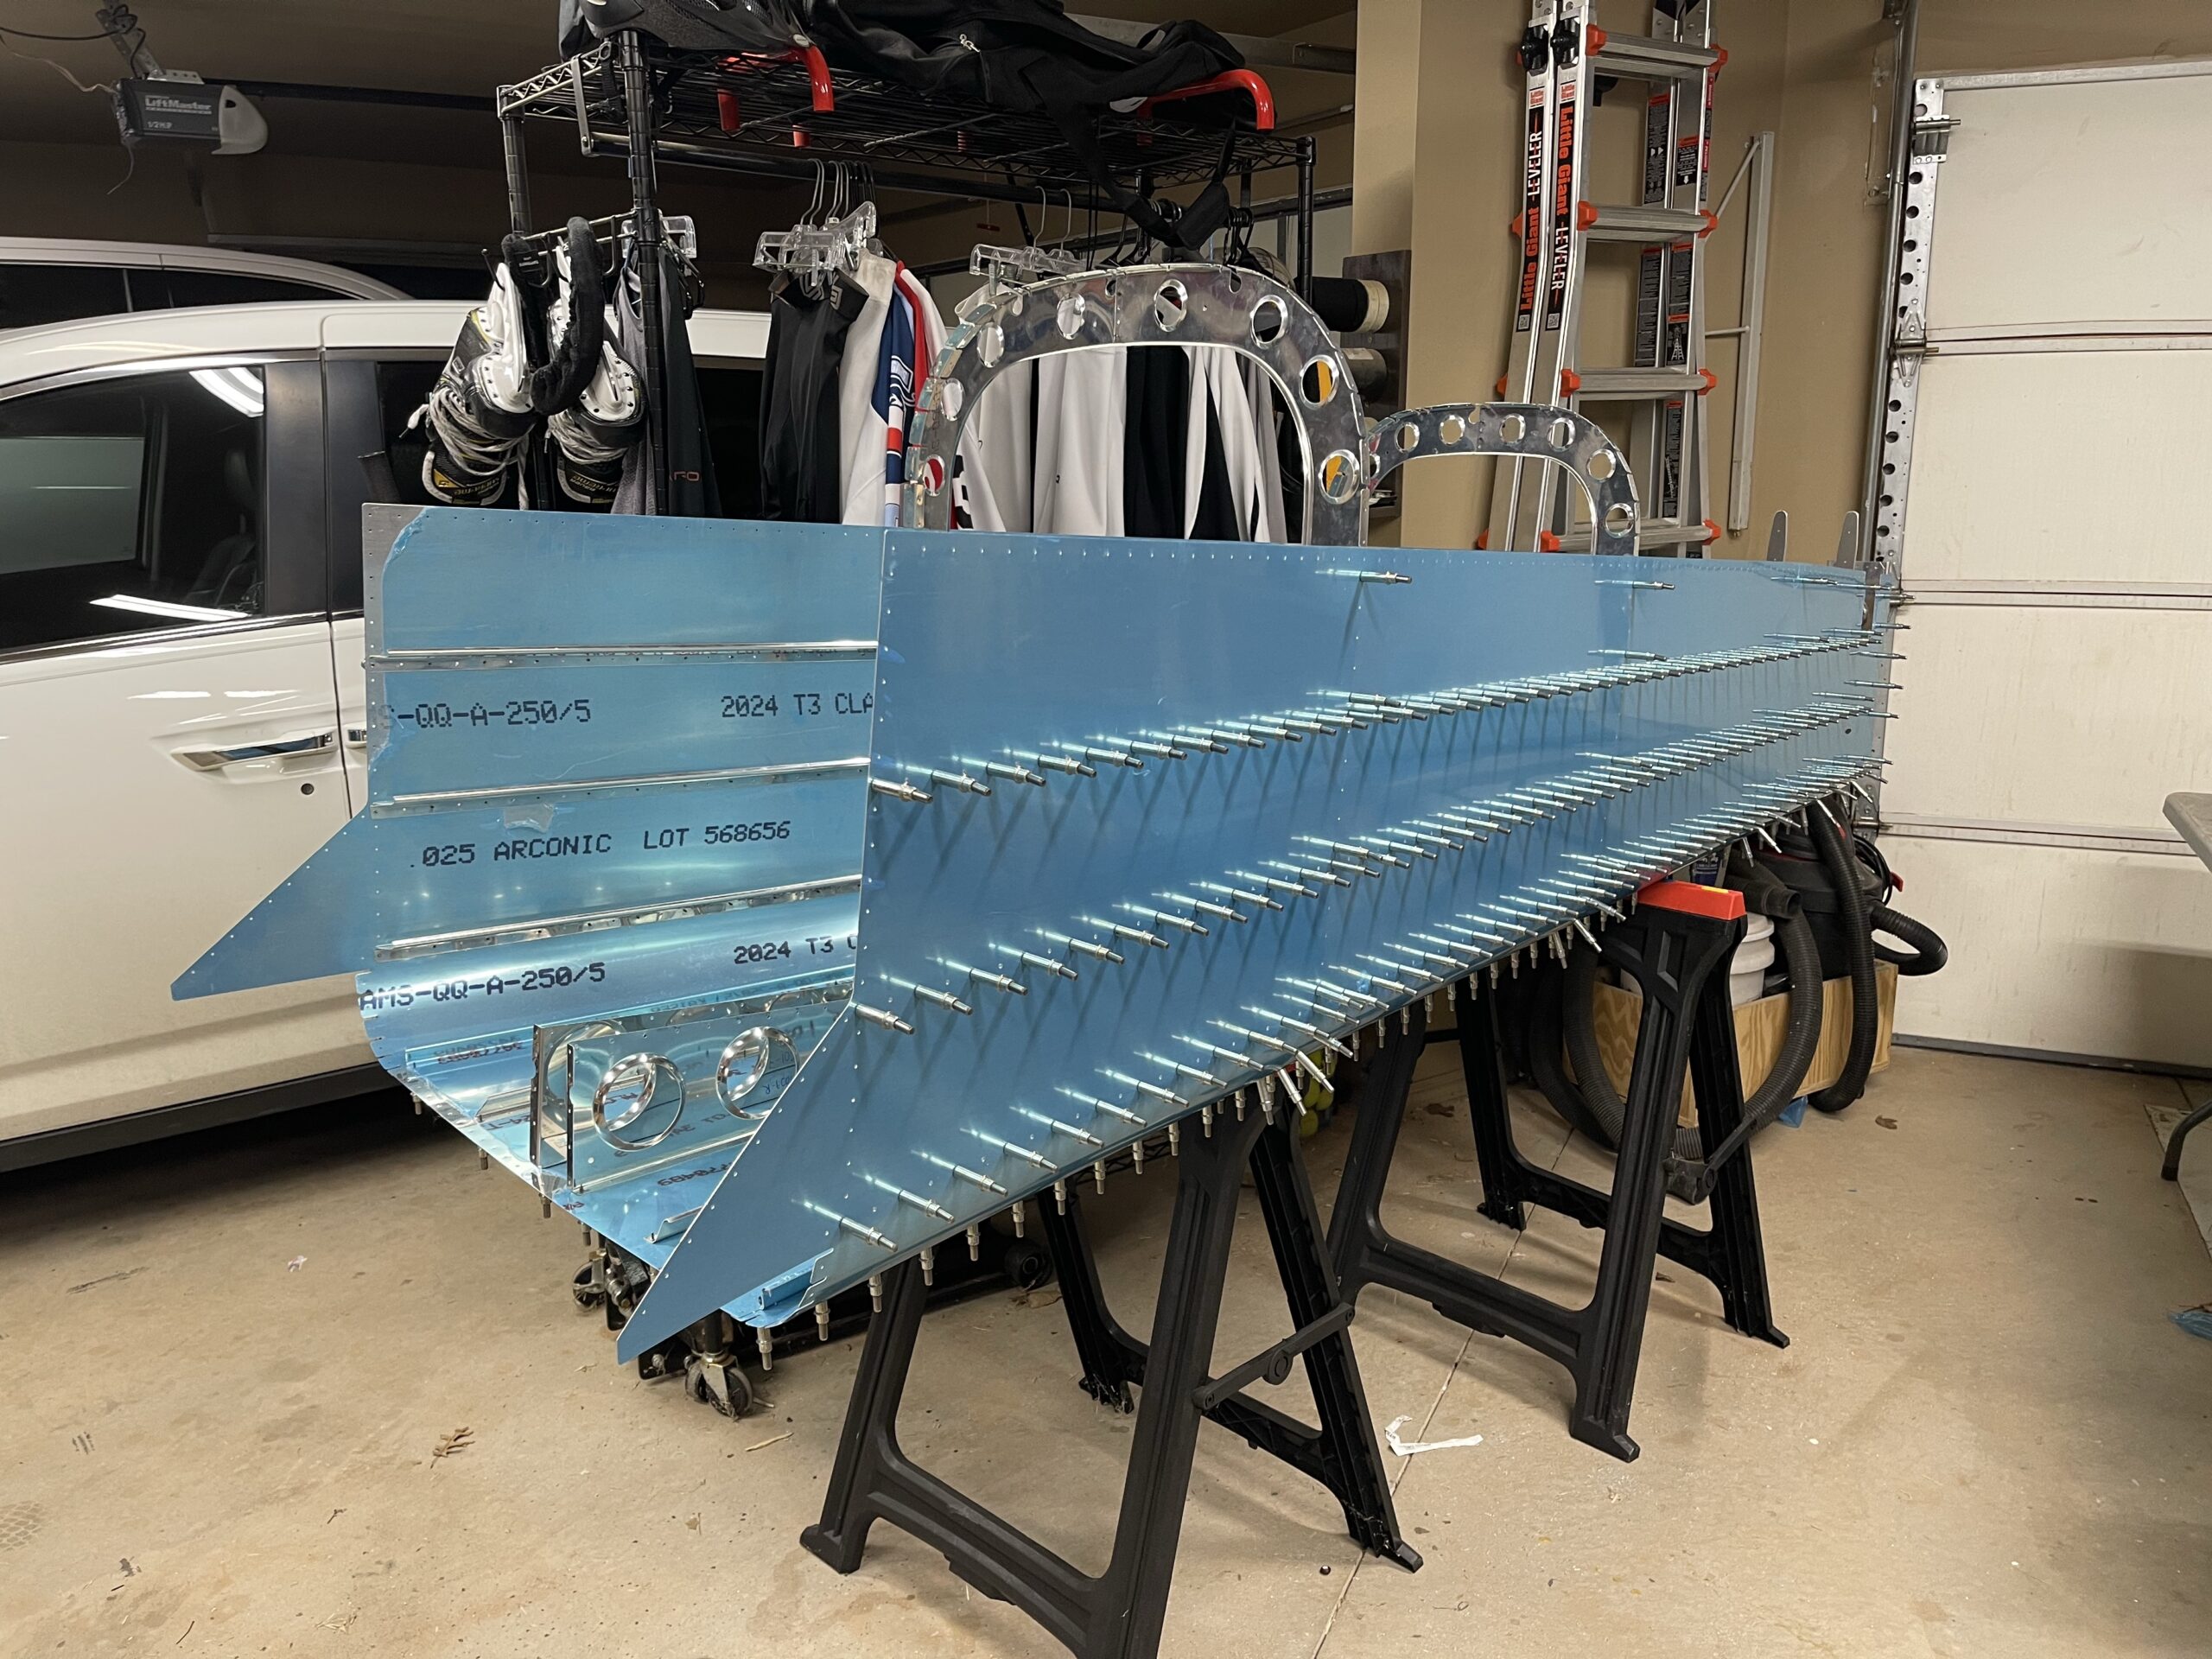
    I was lucky on Monday and Tuesday to get a good amount of time to dedicate to working on the plane. I dimpled a large portion of the side skins myself and I then got both of my boys to help me out with the rest of the dimples. Luckily I’ve not seen any cracking in the dimples as I don’t think my skins were laser-cut as the recent notice from Van’s Aircraft told us about the recent cracking issues. I do suspect that my wings might fall in that boat but we’ll see.

    Tuesday I talked with a friend and fellow member of my local church about my painting issues and he has a turbine powered compressor that he said was excellent for this kind of work. I decided to give it a try. It definitely made the painting much easier and relieved some of the issues I had where I was seeing indications of moisture, but I still have some technique issues I have to work out. The gun also had issues with leaking on the top which ended up requiring me to tighten it almost to an extreme. It’s almost as if that lid should have had a rubber seal on it but it didn’t.

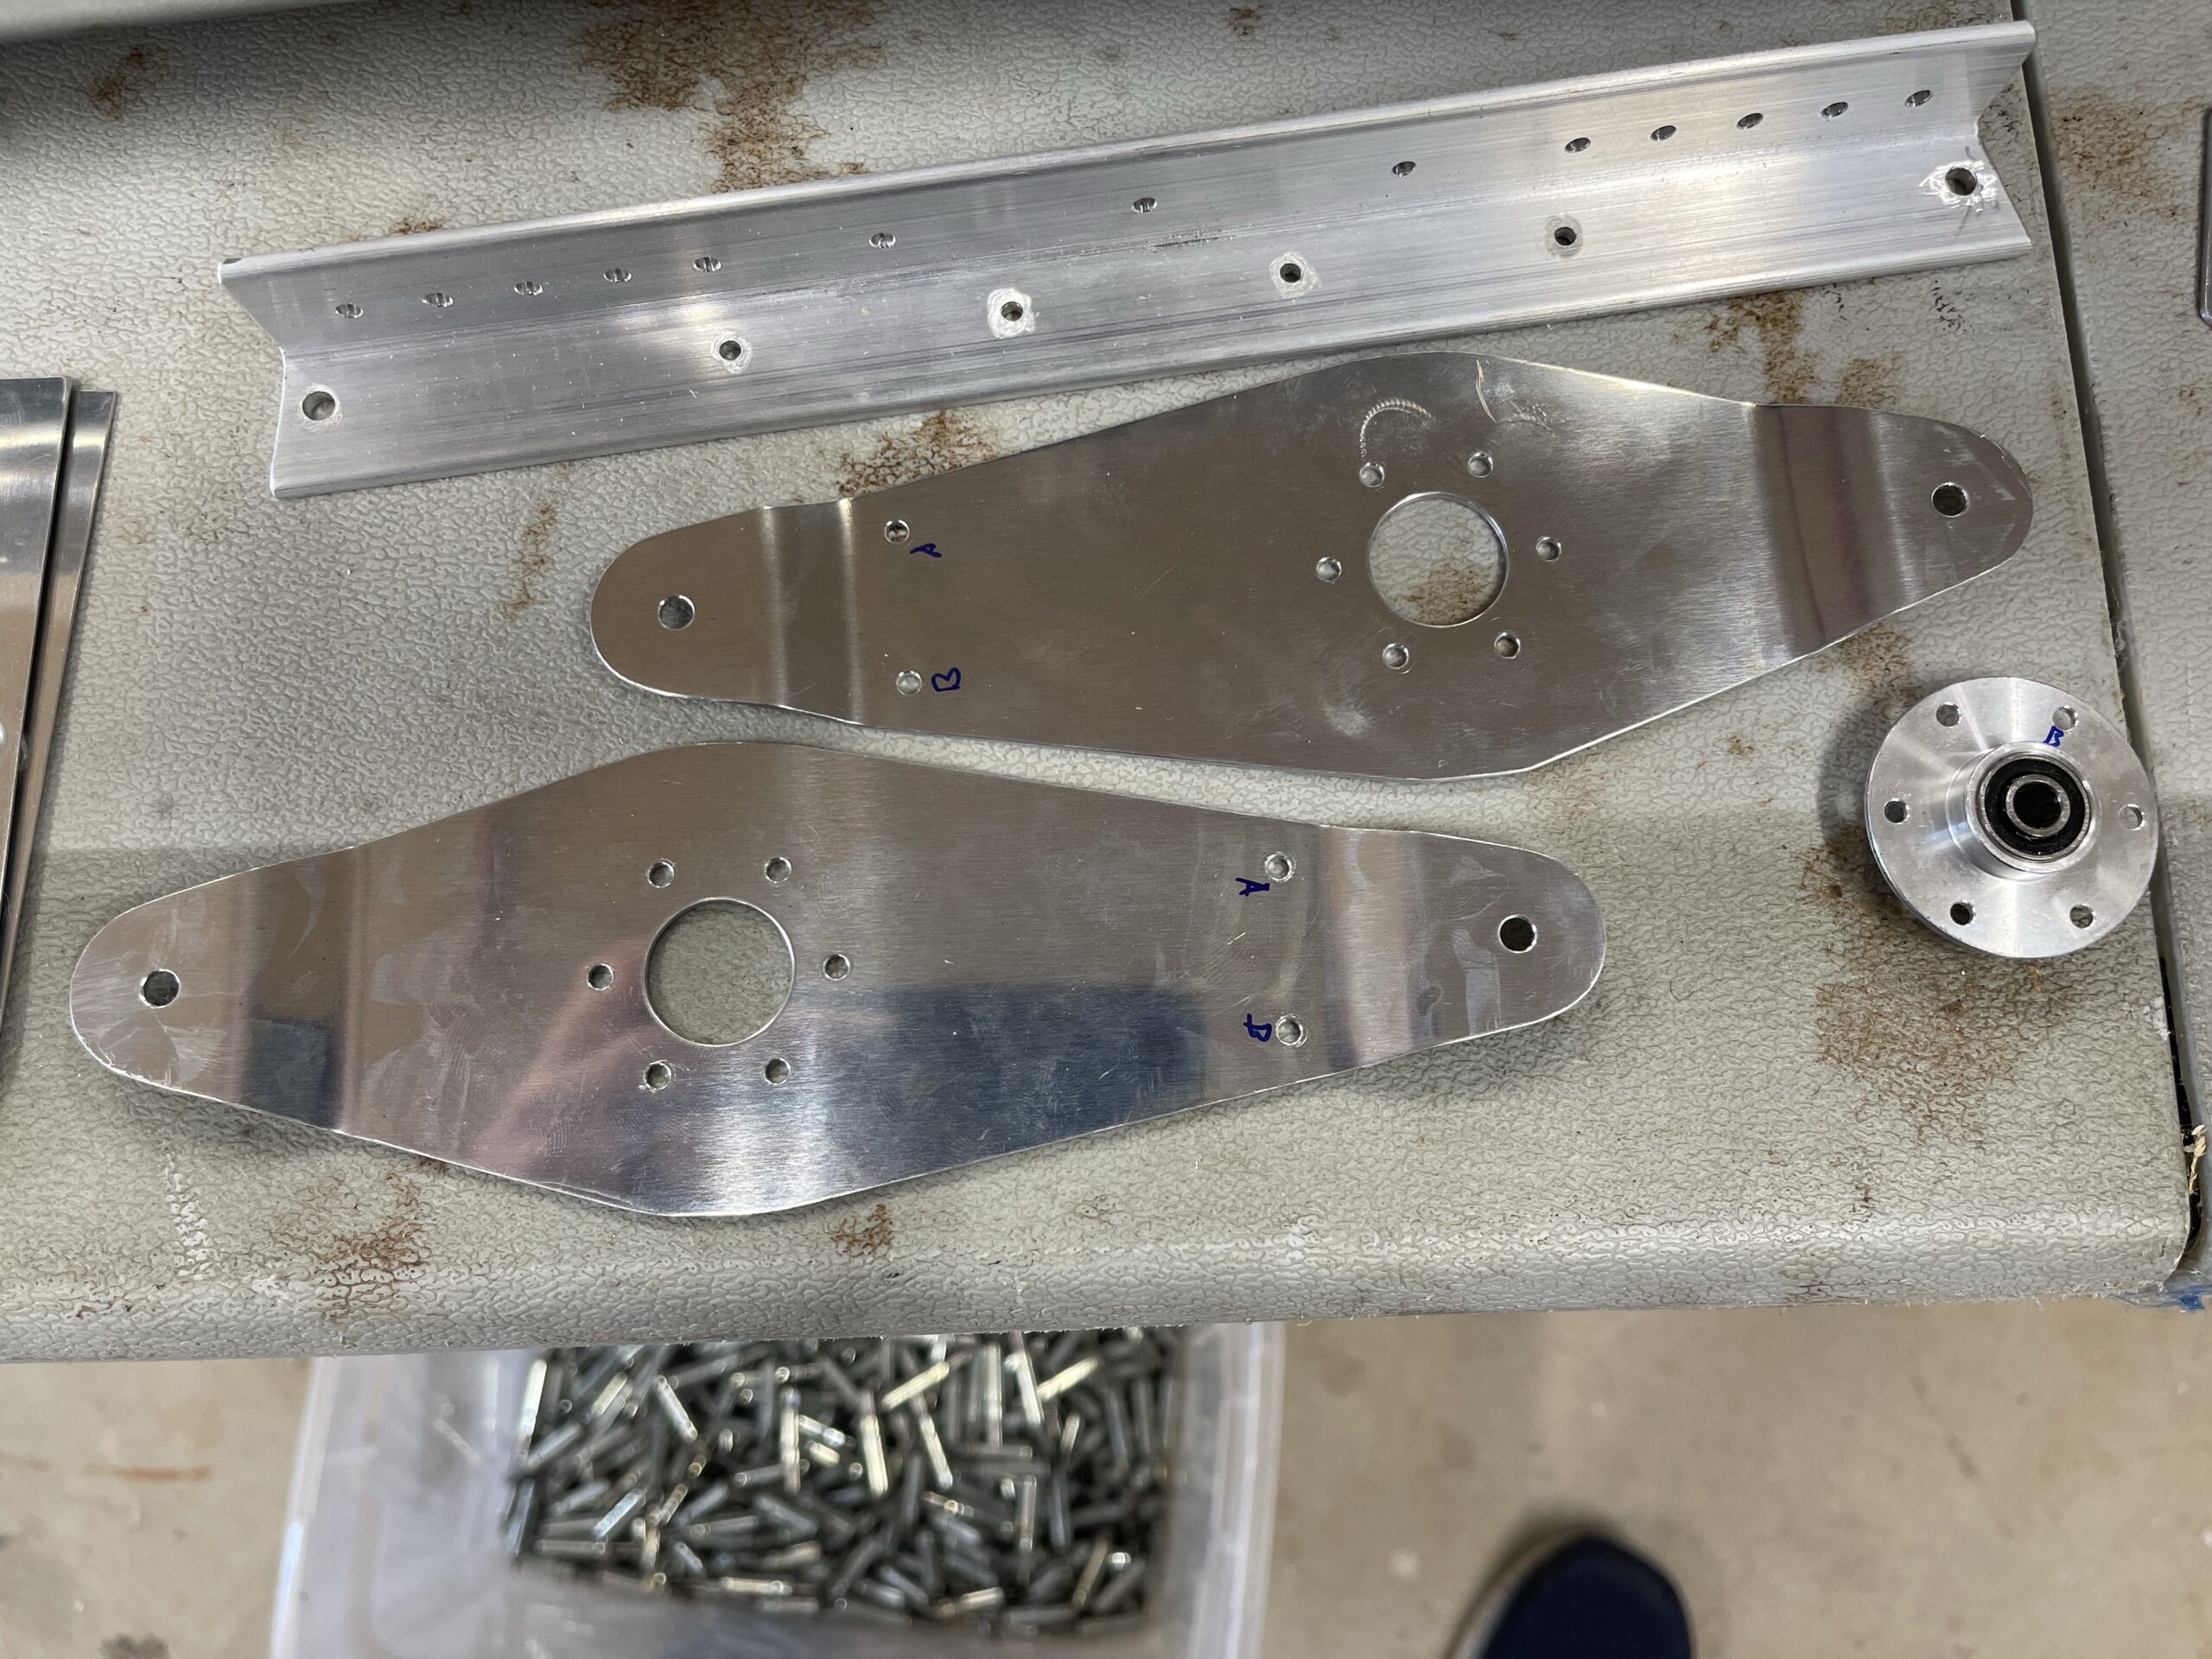
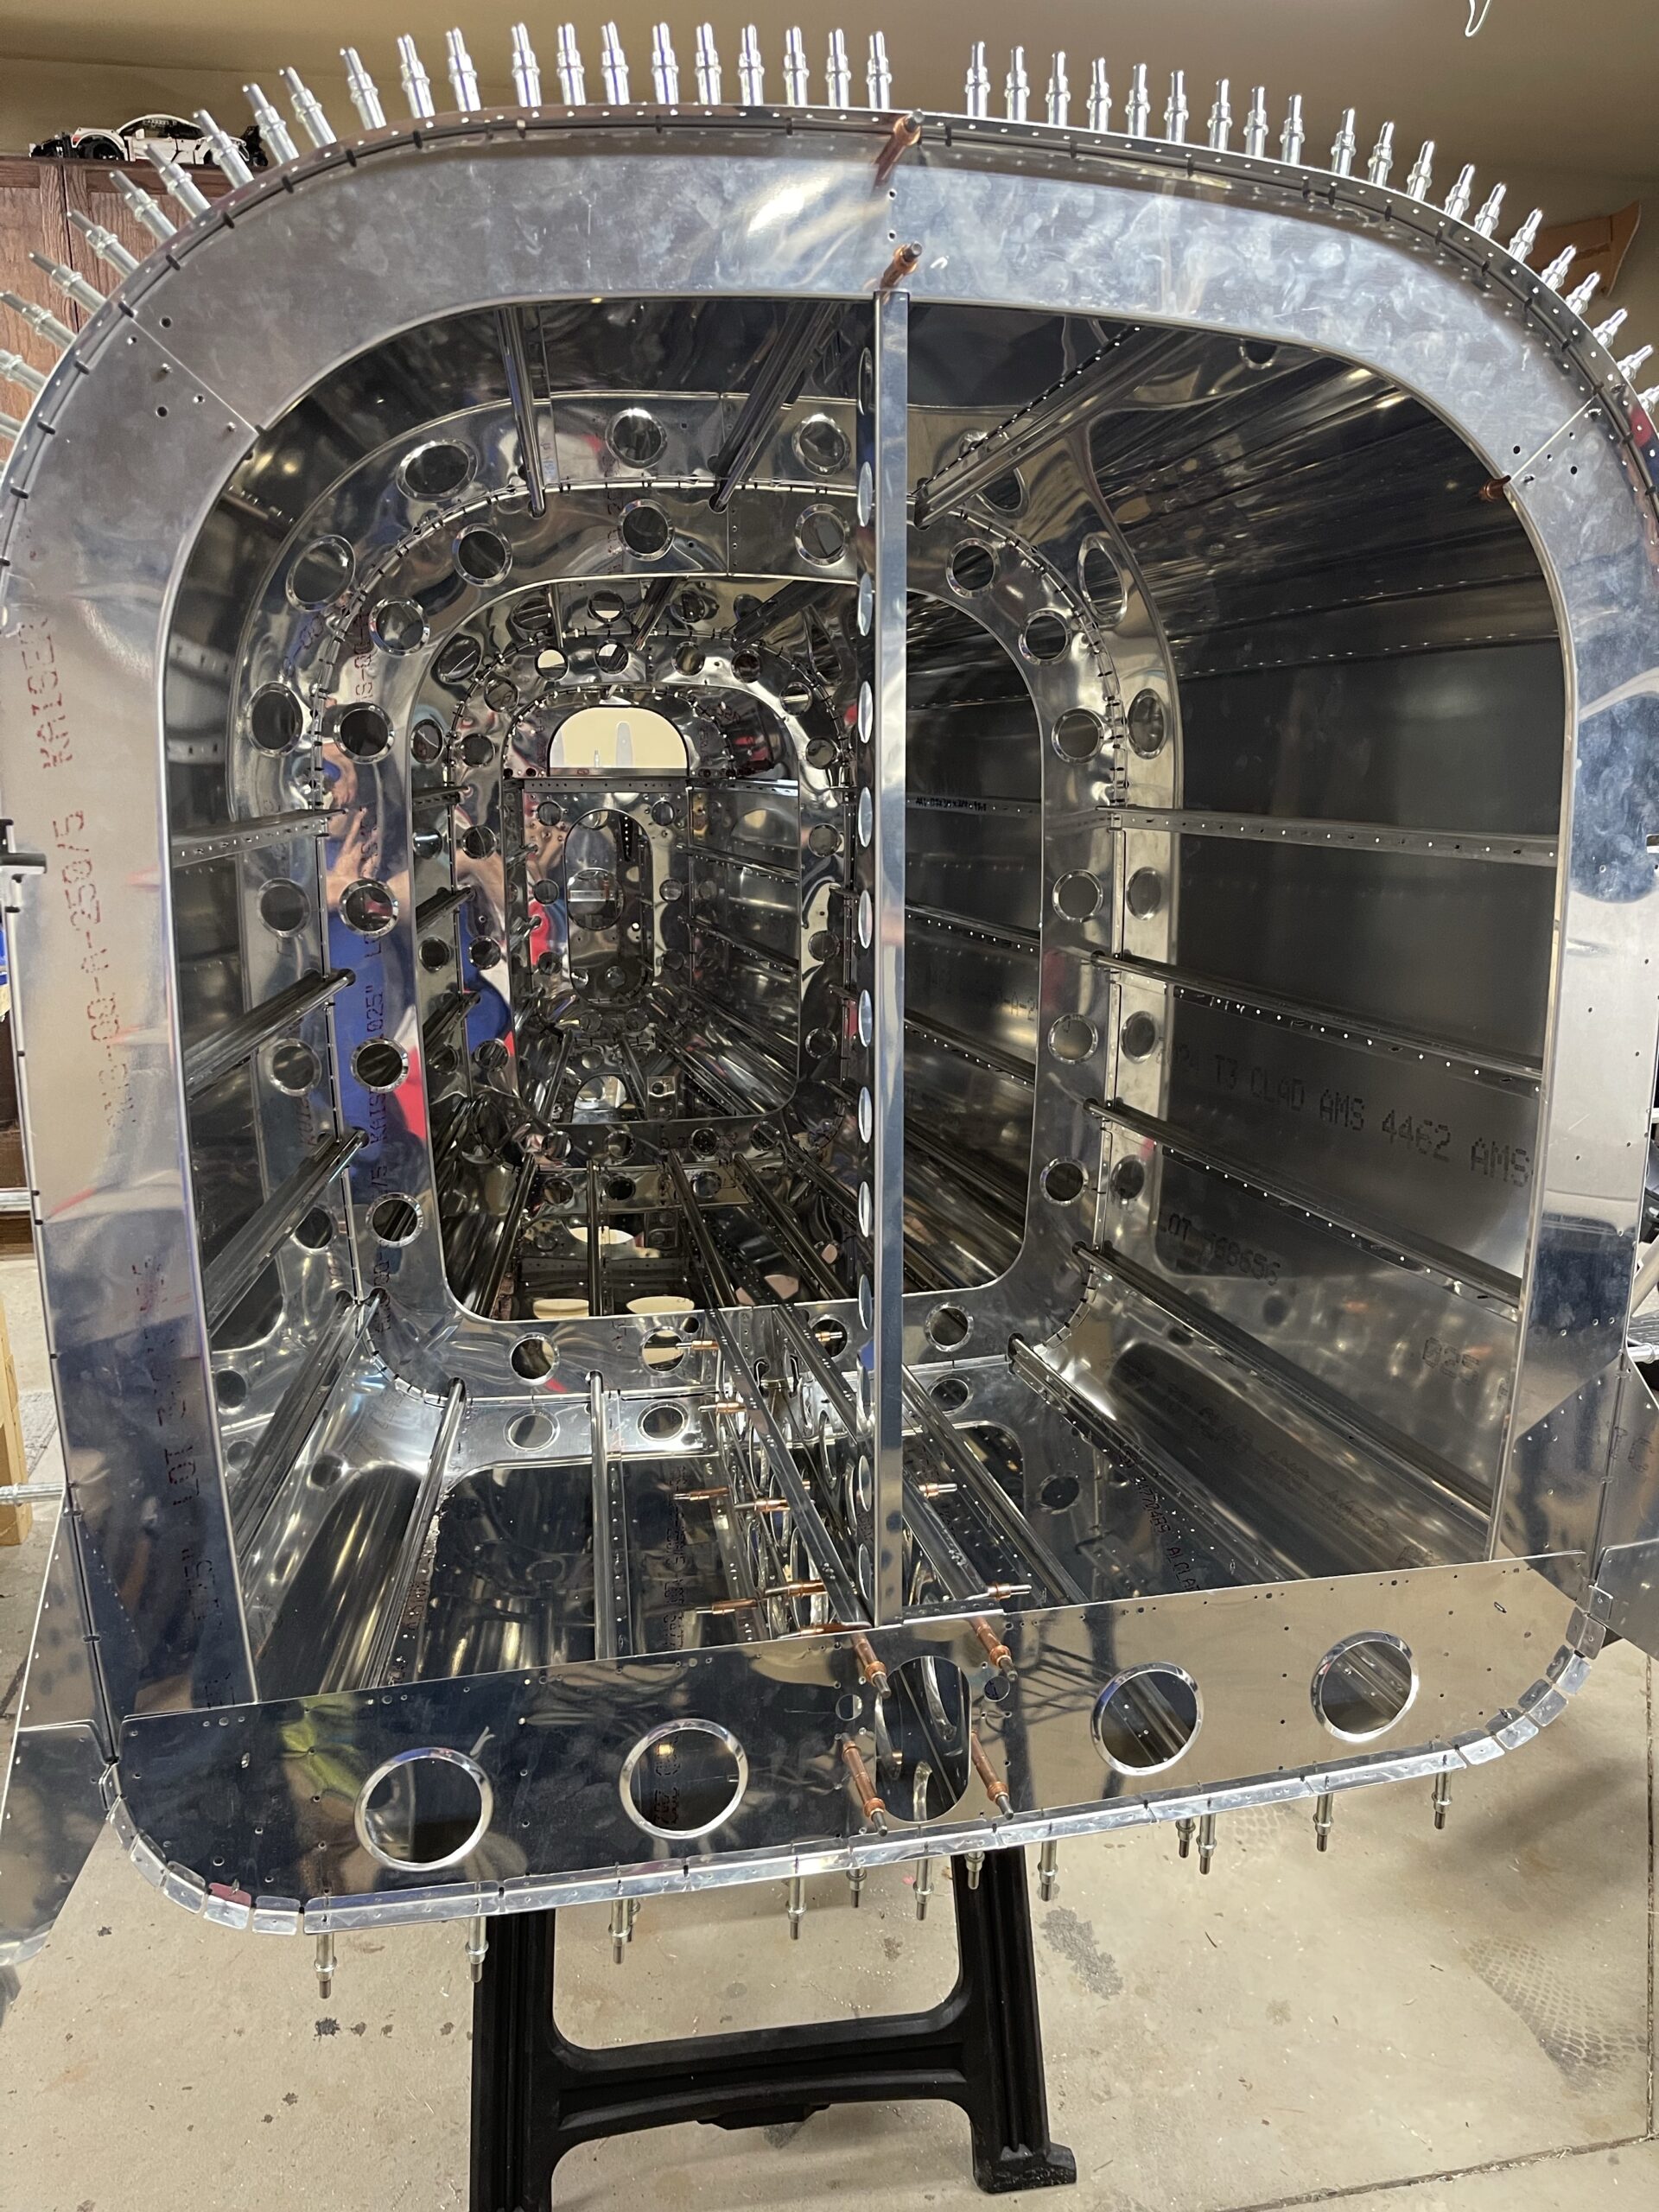
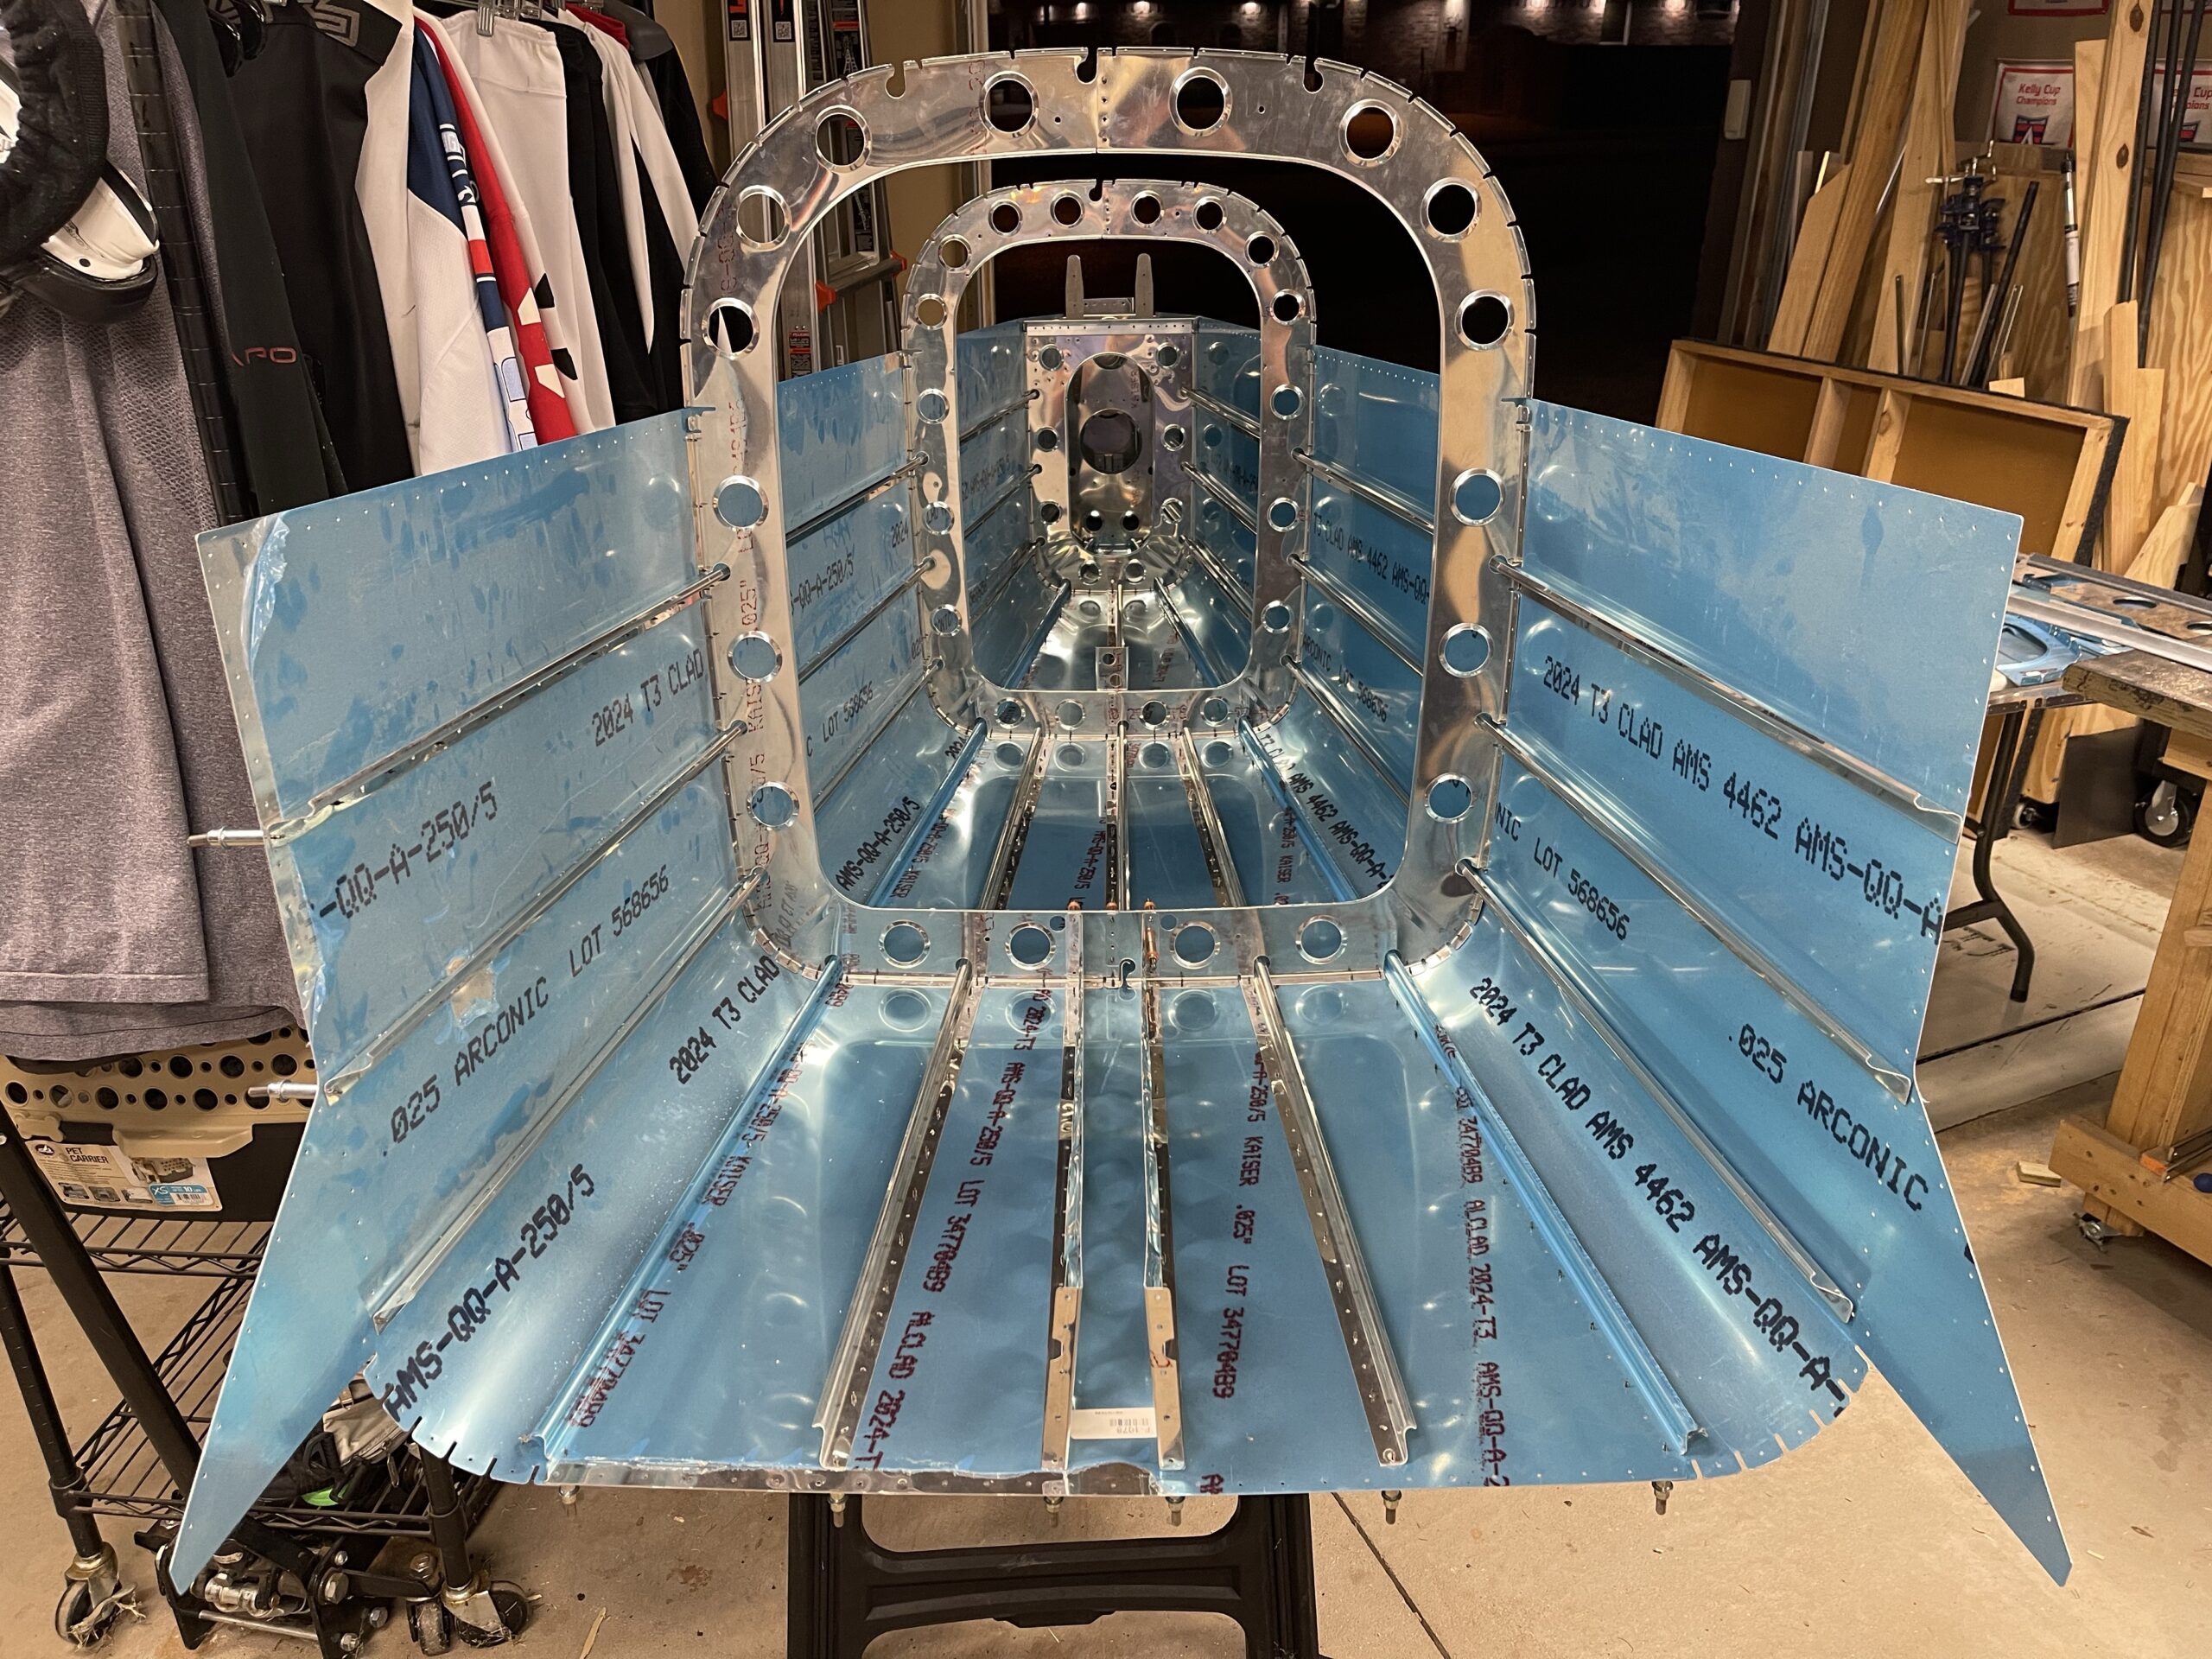
    After priming the parts, I was able to put together the bell crank, the battery trey and the aft bulkhead. I put the 1012 bulkhead together with clecos but I was tired at that point as it was 10PM. I’ll work on getting that assembled tonight and keep moving forward.

  • Empennage Skin Dimpling

    Empennage Skin Dimpling

    I finally got a block of time today to work. I got the dimpler out and I got the top and bottom skins dimpled. Not much else to report here. I did get a chance to involve my daughter for the first time as she helped me hold the bottom skin while I maneuvered it on the dimpler table. It was good to watch her light up when I asked for her help.

  • Frame Dimpling & Battery Frame Prep

    Frame Dimpling & Battery Frame Prep

    I finally got some time that wasn’t dedicated to school music programs or church related activities. All of the frames are dimpled and the battery and bell crank parts are prepped too. I skipped some steps to do that as I need to clear my work table to do the skin dimpling. I’ll probably clear the table tonight and get the dimple setup for the skins ready to go.

    This tight spot dimpling tool came in clutch again. It is still ever so slightly under dimpled no matter how much I keep hammering but it is what it is. But this was a live saver for the F-1012B which I couldn’t get my pneumatic dimpler in.

  • Longeron Countersinking & Some Dimpling

    Longeron Countersinking & Some Dimpling

    It’s been a bit since I’ve had time to build. I got the longerons countersunk and I did the #6 screw hole dimples on the skins and the cover plates. I hope to get more time to work on this tomorrow and the rest of this week (especially this summer) as the kids activities are winding down and we’re starting to get into summer.

    A sample of the countersinking on the longerons
    Access plate dimples
  • Disassembly and Deburring

    Disassembly and Deburring

    I spent quite a bit of time deburring the parts and inspecting to see if there were places we were causing problems with the ribs to the skin with marring. I goofed up on some stiffeners and countersunk on the wrong side. They had a picture pointing to one side but then the text said countersink the other side. It’s issues like that that are tripping me up. Either way, I reordered those parts along with the elevator trim tab parts. Hopefully those will come in soon and I can get moving again.

  • Final Drilling Everything and Installing the Upper Skins

    Final Drilling Everything and Installing the Upper Skins

    This was a long day LOL. I spent 8 hours in total across Saturday (6) and Sunday (2) to get this far. It looks great and I am hoping to get through the rest of the initial assembly by the end of this week. We’ll see as I had originally hoped to get this all done this weekend but time slipped away from me.

  • Tailcone Straightening

    Tailcone Straightening

    I got started on the rear bulkhead and there is a piece you need to manufacture that braces between the rear bulkhead and the rudder stop stiffeners. I got it cut out and was preparing for drilling when I saw that the tailcone had a slight twist in it. I decided to go to Facebook and see if there was any previous question on a tailcone twist and none had posted about it. I went ahead and put my neck on the line to see what answers I would get and luckily out of all of them I did get a few that answered my question rather than making fun of my tool choice or that I had left the blue protective material on the skins. LOL. I drilled ahead and got it perfectly level! I was super happy with the outcome! I wish I had gotten pictures of the final level measurement. I think I was just so happy that it came out perfect that I was excited to move on.

    I finalized all of the drilling for the longerons and decided to disassemble to deburr some parts and remove the large quantity of shavings that had piled up. I also felt it was time to get the skins uncovered since most of the work that could scratch them up was done. I am halfway done putting it all back together and hope to finish the assembly and match drilling today.

    One tool that I am very happy to have purchased was this tight area drill accessory. Boy this saved my bacon as there were 8 super tight areas around the bellcrank ribs that I couldn’t get even my air drill into. This tool is totally worth the cost!

  • Tailcone Right Side Drilled and Rudder Stop Stiffners Installed

    Tailcone Right Side Drilled and Rudder Stop Stiffners Installed

    Over two days I was able to get the rear bulkheads situation fixed with some shaping of the tabs on the bulkheads and I drilled all of the holes for the stiffeners. I also got the rudder stop stiffeners cut and installed. I now just need to work through cutting and shaping the rudder stop bracket and then I will be done with page 10-8. I also need to remember to stop drilling into my hand and hurting myself LOL

    All skin match drilling completed
    Never drill with your finger behind the material LOL. I thought I had it positioned further away but I guess not
  • Tailcone Initial Assembly

    Tailcone Initial Assembly

    The tailcone is mostly assembled now. I got the bottom and right hand side drilled. I still have to drill the stiffeners on the left hand side but I at least got it put on. I also got the longerons bent and shaped the way they asked. I am having a little bit of trouble with the rear tail assembly but I’m seeing that there are some clearance issues I will need to take care of. The rear two bulk heads were not deburred for some reason. I must have forgotten them but I also need to shape the tabs so that they create more of a curve than this notched and blocked component. I plan on doing that today and that should fix the clearance issues. I also removed the blue coating from the rear skin as I think that would also cause some issues. I’ve left it on the skins for now since I don’t believe it will cause an issue with the drilling. I’ll remove it before I deburr and dimple the skins. I love the progress I’m seeing and I hope to have this piece done soon before Spring Break comes.

  • Tailcone Stiffeners

    Tailcone Stiffeners

    This has taken quite a bit of work. I could only think of a cutoff wheel to cut these stiffeners but I did not like the inaccuracy of the cuts. I tried to keep it as close to 45 degrees as much as possible but doing this free hand was not easy. I was hoping to try to get a miter saw blade that would work on metal but I feel those would tear at it more than truly cut it. Either way, they are all cut and deburred.

    I got the edges marked for the rivet line and then I realized I didn’t verify that it was set to 5/8 inch by placing a rule on the line. Sadly, it was off by a sixteenth so I had to erase those lines and redo the work. LOL. I got a third of them remarked and I’ll finish the other two tomorrow. I will say that I need to find a better way to mark a straight line on these parts. I’m using a combination square but I can’t mark more than 1 1/2 inch at a time. In wood working, I could run my speed square down a board but the speed square doesn’t go down as far as I need it, plus I don’t like running that metal against the parts which would scratch it. Sadly the combination square is also leaving a few marks here and there when I am not careful enough. Either way, I hope to be done with this tomorrow and see what we have in store next.