Tag: Empennage

  • More Tailcone Deburring

    More Tailcone Deburring

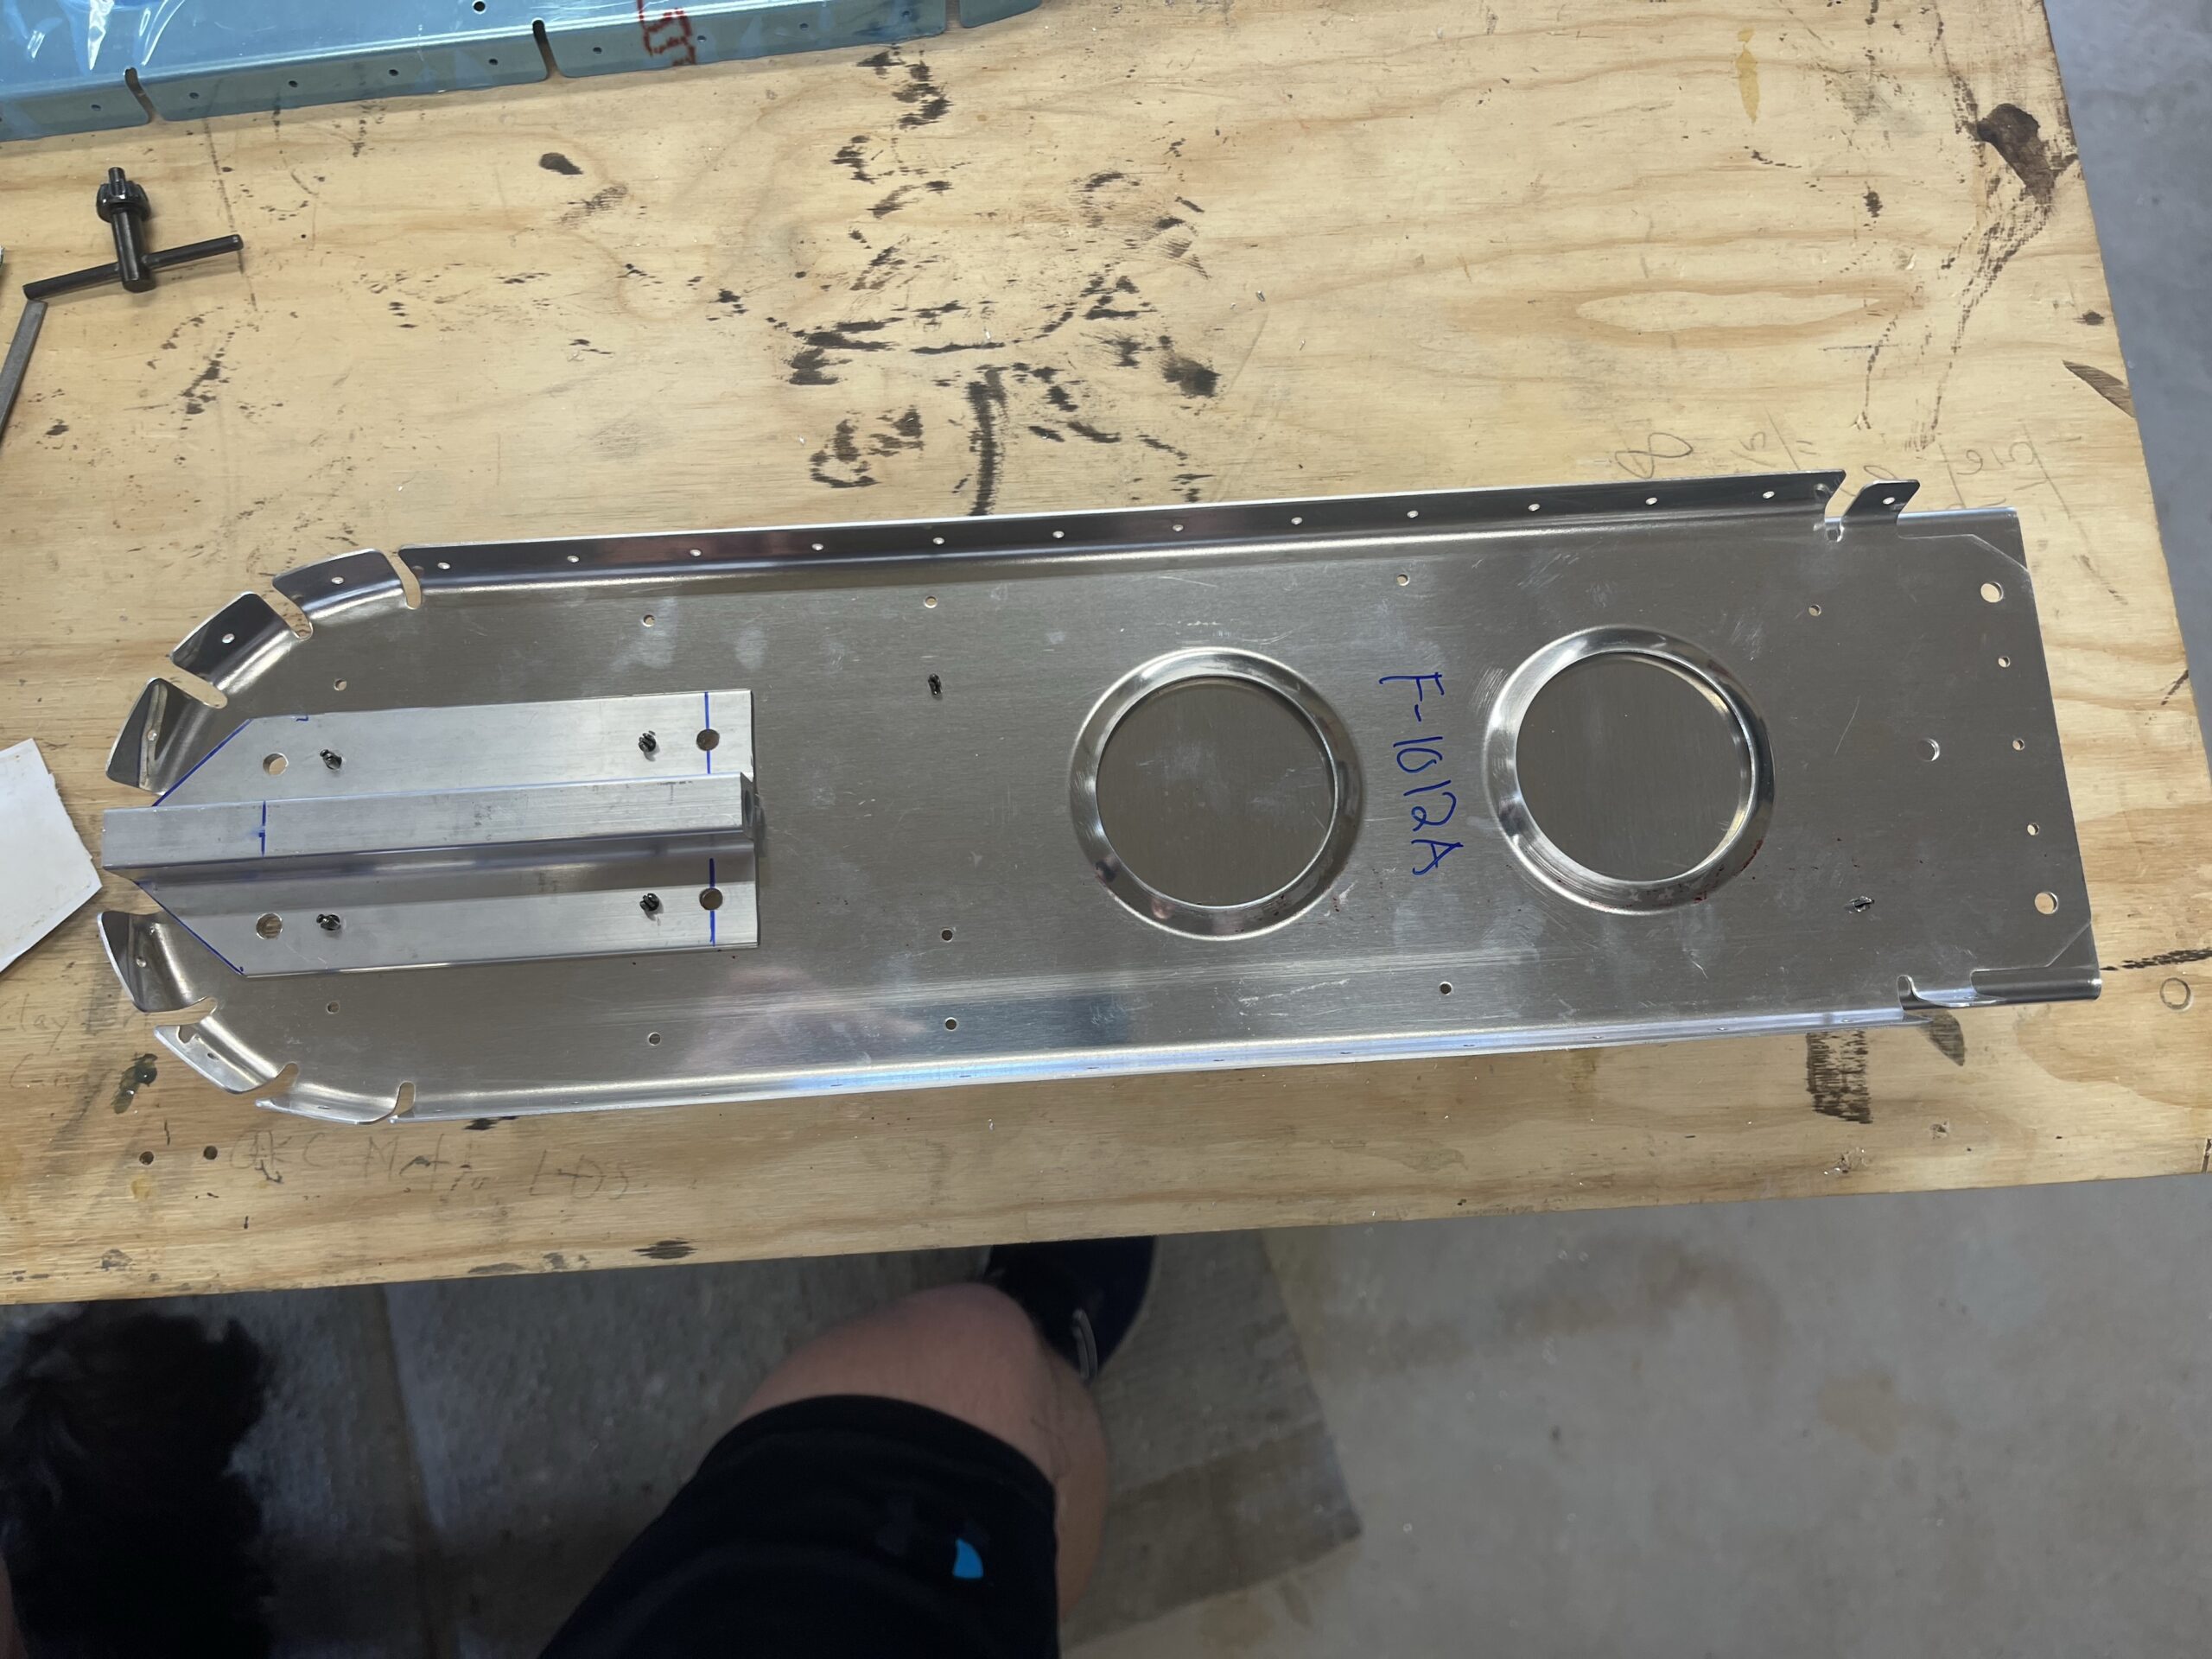
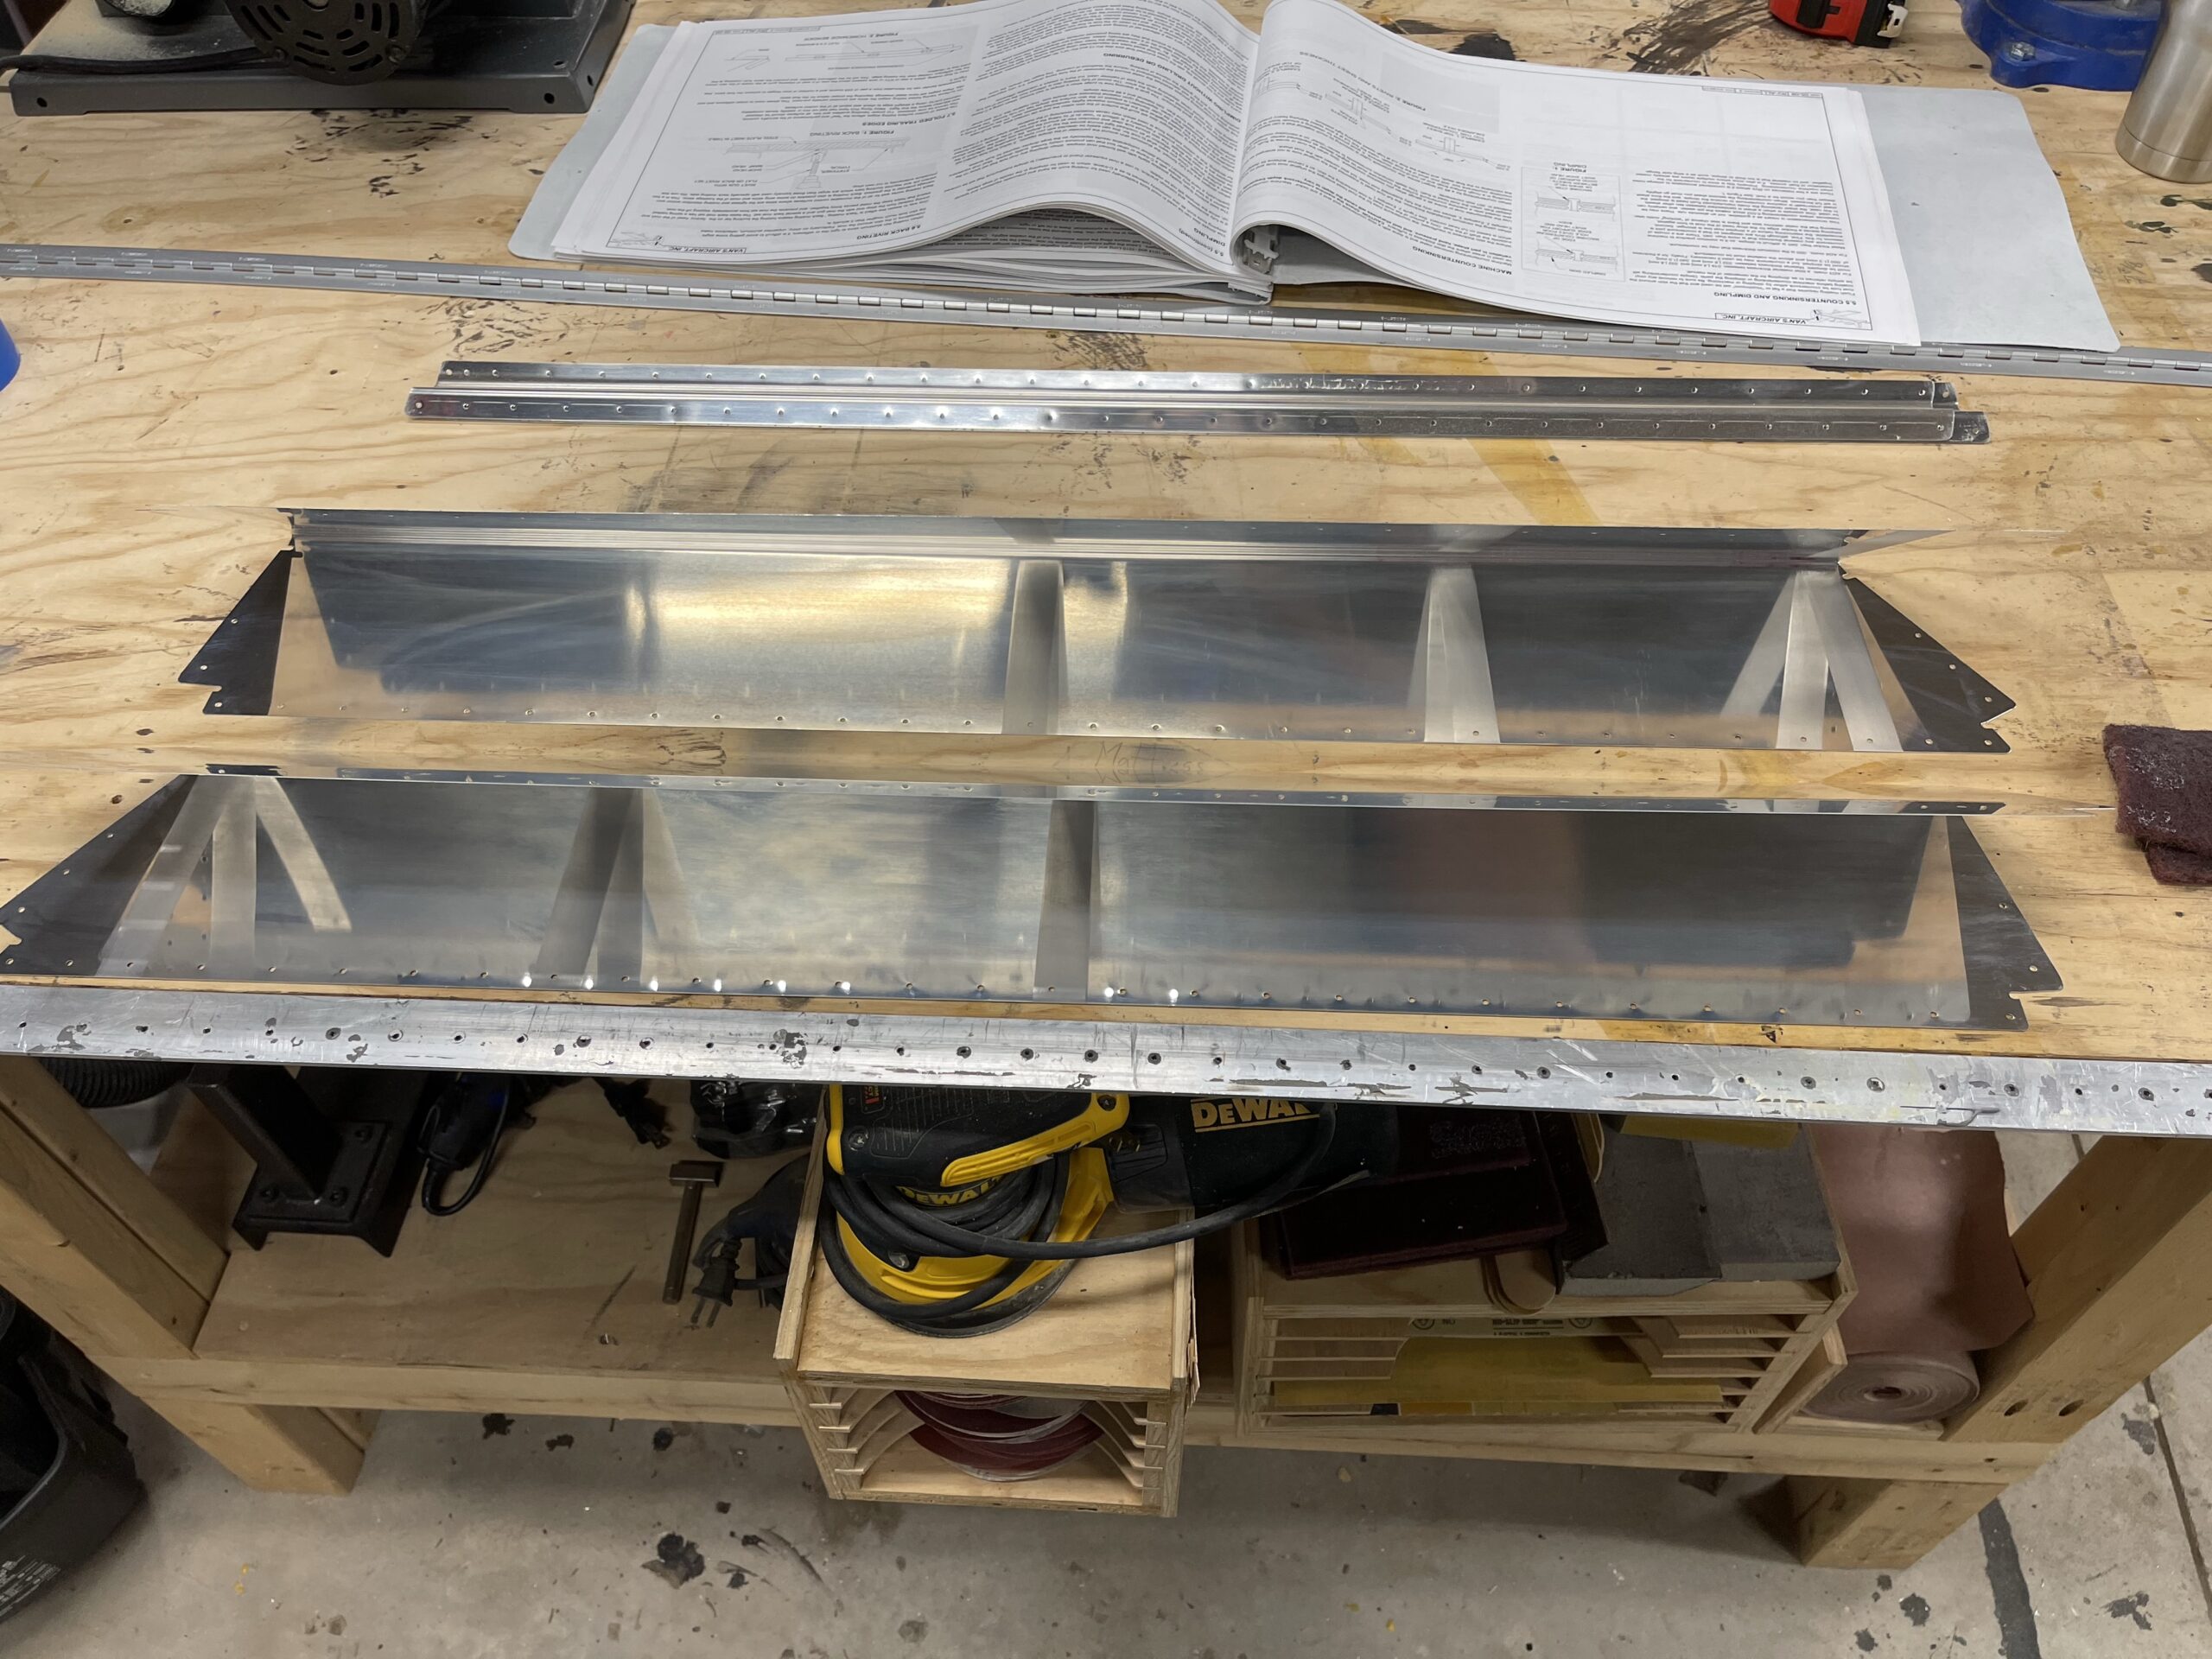
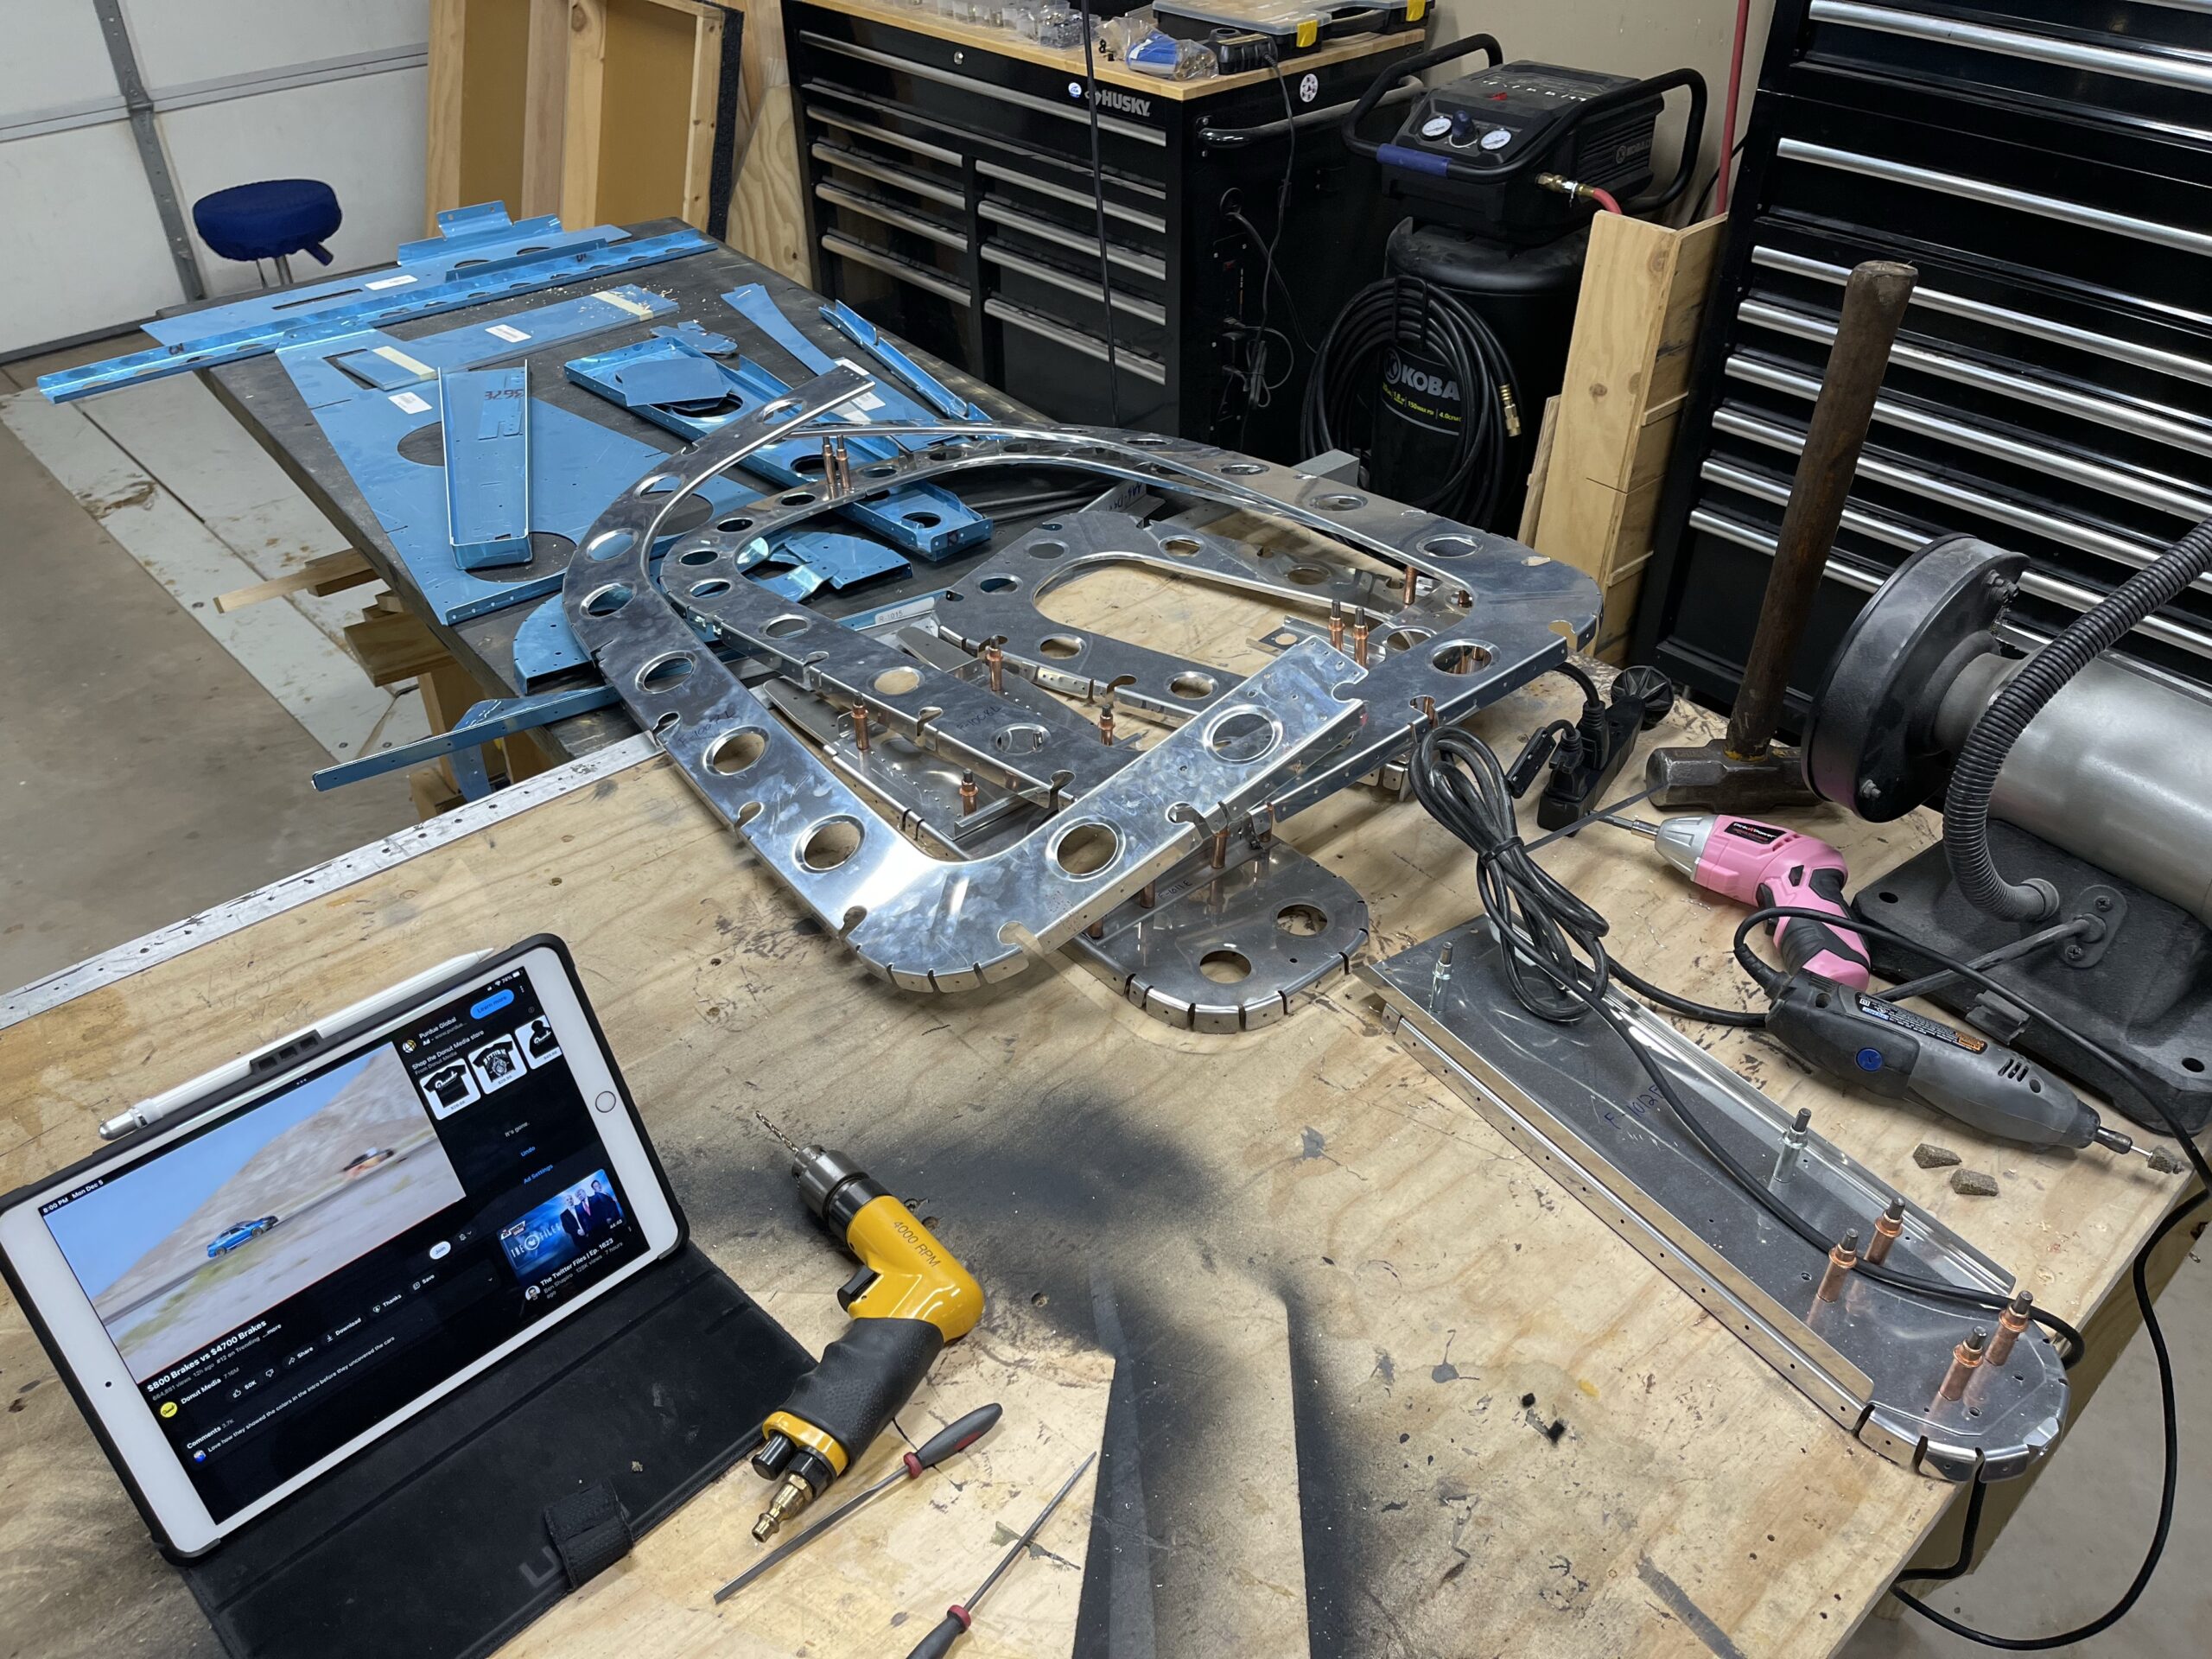
    I’ve spent a lot of time recently getting our RV setup. Now that that is done and we are just enjoying it I have a little more time on my hands. I’ve spent a lot of time deburring these tailcone parts which take a lot of time just because of the amount of edge that it has. Plus these seem to have been cut pretty poorly. They had a ton of these tiny tabs that made me thing or a sheet of paper that has been ripped off that had perforations. And I’m short on the deburring wheels which they’ve been on back order. Either way, I’ve been working with what I have and the files that I have. Hopefully I’ll be past these steps soon so that I can assemble the tailcone and see what it looks like.

  • Starting the Tailcone

    Starting the Tailcone

    I dragged all of the parts from the attic and started on the tailcone. I had to order a 3/8 – 16 tap as I don’t really keep an assortment of taps around unless I need one. I got the first three steps done and I need to start cutting the angle material and J channel material for the next step.

    One side of the rear assembly
    And the other side
  • Elevators Done!

    Elevators Done!

    I finally finished the elevators! I will have to come back and redo the trim tabs. It appears when I drilled the end rivet holes I got them off. There is a pretty bad twist in BOTH of the trim tabs. Not a big deal, I’ll just order new parts and rebuild them down the road. It is nice to have these elevators done!

  • Trim Tabs Sealed up and Hinge Partially Installed

    Trim Tabs Sealed up and Hinge Partially Installed

    I spent some time on Saturday and Sunday getting the trim tabs sealed up and I at least drilled the holes for the elevator side of the trim tab hinge. I’m going to have to wait until Thursday to do the rest of the hinge drilling on the trim tabs since I have church visits on Tuesday night and then Mutual on Wednesday. I just got it sealed up last night and I want to let it sit for a couple of days like the instructions say so that it cures properly on those foam ribs and tank sealant. But I’m almost done though with the elevators and then I can get on to the tailcone. I want to get as far along on that as possible since the wings should be shipping any day now.

    Trim tabs riveted and sealed. Just need to let them cure now
    Hinges drilled on the elevator side. Need to take them off and deburr the drilled holes.
  • Deburring & Dimpling Elevators

    Deburring & Dimpling Elevators

    Got the parts dimpled and countersunk last night as well as deburred. Not too much to write about. It all came out fine like normal.

  • Trim Tabs Bending and Horn Trimming

    Trim Tabs Bending and Horn Trimming

    I spend a little bit of time this weekend working on getting the bend right on the lower portion of the trim tab skin. My initial go at it was still kind of wavy. I went to bed but didn’t like how it turned out. The next night after work I sat in there and really worked up and down getting the waviness out of the bend and the second go I feel look much better. I’m not a pro but it looked straight to me and seemed smooth enough. I used my snips to get the majority of the material off of the control horns and then cleco’ed them on. I will finalize the material removal on the deburring wheel when I go to prep the parts before dimpling. I am going to do the final size drilling tonight which shouldn’t take too long.

    Another update on the wing kit! It’s all paid for and I got an email that it was crated while I was at Oshkosh and they are working on shipping arrangements. Curious to see what those shipping costs are going to be. Might be cheaper for me to take a few days off and go drive to pick it up lol.

  • Starting the trim tabs

    Starting the trim tabs

    I got the trim tab holders cut out from some spare wood that I had laying around. Even though I had to cut them by hand instead of some kind of template, etc it still came out pretty good. After doing all that work I realized I should have used some double-sided tape to stick them all together and then cut them all in the same go. Hindsight is 20/20. I also got the skins prepped for the tank sealant that will be used with the foam ribs. After that I got all 6 ribs cut out from the foam. I need to stop by Lowe’s to get a 2×8 and some hinges to make the brake that they mentioned in section 5. Hopefully I’ll get some time to get that done tonight before church.

  • Elevator Counterbalance Weights Installed

    Elevator Counterbalance Weights Installed

    I got a short amount of time last night to get the weights trimmed a bit more and install them. I’ve never worked much with lead, but it was amazing how easy it was to cut. I got a box cutter to trim the burrs off of the edges and it cut through it super easy. Amazing how well that worked! I even took the advice of some people from the Van’s Air Force forum and used a chisel for the large amounts that I needed to trim. That also worked really well, but I’m glad that I used the bandsaw to cut the major parts as I think the chisel would have taken forever for that work. I was surprised they didn’t have a torque spec for the bolts so I just got them snug (not tight, but snug; which was more difficult to get snug than you think since the holes through the weights were pretty tight and it was hard to judge that)

  • Rolled Front Edges and Counterbalance Weights Cut

    Rolled Front Edges and Counterbalance Weights Cut

    I got a tiny bit of time to get the front edge of the elevators rolled and then riveted. I also got the change to cut the basic shape of the counterbalance weights. I still need to get them smoothed out some and grind off just a tiny bit more. The band saw worked pretty good but the metal cutting band kept getting gummed up with the lead from the weight. I’d have to stop and pick it off before I could keep cutting. Other than that it went pretty good and is looking nice!

    Both elevators done!
    Rough cut for the weights. I don’t like how these weights are all wrinkled
  • Elevator Trailing Edge Work

    Elevator Trailing Edge Work

    I got the trailing edges sealed up today. I put the pro seal on on Friday and it sat all weekend long until today to cure. That was basically just over 36 hours. I’m getting better at trailing edge work, but I still slip with too much pressure through the rivet gun and end up marking the skin around the rivet with the back riveting set. The back edge was very straight on both of them. One had a very slight bow downwards in the middle of it, but it was VERY minimal, but noticeable to the naked eye. I did notice one additional oddity. On the right trailing edge on the outward side it is slightly bending upward. The edge is straight but it’s straight up a tiny but. It’s so weird because the skin is pretty flush on the end, but I guess it’s off just enough to make it curl up a bit on that end. But again it’s straight along the back end and I doubt these small errors will cause any major issues. I will say, I am curious how much it will affect the mating up of the elevator tip with the elevator itself since it has that small curl. But we’ll see when the time comes I guess.