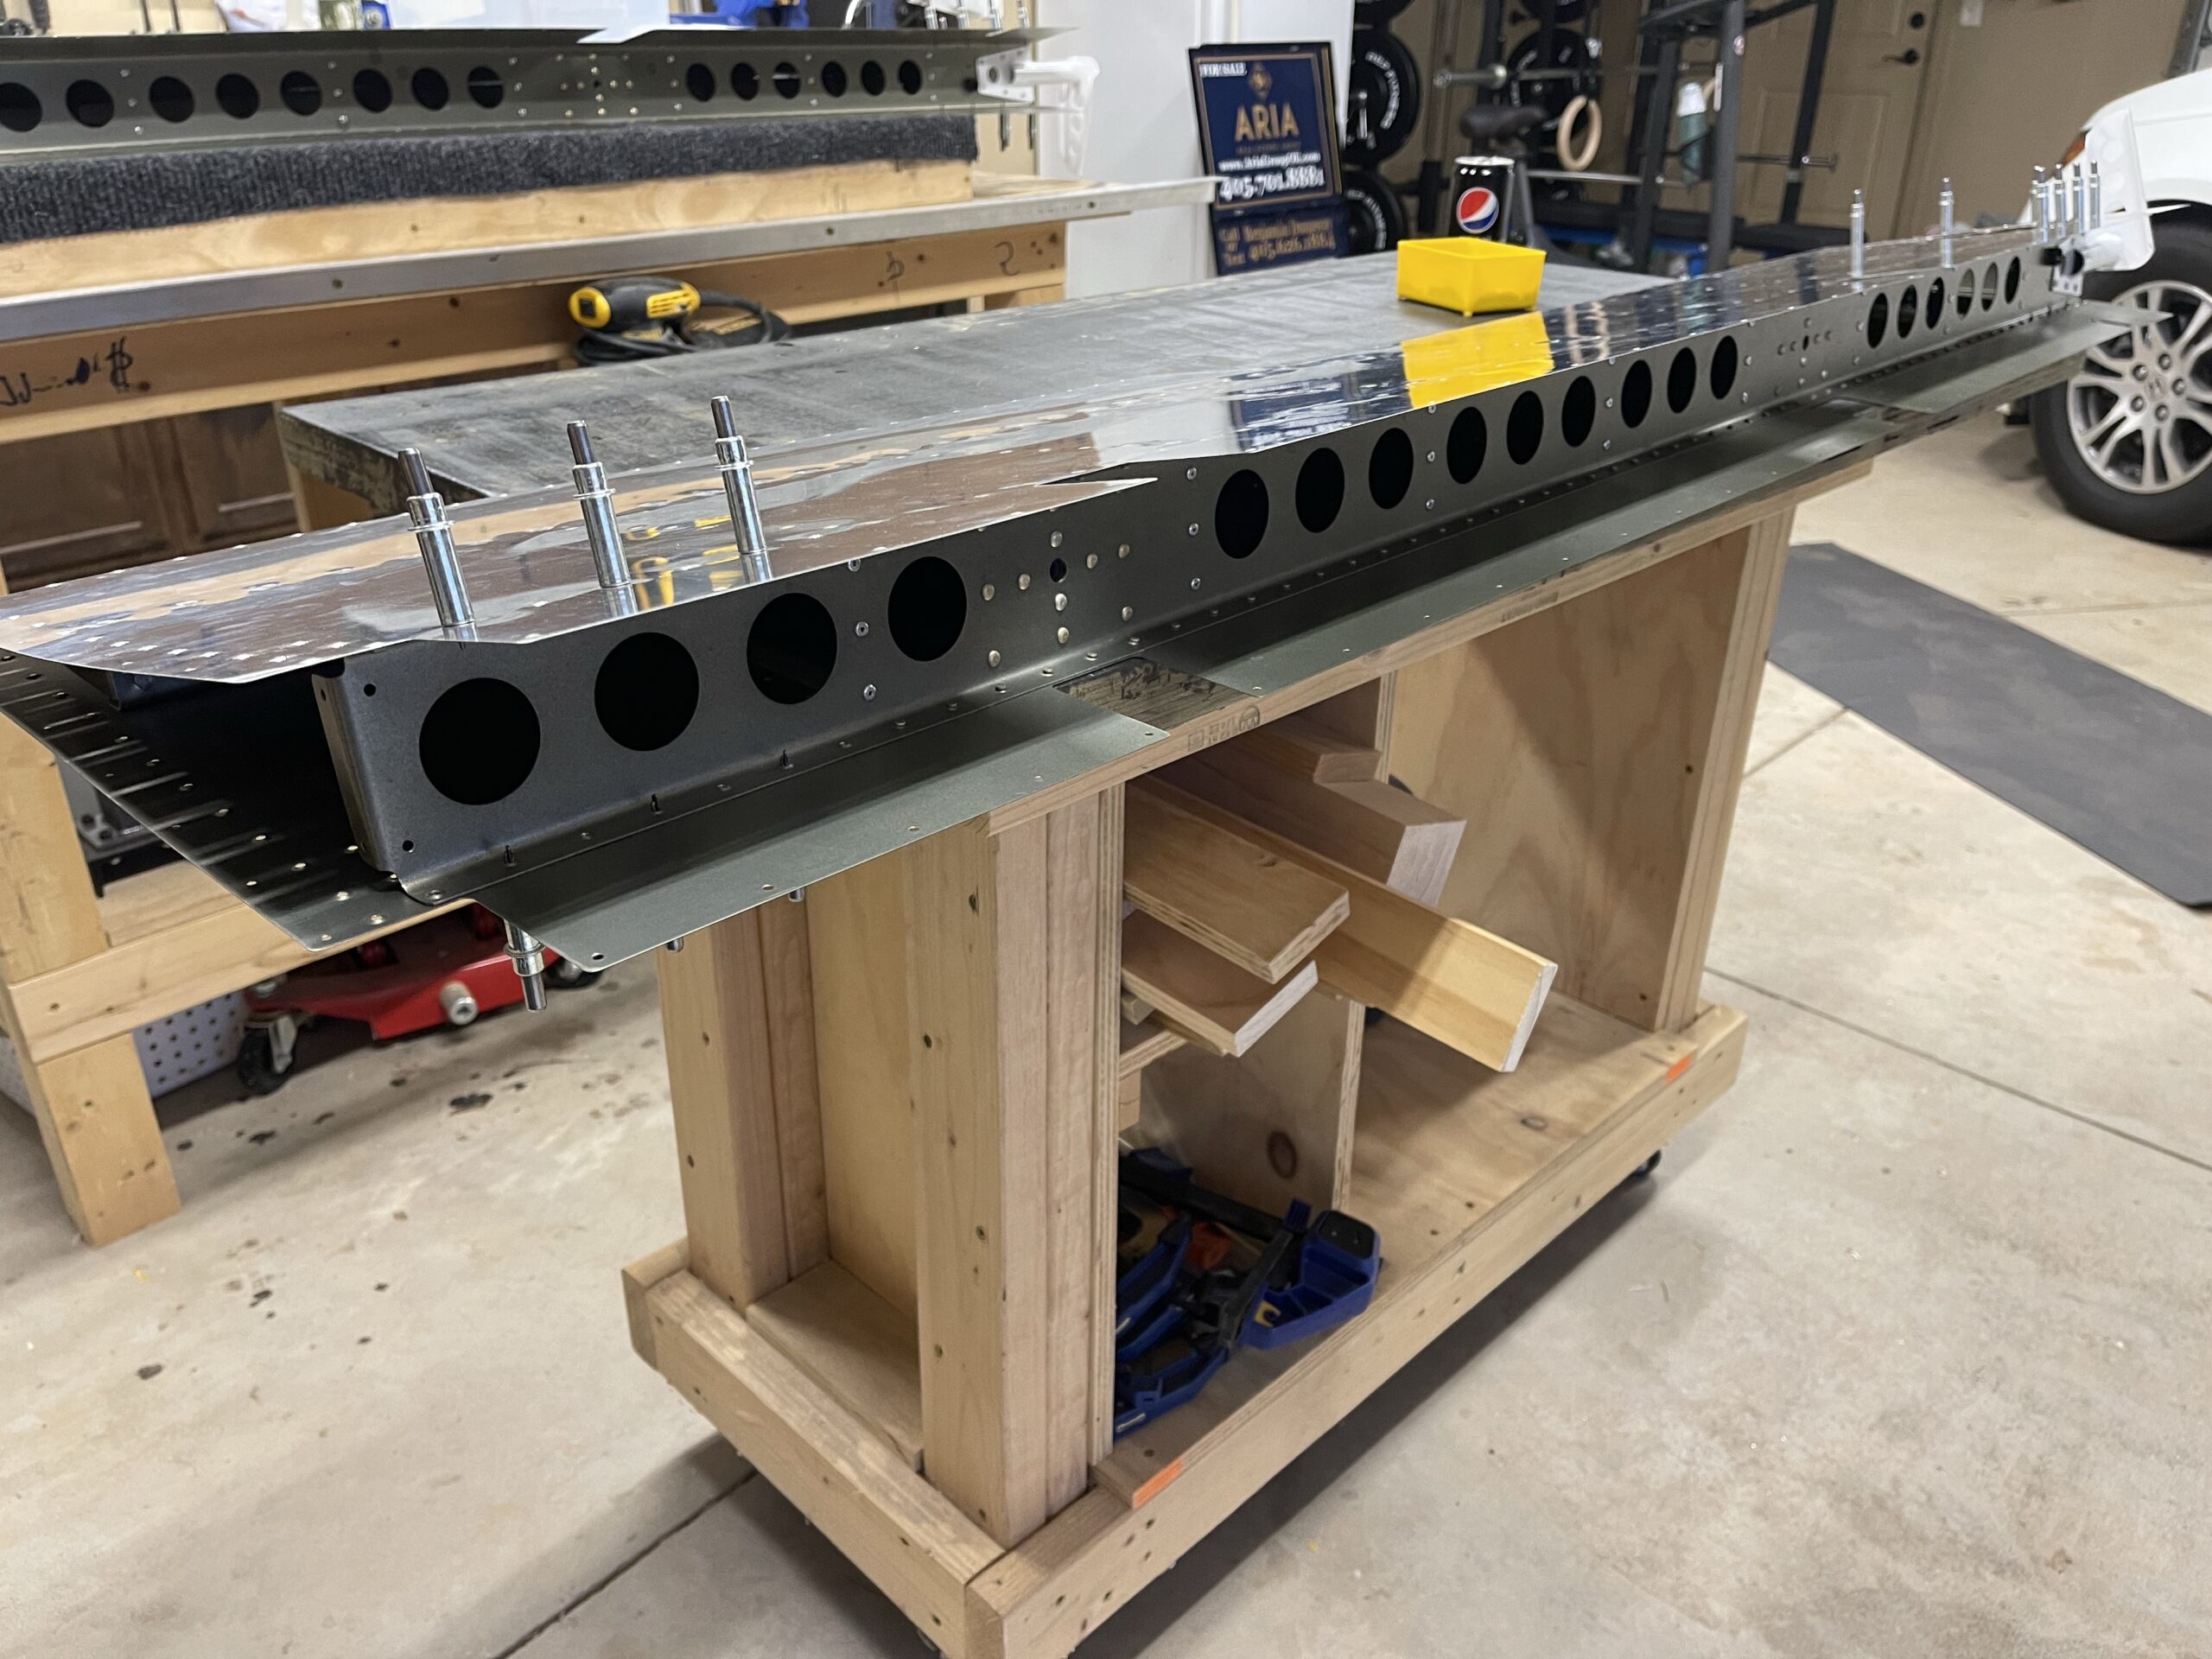
I spent my time after work finishing up the riveting on the rear spar and completing all of the front spar riveting. The Cleaveland Tools bucking bar was awesome! It follows the design that Van’s Aircraft puts in the manual and I can see why they have that. It was perfect for the rear spar and I actually got more consistent rivets out of it than my normal bucking bar. I didn’t take a picture of this but I went ahead and put on the elevator tips to see if they would straighten out some. They did, but they still aren’t perfect. I’m going to have to attach the elevators to the horizontal stabilizer to see how visible it is and if it affects the movement of the elevators.
Tag: Empennage
-
Final Elevator Prep and Initial Assembly
I spent alot of time this weekend getting to where I am now. It started on Friday afternoon with dimpling more skins, deburring a bit more on the skin edges, and just getting all of the parts ready for priming the following day.
Saturday was doing some of the skin sanding that they ask you to do so that the tank sealant bonds correctly to the skin and the foam ribs, cleaning the parts off (which I accidentally removed some of my marks for reassembly… whoops!) and then masking off areas that I didn’t want to paint. Painting is getting better each time as I dial in the settings. It appears that this sprayer likes about 25 PSI. I’m curious if I should have it dump out more primer the next time and make wetter coats? The lighter coats tend to create a rough surface as it becomes more like little specs of paint that dry rather than a layer of paint that dries smooth. Spray painting is such an art with so many variables in it.
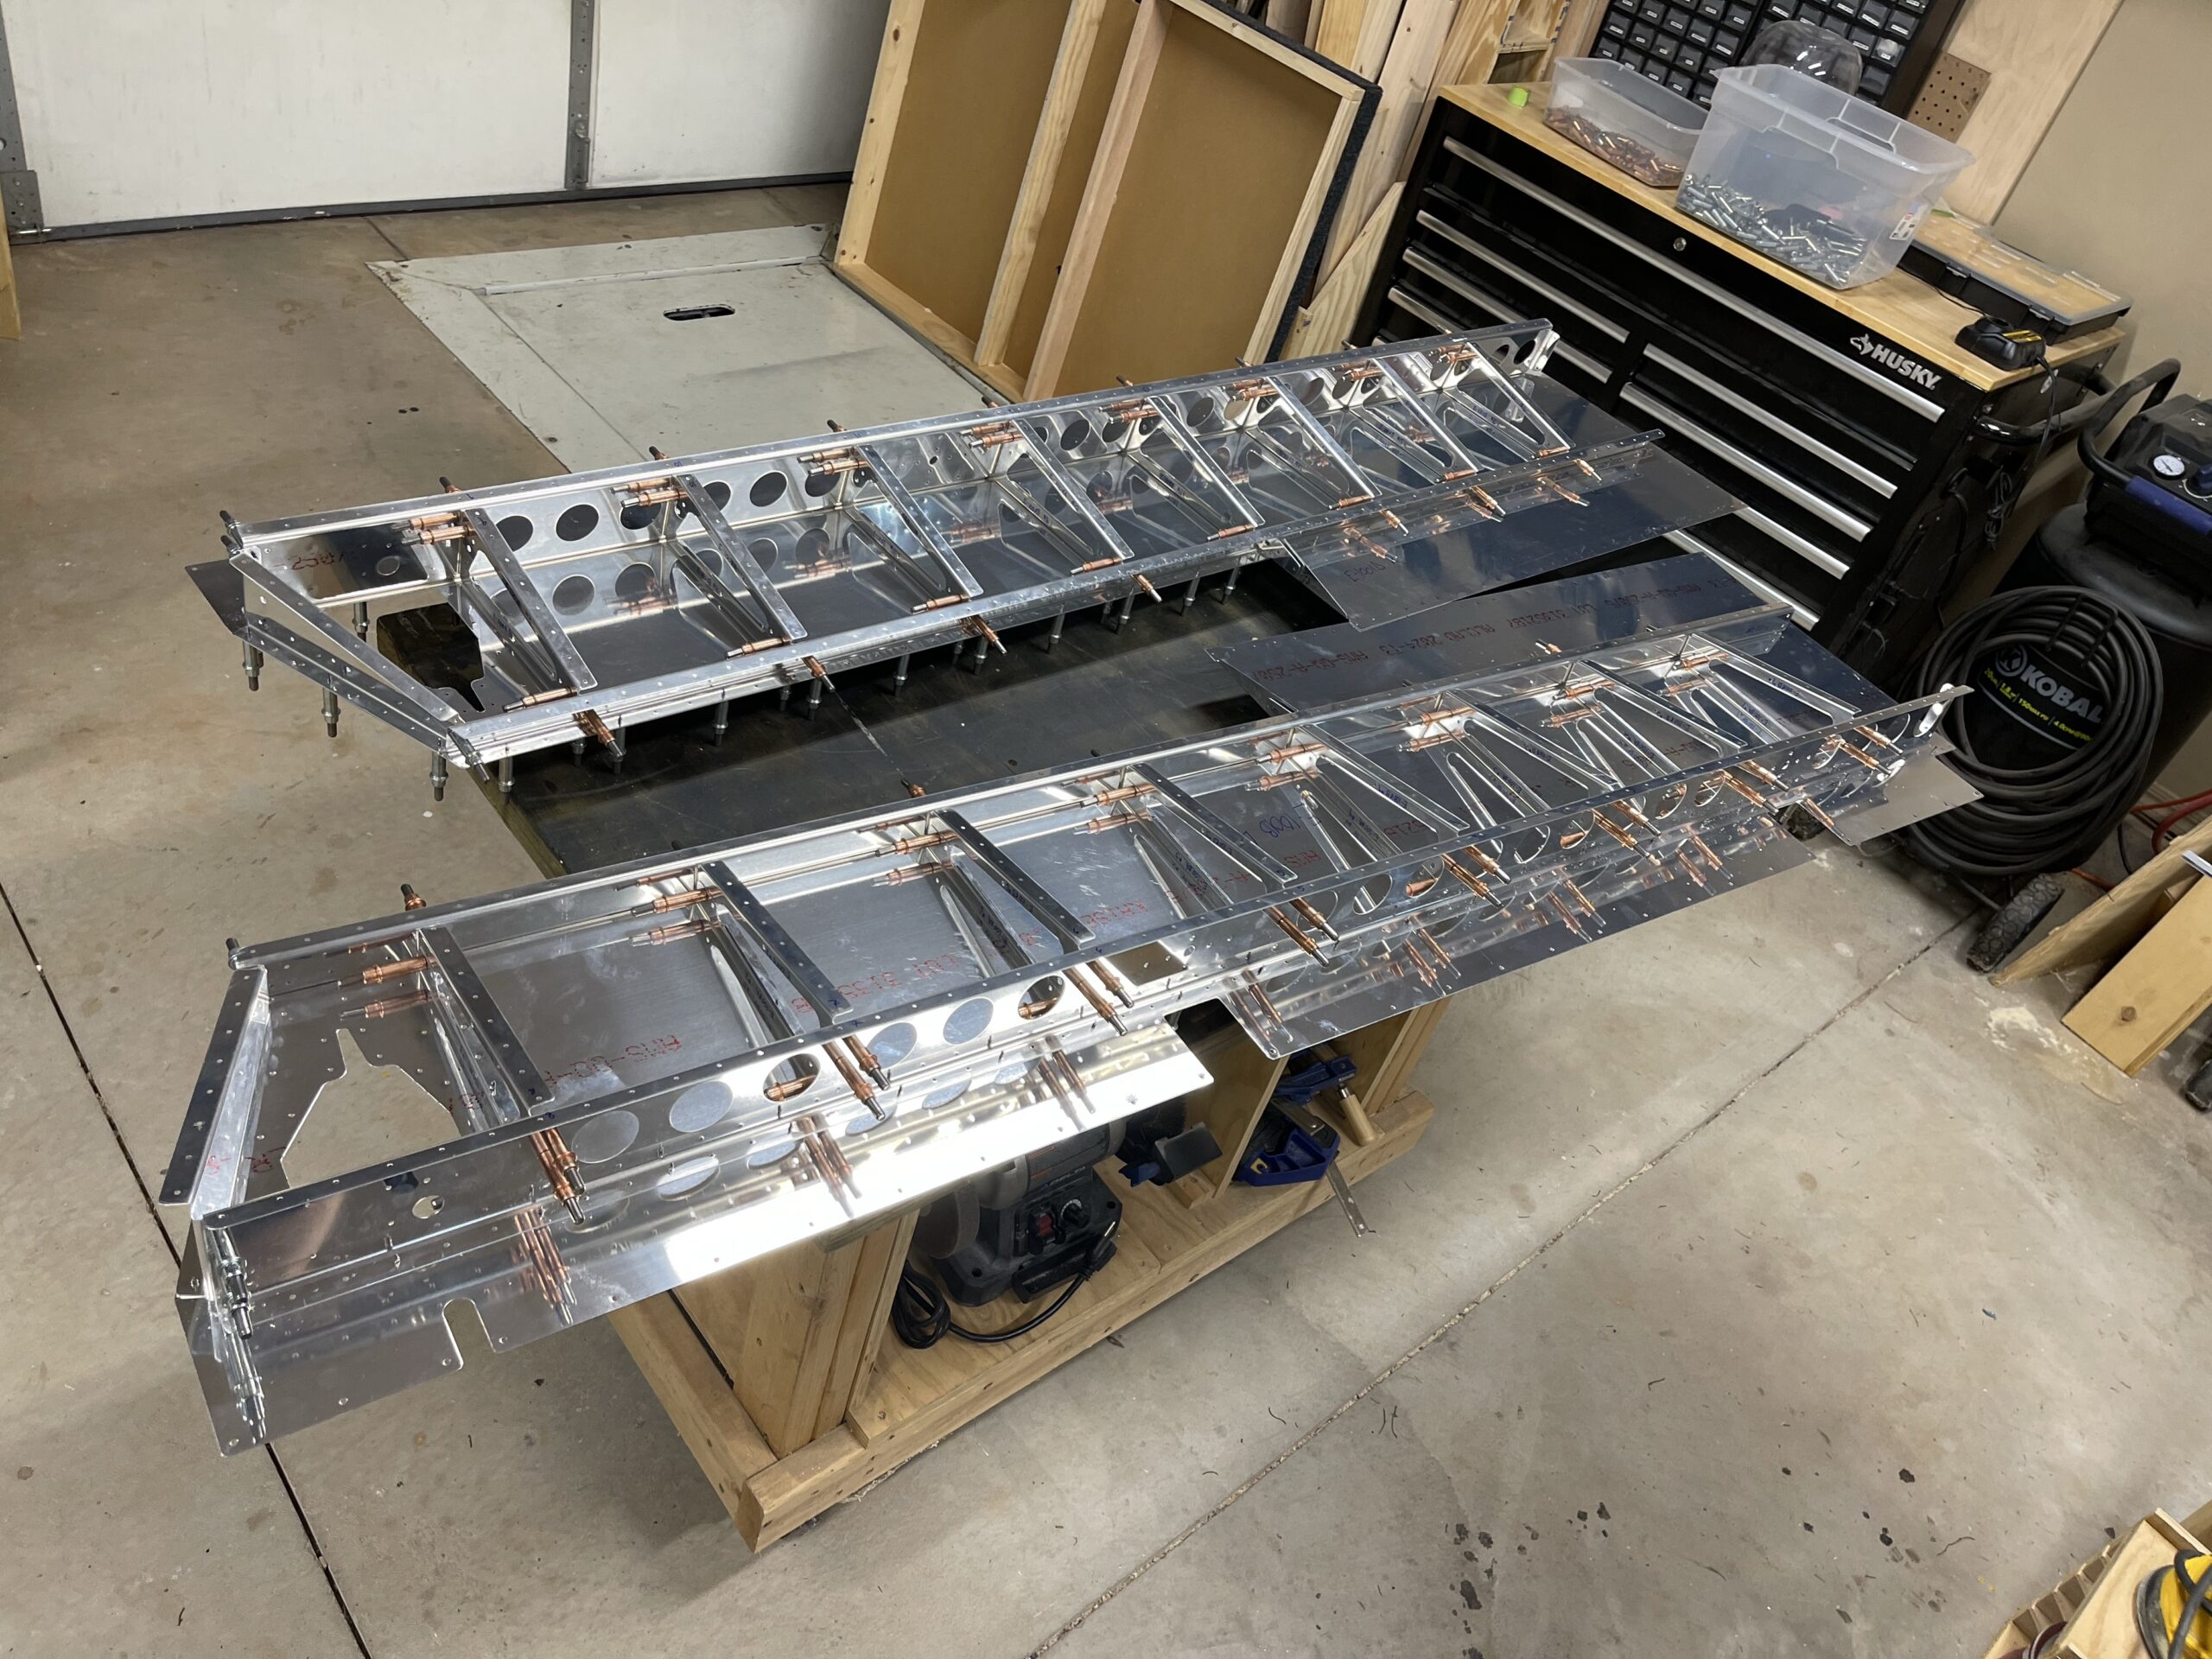
Assembly has gone very smoothly so far. I did change up the steps a bit on riveting the two elevator skins together. I used the method that we established in the rudder build, which Plane Lady actually suggested in her latest video. It made putting the elevators together MUCH easier than having to deal with assembly in that tight area. The rivet gun I have actually would not have fit in there if I didn’t do it this way, as the handles when fully extended make the tool wider than the spacing between the ribs. So their trick to extend the handles with tubes of some kind over the handles wouldn’t have worked out. I checked that both elevators were flat and level and they were so I’m happy there.
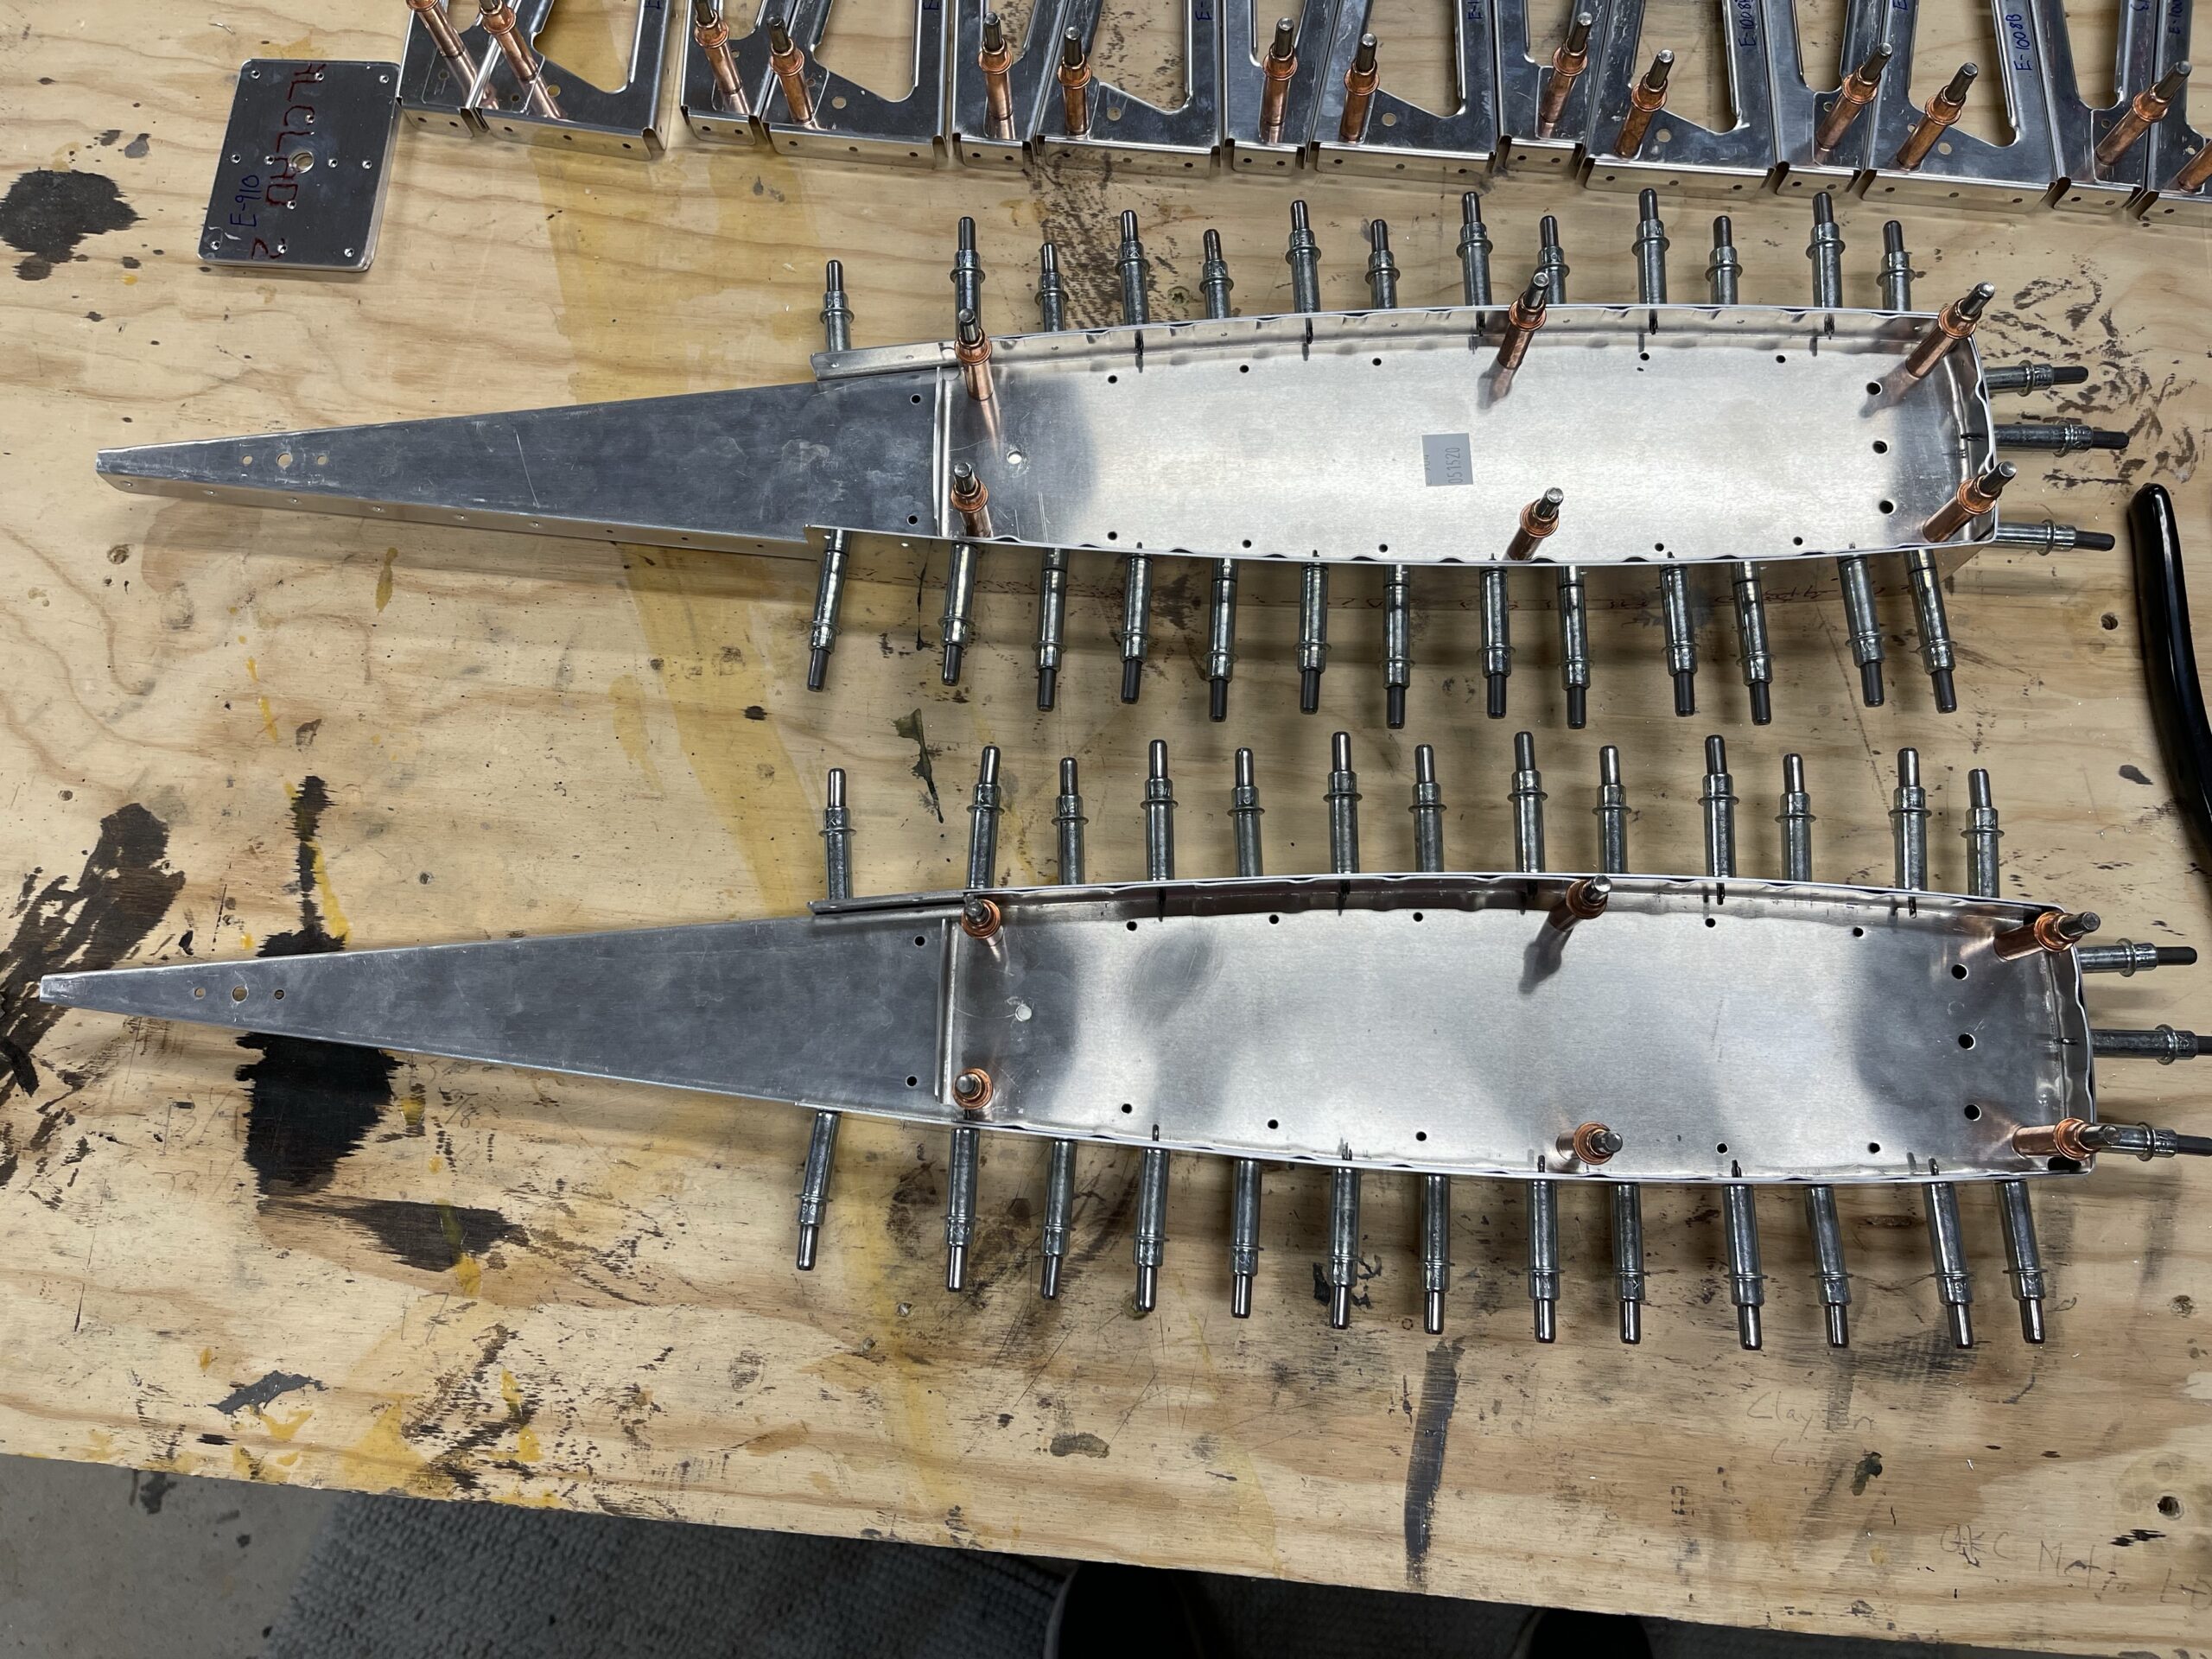
The only piece I’m not happy with is the elevator ends with the counter balance weights. I assembled them and didn’t have any issues there but when I set them down on the bench, they both were pretty twisted. I am not sure how that occurred as I made 100% sure at the very beginning of the elevator section that those things were perfectly flat and level and the flanges were perfectly 90 degrees. I will say while I was squeezing the rivets, it did seem to slightly modify those flutes that I had put in some of the flanges. I sure hope that wasn’t the issue. I mean, luckily it’s not a ton of parts if I did have to reorder and redo it, but I’m imagining there’s a way to fix this going forward. I put a video of it here on this post.

This thing and the hose I use with it are heavy. Have to take breaks often with this thing 
Up close of the dimpling on the ribs 
All of the parts dimpled and ready for skin prep and painting the next day 
Some skins I had to put on the floor for lack of table space, but they are primed now 
The other primed skins 
The primed internal parts 
Primed counterbalance pieces and access hatch/trim cable pieces 
Trim cable/access panel all riveted! 
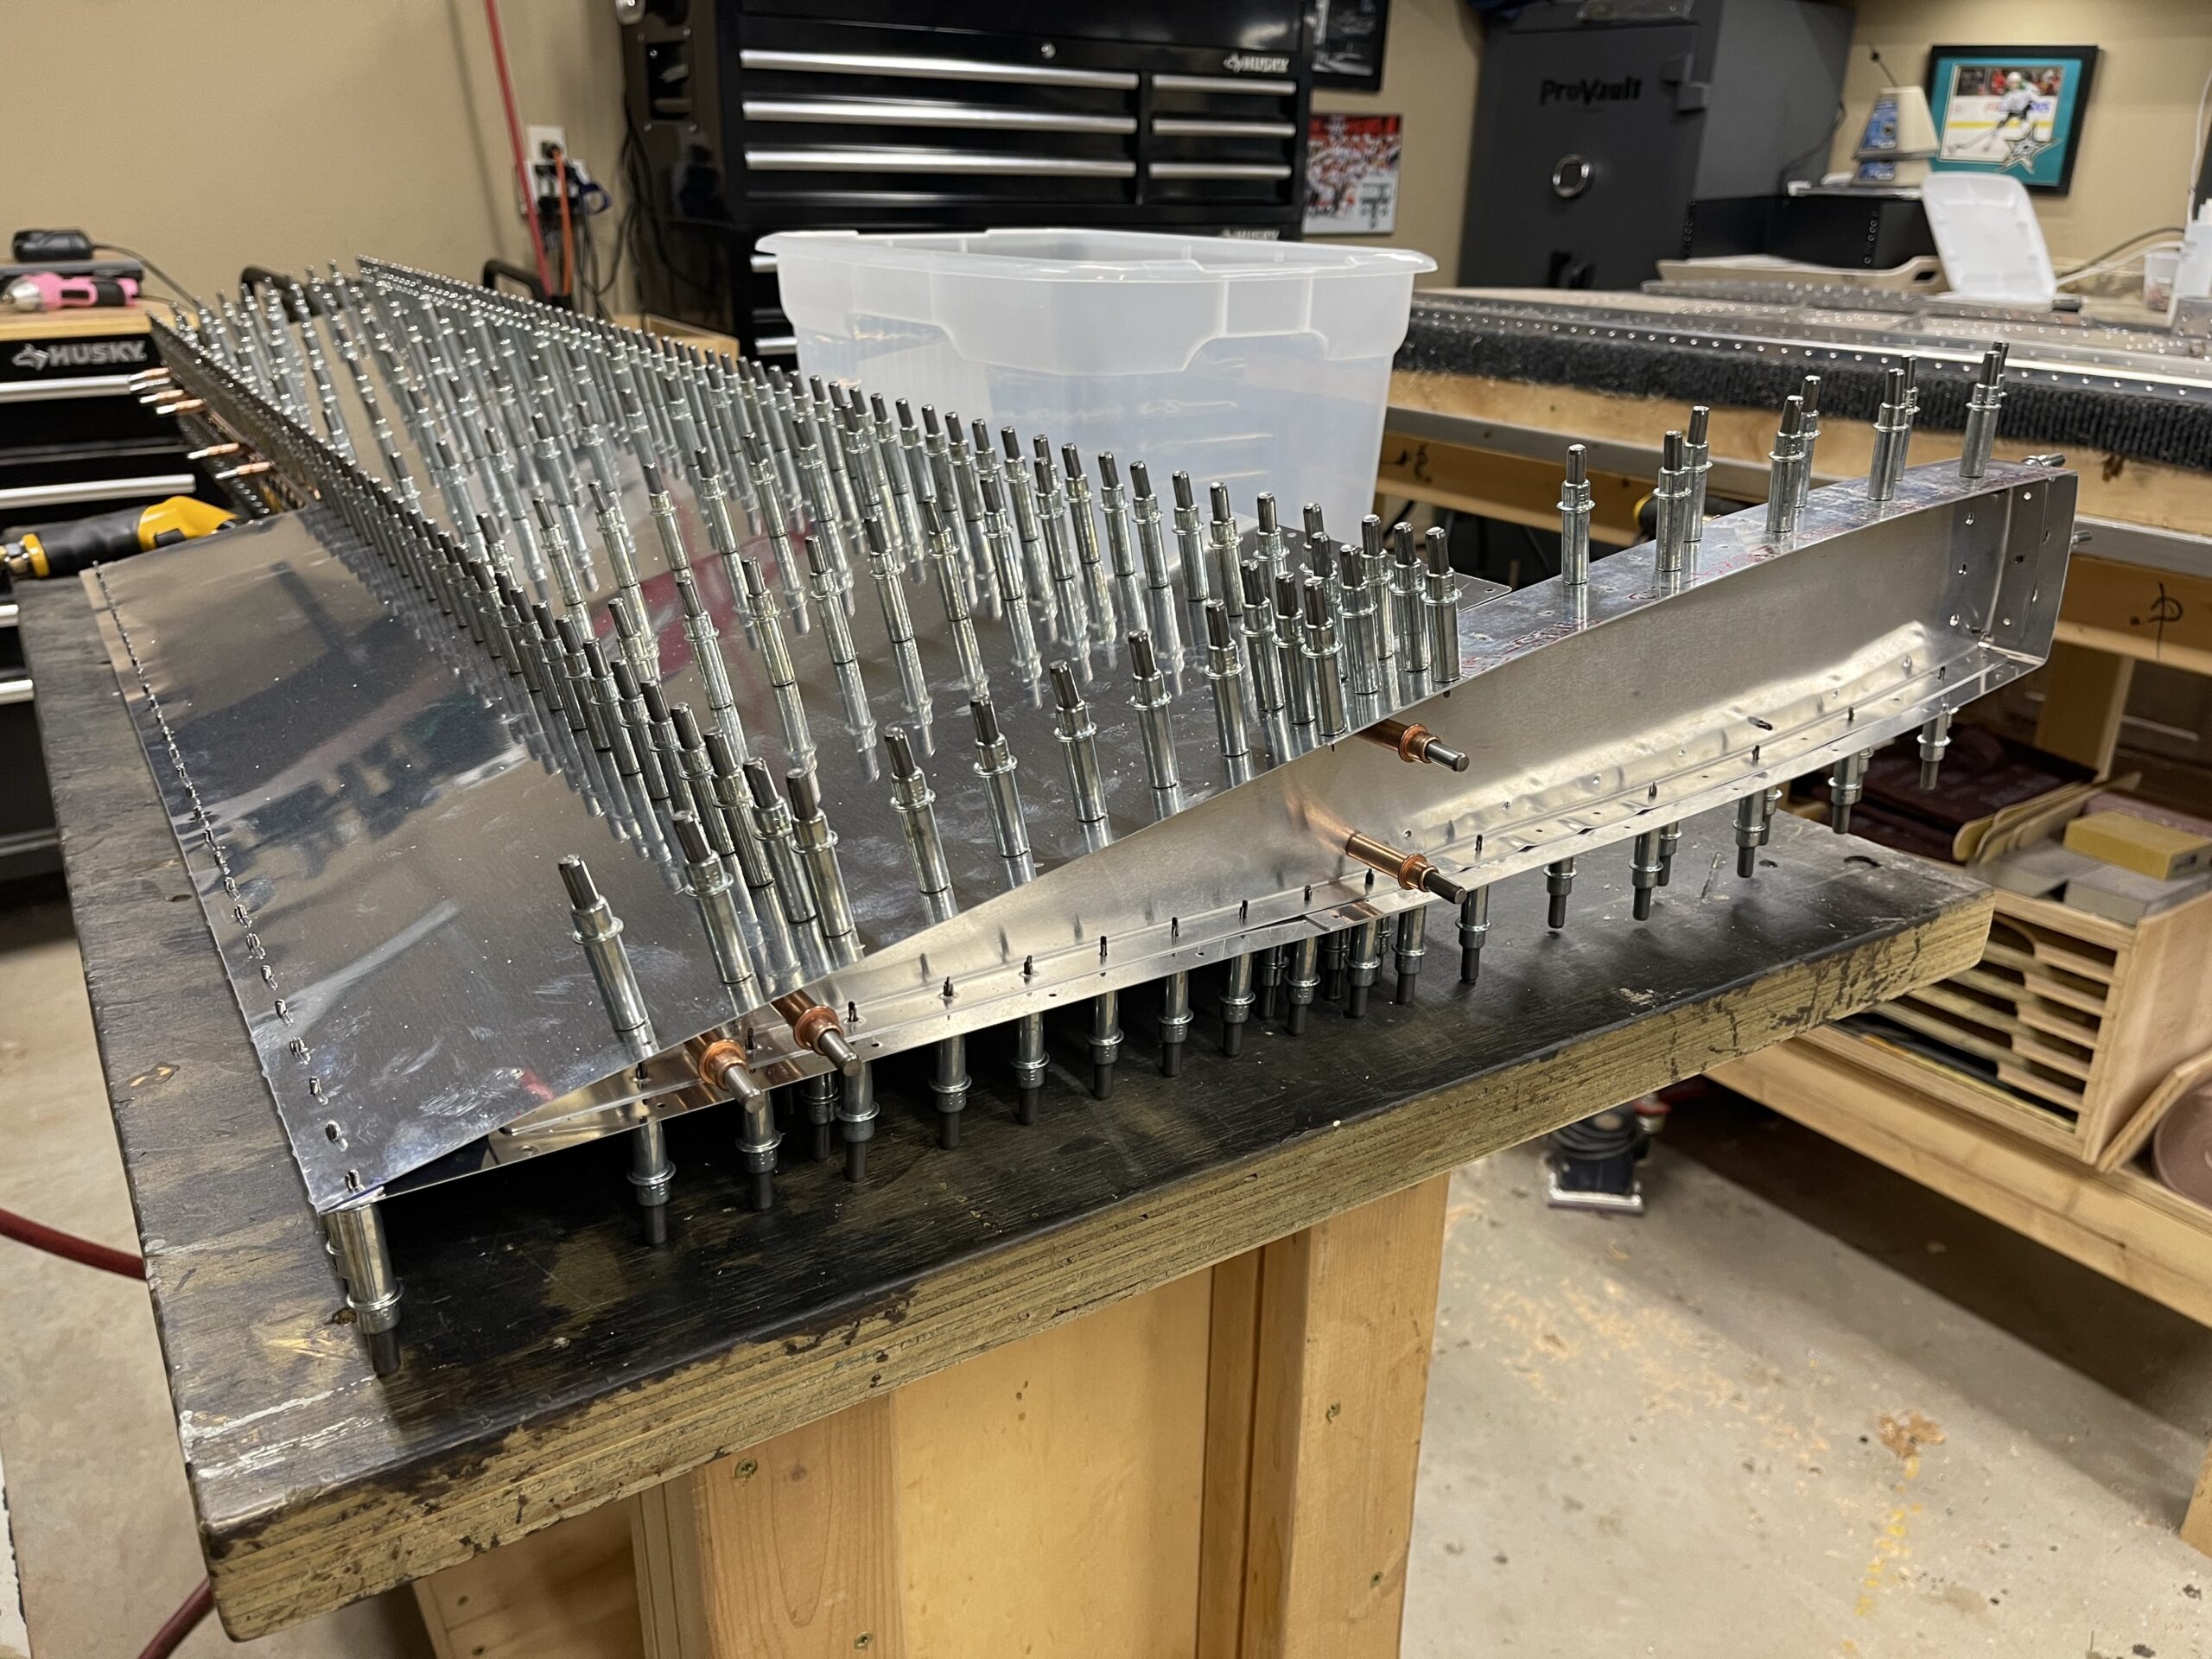
Backriveting prep work: rivets and tape installed 
Just one of the skins with the ribs and rear spar riveted 
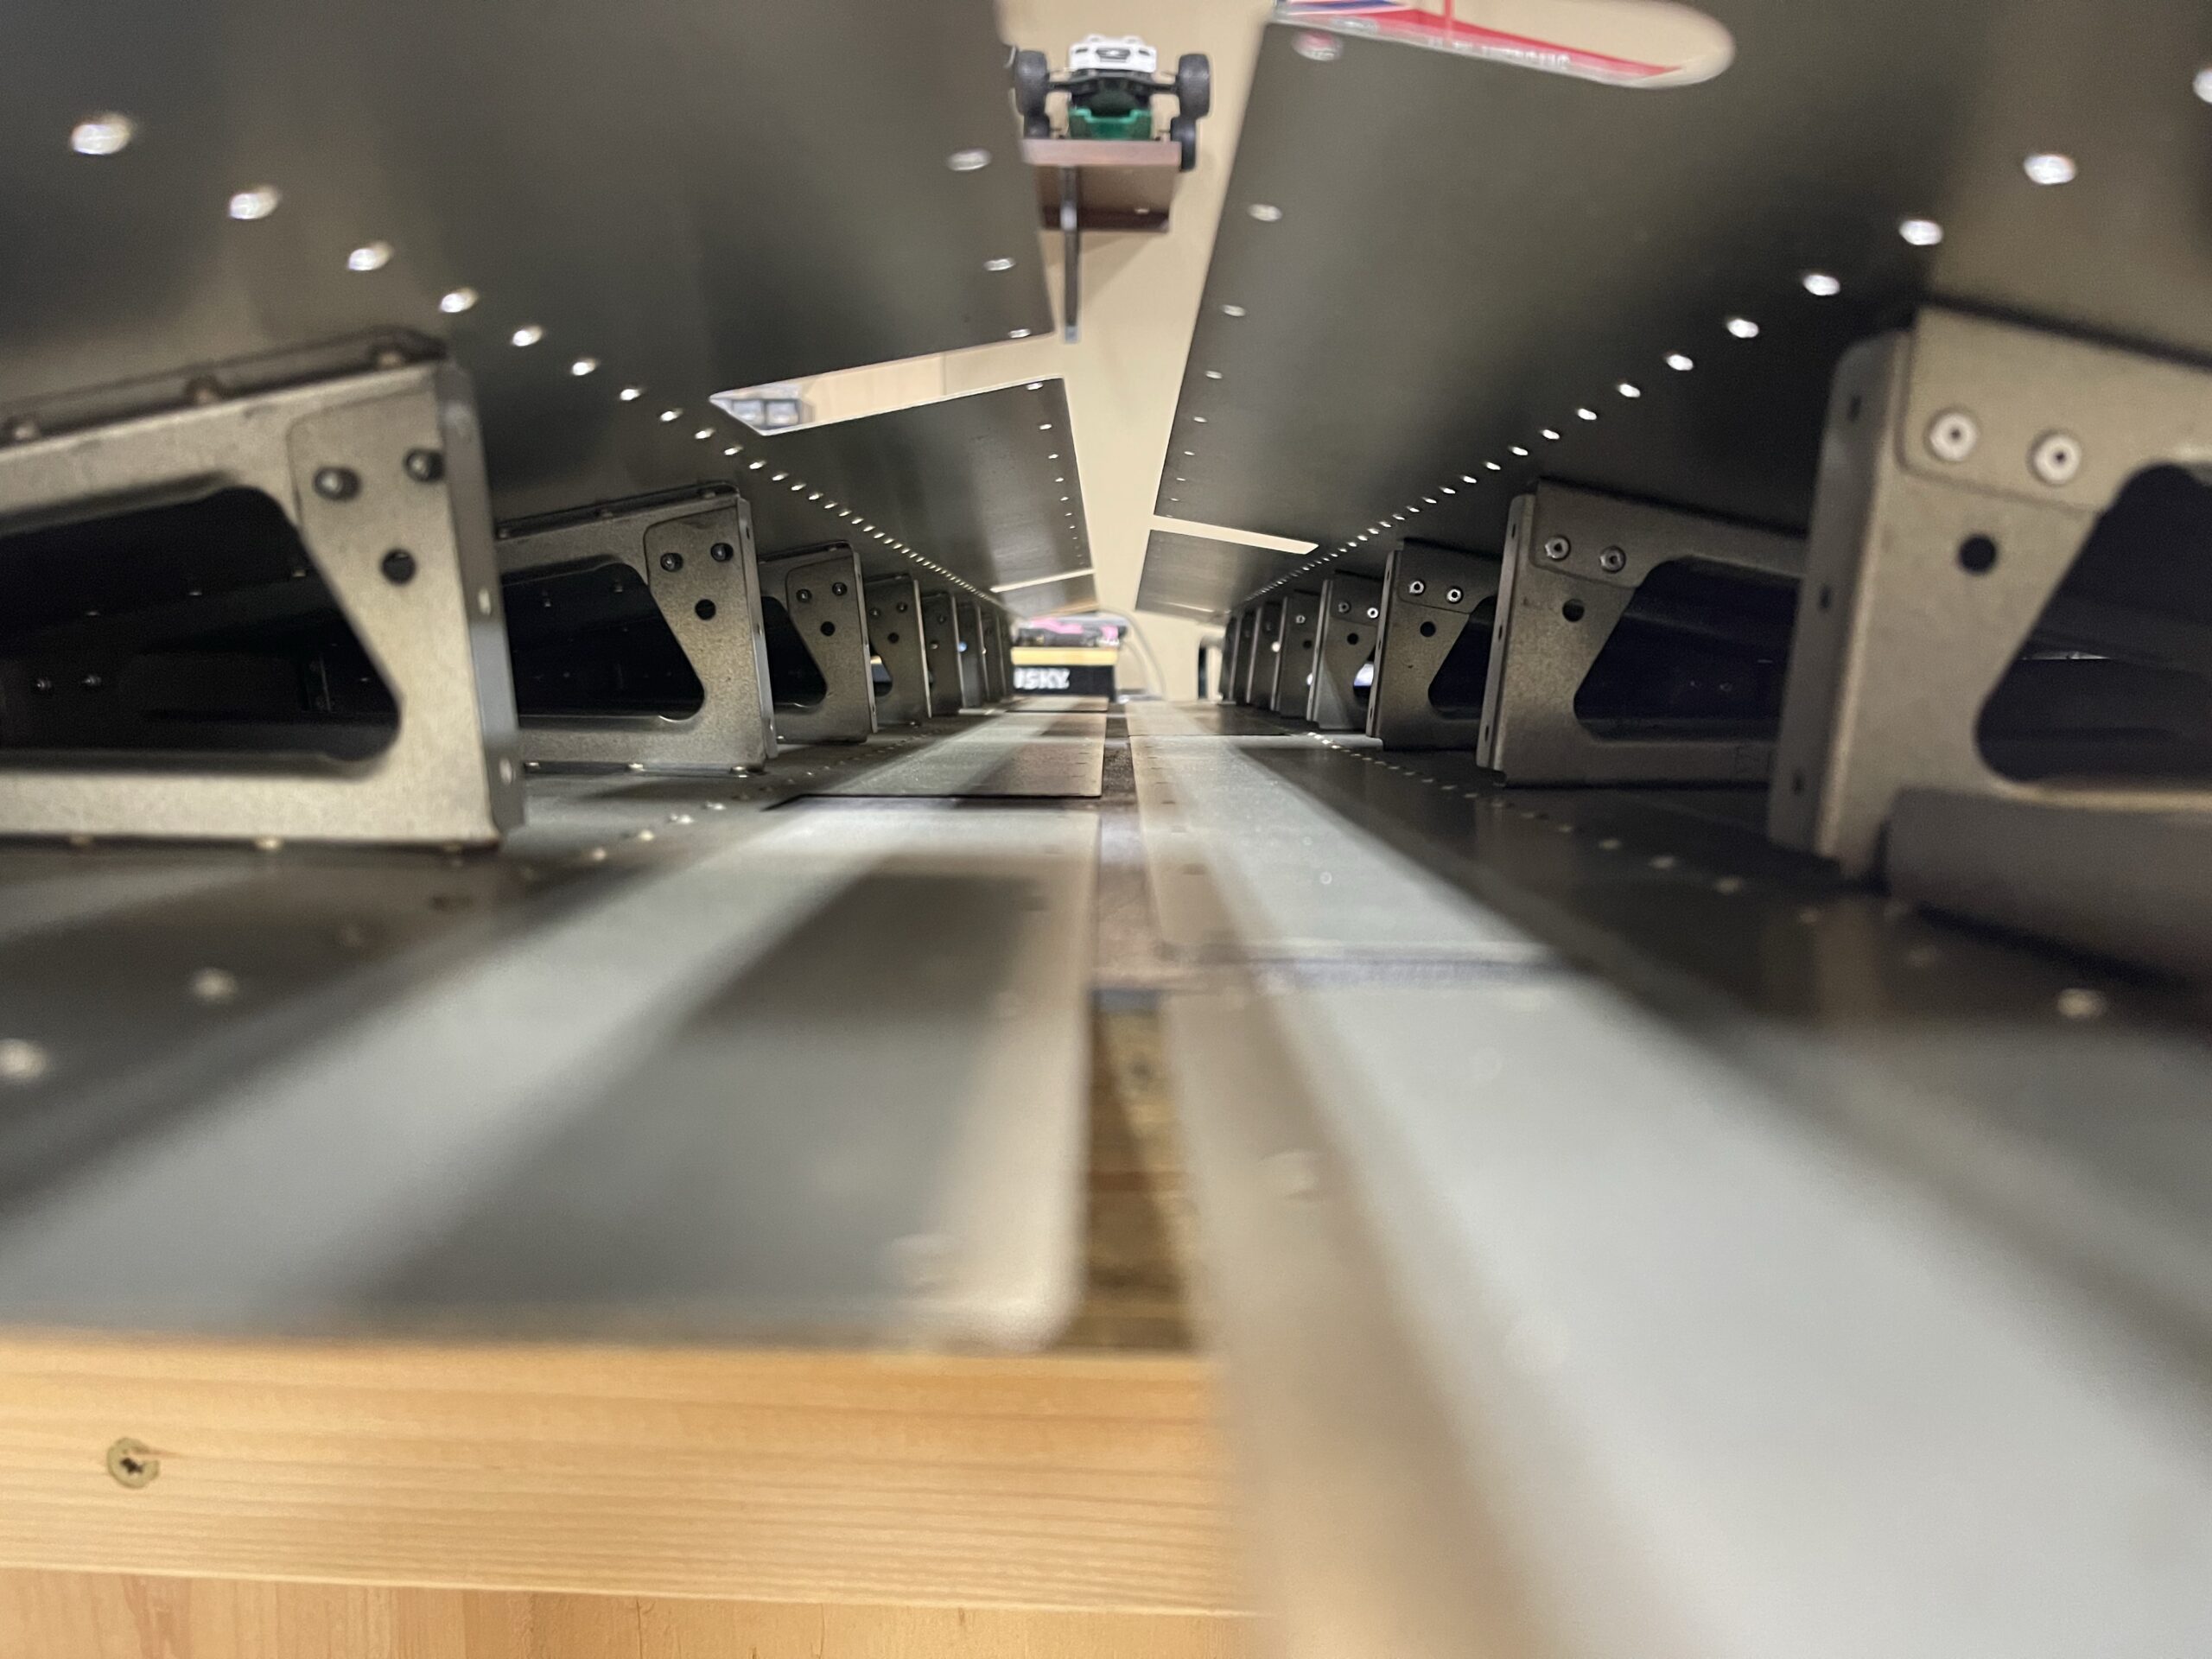
Down the row showing the two elevator skins mated and riveted
This is the weird twisting I was talking about. Not sure how to handle this -
Backorder has arrived!
My backordered VA-140 arrived a month or so ago and I finally started back up on the build. I took a break from building to get a shed built in our backyard. This was going to free up more space in the garage and it has been a huge help!
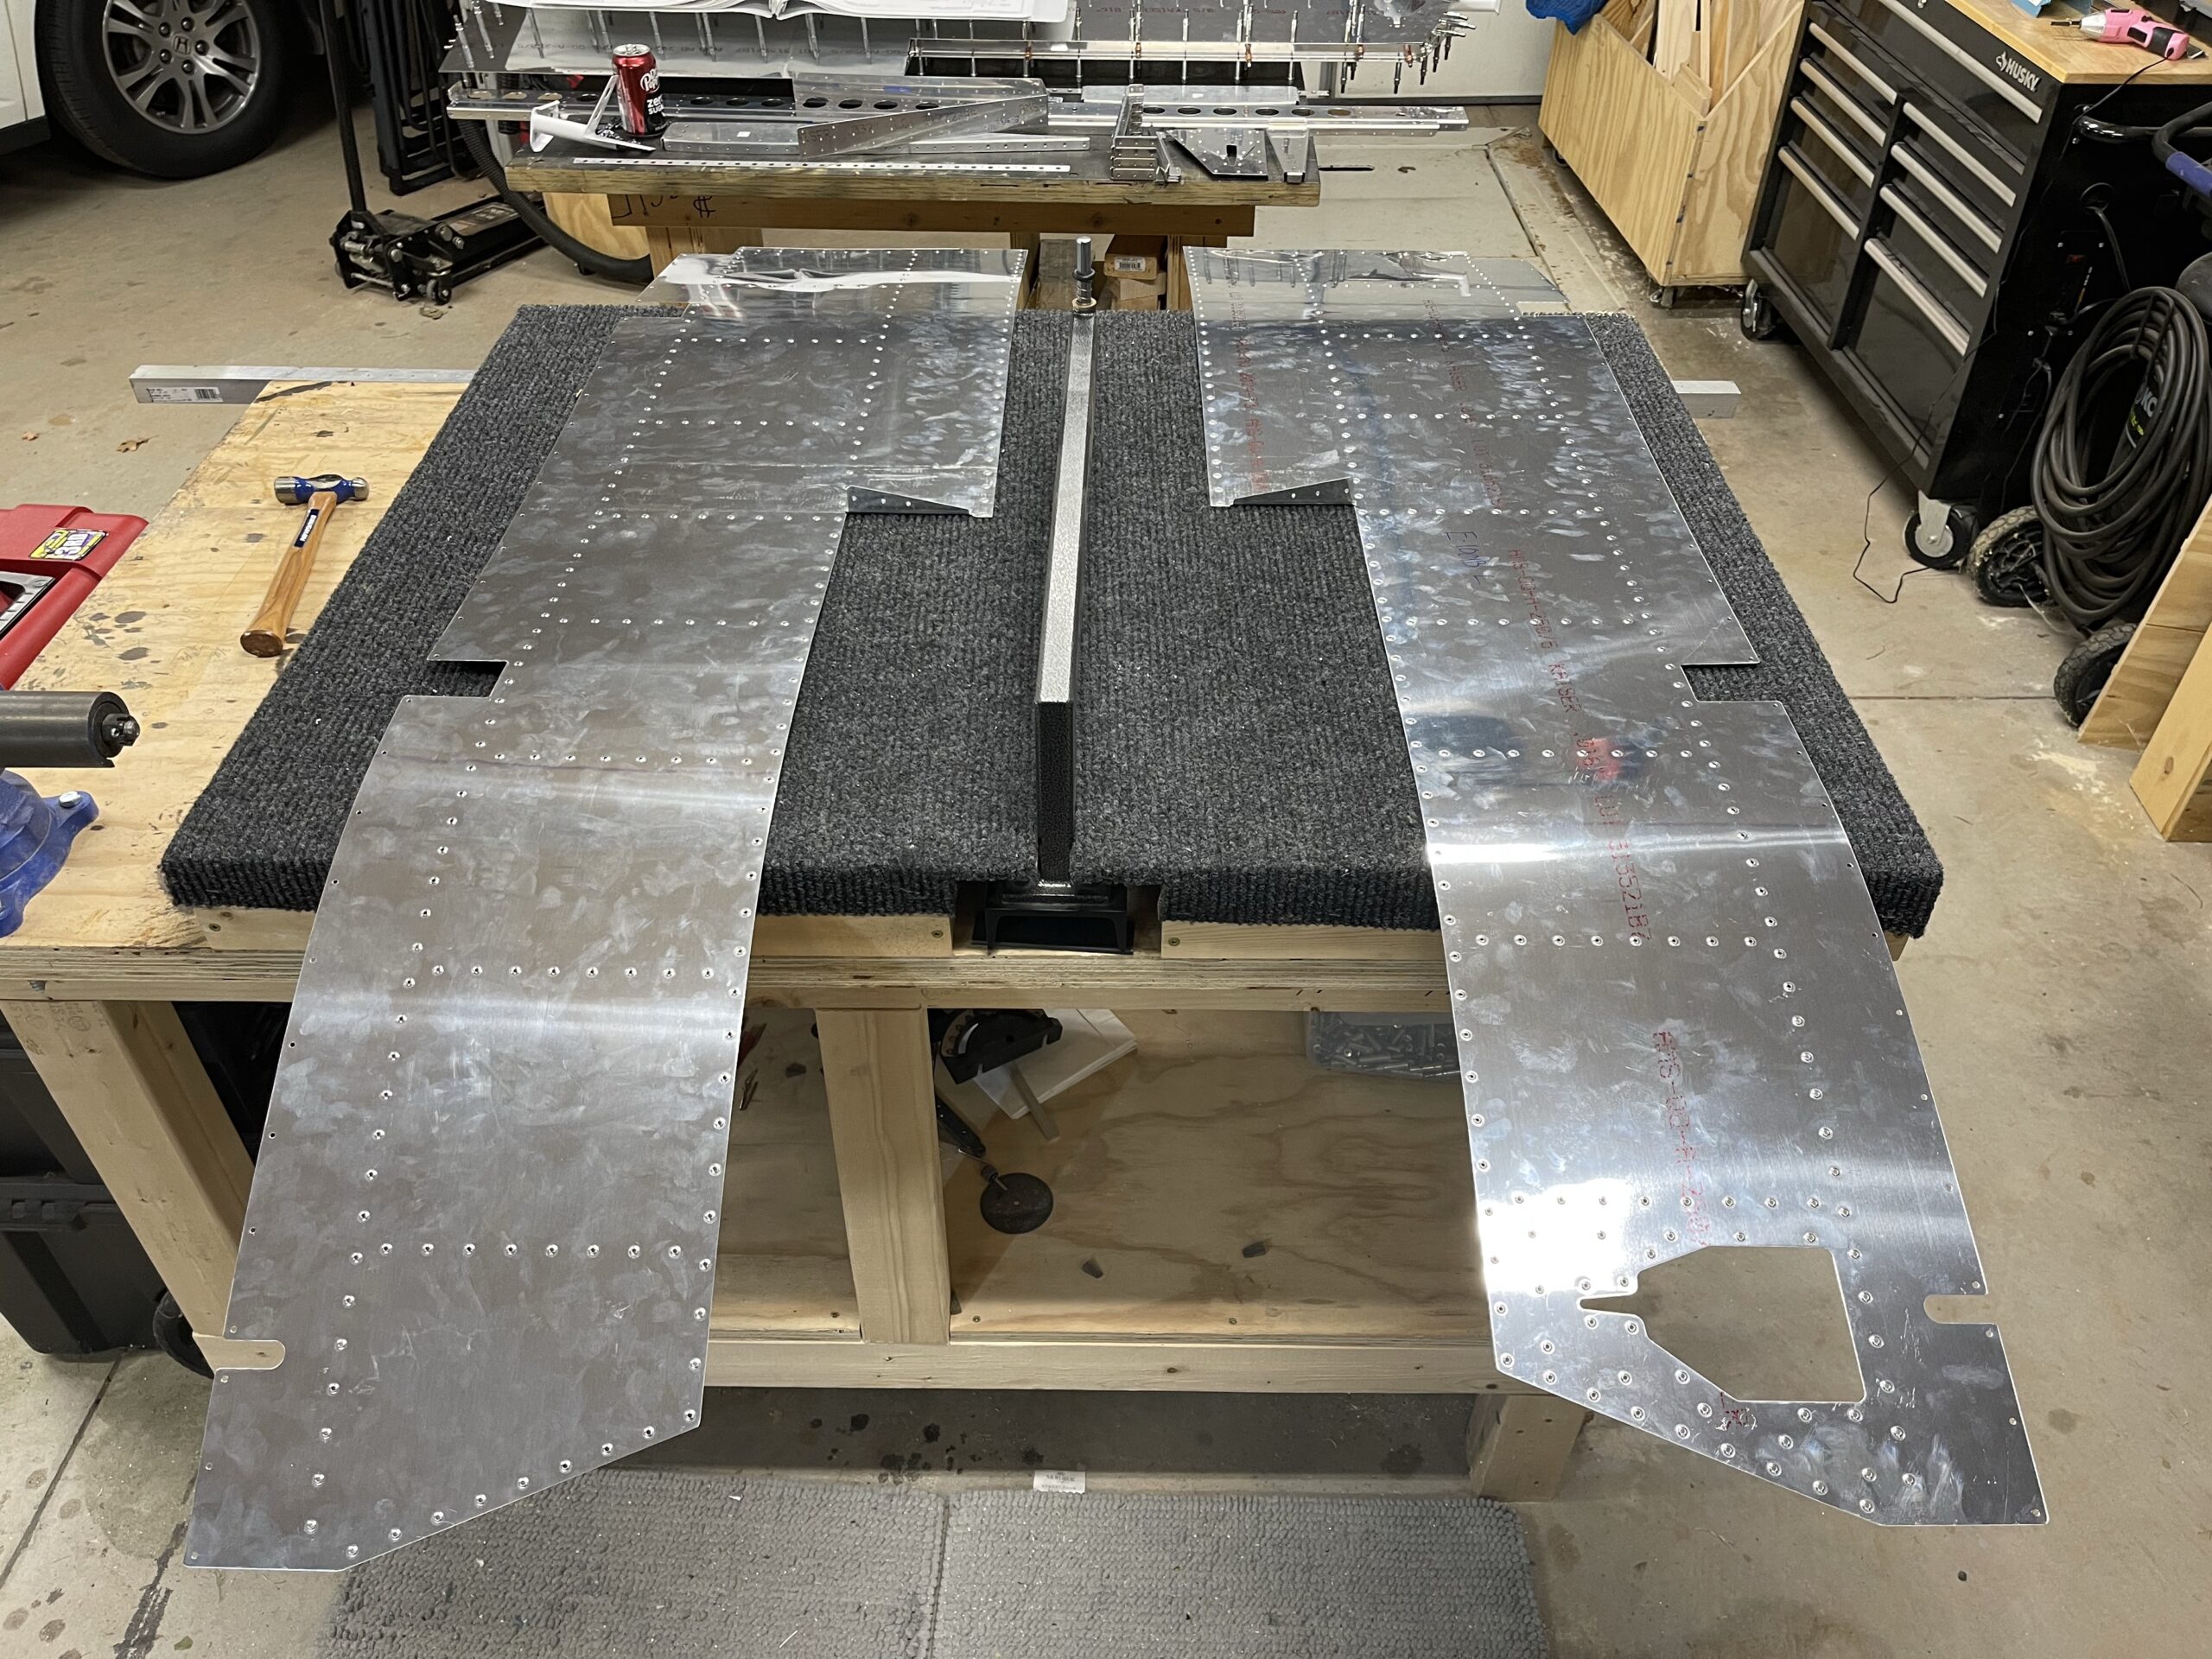
I got the VA-140 cut for the right elevator and I final drilled every hole on the skin to the substructure. Final drilling always takes the longest, especially when I have to put a cleco in every hole per the instructions. But the right elevator is almost caught up to the left elevator when I put it away for a bit. I hope to have these parts done before the end of April. I ordered my wing kit in December when I realized the kit delivery dates were almost a year out. Luckily though they have moved the date up to June or July but I want to get the empennage kit finished before it all arrives so it’s time to get to the grindstone.

All holes have been match drilled 
It’s always mesmerizing looking down the line of clecos 
The left elevator awaiting the next steps -
Skin Dimpling Left Elevator
I got the skin dimpling done for the left side. I noticed that one of the holes must not have been drilled out when I was match drilling. I’ll have to reassemble that area and then drill that hole. Everything went pretty smoothly though. I didn’t have a good idea as to what to dimple on the very outboard edge of the elevator where the plastic fairing will go in the end. I left it undimpled so that I can deal with it down the road.

Dimpled Skins 
The end with the missed hole and then my guess as to what holes needed to be left alone for the fairing -
Left Elevator Deburring
I got almost all of the deburring done on the left elevator. I noticed that I had forgotten to prep the edge of the lightening circles on the front spar, so I got that done. I redid some of the fold work on the elevator skins too because it wasn’t to my satisfaction. It still isn’t satisfactory as it’s not a clean fold and has a little bit of a ripple. I still have to deburr the outside edge of the top skin and then deburr all of the bottom skin and it’ll be prepped for dimpling, priming and then assembly.

Prepped structural parts for the left elevator 
Skins almost fully prepped -
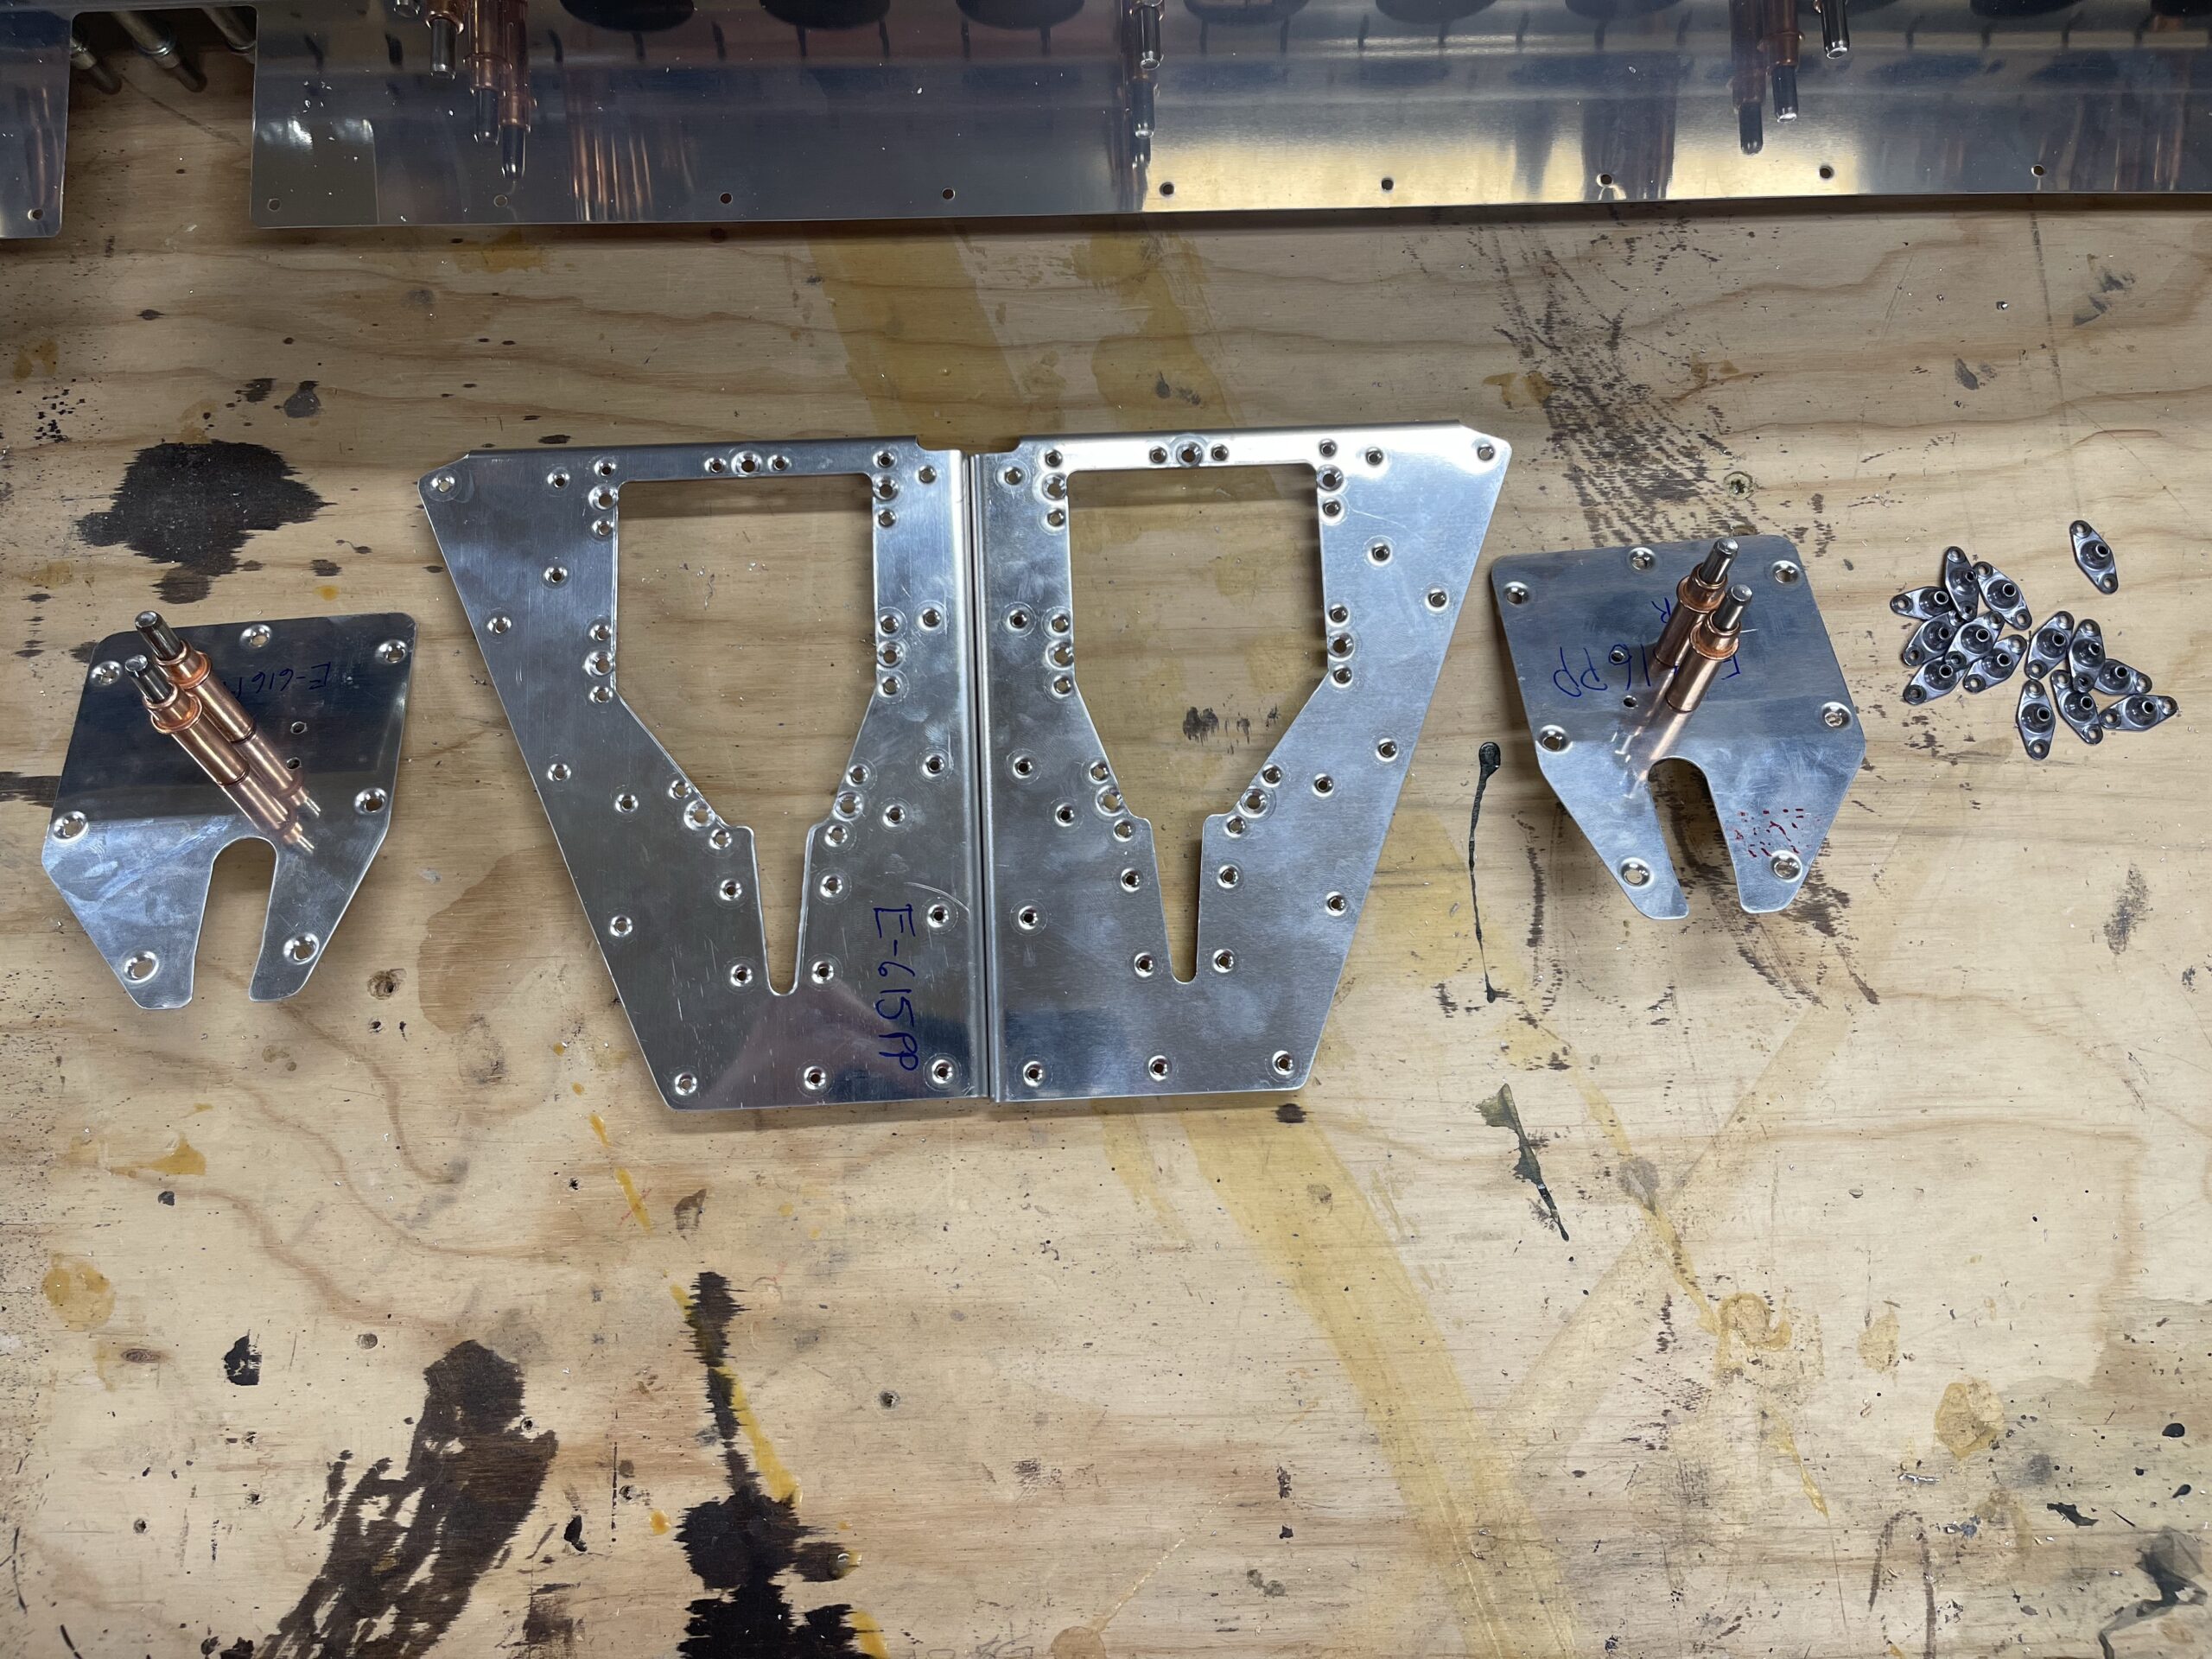
Elevator Trim Access Panel Prep
After I had finished all of the match drilling yesterday, it was time to work on these access panels before it has to be entirely disassembled. I did both the left and right elevator since my missing hardware does not affect me prepping these parts. Getting the nut plate drilled onto the access panel wasn’t too terribly difficult but that steel is harder and dulled two of my bits before it was all said and done. Luckily it only dulled the tip so I can still use that last bit for match drilling. I had a difficult time getting a hole to keep the bit centered. I am going to see if I can find a good notching tool today as my current tool is not really designed for metal.
I moved to the dimpling of these parts which had some of it’s own challenges. First was that I grabbed the wrong nutplates. I accidentally grabbed a K1000-06 thinking I had grabbed a K1100-06. I saw that this would NOT work and I was curious what the heck I did wrong. I posted it to the Facebook group called Van’s Aircraft builders and they VERY quickly spotted I had the wrong part. I went back to check and sure enough my bins for the K1000-06 and K1100-06 are right on top of each other and I must have seen the number but then pulled on the wrong bin. I am glad I caught it though instead of moving forward in my ignorance. It was good to learn the difference between a K1000 and K1100.
The next issue that I encountered was that the access panel would not sit flush to the reinforcement plate. The dimples need to be deeper in the receiving reinforcement skin. One of the guys on the Facebook group mentioned using the deburring tool to massage it. I did some but it didn’t help enough. I’m curious how much material should be removed there. I searched to see if there was a different dimple die for the bottom skin but I didn’t find anything yet. I’ll keep looking because that is going to make the access panel sit proud of the skin when all is said and done.
Everything though is finished at this point and I will start disassembly and deburring this afternoon. This actually spanned last night and into this morning (12/10 to 12/11/2021)
On another note, I decided to secure the parts that I had already built. During the Christmas decorating the boys kept touching and moving the parts and it was making me VERY nervous. I decided to use some of that A/C mounting ribbon to string it from the rafters in the attic. This will work for these parts but I don’t want to do this for the wings and other parts that will be built. So I’m building a shed in the back yard that will be 10′ x 14′ where all of the yard tools and chemicals will go that are taking up a large portion of my garage storage space now.
And a final note, I ordered my wing kit yesterday! I saw that the lead times were up to 10 months now for a kit! Crazy what this pandemic has done to lead times! Either way, fingers crossed that arrives in October or sooner but it looks like I’ll have some downtime between the empennage kit and the wing kit.

Left access panel with the nut drilled into place 
Right access panel with nut drilled into place 
What I thought at the time were the K1100-06 
Yeah that doesn’t look right…. 
Oh… I picked from the K1000-06… Vans Aircraft Facebook group quickly pointed that out to me 
These are the right ones! 
The access panel not sitting flush after dimpling. Ended up using the deburring tool to help it some 
All parts dimpled! 
My current storage solution in the attic. Once the backyard shed is built I will have more room in the garage to make these fit there or maybe I’ll just leave them and put the wings in the garage -

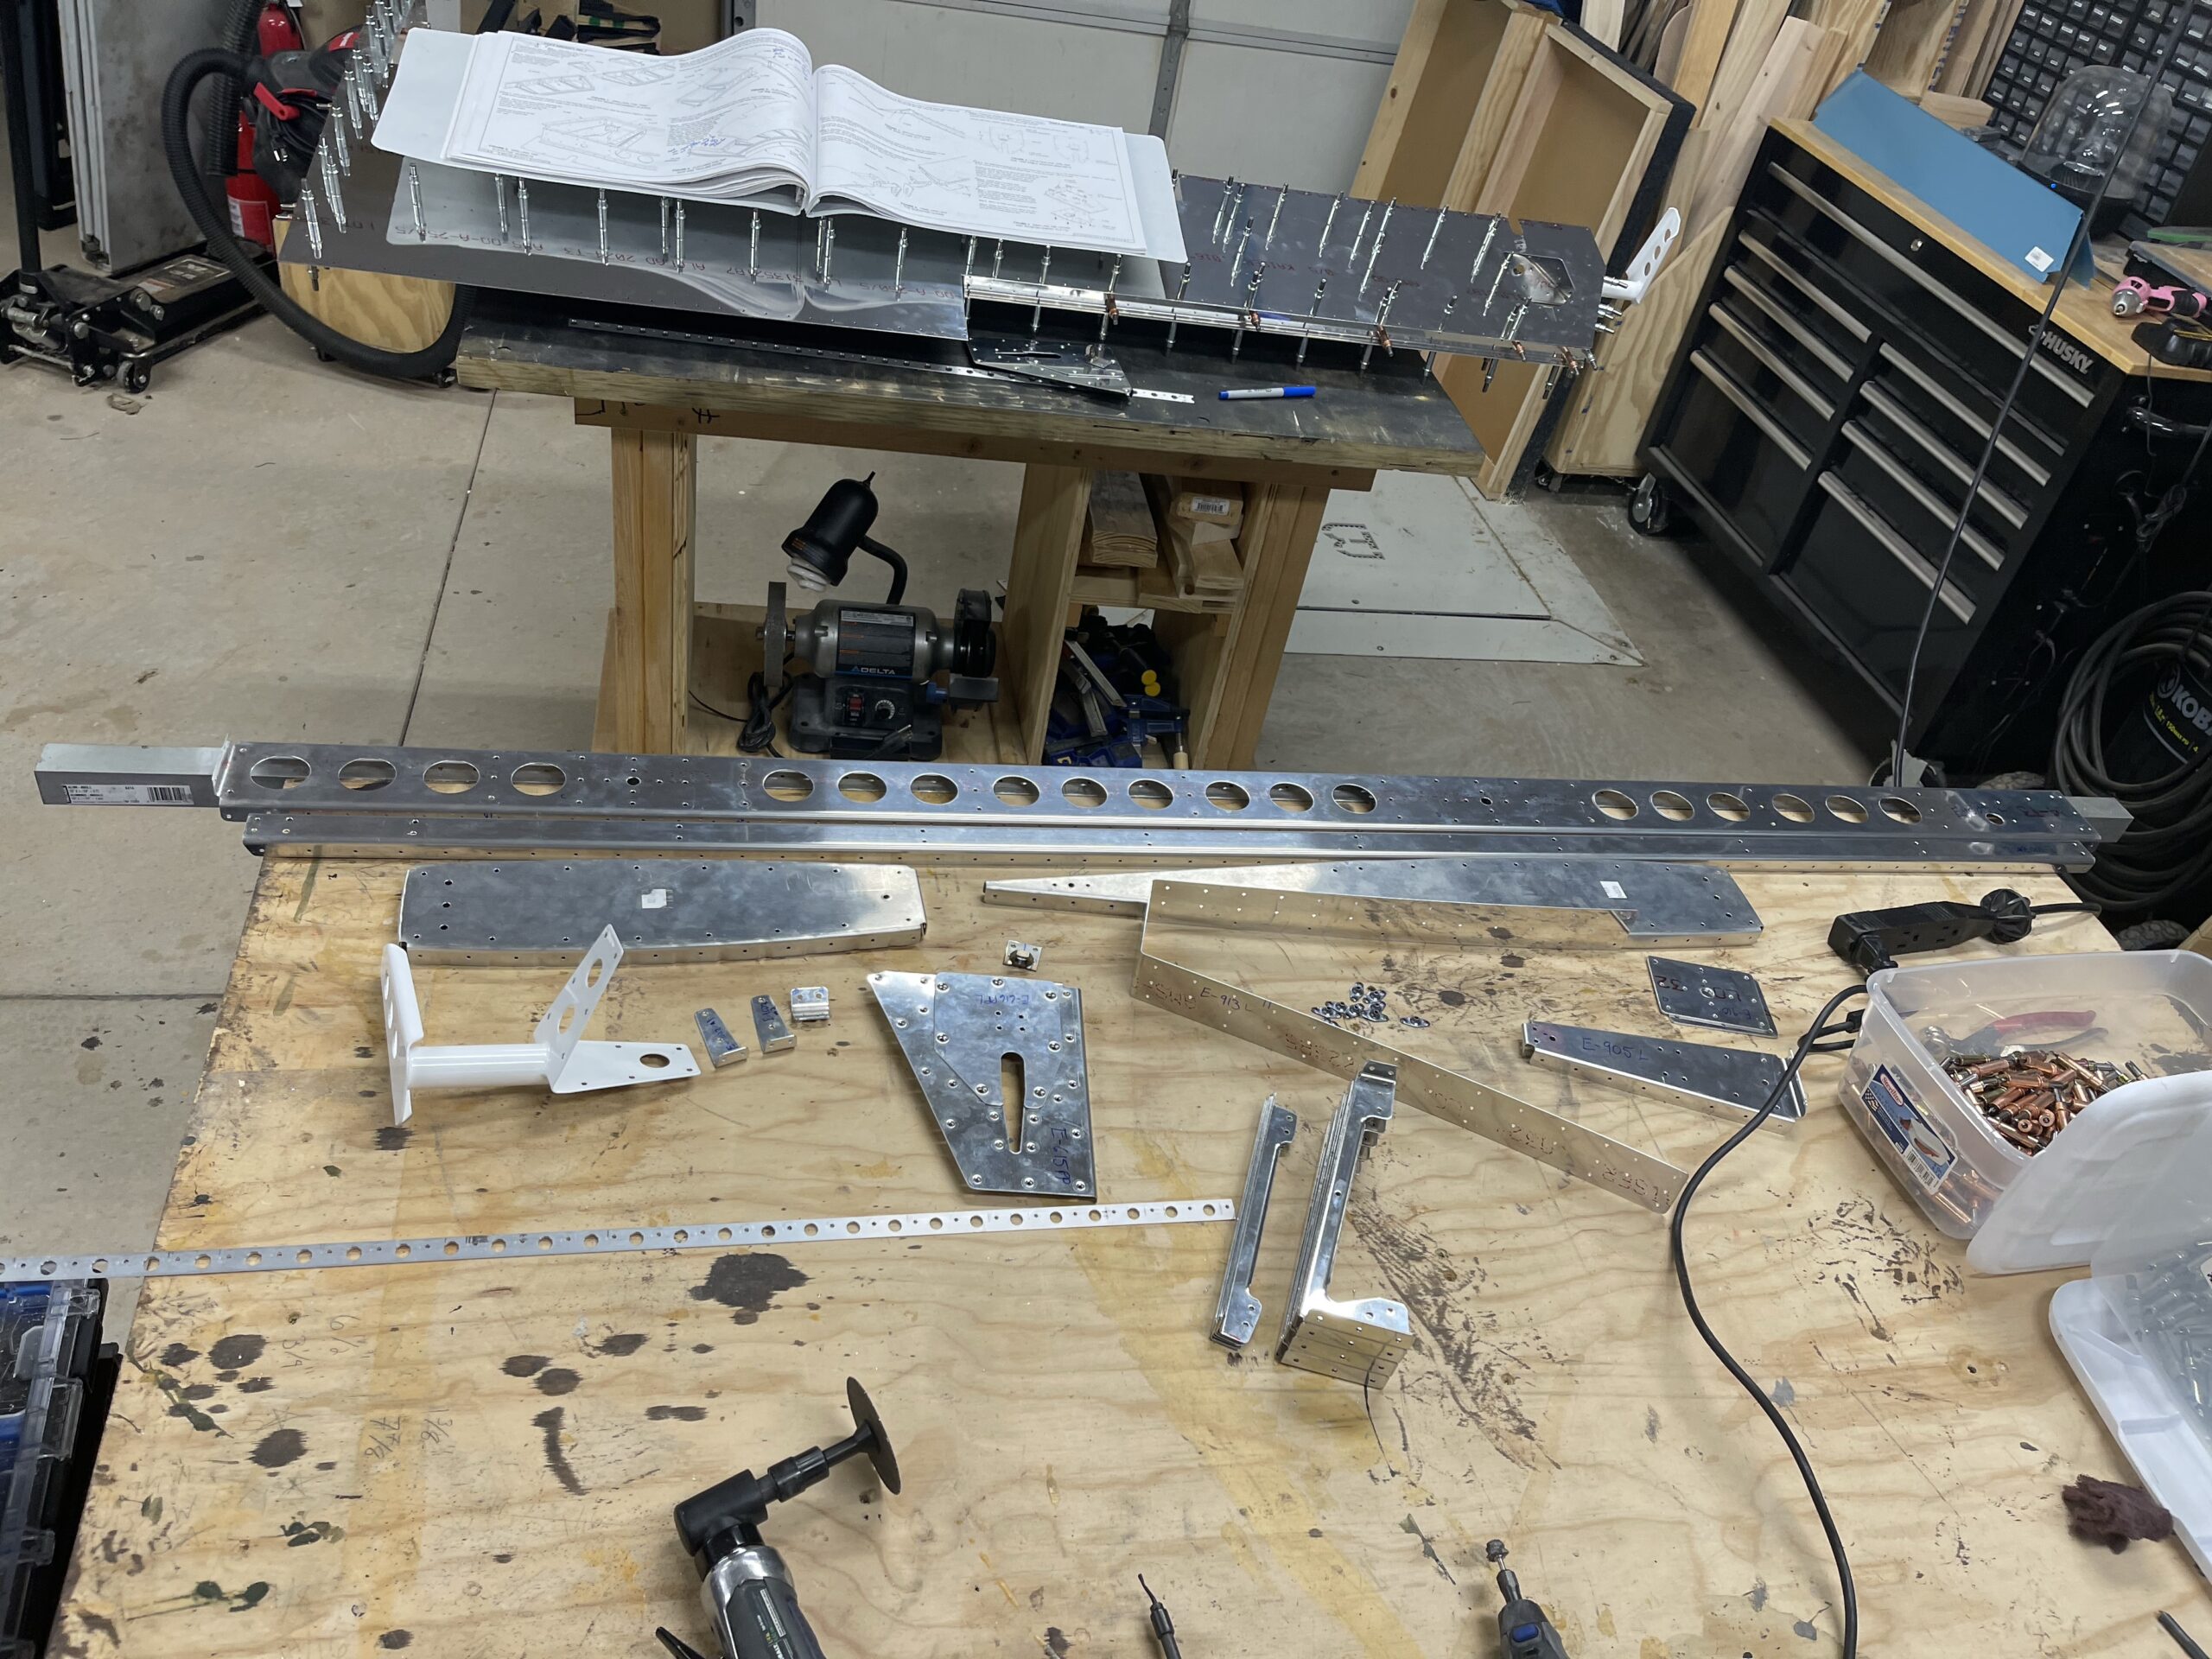
Full Assembly and Match-drilling
I got all of the pieces done and assembled and match drilled up to Page 9-8 Step 3. Even though these are just like the rudder in a way, they have quite a few more pieces in total since you are building two at the same time. I did run into a bit of a snag. While cutting the E-1023 trailing edge wedge pieces from the trailing edge wedge piece, I was literally one hole short on getting all of the trailing edge ready. So I am putting the right elevator to the side for now until the additional piece will show up. For now it is on back order so no telling how long that will take to get in. I also had some interesting times getting the elevator tip piece mated up to the elevator with all the holes lining up. It took some massaging but it finally came together.

Right elevator mostly put together and just waiting for the trailing edge wedge replacement 
Left elevator completely match drilled and ready to go on to the next step 
The small amount of trailing edge wedge that I am missing. I would have had it if I hadn’t used some of this for the blind rivet tool piece that I made so I could do the blind riveting in tight spaces. -
Elevators – Pages 9-3 through 9-6
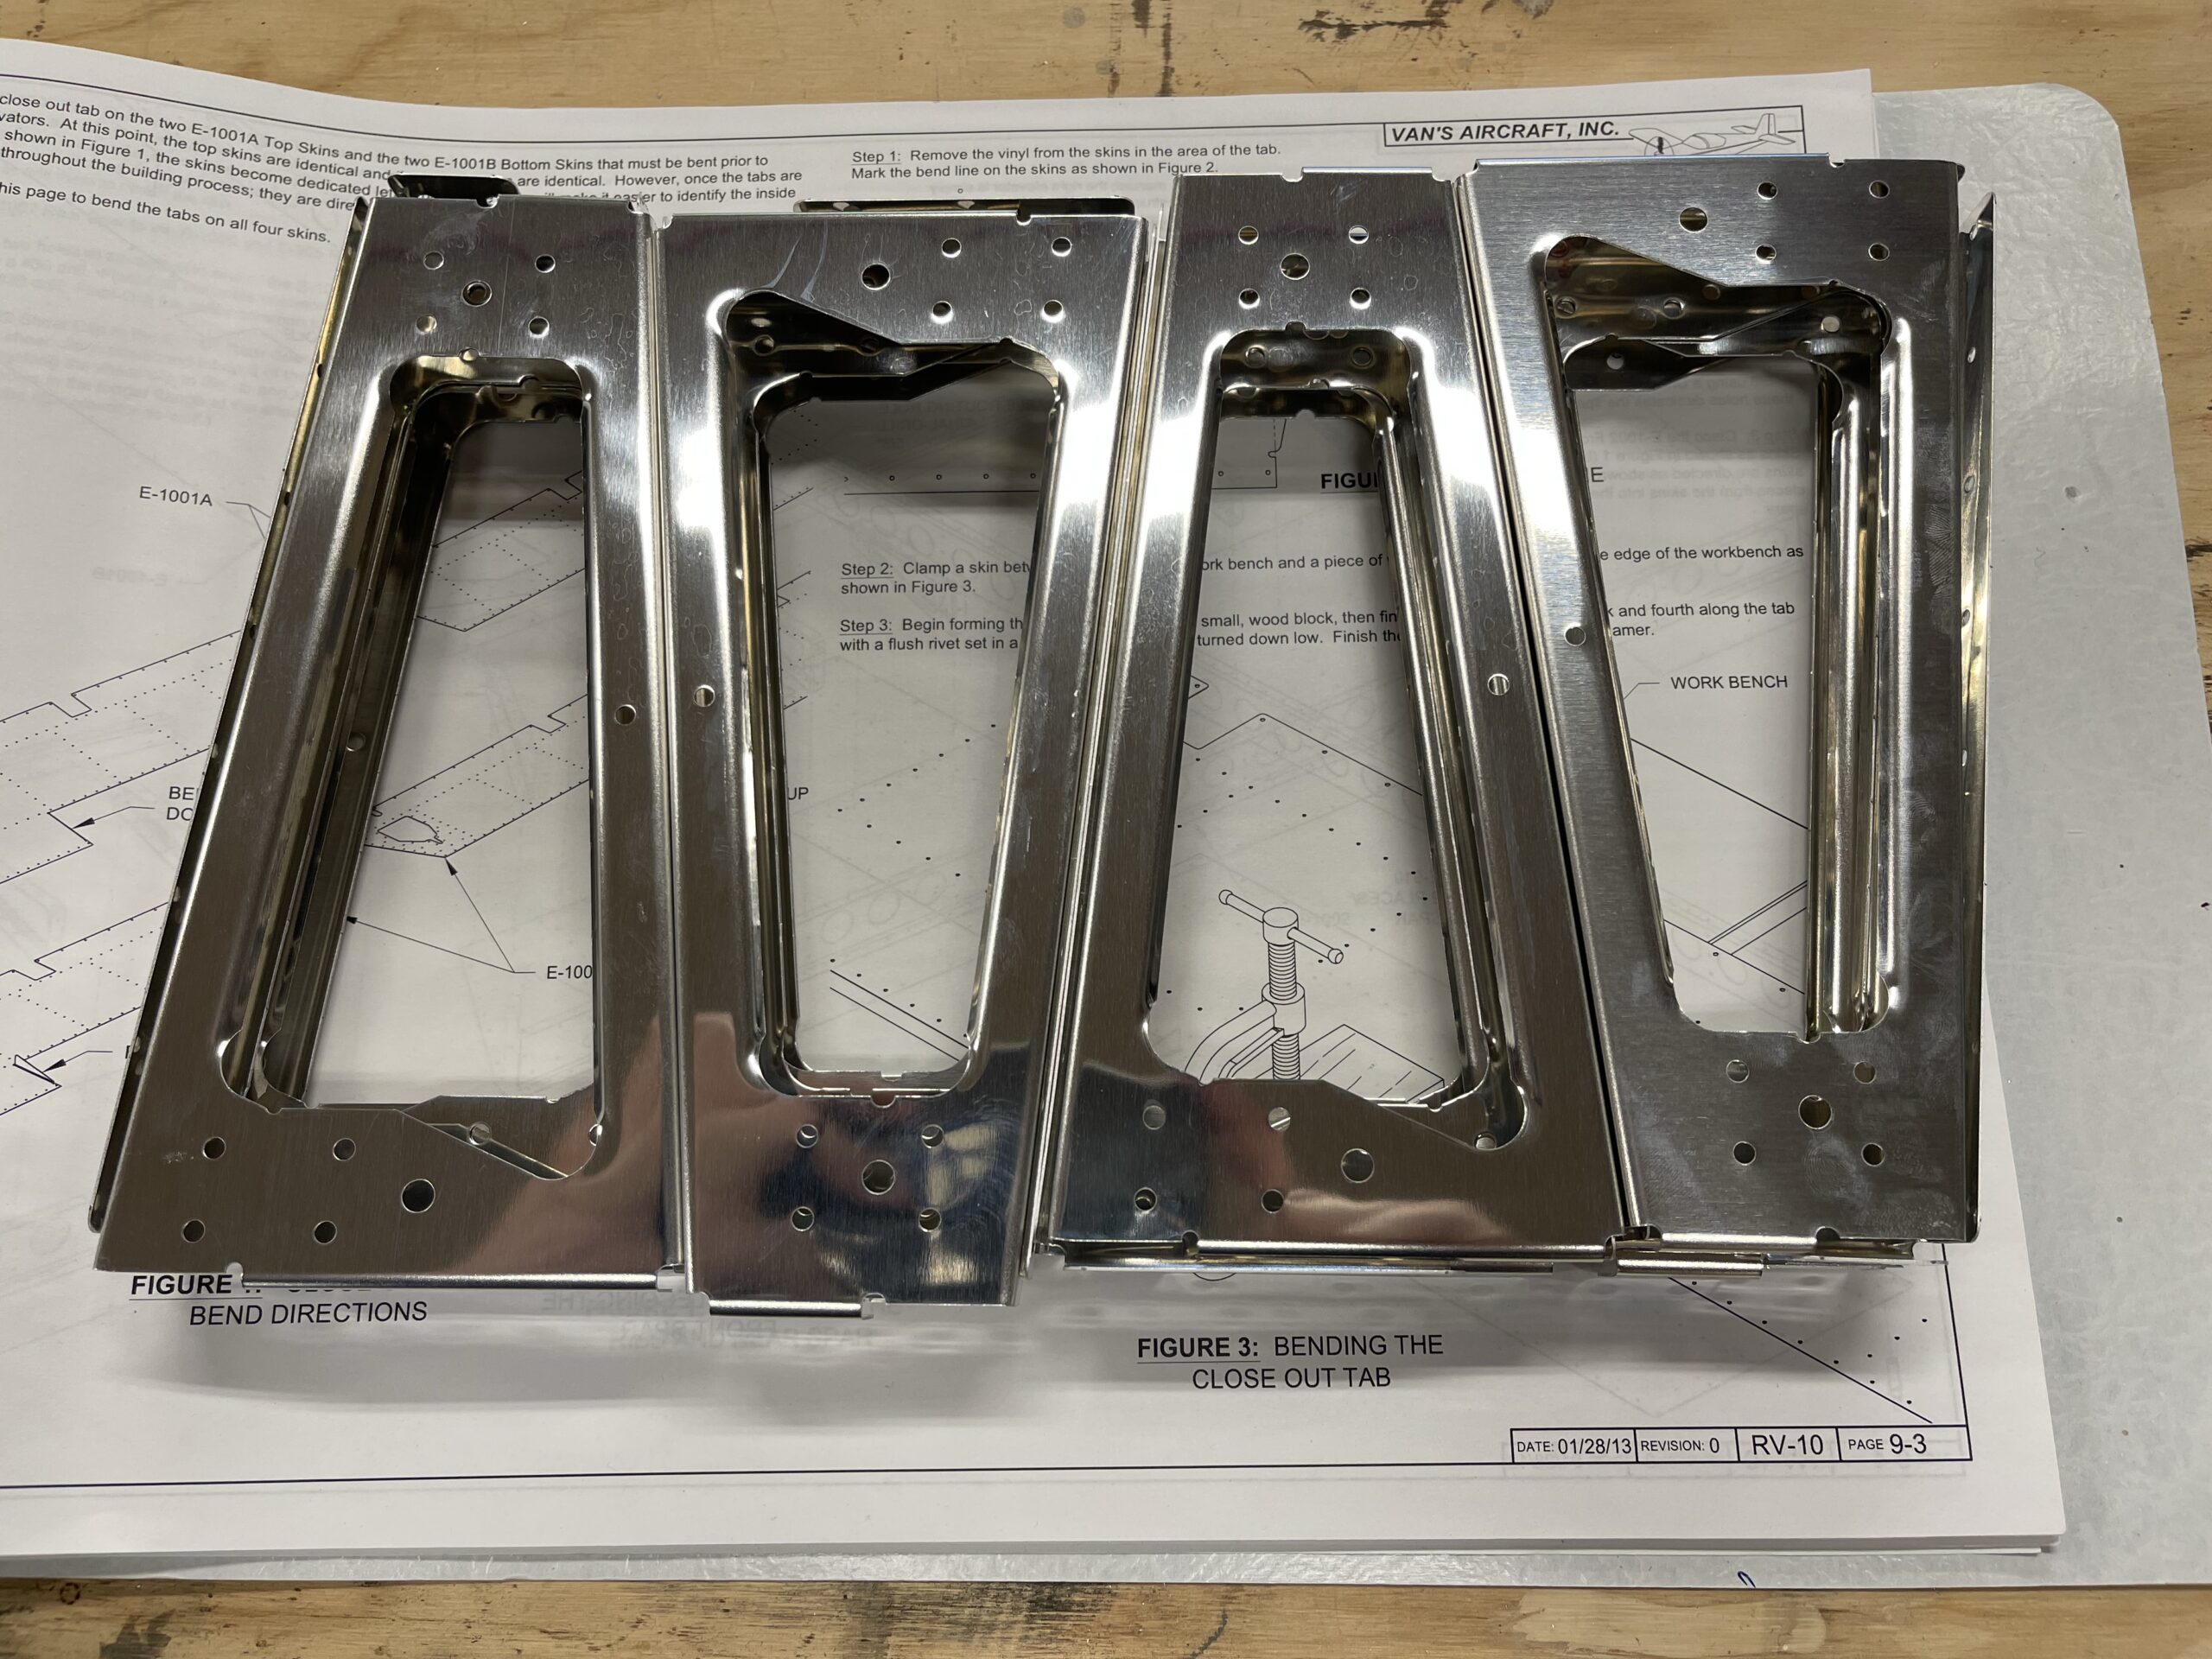
I got quite quite a bit of clecoing done today as well as a little bit of the match drilling. The coolest part was doing the tab bends on the E-1001A & B skins. Using the mushroom bit in the rivet gun worked like a champ on getting those bends nice and clean. I did learn that it is best that your work surface have a hard edge to it. My work bench has a bit of a rounded edge so I put a piece of wood that still had a sharp 90 degree edge on it at the end of the bench to clamp the skins onto. That made this function a lot better. I did get one of the tabs off slightly due to the skin slipping some and me not noticing it. We will see how much that affects it down the road. I might have to re-bend that but not sure how well this alclad aluminum will take re-bending.

This is the right elevator. It is slightly further in than they expected 
This is the left elevator. It is even further in than they wanted it to be. I even measured these but while I was bending it it must have slipped some. 
The Left Elevator trim tab reinforcement panel clecoed in place 
Right Elevator trim tab reinforcement plate in place 
The two assemblies together and ready for match drilling tomorrow -
Deburring, Fluting, and Initial Assembly
I spent quite a bit of time going through and deburring all of the elevator pieces minus the large skin edges. That took the most time out of all of this. I then worked on the 903 and 904 pieces to get them straight and level. Mine came pre-fluted but I ended up having to remove the majority of what they put in as it was causing it to bow pretty bad. I then assembled everything and I’ll do the match drilling tomorrow. My ribs for the elevator were already final sized, but the 903 and 904 ribs were not, so that I will finish tomorrow after we’re done shopping for Black Friday.

The deburring station after I was done. Aluminum dust everywhere! 
The ribs all clecoed together. They didn’t need match drilling though as the #30 drill went through without removing any material 
The assembled elevator ends. I’ll have to match drill these tomorrow -
Starting on the Elevators
My son and I found all of the elevator parts in the attic and brought them down to start working on them. I’m not including the searching and inventory time in yesterday’s work. We got all of the protective plastic off of them and I cut the ribs per the instructions. The band saw made quick work of them, but it tends to leave them pretty jagged. I ran all of them through the initial deburring on the wheel and tomorrow I will finish the deburring with the Dremel so that I can get into the tighter areas.

Brendon helping me remove the protective plastic 
Ready for cutting! 
Tool of choice! Not the best bandsaw in the world if you ask me, but it gets the job done. 
All cut and ready for deburring


