I got the frame riveted together and all of the skins on. Now I just have to wait for the outboard skin to go on before I can put the brass bushings in and mount the flap to the wing.

I got the frame riveted together and all of the skins on. Now I just have to wait for the outboard skin to go on before I can put the brass bushings in and mount the flap to the wing.
I started off the morning by countersinking the trailing edge wedges. I then got all of the parts primed this morning before going to the temple and when I got back they were cured and ready to go. I did some work on the wings first and I finished the night off with getting the hinge assemblies put together and clecoed the frame together so I can start there the next time.


The parts came in a few days early so I got them drilled and prepped today. I have one last step before I prime tomorrow which is getting the trailing edge wedge countersunk. Then I can prime this along with the wing parts I prepped today as well and I’ll be done priming for a little bit.

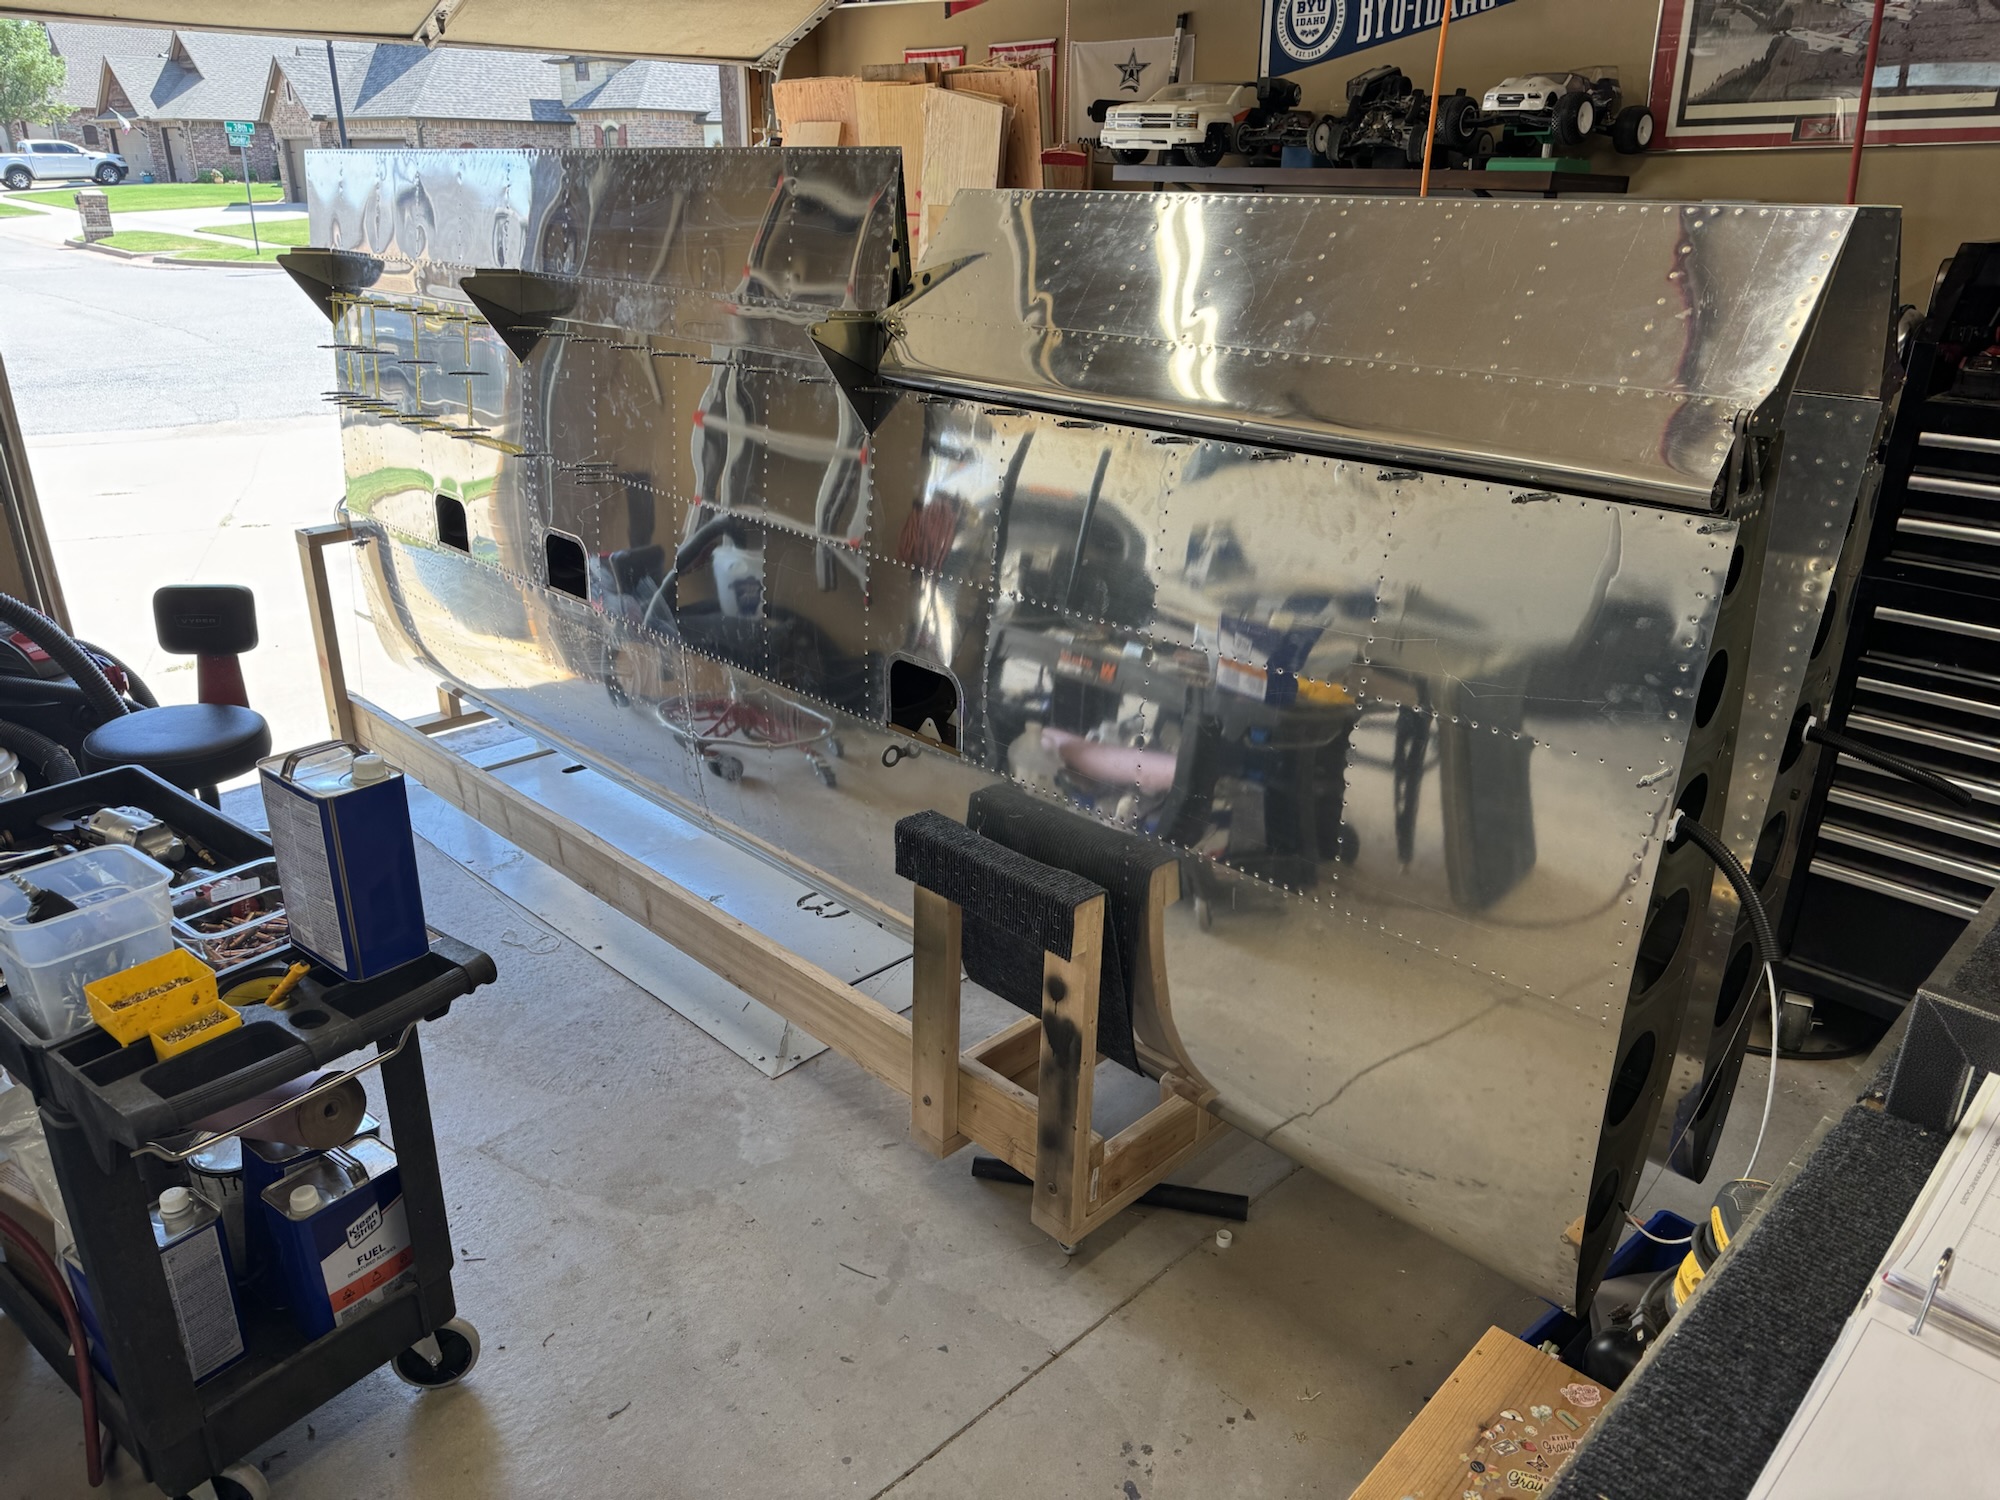
The skins are at least on for the last time now so I went ahead and mounted the right flap. Man it looks so much bigger now!

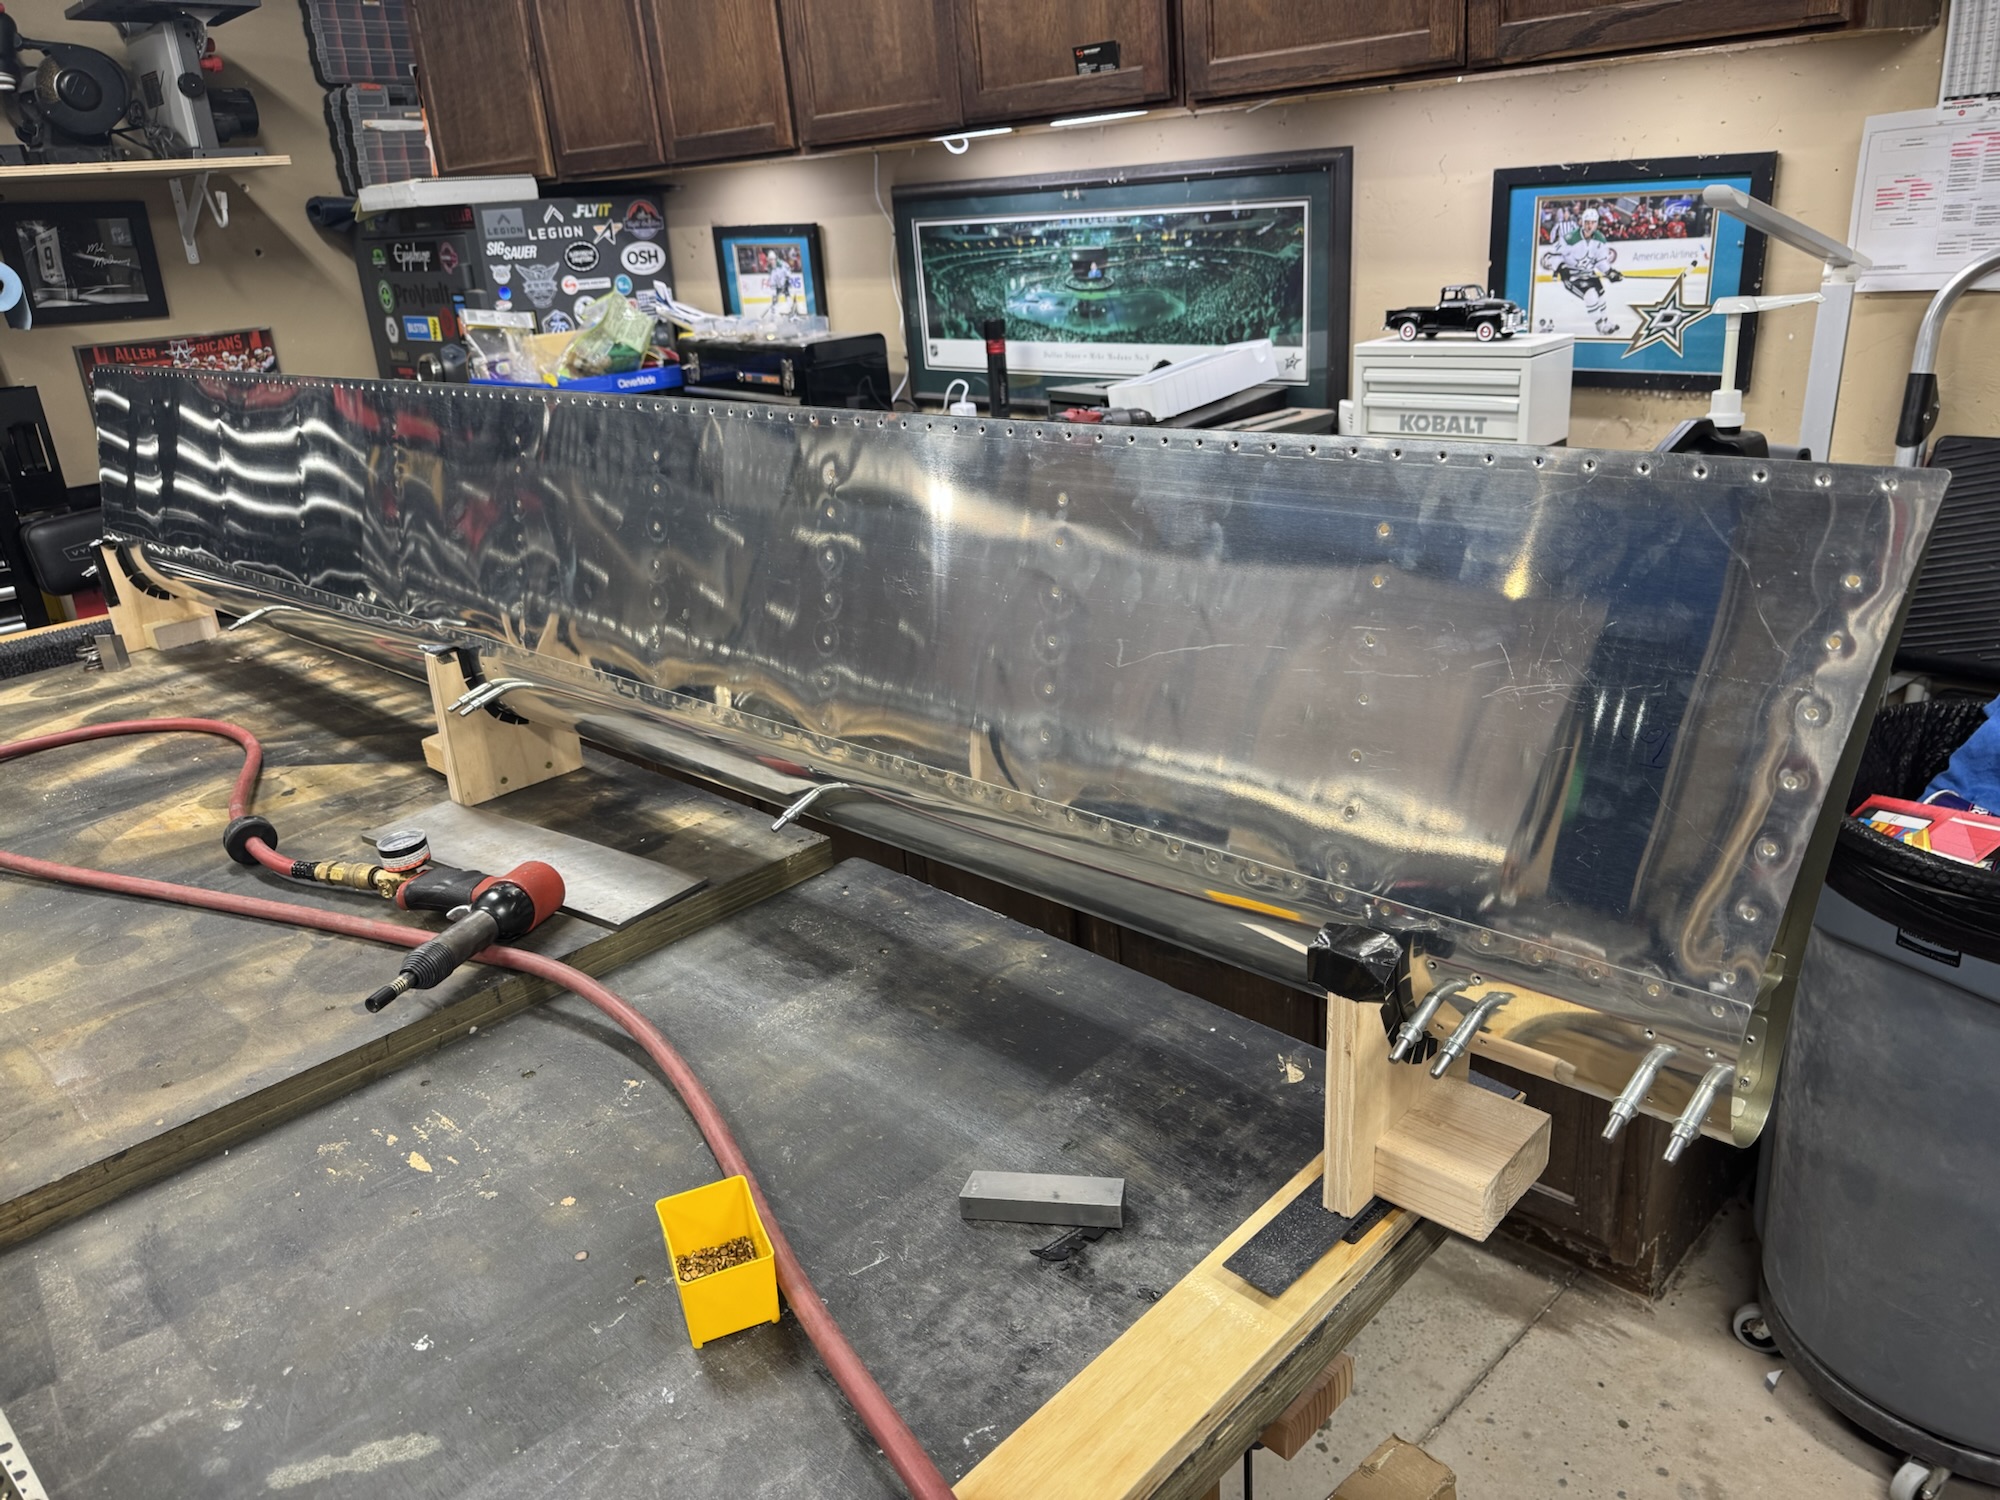
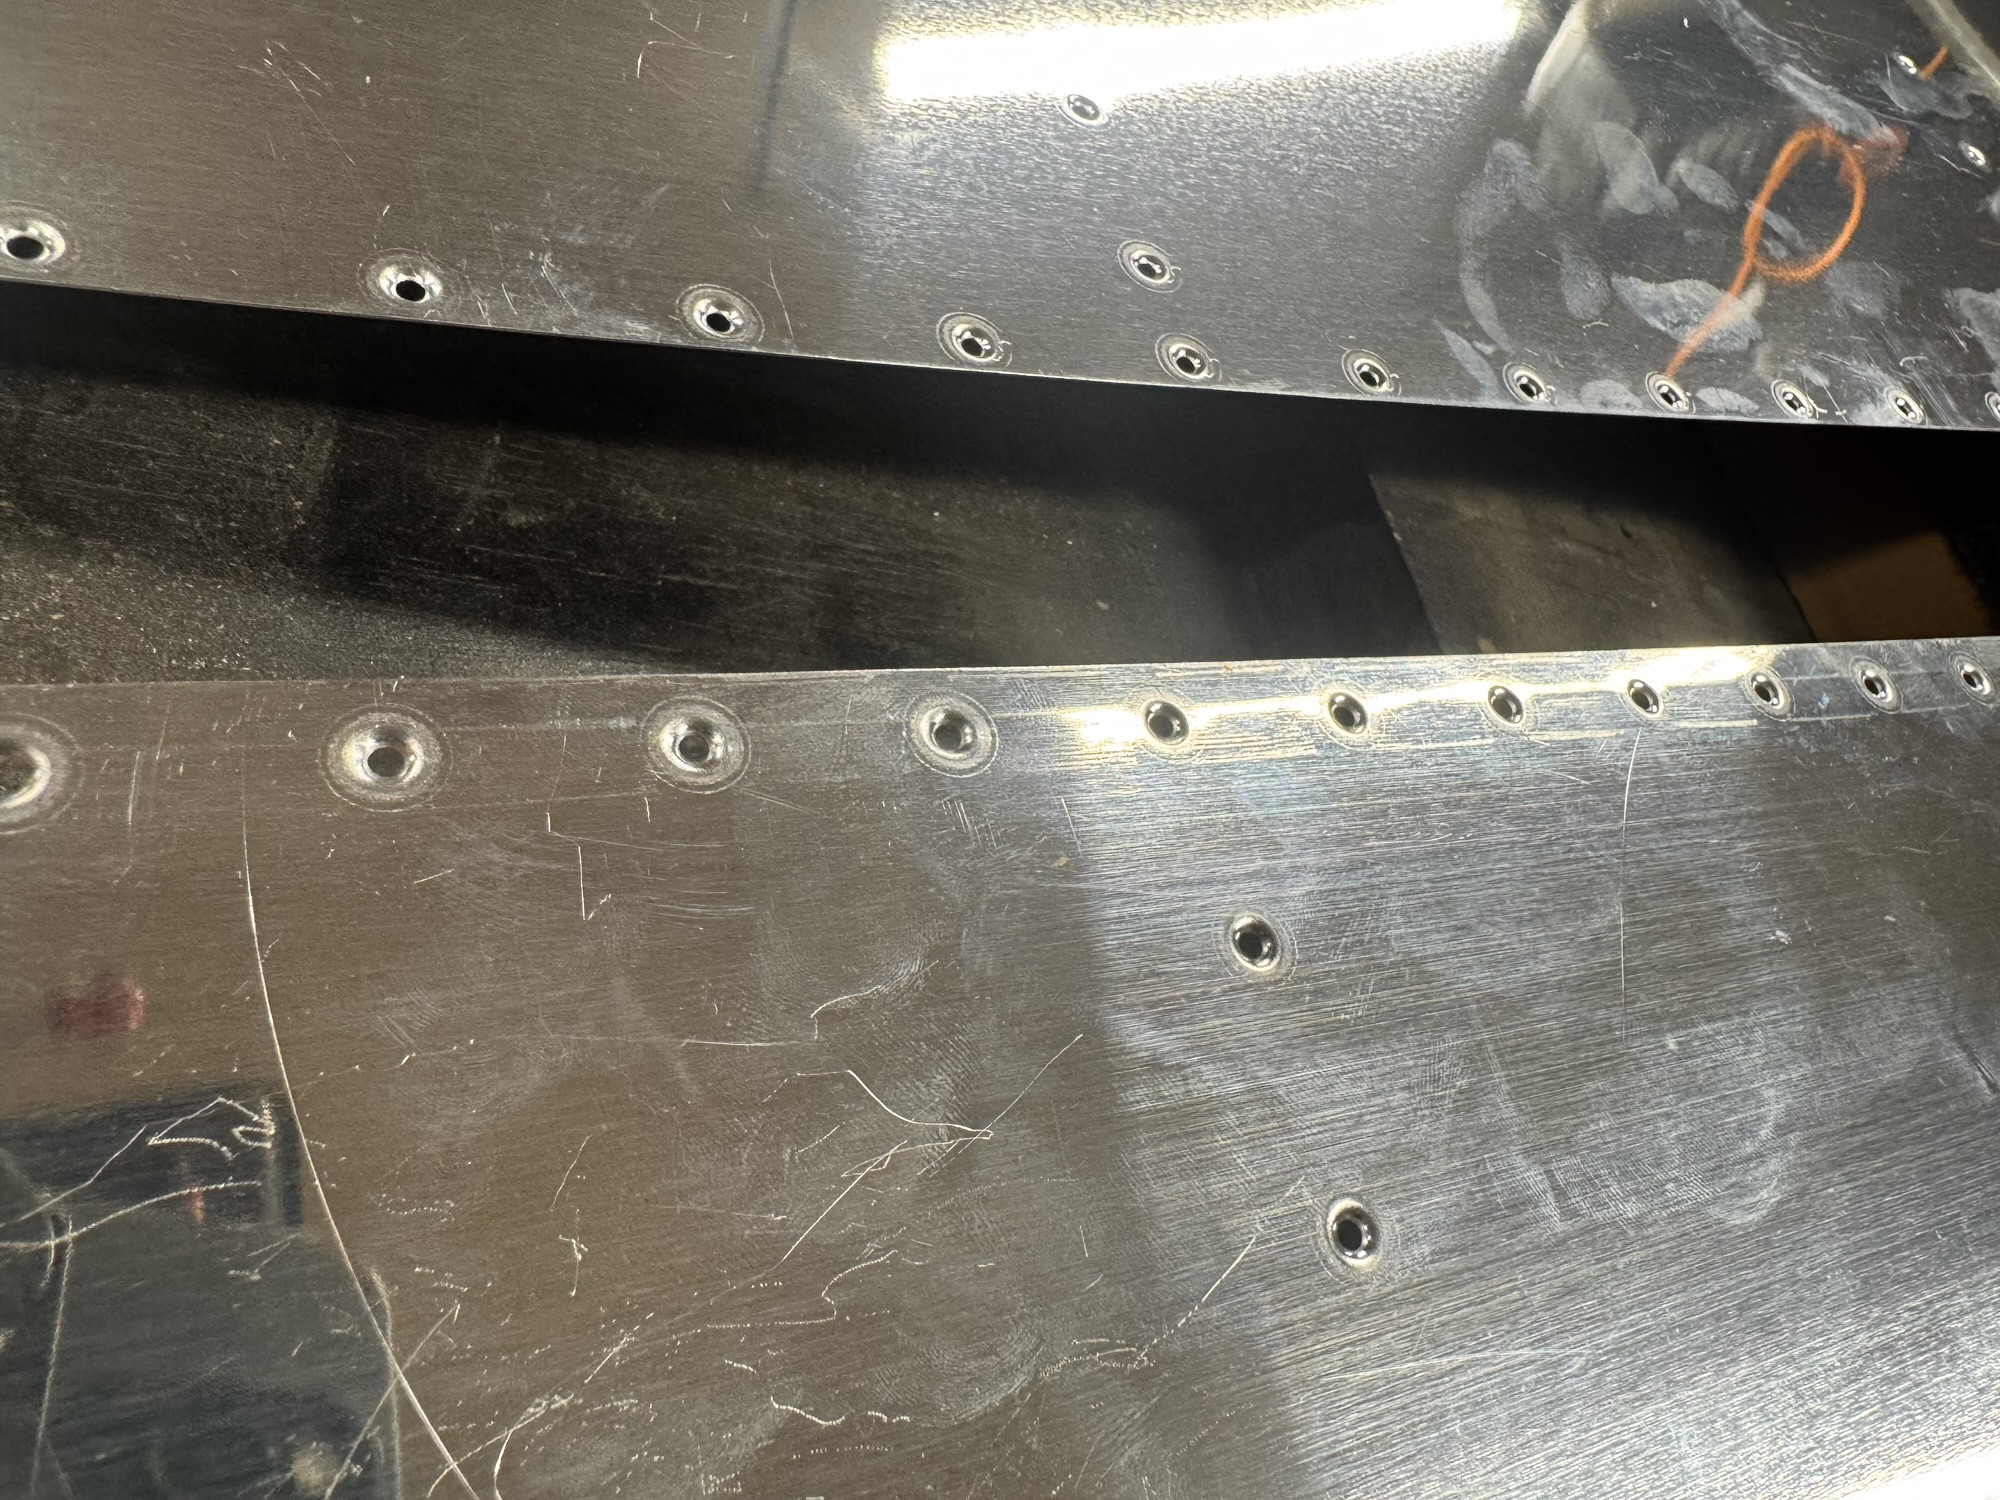
It took 4 hours but I got it done! I was kind of lazily watching Airventure at the same time but I got it done none the less. It is SUPER straight just like how the ailerons were. I’ve learned that the drilling of that trailing edge is critical to get it straight. I 3D printed a guide that had the right angle so it made it very predictable and easy to get the proper angle each and every time. I also changed the way I riveted the trailing edge this time around so I had no riveting marks in the skin. I used the squeezer with a flat set for the initial squeeze and then the final squeeze I used the angled set to get it right. It turned out really good! I substituted one solid rivet on the trailing edge for a pulled rivet just because I did not have a squeezer or bucking bar that could get in there. It already had one pulled rivet there so I felt having another one would not be a big deal. Now I just have to wait for my replacement parts to come in for the left flap which I don’t know when that will be here as alot of the crew for Van’s are at Airventure this week. The parts don’t show to be backordered so I’m hoping they will get it soon. I will probably start on getting the bottom skins going so that I can attach my flaps and ailerons. I just need to get the gap skin installed so I can install my flaps and ailerons and get them out of the way. I then need to get my pitot installed where I want it so that I can start getting the skin installed on the bottom of the wing. My final step will be to get the wing tips installed and wired and the wing kit will be done!
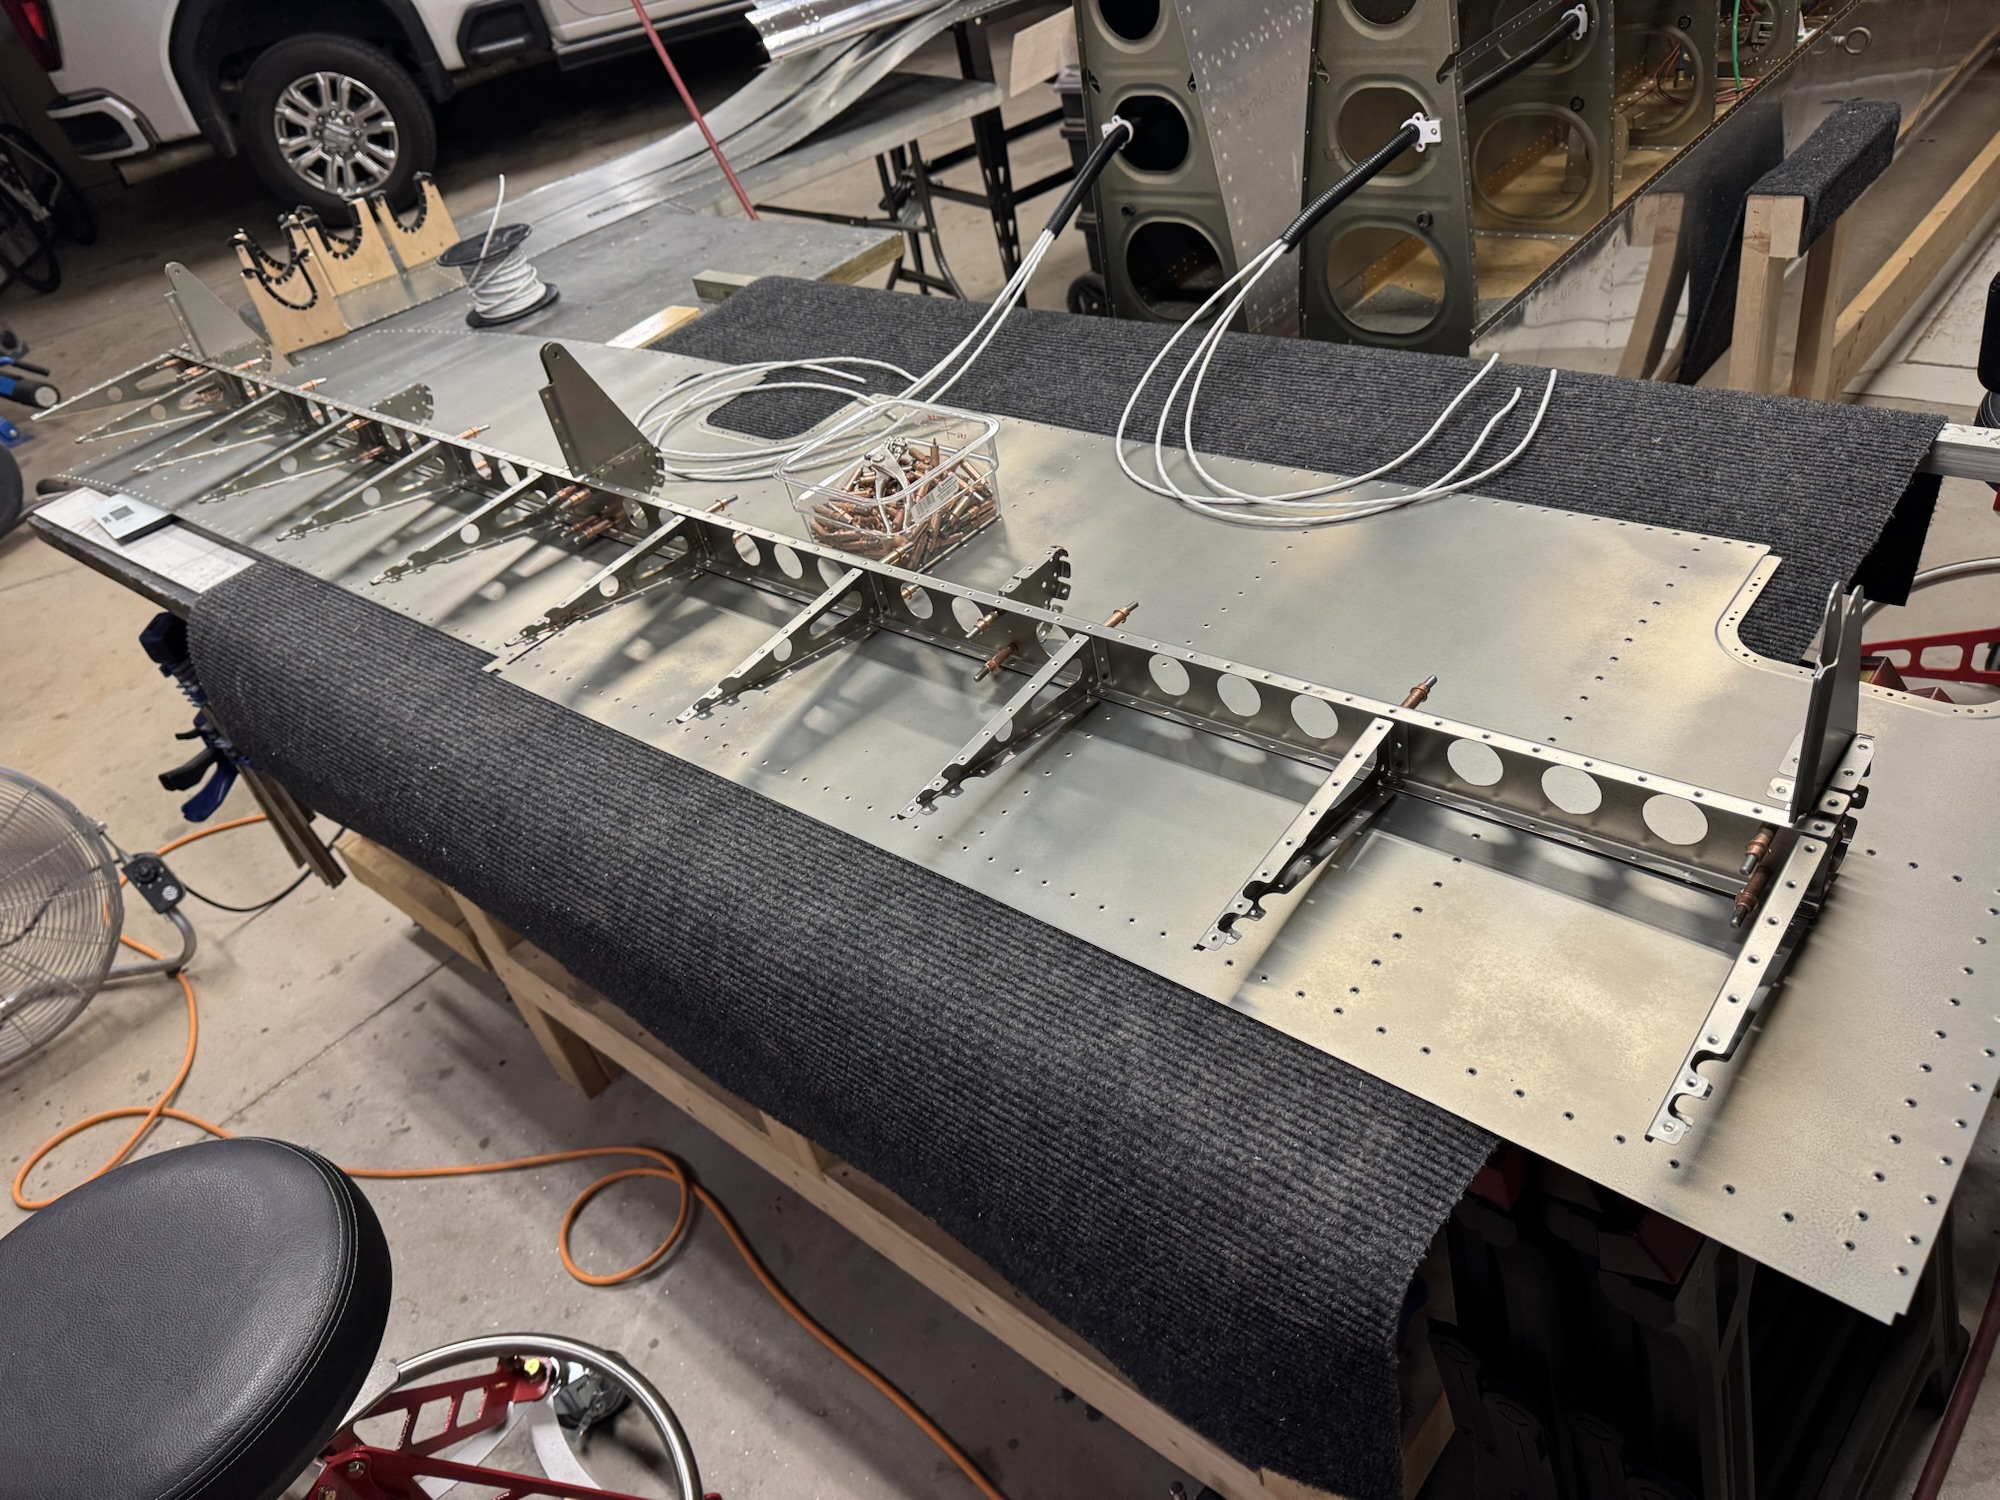
I got all of the top portion of the riveting done. Took a bit as I didn’t measure the shank of the rivets I put in which were the 3.5 size. I did one rivet and realized it was too short. I had to pull all of the ones I had staged and put the 4 size rivets in. I got all of them set along the spar flange as well as the top rib flange. And to wrap the night up I got the bottom skin clecoed in place. I’ll have to put in rivets tomorrow and get them set. The rest will be much easier since they are all blind rivets so I just have to pull out my pop gun and pull a bunch of rivets.


I tested the tank this afternoon and one of the leaks is fixed and the second one is much better but still there. I don’t know what to do at this point as I thoroughly sealed that rear side of the baffle and even shoved sealant around the rib that was close to it. I went ahead and put some sealant on the outside and I’m going to have to research and see what my tech advisor says. I am re-testing the left wing tank which was good the last time I tested it just because I’m paranoid now. So far over the past few hours it has held pressure in that balloon so that is promising.

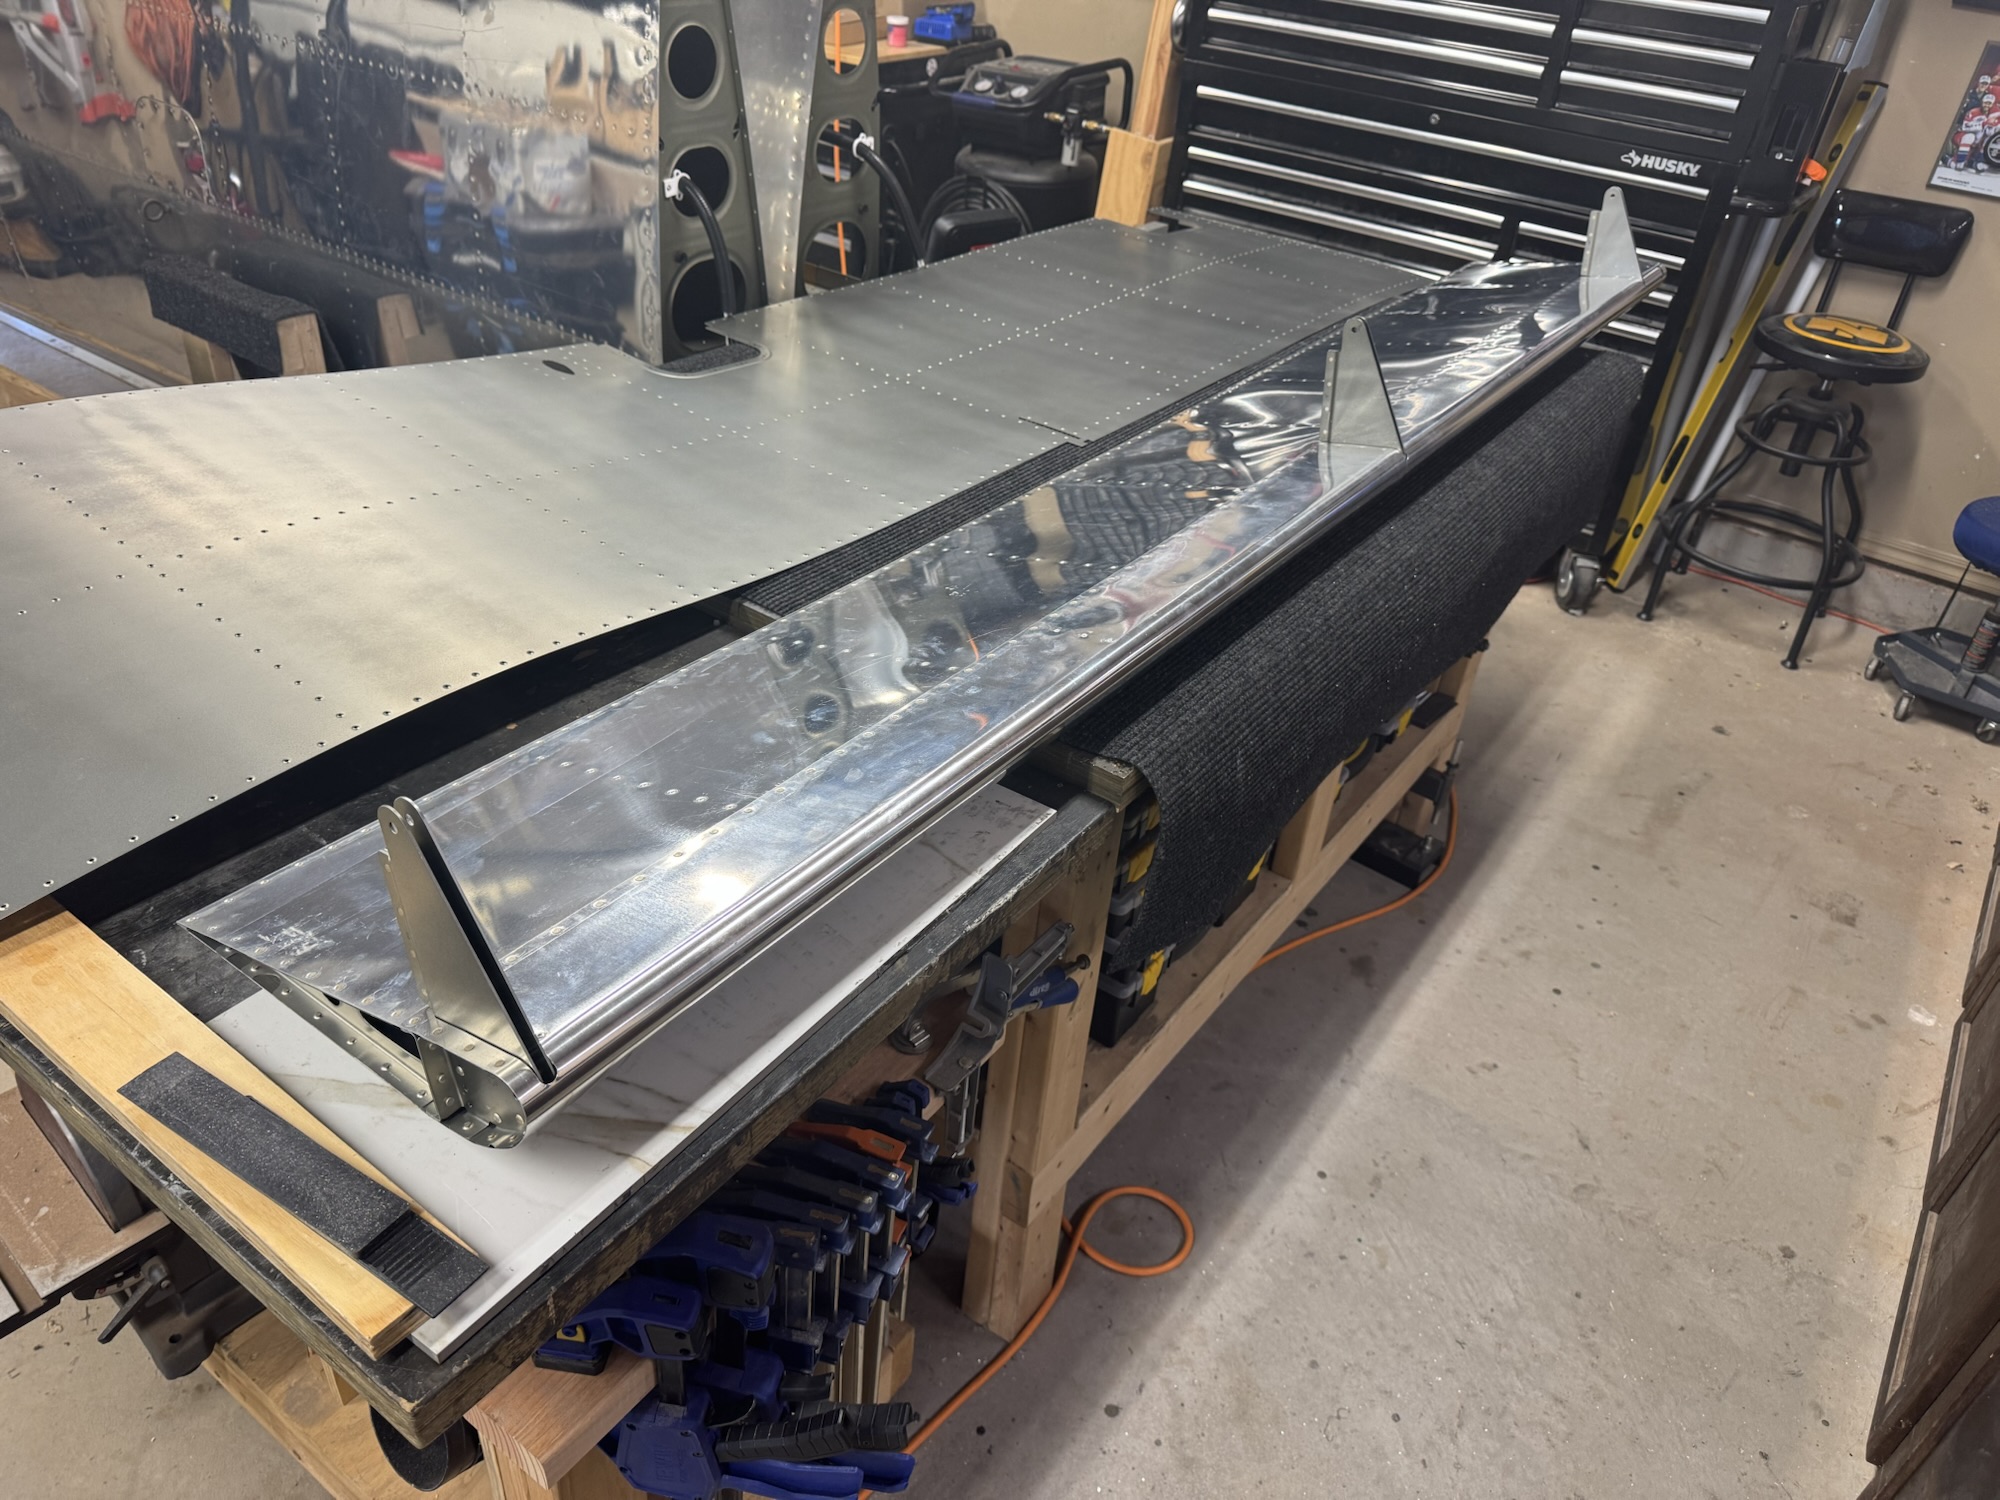
I got the frame or skeleton of the right flap completed tonight. Tomorrow I’ll start getting the skin put on it. I hope I have enough tank sealant left to do the trailing edge as it is asking for tank sealant. I might call Van’s to see if that 3M adhesive tank that they said we could use now is good for this or not.

I got all of the parts primed today and I assembled the nose ribs. I realized one of the ribs I drilled the nut plates holes when I didn’t need it. Not a huge deal but I just assumed since I was drilling the bolt holes I needed the nut plate holes. But the bolt only needs one nut plate to secure to LOL. At least I can fix that mistake on the left one since I have to redo those parts when they come in.


Aside from the tank work today, I spent a little bit of time getting everything cleaned and ready for primer. Not much else to say here as most of the work was done on the tanks today.

I completely forgot to do the edge bending so that it doesn’t pillow out on the trailing edge as well as on the skin overlaps. I took the edging tool and ran it between each of the dimples. It seemed to work as I had previously done it for the ailerons and other surfaces like that so hopefully that doesn’t pillow out when I rivet it together. I hope to get some time tomorrow to prime the parts but I have the dentist and also the change for work tonight didn’t go as planned so we might be pulling extra time tomorrow to get things squared away.


