Tag: Fuel Tank

  • Inboard Forward Ribs Installed

    Inboard Forward Ribs Installed

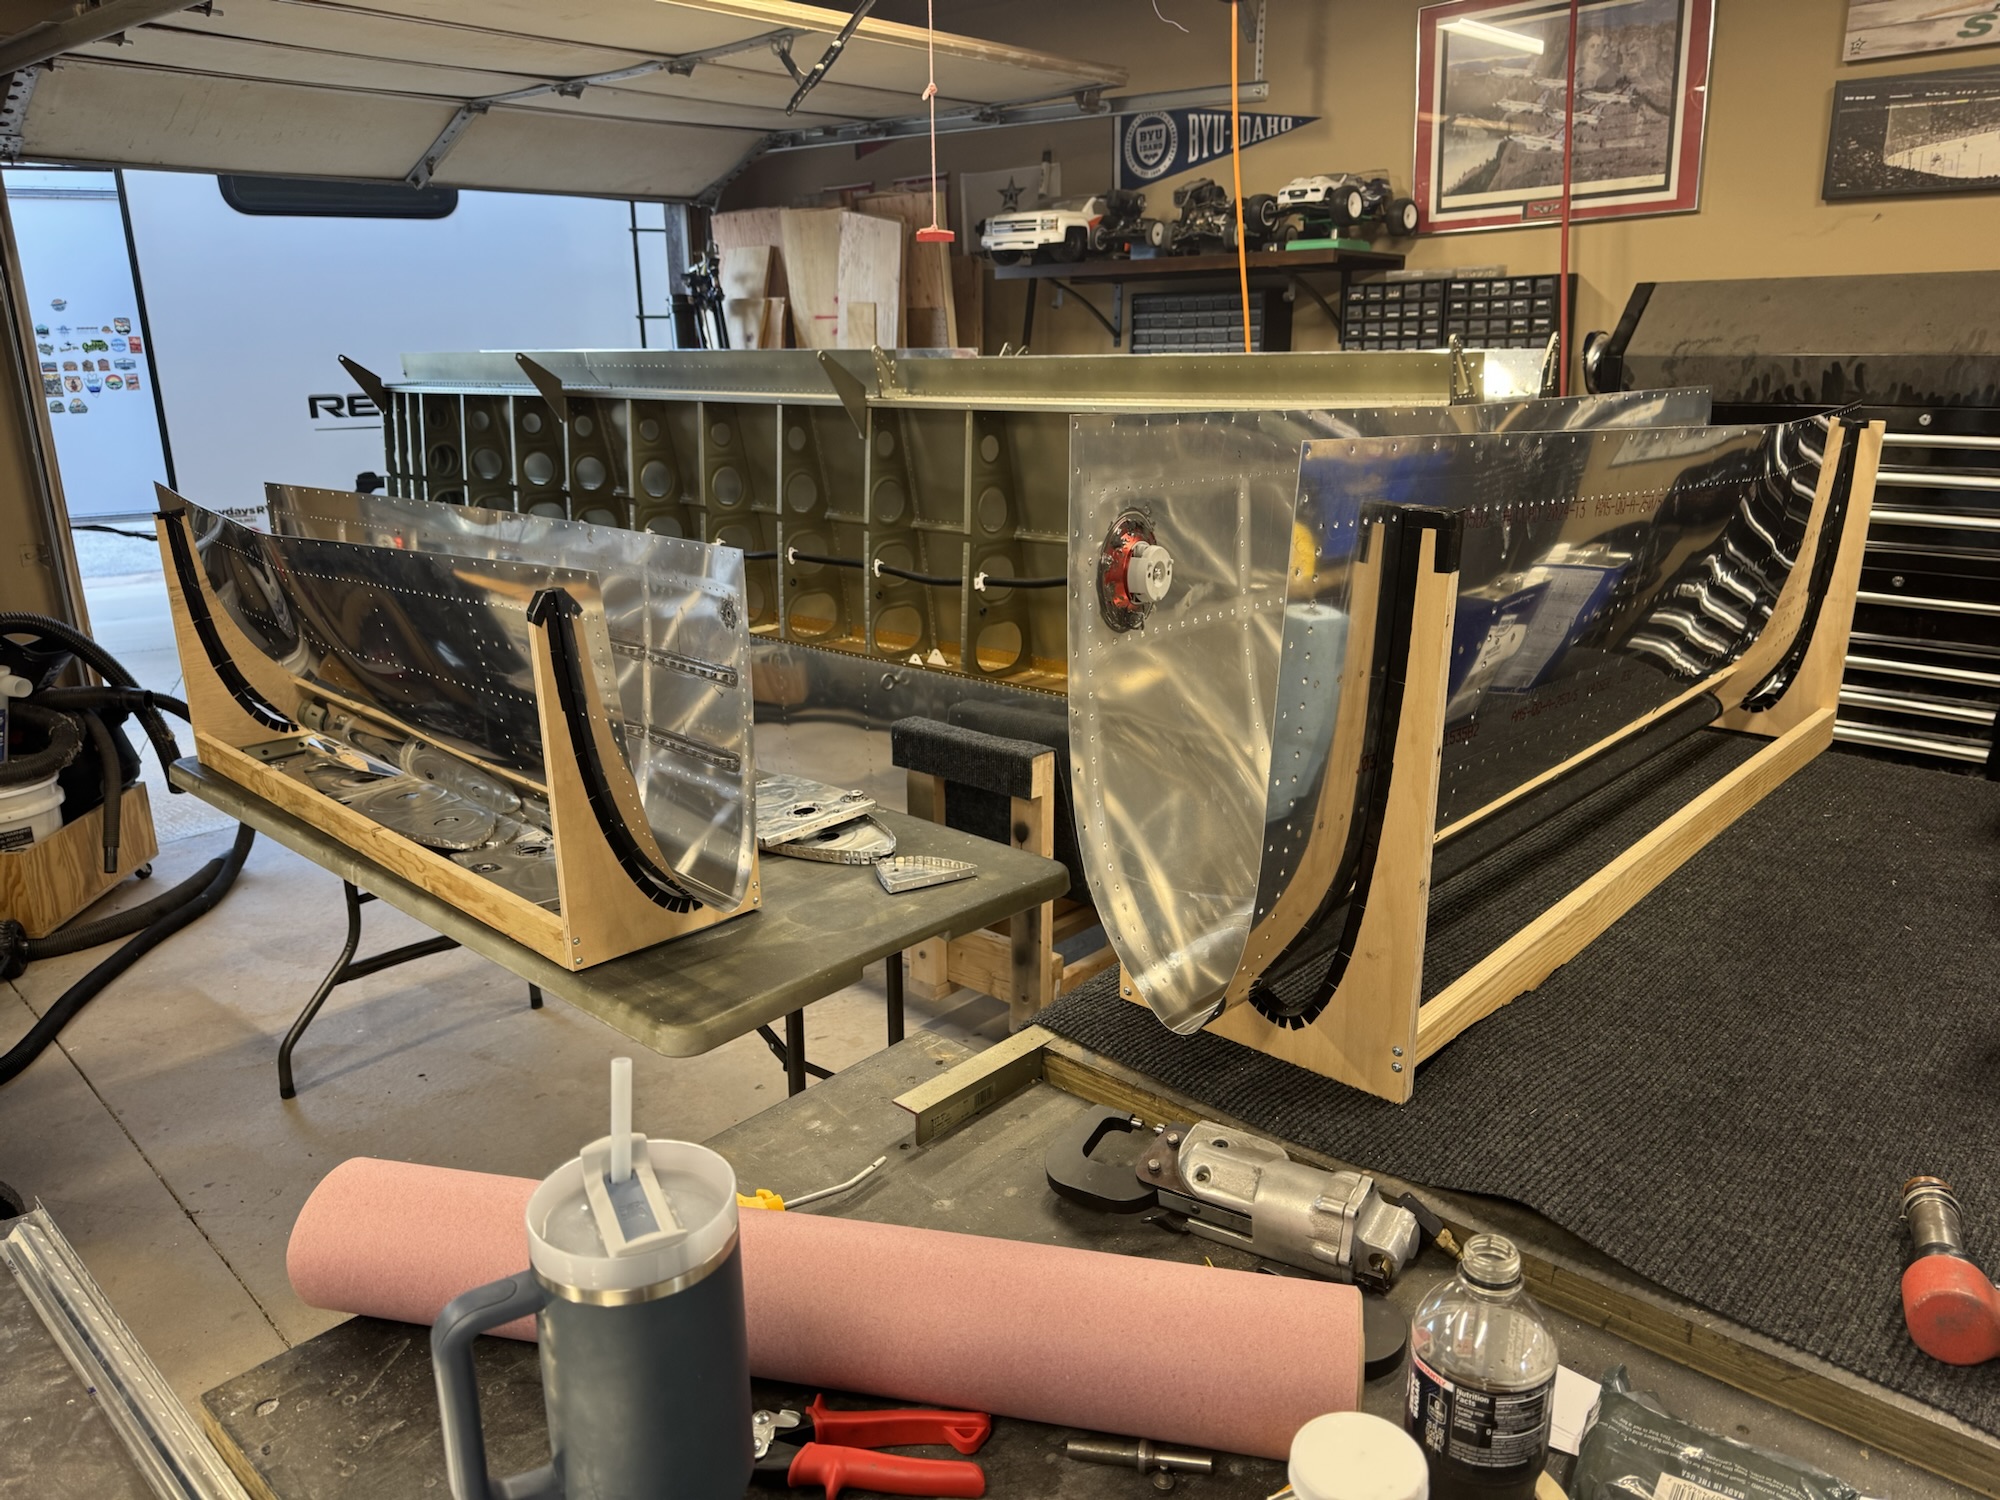
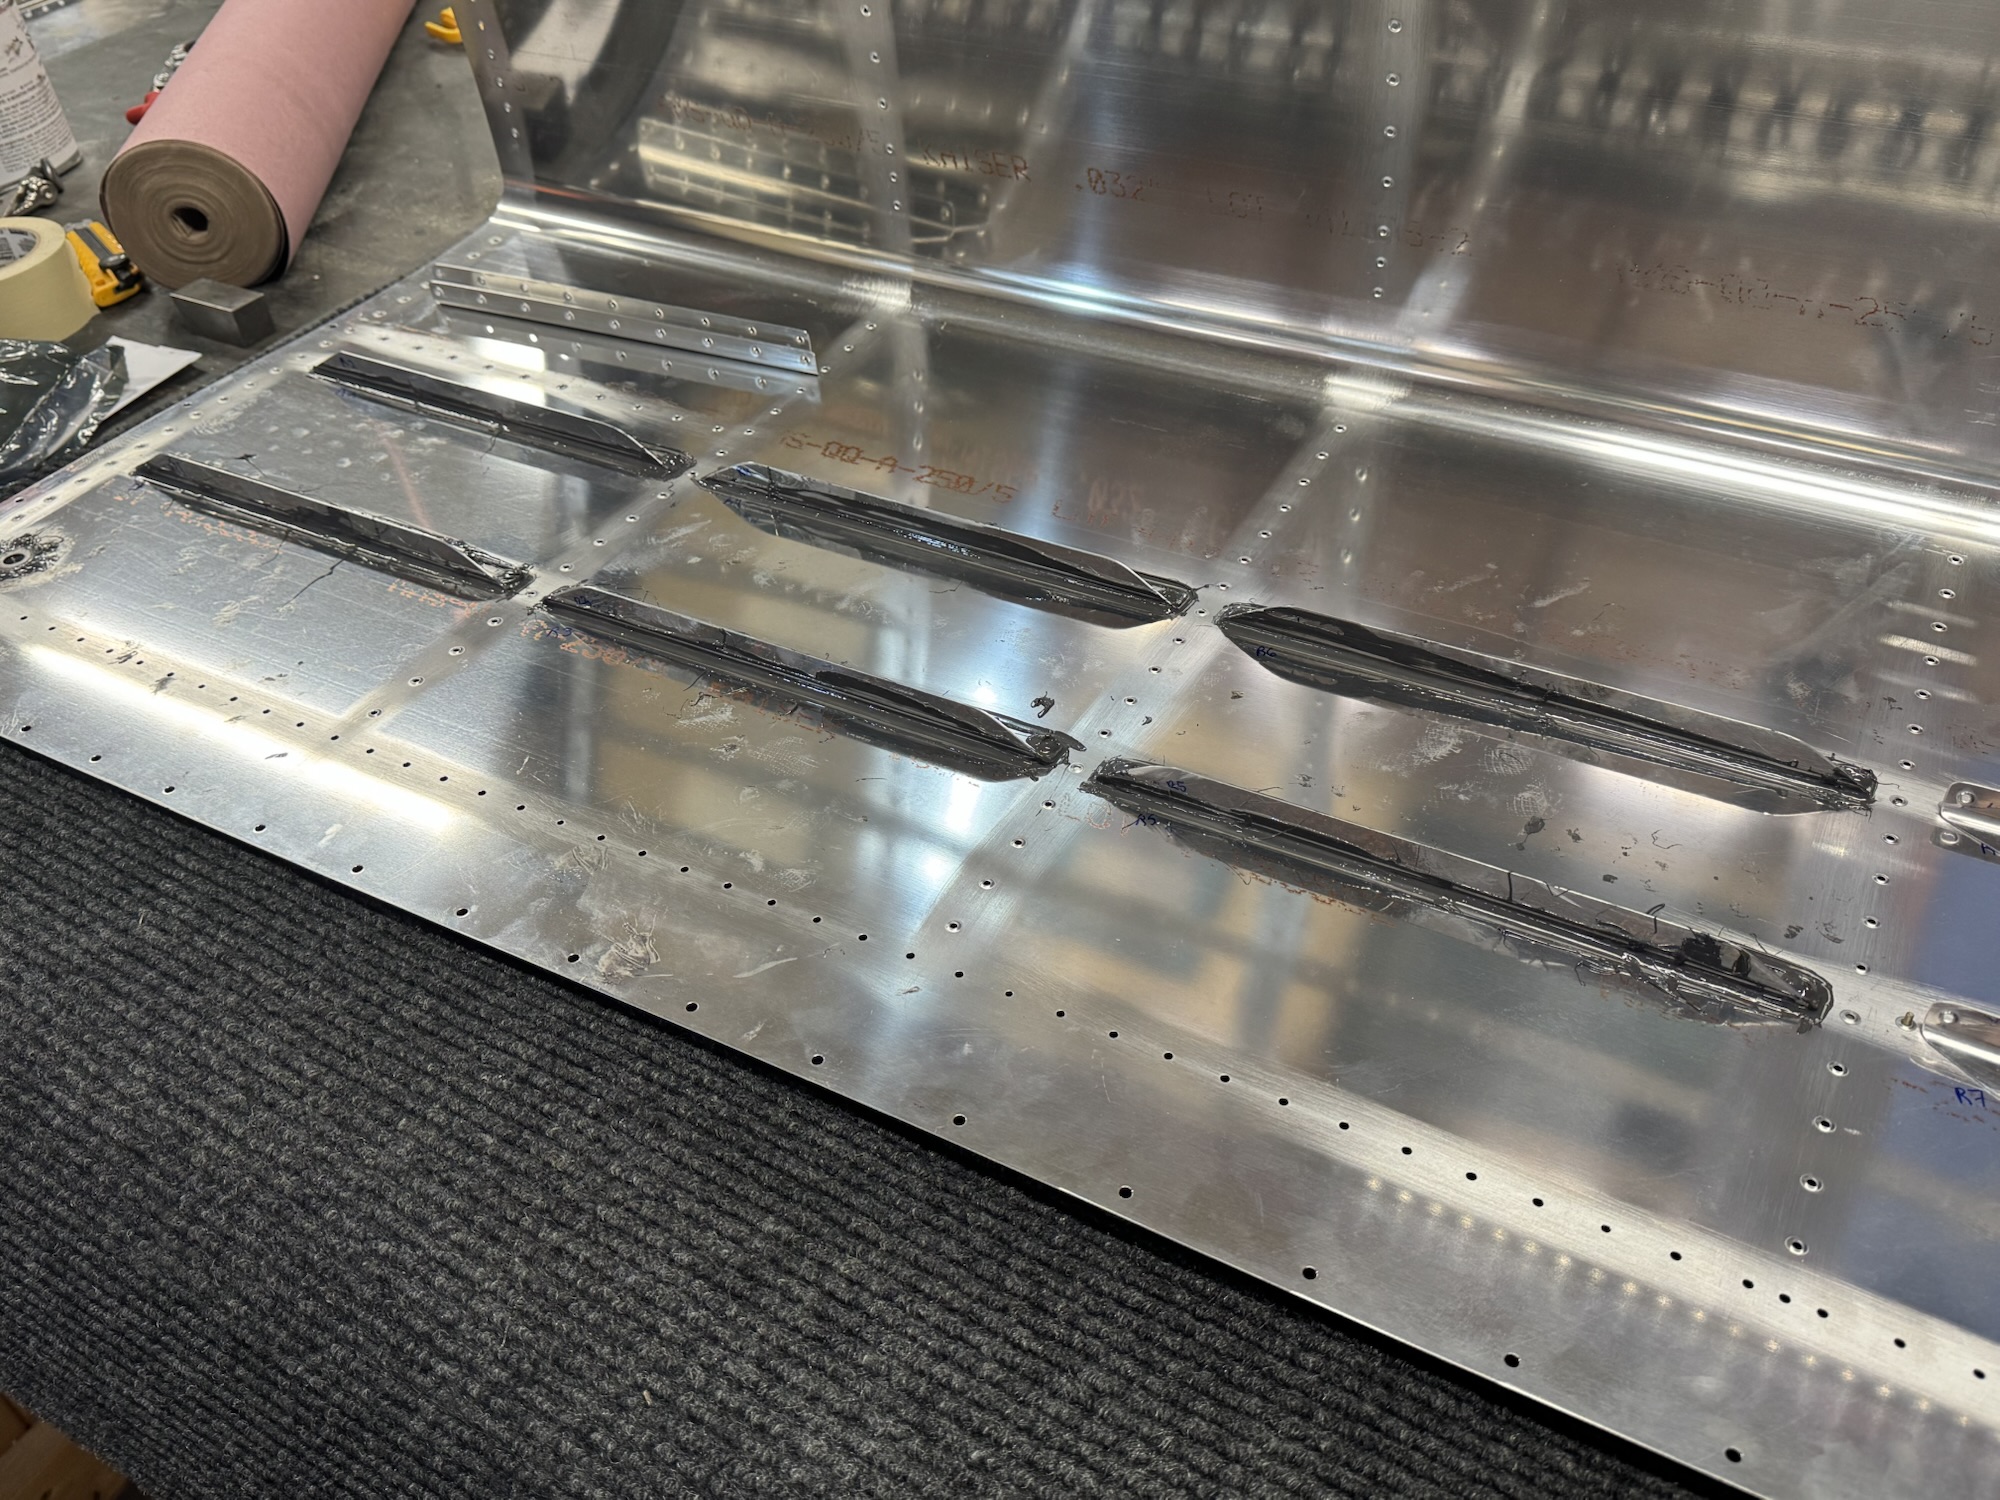
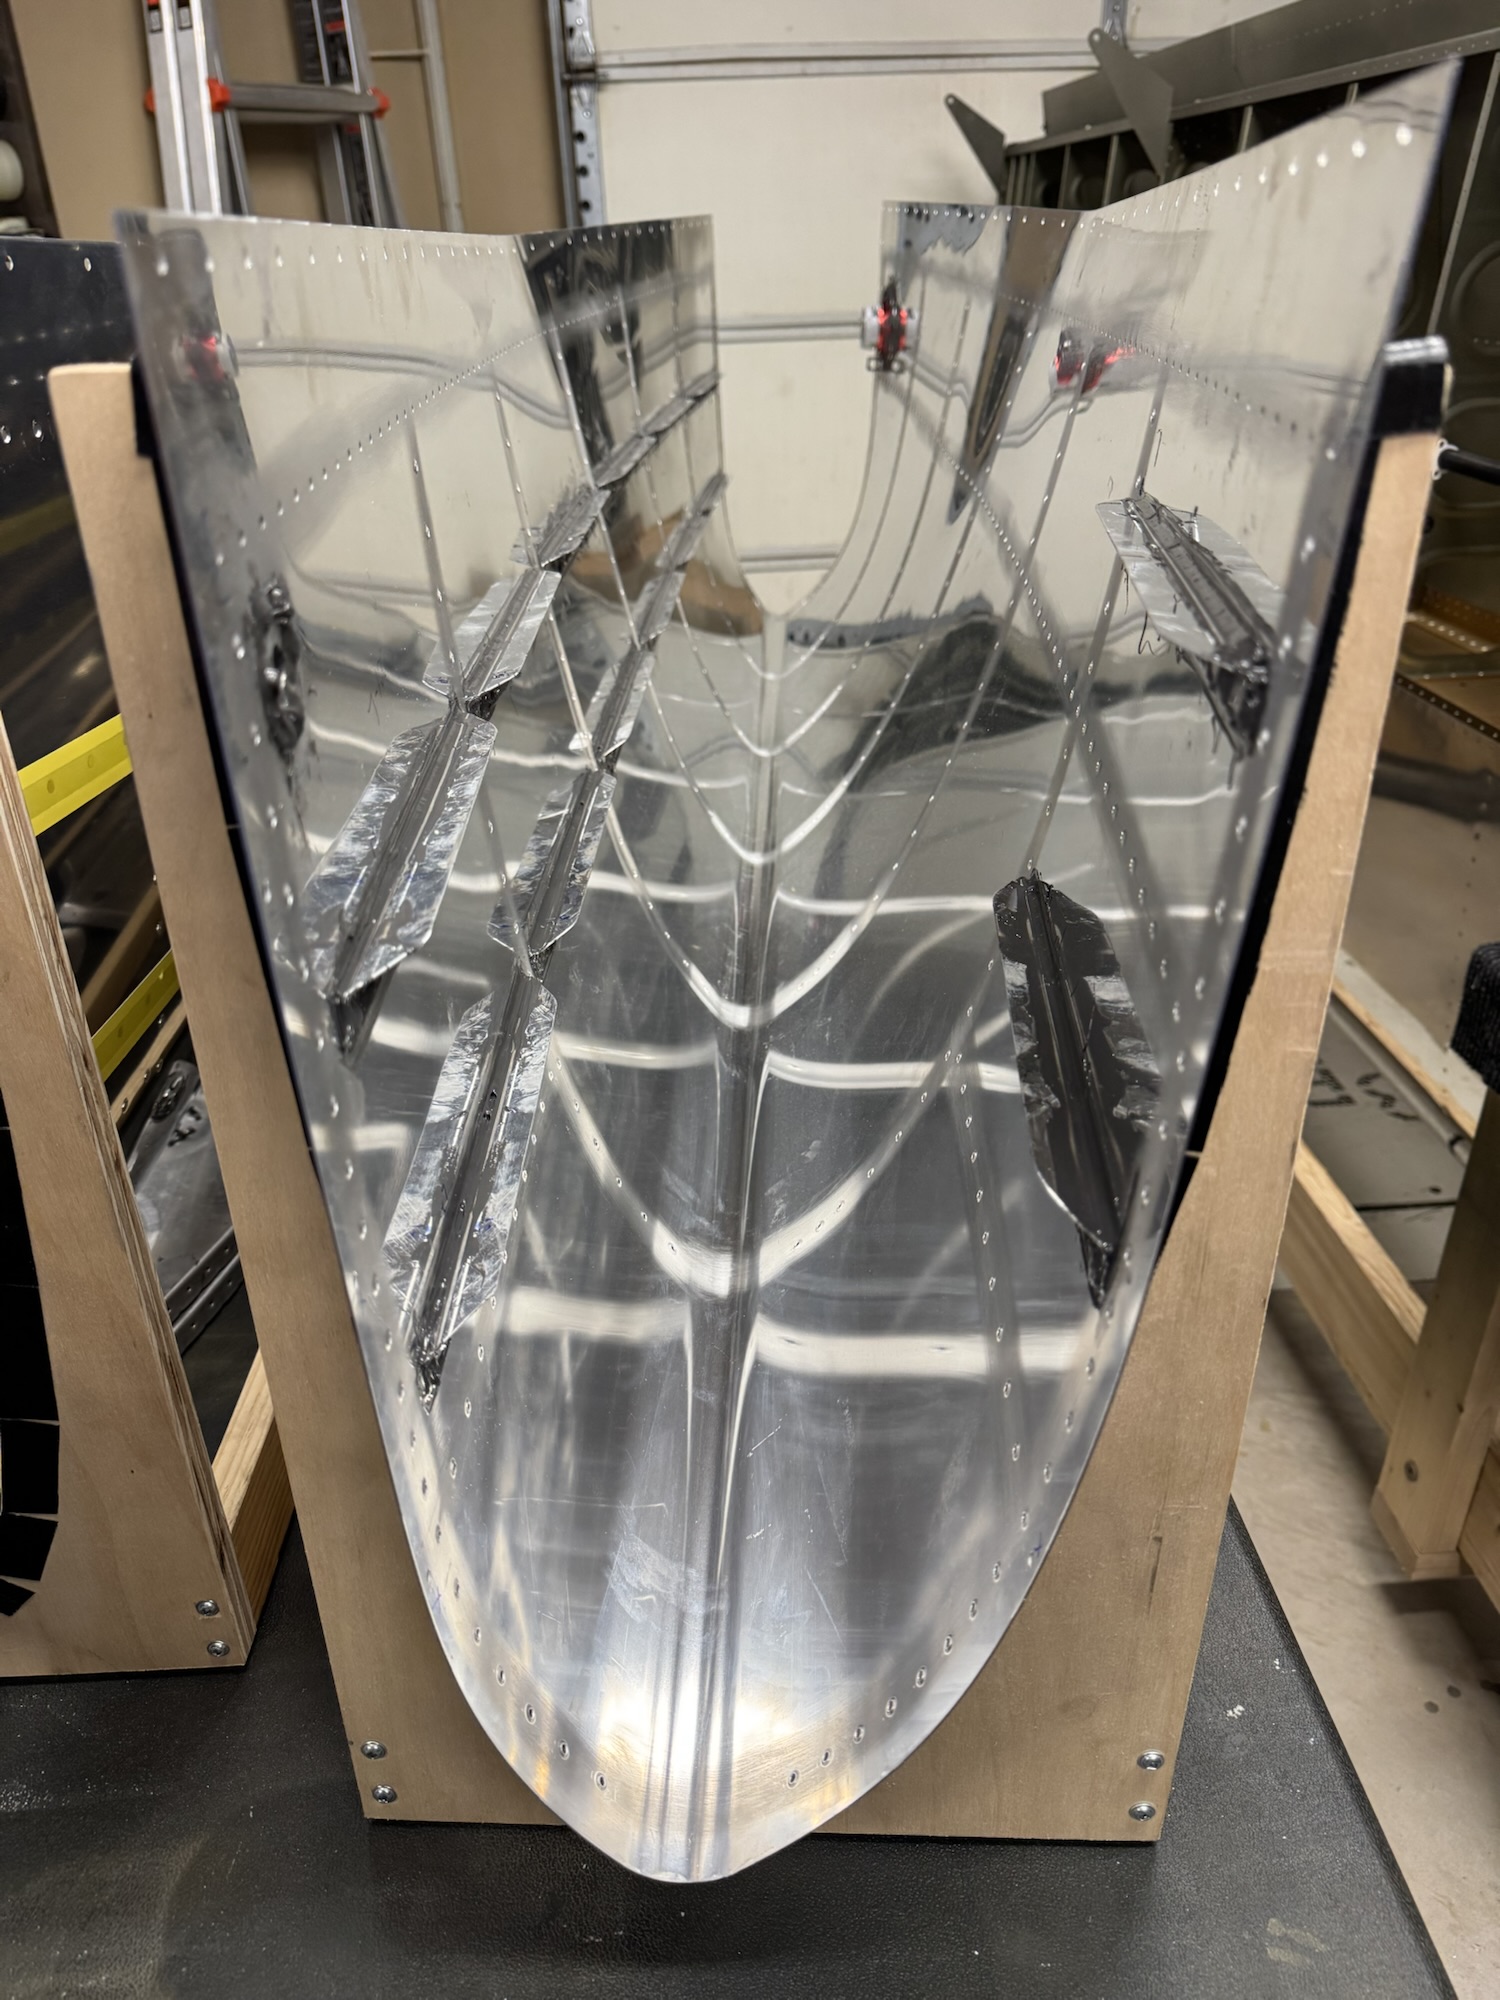
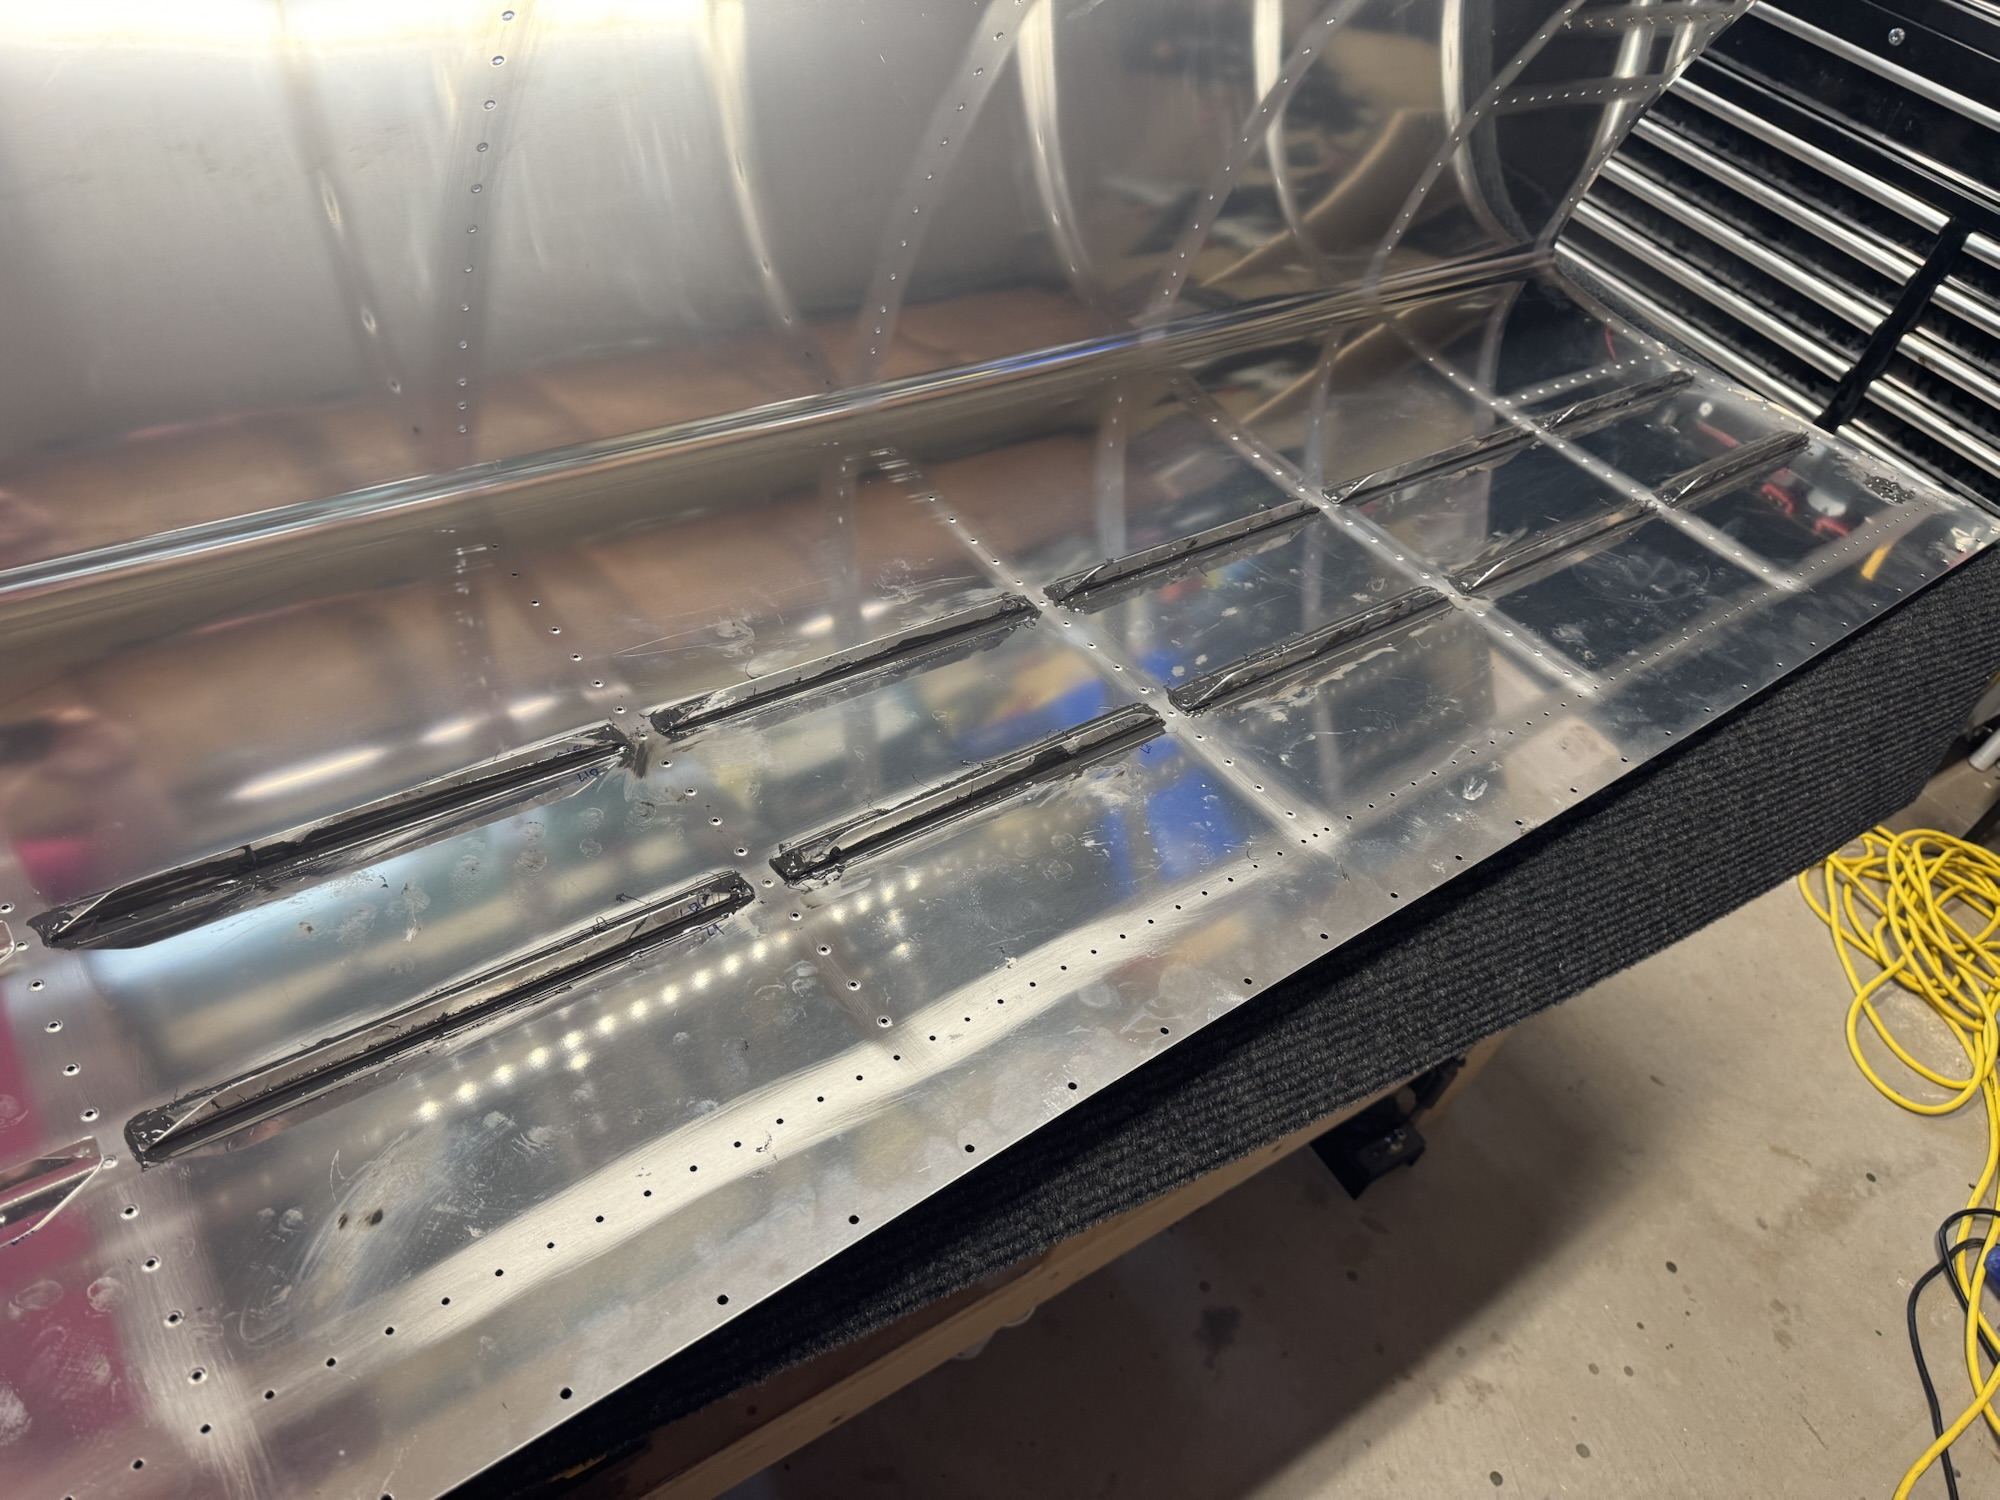
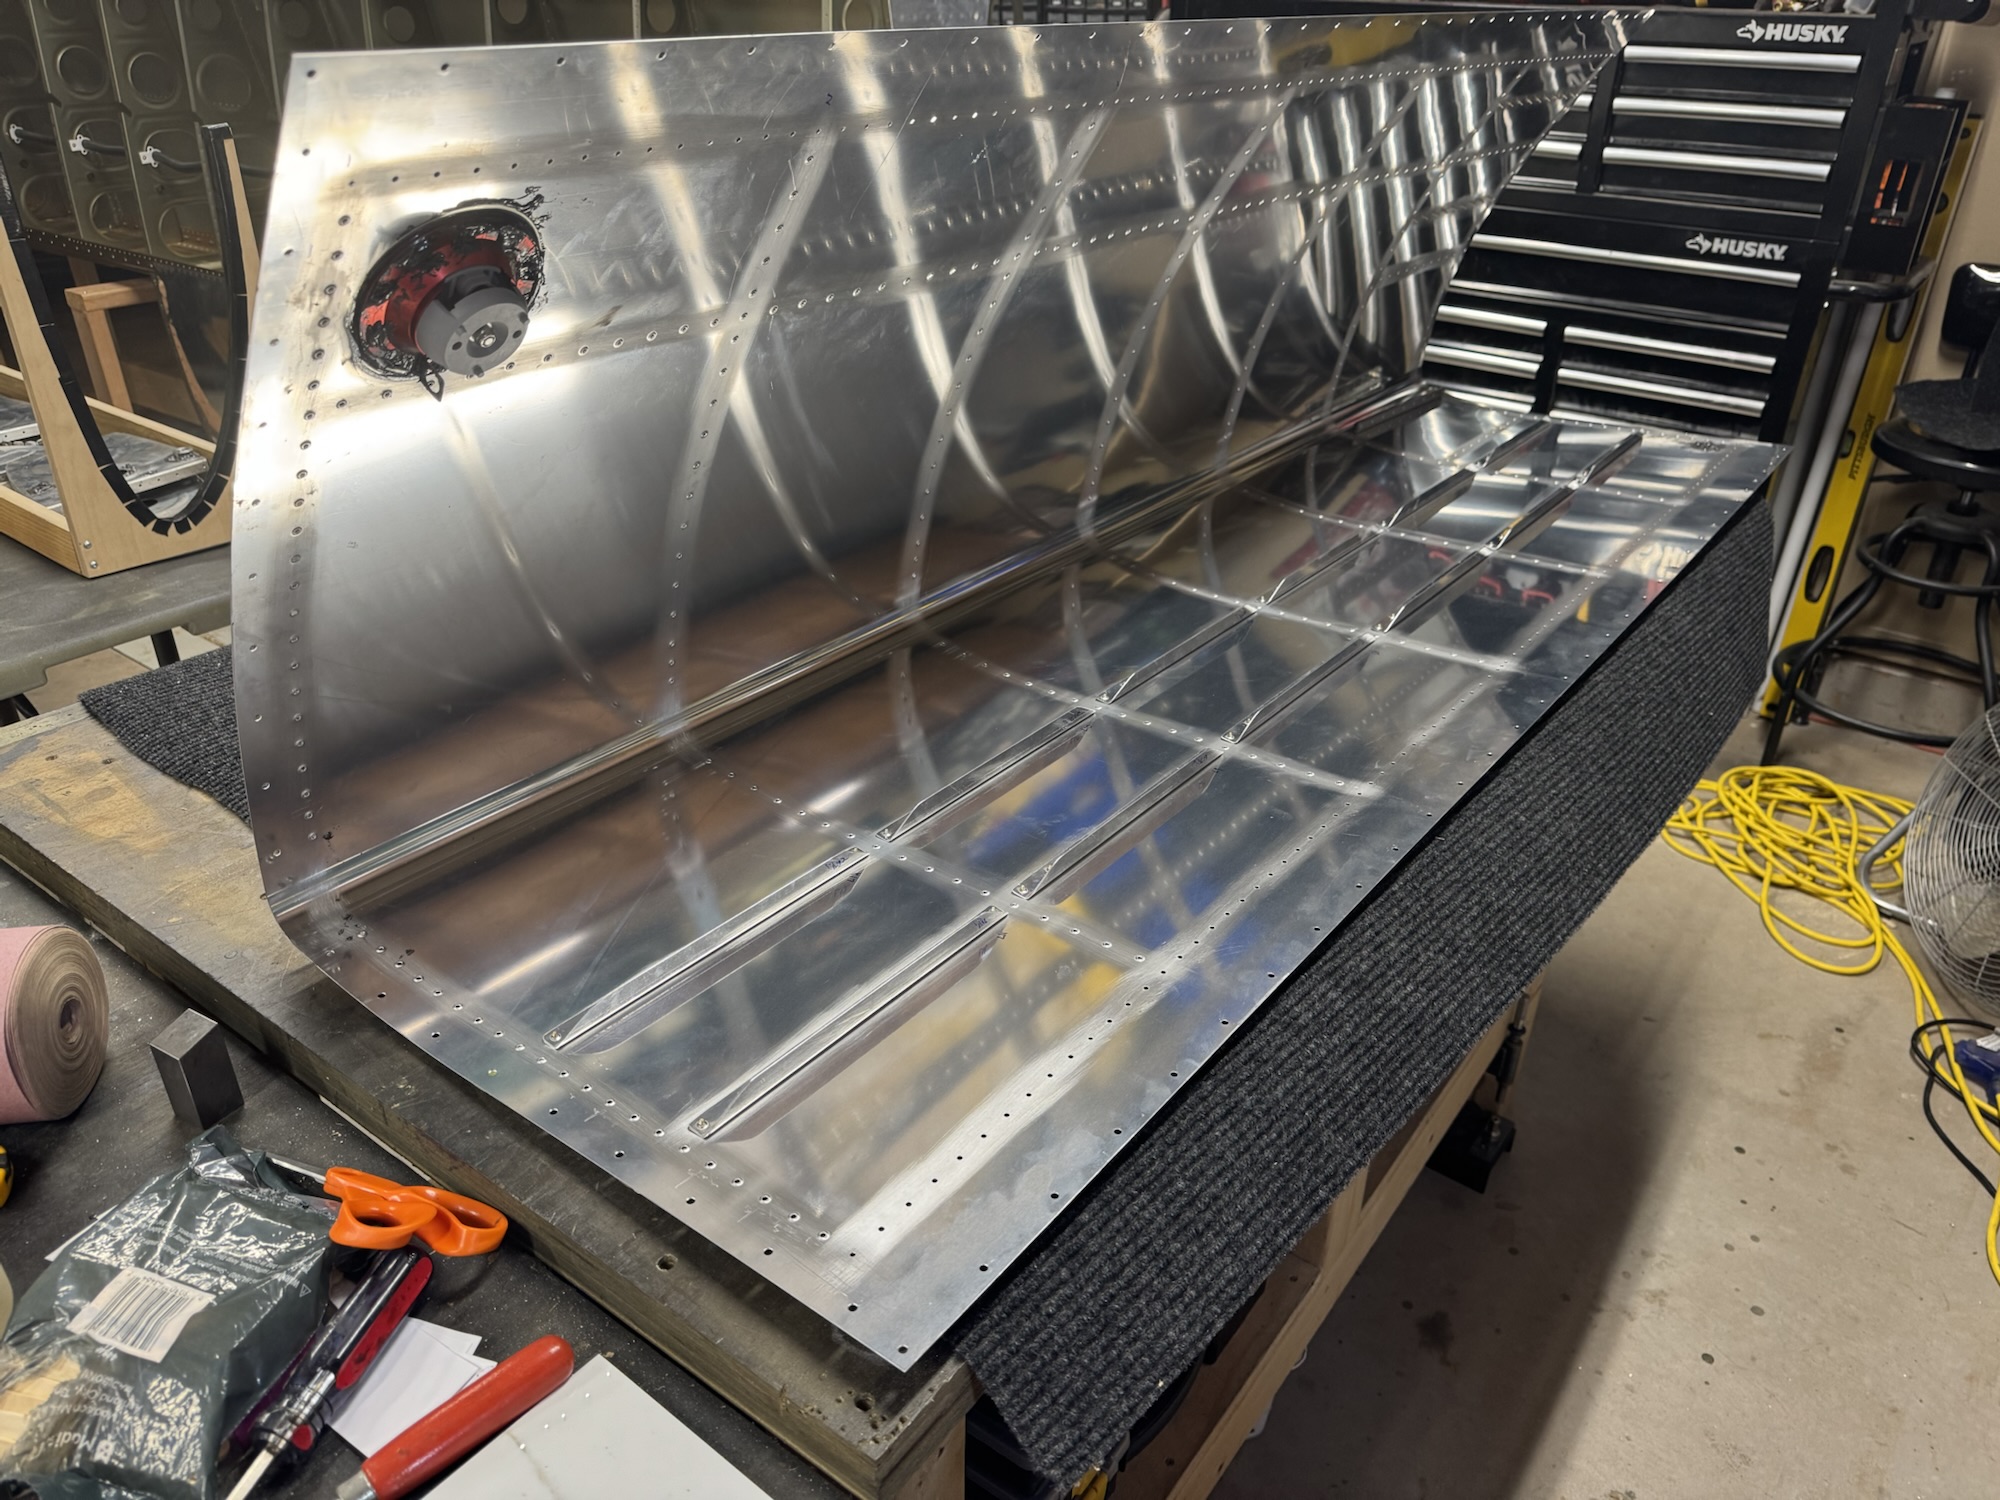
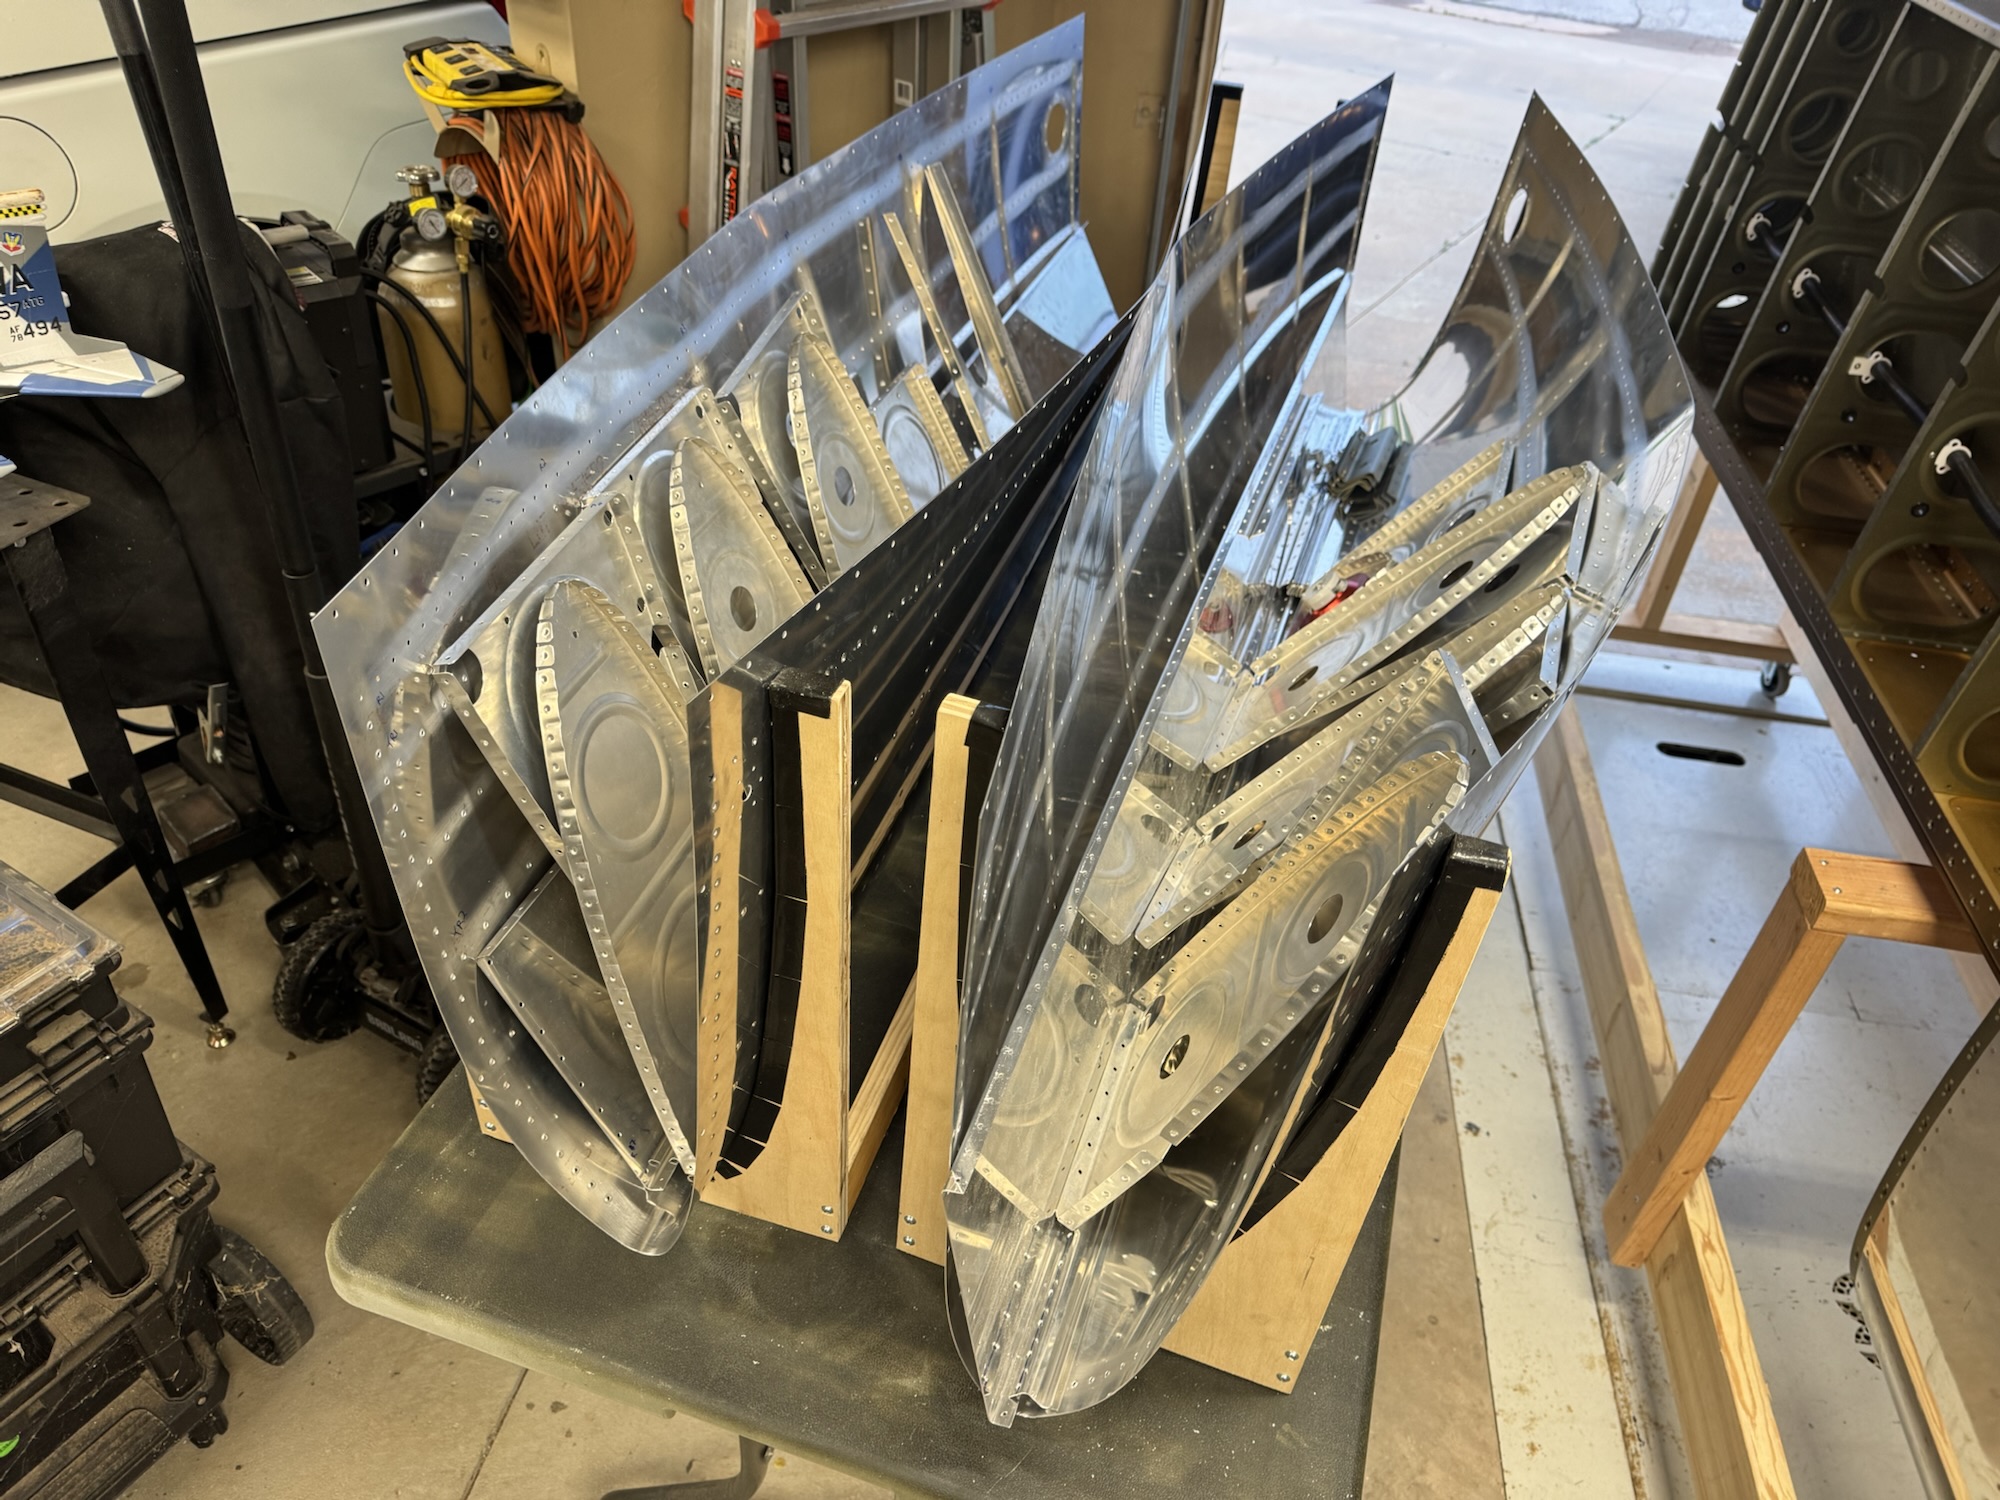
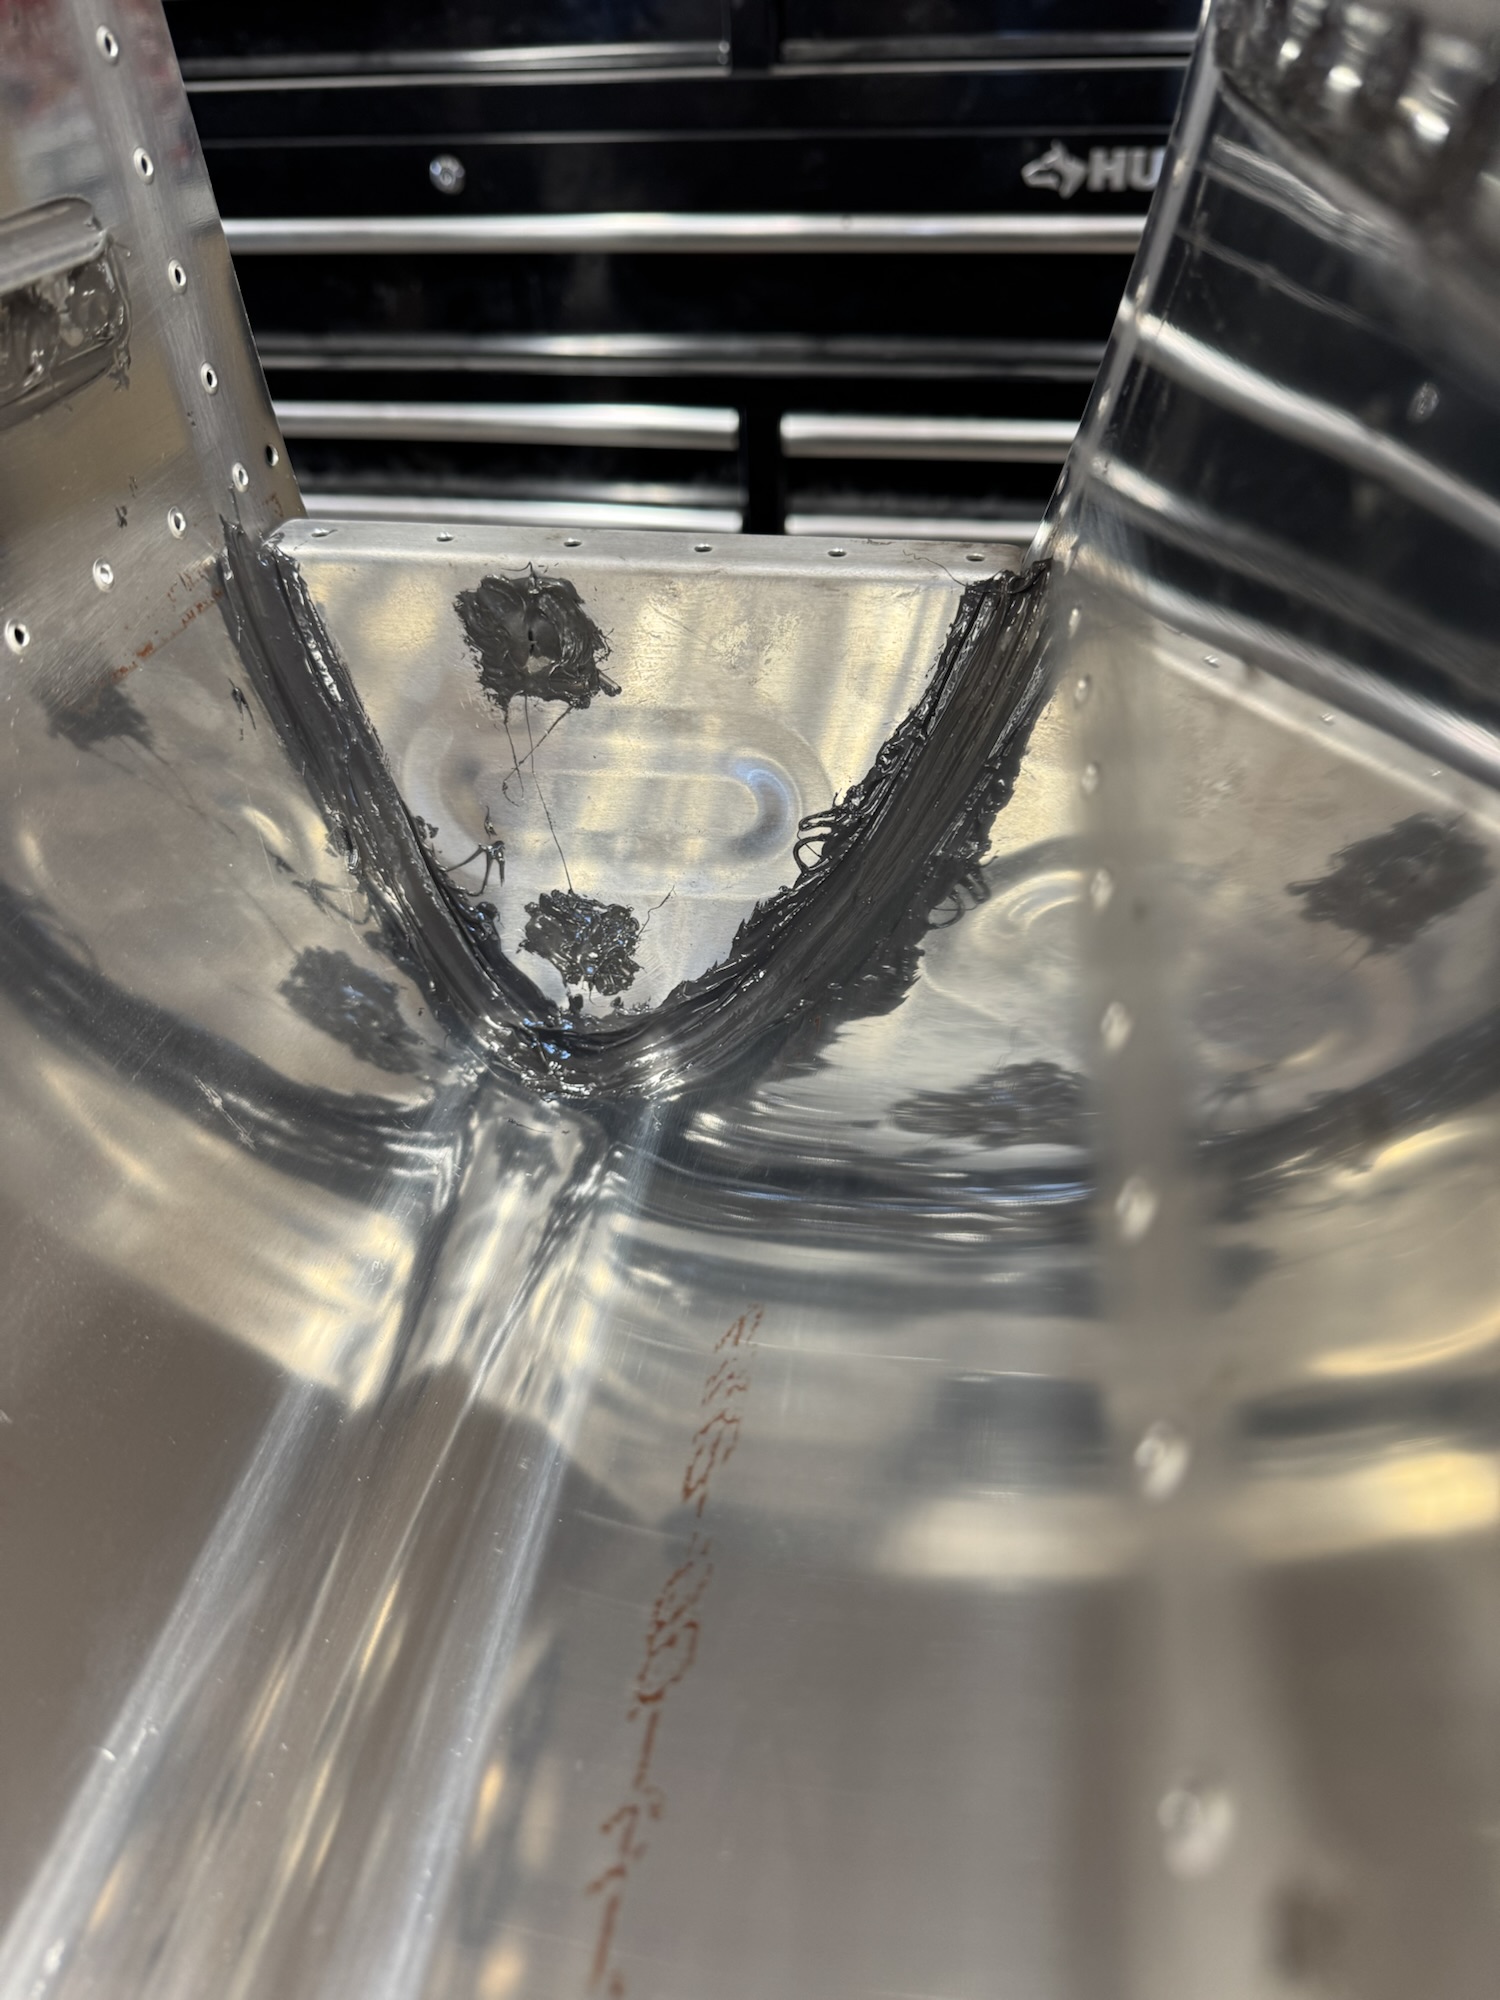
    Well I did end up having a little bit of time today before Kate got home to do some work. I got the forward inboard ribs installed because they would be fairly easy with the squeezer and not having to have sealant over the entire rib flange. I double checked with the light that I didn’t see any showing up through the rib so it should be sealed. The image makes it look like I gooped it on but I really didn’t use that much. I’m going to guess it is the reflections off the aluminum that is making it look thicker than it is. At the rate I’m using the sealant I should be able to finish the tanks with one quart, or maybe just a tad over.

  • All Stiffeners Installed

    All Stiffeners Installed

    Another day that I didn’t get much time to work on the plane as we are prepping to go to my mom’s this weekend and I also needed to do some automotive maintenance on my wife’s car as well as the boys. But I got all of the stiffeners installed and I need to start getting the ribs in next. I’ll start that on Monday next week after we get back.

  • Right Tank Stiffeners Halfway Complete

    Right Tank Stiffeners Halfway Complete

    I didn’t get nearly as much time as I wanted tonight as I had church duties that came up and took two hours of my time away, but I’m still happy with my progress. I hope to wrap the rest of these stiffeners up tomorrow.

  • Left Tank Stiffeners Complete

    Left Tank Stiffeners Complete

    I got a little bit of time to work tonight and finished up the left wing tank stiffeners. Not much else to report besides that.

  • Left Wing Tank Stiffeners Almost Done

    Left Wing Tank Stiffeners Almost Done

    I’ve only got four more stiffeners to complete on this side. It was basically rinse and repeat for each stiffener. I hope to get the other stiffeners done on both sides by Wednesday but I have somethings I’m doing tomorrow night so fingers crossed I get the time.

  • Prepping for Tank Stiffener Install

    Prepping for Tank Stiffener Install

    I took a little bit of time today before going to bed to make sure the sealant I had installed yesterday was curing well. It is definitely cured pretty well since it is pretty warm outside. I cleaned up a little bit that I did not cleanup yesterday. Luckily it is not fully cured as I was still able to get it off with a lot of elbow grease. I also lined up rivets for the tank stiffeners tomorrow on both skins.

  • Fuel Cap, Quick Drain, and End Ribs Sealed

    Fuel Cap, Quick Drain, and End Ribs Sealed

    It was quite a learning experience today. I got the end ribs done first. I realized quickly that the sealant is very hard to control and gets EVERYWHERE. I had done it in small quantities for the rudder and other components but it was at the very end of the project and it didn’t take me long to do the steps involving the sealant so it was much easier to wipe off. This though took a few sessions and I was getting to the end of the workable life of the sealant. So… am I happy with how it looks? No… Is it functional and seals. I believe so and we will figure out during the pressure test at the end. Here are pictures from all the work I did today.

  • Tank Assembly Prep

    Tank Assembly Prep

    I realized I didn’t scuff up the edges of the ribs. I went back and did that. I hope I was able to scuff it up enough in the dimples but I’m pretty sure I did. I also made and bought some tools to help with the sealant process that Van’s mentions in their video and I’ve seen on forums. Got a tile that I can use to mix the sealant on and then scrape off the remnants when I’m done. I also had to visit my EAA tool crib as I didn’t have a rivet set for a 3/16″ rivet which I will use to seal up the tooling holes on the inboard and outboard ribs. Lots of leg work today but not much progress. Hopefully I can get started on it some tomorrow but we will see.

  • Tank Dimpling & Countersinking Complete

    Tank Dimpling & Countersinking Complete

    I decided to start reading further ahead in the manual and see what this attach bracket actually supports. It doesn’t attach to the fuselage and as I was looking through the wing attach section I saw on page 44-2 figure 3 that they specifically call out those holes I was curious about as being countersunk. I then went to try to flatten the dimples and they just didn’t look right and also one of them cracked. So I just decided to order a new one and I’ll get that squared away later. I should have remembered this advice to look ahead when I last called Van’s and tried to determine what to do with those holes. Either way, this was a simple lesson learned and I just have to wait for the shipment to arrive.

    I went ahead and got everything countersunk and dimpled that needed on both tanks and decided to call it a day there.

  • Left Tank Fully Deburred and Some Countersinking

    Left Tank Fully Deburred and Some Countersinking

    I got all of the deburring done, I got some countersinking done, and I also got some dimpling done. Just alot of “mindless” tasks as you watch some shows and work. lol

    I do need to talk with Van’s tomorrow just to confirm if I countersink both the skin and the tank attach bracket or dimple the skin and countersink the tank attach bracket. I did the first set thinking I would countersink the bracket but thinking about the type of nut plates behind these and also that the instructions only mention dimpling the forward ones makes me think these will be countersunk on both the shim and the bracket. Either way we will see. I might have to order another set of shims as I finish the left tank since I already dimpled this set. Well, as I think about it I’m going to have to order it anyways since these are mirrored to each other and I’ve already dimpled this one way. Not a huge deal but I’ll figure something out. I will ask Van’s about that tomorrow too and see if I can dimple it the other way without having to reorder.