I didn’t take many pictures of the finishing process, but it took me quite a bit of time on Saturday to get it done. I got all of the front edges rolled first. Luckily, the tool that I saw on the internet worked really well. It was just a bedroom clothes hanger pole and some 7/8″ sockets epoxied to the inside. It worked really well and I bet I’ll be using this same tool quite a bit in the future with other rolled edges.
Edge-rolling Tool
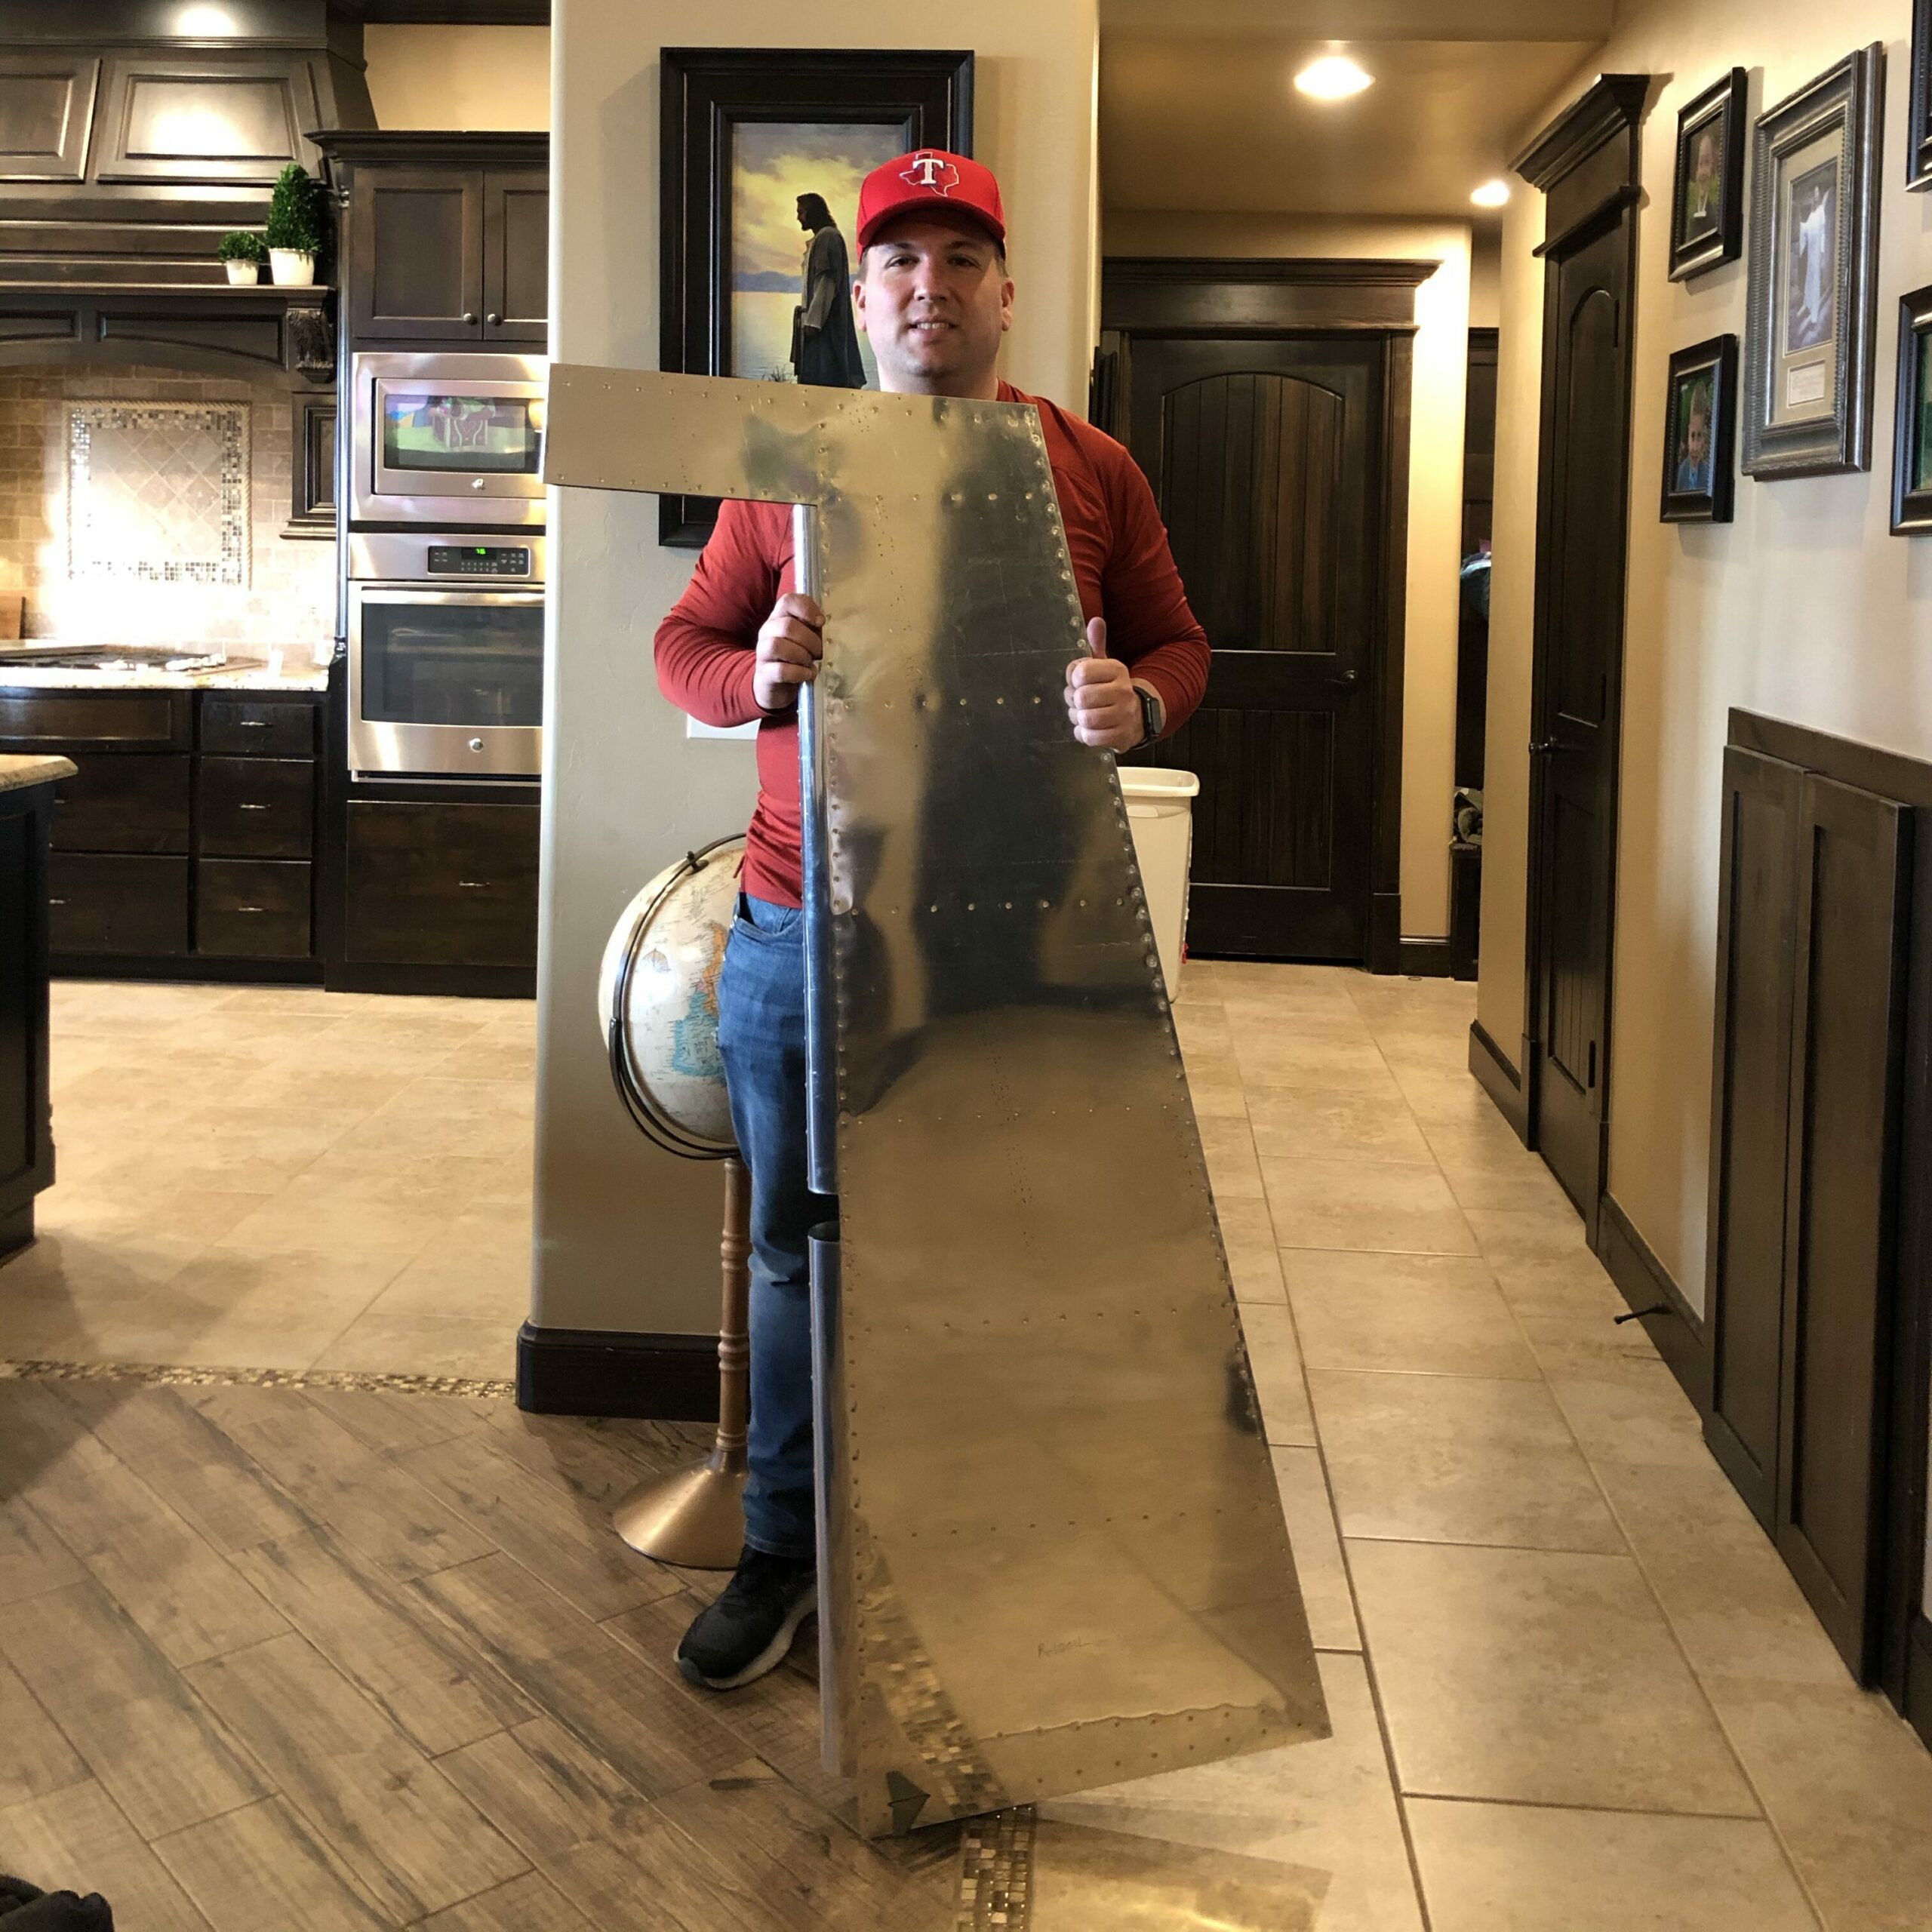
The front edge forming was actually easy to do but just time consuming. I luckily hit the predrilled hole in the counterbalance weight but that also was easier to do by drawing a line in-between the two screw holes and then splitting the difference in the length between them both and it was right smack dab in the middle of the pre-drilled hole. It turned out pretty good though!
Front edge of rudder covering the counter-balance weightThe finished rudder!
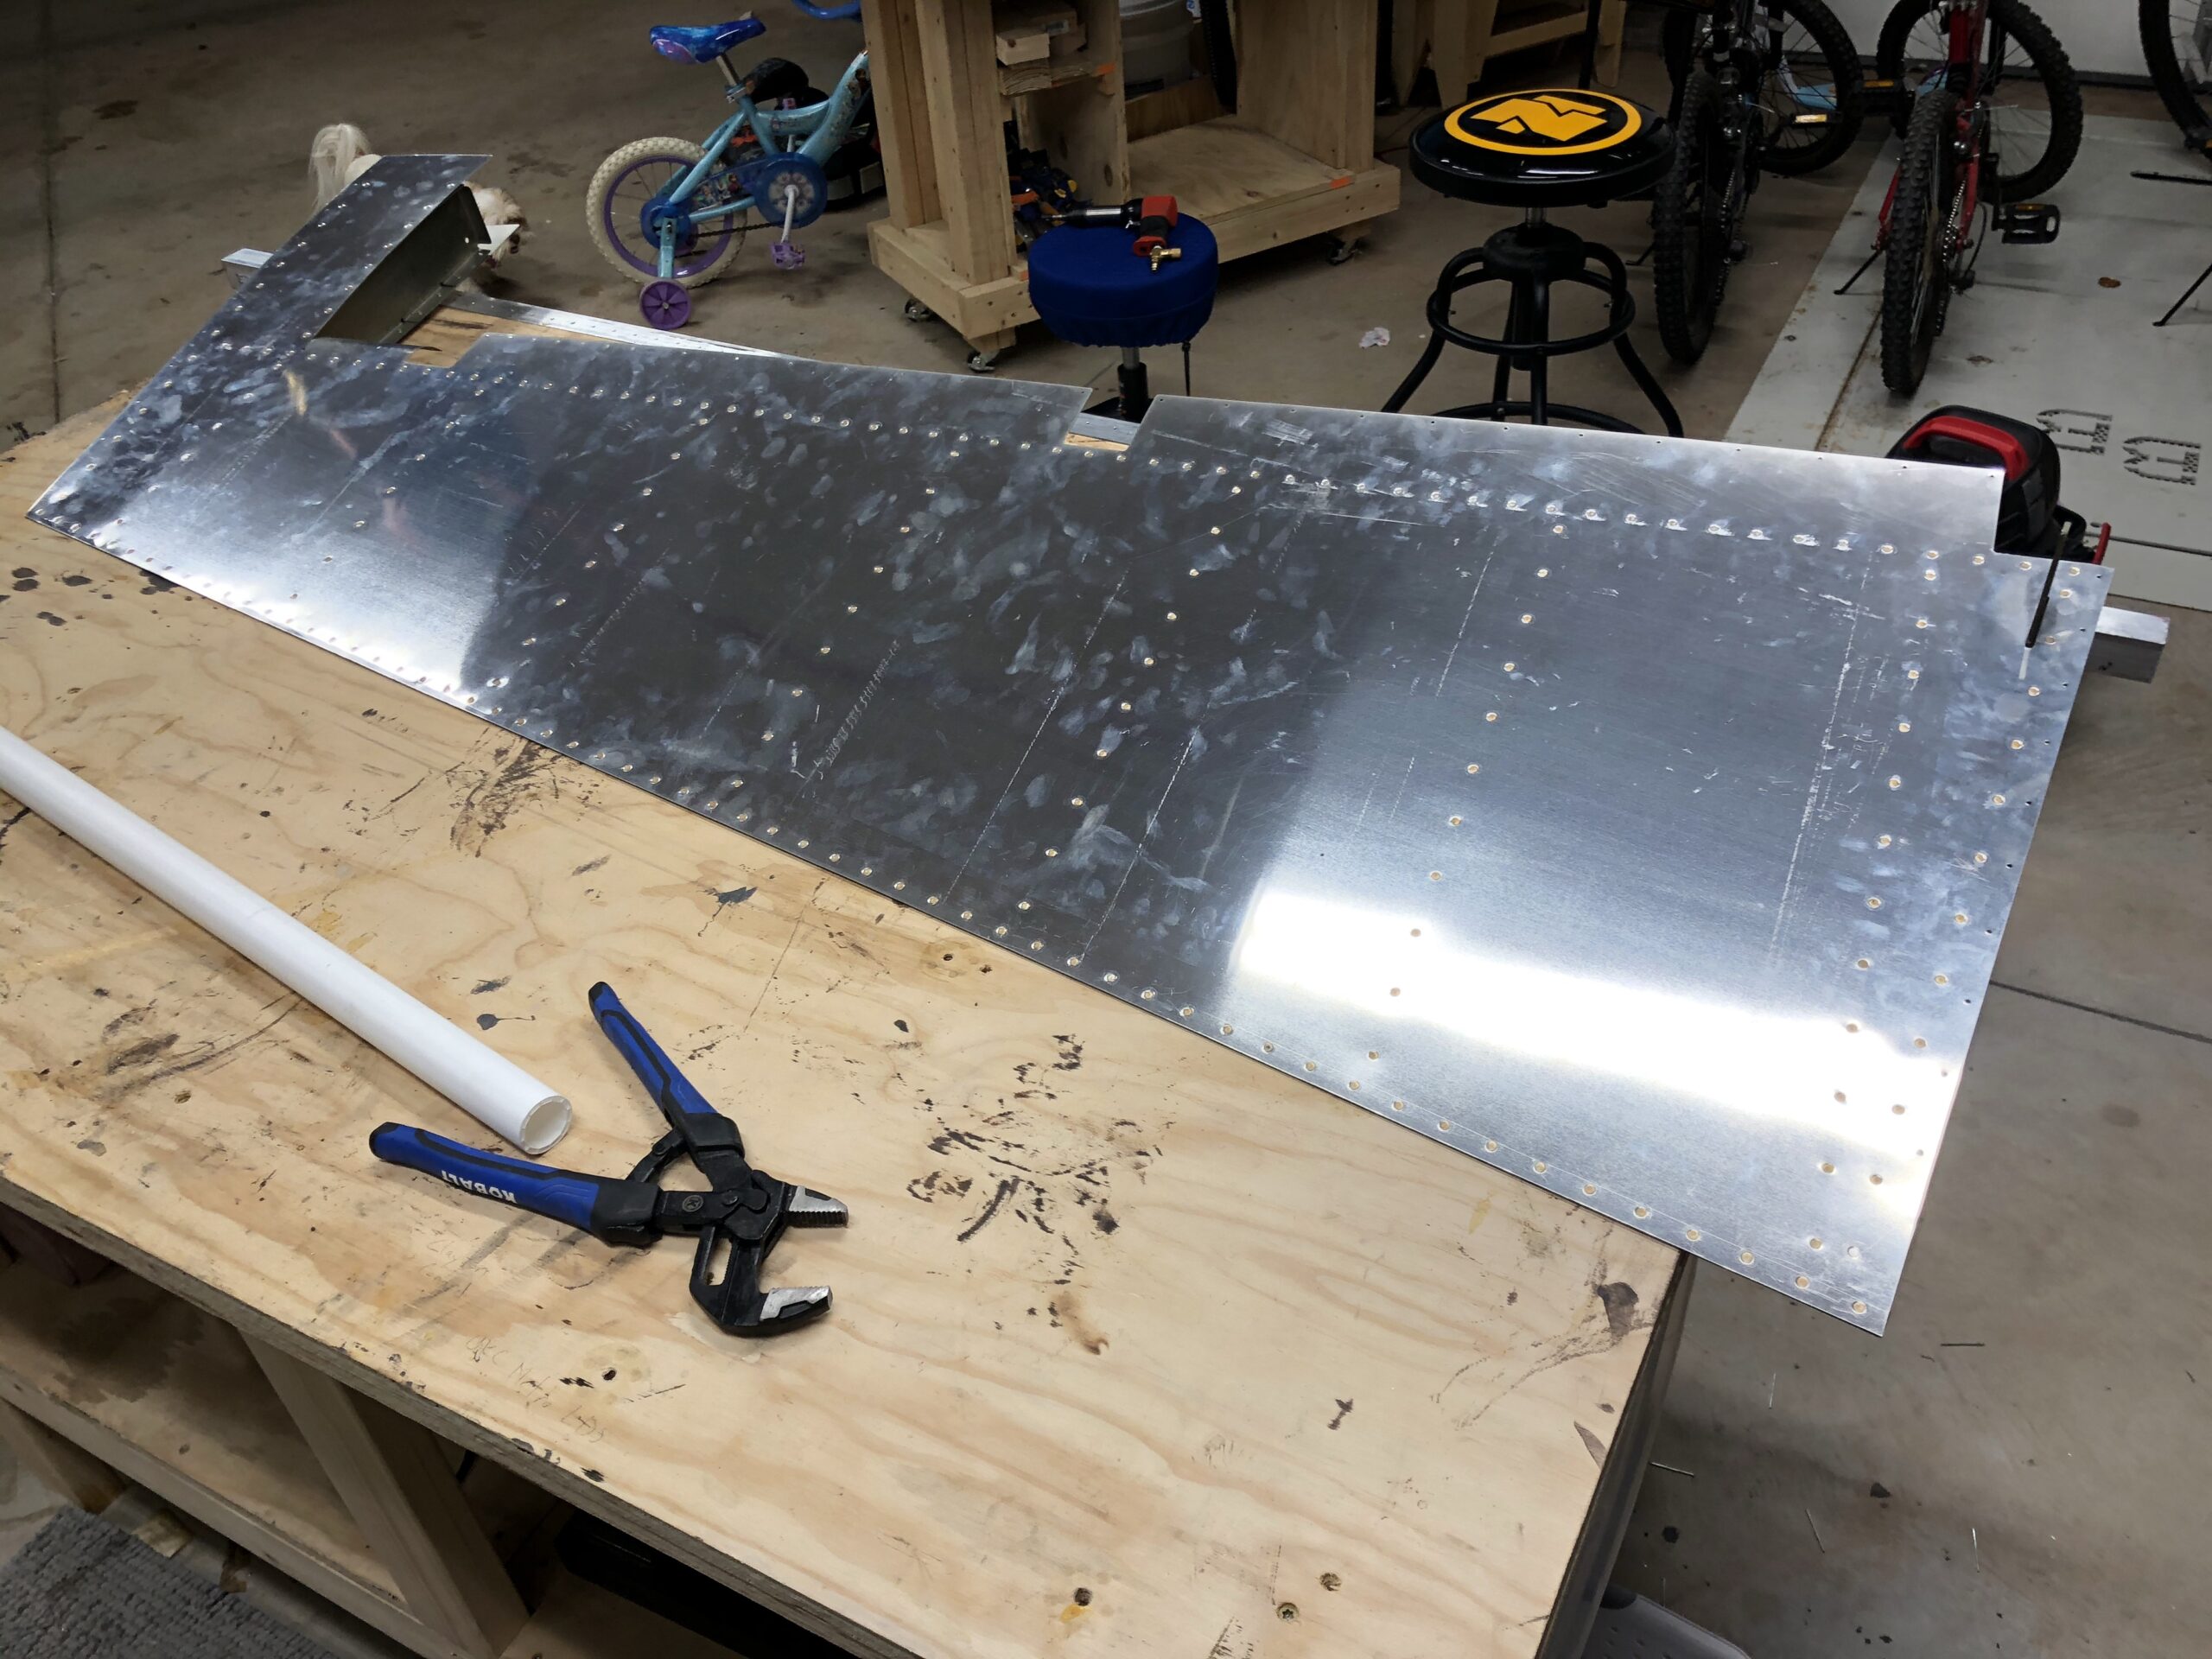
Before all of the travel we had planned for the Mother’s Day weekend, I decided to button up the trailing edge of the rudder as well as get the spar riveted. I was able to use the squeezer for most of the spar, but there were a few places that I didn’t have enough depth to the yoke I’m currently using so I had to break out the rivet gun and bucking bar for those. I tried to use my trailing edge squeezer set but I tried it once and it was creating some odd looking rivets so I decided just to do the backriveting the way they explained it in the manual. There were a few places where I attempted to rivet it too much and created some circle indentions from the backrivet bottoming out against the rudder. I tried to keep that to a minimum but I kept trying to get my rivets perfectly flush instead of just enough. Either way, it was a long and tedious day but the rudder trailing edge looks awesome for my first time if I do say so myself!
Trailing edge and spar riveted in place!Some of the marring I was talking about. I thought it wasn’t flush so I tried a few more hits and ended up with these beauties.First attempt at rolling the front edge. I’ll have to get some better tape because it kept either letting go or tearing.
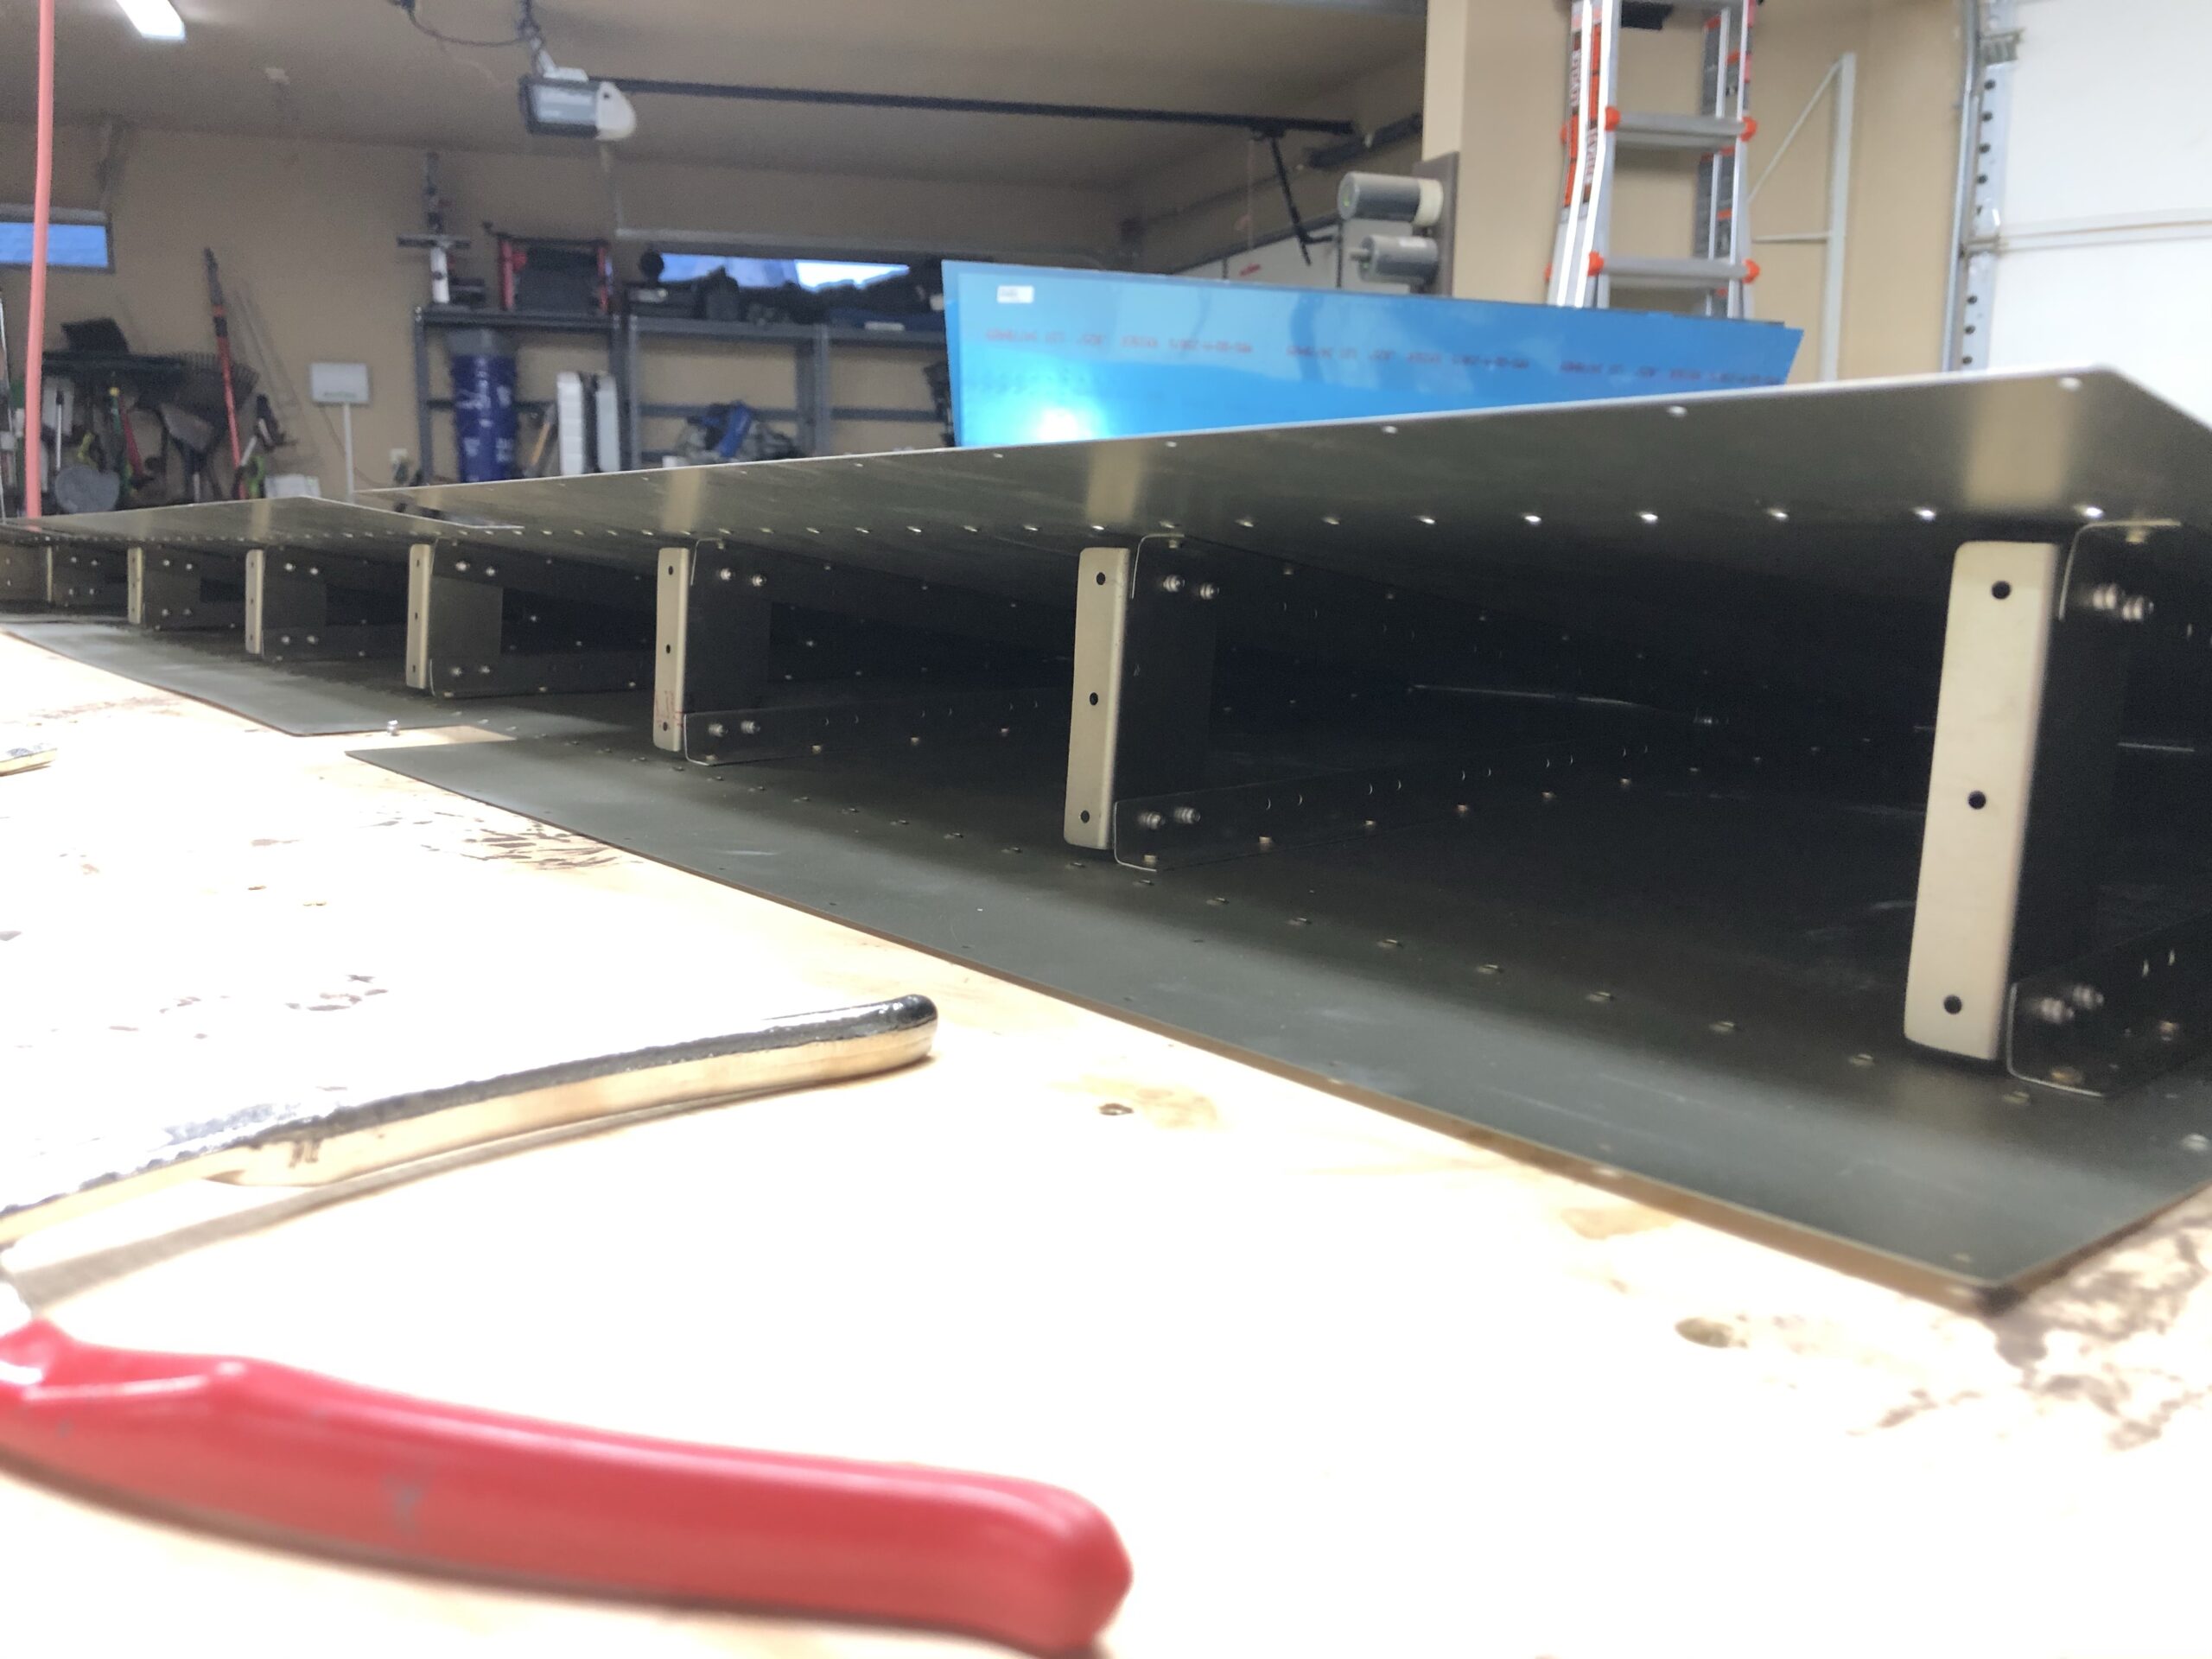
I finally had enough contiguous time to get the rudder internal stiffeners and sheer clips riveted together and the trailing edge sealed. Now just to wait a few days for it to cure and I can finish the riveting and button this up finally!
All the sheer clips and stiffners rivetedAll set and ready to wait and cure!This crap gets everywhere! I kept finding fresh spots on me and my clothes for an hour afterwards.
I spent most of this weekend getting stuff put together on the rudder to make sure things lined up, etc. I noticed that the trailing edge of the rudder wasn’t super flat so I decided to follow the route that quite a few others have done which is to setup an angle iron jig. I got that done this weekend and now I have just a few small places where I think the counter sinking isn’t 100% but I’ll get that cleaned up here soon and get this thing closed up. I wasn’t 100% happy with the rivets on the stiffners…. The rivets kept wanting to fold over doing the back-riveting. I tried my absolute darndest to keep that rivet gun 100% vertical, but that’s impossible with out a level on the backside of it. I would just give a few taps with the rivet gun and then check. Do a few more and check again. But usually once it started folding over it was a do-over. Oh well…
I also had to spend a bit of time redoing the lights in the garage. The original ones were already burned out. I couldn’t believe it. I got a different brand this time which required me to remount these.
This was probably the best I could do with the rivets. It kept spreading the rivet holes too much and created an odd head.Overhead view of rivetAngle view of the rivetIt 100% together just to check fitment and lookThe rudder now ready to get glued and on the jigMuch better now with it being straight.Some of the countersinking I will have to go back and check.
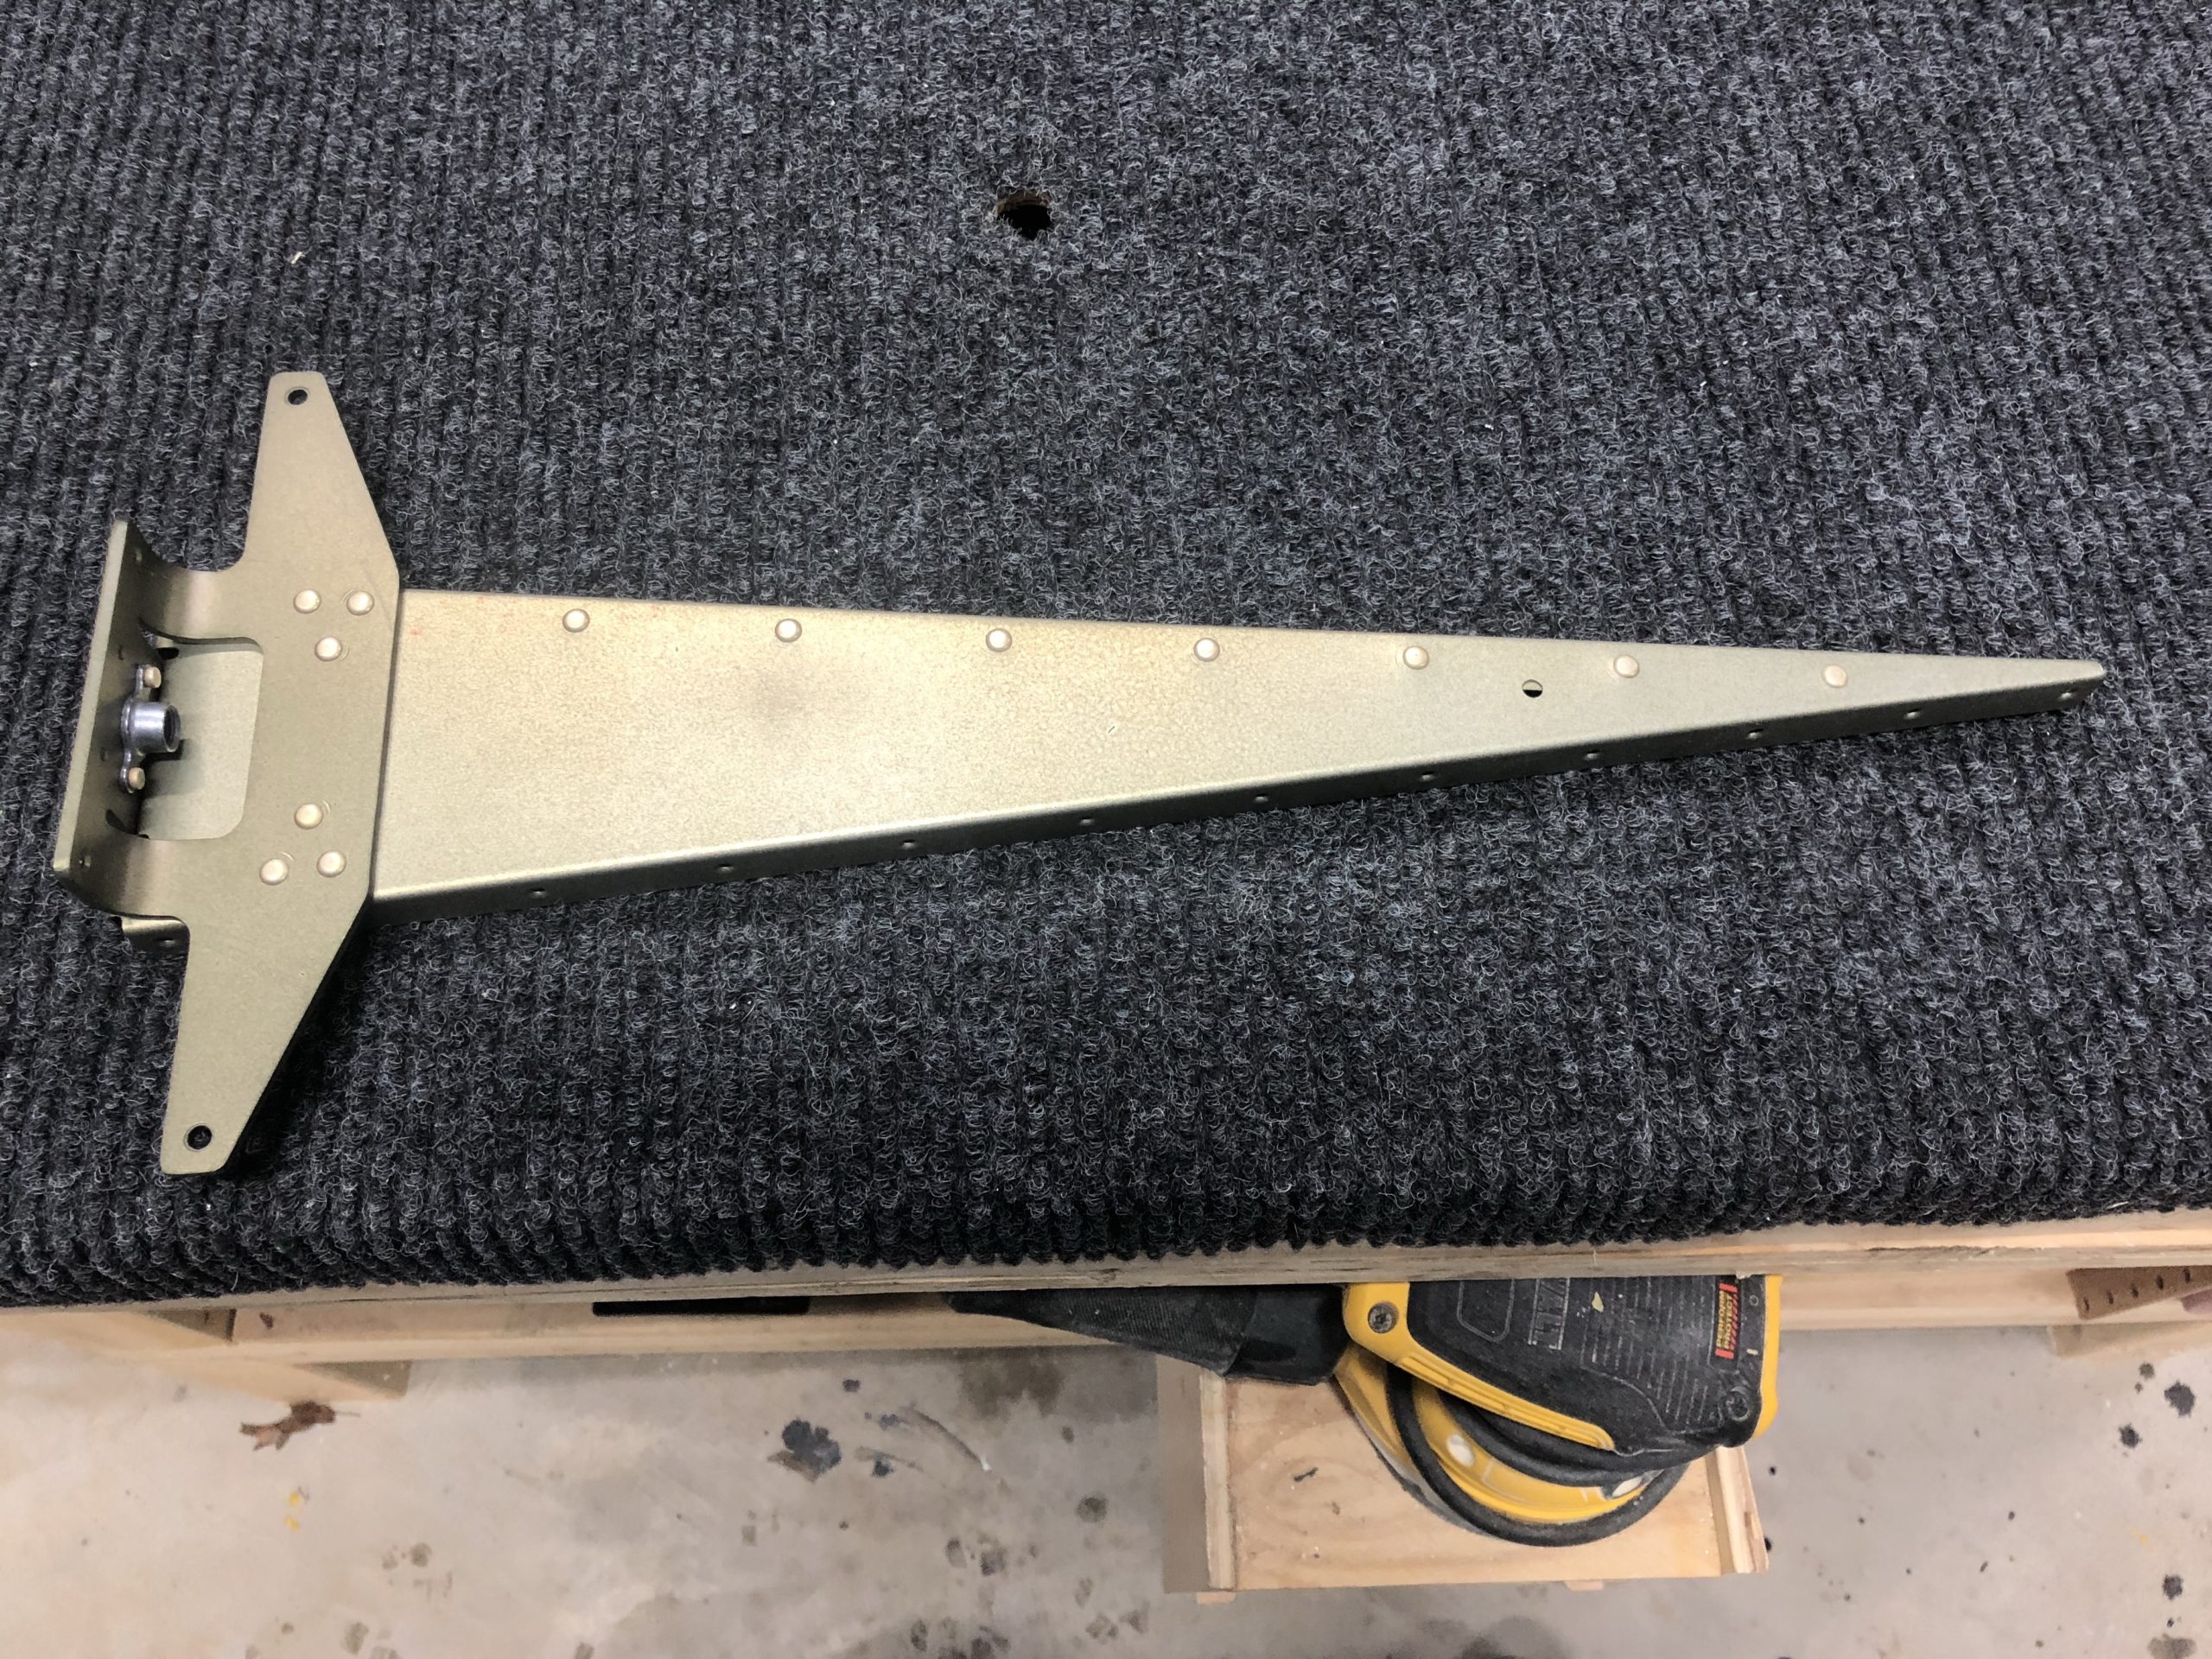
I spent some time today getting these parts deburred, dimpled, and primed so that I can start riveting when I get back after the funeral tomorrow. Luckily these were final sized hole pieces which made it much quicker in getting back to where I was before the rudder fell.
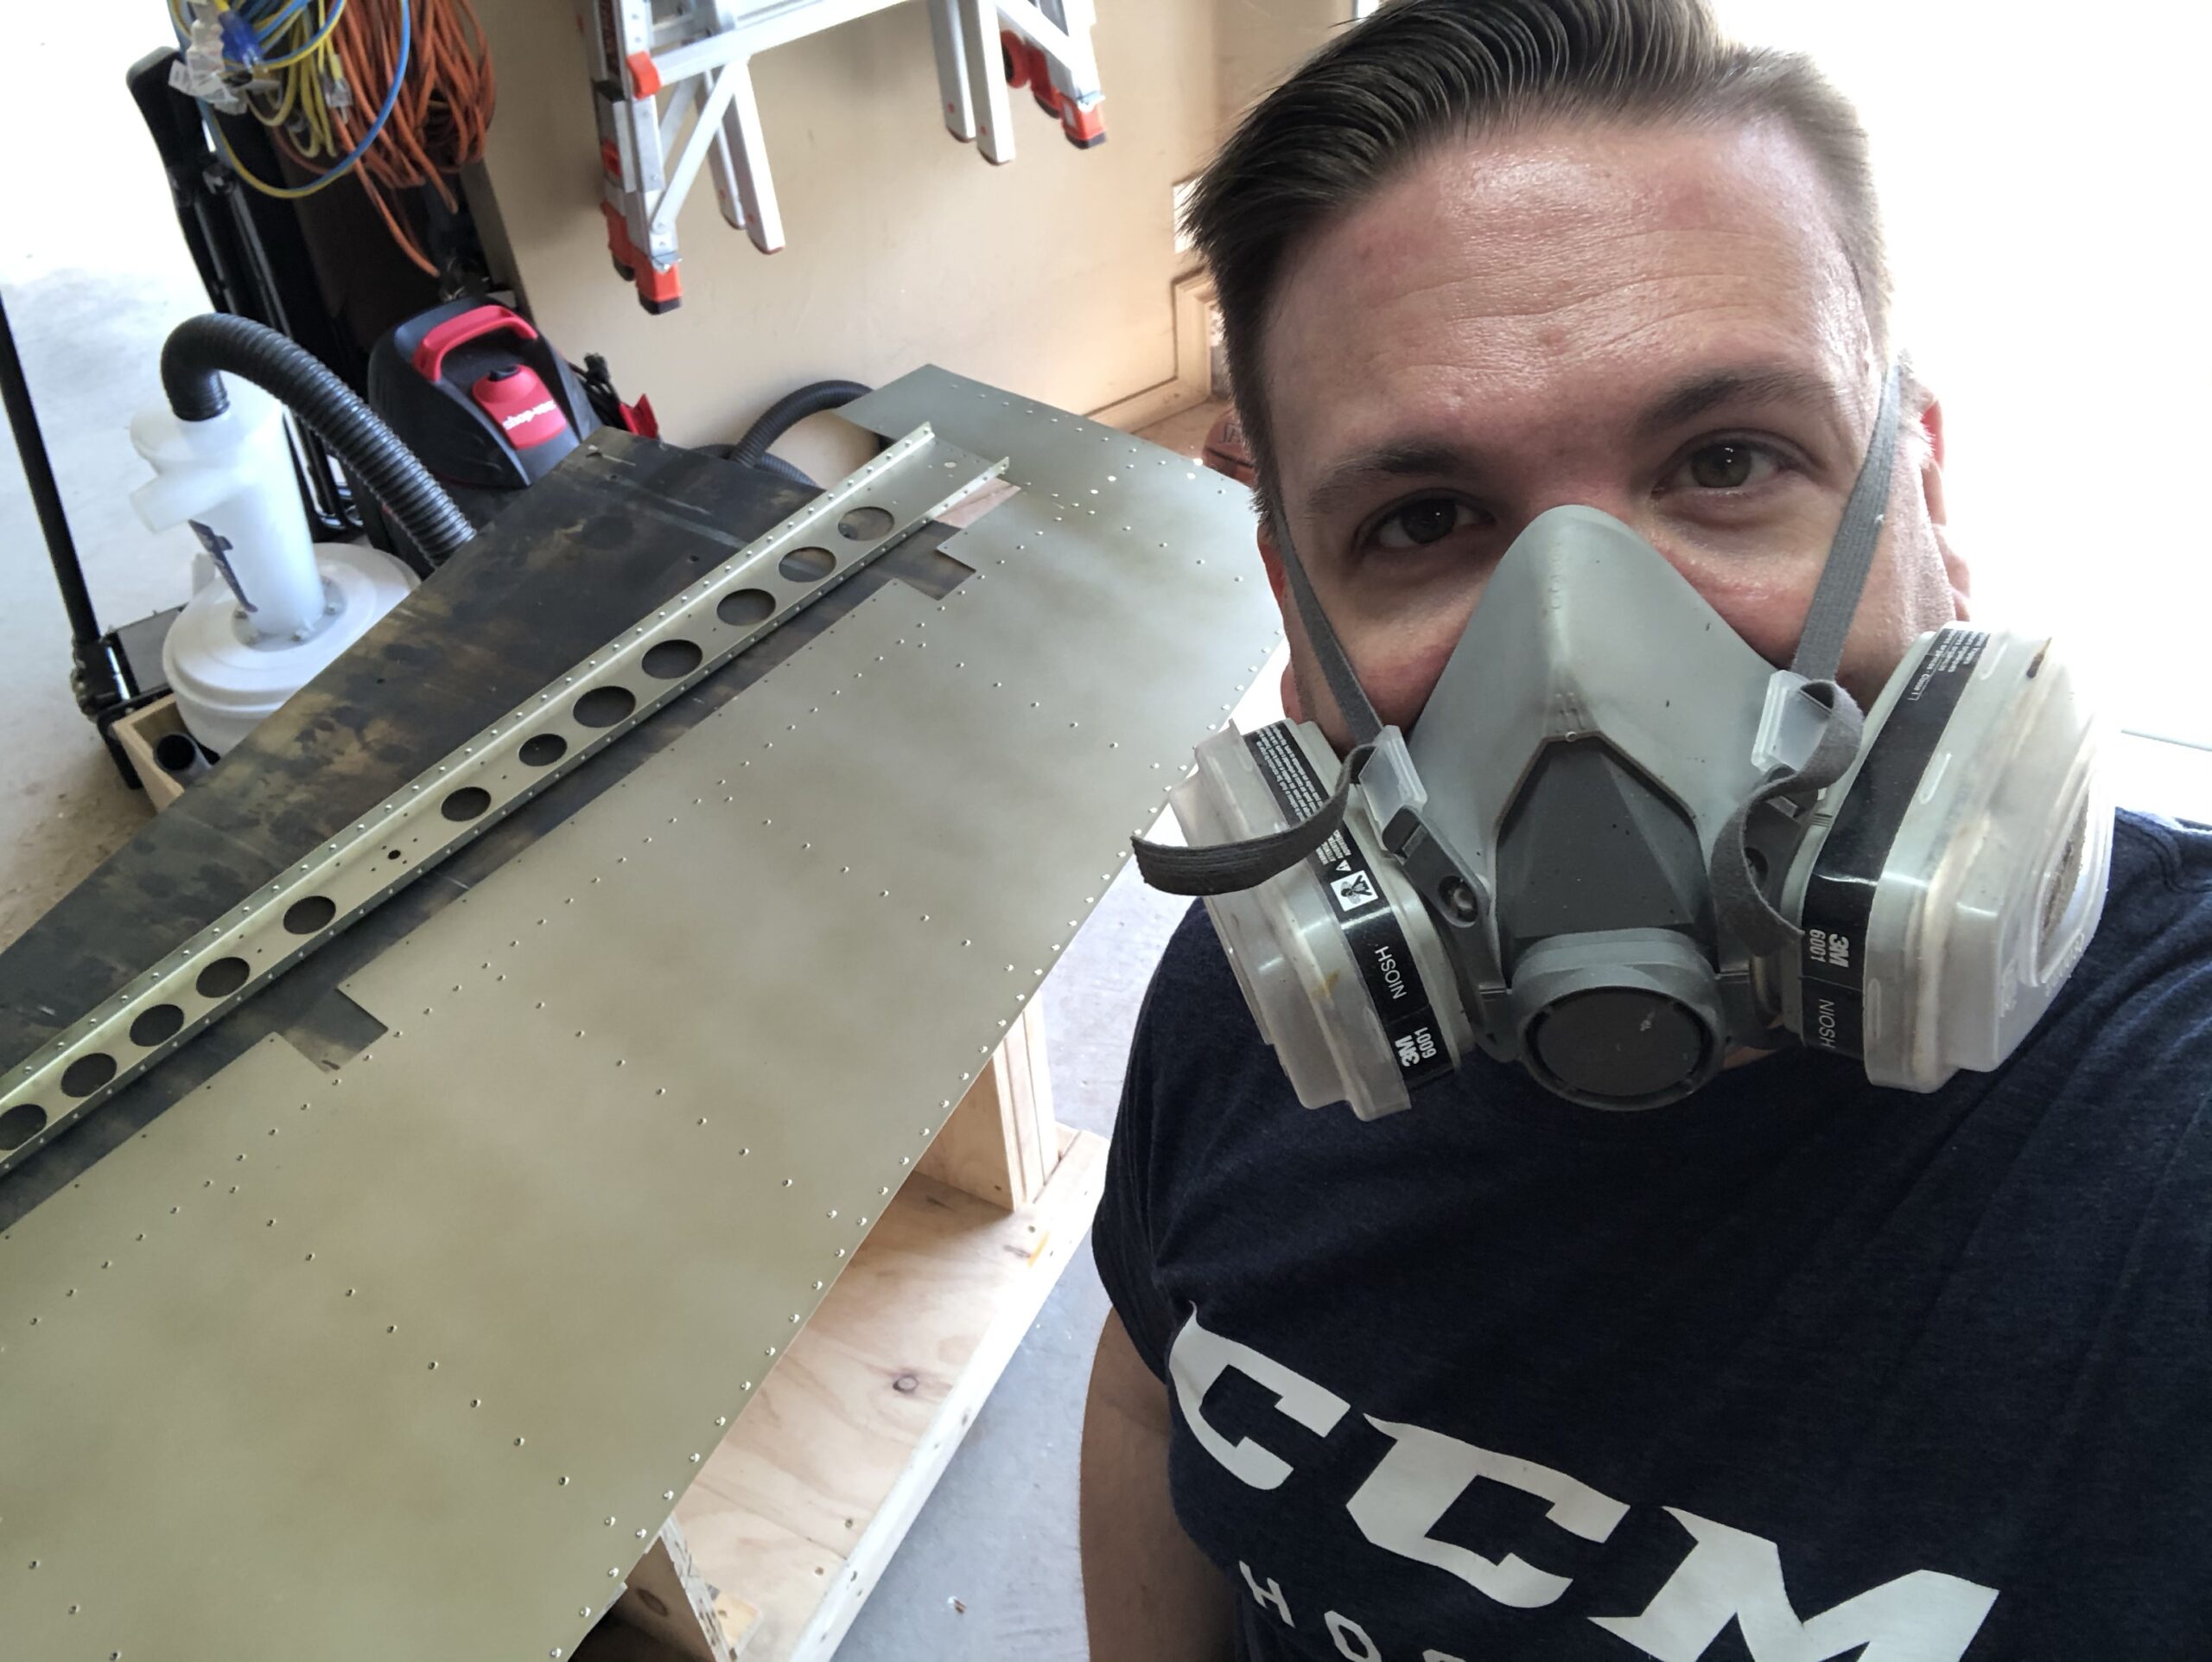
Me in PPE just finished up the primingJust the parts. It’s odd that the paint looks uneven in the photo but not in person. I must need to work on my spraying technique
I finally got some time to cut the new rudder ribs and sheer clips as well as rivet them to the new skin I had ordered. I went ahead and put the entire rudder together again just to see how it looked, fit, etc. I was short on table space (first error) and decided to keep working with the rudder in a precarious position (second error). As I went around to get another few clecos I bumped the table and the rudder fell to the ground.
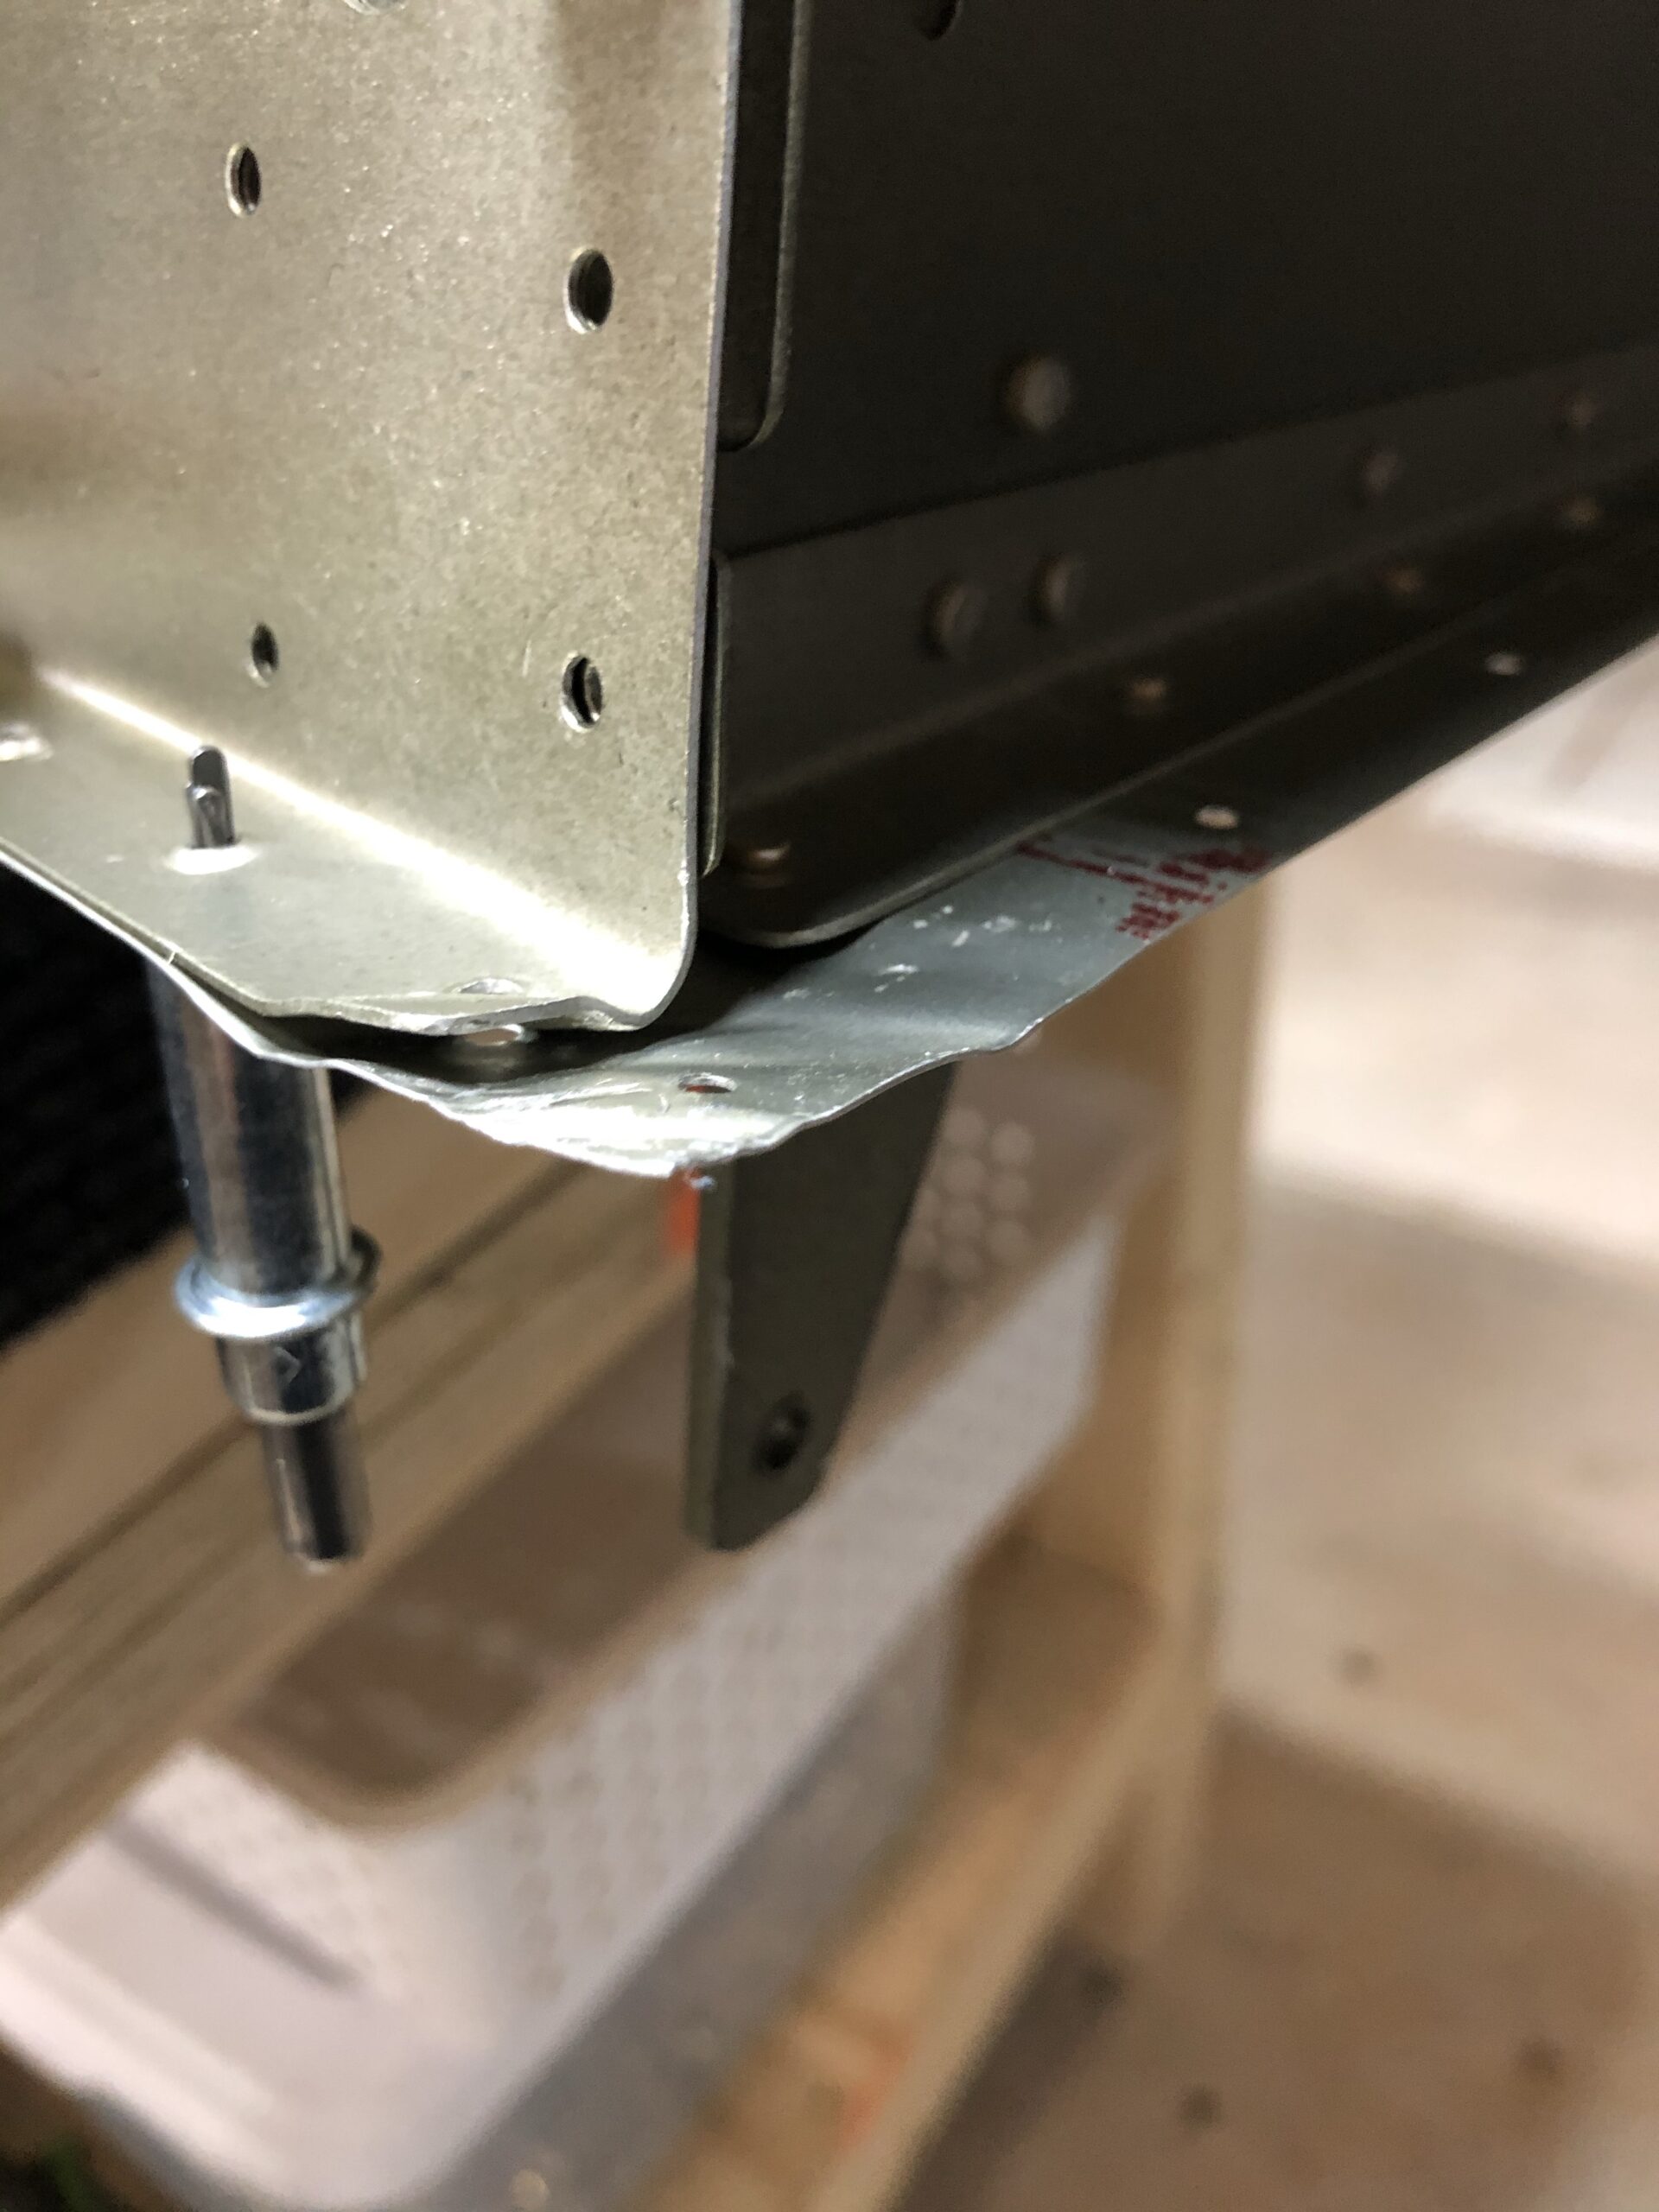
Side view of the damageLooking down on the damage
After bending the damage out (I don’t have a picture of the damage after it dropped) I noticed that it had creased the skin and the bottom of the spar and they had a fine crack in them. With a huge sigh I went back to my desk and ordered the replacement skin and spar and put it to the side to cool off.
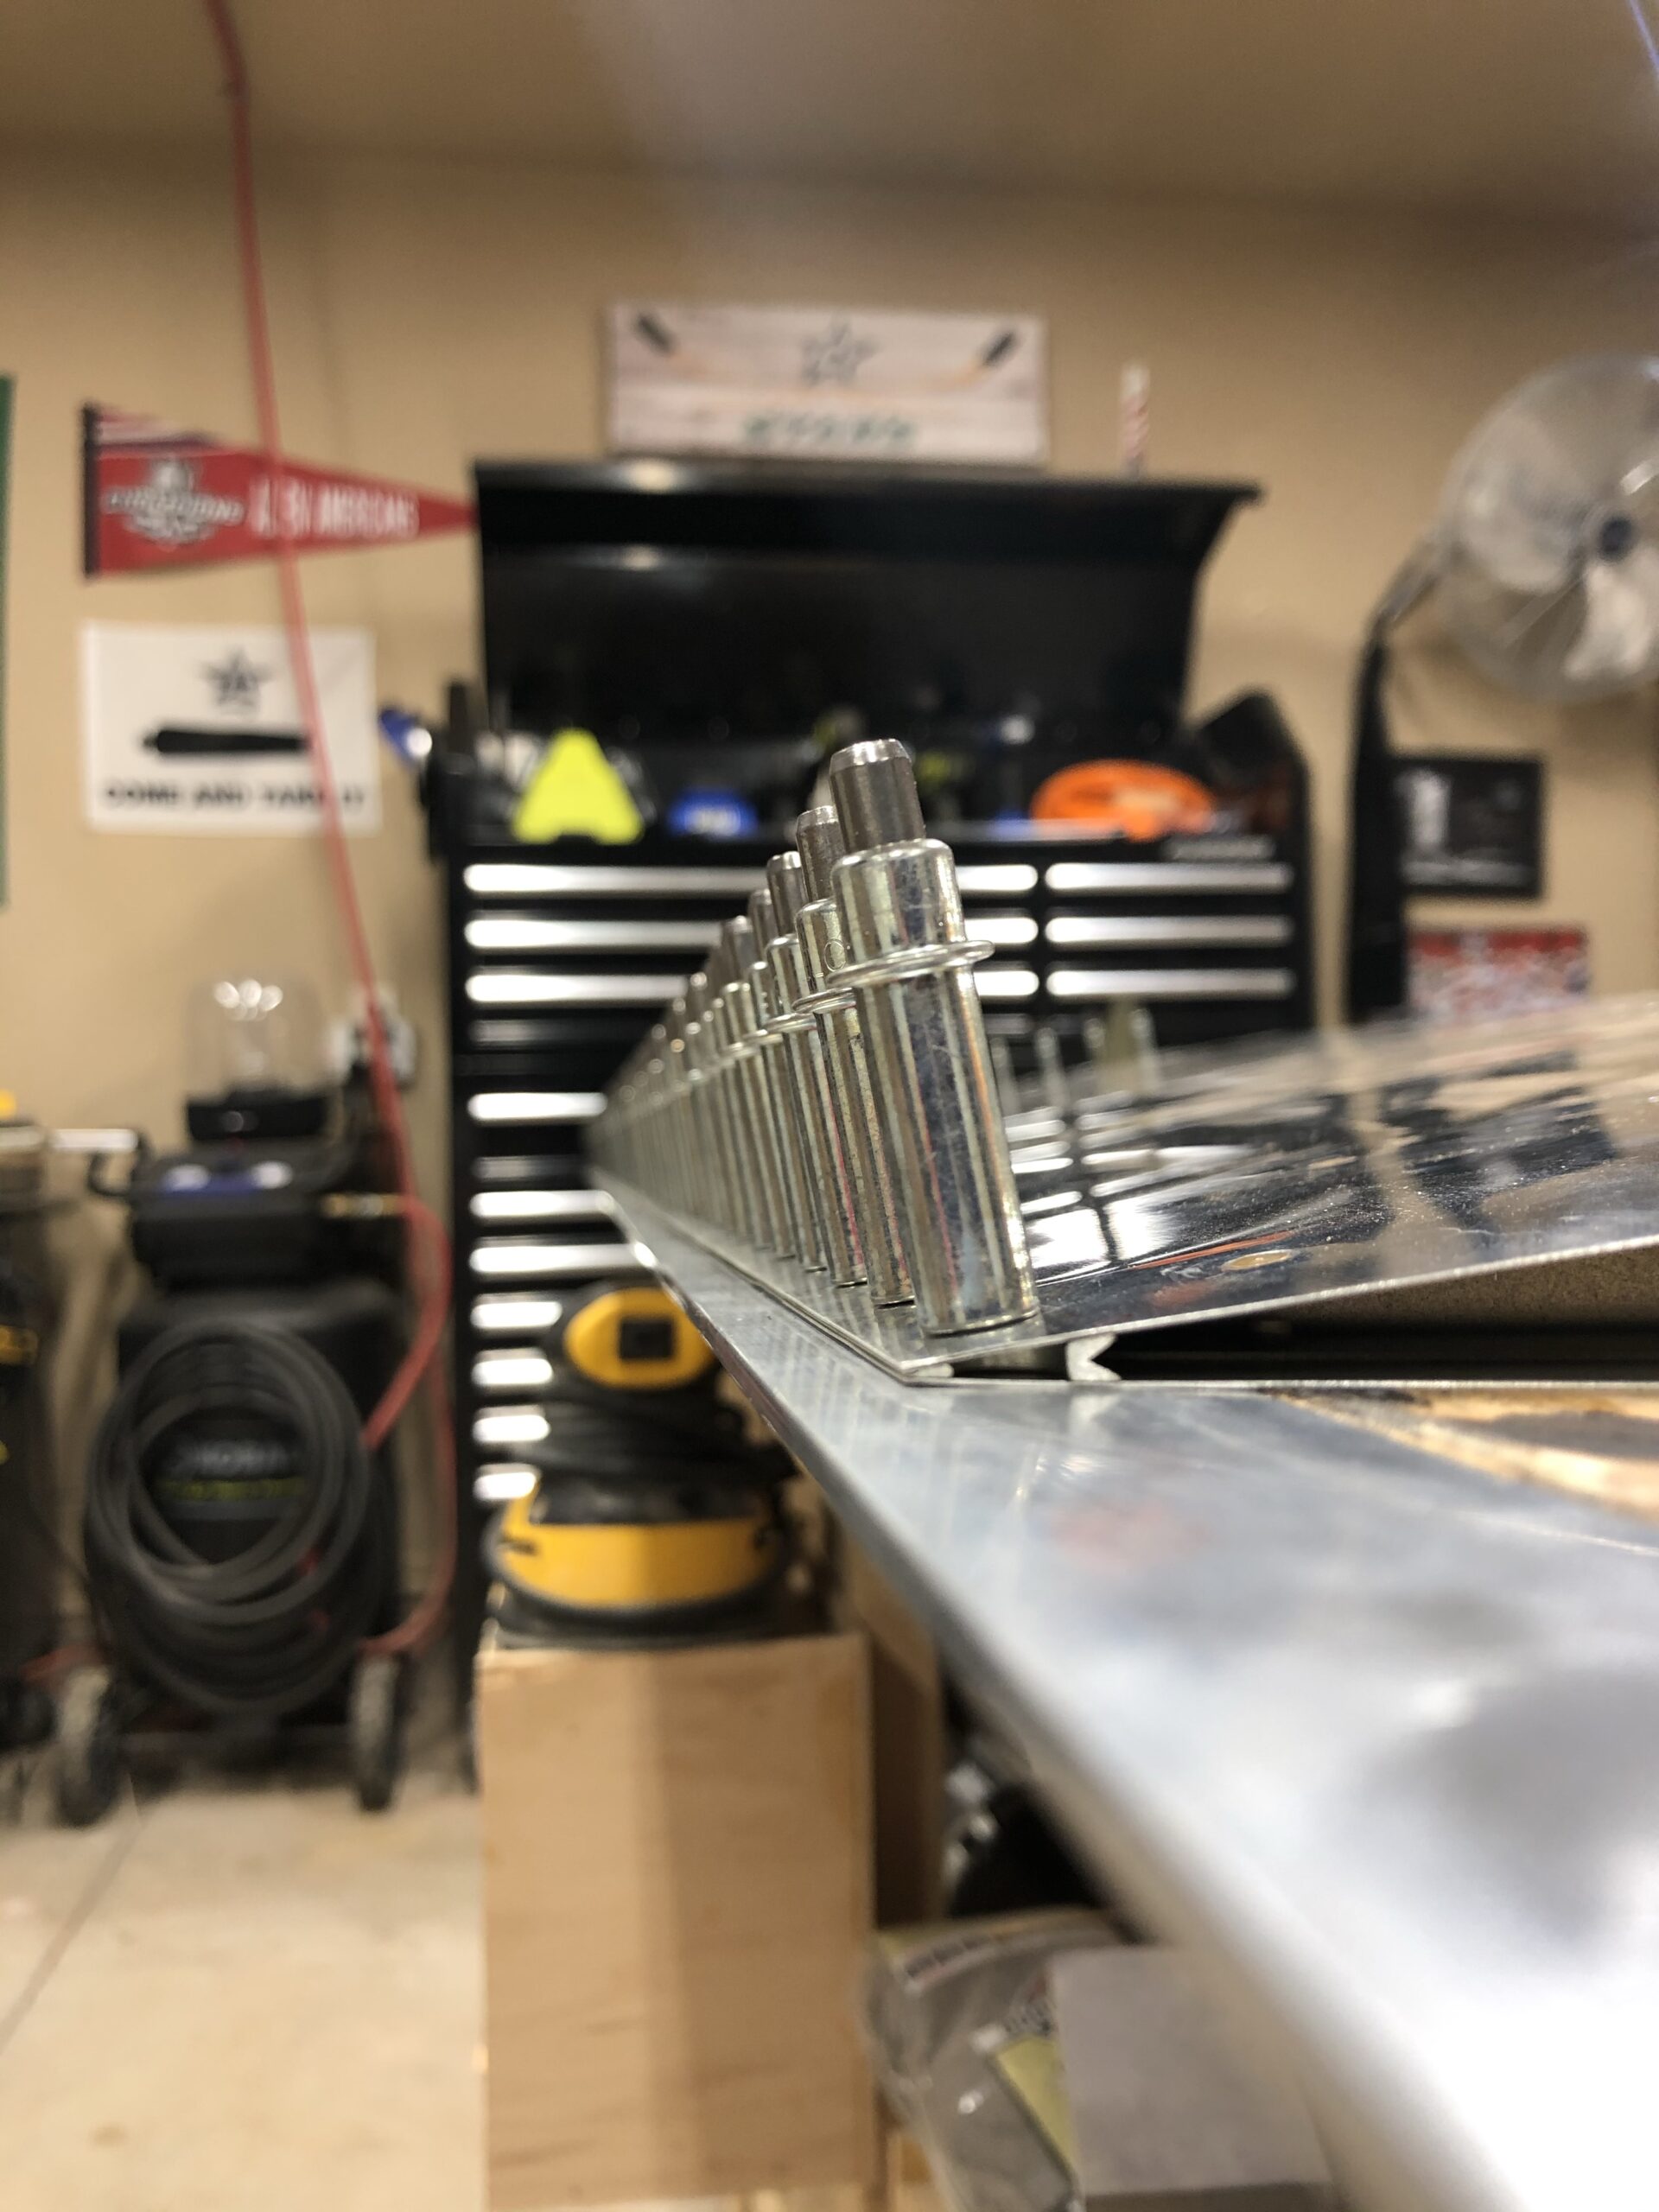
I finally got some time tonight to get out in the garage and disassemble the work I had just done. Luckily this time I was much better at getting the rivets off without enlarging the holes. So I didn’t have to order any new stiffeners. The new spar is my next step to prep and then the skin after that and I’ll get it all riveted back together. I hope to get some time to do that tomorrow but I have quite a few church activities to attend to. I also won’t have time on Monday or Tuesday as we will be holding the funeral for my grandfather-in-law. Here’s the aftermath of all the rivet drilling, or at least some of it. I had swept some of it to the ground already.
A small amount of the rivet drilling carnage
Luckily I’m not discourage still. I enjoy working on this and I’m learning lessons all along the way. I have gotten better at removing rivets like I stated and I’m also getting a little bit better at priming the parts. Still loving this 🙂
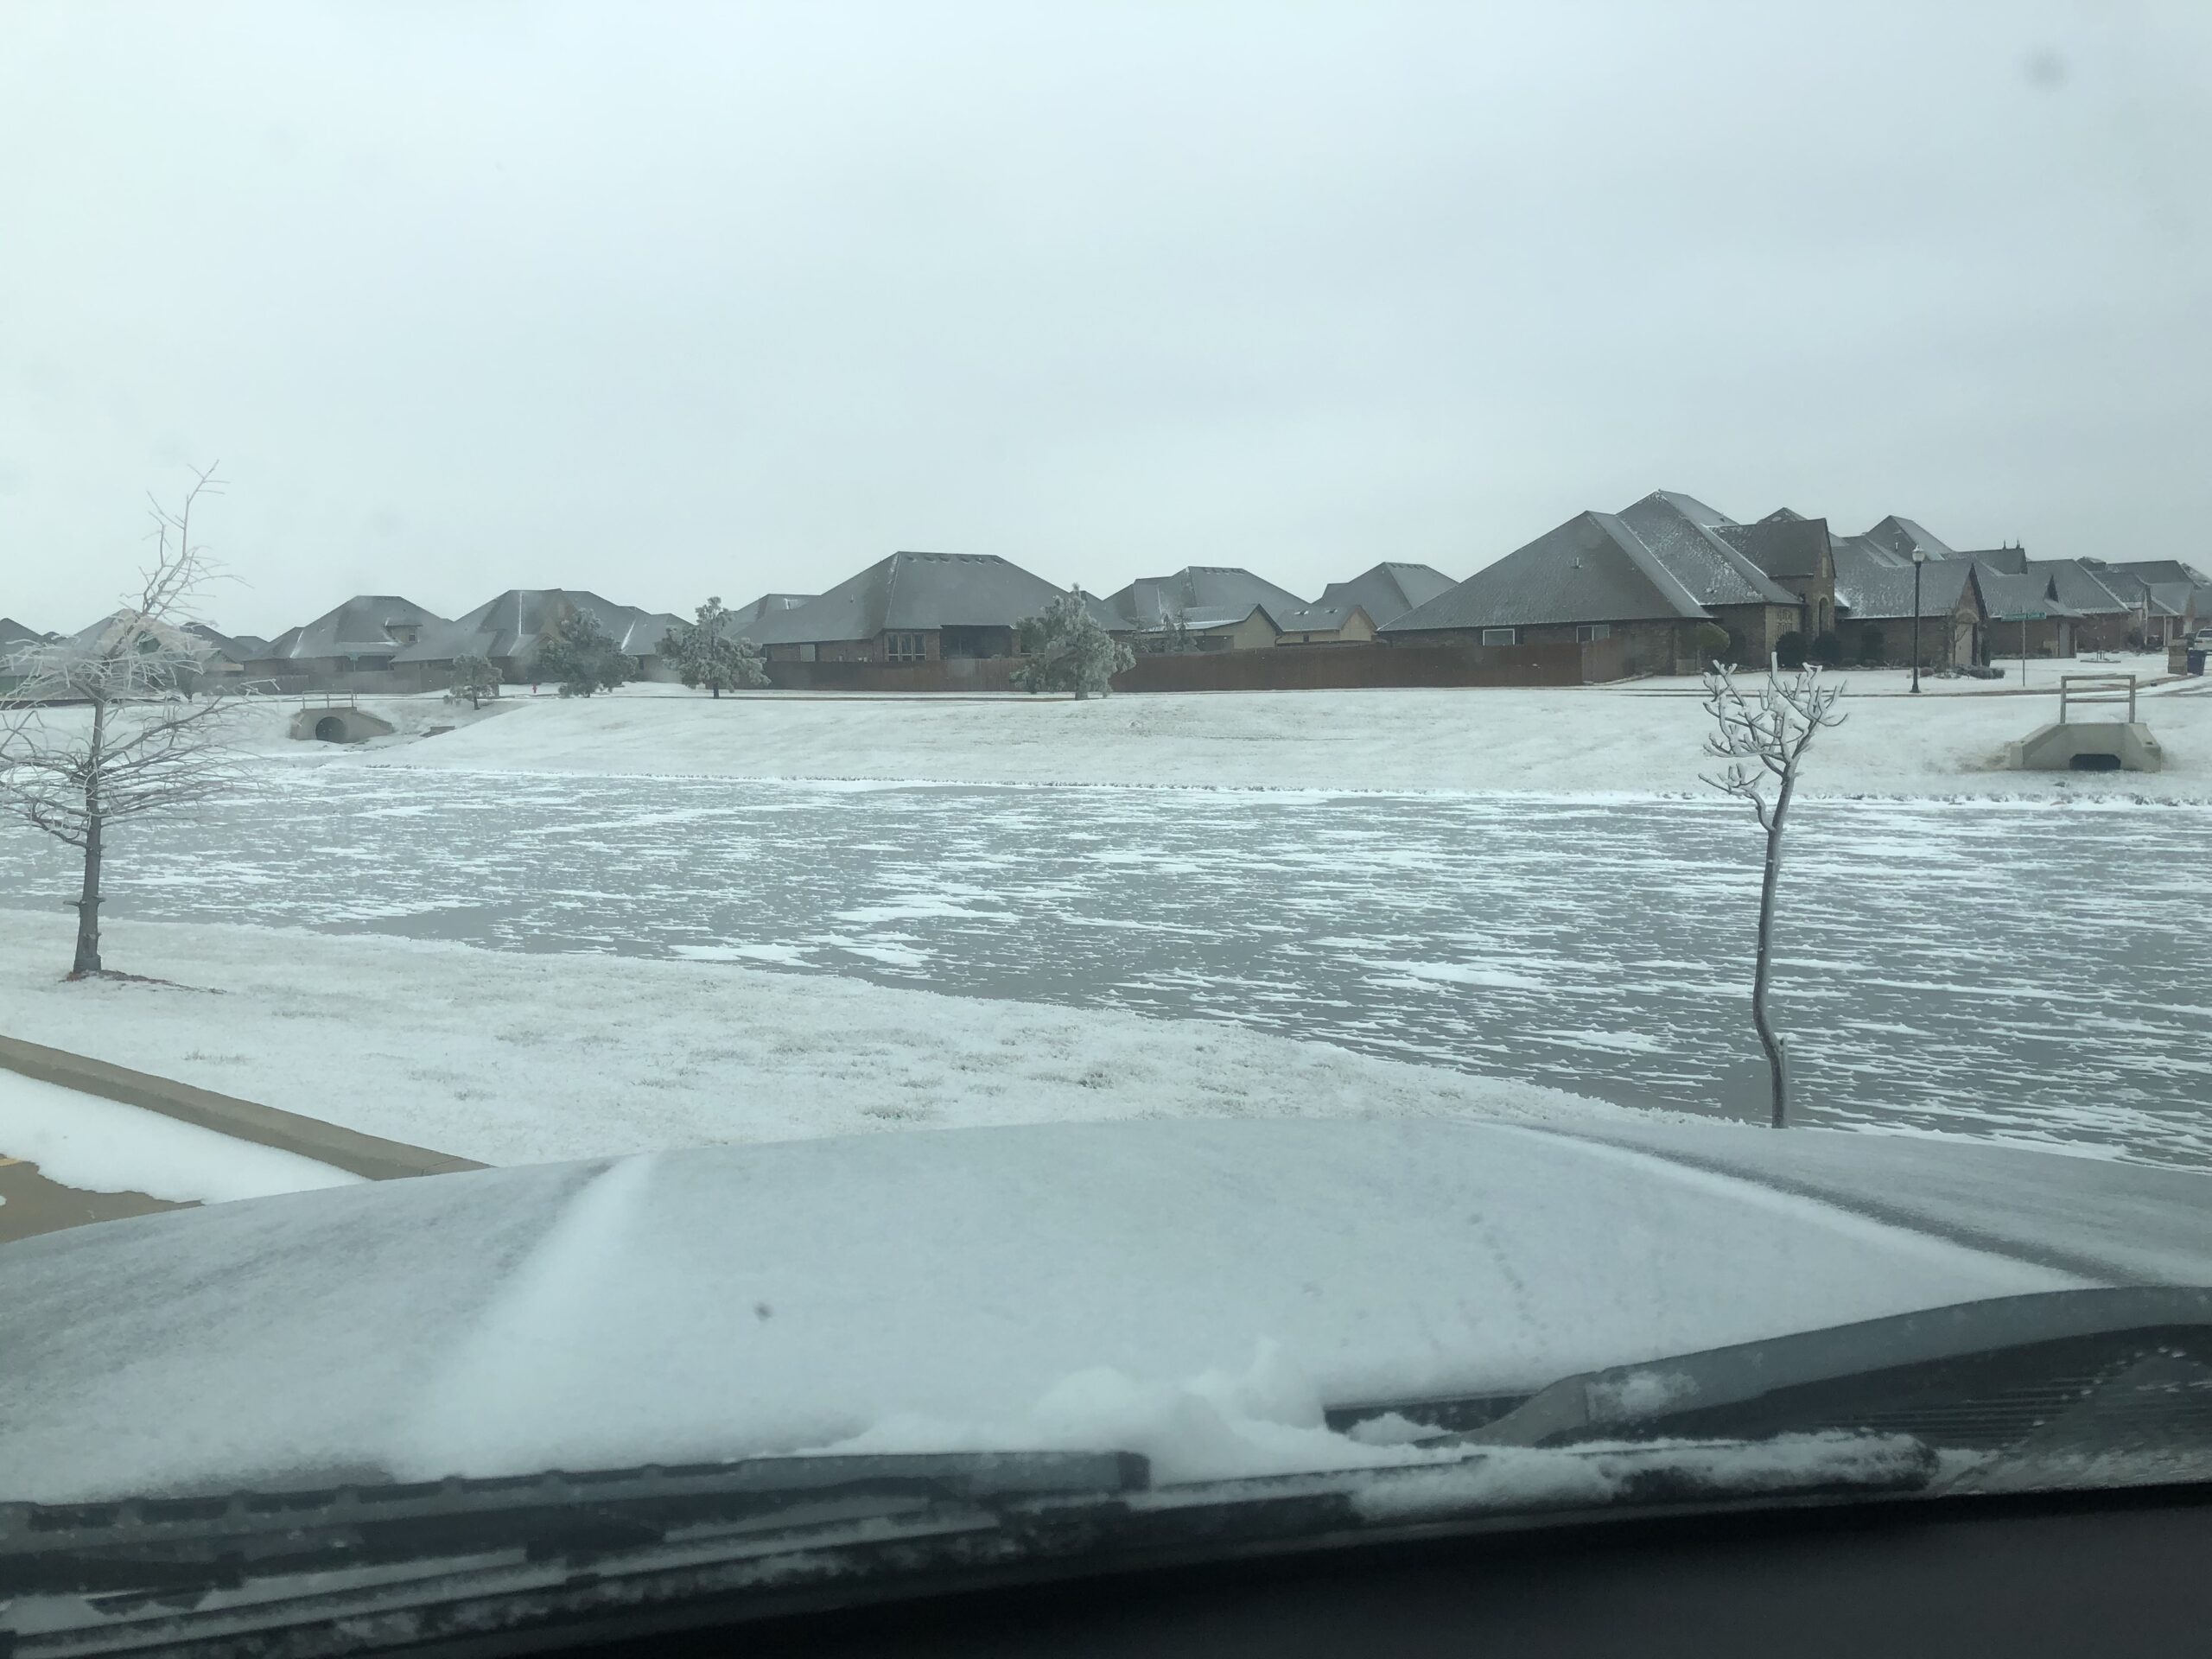
I spent a good 2 hours getting the new rudder skin deburred, dimpled and riveting the stiffeners on. I am kind of at a stand still now as I’m waiting for parts to come in which might be a bit longer with all of the snow going on here. Crazy snow and temperatures have covered Oklahoma over the past 5 days. I have been working from home for the past week with the ice that came before the snow. Luckily I’m catching up on some reading and cleaning up the garage so that it’s ready to redo the stiffener work and then getting the rudder put together. I’m super excited to get the parts in!
Our community pond frozen over! Enough to where it held my weight
I also found a really nice and simple paint job for the plane! I really like this simple idea and it’s actually a fairly normal paint scheme as well, but it’s the silver, metallic, blue that they have that also makes it look really nice.
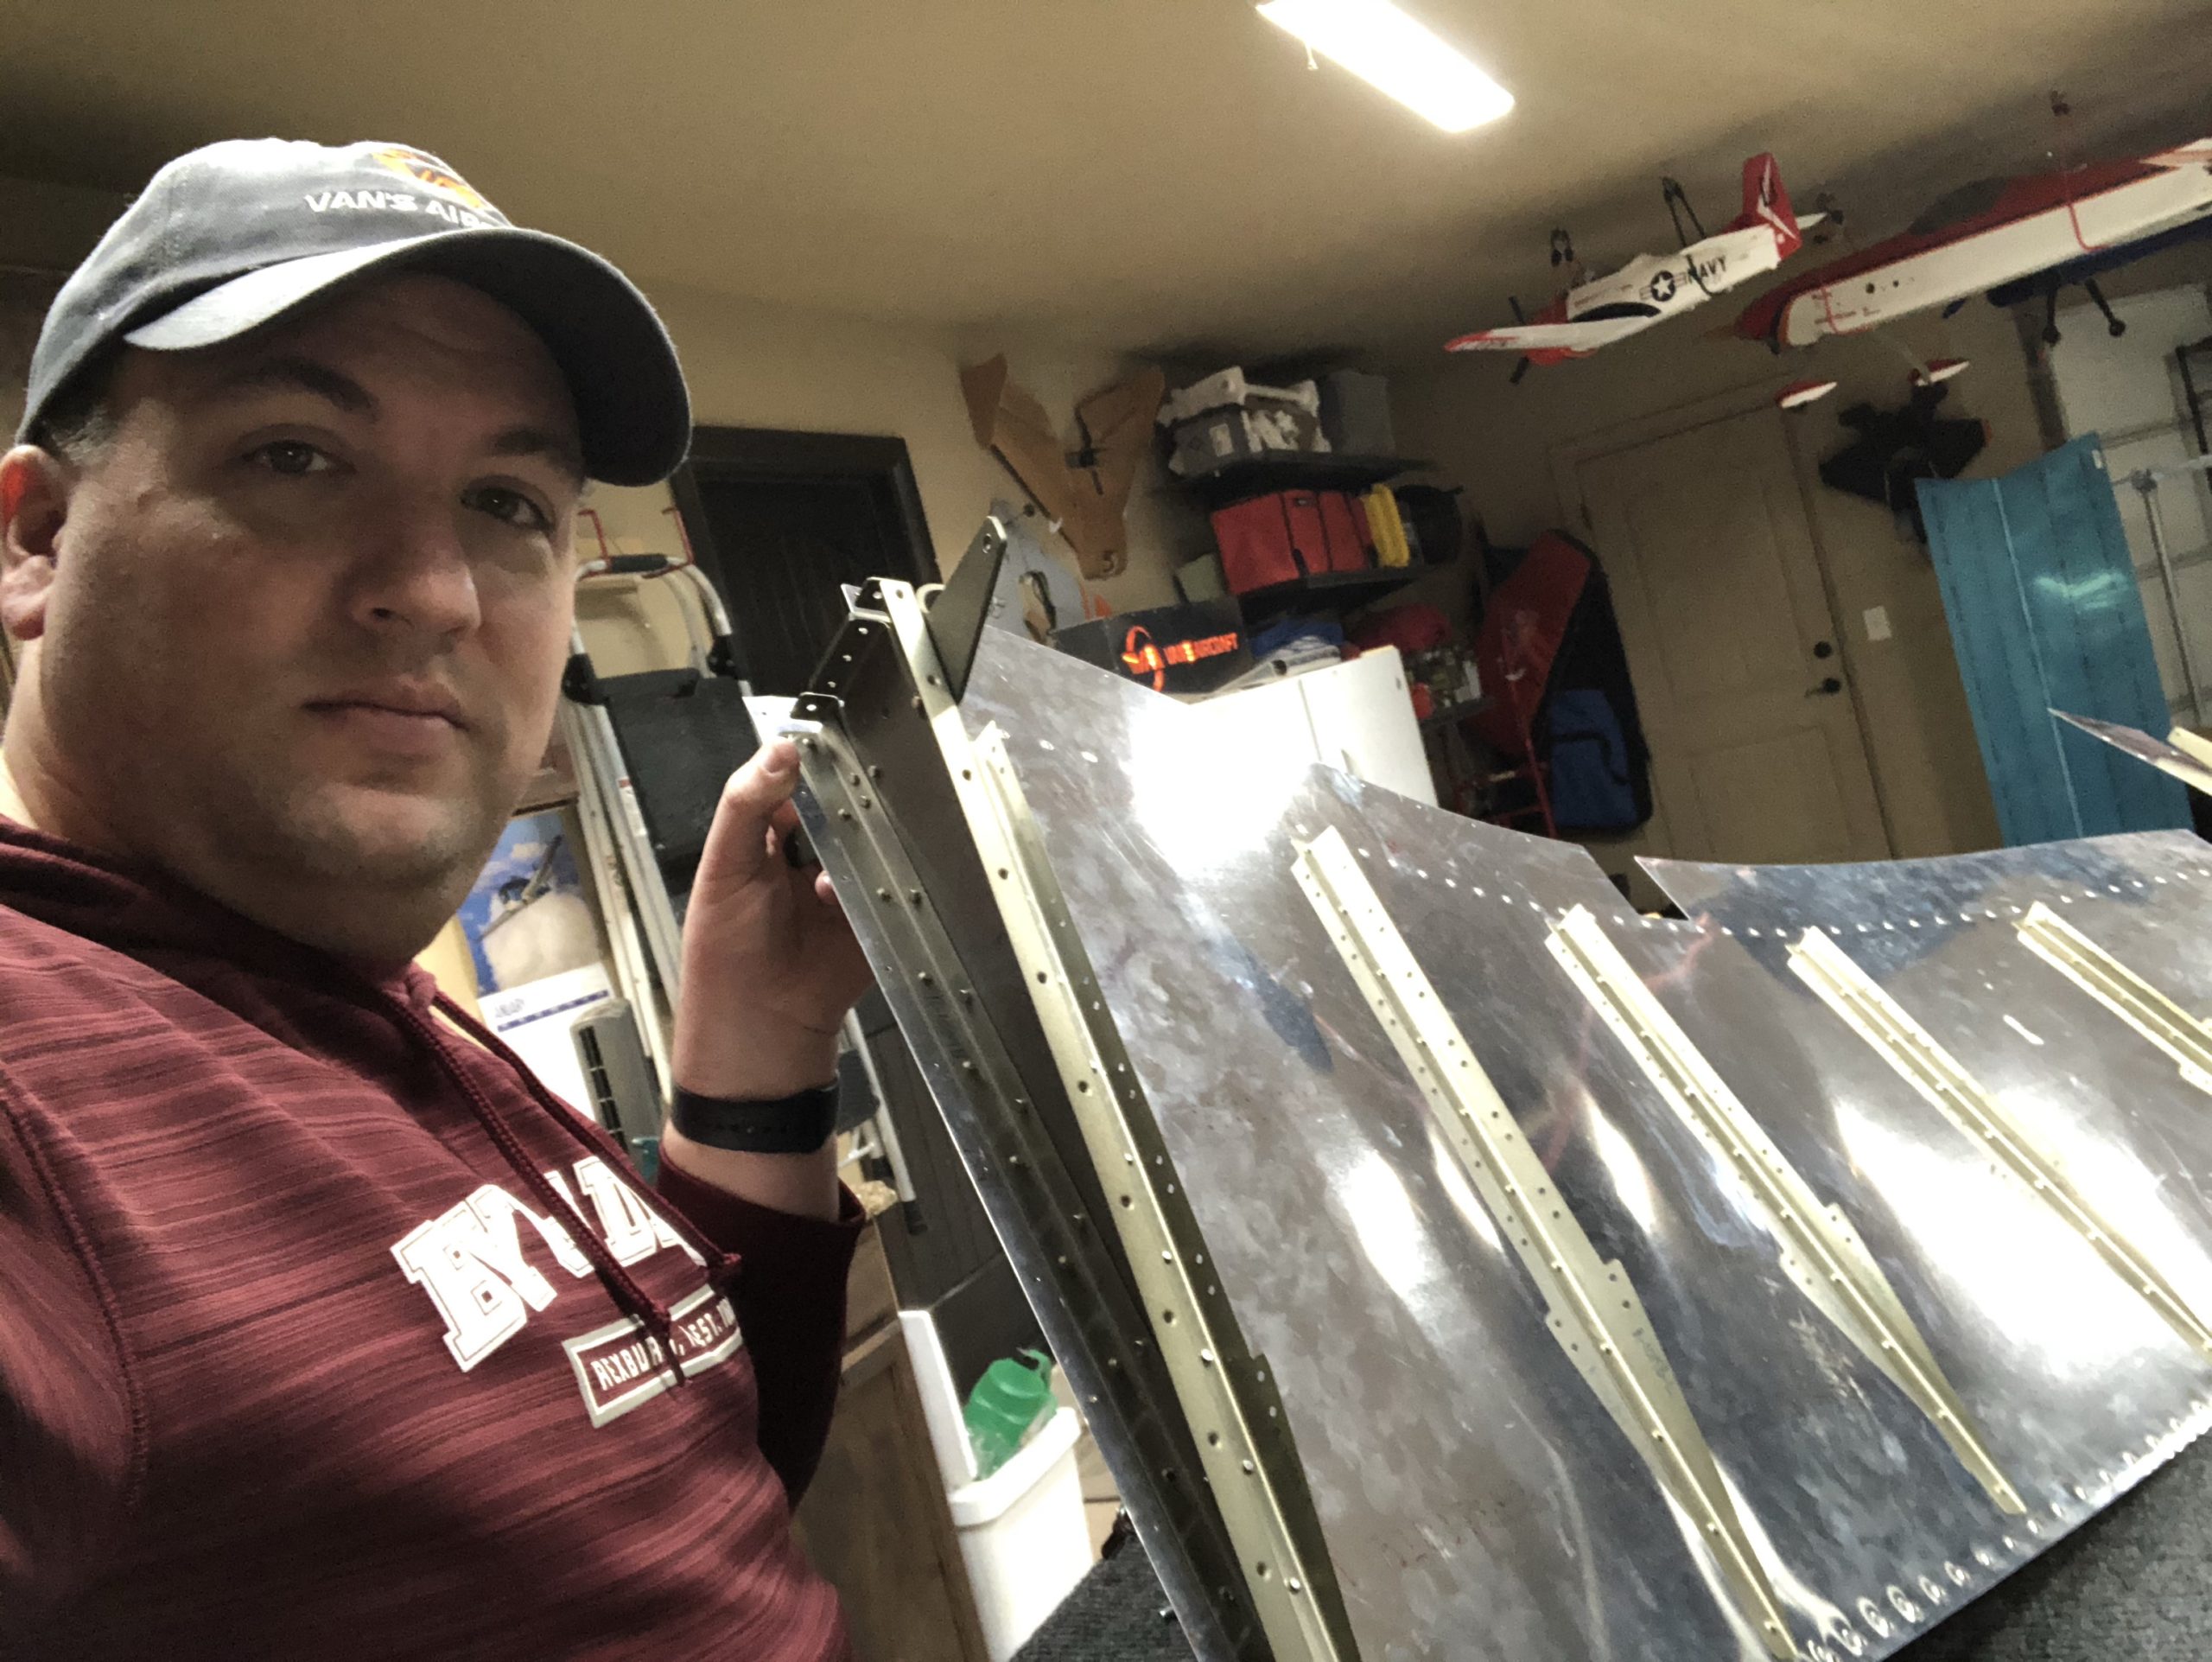
I wanted to get the rudder ready to assemble while I wait for the tank sealant to show up to finish it up. I got all of the rest of the parts attached to the rudder skins and I went ahead and just put them together just to make sure it all still fit well. Everything went well and it’s ready for tank sealant!
Me with the right rudder skinRudder skin on the tableTemporarily assembled rudderTop of left skin rudder
I got the bottom section of the rudder as well as the reinforcement ribs along the inside of the rudder skin done. Not too bad, but I did learn a little bit on the backriveting. Even with a rivet that is of the correct length you can still have it fold over. I had to drill a few out for that specific reason. I would give the rivet a burst, pull it off to take a look and then repeat until the rivet was set to make sure it didn’t start folding over.
Finished rudder skin set asideFinishing up the other rudder skinFinished lower rudder control
Today was the first time getting the chance to prime. I had all of the parts from the VS, rudder, and first few steps of the HS to prime. I took some ideas from these two paint booth setups to figure out how to do my own version.
Both of these were excellent setups. I did a more basic version to get started on this one and setup the following square with a door.
Basic paint booth with forced air fan on the left and a vent fan on the right
It started sagging in the middle because I didn’t have a pipe holding them separate so that will be something I will improve in the second version of this. The fans were fine the way they were. I will say that I will need to make sure I sweep very thoroughly as there were a few grass clippings that wound up inside. I also need to find a better way to attach the film to the bottom of the pipes because in some sections the film came off and left some holes for air to come in or escape from.
I also need to create a seal around the door that was close to the garage door. It was letting air escape there quite a bit as well. I think on my next version of this, I’m going to make each panel where it can be separated and zip tied together, but I’m still mulling that over for now.
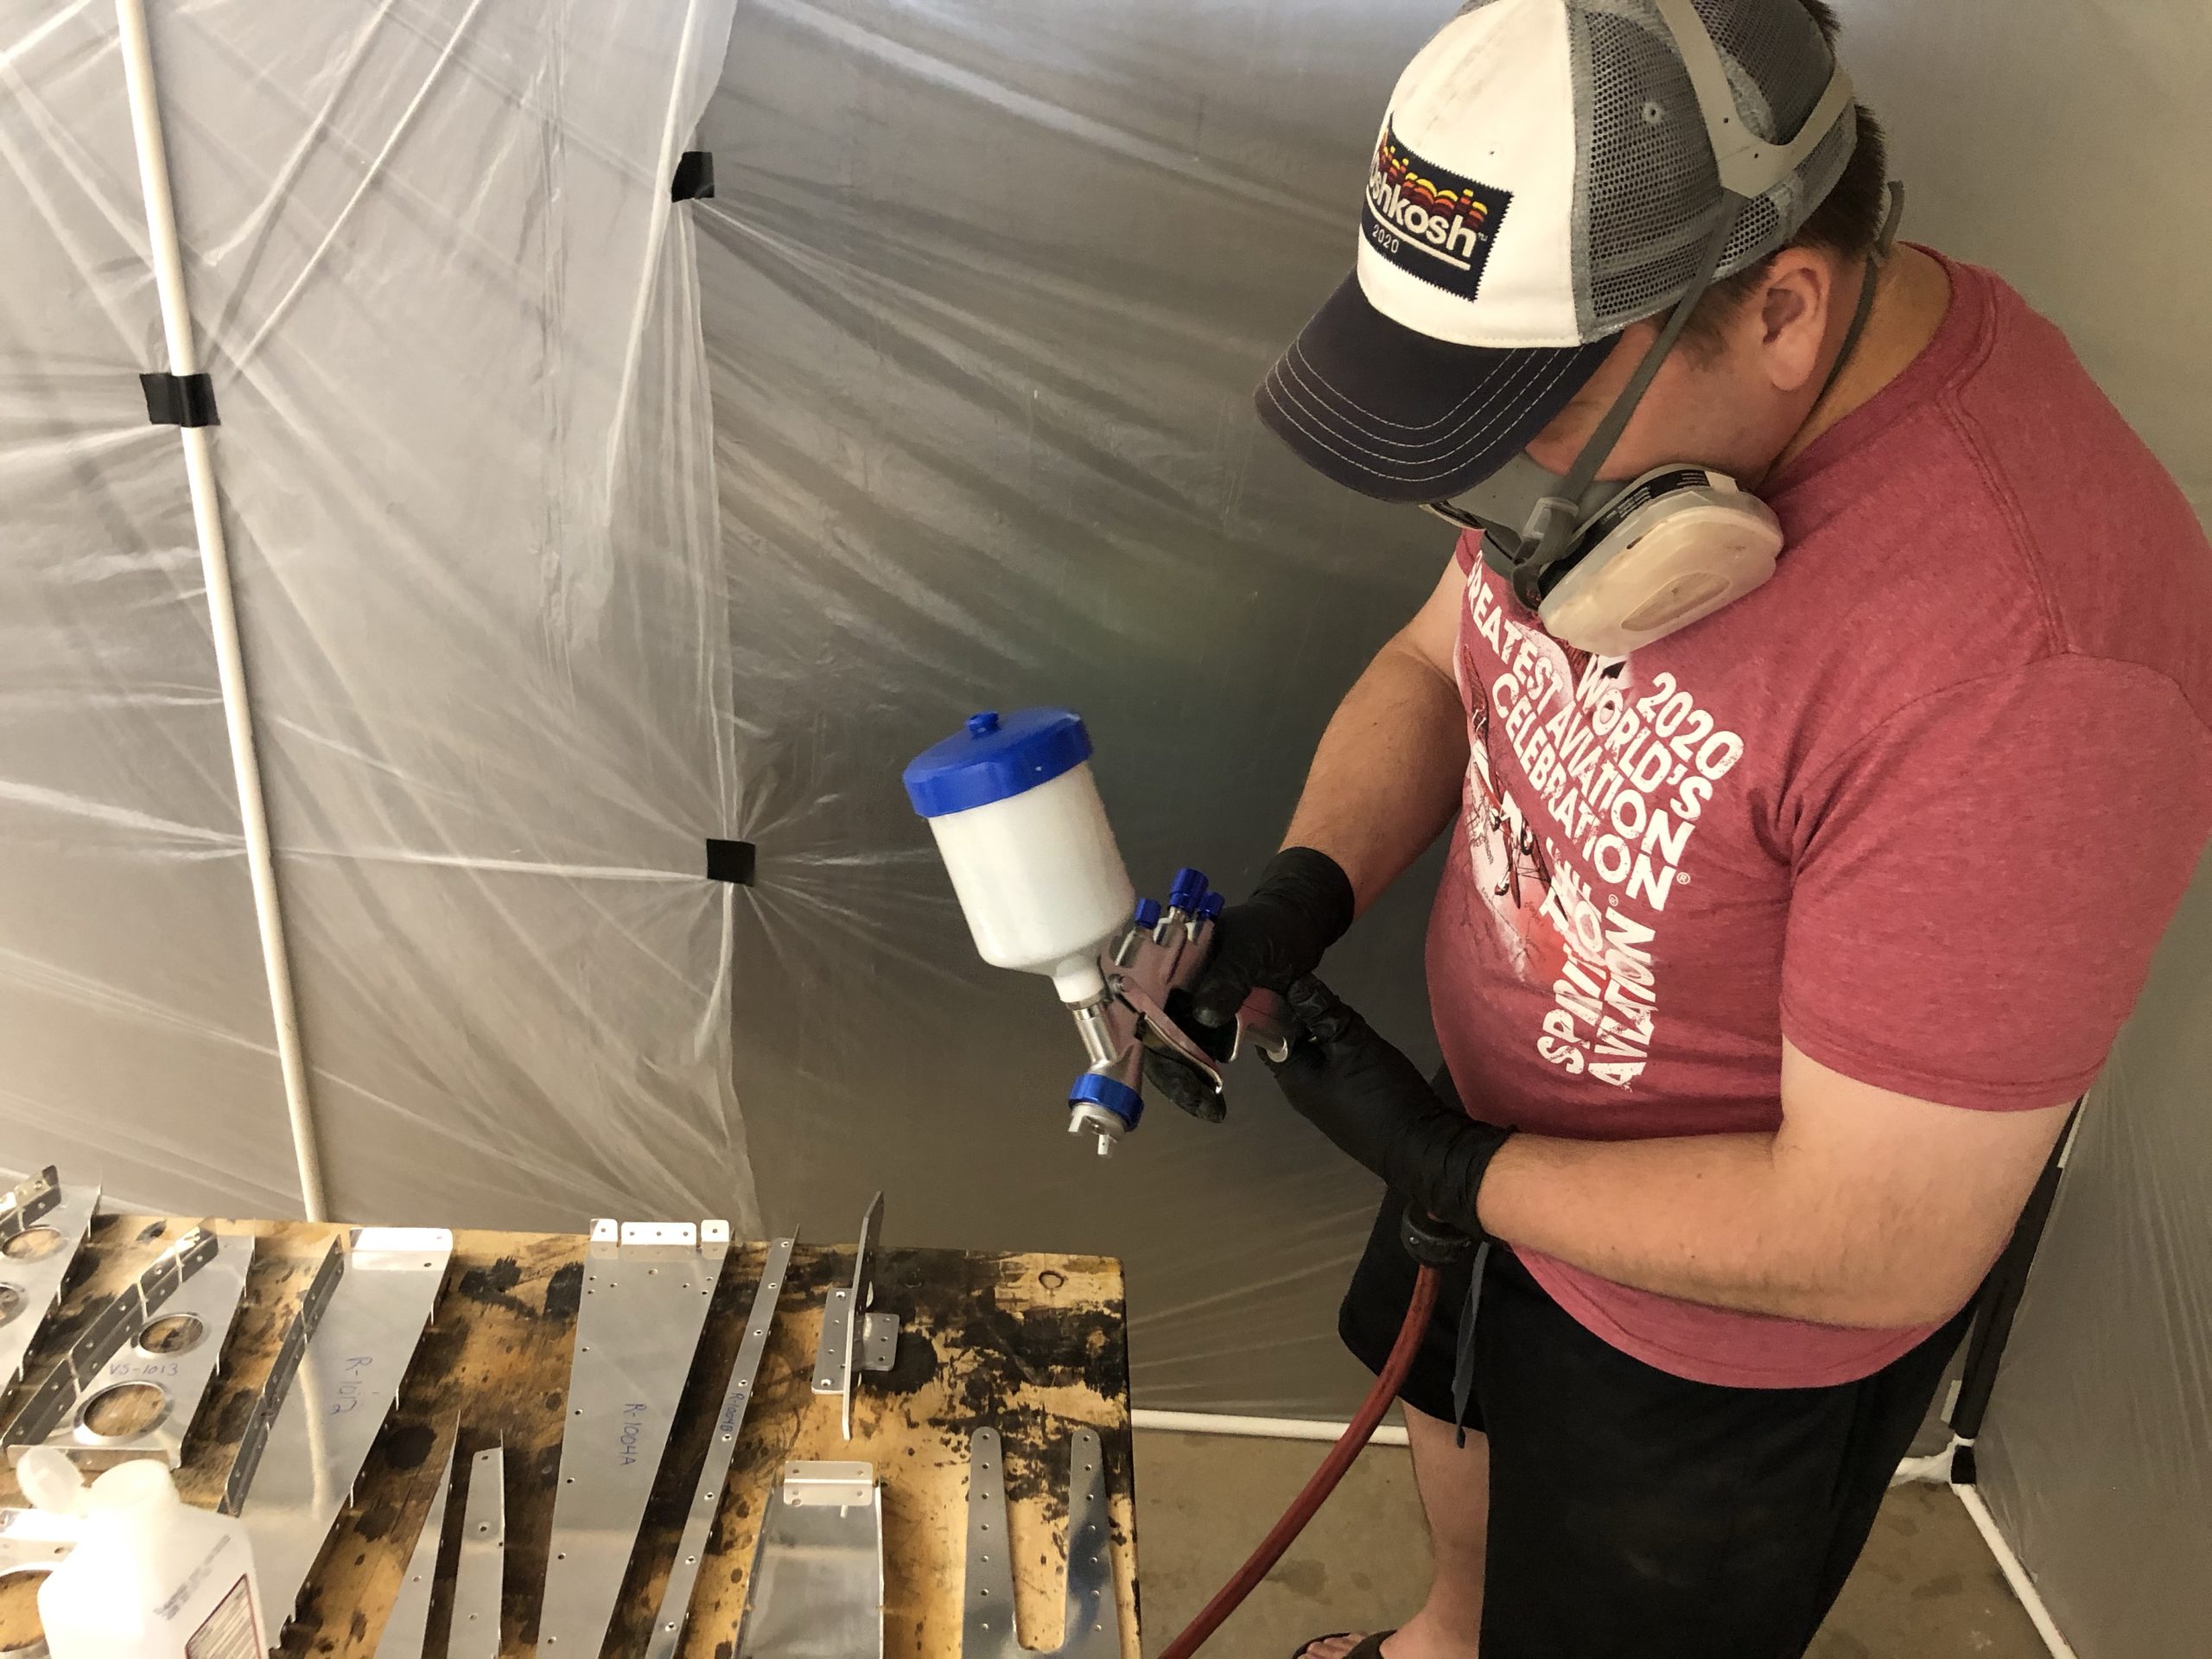
I got all of the parts sprayed and with some advice from some people who are experienced the the P60G2 primer I have some options to improve my coverage for next time. They said instead of reducing it 1.5 to 1 with reducer I should go with a 2 to 1 ratio of reducer to paint. It sprays better and provides a more even coat rather than this blotchiness I was getting. I also need to remember to get an air drier for the air system. That could also be causing some issues with this blotchiness if water is being introduced into the mix.
Either way here are pictures from me spraying some of the parts and the completed parts.
Remarking some parts that I had to clean off around my original part marksCleaning parts with isopropyl alcoholMixing up the paint since it’s been sitting for a few monthsStarting to spray!All the parts after sprayingUpclose of the coverage. I got a Tyvek suit because I see some of my hairs wound up on the part. You can also see the blotchiness I was talking about earlier