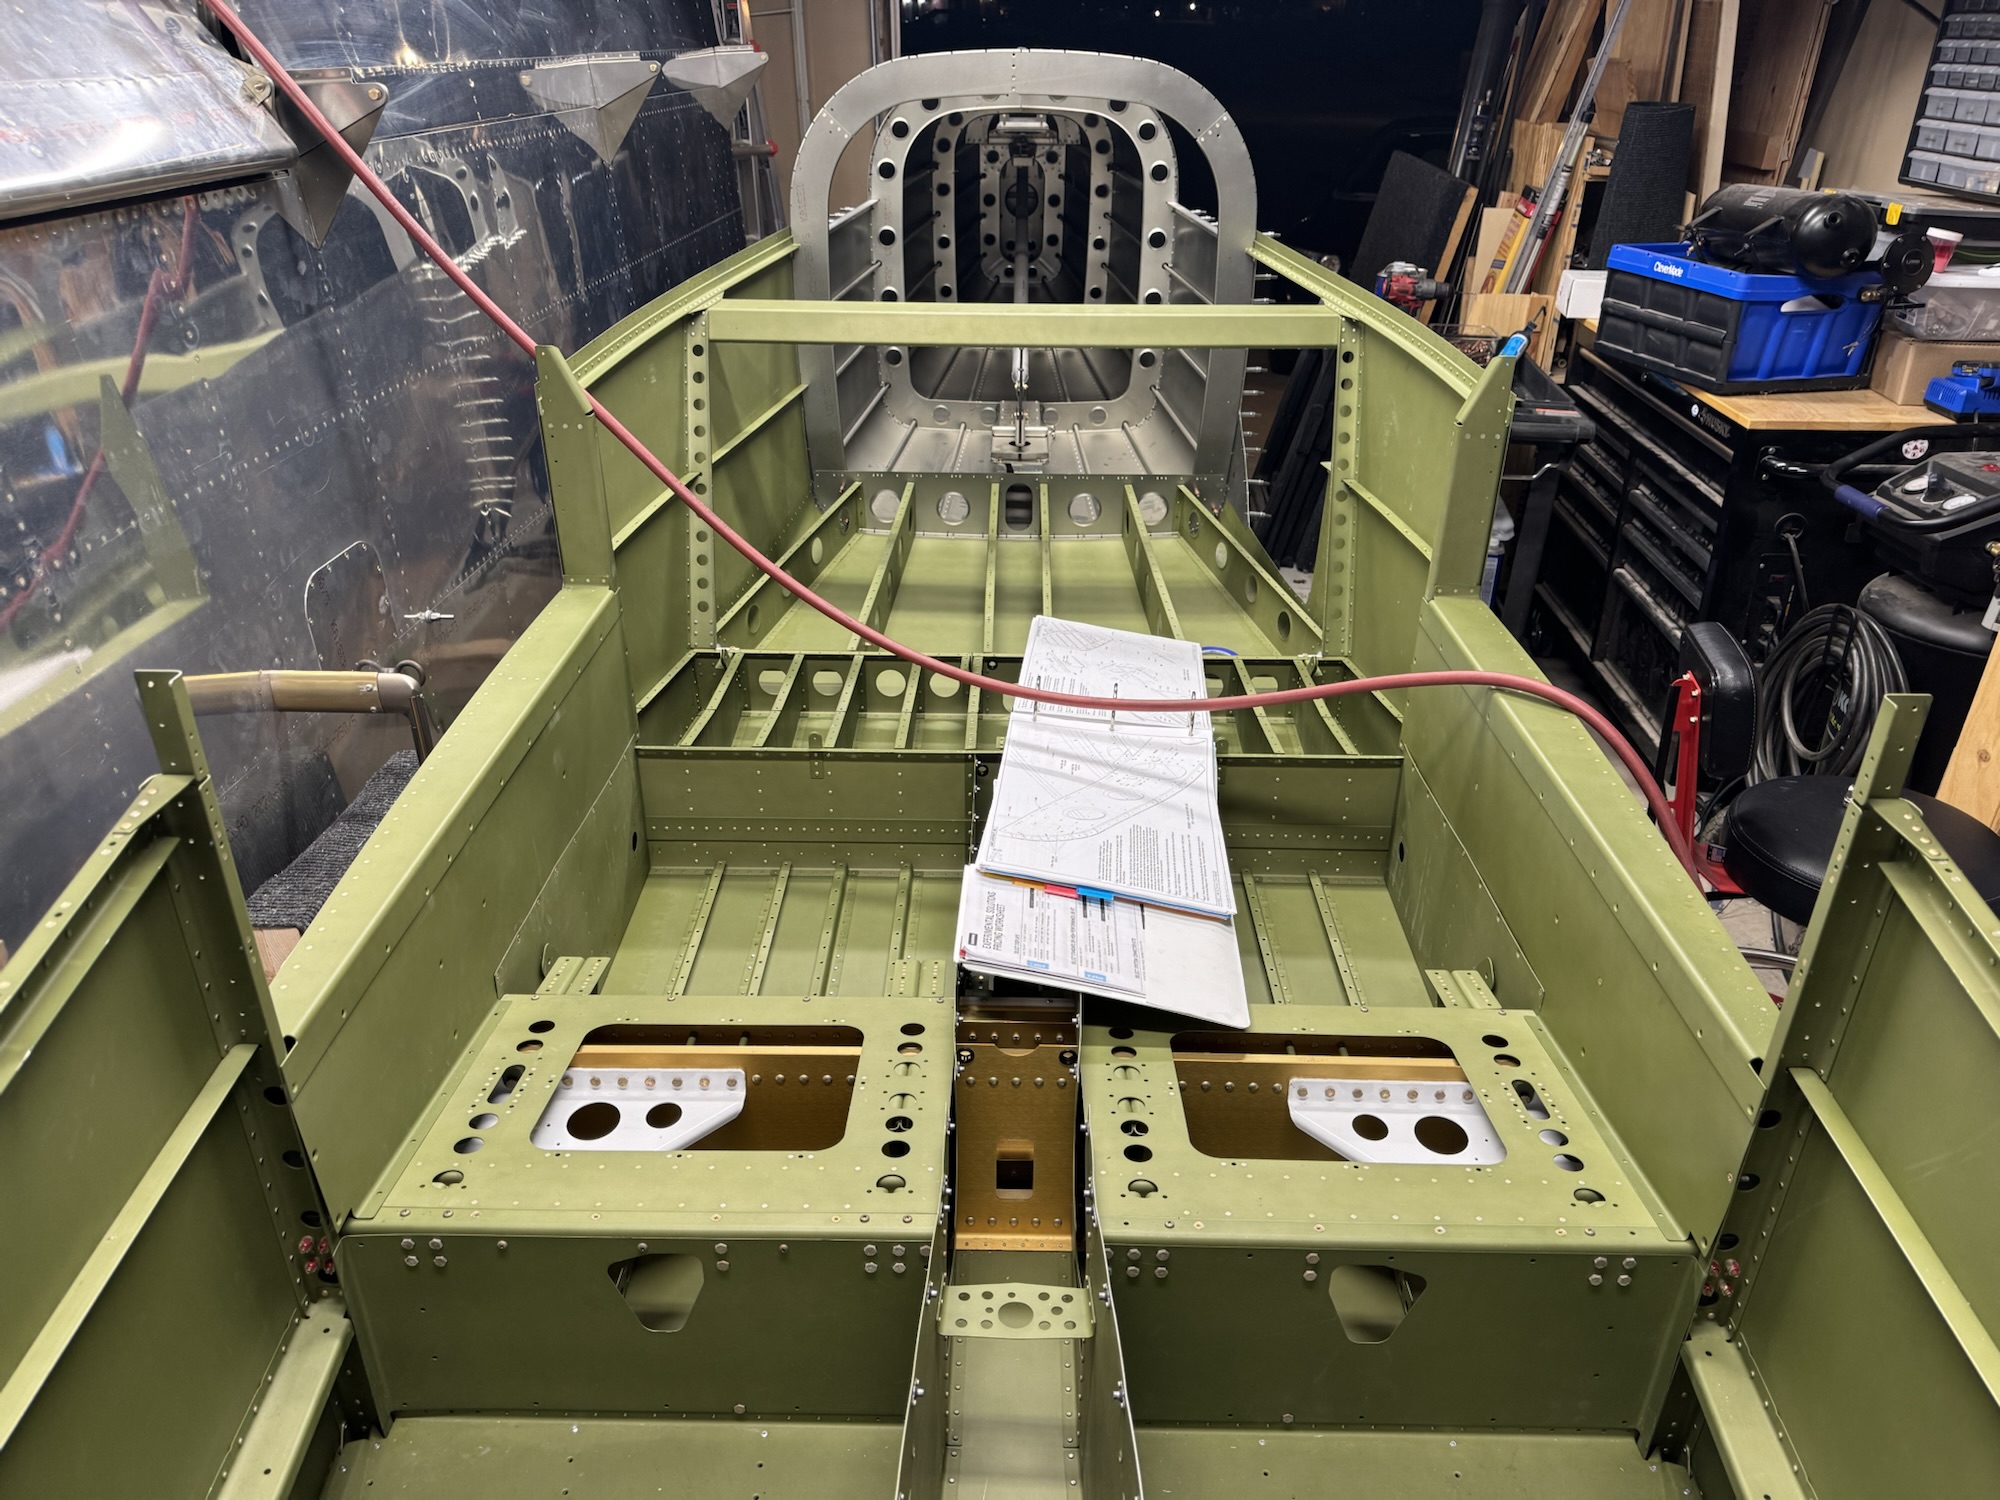
I finished the empennage today with some help from Brendon and Kate. Trying to work on the ground while also having to be in the fuselage was not going to work with just one person. But all of the rivets have been set. I am surprised that they didn’t install these edges that attach to the skin that the baggage floor rests on. They didn’t need to be off for the empennage to be set and it even has them install it in earlier sections. Either way I went back and installed those along with the shims that go with the baggage door opening side. I guess they wanted more strength there since that is where luggage will be entering. Either way it looks good and is ready for the next step! I need to see what parts are needed as I left some parts in storage so I might need to bring some of those back soon.
Tag: Tailcone Attach
-
Dimpling/Countersinking Complete – First Rivets
Lots of work that is hard to show in this picture, but I got everything match drilled, deburred, and dimpled. I then got the tailcone back on. I ended up having an easier time doing it myself by putting the tailcone on a single saw horse but almost perfectly balanced but a little heavier towards the fuselage. That allowed me to work each side in much easier. I got everything reassembled like the picture from yesterday and I got one side of the riveting done along the F-1006 bulkhead. Tomorrow I hope to finish all of the riveting but we’ll see. I need to work on my boys’ car as it has had a transmission leak for quite a while and I’m done with the fluid stain on the driveway and I want to fix the leak first before I use the cleaner. I suspect the drive shaft seals from when I swapped the engines out and I might have messed them up when inserting the drive shafts.

-

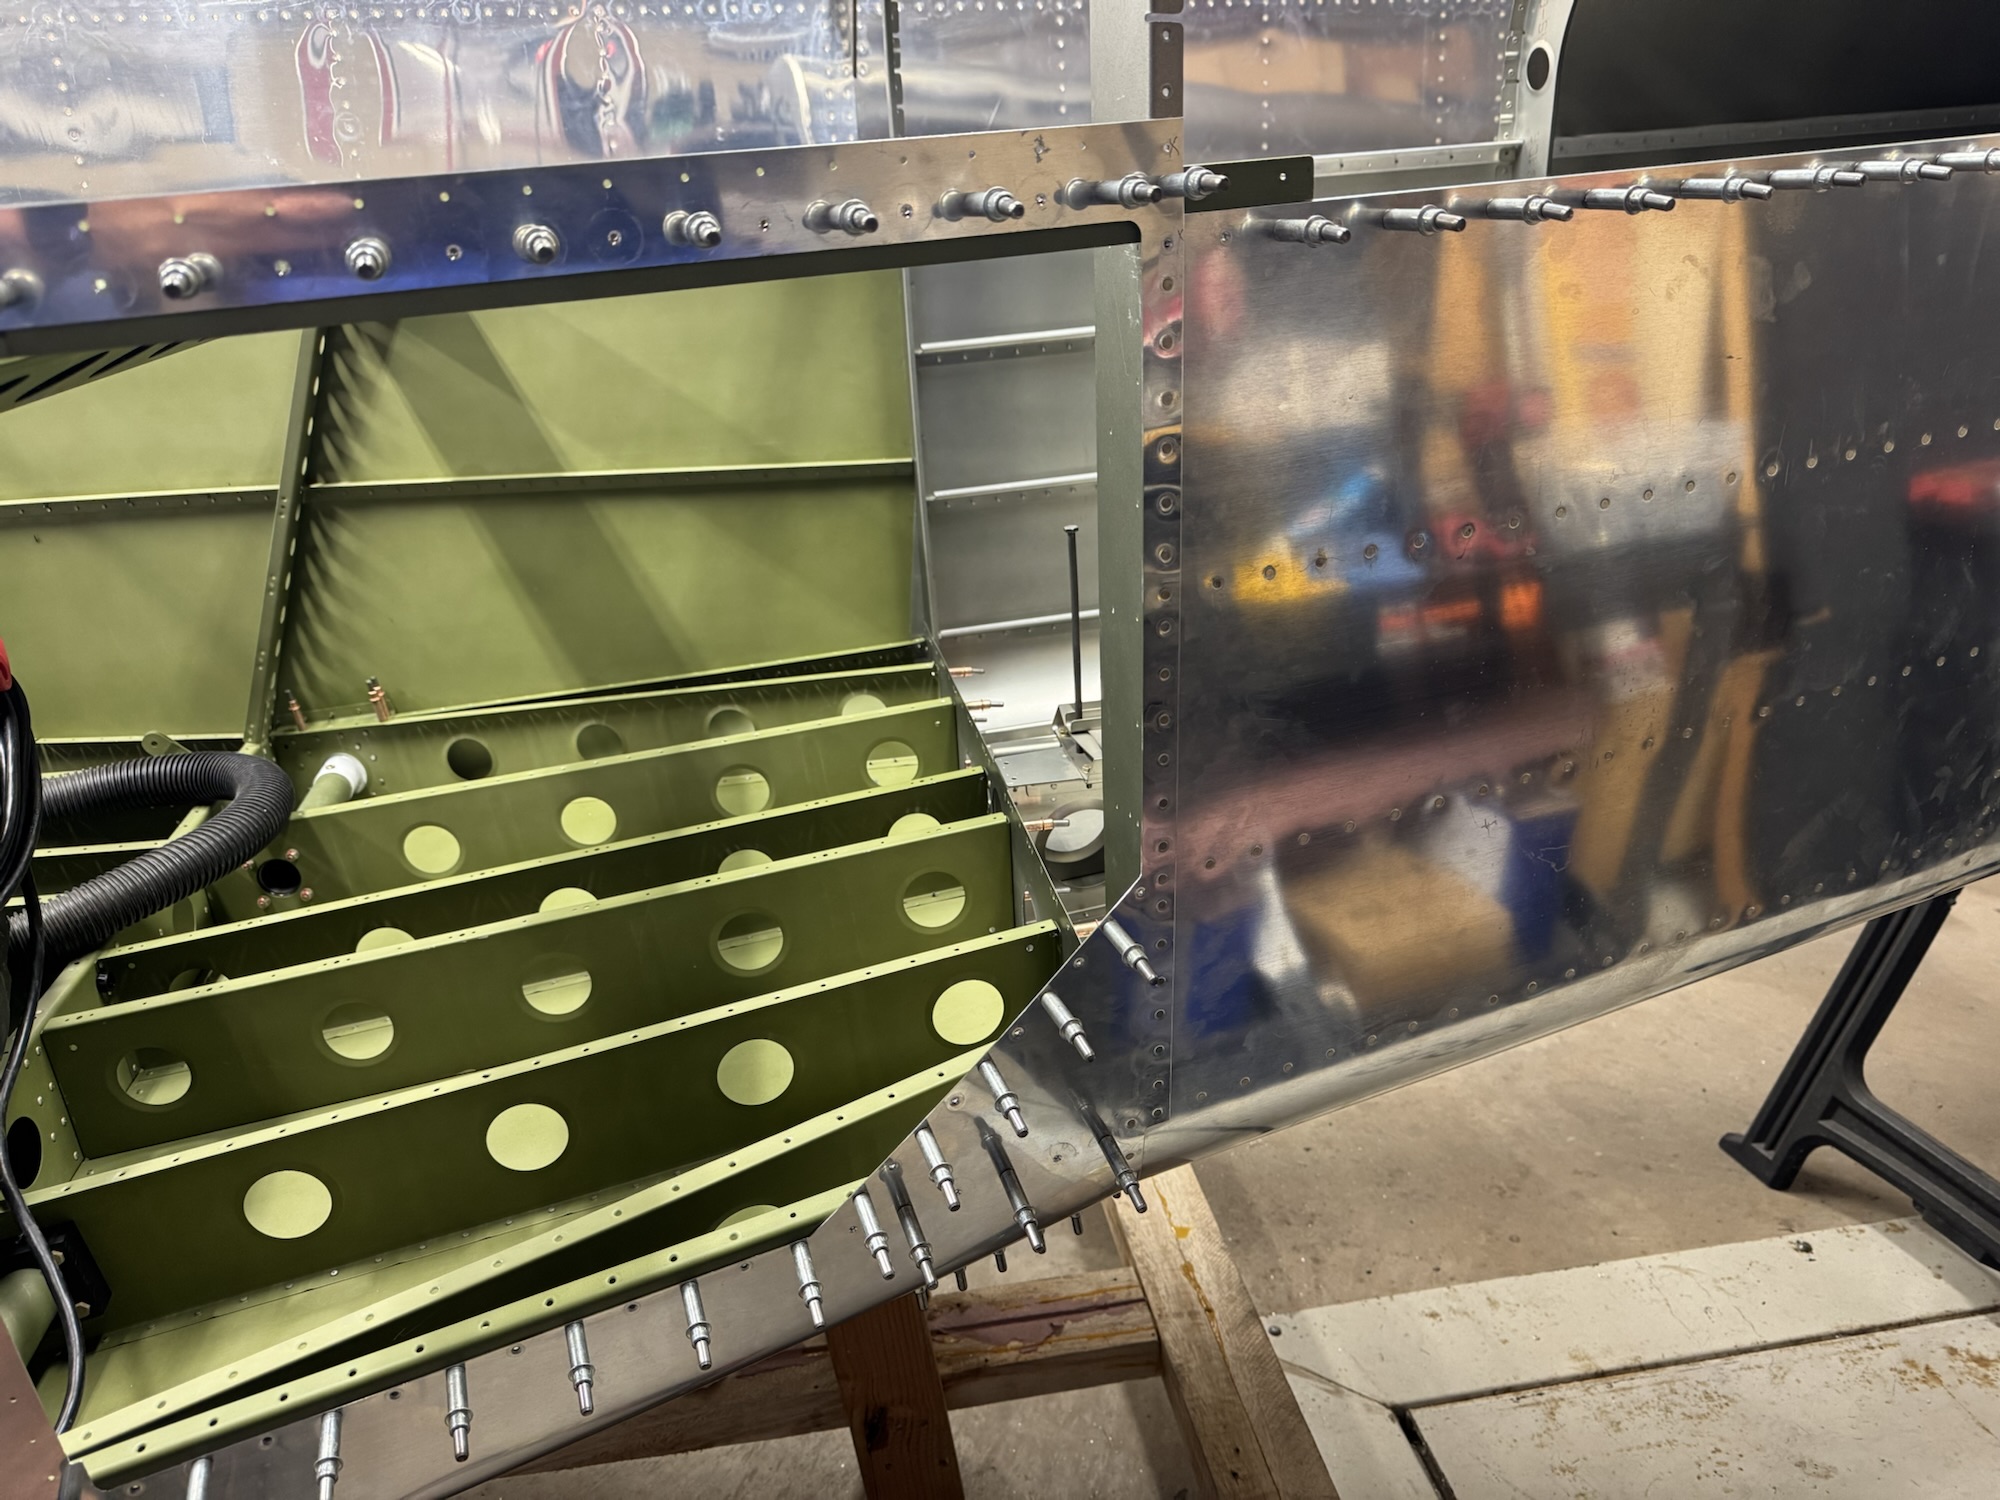
Bulkheads and Longerons Match-drilled
I didn’t get a ton of time today to work, but I did get all of the mating surfaces inside the plane match drilled. I got the shims fabricated for the trailing end of the top longeron to skin so there’s identical thickness of skin and no odd pillowing of the skin when I rivet it. I got the top skin mounted so that I can match drill the external skins tomorrow. Once that is done I’ll have to pull this apart to deburr and dimple and then reassemble it for the last time to rivet it together.


-
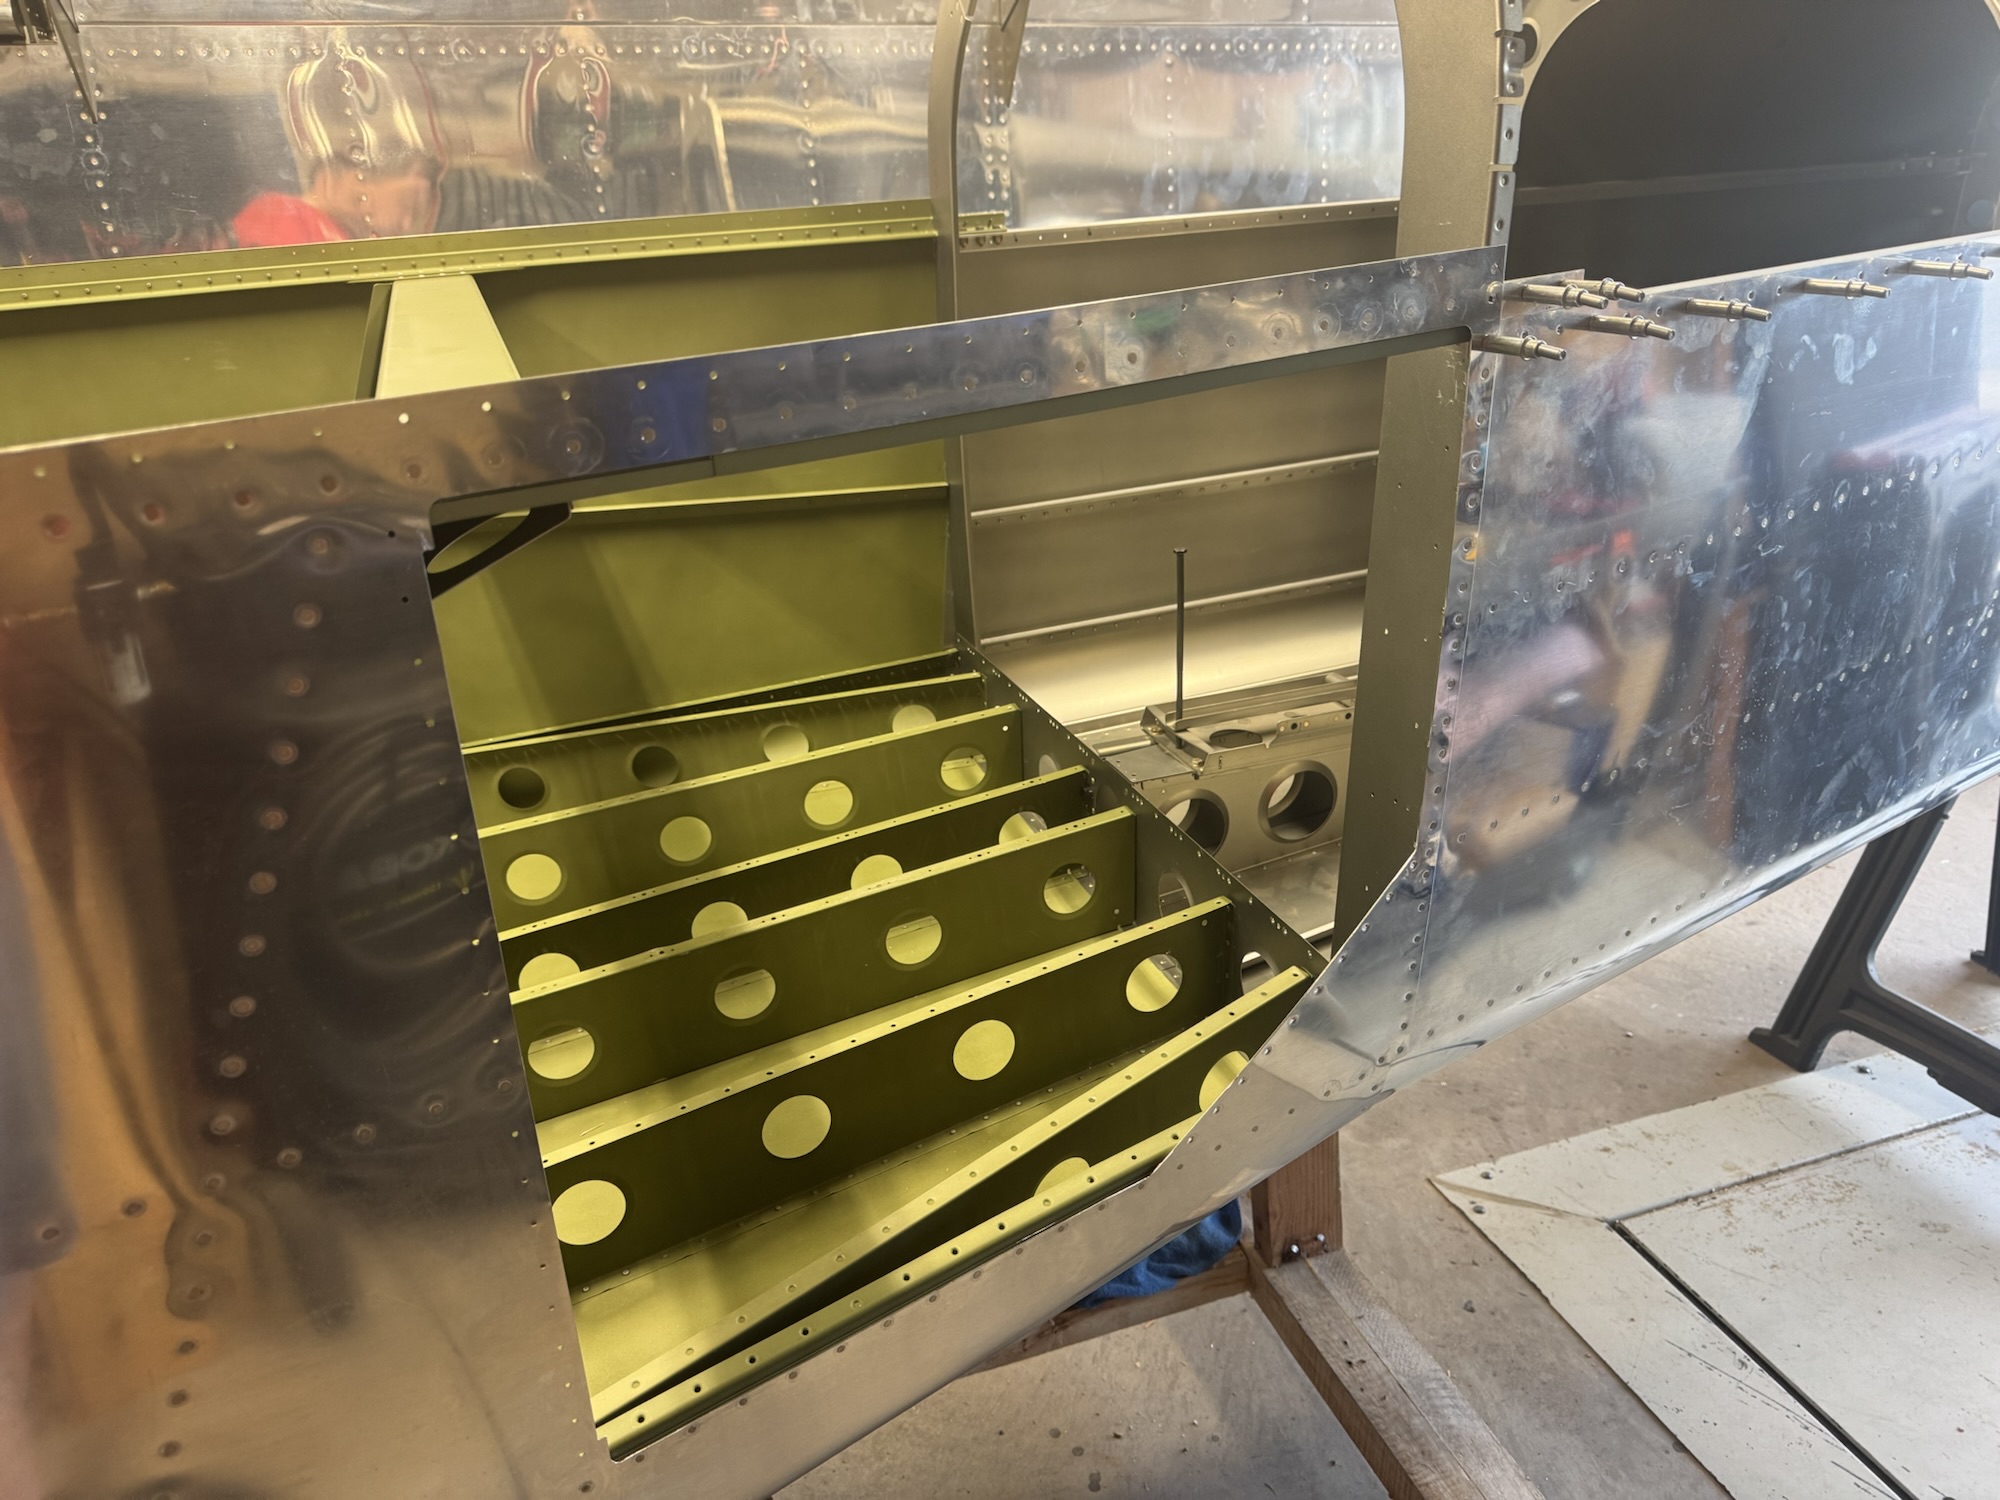
Initial Joining of Empennage and Fuselage
I got all of the bulkheads drilled and dimpled. The rest of the night was mating up the empennage. The left longeron was a bit long with what they had from the factory on the fuselage. The longeron that was on the empennage was just the right length with the edge distances that were required for the rivets. So it took alot of time filing the longeron on the fuselage down but I finally got it at the right depth. It is definitely alot of work to get everything to fit together but it fits. I will start match drilling the holes tomorrow after I verify that everything lines up and after I get back from helping someone pickup a food order from the Bishop’s storehouse.
Oh I almost forgot. I also removed the upper forward fuselage that they had temporarily pop riveted into place. That didn’t take too long though.


