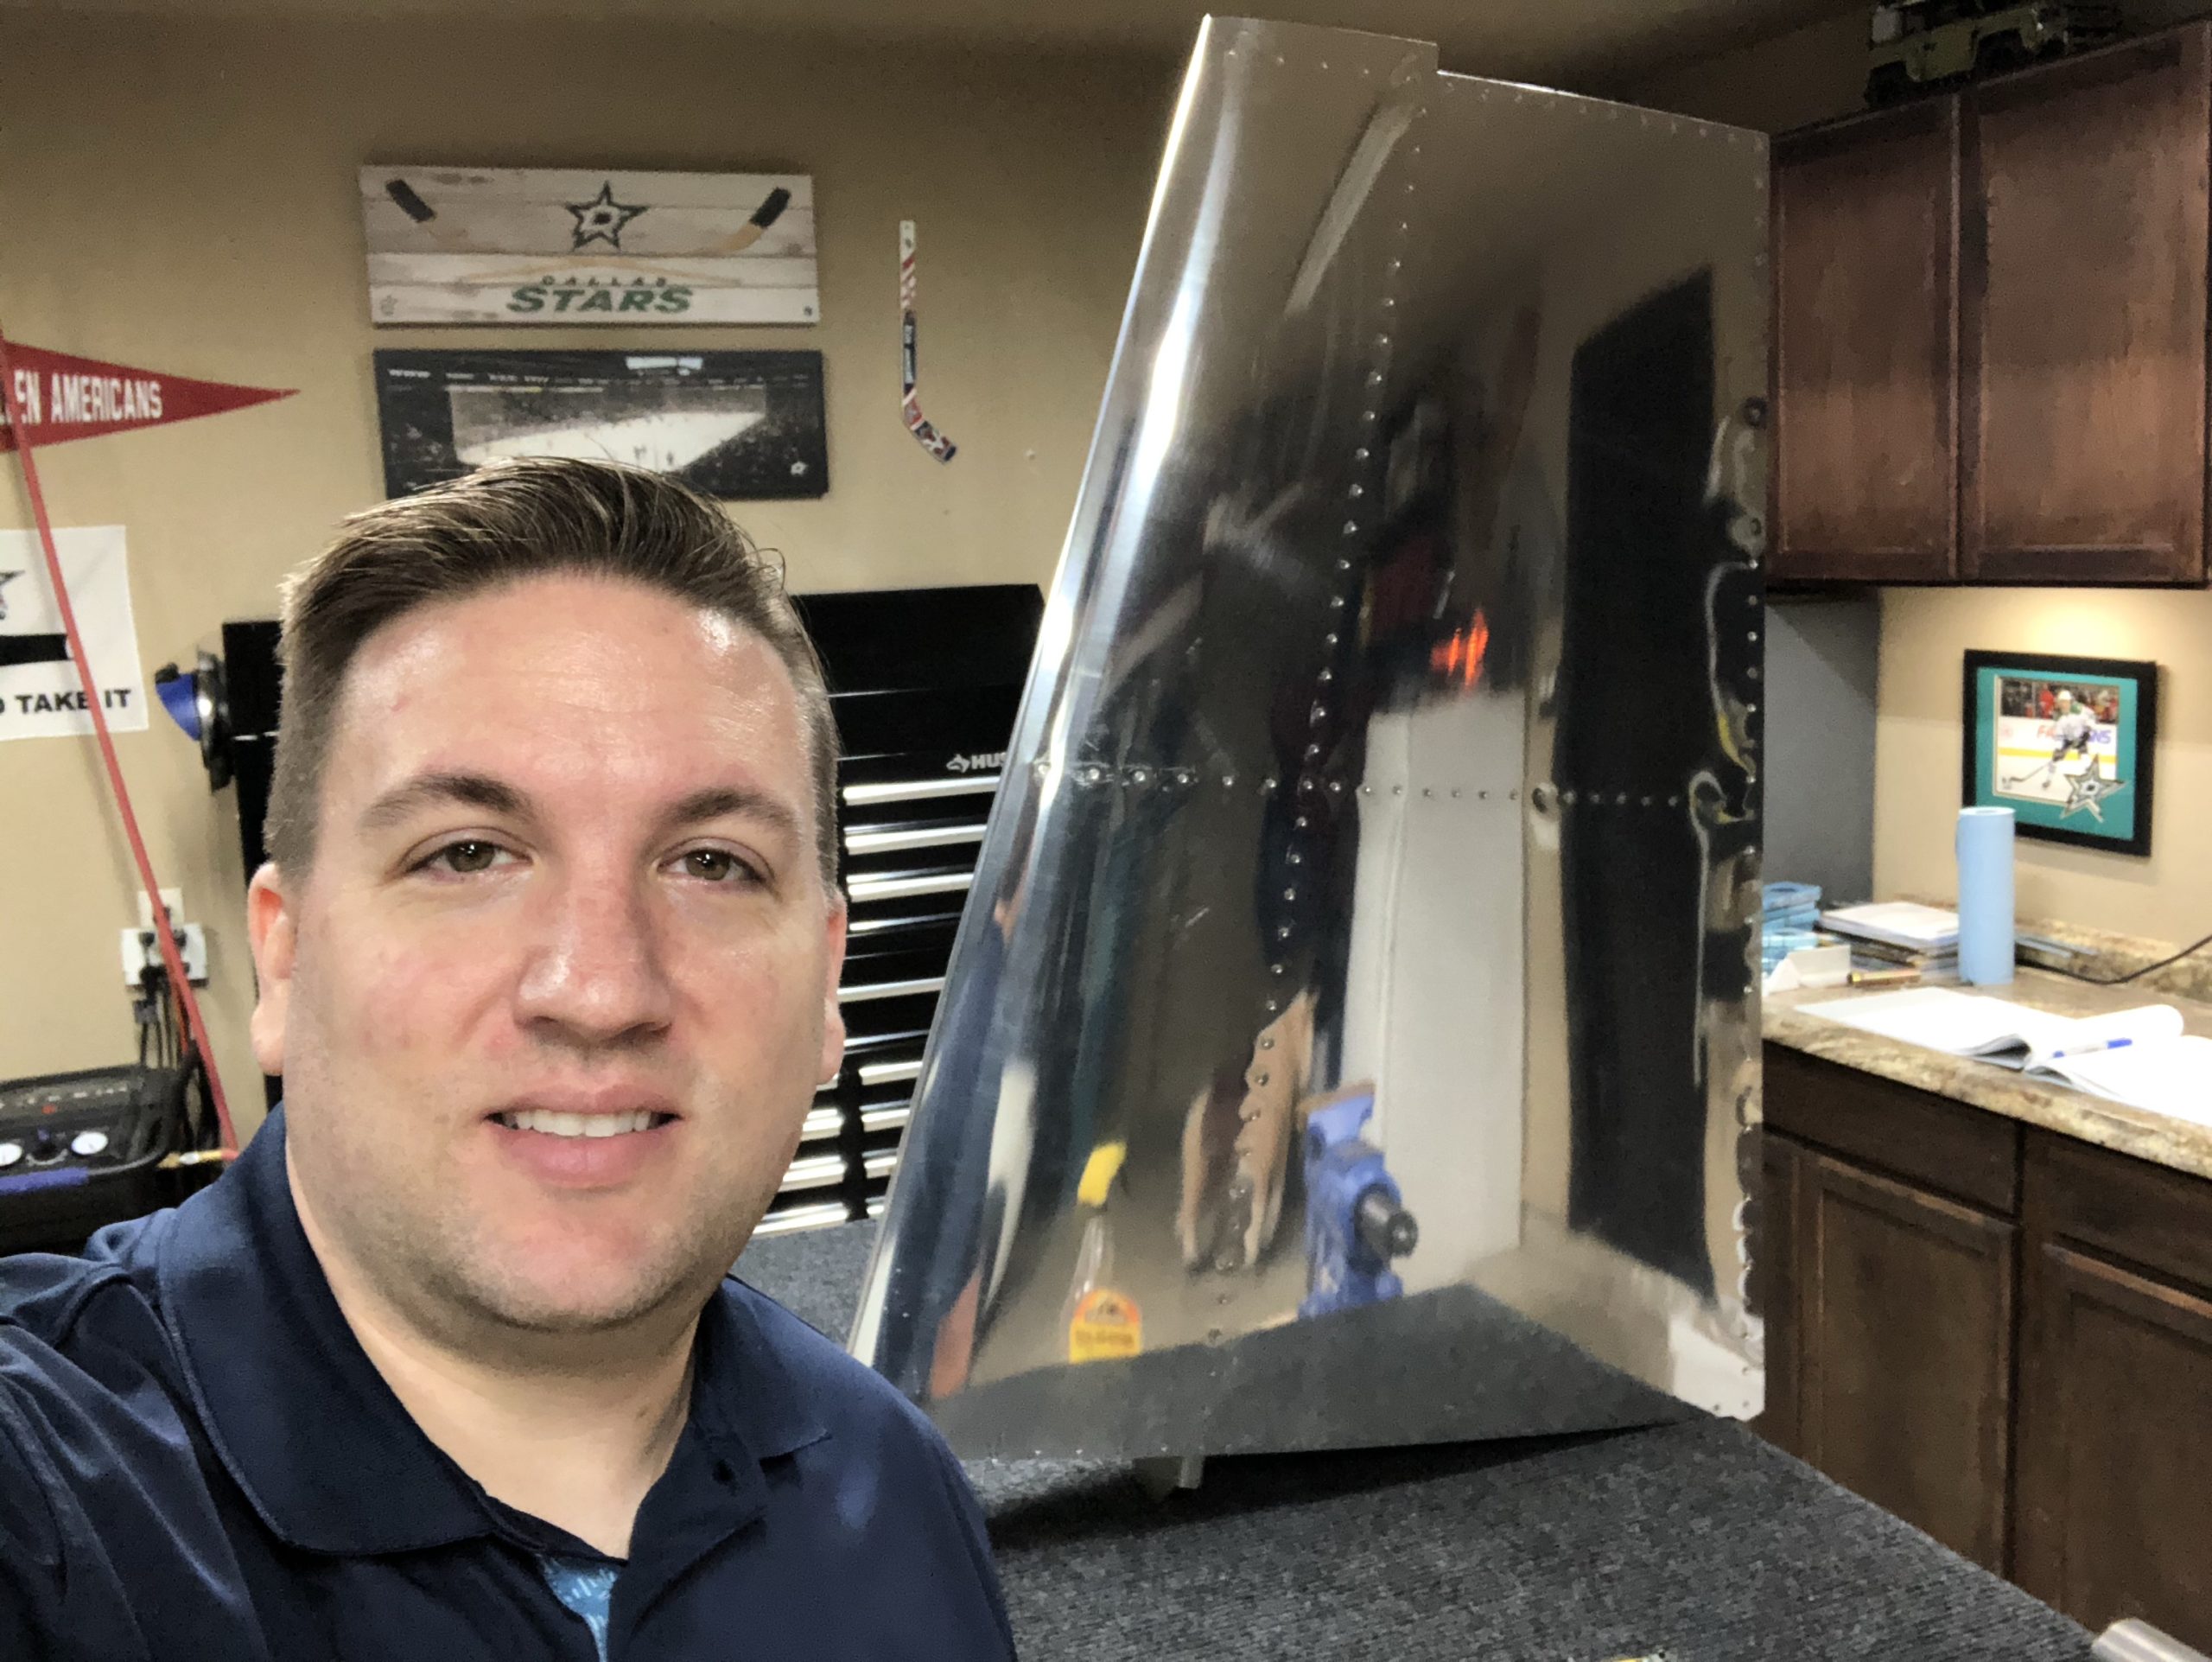
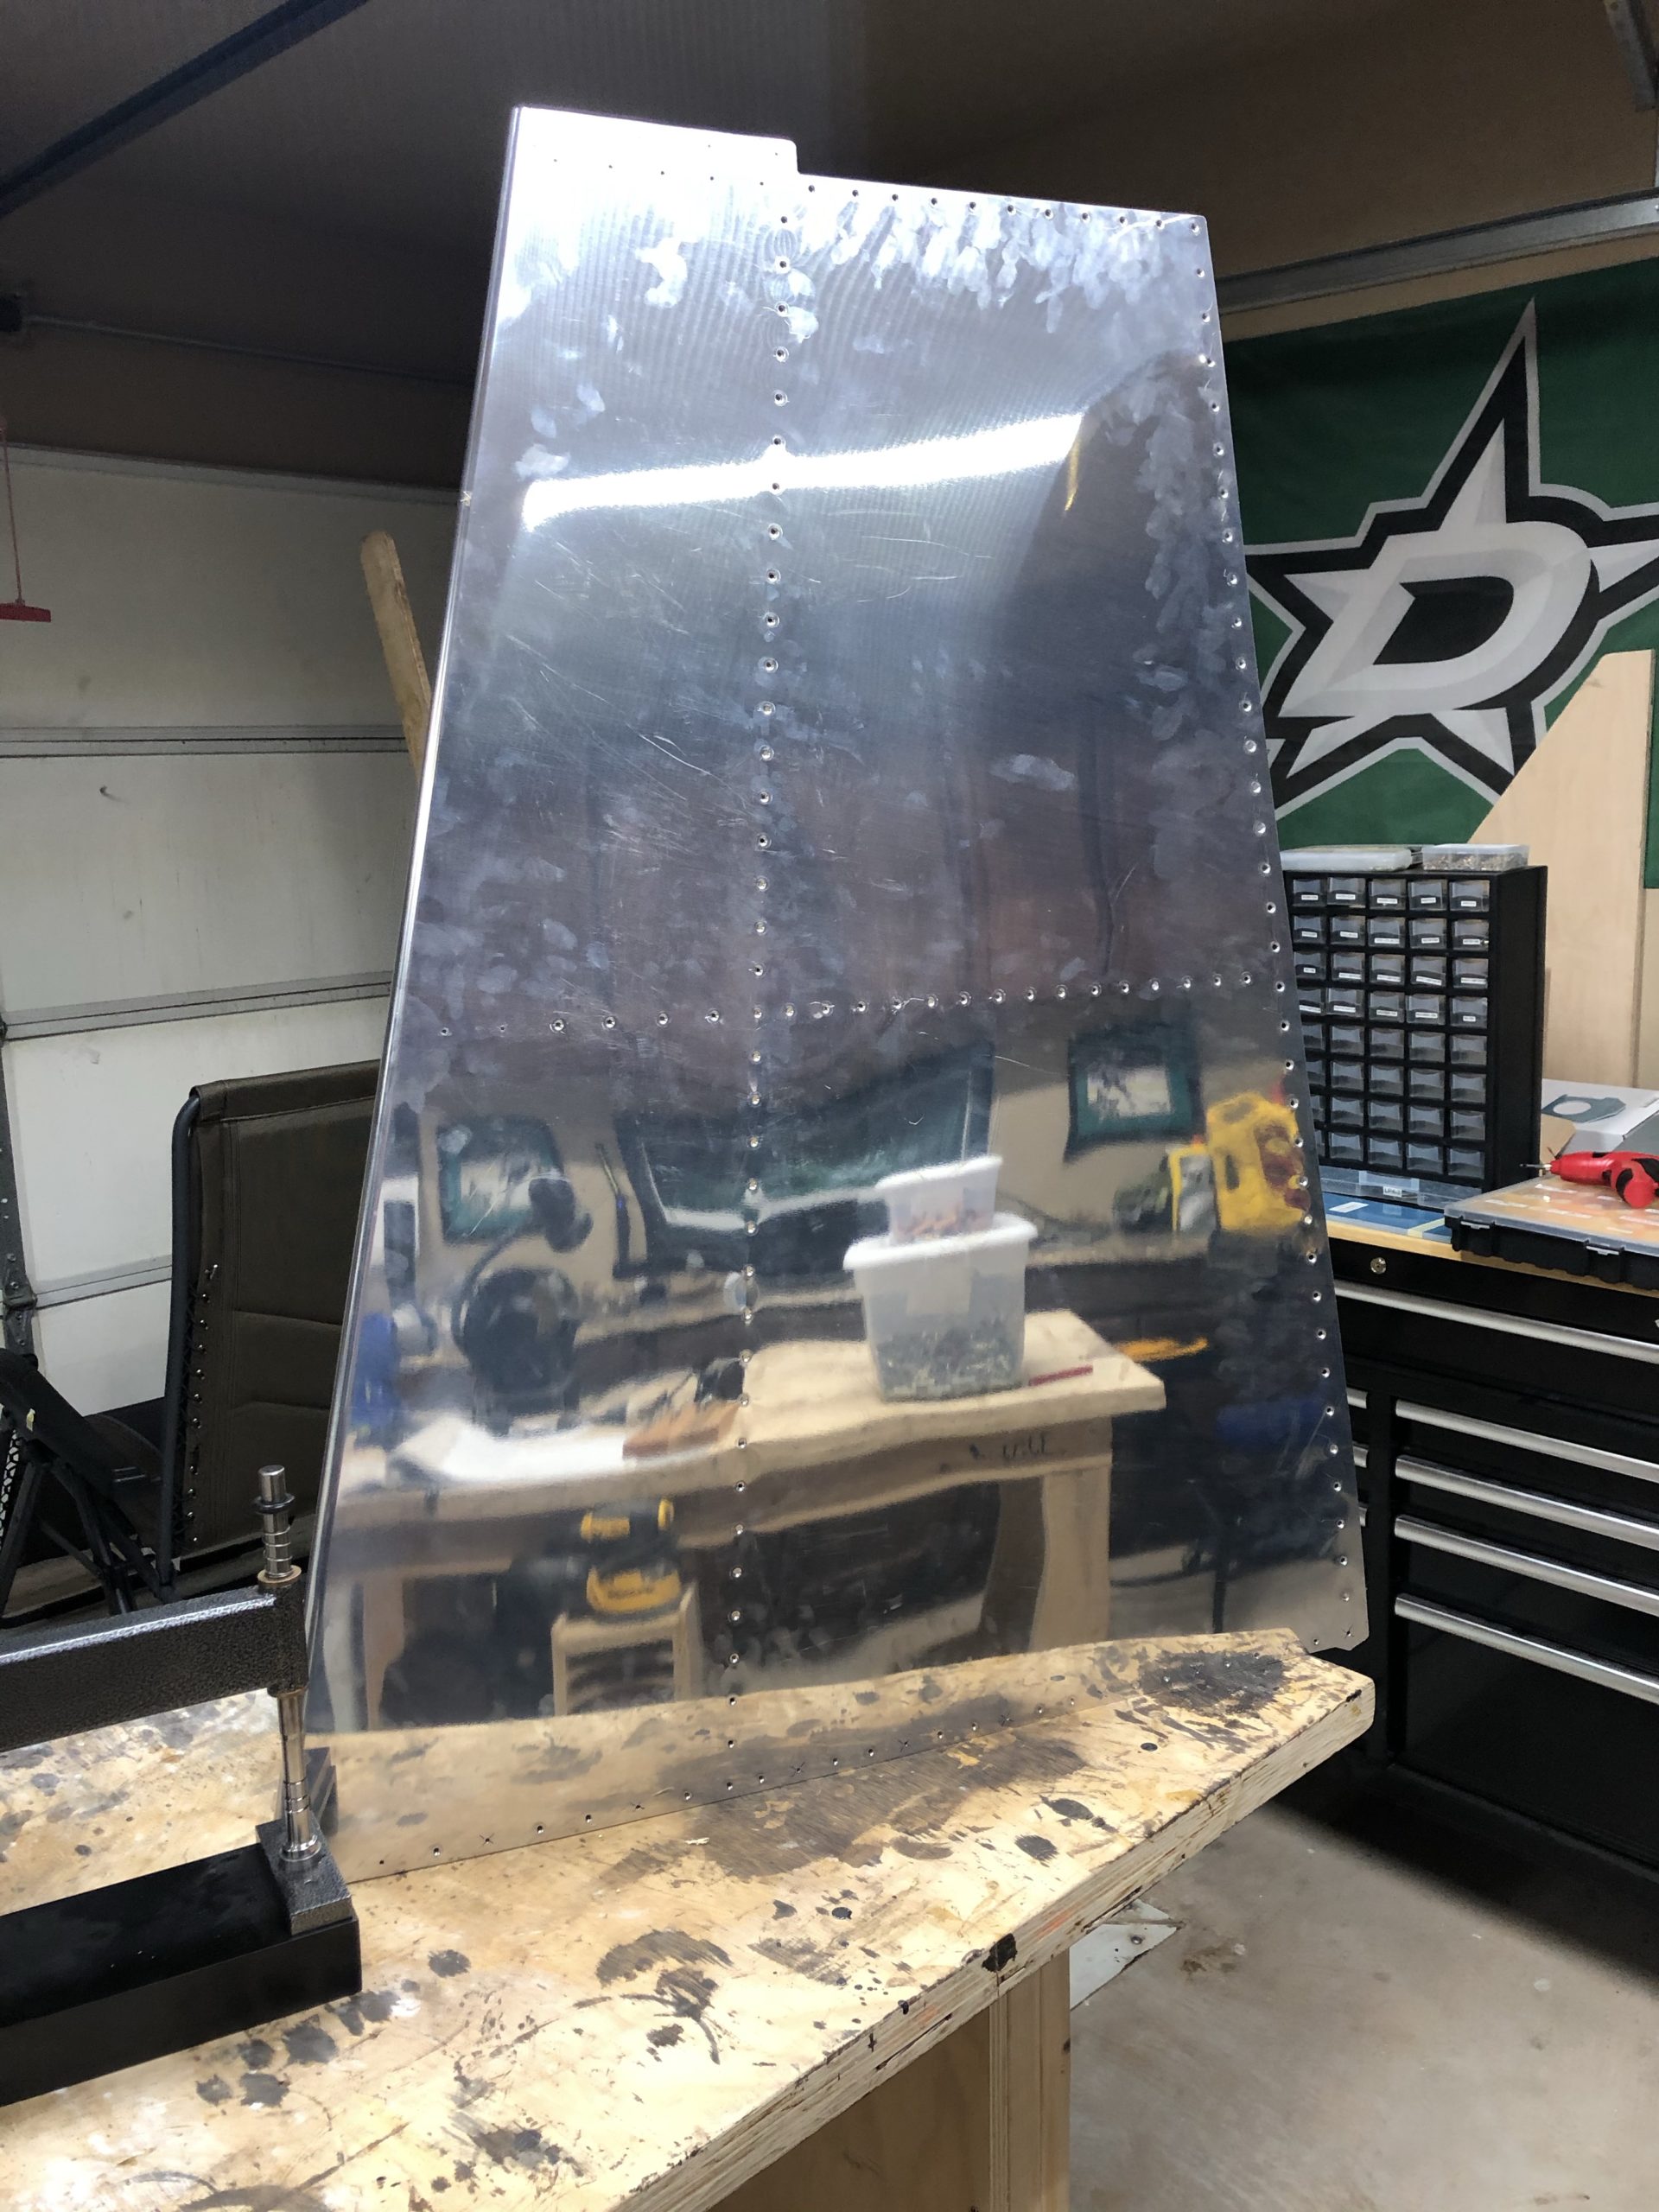
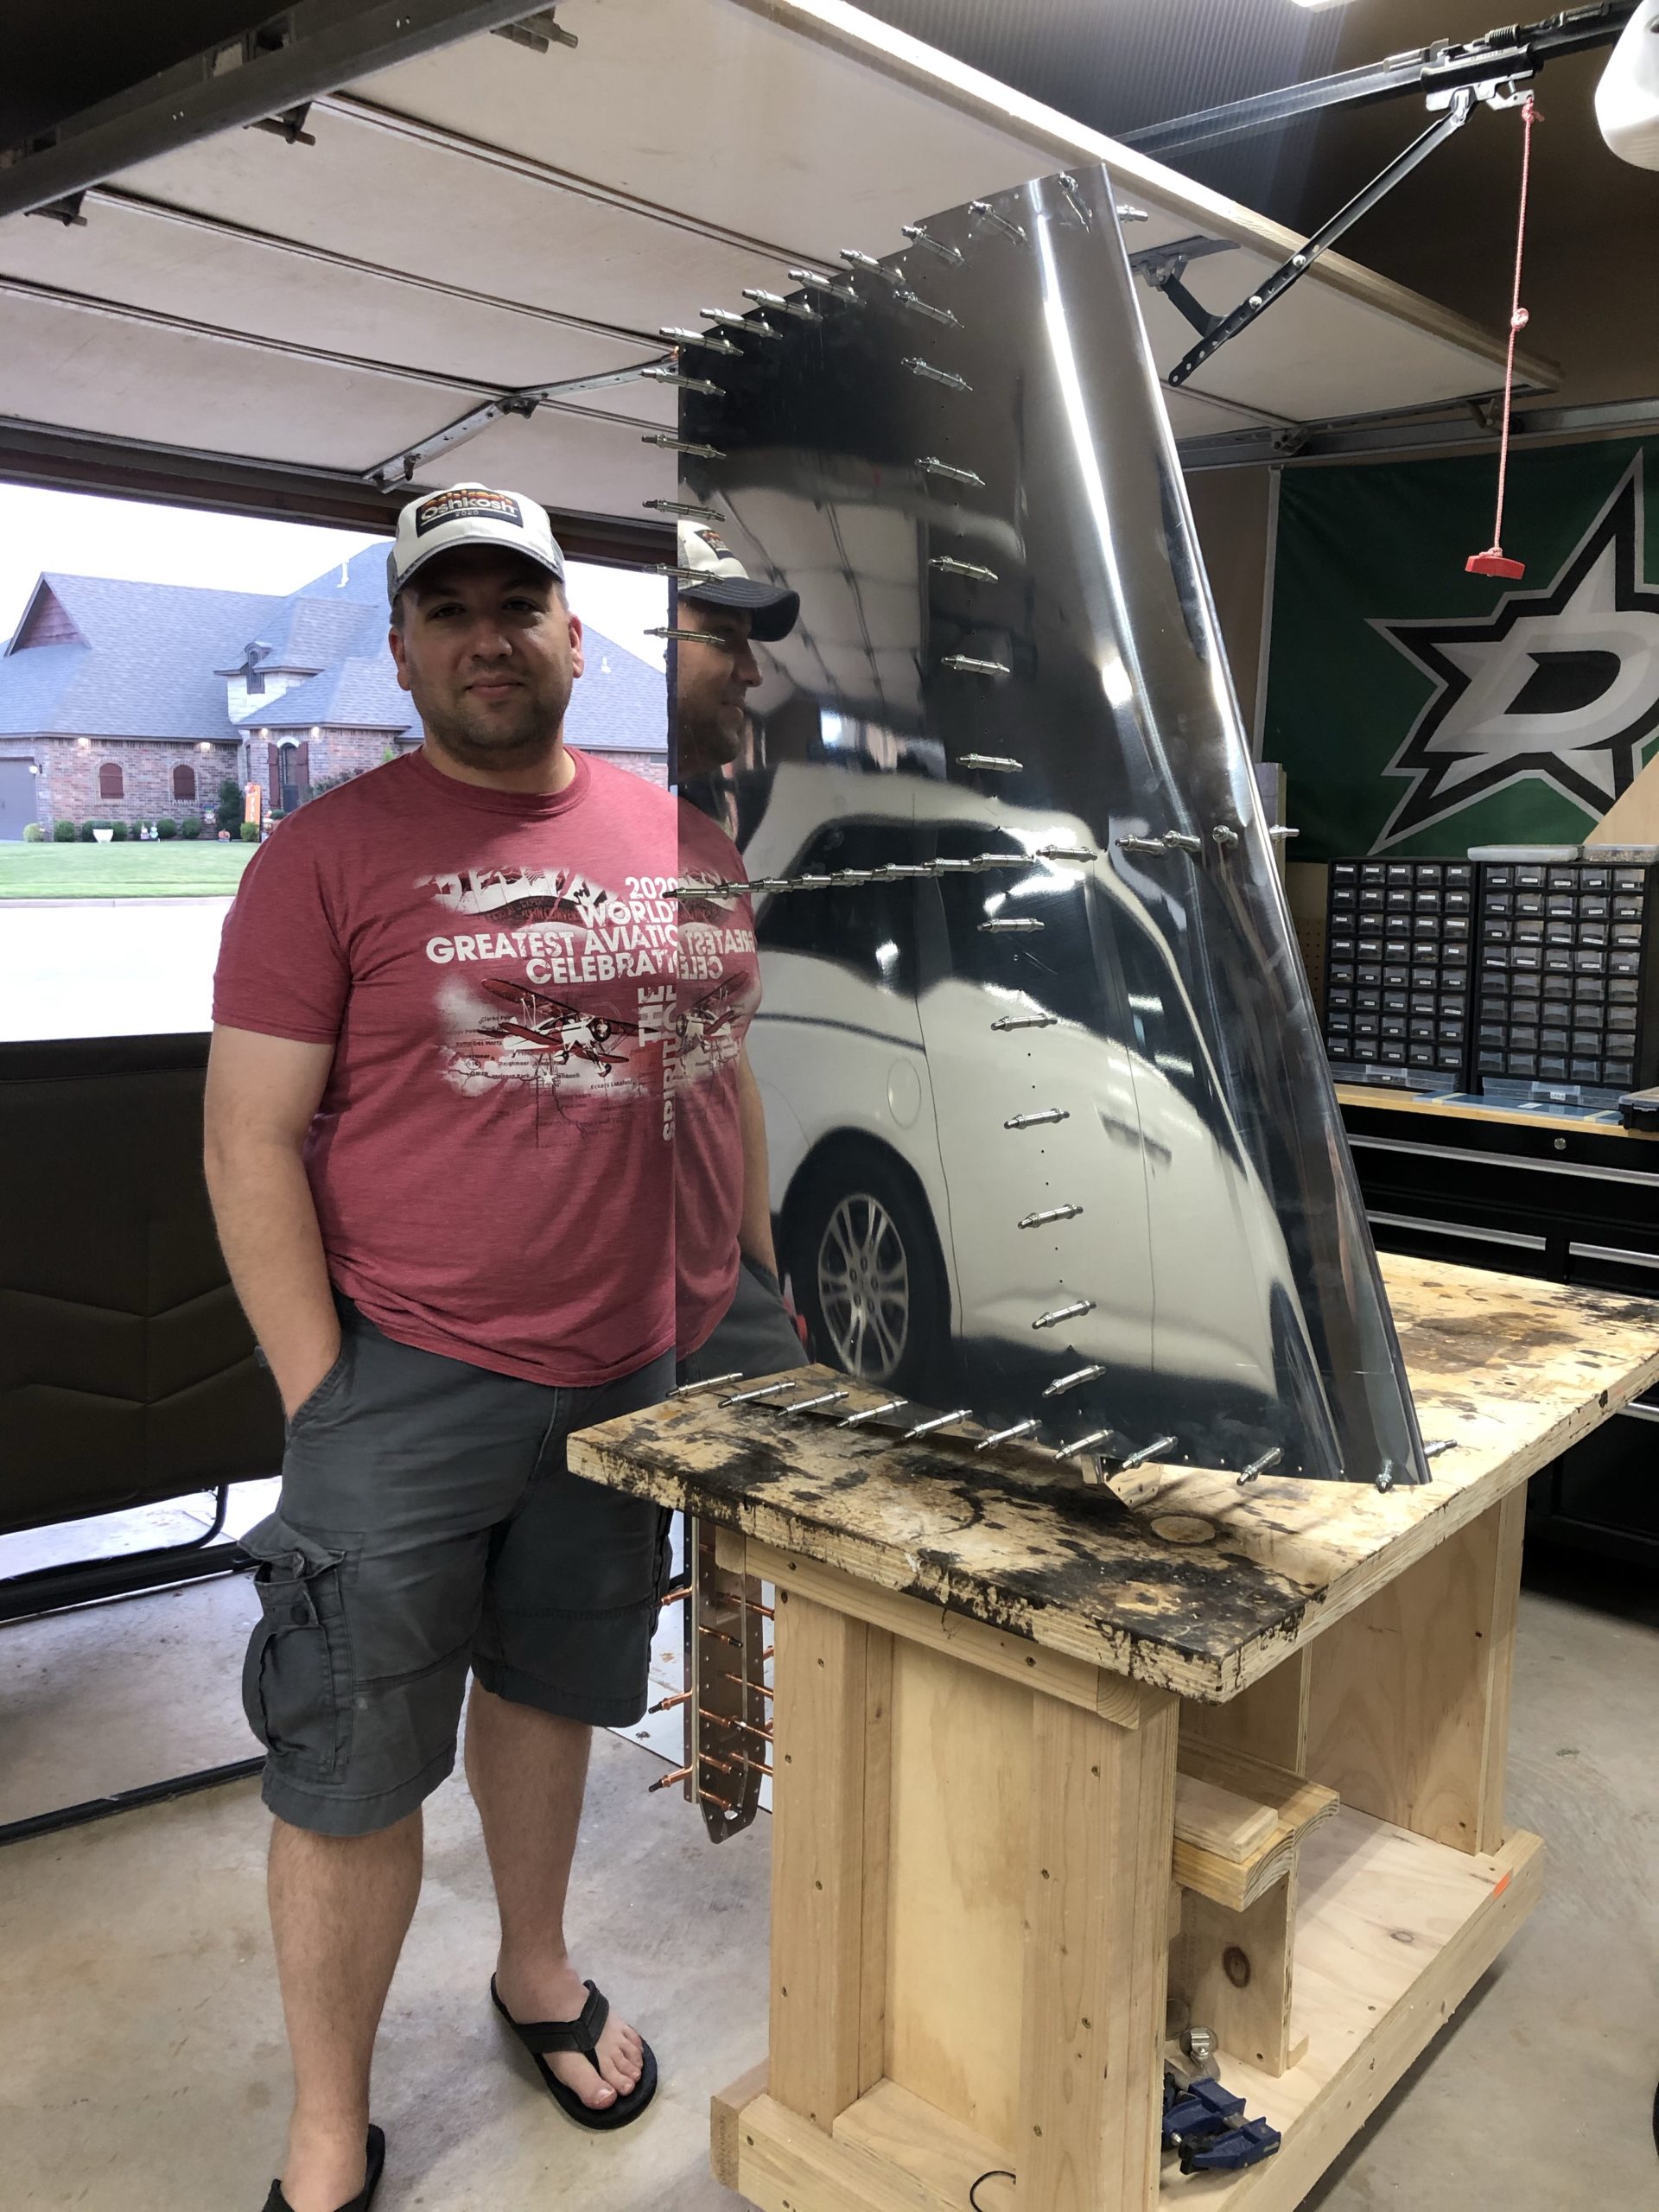
I finally buttoned up the VS! I made a few mistakes while building this but they weren’t things that couldn’t be fixed. It was a great learning experience and I’m stoked to keep going, learning, and perfecting my technique!
I thought my attention to detail was pretty high, but oh boy this taught me a HUGE lesson about attention to detail. I will be reordering a part of the rudder. I tried fixing the dimples on the trailing edge and they were just not working. Really, it’s not the dimples themselves, but the skin around them. I built the table top that goes around the C frame but it was sitting just a tad too high. With that, it was creating this concave and wavy looking trailing edge on the skins.
Again…. I’m not frustrated or mad, etc. This was VERY enjoyable and I’m super excited to see the level of quality as I get better and better. I feel sorry for the guys at Van’s that are going to have to pack my order… That’s the only embarrassing part about this. LOL
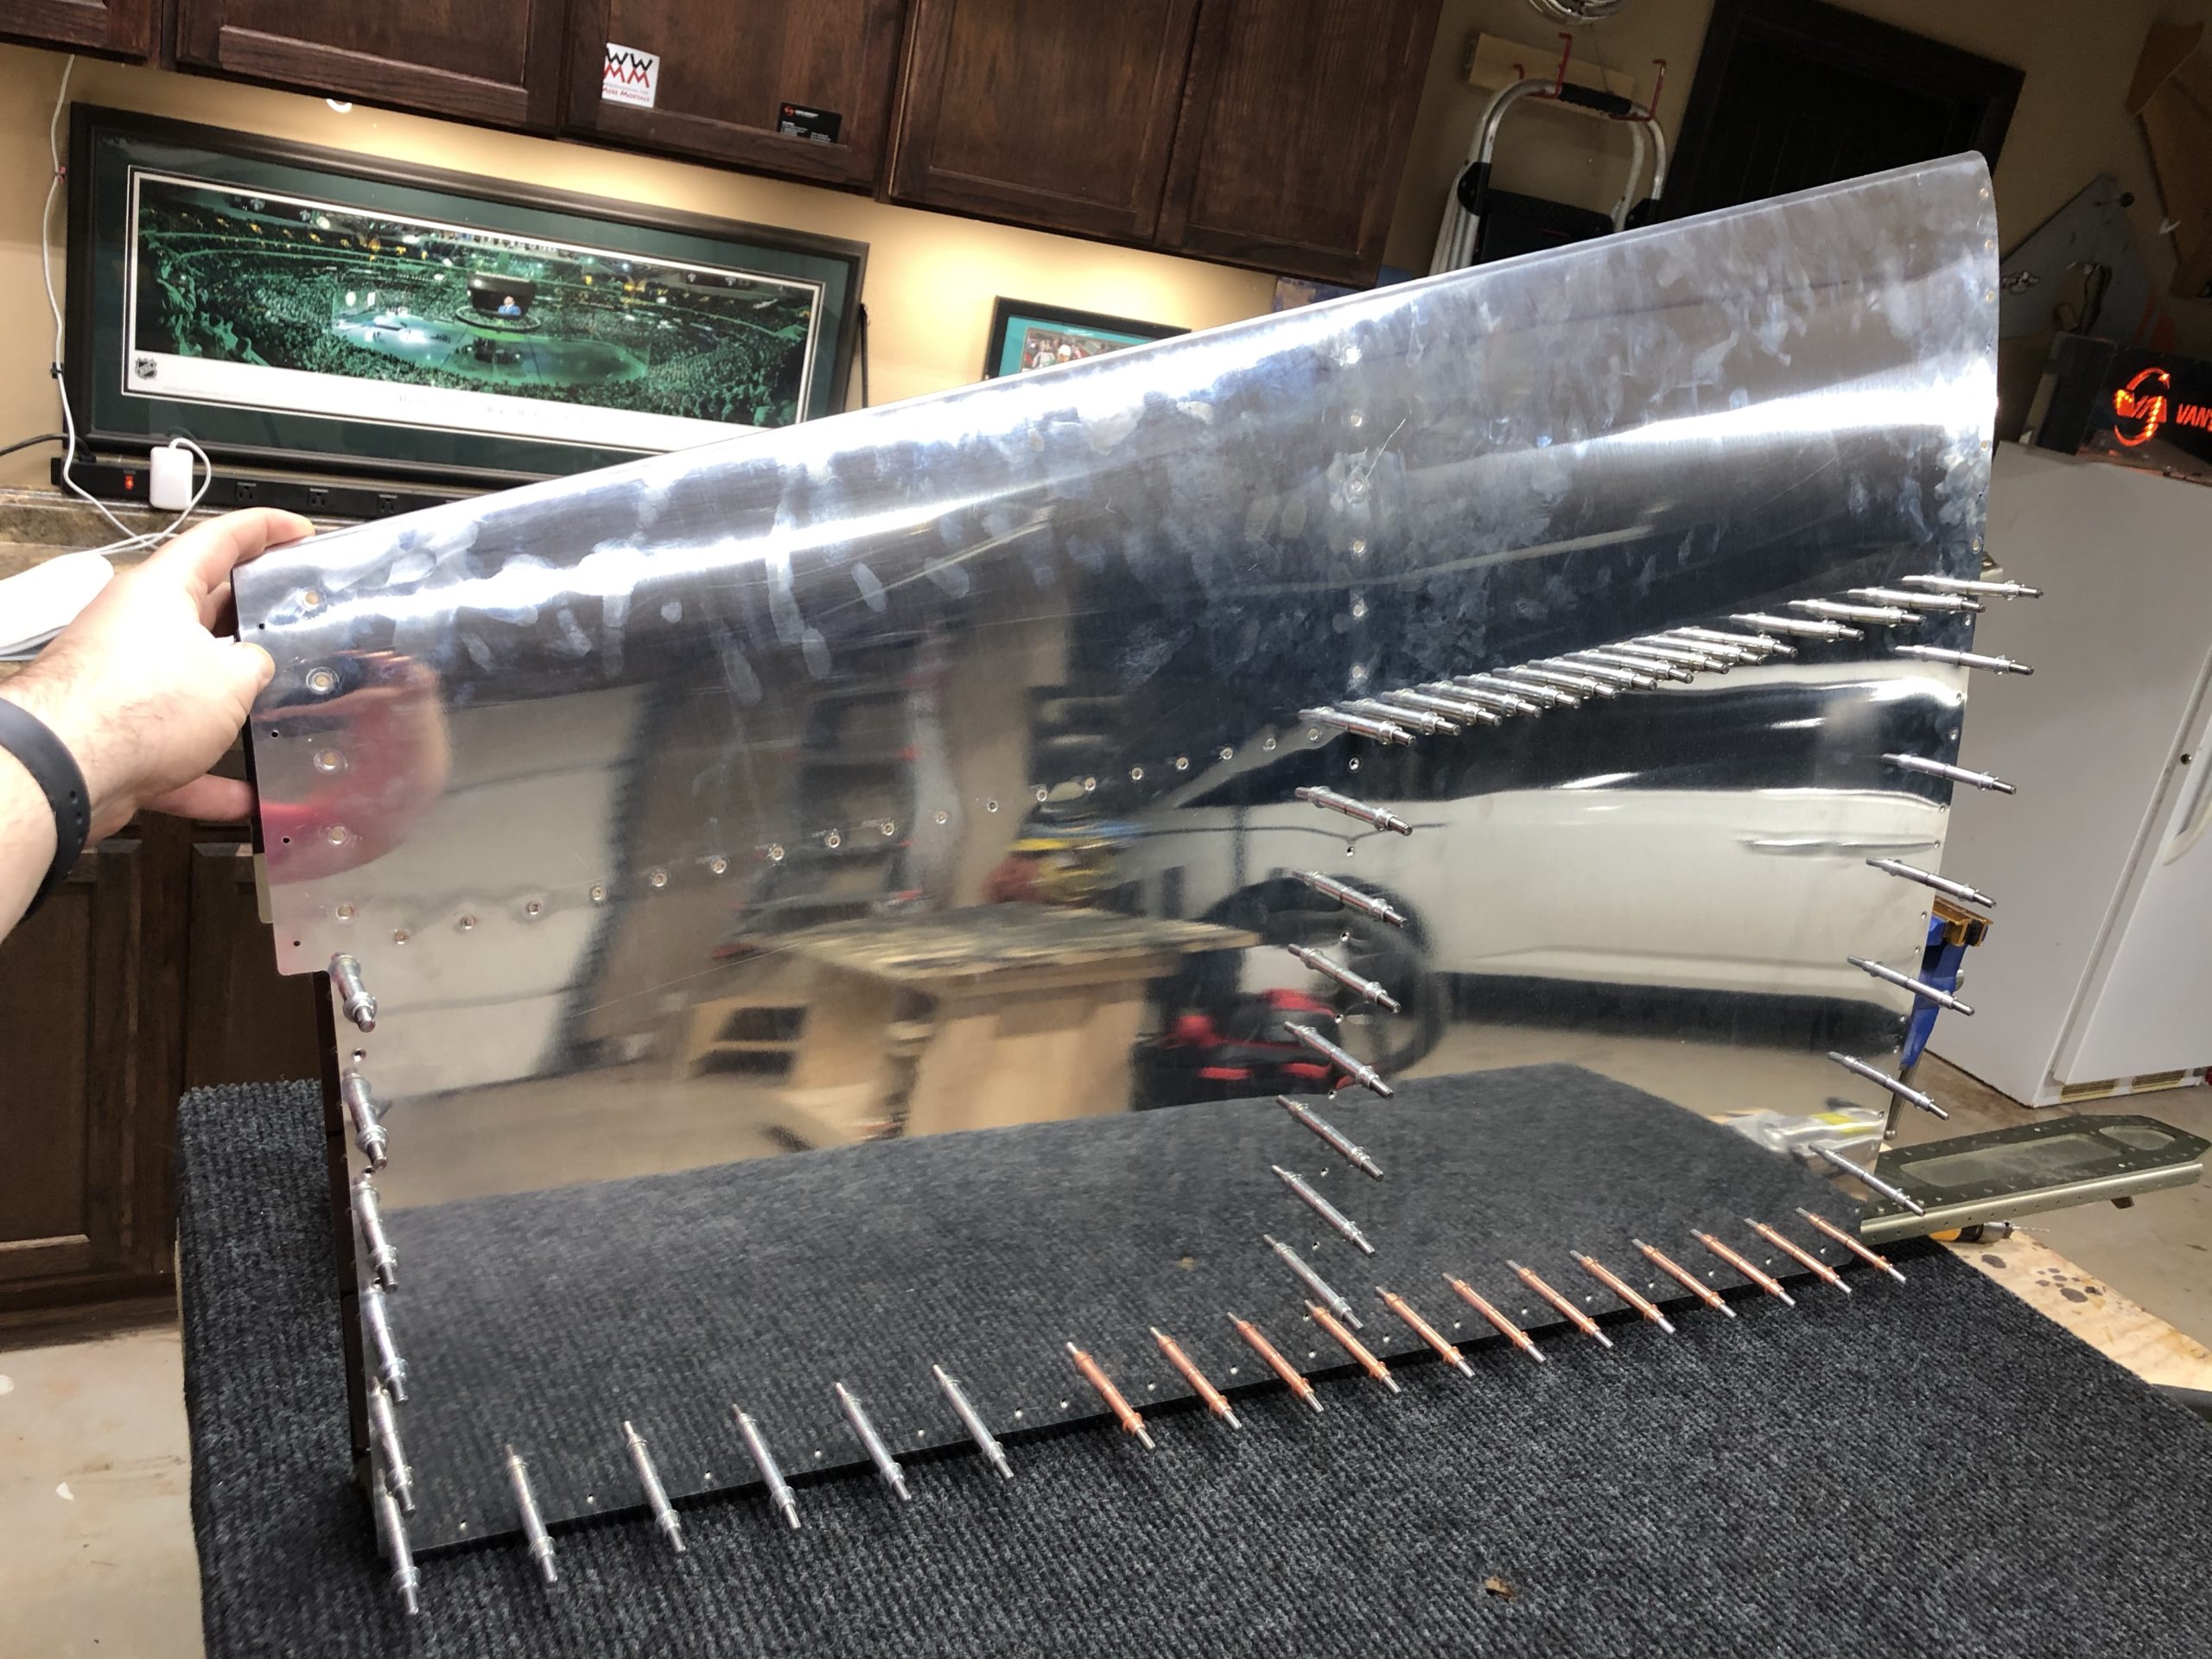
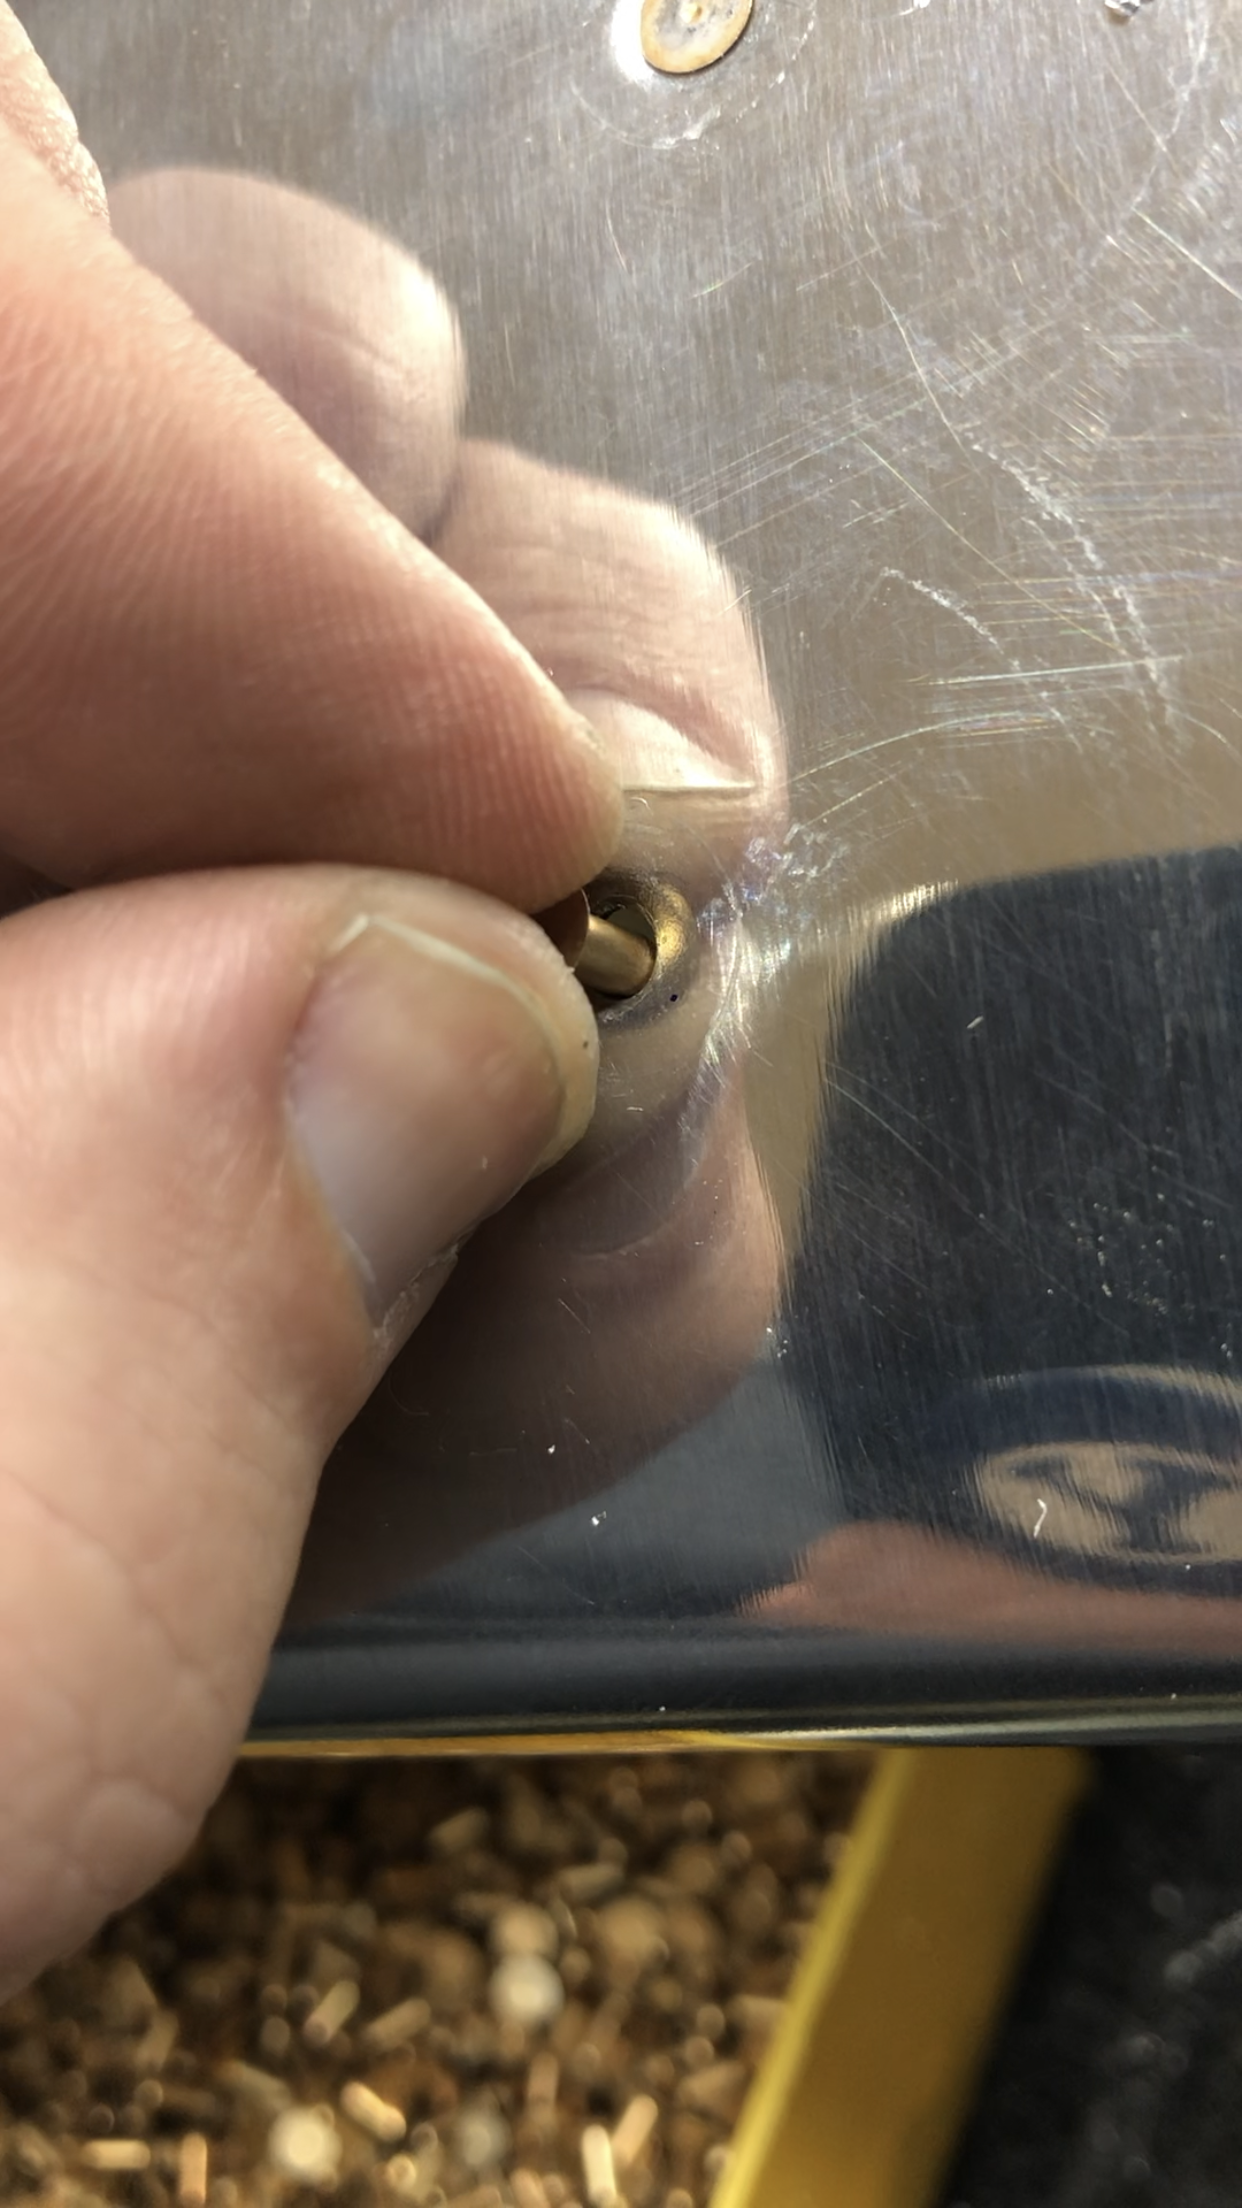
I was a little hesitant on getting the riveting done on the front spar between the upper and middle in-spar ribs. That was a tight area and I didn’t want to bend anything. Luckily I was worried for no reason. I pulled quite a few clecos out, but I did what the instructions said which was only pull out as many as you need to get in. Sadly I have thick arms so I had to pull out quite a few, but I just made sure that I had a cleco in every single hole along the front spar and about five clecos down the in-spar ribs. The only thing that bugs me about the work that I’m finishing now is the dimple on the skin. It doesn’t appear that the dimple and the rivet are meeting flush at the very lip of the rivet. I’m going to have to look up the tolerance for this before I move on and end up wasting a ton of time having to drill out rivets or start from scratch. Luckily I’m not too opposed to starting from scratch on these pieces because I would prefer it to be built right than to force forward shoddy work.
First set of rivets on the right side of the VS along the front sparThe gap between the rivet and the skin. Bugs me and they are all this way. I believe it’s the dimpling (maybe the die)The rubber hose I had originally glued to fix my gap between my flange and the skinRivets set and the skin is flush around the rivet!
After a hiatus with COVID and holidays, I finally got the skin rivets started. I got a few going but I ended up having my first bad rivet not too long down the road. I pressed too hard from the bucking bar and ended up with the rivet slightly high on the skin. I drilled it out but was off on my drilling. This will be my first use for an “oops” rivet. Luckily I purchased those at the beginning.
I also spent some time redoing some of the rivets on the spar that I felt were off. They had the rivet cup off to the side and ended up with the little smiles on the AN470 rivets. LOL
Well, the luck finally fell on me. I got COVID so I’m spending alot of time in isolation from everyone. I spent some time doing some riveting but it’s gotten a little worse recently so I’m going to put this on hold until I get better.
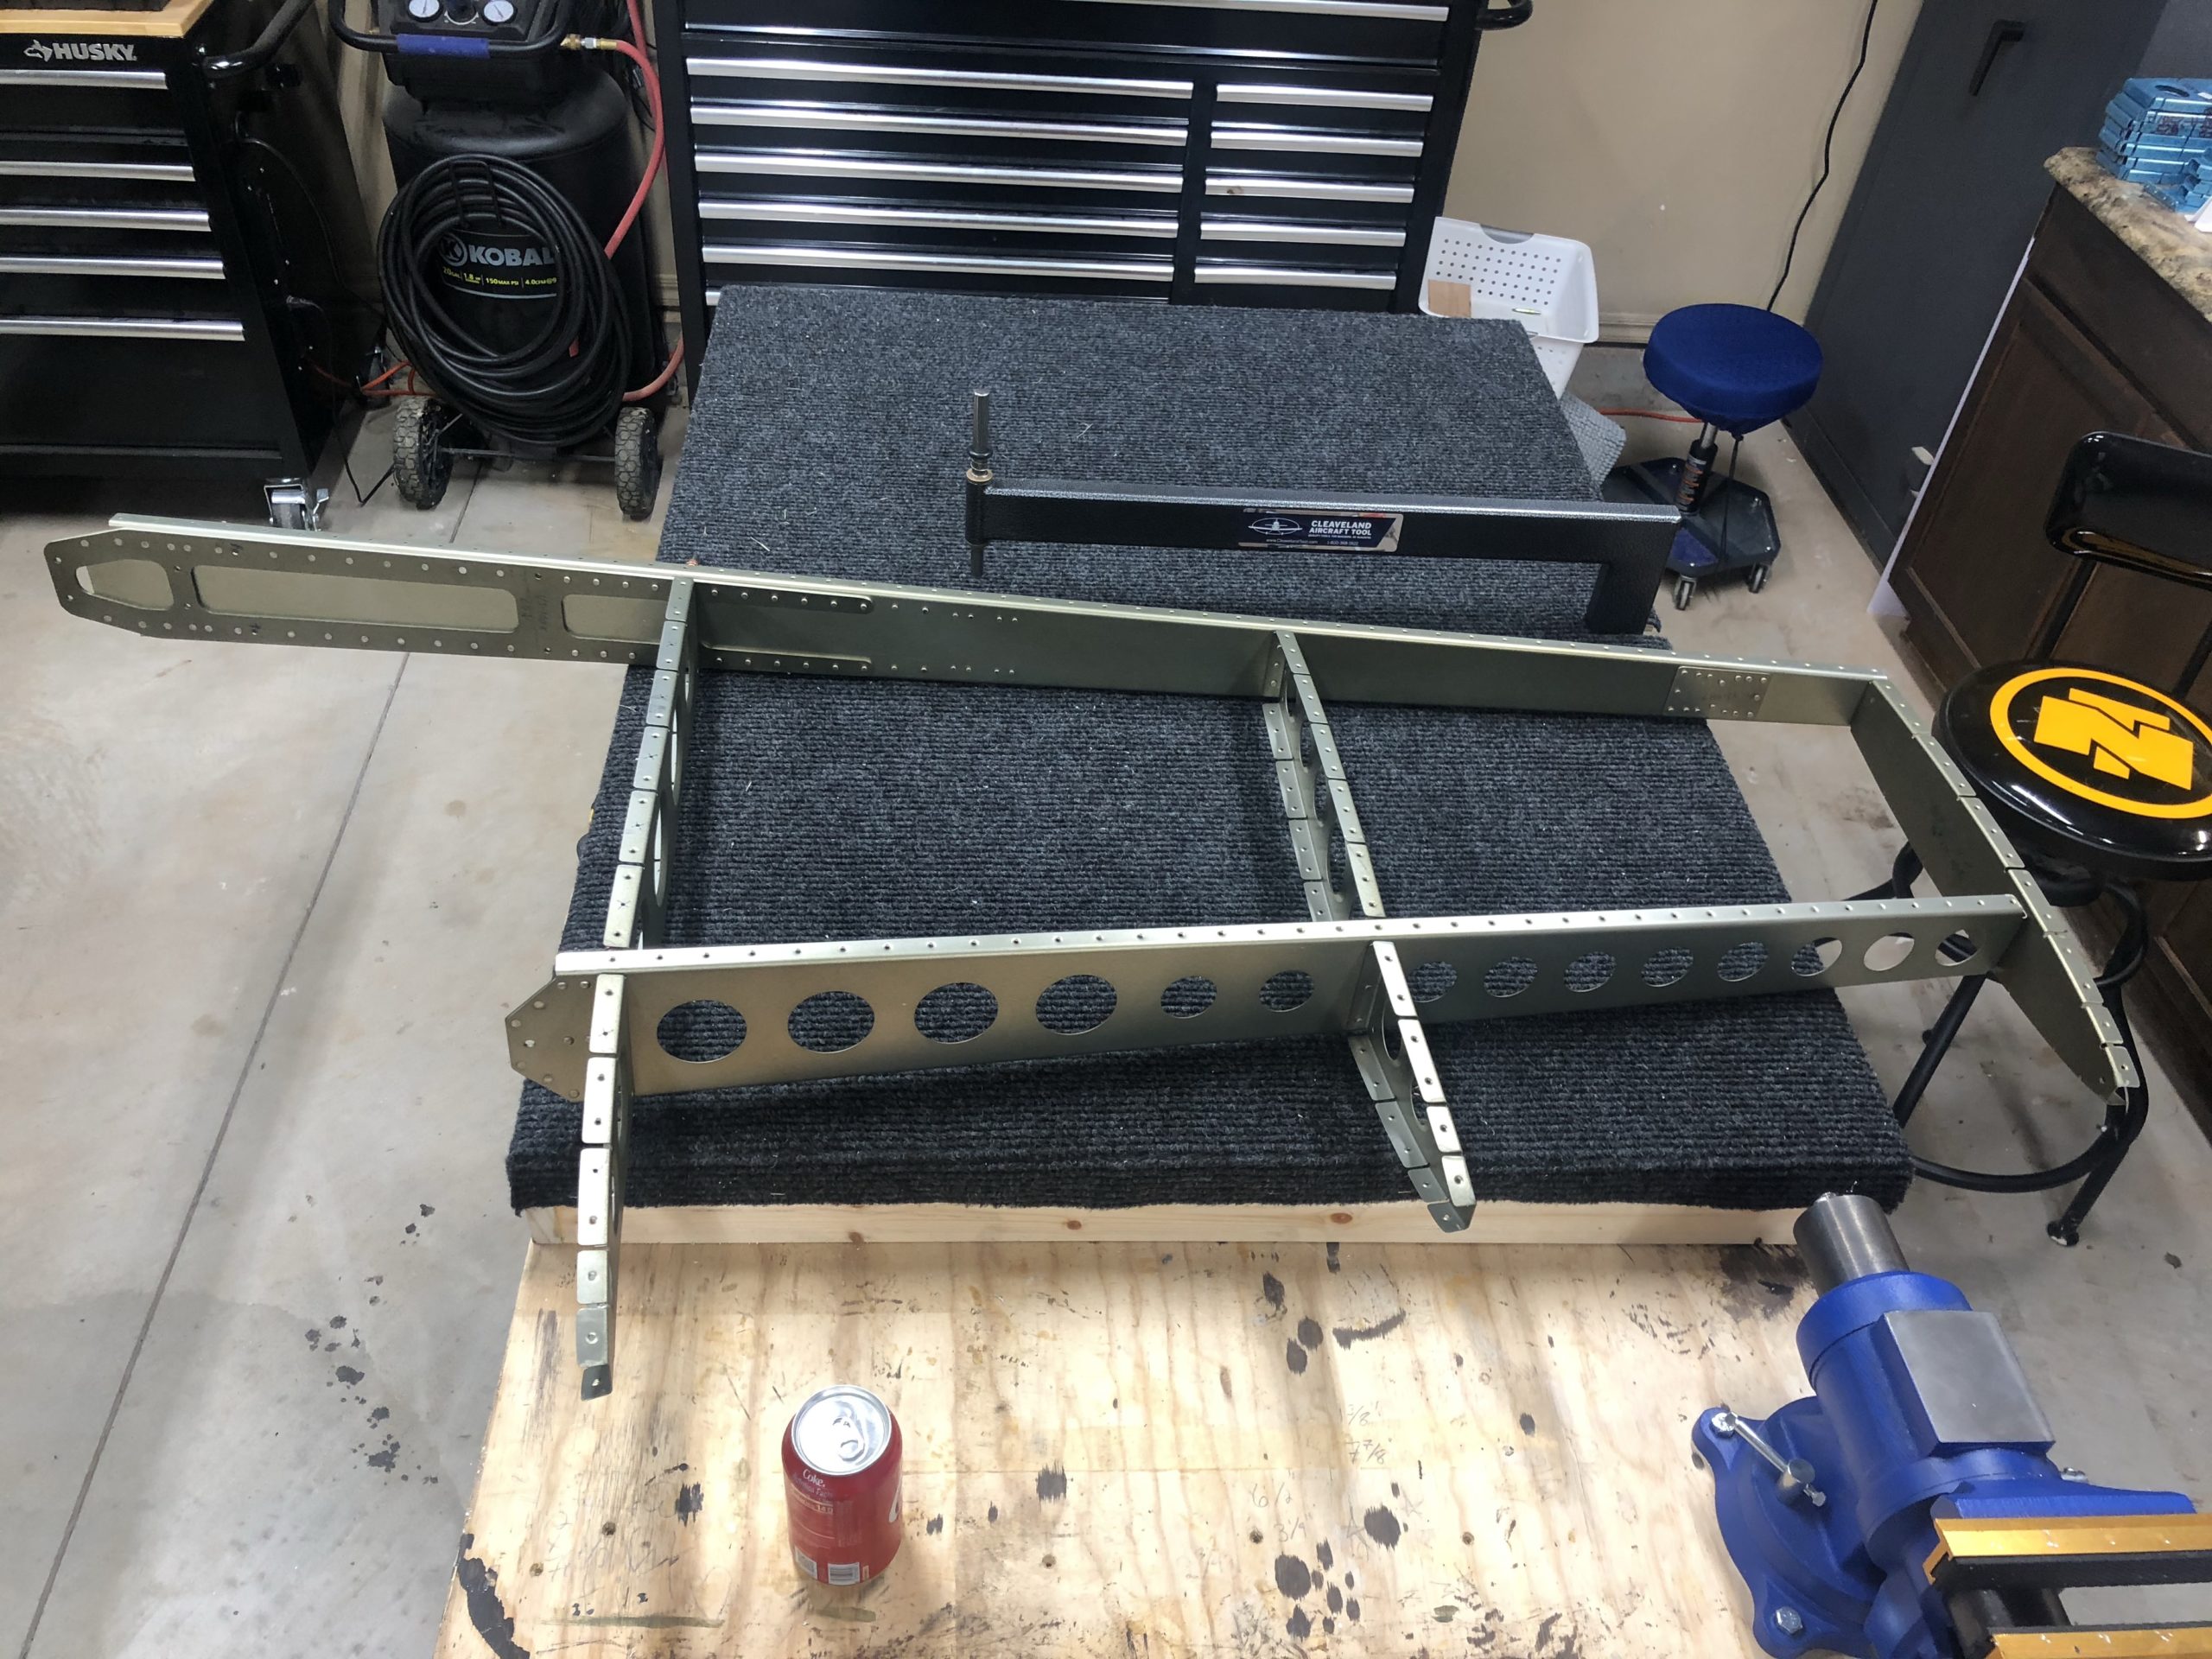
I got all of the riveting done for the skeleton where the next step is putting the skin on. It’ll be cool to get that done when I feel better.
Spar riveted togetherFirst set of rivets for the ribs inJob completely done! Skin is next!Working with a mask so I don’t leave contamination for my kids and wife
Today was the first time getting the chance to prime. I had all of the parts from the VS, rudder, and first few steps of the HS to prime. I took some ideas from these two paint booth setups to figure out how to do my own version.
Both of these were excellent setups. I did a more basic version to get started on this one and setup the following square with a door.
Basic paint booth with forced air fan on the left and a vent fan on the right
It started sagging in the middle because I didn’t have a pipe holding them separate so that will be something I will improve in the second version of this. The fans were fine the way they were. I will say that I will need to make sure I sweep very thoroughly as there were a few grass clippings that wound up inside. I also need to find a better way to attach the film to the bottom of the pipes because in some sections the film came off and left some holes for air to come in or escape from.
I also need to create a seal around the door that was close to the garage door. It was letting air escape there quite a bit as well. I think on my next version of this, I’m going to make each panel where it can be separated and zip tied together, but I’m still mulling that over for now.
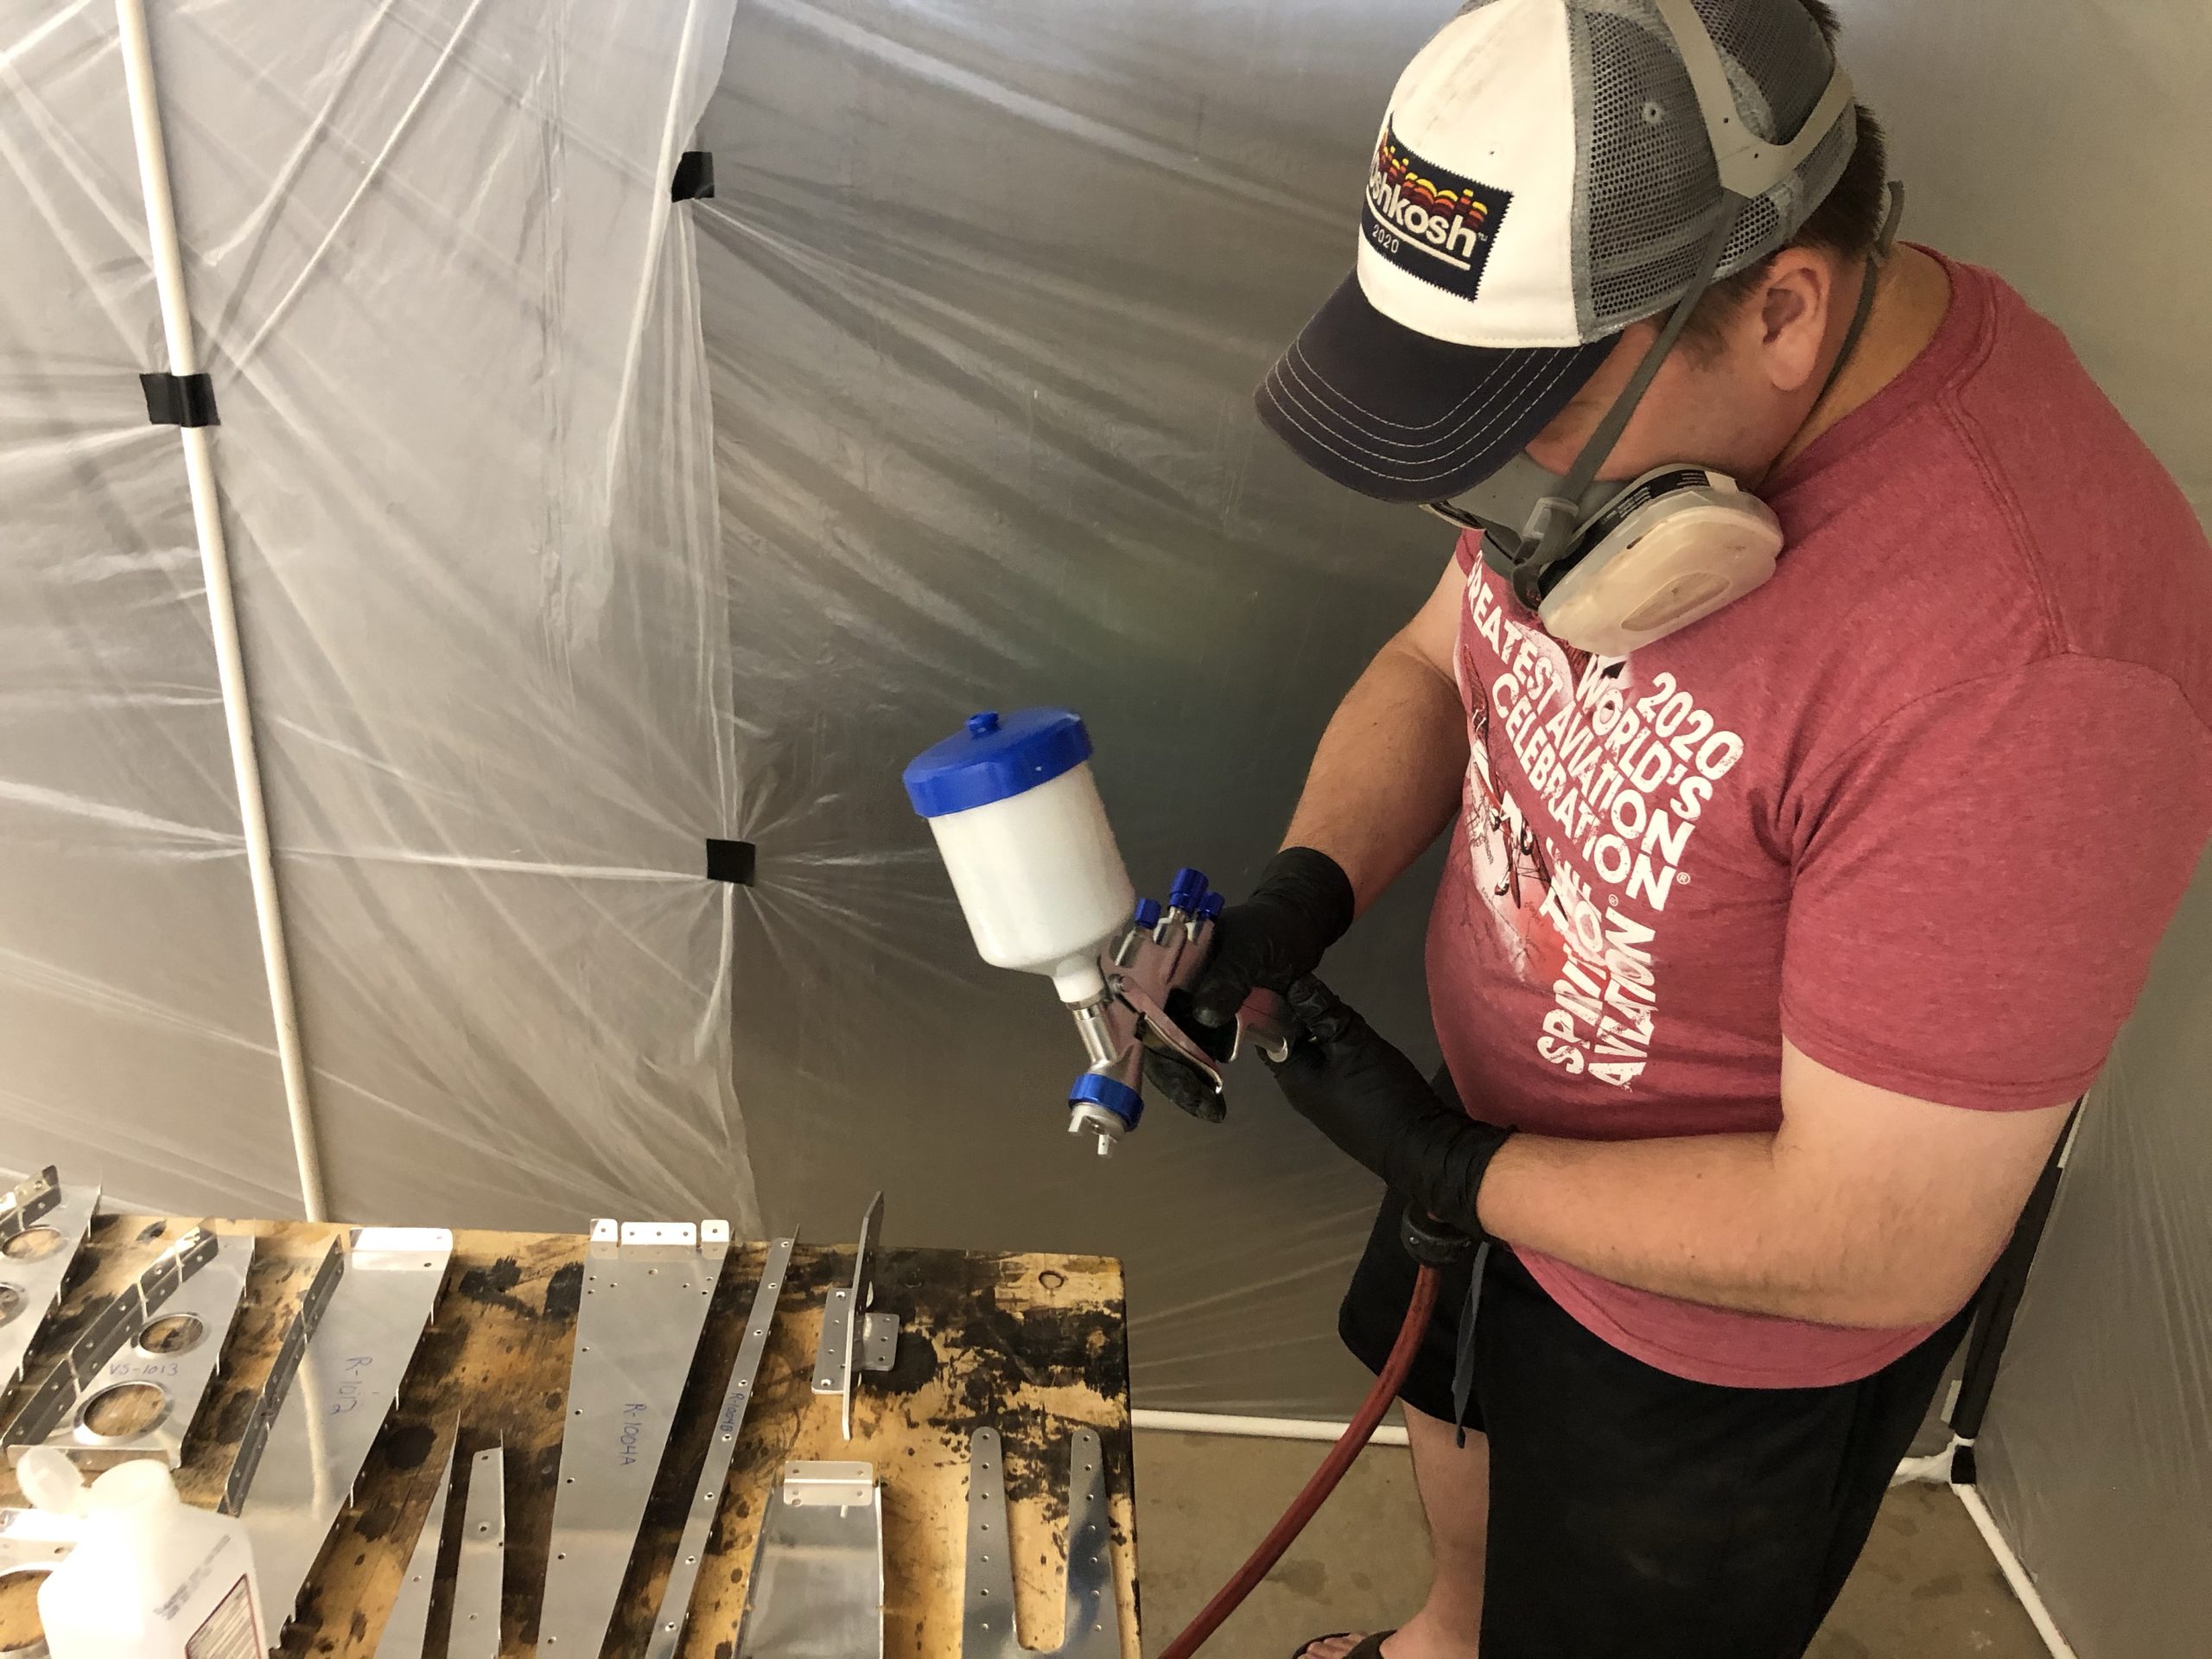
I got all of the parts sprayed and with some advice from some people who are experienced the the P60G2 primer I have some options to improve my coverage for next time. They said instead of reducing it 1.5 to 1 with reducer I should go with a 2 to 1 ratio of reducer to paint. It sprays better and provides a more even coat rather than this blotchiness I was getting. I also need to remember to get an air drier for the air system. That could also be causing some issues with this blotchiness if water is being introduced into the mix.
Either way here are pictures from me spraying some of the parts and the completed parts.
Remarking some parts that I had to clean off around my original part marksCleaning parts with isopropyl alcoholMixing up the paint since it’s been sitting for a few monthsStarting to spray!All the parts after sprayingUpclose of the coverage. I got a Tyvek suit because I see some of my hairs wound up on the part. You can also see the blotchiness I was talking about earlier
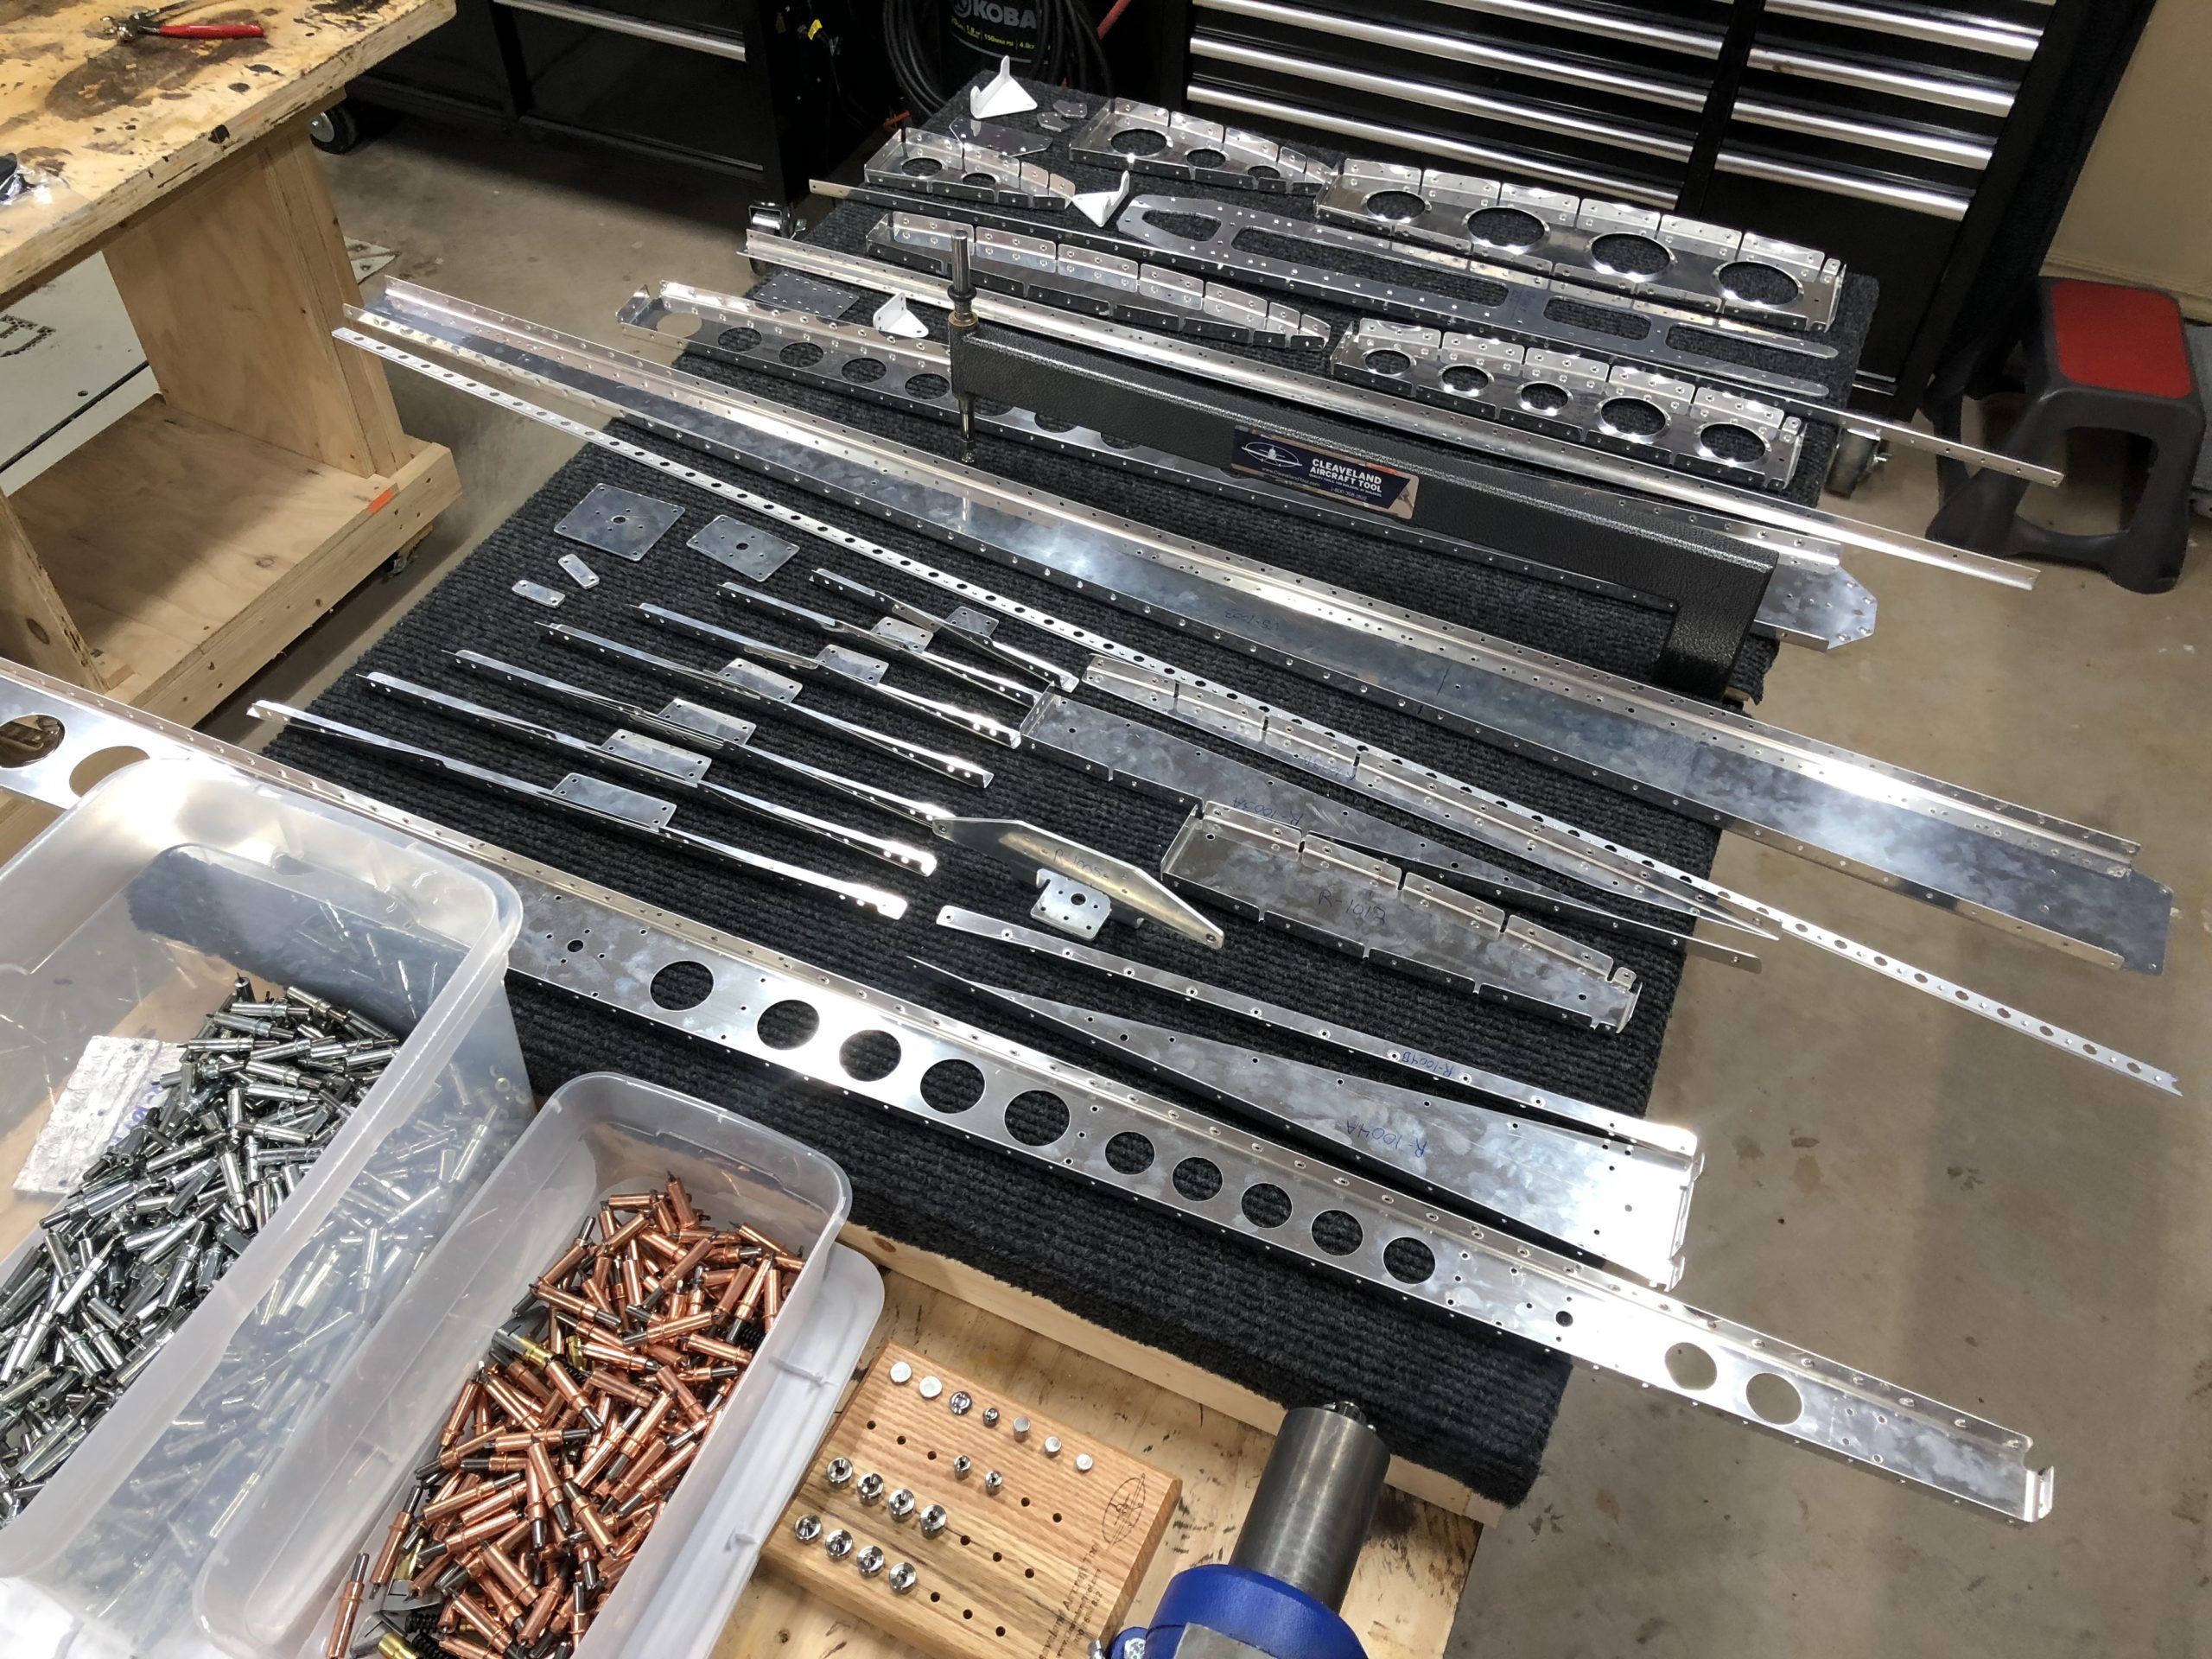
I spent the whole part of today finishing the dimpling on the skin. I used the close quarters dimple die for a few holes but they just didn’t turn out very well. So I used the other close quarters die that is mounted to my table to redo those. After that it was all taking apart the frames so that I could set the pieces aside for later priming.
The skin before I fixed some of the close quarters dimpling issues. You can see one right in the big middle of the skin at the noseAll the parts for the VS and the rudder disassembled and set to the side so I can get more of the HS done and prime them all at once
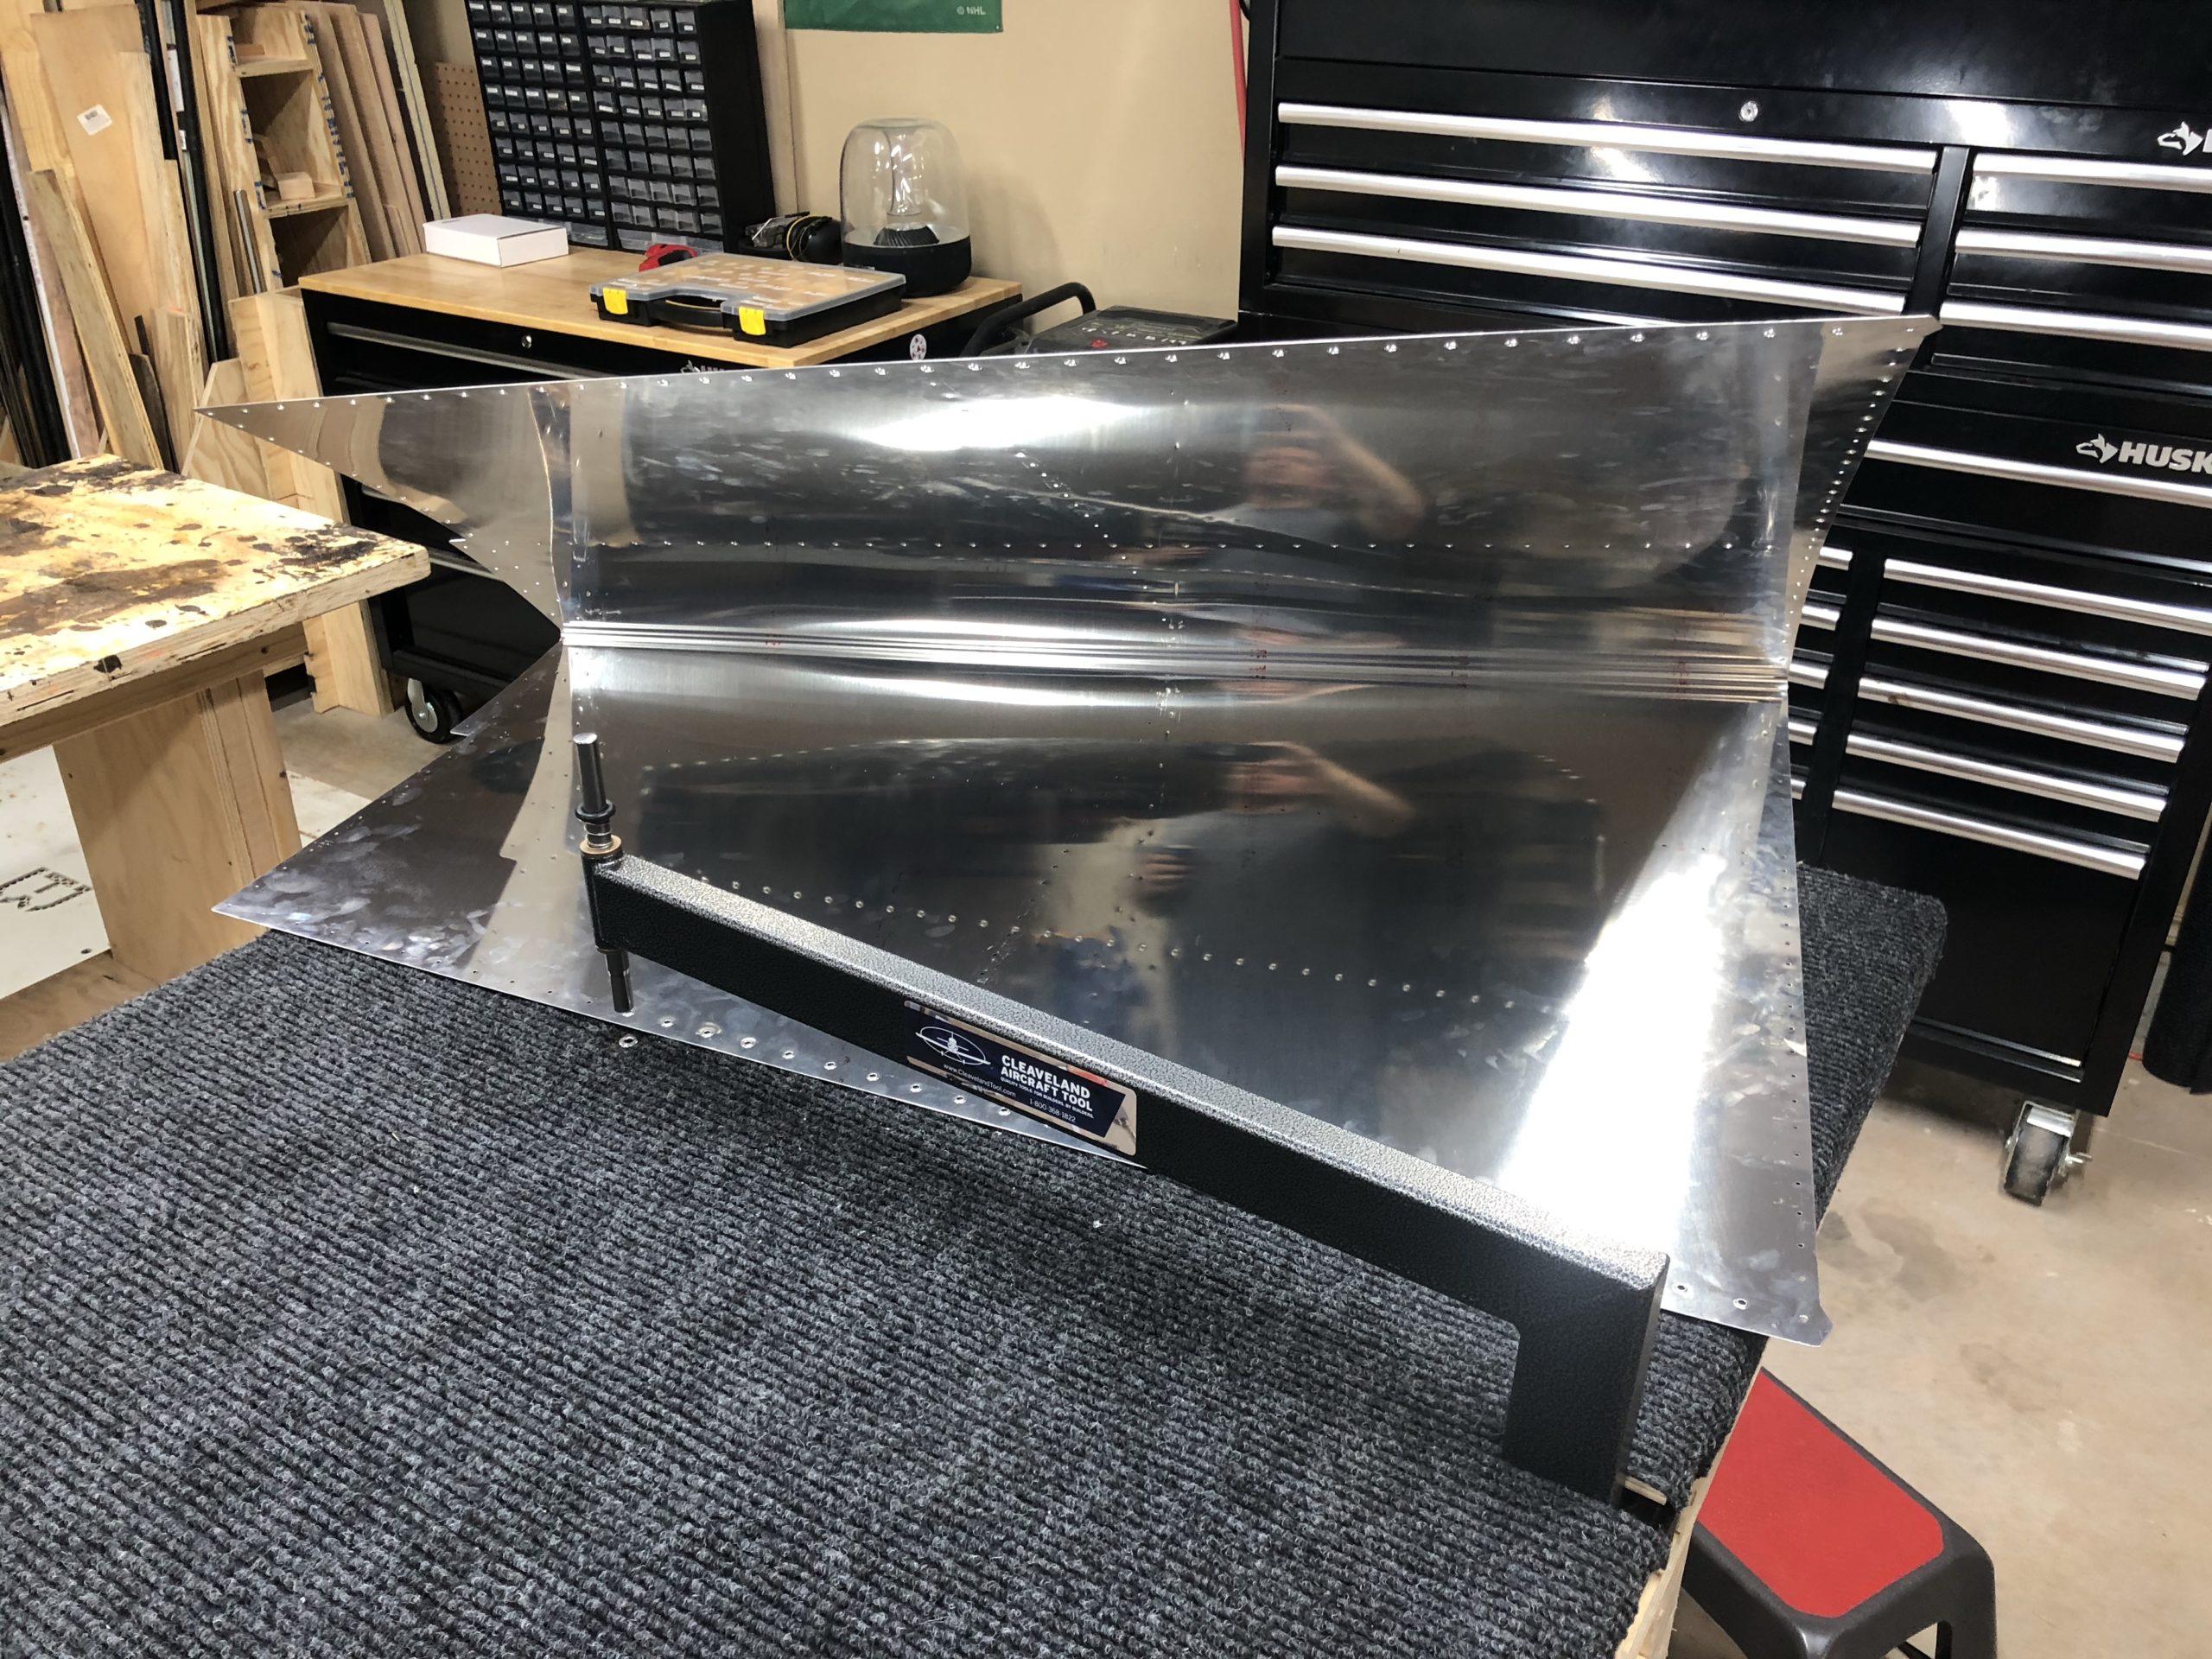
The new skin arrived! And I was surprised that it had final sized holes! Sped up the work a TON. I almost got all of the dimpling done, but I’ll finish that tomorrow. I did break the small tip of the male dimple die off inside of the holder. I was able to get it out though so that’s good, but I don’t know why it broke in the first place. Alignment looked ok on the C-frame, but I might do a deeper inspection on it to see why it broke.
New skin almost dimpled!Broken male die on the left, good male die on the right
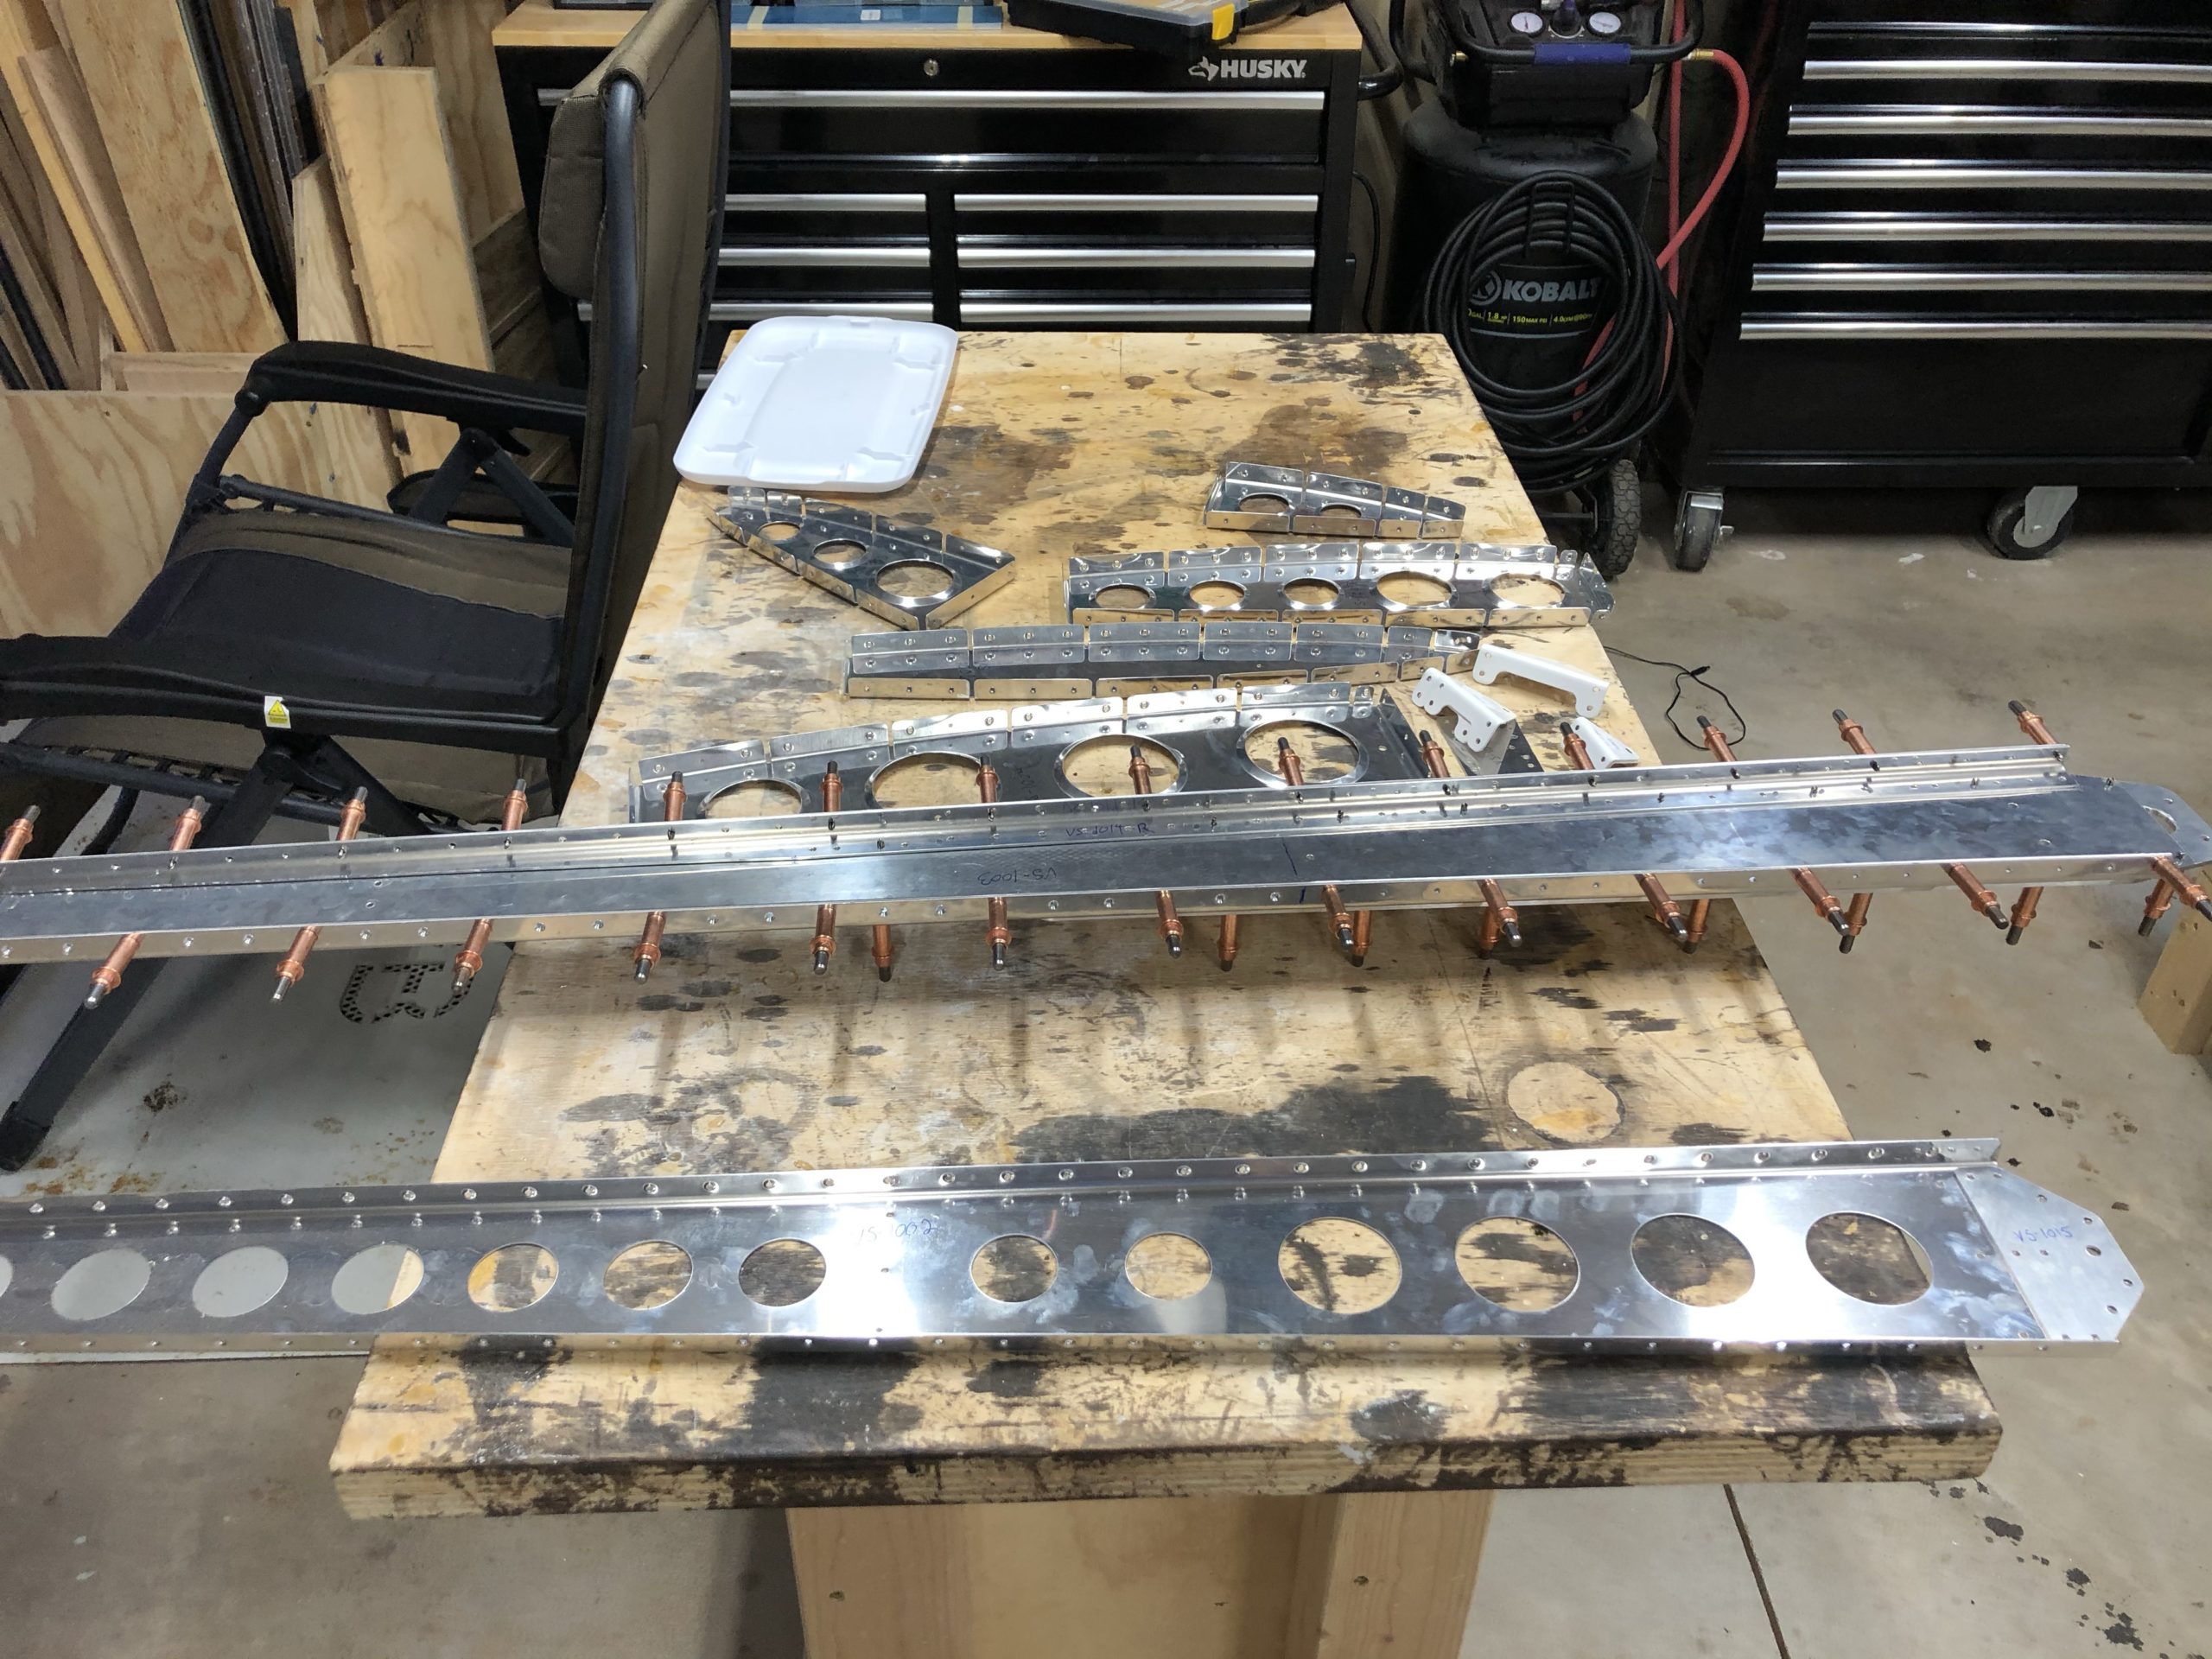
I got alot done today! I got all of the dimpling completed as well as countersinking. I need to figure out how to get the primer done tomorrow for all of the internal parts. I will need to put everything back together first to drill the one rivet hole out to the larger size and then I need to figure out how to fix that double hole in the skin. I will say one other thing I need to research is how to do the doubler for the front spar. For some reason to get it to sit flush I had to drill alot of material out and it got to the point that the counter sink would not keep itself centered and it the hole. That might to be another replaced part.
All of the completed partsFront spar doublerThe horrible counter sinking. I might need to redo this on a new partRudder stops
First day of skin dimpling and first day of the dimple slip mistake. Well, twice! LOL. Going to research how best to resolve this one. I might have to step up a size in rivet for one of these, but not sure on the other. I’ll have to figure it out down the road I guess. LOL
Most dimples done. Need to use my other tools to get the hard to reach onesMistake #1 – The thing slipped just as I was swinging down and I punched a good hole in the skin LOLThis slipped too even though I changed grip. I now know why I need to build the table surrounding the C frame.
All of the parts were together for the first time today! I got all of the holes drilled. I did notice a mistake a made on the original drilling I did for the flange holes. I drilled them to #30 size instead of #40. So I just drilled all of those that were in the flange section with the 1014-L & R parts behind it to a #30 size. The rest were #40 like they were supposed to be. Details man, I assume it is one size and move on. I am going to start highlighting these numbers and double checking my drill bit every time before I go to drill from here on out.